Cytronus Build Thread (pic heavy)

Cytronus

New member
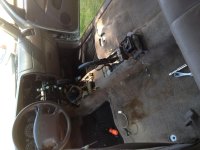
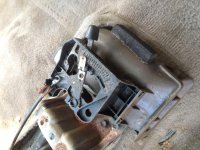
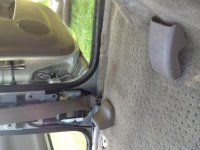
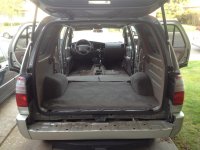
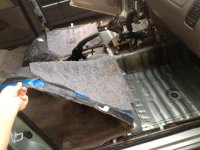
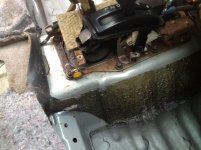
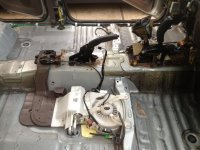
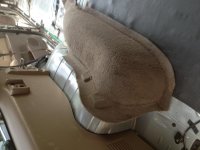
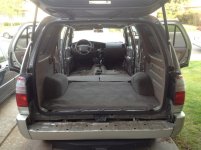
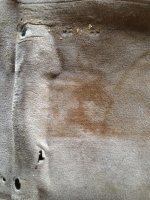
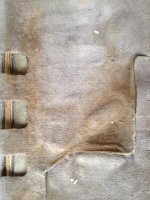
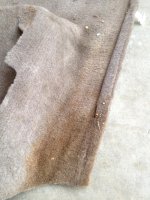
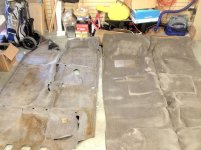
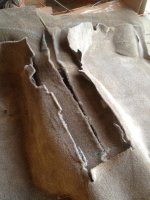
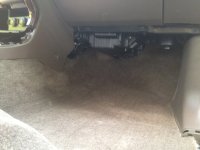
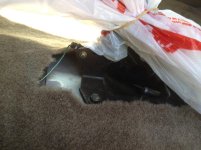
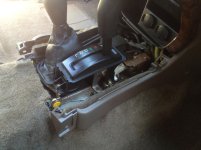
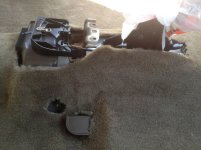
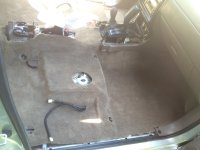
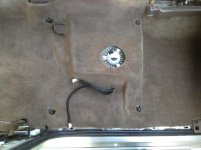
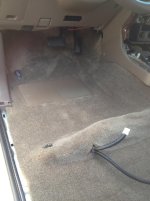
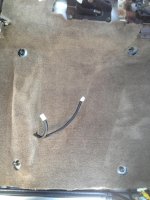
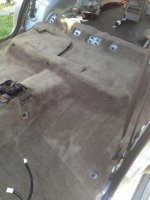
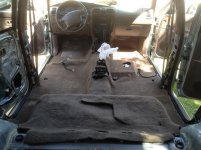
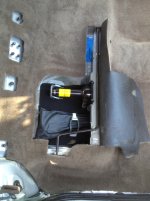
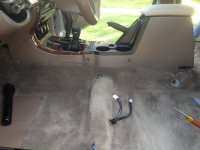
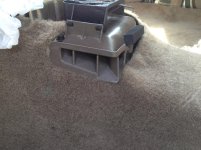
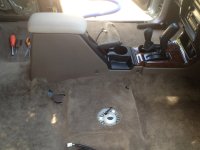
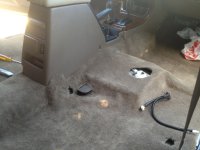
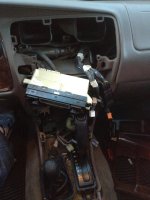
April 2, 2012: Interior Gutted.
 

Attachments

  • IMG_1723.jpg
    IMG_1723.jpg
    136 KB · Views: 3,894
  • IMG_1724.jpg
    IMG_1724.jpg
    137.1 KB · Views: 3,756
  • IMG_1731.jpg
    IMG_1731.jpg
    133.6 KB · Views: 3,869
  • IMG_1759.jpg
    IMG_1759.jpg
    132.2 KB · Views: 4,044
  • IMG_1767.jpg
    IMG_1767.jpg
    132.2 KB · Views: 3,910
  • IMG_1768.jpg
    IMG_1768.jpg
    132.3 KB · Views: 3,815
  • IMG_1777.jpg
    IMG_1777.jpg
    132.2 KB · Views: 3,820
  • IMG_1778.jpg
    IMG_1778.jpg
    128.9 KB · Views: 3,862
Register to hide this ad
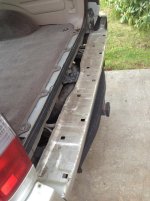
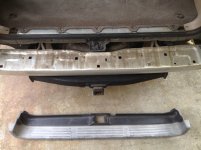
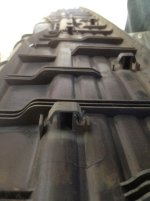
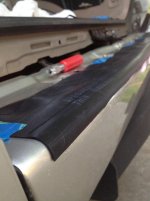
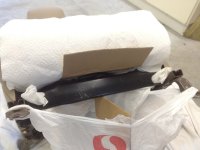
April 2, 2012: Faded rear bumper stay removed and new one installed with rubber dampener.
 

Attachments

  • IMG_1759.jpg
    IMG_1759.jpg
    84.5 KB · Views: 3,789
  • IMG_1760.jpg
    IMG_1760.jpg
    137 KB · Views: 3,714
  • IMG_1761.jpg
    IMG_1761.jpg
    82.7 KB · Views: 3,843
  • IMG_1763.jpg
    IMG_1763.jpg
    93.5 KB · Views: 3,776
  • IMG_2062.jpg
    IMG_2062.jpg
    101.6 KB · Views: 3,777
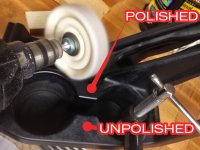
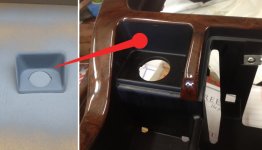
Faded cup holder restoration, ash tray bright light mod and cigarette lighter molding repaint.
 

Attachments

  • cupholder.jpg
    cupholder.jpg
    127.1 KB · Views: 3,680
  • ashtray.jpg
    ashtray.jpg
    101.8 KB · Views: 3,697
  • cigligjhter.jpg
    cigligjhter.jpg
    78.1 KB · Views: 3,653

Attachments

  • IMG_1771.jpg
    IMG_1771.jpg
    135.3 KB · Views: 3,675
  • IMG_1772.jpg
    IMG_1772.jpg
    134.3 KB · Views: 3,630
  • IMG_1773.jpg
    IMG_1773.jpg
    138.9 KB · Views: 3,666
  • IMG_1774.jpg
    IMG_1774.jpg
    140.5 KB · Views: 3,628
  • IMG_1775.jpg
    IMG_1775.jpg
    138.3 KB · Views: 3,650
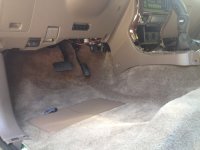
After receiving the carpet samples from both automotive interiors and quality car interior, I decided that automotive interiors had the better plush cut pile carpet and also more color choices. So I ordered up the molded carpet for $255.

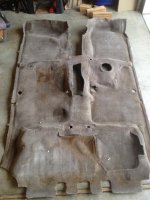
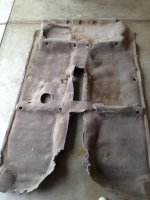
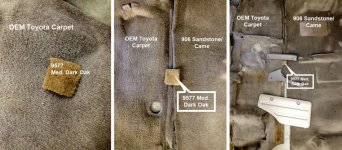
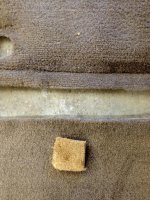
If you're thinking about replacing your carpet, which I highly recommend, do beware! The aftermarket manufacturers have replacement recommended colors that do NOT match your OEM color. Not even close. Automotive Interiors recommends 9577 Medium Dark Oak but as you can see from the below photos, it's no match at all to the OEM color. Luckily since I had ordered about a dozen samples, I discovered the 906 Sandstone/Came color was a near spot on match and in my opinion, is a better color to the OEM since it more closely matches the dark brown interior trim pieces.

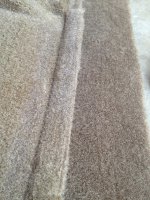
I can't say enough about the quality of this aftermarket carpet; it's superior to Toyota's. The fibers are thicker, even & more plush and the stitch pattern is barely visible. Notice on the OEM how you can clearly see the stitch pattern lines. The one nice thing the OEM has is slightly better padding on the bottom but this is really negligible. It also comes with a hard rubber heal pad, something the old OEM did not have.

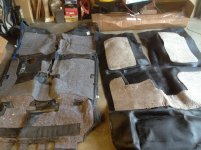
Cutting and installation took about 5 hours. I started out by placing the new carpet on top of the old and made sure to fit the molded areas between the two for an accurate overlay. I drew a rough outline of the pattern with chalk and cut away with a sharp box cutter. Once the shape was cut roughly and leaving the edges a little larger, I moved it into the car, ensured the molded areas were pressed in place correctly, cut the console area out, cut outer edges down to size, then moved on to the details like the bolt holes, etc. The hardest part was cutting around the rear seat floor hump where the rear vent and console protrudes. It's very easy to cut too much here so I recommend testing fitting your center consol/arm rest/rear heater piece before cutting.

I couldn't be happier with the results. Next is the cargo area!
 

Attachments

  • IMG_2076.jpg
    IMG_2076.jpg
    106.5 KB · Views: 3,616
  • IMG_2092.jpg
    IMG_2092.jpg
    140.8 KB · Views: 3,616
  • IMG_2095.jpg
    IMG_2095.jpg
    105.1 KB · Views: 3,621
  • IMG_2096.jpg
    IMG_2096.jpg
    87 KB · Views: 3,581
  • IMG_2078.jpg
    IMG_2078.jpg
    141 KB · Views: 3,576
  • IMG_2094.jpg
    IMG_2094.jpg
    138.5 KB · Views: 3,583
  • IMG_2098.jpg
    IMG_2098.jpg
    118.2 KB · Views: 3,601
  • IMG_2107.jpg
    IMG_2107.jpg
    120.1 KB · Views: 3,601
Last edited:
More of the new carpet going in my oak interior 4Runner.
 

Attachments

  • IMG_2099.jpg
    IMG_2099.jpg
    87.9 KB · Views: 3,548
  • IMG_2110.jpg
    IMG_2110.jpg
    78.6 KB · Views: 3,564
  • IMG_2111.jpg
    IMG_2111.jpg
    88.3 KB · Views: 3,540
  • IMG_2106.jpg
    IMG_2106.jpg
    124.5 KB · Views: 3,566
  • IMG_2109.jpg
    IMG_2109.jpg
    84.2 KB · Views: 3,536
  • IMG_2104.jpg
    IMG_2104.jpg
    136.5 KB · Views: 3,664
  • IMG_2102.jpg
    IMG_2102.jpg
    138.4 KB · Views: 3,521
  • IMG_2103.jpg
    IMG_2103.jpg
    135.1 KB · Views: 3,572
More new carpet....
 

Attachments

  • IMG_2105.jpg
    IMG_2105.jpg
    93.4 KB · Views: 3,693
  • IMG_2112.jpg
    IMG_2112.jpg
    127.5 KB · Views: 3,651
  • IMG_2114.jpg
    IMG_2114.jpg
    132 KB · Views: 3,525
  • IMG_2100.jpg
    IMG_2100.jpg
    86.1 KB · Views: 3,569
  • IMG_2115.jpg
    IMG_2115.jpg
    135.6 KB · Views: 3,569
  • IMG_2116.jpg
    IMG_2116.jpg
    133.1 KB · Views: 3,582
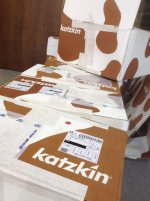
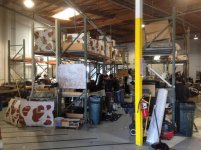
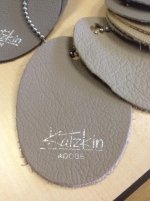
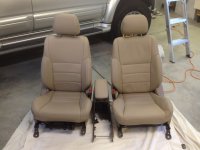
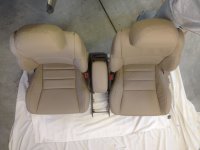
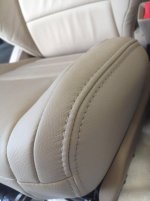
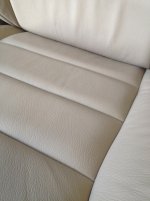
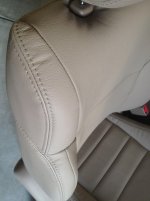
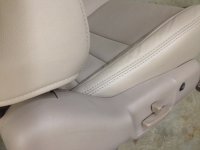
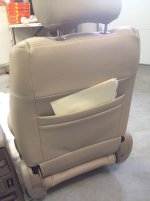
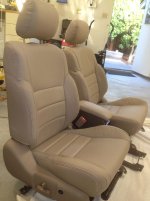
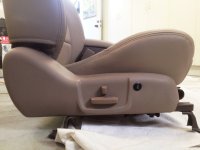
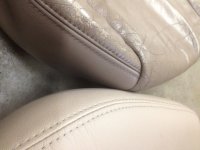
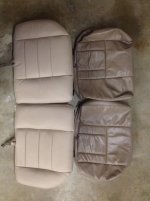
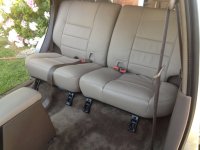
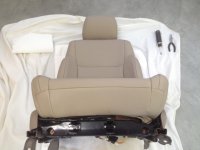
At the same time the carpet was going in, I had the old seats recovered in Katzkin leather from a local shop called Coach Automotive Restyling. I decided to go with the Adobe in a flat finish. I wish now I had gone one shade darker but it's still pretty close to the OEM color.

Looks and feels INCREDIBLE! It's a tad bit thicker and softer than the factory skins. They added a thicker foam padding layer between the leather and actual seat foam which makes it feel more soft and comfortable. I will say the leather looks a tiny bit loose in a few areas compared to the factory but negligibly so.
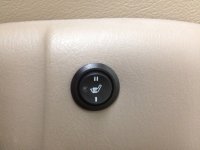
Katzkin leather with installation was $1500 for both rows. Seat heaters were $500 for the 2 front seats with installation. I was able to pay cash and avoid sales tax. All in all, I thought it was a very fair deal for the quality of the leather and the installation from a very reputable shop. Keep in mind, cost of living in California is very high so I'd expect the prices for the same job to be a lot cheaper outside of CA, maybe $1400 - $1600 for the same set up (leather and seat heaters).
 

Attachments

  • IMG_1821.jpg
    IMG_1821.jpg
    122.6 KB · Views: 3,607
  • IMG_1820.jpg
    IMG_1820.jpg
    111.9 KB · Views: 3,537
  • IMG_1808.jpg
    IMG_1808.jpg
    124.5 KB · Views: 3,634
  • IMG_1919.jpg
    IMG_1919.jpg
    110.3 KB · Views: 3,537
  • IMG_1917.jpg
    IMG_1917.jpg
    95.9 KB · Views: 3,560
  • IMG_1907.jpg
    IMG_1907.jpg
    80.2 KB · Views: 3,602
  • IMG_1908.jpg
    IMG_1908.jpg
    122.7 KB · Views: 3,561
  • IMG_1909.jpg
    IMG_1909.jpg
    106.1 KB · Views: 3,538
give the leather a few months to tighten up in the loose places, it'll look 100% better than new.

edit: I forgot to mention that it looks GREAT. One weird question though, how does the truck smell now? New? Weird? Old?
 
More Leather. Bye bye ugly luxury wrinkles!
 

Attachments

  • IMG_1952.jpg
    IMG_1952.jpg
    99.5 KB · Views: 3,501
  • IMG_1934.jpg
    IMG_1934.jpg
    105.7 KB · Views: 3,554
  • IMG_1933.jpg
    IMG_1933.jpg
    113.4 KB · Views: 3,511
  • IMG_1928.jpg
    IMG_1928.jpg
    98 KB · Views: 3,448
  • IMG_1953.jpg
    IMG_1953.jpg
    115.1 KB · Views: 3,460
  • IMG_1951.jpg
    IMG_1951.jpg
    122.3 KB · Views: 3,474
  • IMG_1950.jpg
    IMG_1950.jpg
    108.2 KB · Views: 3,546
  • IMG_2119.jpg
    IMG_2119.jpg
    125.6 KB · Views: 3,491
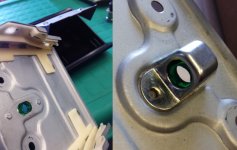
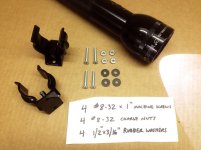
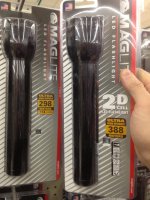
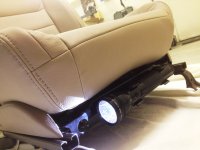
While the new leather seats were still out of the car, I decided to do the Dirtco flash light mod. They're not in the way, totally invisible, and they come in super handy all the time!
 

Attachments

  • IMG_1931.jpg
    IMG_1931.jpg
    78.1 KB · Views: 3,448
  • IMG_1883.jpg
    IMG_1883.jpg
    134.1 KB · Views: 3,429
  • IMG_1903.jpg
    IMG_1903.jpg
    95.4 KB · Views: 3,436
  • IMG_1900.jpg
    IMG_1900.jpg
    85 KB · Views: 3,422
  • IMG_1895.jpg
    IMG_1895.jpg
    105.9 KB · Views: 3,443
  • IMG_1898.jpg
    IMG_1898.jpg
    77.4 KB · Views: 3,440
  • IMG_1897.jpg
    IMG_1897.jpg
    97.5 KB · Views: 3,521
  • IMG_1930.jpg
    IMG_1930.jpg
    132.5 KB · Views: 3,488
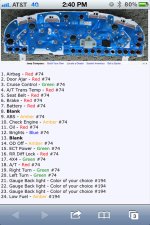
Replaced the dim OEM bulbs with green super bright LEDs from superbrightleds.com.
 

Attachments

  • IMG_1945.jpg
    IMG_1945.jpg
    93.7 KB · Views: 3,493
  • IMG_1949.jpg
    IMG_1949.jpg
    142.3 KB · Views: 3,457
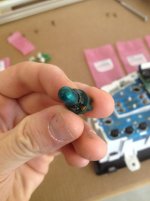
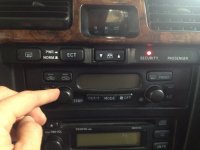
My digital Climate Control unit was malfunctioning and lights were burned out. Whenever the fan speed was turned up, it would turn down instead. Turning the temp knob clockwise wouldn't raise the temperature either but rather lower it and was hard to get past 67 degrees. I found a cheap solution - Dave Ruberg at Speedometerrepairguy.com. $125 plus shipping, got it back quickly and it works perfectly. Highly recommend this guy to anyone with the same common issue.
 

Attachments

  • IMG_1690.jpg
    IMG_1690.jpg
    120.2 KB · Views: 3,431
  • IMG_1716.jpg
    IMG_1716.jpg
    137.3 KB · Views: 3,437
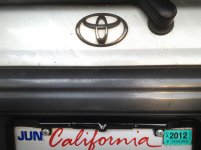
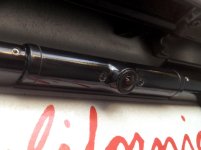
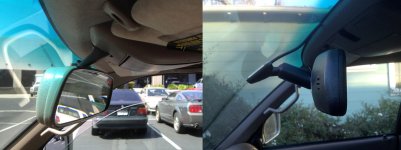
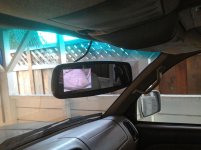
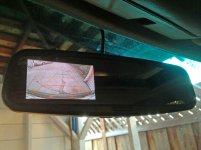
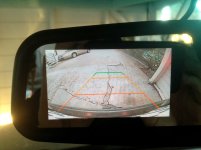
Backup camera license plate frame with Advent rear view mirror with integrated LCD picture. The cool thing about the mirror is that it's autodimming and has a slightly wider field of view than the OEM but still clears the sun visors. It has 2 video inputs so eventually, I'll add a camera to the front. Nothing like parallel parking in tight spaces with 2 cameras!
 

Attachments

  • backup cam 2.jpg
    backup cam 2.jpg
    82 KB · Views: 2,371
  • backupcam1.jpg
    backupcam1.jpg
    59 KB · Views: 2,327
  • rearview4.jpg
    rearview4.jpg
    132.9 KB · Views: 2,400
  • rearview3.jpg
    rearview3.jpg
    81.8 KB · Views: 2,350
  • rearview2.jpg
    rearview2.jpg
    83 KB · Views: 2,377
  • rearview1.jpg
    rearview1.jpg
    69.2 KB · Views: 2,404
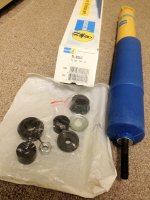
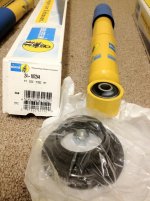
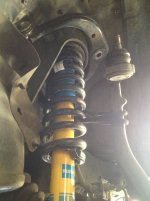
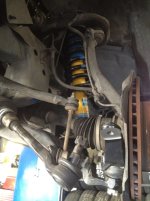
December 2012: Installed new Billstein heavy duty shocks all around. After breaking these in for a couple months, I'm of the opinion they're too stiff and wish I had gone with the Tokico Trekmasters as originally planned. The Billy's are rough and can't help but think how much shock is being transferred to all the running gear that might wear it out prematurely.

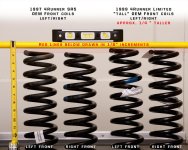
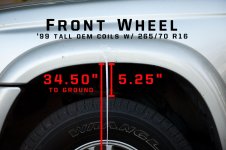
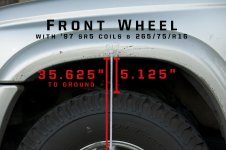
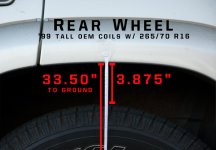
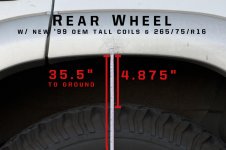
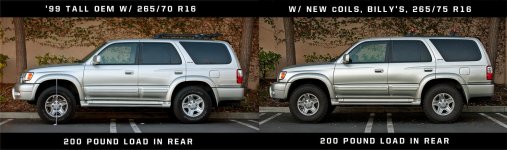
Added brand new rear coils as a direct replacement to the OEM '99 talls to repair sag issues and opted for shorter springs up front off a '97 SR5 to give it more of a positive rake but in actuality, it sits pretty level now and I'm left wishing the rear was a little higher. Even the brand new rear springs sag a little with even a light load. Toyota just never did the rear coils justice until the 4th gen redesign. The specs of my set up are noted in the photos below along with before and after shots.

Also added larger tires, the next size up with the BFG All Terrain T/A KO - LT 265/75 R16.

Installed new OEM Toyota parts:
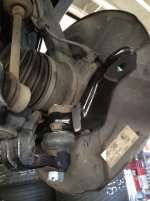
Inner and outer tie rod ends
Upper and lower ball joints
bushings all around, front and rear
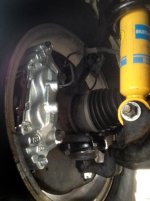
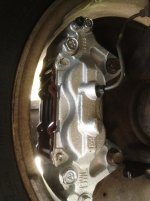
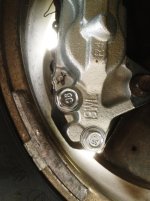
BIG UPGRADE/CONVERSION! 2006 Toyota Tundra front disc brakes (13 WL). All genuine Toyota.
 

Attachments

  • IMG_2974.jpg
    IMG_2974.jpg
    137.8 KB · Views: 2,365
  • IMG_2976.jpg
    IMG_2976.jpg
    138.6 KB · Views: 2,381
  • IMG_3044.jpg
    IMG_3044.jpg
    136.4 KB · Views: 2,428
  • IMG_3036.jpg
    IMG_3036.jpg
    134.3 KB · Views: 2,433
  • IMG_3039.jpg
    IMG_3039.jpg
    133.6 KB · Views: 2,388
  • IMG_3086.jpg
    IMG_3086.jpg
    43.2 KB · Views: 2,267
  • IMG_3087.jpg
    IMG_3087.jpg
    49.5 KB · Views: 2,313
  • IMG_3088.jpg
    IMG_3088.jpg
    56.2 KB · Views: 2,263
Here's the spring details: front spring comparison between brand new OEM '99 "talls" and OEM '97 SR5. The difference is a quarter inch. For those who are curious why the drivers side springs are taller, it's to compensate for the vehicle's and driver's weight on the left side of the car. Paint markings indicate the spring year and model they belong on.
 

Attachments

  • 97 SR5 vs 99 tall front springs med res.jpg
    97 SR5 vs 99 tall front springs med res.jpg
    137.3 KB · Views: 4,115
  • Left Front Wheel Before med res.jpg
    Left Front Wheel Before med res.jpg
    126.2 KB · Views: 2,484
  • Left Front Wheel After med res.jpg
    Left Front Wheel After med res.jpg
    127.9 KB · Views: 2,439
  • Left Rear Wheel Before med res.jpg
    Left Rear Wheel Before med res.jpg
    104.2 KB · Views: 2,427
  • Left Rear After med res.jpg
    Left Rear After med res.jpg
    129.1 KB · Views: 2,478
  • B4 and After med res.jpg
    B4 and After med res.jpg
    163.3 KB · Views: 2,451
Last edited:
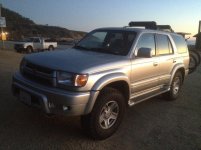
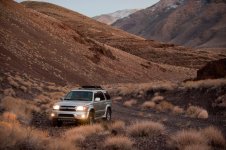
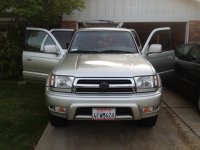
Here is a shot of before the front end cosmetics and some recent photos with the new 2002 sport grille and sport skid plate. This skid plate is actually off a 2006 4Runner/Tundra sport of which the depth is shorter and unable to reach the back screw hole of the 2002 sport skid plate brackets but it still works and looks good. Just need that sport hood to finish it off...if I can find one.
 

Attachments

  • IMG_1782.jpg
    IMG_1782.jpg
    130 KB · Views: 2,487
  • IMG_3478.jpg
    IMG_3478.jpg
    81.2 KB · Views: 2,507
  • DG1_5131web.jpg
    DG1_5131web.jpg
    99.9 KB · Views: 2,268

Members online

Forum statistics

Threads
278,309
Messages
3,554,068
Members
248,016
Latest member
Advally Service

Trending content

Back
Top