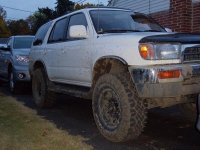
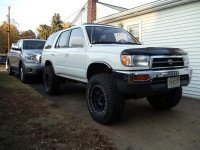
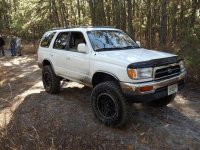
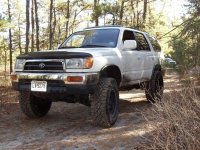
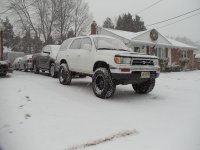
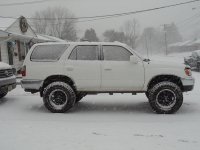
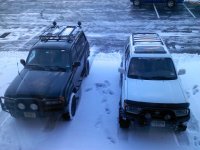
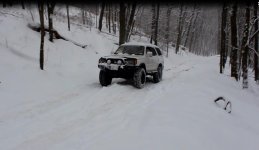
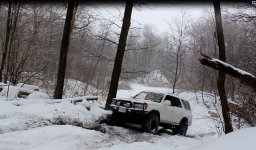
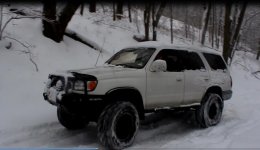
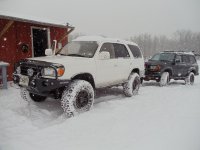
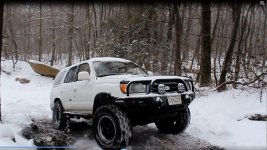
Dirtbike250x's Build Thread

dirtbike250x

New member
Dirtbike250x's Build Thread "The Family Treasure"

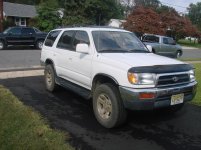
So I thought it was time I start a build thread. The truck is something I am very proud of, and has a special story to the family, and thought it would be cool to share with you all. My family is the original owner of our 1996 4WD SR5 4RUnner. It all started with this truck: 87 Pickup Turbo, my dad's first Toyota....
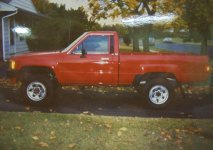
DSC03398.jpg

But as the family grew(my sister and myself were born), a regular cab pickup wasn't going to cut it. So going back to Toyota, my parents picked up the 4Runner. The first picture I could find of it in 96.
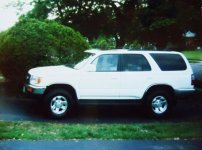
DSC03393.jpg

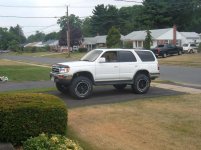
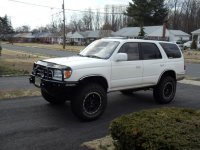
Which eventually turned into this. The most current picture I have.
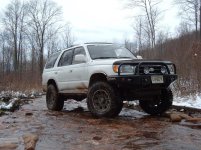
DSCF3241.jpg

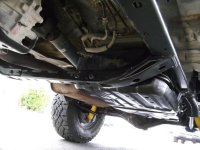
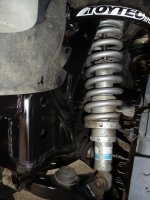
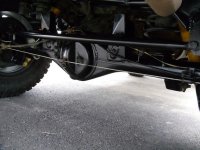
Suspension
-Bilstein 5100/Eibach 600lbs Coilovers
-Front Diff Drop
-Panhard Bar drop
-OME 890 Coils-Replaced with LX450 8.75/8.5 wrap coils
-OME Shocks-Replaced by Black Land Cruiser Tokico Shocks
- Light Racing Upper Control Arms
- Custom Panhard Bar
Armor
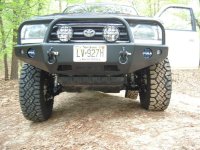
-Shrockworks Front (Full Hoop)
-4xinnovations DOM sliders w/kickout
-Stock Front and Gas Tank Skids (With some clearance modification done)
-More to Come...
Lighting
- SuperbrightLEDs 23in Light Bar
- TUFFLEDs 4in Round 27w Fog Lights
-iJDMtoy 12 inch Cargo Light
Drive/Brakes
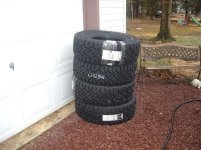
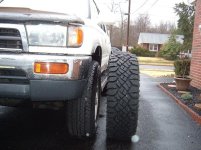
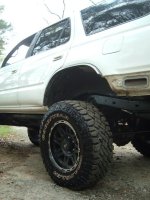
- Goodyear 285/70/17 Duratracs
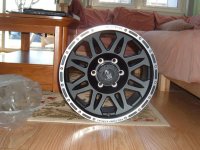
- Procomp 7105 17x8
- EBC Sport Rotors/ Greenstuff Pads Replaced with 231mm Tundra Calipers
- Centric Black Rotors (fitment for 2005 Tundra)
- Energy Suspension Steering Rack Bushing
- JBA Cat-Back exhaust
Sound
-Kenwood HU DPX308
-Kenwood 6.5in 3-way Door speakers F/R
-JVC 800 watt mono Amp
-Kicker 10" Subwoofer
- Taco Whip Antenna
Interior
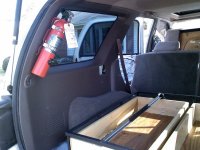
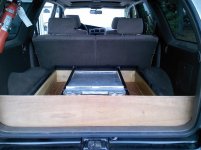
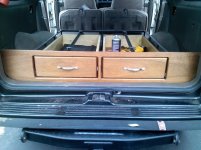
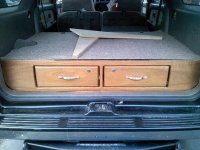
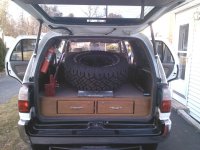
-Double Drawer System with power outlet
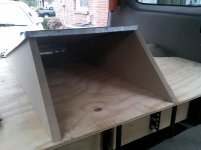
-Full size space mount with sub box
-LED Interior Cargo/Map lights
-Rear Seat Hi-Lift jack mount


This 4Runner was actually one of the first 4Runner to be sold in our area, it was ordered to what my parents wanted shipped to the dealer and ended up in the driveway soon after.
I was only 3yrs old when they brought the truck home. This truck has taken our family on vacations down to Florida (several times) over to Wisconsin, and up into Canada, towed several tons of dirt, building a swimming pool, drove me to my first day of school, brought home my first dirtbike, and is now my daily driver. There's a special love for this truck in the family.

After the rich history it had during the time of my childhood, it finally became mine to take care of in April of 2009.
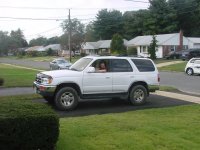
DSC04216 edit.JPG

I started driving it to high school, stock and would take it on local Pine Barren trails. Nothing serious just enjoyed taking out into the woods.
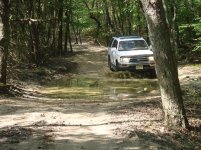
DSC04235.jpg
DSC04220.jpg

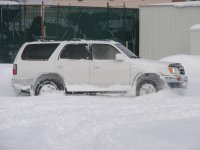
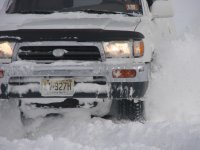
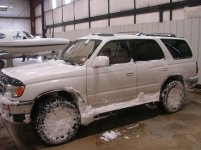
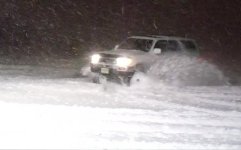
When the first snow fall came after I got my licence, I couldn't have been happier to have a 4WD truck.
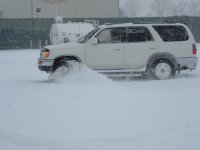
DSCF1759.JPG
DSC04262.JPG

Since I have maxed out the number of picture I can post in this post I continue in the next. This will take awhile to get up to current status, but it'll eventually get there...
 

Attachments

  • DSC03393.jpg
    DSC03393.jpg
    66.2 KB · Views: 6,198
  • DSC03398.jpg
    DSC03398.jpg
    47.8 KB · Views: 8,215
  • DSC04216 edit.JPG
    DSC04216 edit.JPG
    99.3 KB · Views: 6,270
  • DSC04235.jpg
    DSC04235.jpg
    127.5 KB · Views: 6,069
  • DSC04220.jpg
    DSC04220.jpg
    75.1 KB · Views: 6,017
  • DSCF1759.JPG
    DSCF1759.JPG
    53.5 KB · Views: 5,889
  • DSC04262.JPG
    DSC04262.JPG
    128.3 KB · Views: 5,912
  • DSCF3241.jpg
    DSCF3241.jpg
    130.9 KB · Views: 6,277
Last edited:
Register to hide this ad
A few more snow shots..
DSC04263.JPG
DSC04278.jpg

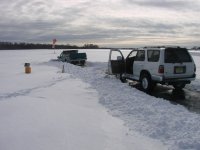
And it's first recovery :banana:
DSC04286.JPG

So, I enjoyed driving it stock with its great capabilities, but the tires on it had about 90k, and needed to be replaced. I think you guys know where this is going. So, after reading through this site and learning as much as I could it was time to start the mods... started with wheels, tires and eventually lift.
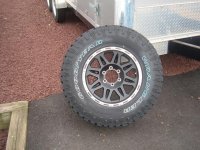
Procomp 7105's 17x8
DSCF1893.jpg

It was nice coming home to this...Goodyear Duratrac 285/70/17
DSCF1903.jpg
DSCF1902.jpg

And put the two together
DSCF2107.jpg

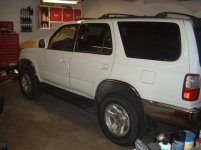
And the last picture I have of the truck stock..
DSCF2543.JPG
 

Attachments

  • DSC04263.JPG
    DSC04263.JPG
    126.2 KB · Views: 5,891
  • DSC04278.jpg
    DSC04278.jpg
    62.2 KB · Views: 5,860
  • DSC04286.JPG
    DSC04286.JPG
    123.3 KB · Views: 5,896
  • DSCF1893.jpg
    DSCF1893.jpg
    71.1 KB · Views: 6,206
  • DSCF1903.jpg
    DSCF1903.jpg
    57.5 KB · Views: 6,031
  • DSCF1902.jpg
    DSCF1902.jpg
    65.1 KB · Views: 6,884
  • DSCF2107.jpg
    DSCF2107.jpg
    71.3 KB · Views: 5,820
  • DSCF2543.JPG
    DSCF2543.JPG
    102 KB · Views: 5,771
Last edited:
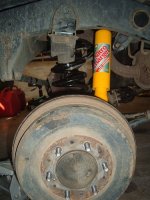
So it took some time, but I eventually gathered all the parts for 3 inch lift lift using 890 coild and OME comfort ride shocks in the rear and Bilsteing 5100 shocks with Eibach springs up front. Along with a dif-drop, panhard bar drop, and longer studs for the wheels up front.
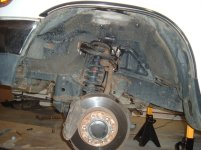
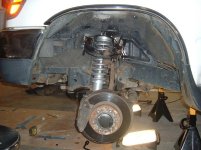
Before shot of the front...along with some rust that will be eventually fixed...
DSCF2548.JPG

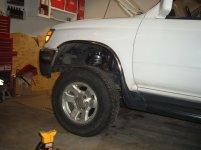
And with the new stuff up front.
DSCF2549.jpg

Front Finished
DSCF2554.JPG

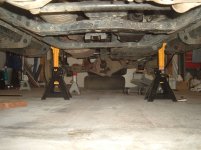
And moving onto the rear.
DSCF2571.JPG
DSCF2572.JPG
DSCF2577.JPG

The front studs need to be extended for the new wheels so left that project for the end.
DSCF2591.JPG

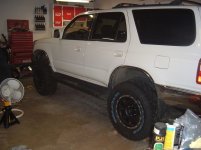
And the first shot I have post-lift
DSCF2595.JPG
 

Attachments

  • DSCF2548.JPG
    DSCF2548.JPG
    129.6 KB · Views: 5,764
  • DSCF2549.jpg
    DSCF2549.jpg
    56.1 KB · Views: 5,713
  • DSCF2554.JPG
    DSCF2554.JPG
    106.2 KB · Views: 5,737
  • DSCF2571.JPG
    DSCF2571.JPG
    136.3 KB · Views: 5,701
  • DSCF2572.JPG
    DSCF2572.JPG
    90.8 KB · Views: 5,688
  • DSCF2577.JPG
    DSCF2577.JPG
    130.3 KB · Views: 5,688
  • DSCF2591.JPG
    DSCF2591.JPG
    135.4 KB · Views: 5,677
  • DSCF2595.JPG
    DSCF2595.JPG
    111.9 KB · Views: 5,672
Start this post with a finished project shot
DSCF2596 edited.jpg

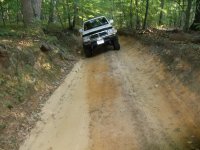
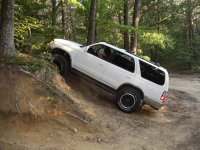
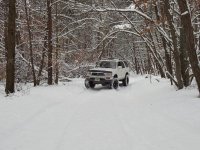
And then I took it back to the local trails for the first time with the lift and tires
DSC00023.jpg
DSC00035.jpg
DSC00058.jpg

And since I'm not a big fan of mud, the truck never got any muddier than this.
DSC00300.jpg

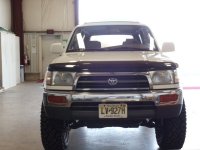
And then I moved on to the very popular mod, I took off the running boards and really enhanced the look I think
DSC00326.jpg

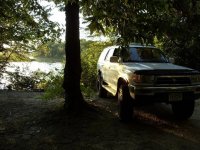
And continued to explore the Pines with the truck
DSC00347.jpg
DSC00348.jpg
 

Attachments

  • DSCF2596 edited.jpg
    DSCF2596 edited.jpg
    131.5 KB · Views: 7,592
  • DSC00023.jpg
    DSC00023.jpg
    81.9 KB · Views: 5,700
  • DSC00035.jpg
    DSC00035.jpg
    103.6 KB · Views: 5,738
  • DSC00058.jpg
    DSC00058.jpg
    87.9 KB · Views: 5,660
  • DSC00300.jpg
    DSC00300.jpg
    65.8 KB · Views: 5,751
  • DSC00326.jpg
    DSC00326.jpg
    66.3 KB · Views: 5,644
  • DSC00347.jpg
    DSC00347.jpg
    104.5 KB · Views: 5,613
  • DSC00348.jpg
    DSC00348.jpg
    111.4 KB · Views: 6,145
Last edited:
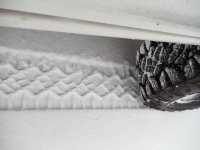
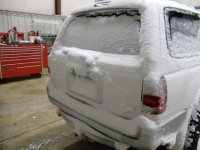
I couldn't wait for the first snow fall after the new tires, I couldn't have been happier with the difference. But I didn't have much to compare to, since the first year had the very wore street tires with 90k on them.
DSC00560.jpg

DSC00565.jpg

DSC00570.JPG

DSC00580.JPG

4.JPG

And my favorite shot of the truck in the snow.
DSC00908.jpg
 

Attachments

  • DSC00560.jpg
    DSC00560.jpg
    56.7 KB · Views: 5,597
  • DSC00565.jpg
    DSC00565.jpg
    47.9 KB · Views: 5,545
  • DSC00570.JPG
    DSC00570.JPG
    135.8 KB · Views: 5,579
  • DSC00580.JPG
    DSC00580.JPG
    133.3 KB · Views: 5,502
  • 4.JPG
    4.JPG
    72.3 KB · Views: 5,547
  • DSC00908.jpg
    DSC00908.jpg
    96.8 KB · Views: 5,560
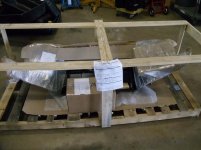
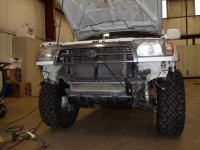
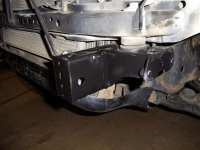
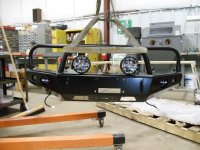
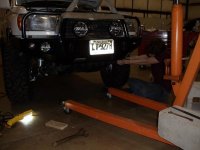
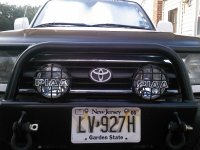
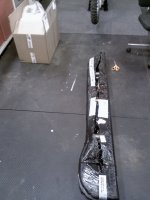
So it was time for another mod for the truck, I felt the truck needed some more light power, really liked what plate bumpers do to the look of the truck, and would like to get that flimsy sheet metal bumper off. So it was off to Shrockworks for one of their bumpers. It was a very frustrating 7 months waiting for the bumper to arrive, nothing new really with the lead times, and with the expected shipping dates constantly changing. But it was a wait worth waiting for, the craftsmanship on the bumper was very impressive and the build of the bumper was very stout.
DSC01095.jpg

DSC01097.JPG

DSC01103.jpg

DSC01105.jpg

DSC01108.jpg

DSC01112.jpg

DSC01114.jpg

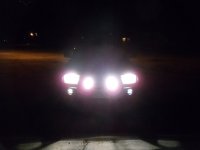
And the upgraded light output
DSC01186.JPG
 

Attachments

  • DSC01095.jpg
    DSC01095.jpg
    41.1 KB · Views: 5,545
  • DSC01097.JPG
    DSC01097.JPG
    134.7 KB · Views: 5,597
  • DSC01103.jpg
    DSC01103.jpg
    59.1 KB · Views: 5,554
  • DSC01105.jpg
    DSC01105.jpg
    59 KB · Views: 5,496
  • DSC01108.jpg
    DSC01108.jpg
    63.8 KB · Views: 5,507
  • DSC01112.jpg
    DSC01112.jpg
    45.6 KB · Views: 5,471
  • DSC01114.jpg
    DSC01114.jpg
    58.8 KB · Views: 5,482
  • DSC01186.JPG
    DSC01186.JPG
    114.5 KB · Views: 5,538
And once the bumper was installed I gave it my first good wash and wax to make it showroom shiny
DSC01244.jpg

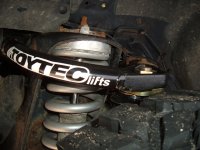
Next was a set of Light Racing UCA, along with lower balljoints at the same time
DSCF2881.JPG

I couldn't stand the surface rust on the frame, so I thought I would do something about it. Got the creeper out, air powered sandered, wire brush, some acetone to clean the surface and a few cans of prime and gloss black
One of the changes to the truck I take the most pride in due to the amount of work it took, and the great outcome it had :first:
DSC01375.jpg
DSC01377.jpg
DSC01381.jpg
 

Attachments

  • DSC01244.jpg
    DSC01244.jpg
    63.5 KB · Views: 5,575
  • DSCF2881.JPG
    DSCF2881.JPG
    129.5 KB · Views: 5,607
  • DSC01375.jpg
    DSC01375.jpg
    56.2 KB · Views: 5,565
  • DSC01377.jpg
    DSC01377.jpg
    60.6 KB · Views: 5,471
  • DSC01381.jpg
    DSC01381.jpg
    64.6 KB · Views: 5,575
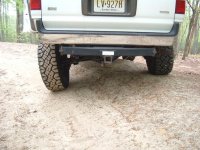
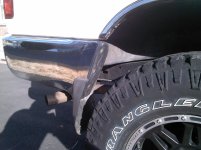
So, with the 33's there was rubbing when flexed off road in the rear, so for a few week I took the easy fix and took the rear bumper ends off so it would clear. But to me it didn't look good with the truck, so thought to mod the bumper ends so they would clear.
DSCF2895.jpg
DSCF2900.jpg

And some IFS flex for fun
DSCF2897.jpg

And the finished product of the bumper ends.
2013-01-03 13.46.39.jpg
 

Attachments

  • DSCF2895.jpg
    DSCF2895.jpg
    98.2 KB · Views: 5,567
  • DSCF2900.jpg
    DSCF2900.jpg
    77.4 KB · Views: 5,527
  • DSCF2897.jpg
    DSCF2897.jpg
    113.1 KB · Views: 14,238
  • 2013-01-03 13.46.39.jpg
    2013-01-03 13.46.39.jpg
    130.6 KB · Views: 5,428
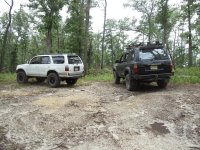
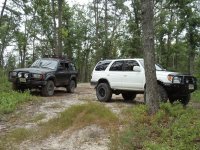
So with most of the kids going to my high school were more interested in scrapping the street low Hondas and who had the most thumping sound system, it was nice that a friend finally got himself a Toyota, and 96 80 series land cruiser (FZJ80) bought with very bald tires
DSC01707.jpg
DSC01710.jpg

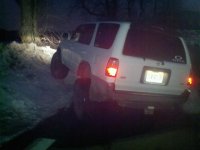
One night after a later night at high school, it was a perfect slope just couldnt resist
93.jpg
 

Attachments

  • DSC01707.jpg
    DSC01707.jpg
    124.3 KB · Views: 5,956
  • DSC01710.jpg
    DSC01710.jpg
    124.3 KB · Views: 6,078
  • 93.jpg
    93.jpg
    25.1 KB · Views: 5,367
Wow, white runners with black accents look so sick. I also think its neat that its been your family since the time it was brand new. If I was you, I would drive her until she dies. How many miles are on it?
 
Sick ride man!

Wow, white runners with black accents look so sick. I also think its neat that its been your family since the time it was brand new. If I was you, I would drive her until she dies. How many miles are on it?

Thanks for the reply man, yeah no intentions in selling it, just plan on getting a car to replace it as a daily driver, and keep the 4runner as fun vehicle once I move into a career. It has about 131k, so its still quite low, so plenty of life left in it.
 
for being in high school you sure do have some money to throw around. but she looks amazing.

Thanks, for the reply, but no longer in high school, now I'm working towards getting my RN in nursing school, so using it as a daily driver with about 40 min commute, so the mods have pretty much come to a stop to replenish the funds.
 
So after getting the major mods out of the way, I started into the DIY stuff to make the truck better for me. I started with painting the emblem white
2012-05-16 19.06.27.jpg

I also was able to find a print out for the factory service manual thanks to a friend
2012-05-18 21.34.33.jpg

Mounted the fire extinguisher
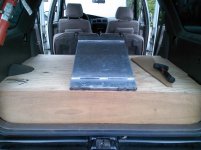
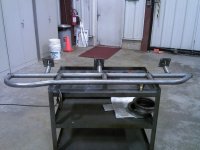
That Christmas, I received a welder as my present, and couldn't have asked for a better gift. So the first project I started with it was some storage for the rear cargo area. Since I now had the welder, I made the frame out of some angle with some square tubing for some extra support
2012-10-14 14.37.13.jpg

It is going to consist of two drawers a flat top, with an angle steel pate, which is going to be angle up to mount the full size spare tire, along with the hi lift. If you guys have any more questions on it just ask, the project is still going on so I'll update as progress is made. Now for some pictures
2012-10-28 10.47.49.jpg
2012-10-28 14.28.21.jpg
2012-10-28 14.28.37.jpg
2012-11-10 14.32.41.jpg
2012-11-12 13.02.22.jpg
 

Attachments

  • 2012-05-16 19.06.27.jpg
    2012-05-16 19.06.27.jpg
    120.1 KB · Views: 1,769
  • 2012-05-18 21.34.33.jpg
    2012-05-18 21.34.33.jpg
    87.3 KB · Views: 1,769
  • 2012-10-14 14.37.13.jpg
    2012-10-14 14.37.13.jpg
    130.3 KB · Views: 1,756
  • 2012-10-28 10.47.49.jpg
    2012-10-28 10.47.49.jpg
    70.9 KB · Views: 1,885
  • 2012-10-28 14.28.21.jpg
    2012-10-28 14.28.21.jpg
    72 KB · Views: 1,728
  • 2012-10-28 14.28.37.jpg
    2012-10-28 14.28.37.jpg
    52.1 KB · Views: 1,766
  • 2012-11-10 14.32.41.jpg
    2012-11-10 14.32.41.jpg
    90.4 KB · Views: 1,850
  • 2012-11-12 13.02.22.jpg
    2012-11-12 13.02.22.jpg
    58.6 KB · Views: 1,735
...And one for what it will eventually look like (got a great deal on the extra wheel)
2012-11-12 15.31.21.jpg

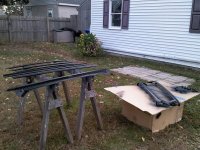
And then I took off the roof rails, cowl piece under the windshield, the rear towing air deflector, and rear bumper step plastic piece. Pretty much everything that was black needed a nice coat of paint to really bring it back to life.

2012-10-20 17.08.24.jpg

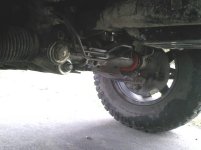
Then moved onto the steering rack bushing, heard great things about the upgrade, seemed simple enough so I went for it, bought the red ones because they look cooler under there :clap2:
2012-08-03_16.57.22.jpg
 

Attachments

  • 2012-11-12 15.31.21.jpg
    2012-11-12 15.31.21.jpg
    134.9 KB · Views: 1,751
  • 2012-10-20 17.08.24.jpg
    2012-10-20 17.08.24.jpg
    131.7 KB · Views: 1,726
  • 2012-08-03_16.57.22.jpg
    2012-08-03_16.57.22.jpg
    54.3 KB · Views: 1,718
Last edited:
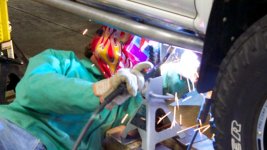
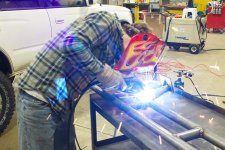
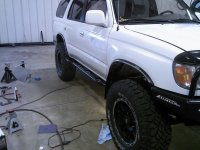
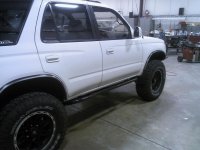
Now to bring the thread up to date as of right now I went to 4xinnovations for a set of their sliders, I liked how they looked and the price looked better than the rest too. I don't plan on getting into fights with many rocks because I'm not afraid to say I don't exactly challenge the capability of the truck off road, but for the one time I may slide off into them, they will be worth it to me. Also I to got to really use the welder on this project. I did all the welding for mine as well as a set for that 80 series, he got the DIY sliders from 4xinnovations. Really enjoyed that project

2012-12-05 17.57.05.jpg

2012-12-21 19.06.19.jpg

SliderInstall 011.jpg

SliderInstall 013.jpg

SliderInstall 025.jpg

2012-12-22 16.11.23.jpg

2012-12-22 17.29.44.jpg
 

Attachments

  • 2012-12-05 17.57.05.jpg
    2012-12-05 17.57.05.jpg
    108.9 KB · Views: 1,723
  • 2012-12-21 19.06.19.jpg
    2012-12-21 19.06.19.jpg
    121.2 KB · Views: 1,734
  • SliderInstall 011.jpg
    SliderInstall 011.jpg
    38.5 KB · Views: 1,706
  • SliderInstall 013.jpg
    SliderInstall 013.jpg
    29.4 KB · Views: 1,722
  • SliderInstall 025.jpg
    SliderInstall 025.jpg
    41.6 KB · Views: 1,694
  • 2012-12-22 16.11.23.jpg
    2012-12-22 16.11.23.jpg
    120.6 KB · Views: 1,720
  • 2012-12-22 17.29.44.jpg
    2012-12-22 17.29.44.jpg
    62 KB · Views: 1,688
Last edited:
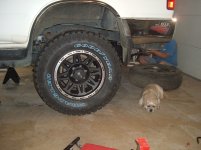
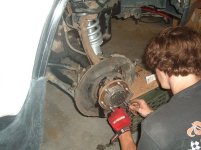
Attachments

  • 27285_532350073450851_856445425_n.jpg
    27285_532350073450851_856445425_n.jpg
    43.6 KB · Views: 1,666
  • 65098_532350133450845_1314244450_n.jpg
    65098_532350133450845_1314244450_n.jpg
    97.4 KB · Views: 1,713
  • 418034_532350100117515_746518798_n.jpg
    418034_532350100117515_746518798_n.jpg
    47.7 KB · Views: 1,652
  • 65149_532350153450843_1716008427_n.jpg
    65149_532350153450843_1716008427_n.jpg
    69.8 KB · Views: 1,659
  • 74986_532350463450812_612556310_n.jpg
    74986_532350463450812_612556310_n.jpg
    116.8 KB · Views: 1,690
  • 483345_532350056784186_2108093773_n.jpg
    483345_532350056784186_2108093773_n.jpg
    89.4 KB · Views: 1,678
Last edited:
Members online

Forum statistics

Threads
278,312
Messages
3,554,085
Members
248,016
Latest member
Advally Service

Trending content

Back
Top