Dusty’s 4Runner Picture Thread

Hurry, I've been waiting in anticipation for days. Your first set of cargo drawers were awesome, can't wait for the next.

Well, thank you.
But, who said it was another set of cargo drawers?
It could be something totally cool and different...
Either way, it is taking longer than expected to complete this update. Hopefully I will have it finished out by this weekend :whoo:
 
Last edited:
Congrats on the child! I'm really impressed with that color. I was not a fan at first but now I'm def a believer.
 
Nice snow pics man!! was itching for snow all winter and we maybe got a couple inches spread out over the whole time. This is my 1st year with 4x4 I was so blown
 
Hurry, I've been waiting in anticipation for days. Your first set of cargo drawers were awesome, can't wait for the next.

Ok, you were right. Here's the anticipated update

This time, I took my time and paid closer attention to the small details that really makes this look like a finished product. For the most part, the system functions the same as the original, but there are some pretty significant upgrades that I'll outline below. The new design still allows the box to fit under the double decker cargo shelf.
Ok, on to the pictures - probably my favorite part of the original build was the flip up lid, so I kept that design element in this build as well
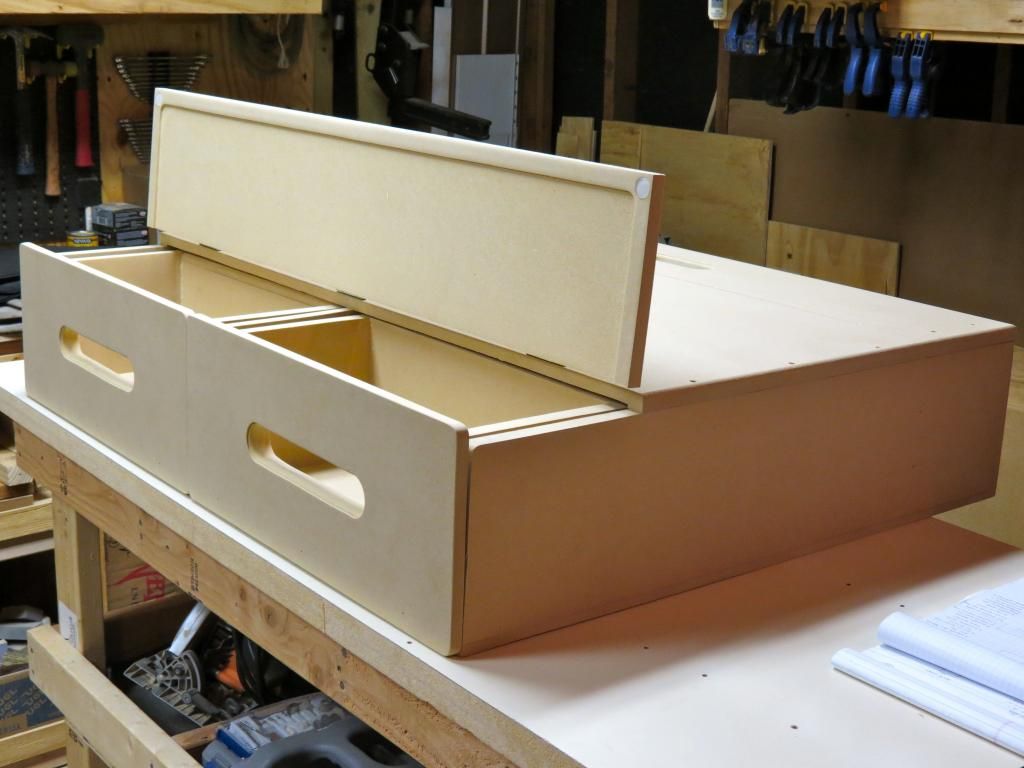
Full Box
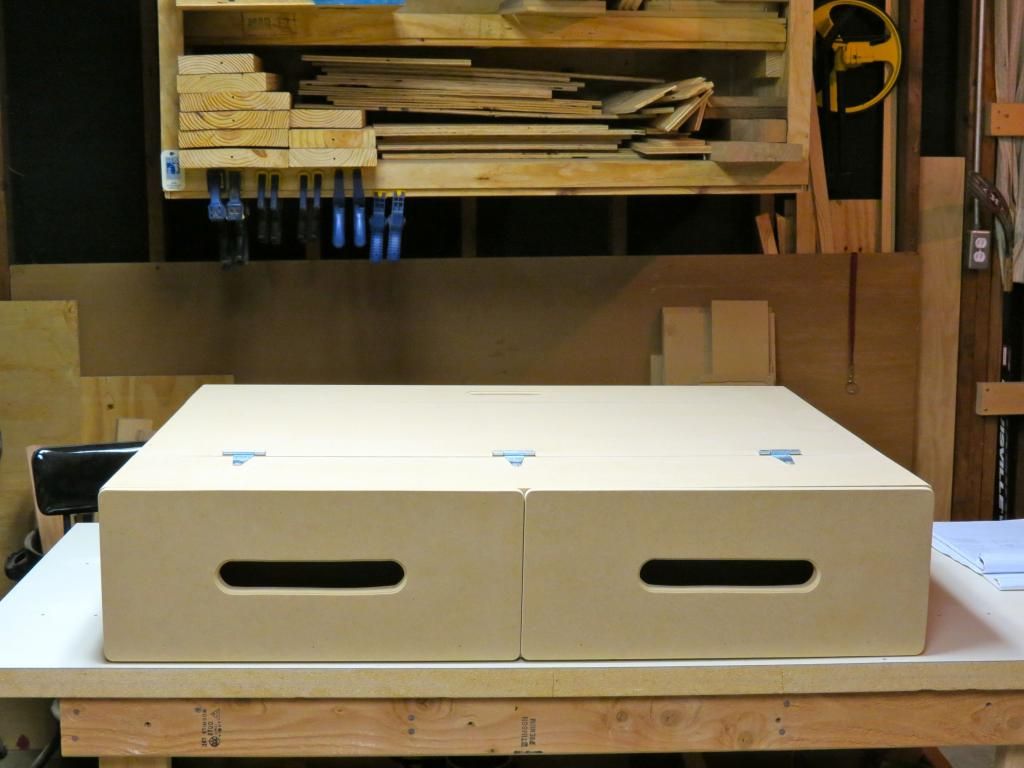
Flip Up Lid

Drawers Open - I always kicked myself for not using drawer slides the first time around.:brick: I didn't make that mistake this time.
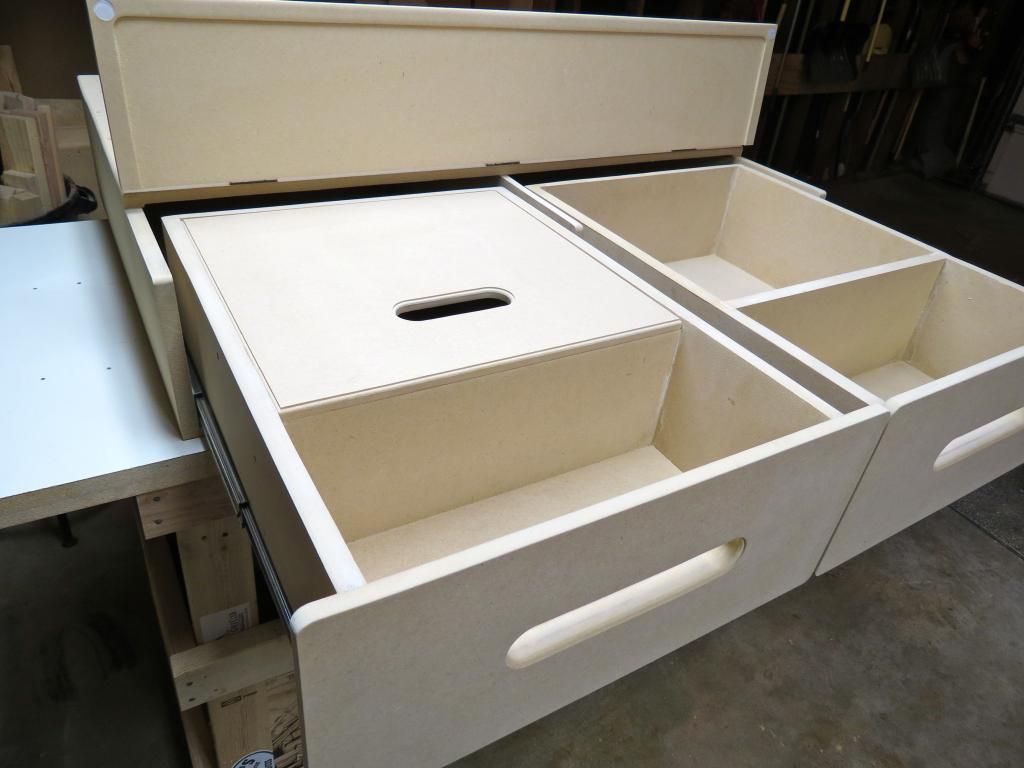
I also added a sliding lid in the left drawer, which acts as a place to set stuff you're removing from the other side. Or, in our case a portable changing table:moon:. In this next picture, you can see it slid into the forward position.
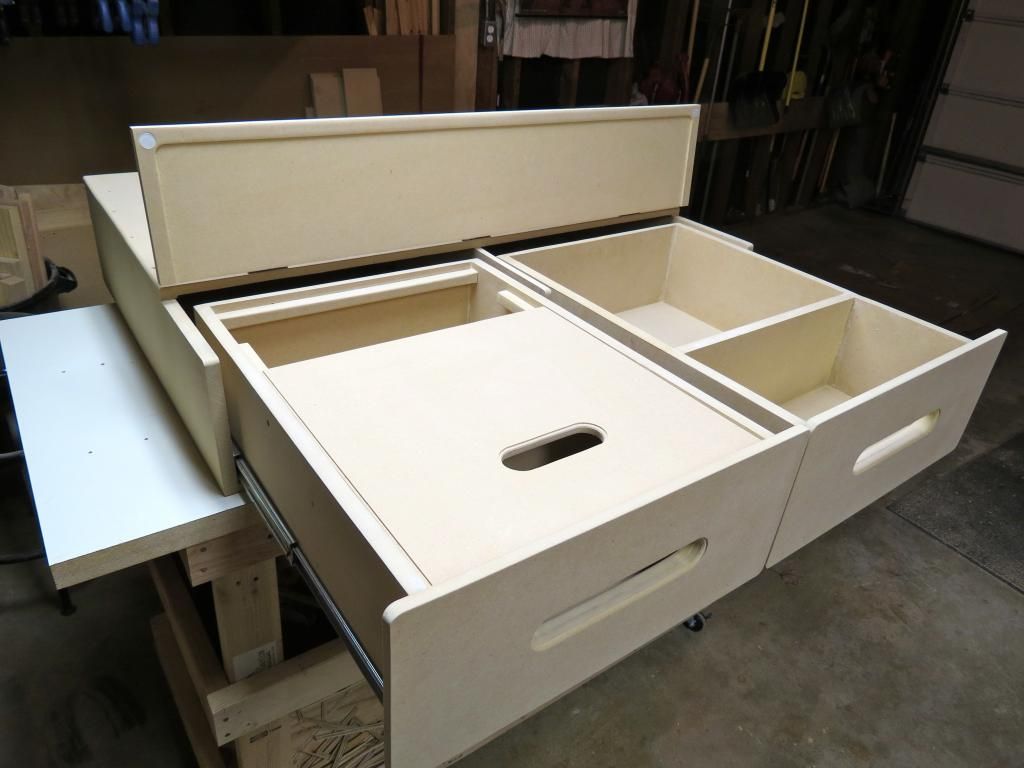
This time around, I also chose to add a rear cubby that spans the width of the box. This is great for longer items, like my umbrella. Or, items like my jumper cables that I always have but rarely use.
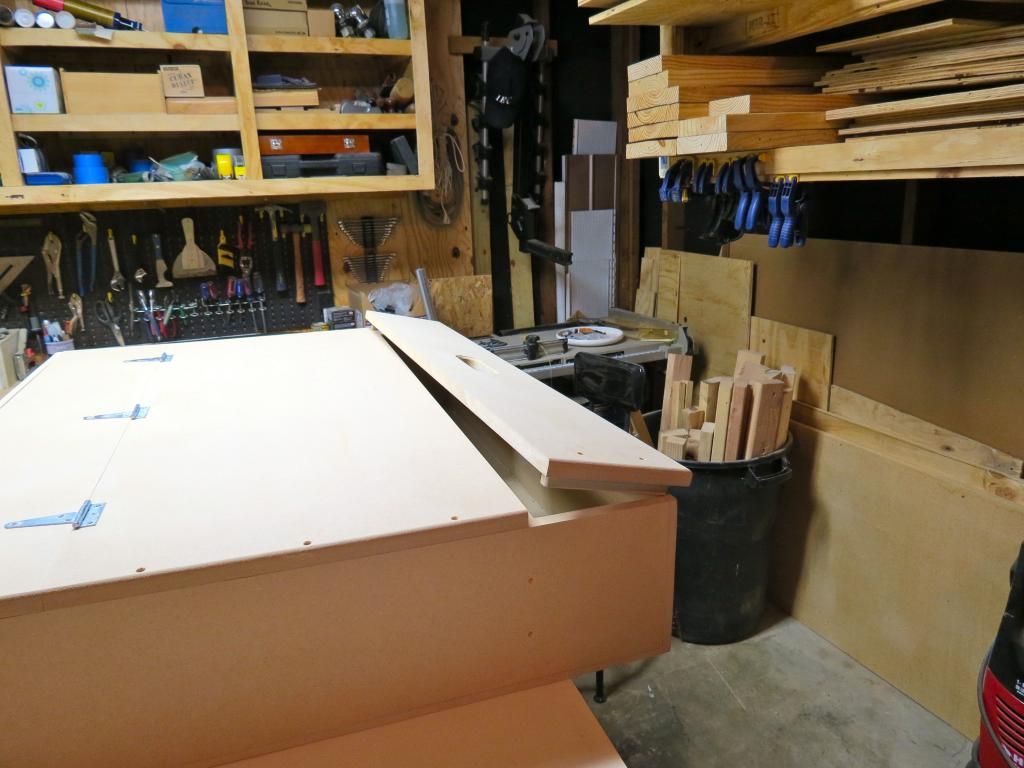
Here is the Cubby Lid in Place
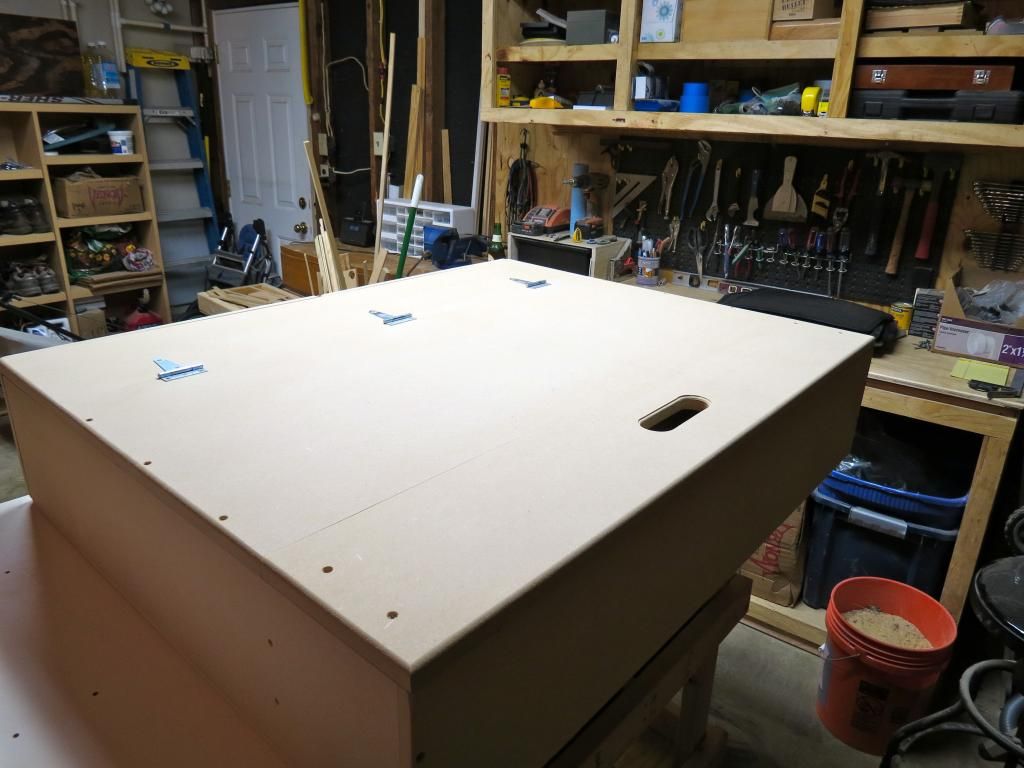
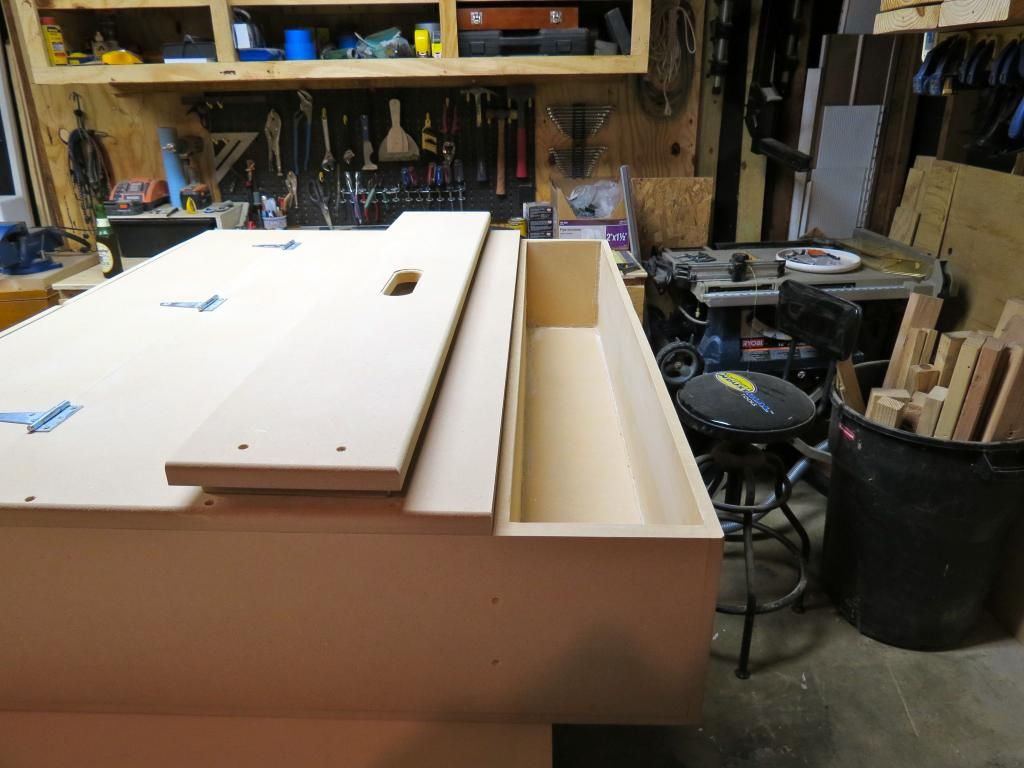
Popped Open

And, Fully Open

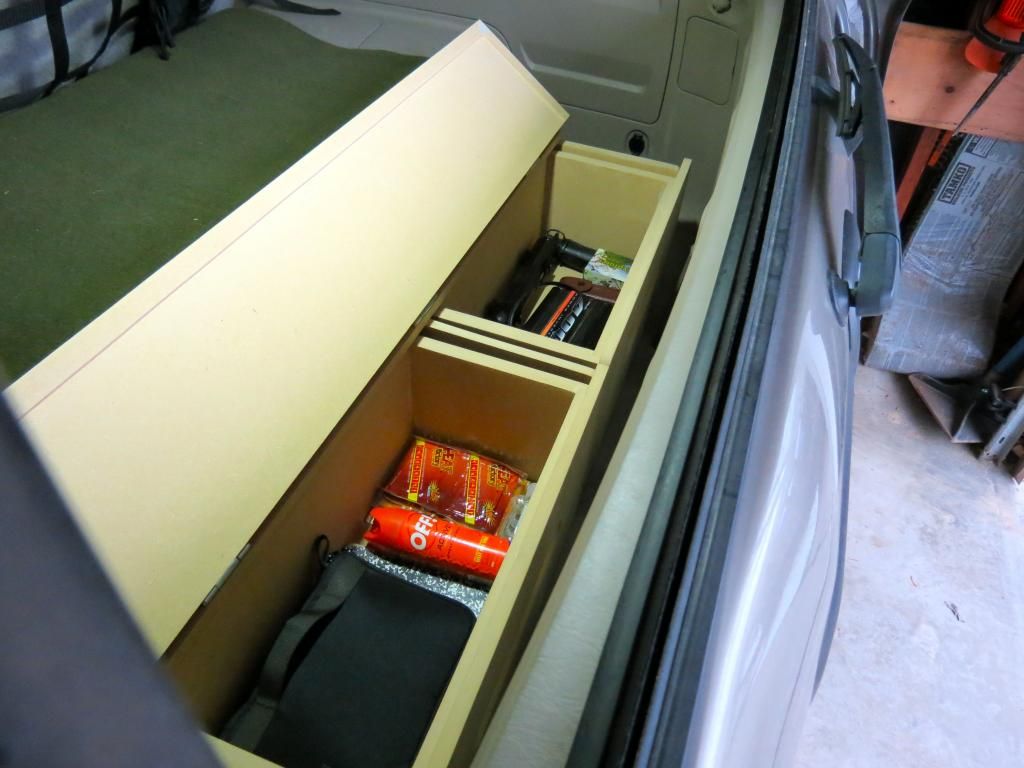
Consequently, when the double decker shelf is in place, this cubby is completely hidden, so the rear cubby also acts as a great hiding place for valuables if you're at a trailhead, disc golf course or camping etc.
Disassembled & Ready to install in the 4Runner
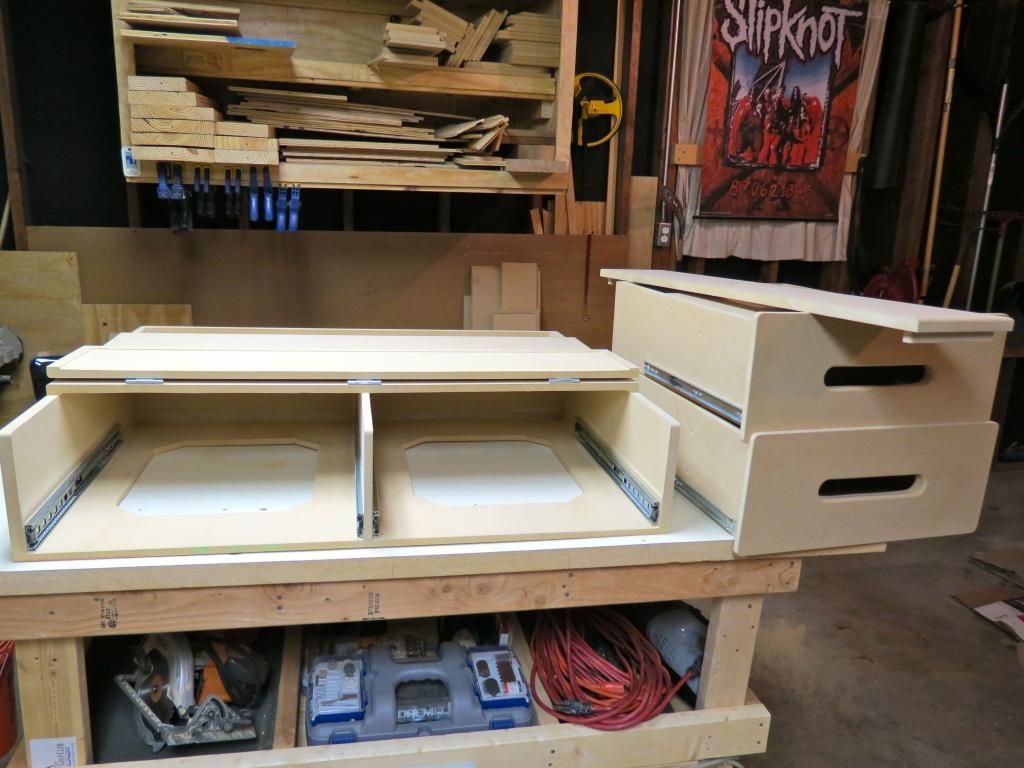
You'll also notice in the picture above that I've cut out large areas of the floor board. I originally did this to cut down on weight, which honestly didn't help. But, these came in really handy as the only way to grab this thing when installing it in the 4Runner.
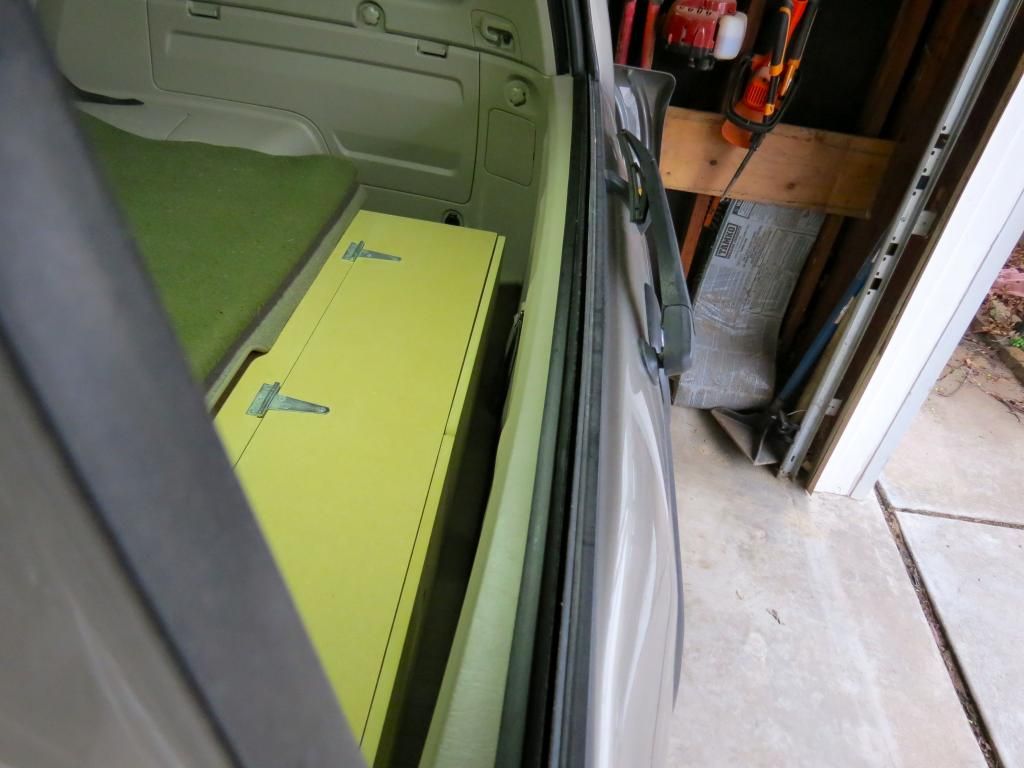
Finally, Installed in the 4Runner
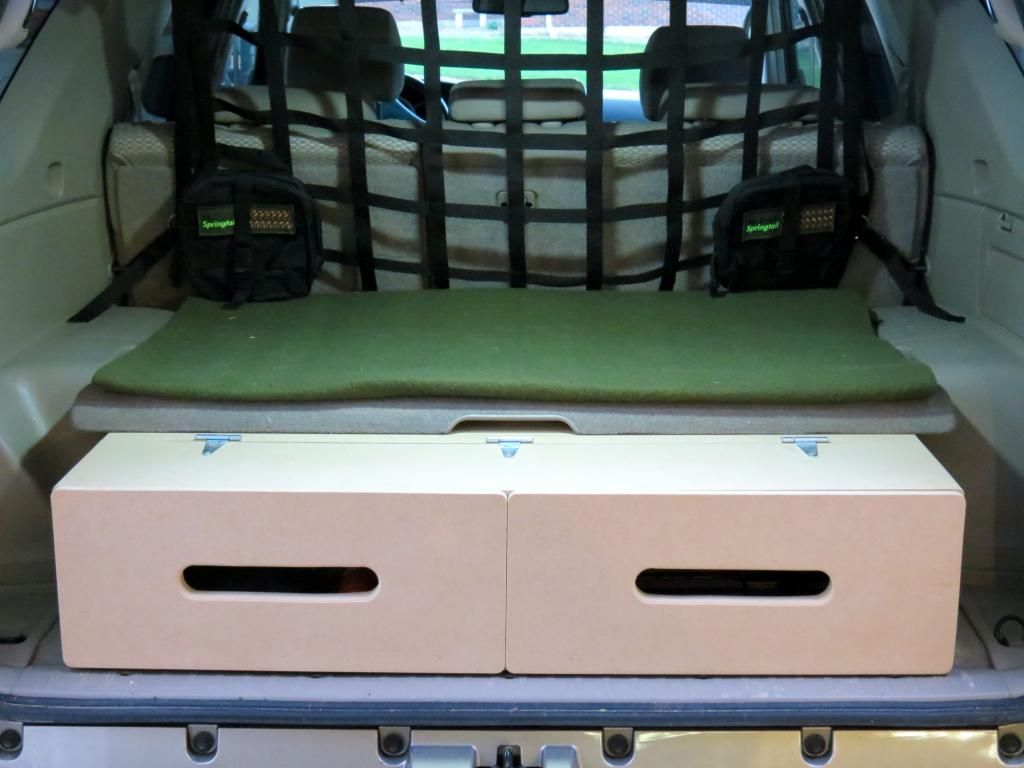
View From Outside

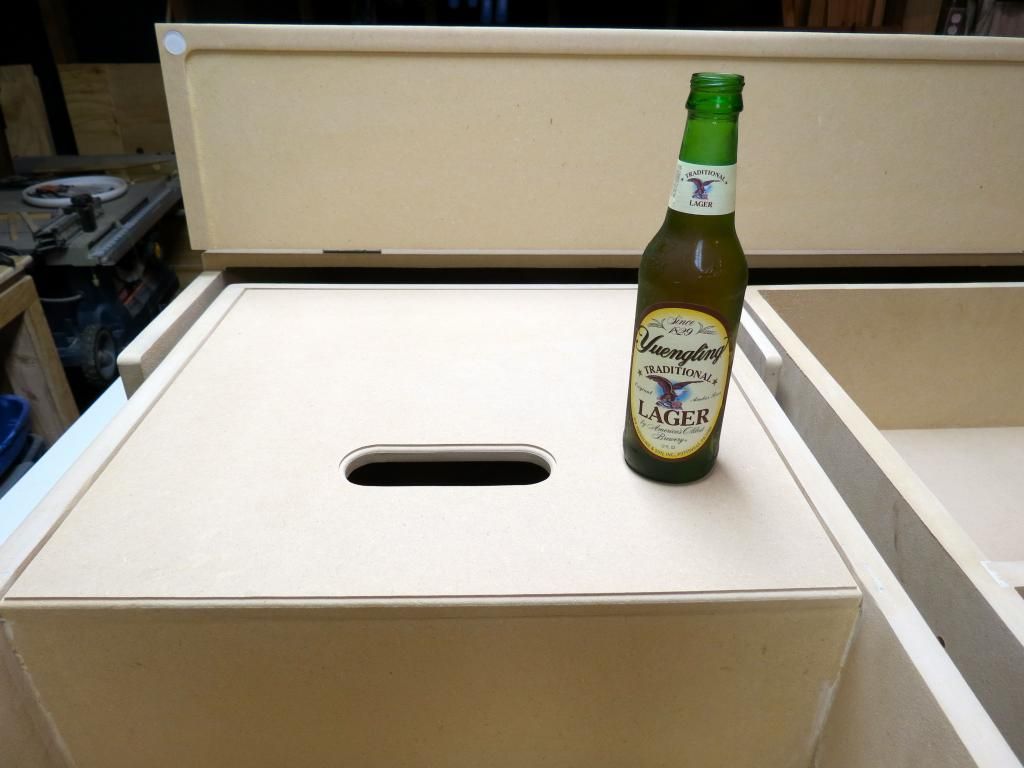
Flip Up Lid Access

Unfortunately, can't get Yuengling here in MO. But, I figured this was a special enough occasion to break into the reserve:beer:

Dimensions & Specifications
Width: 41-3/8"
Depth: 33-1/4"
Height: 8-7/8"
Front Cubby: 7-3/4"
Flip Up Lid: 8"
Main Drawer: 15-3/4"
Rear Cubby: 6-1/8"
Rear Cubby Lid: 7-1/32"
Sliding Lid: 17" Wide x 16-1/4" long
Drawer Slides: 20"
Materials
1/2" & 3/4" MDF Boards
Craftsmanship
Counter-sunk bump stops
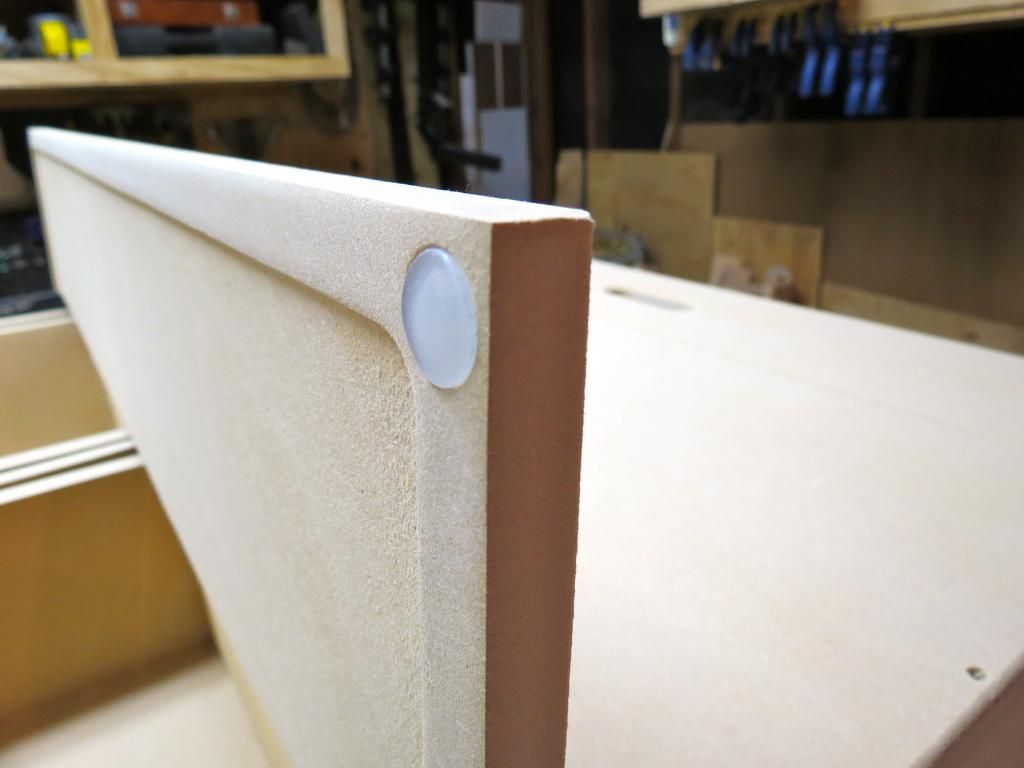
Rounded Edges
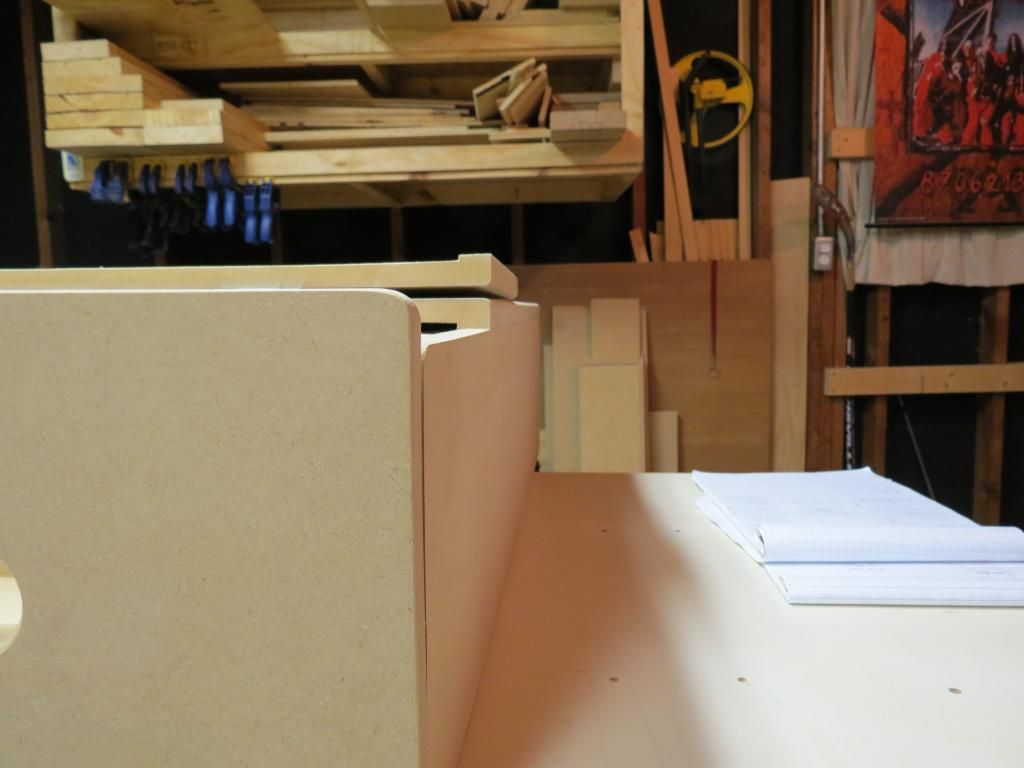
Rebbited Corners/Dividers
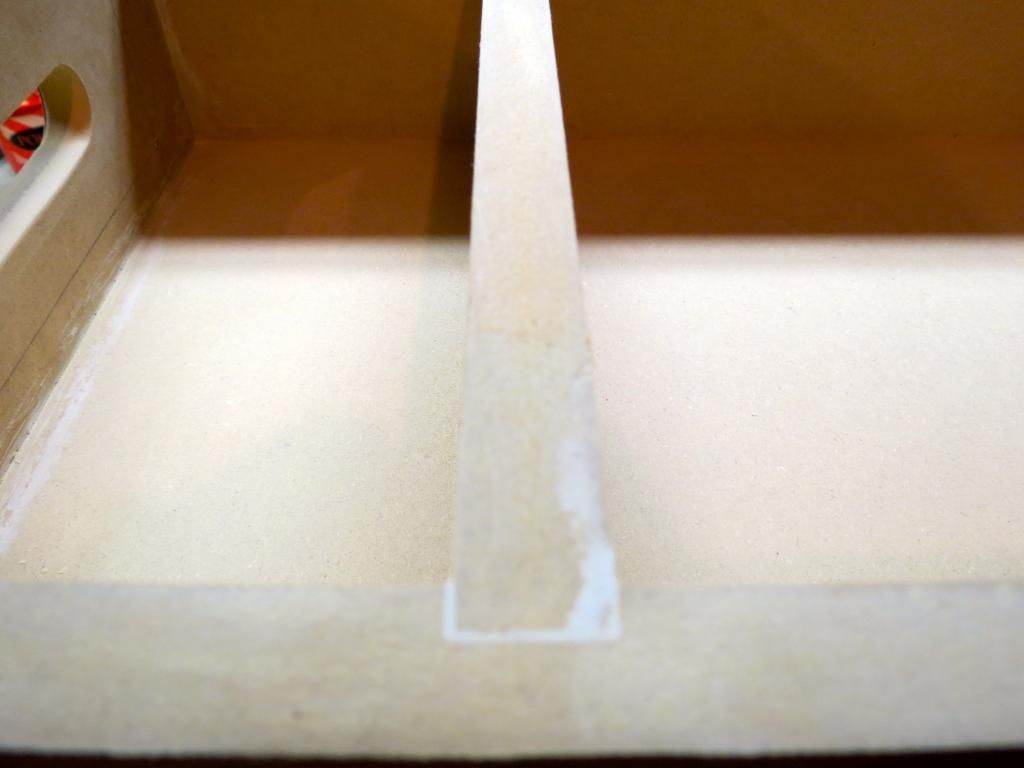
Router Work
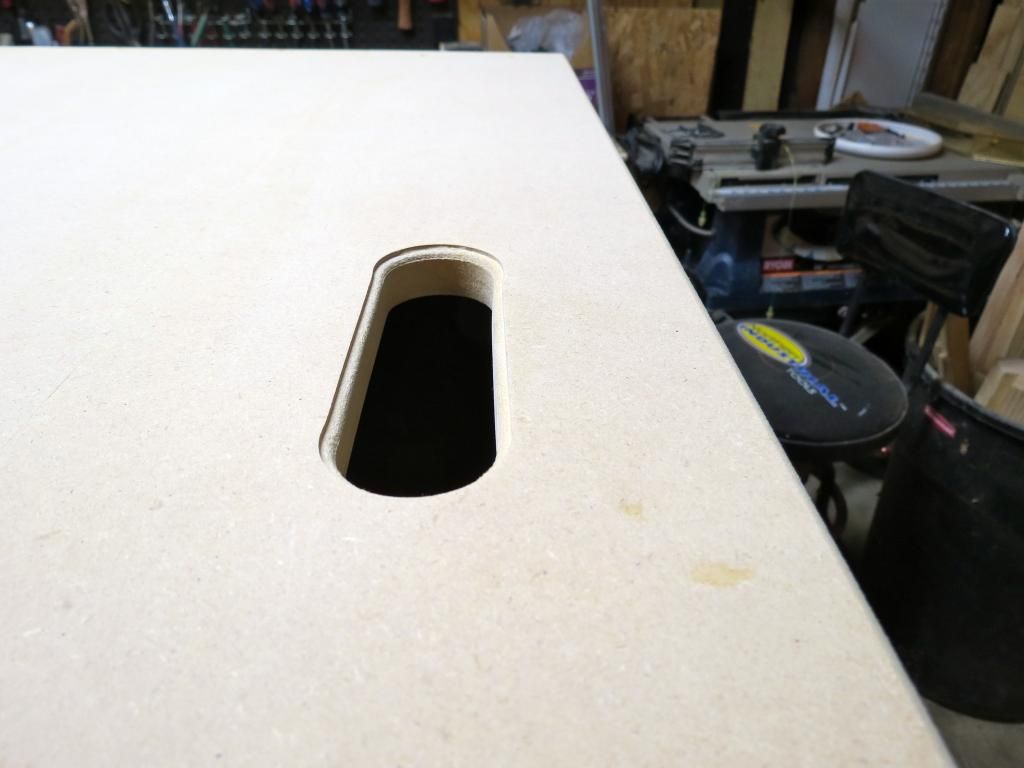
S4S - Square 4 Sides - This thing is completely square and level
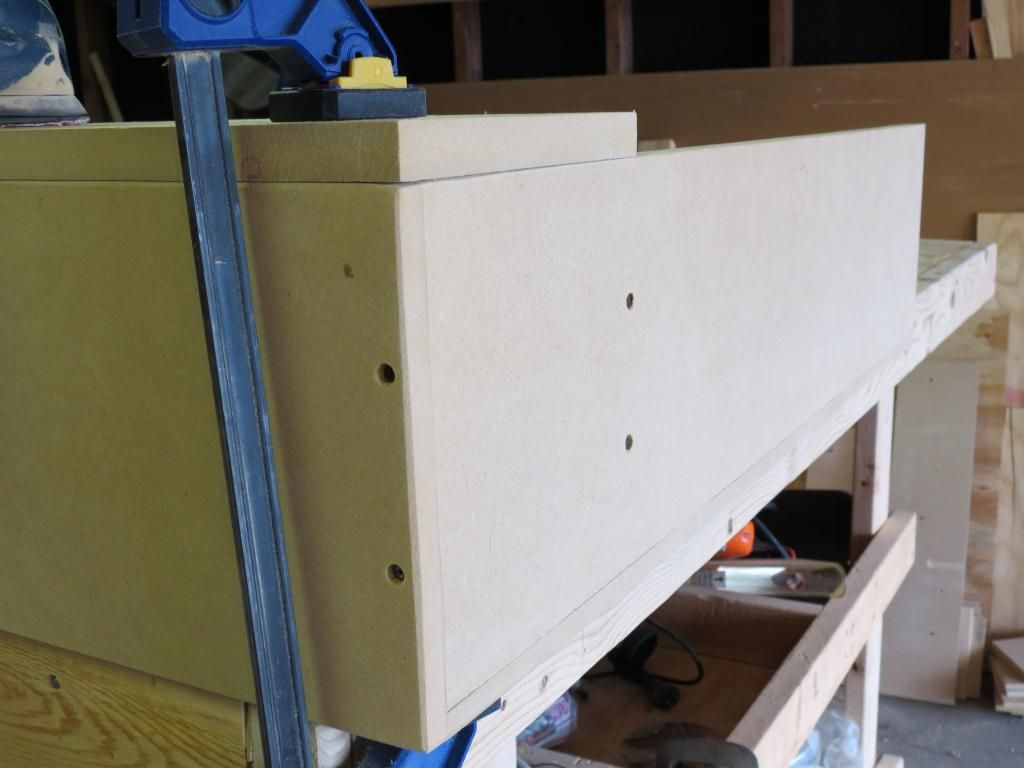

I still need to install the lid edges, drawer pins, tie downs, maglight holder, power inverter as well as wrap up some finish sanding and decide weather I want to paint or stain this thing.
 
Last edited:
VERY nice work Jeff , being I used to burn & brush redwood , always liked to show off the grain , maybe polyurethane flat & satin give it a little seal but not to glossy but that is well done !!!!
 
Thanks Mike,
I did a test piece with liquid stain and it really soaked in. There wasn't much to wipe off. However, I thought of using a gel stain that is a little thicker and wouldn't soak in as much. I just don't want it to end up looking like crap after all the work I put into building it.
 
Yes sir we always used varithane , it has 3 different , flat , satin , glossy , seals well but doesn't look un-natural if you know what I mean . We use it on the bench's @ work because the irrigation is always going on them & they show no peal just a thought !
 
I had a little time this afternoon to clean up some of the finer details. Below are some pictures.
Supports for access to the back cubby

These are also handy to use when installing the box so the shelf stays out of the way

Drawer Locks & Tie Downs


Tie Downs Secured with T-Nuts

Inside (the drawer) View

The pin is an even 1/2" so it stays in place nicely, but I could always use the pin if I really wanted to

Another shot from outside the box

And, my wife was doing some Spring cleaning and ran across a bunch of black fleece that she was going to use for another project. So, I cut that down to size and lined the drawers.


My old box had a ledge around the edge of the lid which came in really hand keeping things (especially 12 pks) in place between the store and home. So, I added one to this box as well. The pics aren't the best because thy were taken at night, but you get the general idea thanks to my PFran LED swap.


Corner Joints

 
Last edited:
After seeing how great yours looks with a Rola rack, I think im going to order one myself. I cant decide wheather to get the extension or not though.

Also how did you get your grill looking so nice? (I may have just missed it in this thread). I plasti-dipped mine the other day and it really looks like crap. Its got a really rough, textured look to it and that was not what I wanted at all...
 
After seeing how great yours looks with a Rola rack, I think im going to order one myself. I cant decide wheather to get the extension or not though.

Also how did you get your grill looking so nice? (I may have just missed it in this thread). I plasti-dipped mine the other day and it really looks like crap. Its got a really rough, textured look to it and that was not what I wanted at all...

Thanks, I have the shorter Rola Rack w/o extension. I actually got it on Craigslist for like $70.
My front grill is plasti-dip'd . I spent a little extra time and did quite a few light yet even coats and allowed for adequate drying time between. I also used a clear coat on top of the plasti-dip for protection.
Thanks again for the compliments.
 
Playing around in Photoshop.
What better practice model than the 4Runner?


Just looked through your thread and it made the 4th gens grow a LOT on me. Minor exterior mods and a moderate lift is all it takes to make them total sex. Great build dude! Also beautiful boy!
 
Beautiful 4runner. I was thinking about making a very short metal version of your box now. I am thinking about making it all out of 1/8 inch aluminum with checkerplate ontop. I will have to see but I am sure I have enough tig rod to do a box like this. Just gotta get some dimensions for the metal.

My question is how do you like your tires for mud and snow? I turned down the Toyo's for a set of duratracks but I am thinking about getting another set for summer or possibly going to a bigger set of tires with a lift. Do they leave you wanting more for offroad capability's?
 
Whoa. Take it easy there man your making my cargo box look like it was built with Legos. But really that's one of the cleanest cargo boxes I've ever seen. Plus the functionality is all there too. Excellent job!

On a somewhat related note how bad was it not having slides on the first cargo box? My original plan was for a drawer style box instead of a top loader and I wasn't going to do any slides (I'm too cheap haha).
 
My question is how do you like your tires for mud and snow? I turned down the Toyo's for a set of duratracks but I am thinking about getting another set for summer or possibly going to a bigger set of tires with a lift. Do they leave you wanting more for offroad capability's?

Thank you for the compliments on my box. I have a thread (link in my signature) for just the box which has dimensions if you need them. As far as my tires are concerned, I absolutely love them. We recently (end of winter) got 13" dumped on us and I went out to really put them to the test. They not only passed, but far exceeded my expectations. I've also driven through mud that I should've gotten stuck in, but made it through just fine. If I were to do it over again, I would absolutely get these tires again, no questions asked.

Whoa. Take it easy there man your making my cargo box look like it was built with Legos. But really that's one of the cleanest cargo boxes I've ever seen. Plus the functionality is all there too. Excellent job!

On a somewhat related note how bad was it not having slides on the first cargo box? My original plan was for a drawer style box instead of a top loader and I wasn't going to do any slides (I'm too cheap haha).

Thanks, legos were actually my preferred building material, but I didn't have enough of 1 color for the whole thing, so I switched to MDF.
I don't think that drawer slides are absolutely necessary, if you set it up right. I didn't have slides on my first box and there was just too much wiggle room with the drawers. So, I really wanted to make sure to include them on my this build.
If you do not use slides, I recommend building drawer stops so you don't pull the drawer out too far while it's loaded. Also, a bottom or side rail system would be helpful to cut down on drawer wiggle. I will say that I like having slides more than not having them. It give the box a more finished feel and they're really not that expensive, maybe $15/pair.
 
Thanks, I have the shorter Rola Rack w/o extension. I actually got it on Craigslist for like $70.
My front grill is plasti-dip'd . I spent a little extra time and did quite a few light yet even coats and allowed for adequate drying time between. I also used a clear coat on top of the plasti-dip for protection.
Thanks again for the compliments.

Did you use that plasti-dip glossifier stuff or a different clear coat product?

I noticed last time I went to buy Plasti-dip (they were all out of black) they had some new products, aerosol camo colors and glossifier and metalizer. I guess they give plasti dip a gloss or metalic finish.
 

Members online

Forum statistics

Threads
278,309
Messages
3,554,075
Members
248,016
Latest member
Advally Service

Trending content

Back
Top