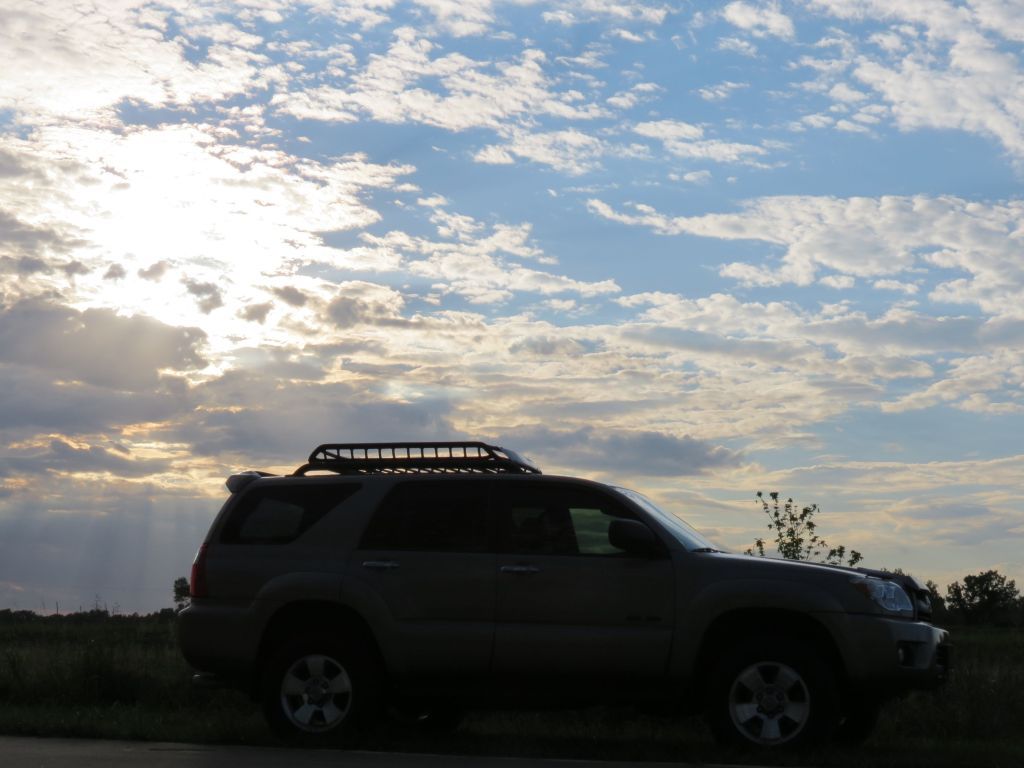
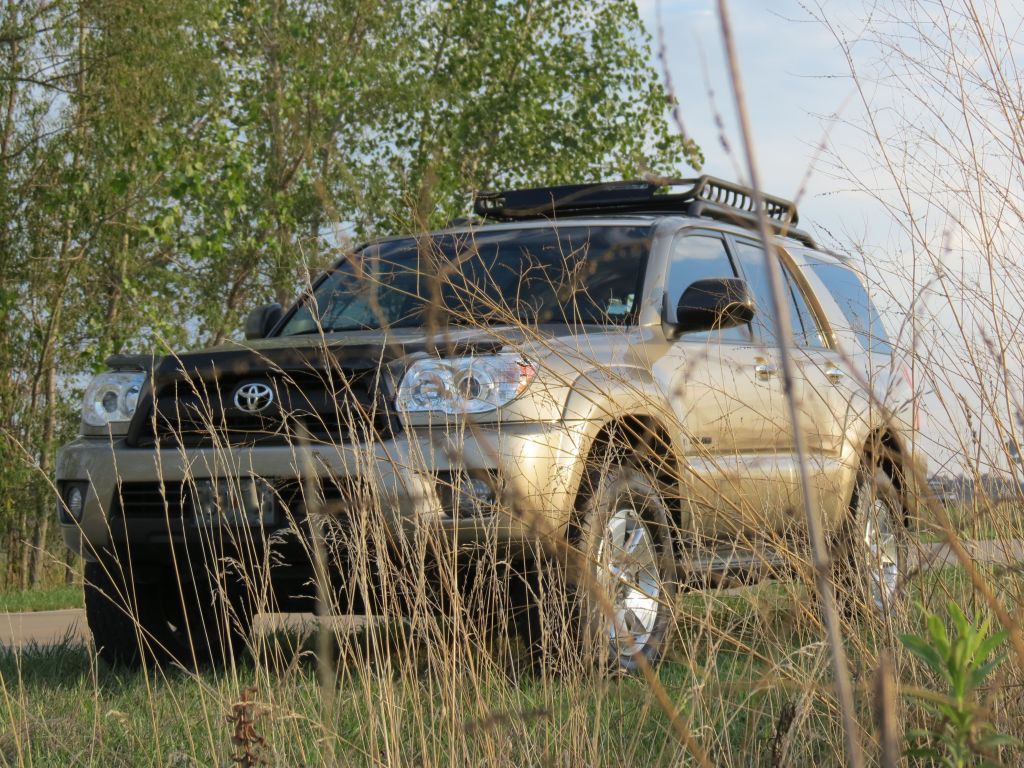
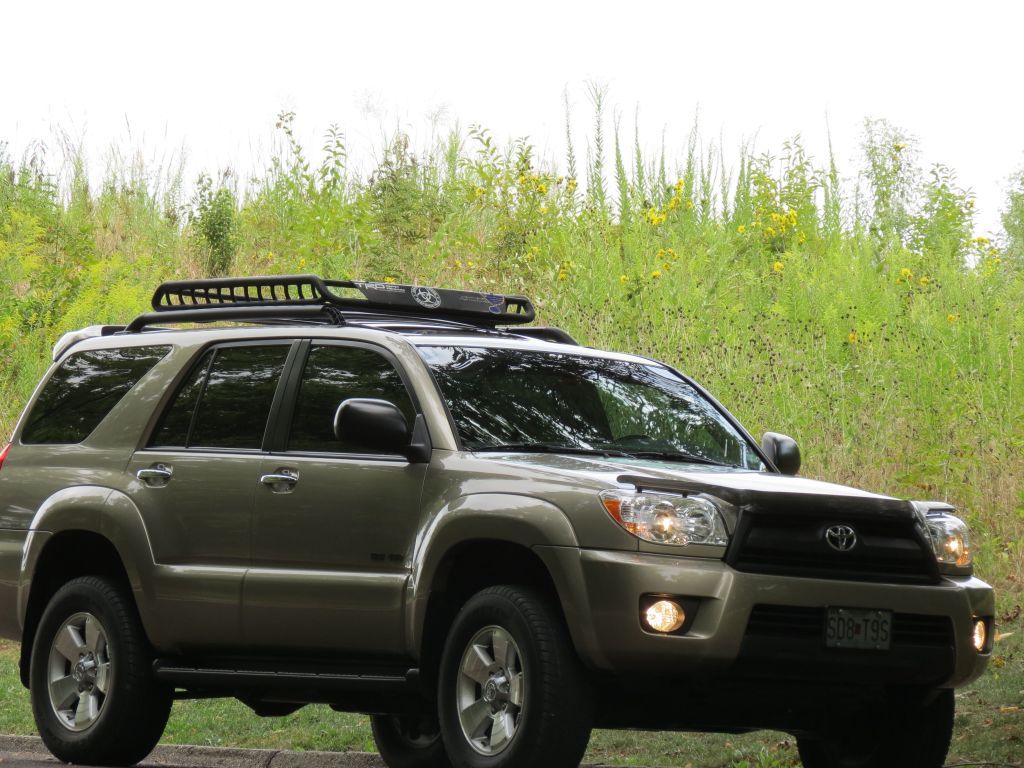
Dusty’s 4Runner Picture Thread

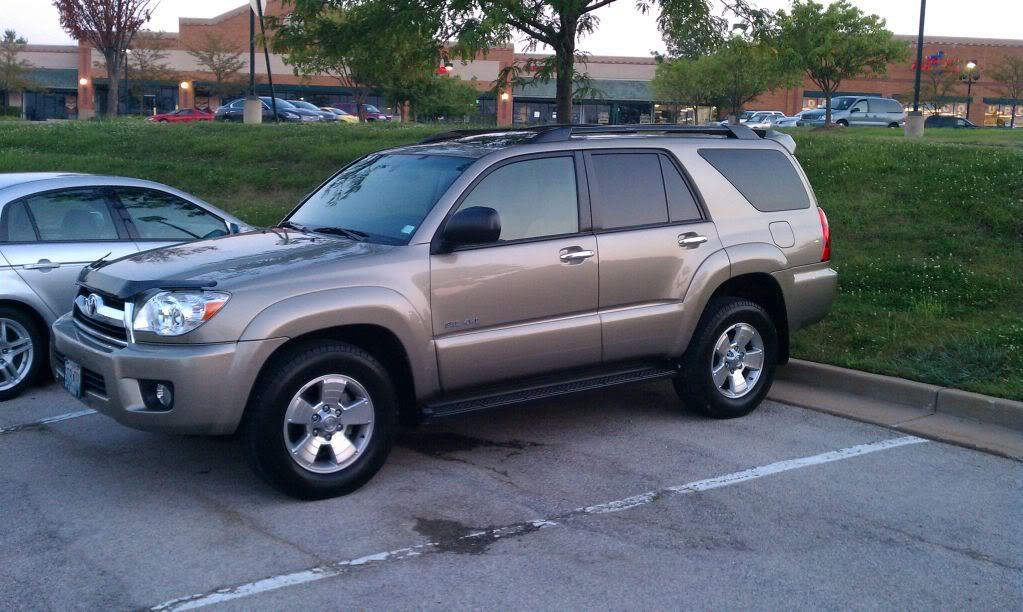
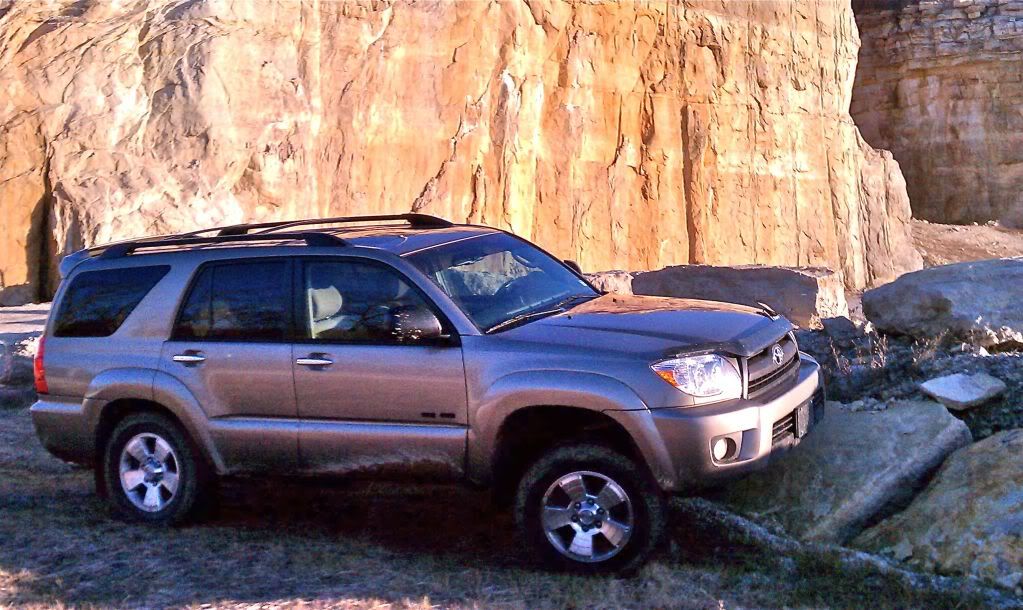
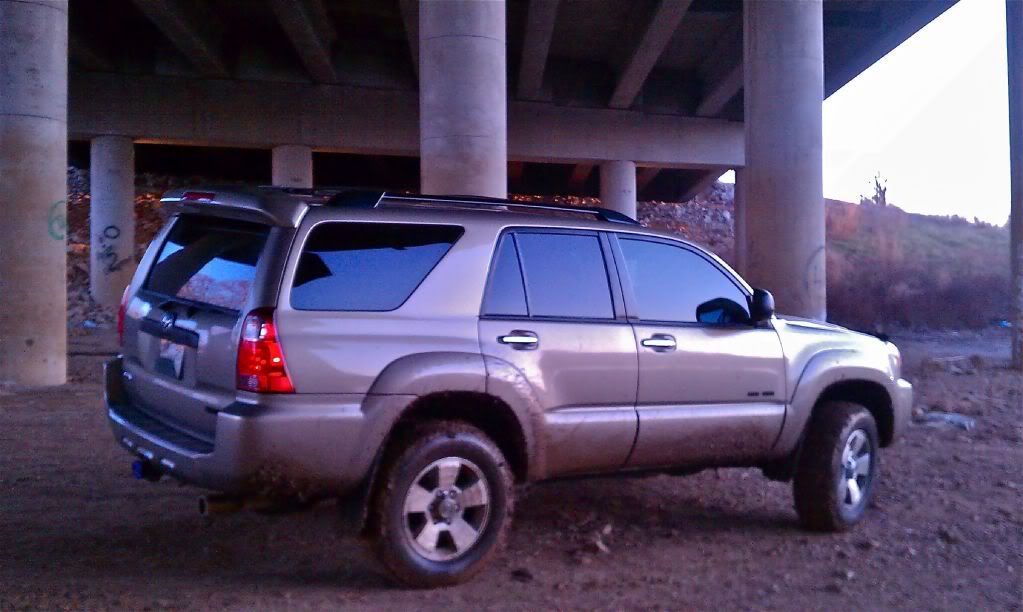
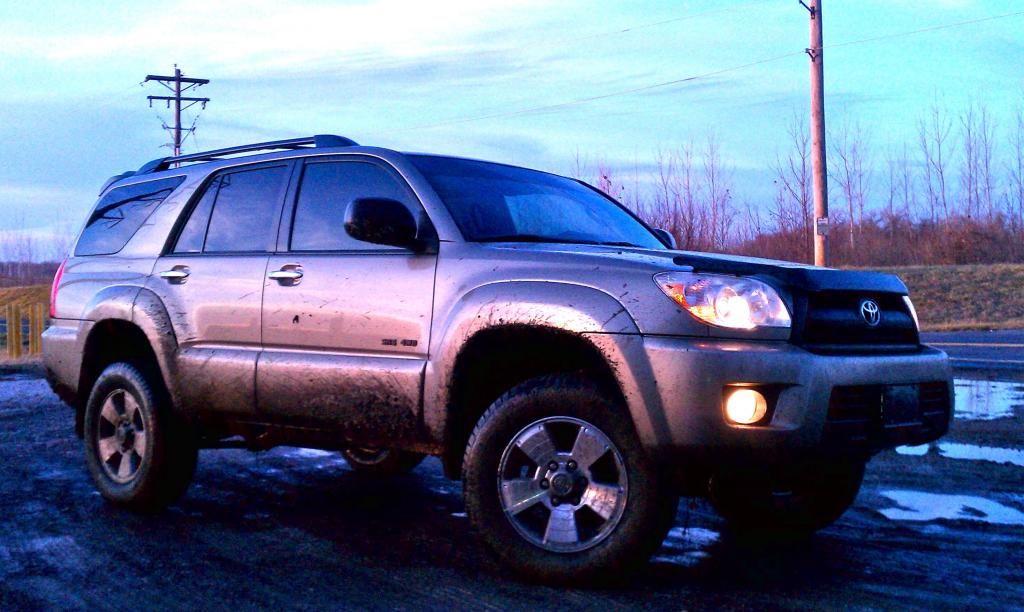
To be fair, this is more of a picture thread than a build thread. You won’t find coil overs, 35’s, rock crawling or anything crazy like that around here. Those are certainly cool upgrades, but overkill for my needs. This thread is my OCD and personal photographic organization. I wanted one place to post my pictures and document the modest updates I’ve made since I bought the 4Runner. As you'll see, I like to take pictures, so here is as good a place as any to dump all those pictures.

Ok, enough of my blabbering. Here are some quick specs and, you guessed it, pictures.*

SPECS
Year: 2008
Make: Toyota
Model: 4Runner
Trim: SR5
Engine: V6
Drivetrain: 4x4
Color: Driftwood Pearl
Vehicle Name: Dusty
Purchased: Used on 8/18/11

Here is what I traded in for the 4Runner
2006 Honda CR-V 5spd M/T AWD
IMAG0079.jpg~original


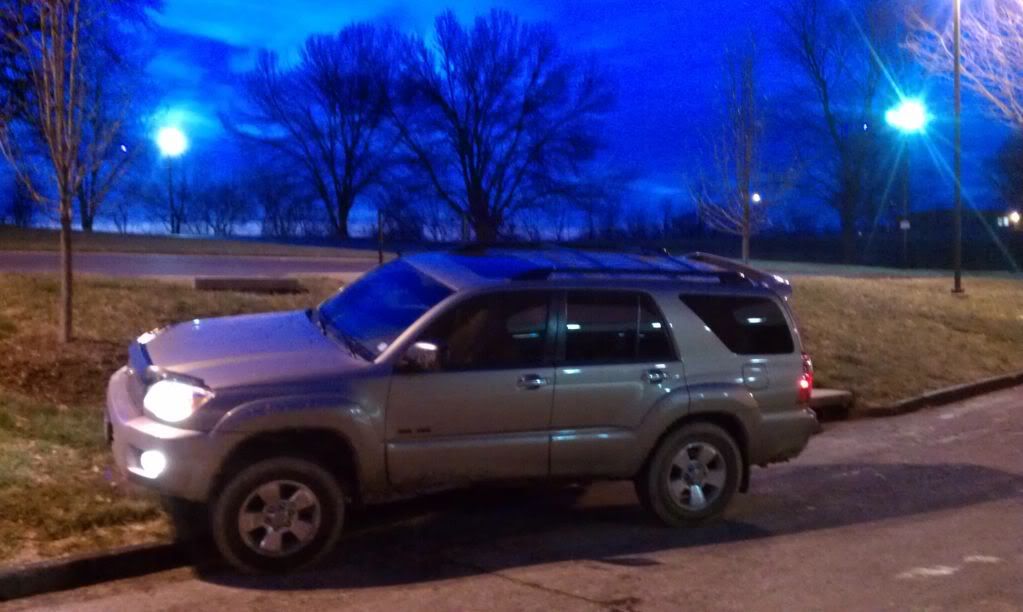
The night we bought it
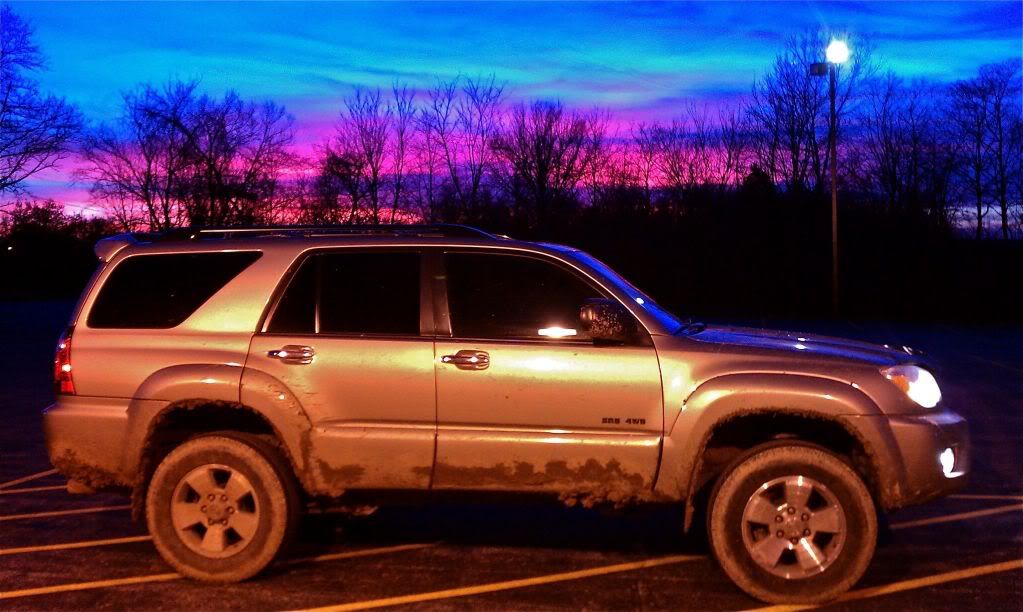
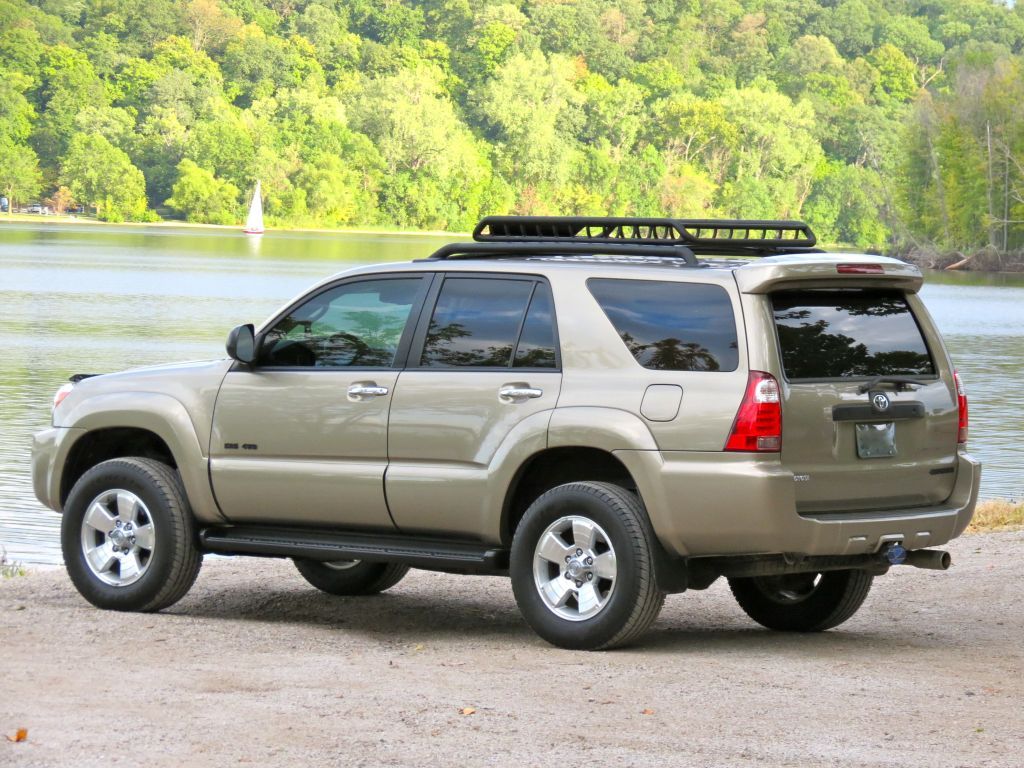
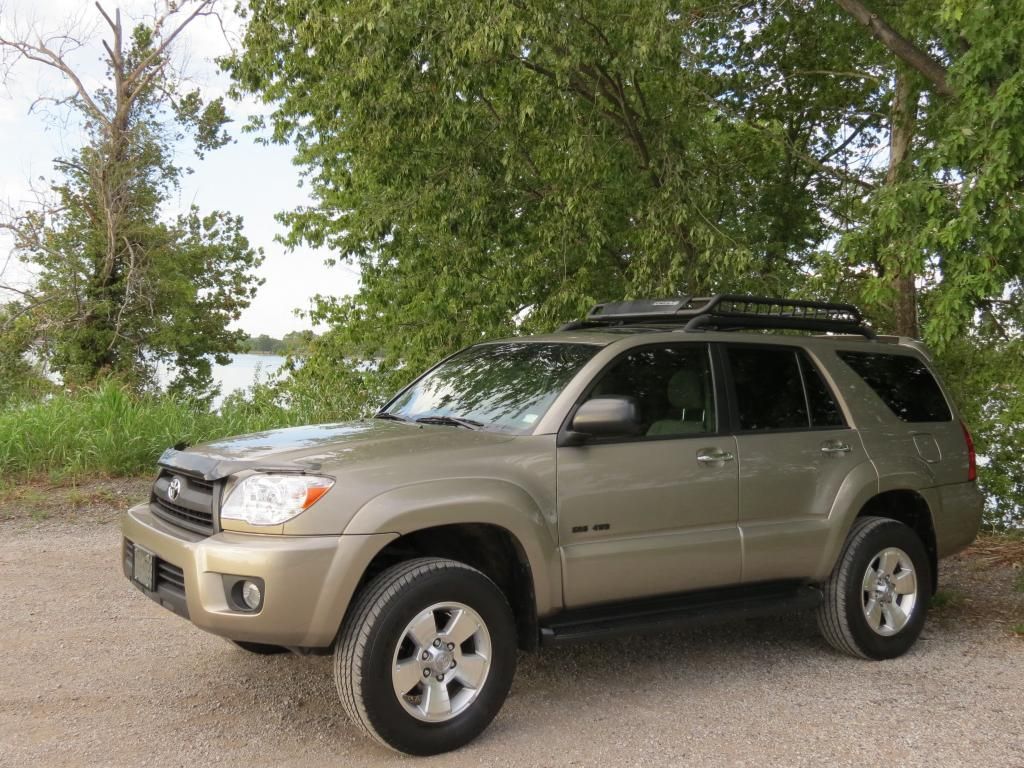
DUSTY.jpg~original


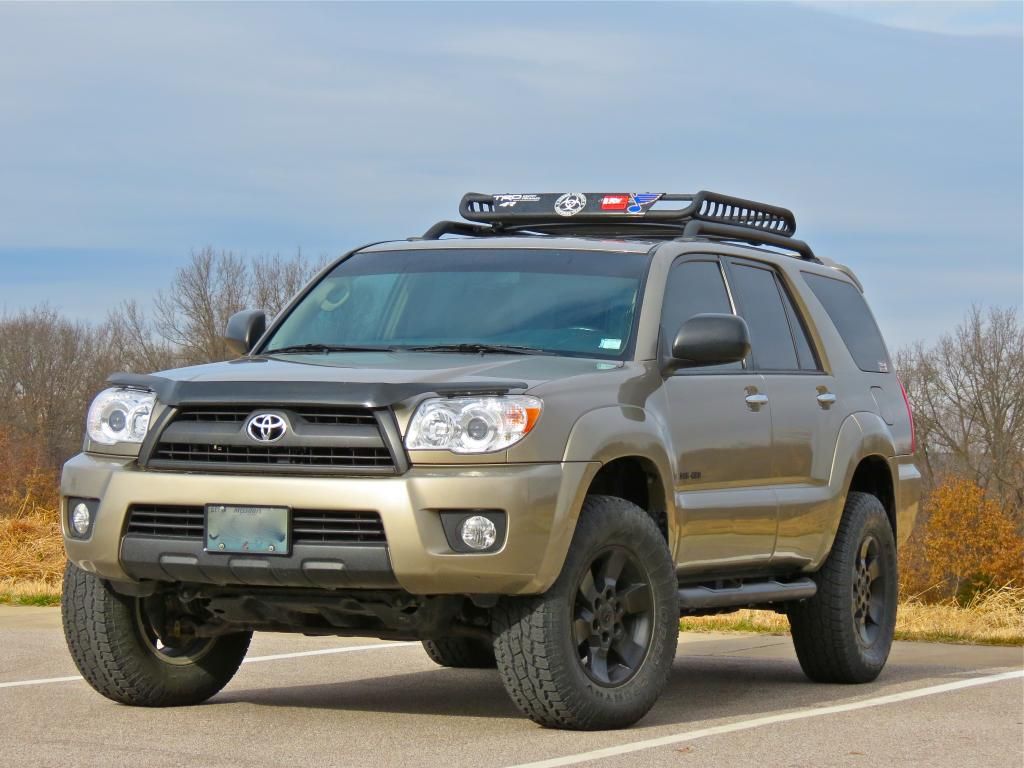
How it sits today
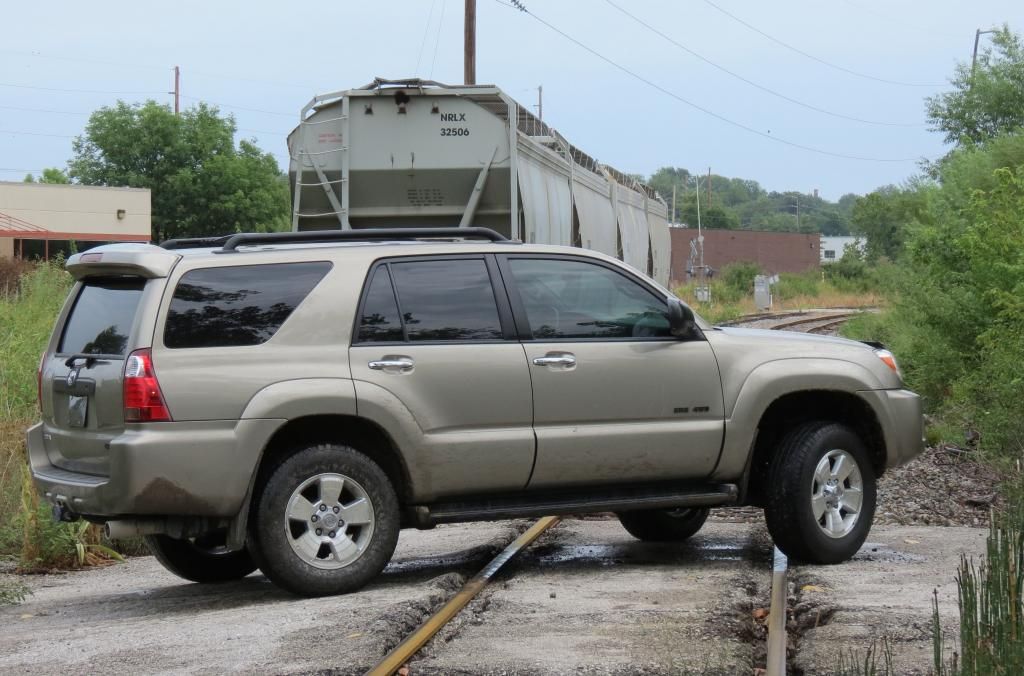
IndianCampCreek3_zps854339fa.jpg~original


Interior
35% EagleOne Tint & Sun strip
Custom Rear Cargo Box
Raingler FJBN Cargo Net
MOLLE Medium Pouches
Black WeatherTech Digital Floor Liners (F/R)

Exterior
OEM Hood Air Deflector
Sport Edition Side Steps
Sport Edition Roof Rack
Rola Vortex Roof Basket

Aesthetic
Plasti-dipped front grille
Plasti-dipped lower center portion of front bumper
Plasti-dipped badges and rear chrome

Wheels/Tires/Lift
Daystar 2.5/1.5
Spidertrax 1.25” Hub Centric Spacers
5th Gen SR5 Rims - Plasti-dipped black
265/70/17 Toyo Open Country AT II’s

Electrical
Pfran Interior LED Kit
Pfran License Plate LED Kit
(2) 7.5” Hanma BC Combo LED Bars
FJ Auxiliary Light Switch

Audio Visual
Kenwood Excelon DDX491HD
*CD, DVD, BT, USB, Etc.
Video Stream Technologies i-one rear view camera
ASWC-1 Steering Wheel Controls

Nice rig, got mine a few weeks ago and sort of modeled after yours. Thanks for the insperation! Posting more pics soon of trip to Tahoe.
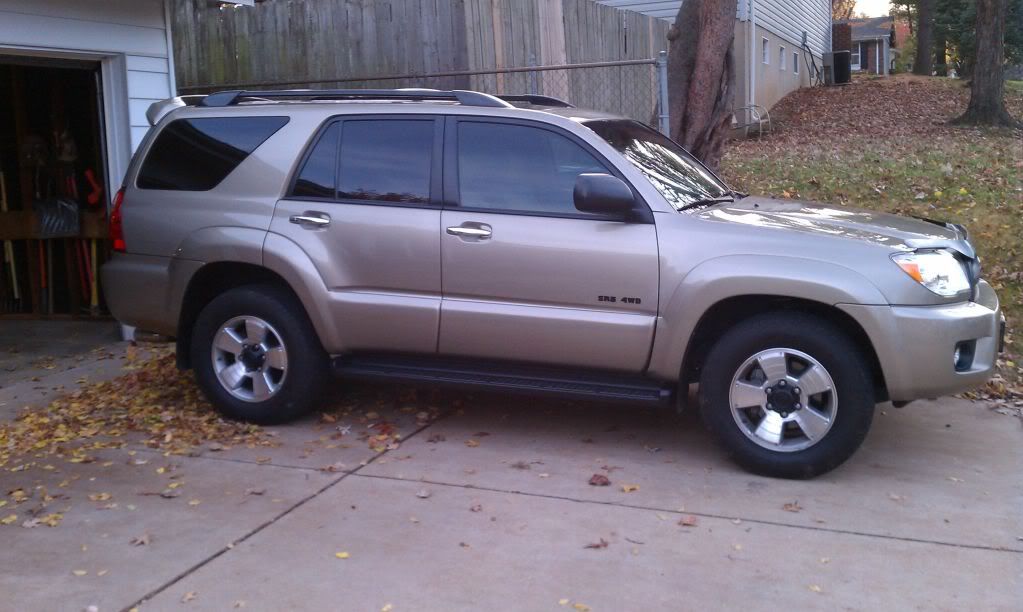
 
After the cargo box was built, I wanted to make sure prying eyes wouldn’t see it and think it was worth stealing so I had the windows tinted. MO law is 35% on the fronts without restriction on the rears. I decided to go 35% all the way around. On top of the OEM tinting on the rears, it made it just dark enough that you couldn’t see in , but could still see out easily at night. I also opted for a 20% sun strip across the front windshield.

PHASE 4
Tint
liftbefore.jpg~original


PHASE 5
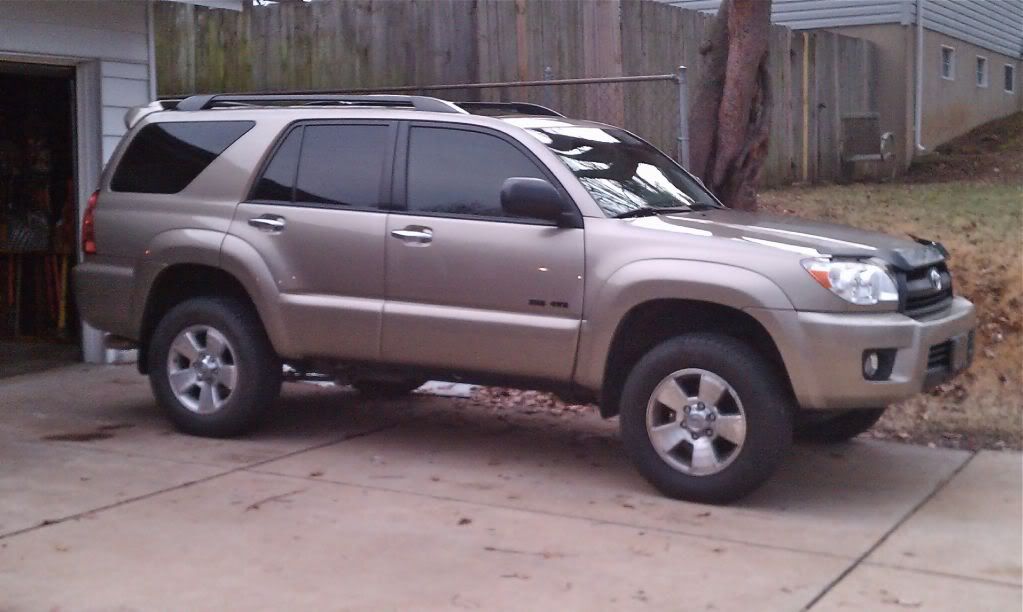
At this point, it was nearly Christmas time. Since I scored big time and married up, my wife got a lift and spacers for Christmas.
Specs: Daystar 2.5/1.5 Comfort Ride top out "Easy Install" kit, for 03-09 Toyota 4Runners 2WD & 4WD
Part Number: DAYKT09115BK installed on a 2008 SR5 4x4
* This kit removes the factory rake and provides a slight lift
Before Measurements (ground to wheel well)
Front: ~33"
Rear: ~34.5"
After Measurements (ground to wheel well)
36" all the way around
I'm sure it will settle after a little, but this is what it measured when it first went on.
Spidertrax: 1.25" Wheel Spacers - Part# SPIWHS-007. As you can see in this photos, I also removed the OEM Running Boards, which also gave the appearance of even more lift.

Before
liftbefore.jpg~original

After
liftafter1.jpg~original

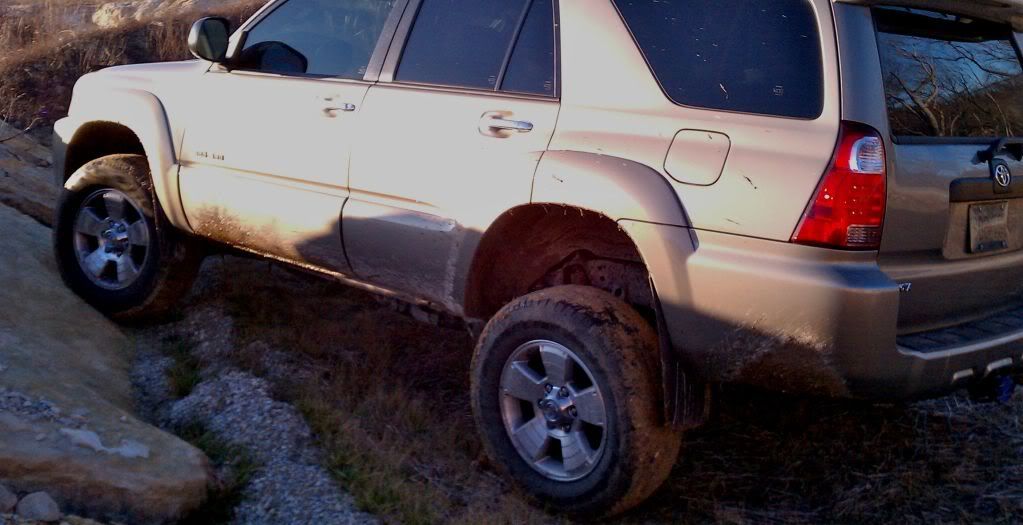
Playing 1
liftflex2.jpg~original

Playing 2
liftflex1.jpg~original

Playing 3
liftafter2.jpg~original

Playing 4
liftafter1-1_zps6a99ebdf.jpg~original

Dusk
liftafter4.jpg~original

Sunset
liftafter3.jpg~original


PHASE 6
Since my birthday is only a couple months past Christmas, I didn’t have to wait all that long to make another slight change. I really liked the look of the Sport Edition roof rack and side steps over that of the SR5. It took forever to track down a used roof rack, but I finally found one. As you can see, I also had to put the running boards back on because my (short) wife had trouble getting in and out of the 4Runner
SEroofrack_zps358a68eb.jpg~original


PHASE 7
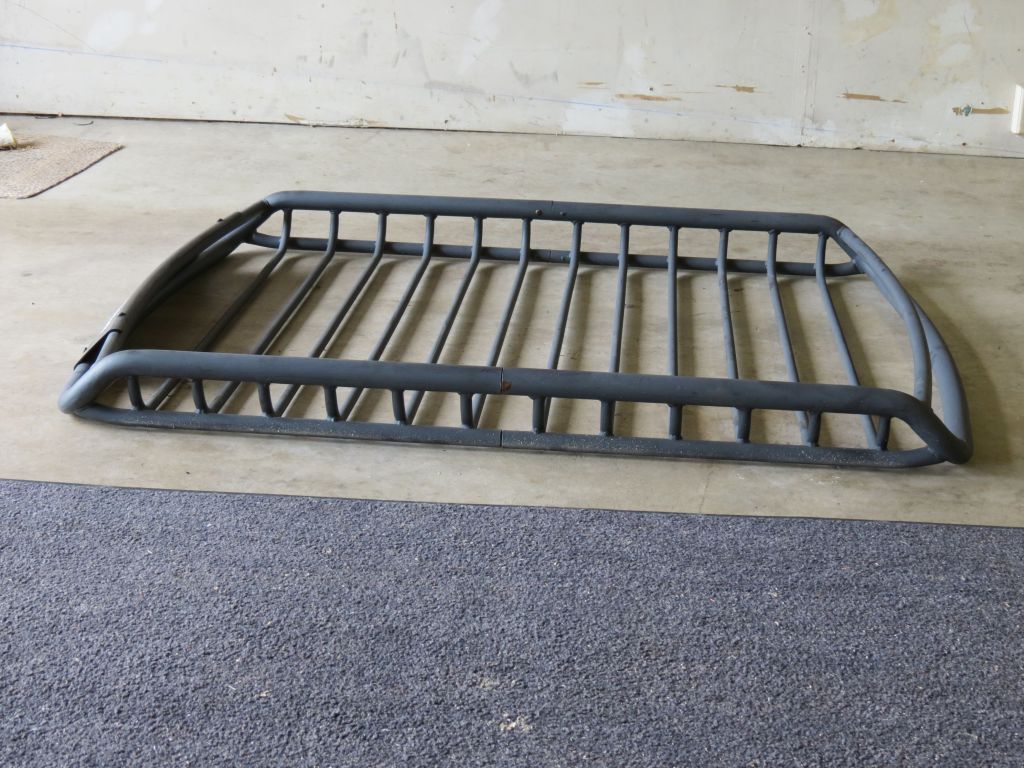
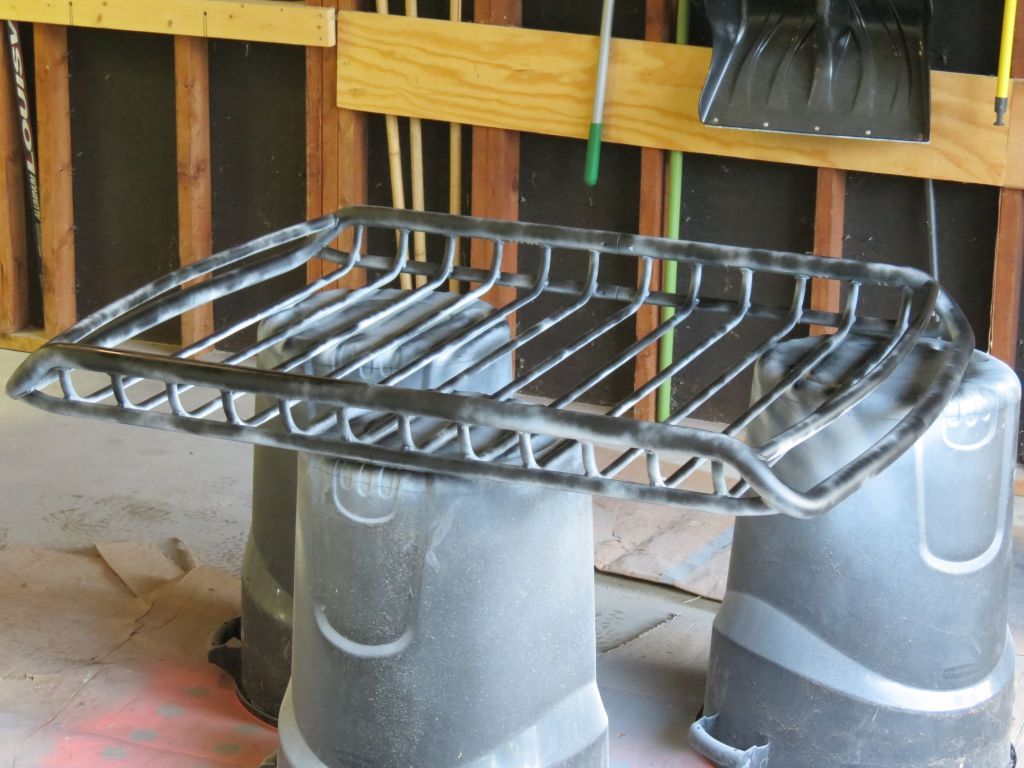
After that, it was pretty slow until August. I figured I’d had the 4Runner for a year at this point, so I started looking for a roof basket. I found the Rola Vortex CHEAP on my local Craigslist, it just needed a little care to restore it to its former glory
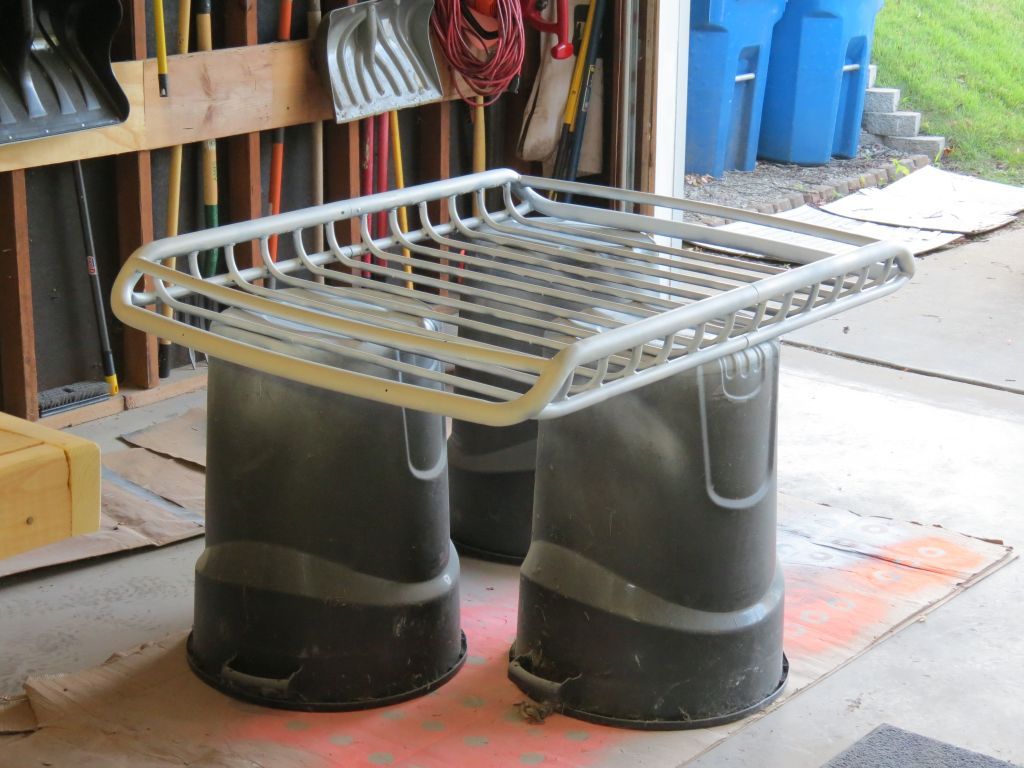
Here are the pics of the refurb process. Not a bad way to spend a Sunday evening...

This is how if looked when I got it
rack1.jpg~original


First thing I did was take some 80 grit metal sand paper to get rid of a few rust spots

Here it is after a couple coats of primer
rack2.jpg~original


Here it is all primed, after the first coat of black
rack3.jpg~original


By the time I was done it was dark, so here it is all mounted up
rack4.jpg~original


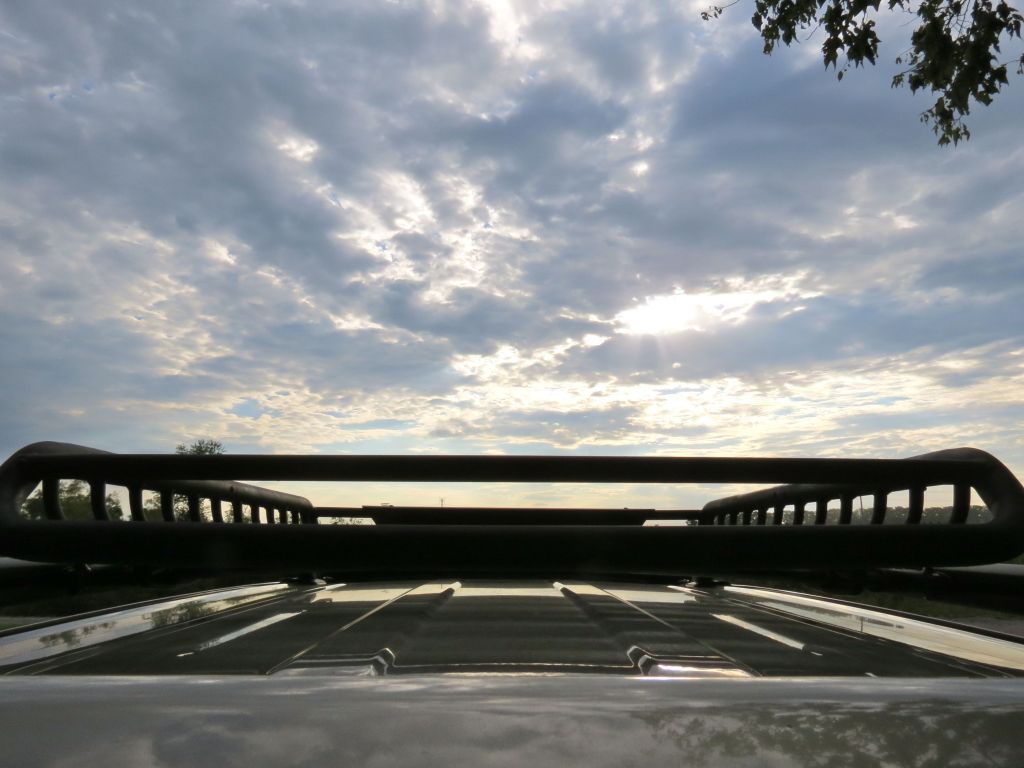
And here are my favorite shots from my Rola photo shoot
rolarack1_zpsd6c79706.jpg~original


rack5.jpg~original


rack7.jpg~original


rack6.jpg~original


dustywildflower.jpg~original

Nice Rack!
 
Those drawers are awesome! Do they sell any specialty accessories like that (not necessarily a drawer) to house and organize items?
 
dude. dusty. your truck is sick. i've been ogling over land cruiser UZJ100s for months now, swearing to myself that it was going to be my next truck and learned everything i could about them. had it narrowed down to years and features that i wanted over others (get the 5spd for better MPG and take the risk with the shitty NAV unit? or say **** it and get a 4spd because those years are better anyway and lower in price...) then recently i thought... what about a 4runner?

so i found this forum about a week ago (after lurking hard on ih8mud/100 for months) and am drooling over your truck. in my eyes it is absolutely perfect. the perfect family truckster with minimal crazy/expensive/unwarranted upgrades. lift, tires, roof rack, storage drawers, tint, plasti dip... that's all you really need. my wife and i are trying to start a family and i think a 4th gen is where it's at for us right now. my plan is to have one for as long as i can, and when the family is big enough (my wife's and my families do not come from small stock, our families do not make make small humans) and it is time, upgrade to a cruiser. a nice one though. have you made any mods since december?

anyway, just wanted to wake this thread up from its slumber and remind everyone how dope your truck is. cheers.
 
WOW [MENTION=142678]grave[/MENTION]
Thank you for the very kinds words.

I do have a couple small updates:
- I removed the Rola rack because it was rusting
- I de-plasti-dipped my wheels, so they are back to stock
- I sold my 2nd set of cargo drawers to another member here & have been designing version 3... stay tuned...
- My rear view camera went out so I replaced it with another. I am not pleased (in fact, I'm pretty disappointed) with the functionality of the new one, so I will probably start looking for another one that integrates with my head unit a little better.
- My son is almost 4, so he has a "big boy" car seat &
- I added a second car seat for my (now almost) 2 year old daughter.
- I get to drive the 4Runner everyday because I changed careers and no longer have a company vehicle. Frankly, this was a step up, both in terms of my career and the vehicle I spend most of my time in.

And, today is my 5 year anniversary with the 4Runner. We just clicked over to 85,000 miles yesterday!


I still love this vehicle as much as ever. For a while I started looking at alternative vehicles, but nothing ever fit the same way or felt right.

At this point, I am actually looking for a second 4Runner to replace my wife's aging Accord. But, there's no telling how soon that'll happen. I still pop in here from time to time, but no where near as much as I used to. Between work, kids, life, etc. I just don't have as much time as I once did. Right now, the plan is to turn the 4Runner over to my son when he turns 16 in 2029. I figure, by then, we should have ~200,000 miles on the clock.
 
Well, this weekend I modded one of my mods...

Back story: I installed a rear view camera at the same time as my HU. At some point, I rolled down the back window, snapping the camera cable. Time for a replacement. Despite getting out of the A/V business, the original seller hooked me up with a replacement.

Installation seemed pretty straight forward, until I got to the HU connection. The original camera had an extra wire spliced into the A/V plug that connected to a "reverse" wire on the back of my HU. The new camera did not have this cable. The camera still worked as designed, but I had to manually enter camera mode on the HU, a minor inconvenience that maybe could have been circumvented by someone with more A/V experience.

This goes on for a while before I finally decided I need to rectify this annoying inconvenience. My (guaranteed) options were:
> Turn the whole mess over to a commercial service provider & get charged an arm and a leg
> Buy a new camera from Crutchfield & lean on their tech support if I have any issues. Upon pricing some options, I decided it was worth the ($70) cost of the new camera, especially since the new one looks more OEM, which I like.

Here are the images of my regaling experience.

The old camera was simply screwed to the under side of the rear trim & attached via double sided tape. You can see the original mounting holes in this picture. The new camera has a more robust integration as it protrudes through the rear trim and connects with a collar on the back end. The new camera came with the drill bit needed to make this hole.


I wanted to use the same location as the original camera(s), so thats where I drilled my hole... Of course, nothing in life is easy. There is a support piece directly behind that area. No problem, Dremel time. You can see the first cut here:


Here you can see the completed Dremel(ing) as well as the "dry" fit and backside collar. You may notice the camera is not sitting flush to the trim piece...


After the dry fit, I examined the camera to find 1 of the 4 screws that holds the camera together, was not only improperly set, it was also stripped out. First pic is the stripped screw. The second is an illustration of how it effectively was acting as a standoff and pushing the camera away from the trim piece.


I feared the screw would push the camera off axis and cause an inaccurate representation of the surroundings in the monitor. So, back to the workbench with a Dremel and diamond cutting bit. Luckily I had a vice to hold the camera and another to hold the light...


Post-Dremel completion pics. The errant screw now sits flush.


Ironically, as I was photographing the "fixed" camera, I saw the QC sticker on top,...


Ok, now that the camera is mounted to the vehicle, time to tie into power and ground...


Then run the cable along the head liner.


From there, all I had to do was plug in the A/V cable and connect the secondary cable to the "reverse" cable on the HU


Lastly, fire it up and test the functionality. Works perfect!


The 2nd camera I uninstalled still works great, it just didn't integrate very well with my specific HU.
Anyway, if anyone wants a gently used rear view camera, shoot me a PM. I'll let this one go for $35.

Until next time, happy modding.
 
Hey guys,
Just checking in. I still have Dusty. I'll probably click over to 110,000 miles this weekend.

A couple more updates:
> We bought a second 4Runner for my wife about a year ago. A 2007 SR5. She couldn't be happier with the extra space for the kids and the 4Runner.

> I love the rear windshield, but this thing has been havoc on my rearview cameras. I (apparently) snapped the camera cable (again) when I put the windshield down, so I am about to install my 4th rear view camera. PIA

> No (physical) update on V3 of the Cargo Drawers yet. But, I've been thinking about them and want to use hardwood this next time around and see if I can build them using all traditional joinery, no hardware. Stay tuned...
 
Hey guys,
Just checking in. I still have Dusty. I'll probably click over to 110,000 miles this weekend.

A couple more updates:
> We bought a second 4Runner for my wife about a year ago. A 2007 SR5. She couldn't be happier with the extra space for the kids and the 4Runner.

> I love the rear windshield, but this thing has been havoc on my rearview cameras. I (apparently) snapped the camera cable (again) when I put the windshield down, so I am about to install my 4th rear view camera. PIA

> No (physical) update on V3 of the Cargo Drawers yet. But, I've been thinking about them and want to use hardwood this next time around and see if I can build them using all traditional joinery, no hardware. Stay tuned...

Good to hear from an T4R OG. Jesus man, been like 2 years. Glad to see you guys are doing well. I'm around 218K myself. Still drive her every week just not daily. Still love it.

I toasted my first backup camera as well from the same issue, but my second one seems to be holding up great (5 years now) because I routed the wiring differently. I remember [MENTION=50591]gaterose[/MENTION] Matt having the issue as well and asking me about my in-elegant solution. Don't know if he ever did anything with it though. Good luck with it though. Let me know if I can help. Take care!
 
Good to hear from an T4R OG. Jesus man, been like 2 years. Glad to see you guys are doing well. I'm around 218K myself. Still drive her every week just not daily. Still love it!

Hey brother, glad to see you're still around these parts and doing well!:bravo:

I think the issue with the backup cameras is the back windshield snapping the wire when it goes up and down. I've previously tried to tuck enough 'slack' into the tailgate to prevent this, but I may have better luck running the cable, then using hot glue to tack it down along the way.

I don't know, I'll probably over-engineer the hell out of it this time because I'm sick of dealing with this problem.
 
... I remember [MENTION=50591]gaterose[/MENTION] Matt having the issue as well and asking me about my in-elegant solution. Don't know if he ever did anything with it though...

I did do what you recommended then while running the new cable found out it came unplugged somewhere simple and the window was not to blame the second time.

I ran a ton of extra wire down to the bottom of the hatch (i.e. under the glass) and zip-tied it on both sides of the window so it couldn't possibly get yanked out if I remember correctly. It held up that time, but had come unplugged at a union needed for all the extra wire. What a waste of time and way to ruin a clean wiring job...

Glad to see your 4r is still running strong Jeff! The wife traded our '03 for a '14 last October, it was running like crap at 240K.
 
Last edited:
Glad to hear Dusty's still running strong.
[MENTION=73750]Dusty Driftwood[/MENTION] [MENTION=68704]superman3043[/MENTION] [MENTION=165]momo.75[/MENTION] [MENTION=50591]gaterose[/MENTION] Good to see some familiar names pop up. Like a T4R OG reunion. :D
 
How’s the Daystar spacer loft holding up? I think I’m going to go that route but I’m a little worried about the ride and the durability.
 
I was wondering where you were the other day. Glad everything is going well.

I'm still alive and well. How are you? The twins? They must be 11 or 12 by now?

I did do what you recommended then while running the new cable found out it came unplugged somewhere simple and the window was not to blame the second time.

I ran a ton of extra wire down to the bottom of the hatch (i.e. under the glass) and zip-tied it on both sides of the window so it couldn't possibly get yanked out if I remember correctly. It held up that time, but had come unplugged at a union needed for all the extra wire. What a waste of time and way to ruin a clean wiring job...

Glad to see your 4r is still running strong Jeff! The wife traded our '03 for a '14 last October, it was running like crap at 240K.

I just bought a replacement camera without taking the tailgate apart first. With my luck, I'll find it just came unplugged this time...

Glad to hear Dusty's still running strong.

[MENTION=73750]Dusty Driftwood[/MENTION] [MENTION=68704]superman3043[/MENTION] [MENTION=165]momo.75[/MENTION] [MENTION=50591]gaterose[/MENTION] Good to see some familiar names pop up. Like a T4R OG reunion. :D

Got the old school crew tagged here... Man life was easier before career & kids...

Yeah, blame it on the wife....:lol:
Aren't they always at fault, when they're not here to defend themselves?

How’s the Daystar spacer loft holding up? I think I’m going to go that route but I’m a little worried about the ride and the durability.
Runs the same today as they did on day 1, no change. Great setup...
 
I just bought a replacement camera without taking the tailgate apart first. With my luck, I'll find it just came unplugged this time...

Haha, Murphy's Law missed em this time. Ordered the replacement camera, installed it (with ease) and now I'm back up and running.

For those that are/were interested, the camera itself went bad. Sadly, it was only a few months after the manufacturer's warranty expired.

More to come...:fishing:
 

Members online

Forum statistics

Threads
278,309
Messages
3,554,071
Members
248,016
Latest member
Advally Service

Trending content

Back
Top