Eugene13's 1984 4runner Build Thread

Eugene13

New member
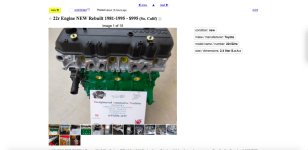
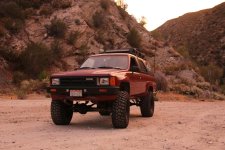
Hey y'all! I've got big plans for my truck over the summer and figured I would create a build thread to keep it all documented in one place. My plans are a new engine (hopefully in the next month), gears and lockers, custom tube bumpers and doors, several camping trips, and probably other little things along the way. First things first, new engine. I was planning on building a bare block but I just don't have the expertise or the time to do so. So next I thought of buy a remanufactured long block from a shop down in San Diego.
Screen Shot 2018-04-15 at 3.07.08 PM.jpg

They seem like a reputable shop as they have good reviews. I would hopefully buy this and use all of my old engines accessories (intake, carb, header, distibutor, etc). This process seems like a much easier way to do things and would hopefully eliminate things going wrong in the future if I rebuilt it myself. I would like to know that you guys think though? I know this is the more expensive route but I'm willing to spend the extra dough if it means I only have to replace things once. Thanks in advance for your input! This truck is gonna be rad by the end of the summer!:rockon:

 

Attachments

  • Screen Shot 2018-04-15 at 3.07.08 PM.jpg
    Screen Shot 2018-04-15 at 3.07.08 PM.jpg
    77.1 KB · Views: 885
Register to hide this ad
Nice!

I have never heard of that shop, although I'm not from that area. Also I just googled "reengineered automotive machine" and didn't find anything about that company. Where did you find the reviews? Make sure you do a lot of research about the place first, otherwise you could end up dropping a grand on an engine that might not last very long.
A lot of the time machine shops take engines and bore them out to the max. So they can't be rebuilt again.
 
Nice!

I have never heard of that shop, although I'm not from that area. Also I just googled "reengineered automotive machine" and didn't find anything about that company. Where did you find the reviews? Make sure you do a lot of research about the place first, otherwise you could end up dropping a grand on an engine that might not last very long.
A lot of the time machine shops take engines and bore them out to the max. So they can't be rebuilt again.

They have an Instagram I followed, [MENTION=139989]Ramen[/MENTION]gines, and they do a lot of engine rebuilds and swaps that they post on there. So they seem like a busy shop, and a busy shops usually means that people like the work they've done. I'm still gonna do more research and make sure I find the best deal because I agree I don't want to drop a grand and have it not run for a long time.
 
Operation Make the 4Runner a Better Place to Be

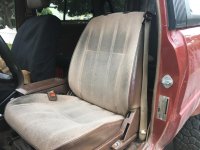
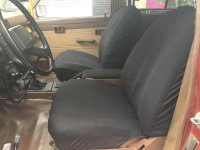
As we all know, these trucks are uncomfortable, loud, and generally not a nice place to be on long trips, (the girlfriend thinks so too). So I wanted to try to remedy both of those things at the same time, starting with comfort. I picked up some really cheap seat covers on Amazon, 17$ for the front and rear seats. I had originally just wanted these because my seats were getting super dirty and stained. I just wanted to cover them up.


IMG_1199.jpg


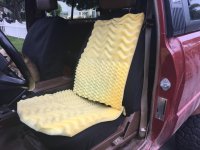
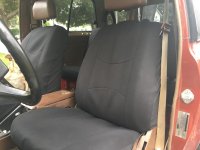
Then I remembered I had some foam lying around, so I thought I could put the foam under the cover to make it more comfortable. Cut it to size and put the cover on top!


IMG_1198.jpg
IMG_1200.jpg

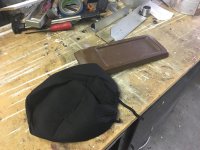
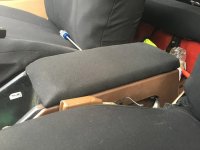
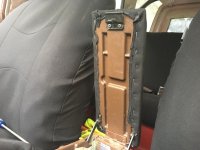
After I did both seats, I had a ton of foam left over. And the seat covers came with these headrest covers that didn't fit my headrests, so I thought nothing of them. Then I thought to use one of those covers and some leftover foam to cover my center console lid to create a padded armrest. Cut the cover and some foam to size, stretched it and stapled it all the way around and cut out areas where in screws into the center console.


IMG_1201.jpg
IMG_1202.jpg
IMG_1203.jpg

Cleans up the interior pretty nicely! Now my center console lid doesn't look like scratched crap.

IMG_1204.jpg

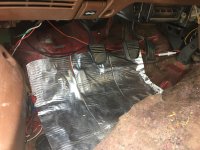
Now onto the 2nd portion, noise. Didn't get many pictures of this process, but I had heard some people talking about Peel and Seal. It's supposed to act like Dynamat and quiet down the interior of your car. Now Dynamat being beyond my budget, and Peel and Seal being 18$ a roll at Lowe's, deiced to give that a try. With one roll, I was able to both front doors and both front driver and passenger footwells, firewall to front of the seats. (didn't get pics of the doors)


IMG_1205.jpg

Haven't been on the highway yet, but just driving around town I do notice it is a little quieter. Once I put some more towards the back of the truck it should make a significant difference. Help quiet these mud terrains down:rofl:
 

Attachments

  • IMG_1199.jpg
    IMG_1199.jpg
    135.9 KB · Views: 797
  • IMG_1198.jpg
    IMG_1198.jpg
    128.2 KB · Views: 809
  • IMG_1200.jpg
    IMG_1200.jpg
    125.2 KB · Views: 794
  • IMG_1201.jpg
    IMG_1201.jpg
    133.4 KB · Views: 797
  • IMG_1202.jpg
    IMG_1202.jpg
    133.9 KB · Views: 787
  • IMG_1203.jpg
    IMG_1203.jpg
    137.2 KB · Views: 782
  • IMG_1204.jpg
    IMG_1204.jpg
    122.5 KB · Views: 806
  • IMG_1205.jpg
    IMG_1205.jpg
    132.2 KB · Views: 777
Nice!

I have never heard of that shop, although I'm not from that area. Also I just googled "reengineered automotive machine" and didn't find anything about that company. Where did you find the reviews? Make sure you do a lot of research about the place first, otherwise you could end up dropping a grand on an engine that might not last very long.
A lot of the time machine shops take engines and bore them out to the max. So they can't be rebuilt again.

True story on the bore. Many shops guestimate and add .010-.020, or just go 40 over... never have to redo it if a cylinder doesn't make it along the way. Time issue perhaps but I dislike it.
 
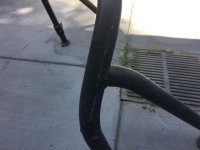
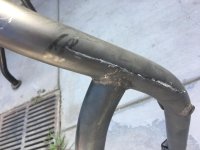
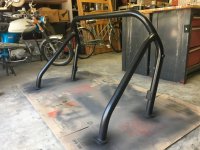
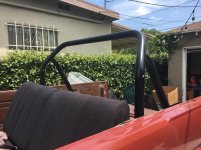
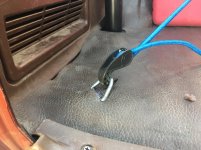
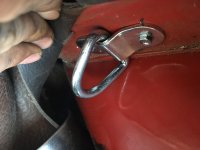
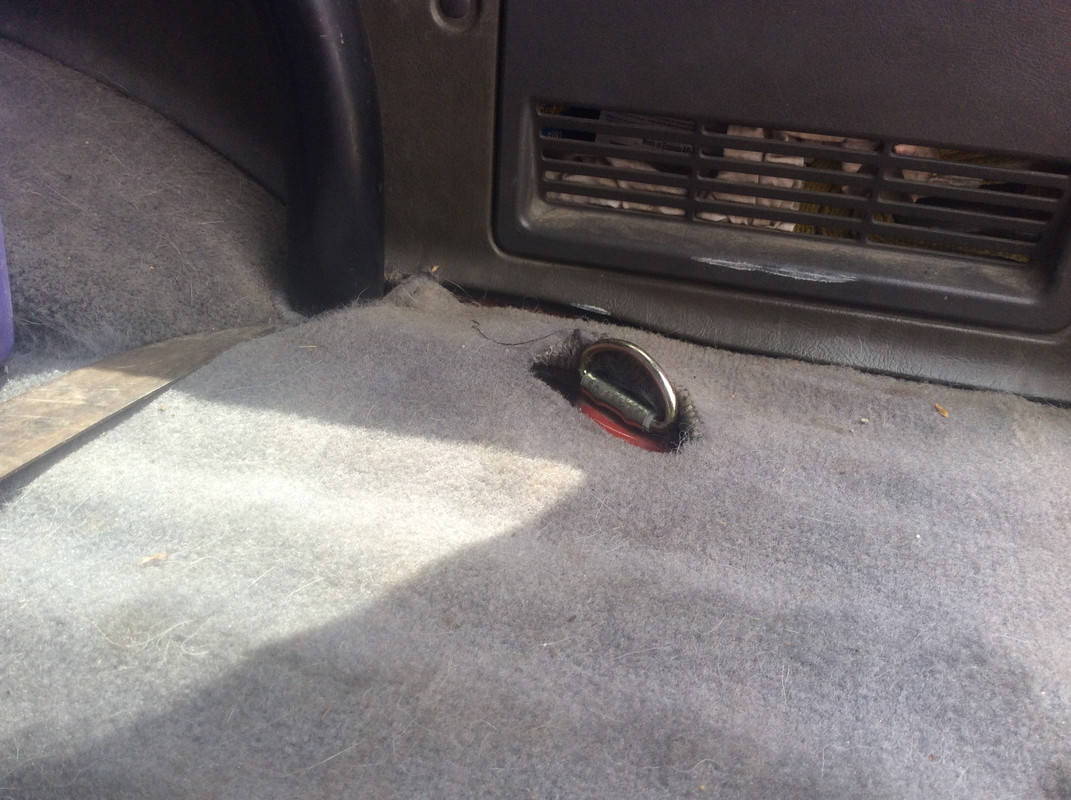
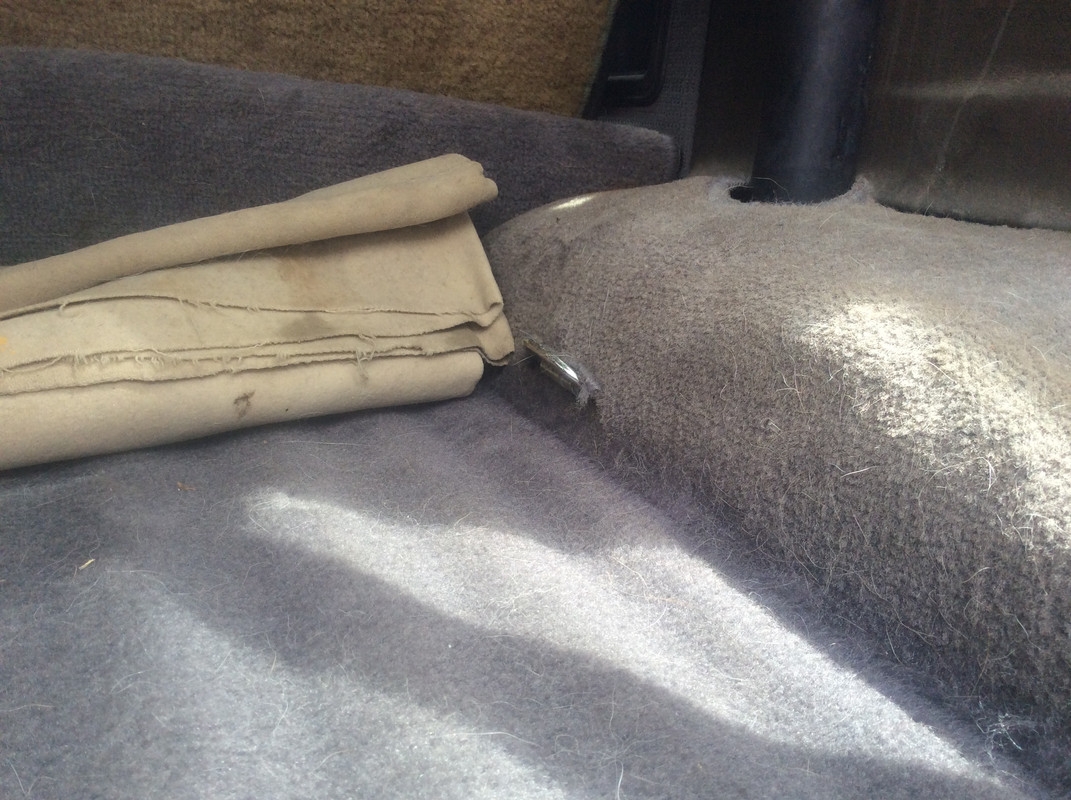
Have done couple things since I've last updated. As far as the engine swap, I have elected to go a different route. It was burning oil and coolant, however I've solved both of those issues. I put an additive in the oil to help compression and that worked. All the coolant was coming from 3 different leaks, (radiator drain plug and upper and lower heater hoses, all of which I didn't notice cause I'm stupid). So now the engine operates as it should and doesn't burn or leak anything. I really need to look in to things more before I almost go out and spend a bunch of money. That being said, I have a week off from work in June so I plan to replace the timing chain and water pump. The plastic guides have almost worn through so I'm guessing its never been replaced on my truck before. That operation will take place in about a week. In the mean time, I have repainted my roll bar, (as it was faded and badly scratched) and put in some d-ring tie downs in my bed so I can keep things from flying around everywhere while I have my top off.
IMG_1314.jpg

IMG_1316.jpg

IMG_1318.jpg

IMG_1321.jpg

IMG_1322.jpg

IMG_1323.jpg
 

Attachments

  • IMG_1314.jpg
    IMG_1314.jpg
    127.2 KB · Views: 709
  • IMG_1316.jpg
    IMG_1316.jpg
    117.7 KB · Views: 693
  • IMG_1318.jpg
    IMG_1318.jpg
    133.5 KB · Views: 691
  • IMG_1321.jpg
    IMG_1321.jpg
    136.5 KB · Views: 688
  • IMG_1322.jpg
    IMG_1322.jpg
    135.4 KB · Views: 701
  • IMG_1323.jpg
    IMG_1323.jpg
    130.7 KB · Views: 705
decent runner. good job on the seats and console.

however, the mechanic in a bottle will only delay the oil issue, not solve it.

a lot of 4runners had four D-rings in the cargo area from the factory.
 
Thanks [MENTION=95305]wallytoo[/MENTION]! I know this only puts a bandage on the problem and I will eventually fix it when it comes time. And I didn't know about the factory d-rings for 4Runners! Thats a pretty cool option.
 
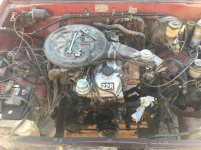
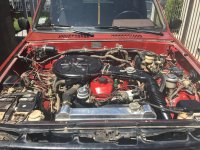
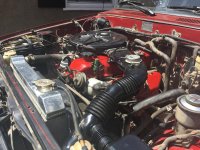
timing chain and engine bay cleaning done!

Finally finished the timing chain deal! Started last Friday and just finished it today. Took me so long because of work and it being really hot in the afternoon. In addition to the timing chain, I replace the water pump, oil pump, belts, and all gaskets. This was a good chance to really clean the bay as well because there was a lot of caked on oil and gunk. Also painted some parts to make it look a little cleaner. Runs very smooth now and nothing leaks!

Before:


IMG_1340.jpg


After:


IMG_1368.jpg

IMG_1369.jpg
 

Attachments

  • IMG_1340.jpg
    IMG_1340.jpg
    135.6 KB · Views: 736
  • IMG_1368.jpg
    IMG_1368.jpg
    142.2 KB · Views: 638
  • IMG_1369.jpg
    IMG_1369.jpg
    139.1 KB · Views: 638
Back!

I'm back! I didn't have time to update was doing a lot of overtime at my job for the past 2 weeks and just went on a camping trip with some friends. Will be doing updates soon! Hopefully starting by retrofitting a Nissan Pathfinder spare tire carrier! I will be doing a similar design to @CA18Sean's build write up of his spare tire carrier over on Expedition Portal. Updates should be coming this weekend!

IMG_1625.jpg
 

Attachments

  • IMG_1625.jpg
    IMG_1625.jpg
    139 KB · Views: 605
Love the look of this runner. Great work on the engine bay too, it looks much better!

Keep us updated on the spare wheel carrier.
 
Thanks [MENTION=57873]OzSurf[/MENTION]! Been looking to clean up the engine bay more and more as I look at it. Wire tucks, cleaning hoses, etc. May possibly be doing a dual battery set up soon as I plan to add on board air, an inverter, and more things in the future.
 
I did a few things before I went camping.

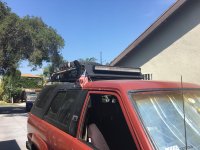
I put my roof rack back on. Spare tire up there (for now) and re-wired the light bar.


IMG_1627.jpg


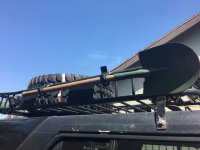
Then found a way to mount my shovel, and other future accessories, to my roof rack. They are these rubber clamps called "Quick Fists." Found them on amazon for less then 5$ and conduit clamps to secure them to my rack.


IMG_1628.jpg


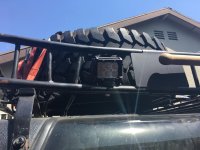
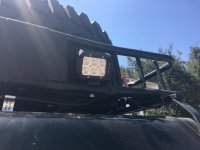
Also wired up some side lights, Auxbeam LED pods, for some extra light at night in the campground.


IMG_1629.jpg

IMG_1631.jpg
 

Attachments

  • IMG_1627.jpg
    IMG_1627.jpg
    136.1 KB · Views: 599
  • IMG_1628.jpg
    IMG_1628.jpg
    129.2 KB · Views: 571
  • IMG_1629.jpg
    IMG_1629.jpg
    131.6 KB · Views: 589
  • IMG_1631.jpg
    IMG_1631.jpg
    123.2 KB · Views: 587
Also, how do I scale down pictures for viewing on here? The way [MENTION=95305]wallytoo[/MENTION] did in his earlier post on this page.
 
Also, how do I scale down pictures for viewing on here? The way [MENTION=95305]wallytoo[/MENTION] did in his earlier post on this page.

my photos are inserted via the "attach image" icon, and the photos are hosted on a different site, instead of uploaded attachments to this site.
 

Members online

Forum statistics

Threads
278,308
Messages
3,554,057
Members
248,016
Latest member
Advally Service

Trending content

Back
Top