krupnation
New member
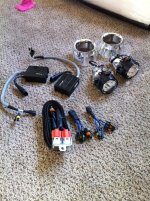
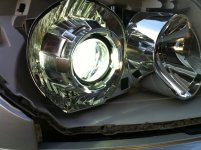
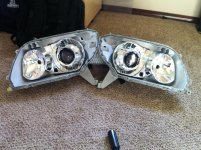
So, this project started about three weeks ago and I'm happy to finally be done with it. It was time consuming and I worked on it when I had a chance but it did take longer than I expected. I purchased the full HID retro kit from the Retrofit Source with Mini Morimoto H1 projectors and Gatling Gun shrouds. Bulbs are 5000k with 35w 3five Morimoto ballasts. It also came with all the relay wiring kit.
For anyone planning on doing a retro I'd suggest the following:
1) TAKE YOUR TIME. I purchased a used set (in very good shape I might add) of OEM 4runner headlights on eBay. Stole them for $116 shipped. This way I could still use the runner as my daily driver and work on the retro when I could.
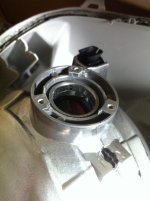
2) ran into a few things that I didn't plan for. My buddy did the same retro to his Taco and it was completely plug-n-play. He didn't have to do any trimming. Our 4runner headlights, at least '03-'05 models, will need some trimming to the back side of the bulb holder. They do have some very helpful info on the Retrofit Source's website and I was able to start trimming. It took a little more than expected but I'm happy with the result
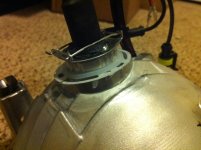
3) Fitting the projector, I had to trim the thick rubber grommet that was included with the kit to make everything tighten up nice. It was either trim that grommet or the back of the bulb housing more and I didn't feel comfortable trimming the bulb housing anymore than I had. I took it from around 1/2" thick to about 3/8", maybe less. They really should make the back of the projector housing longer (by that I mean the threaded part to attach everything) so there could be less trimming.
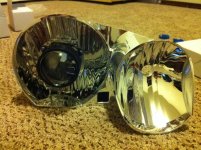
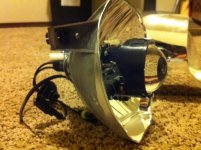
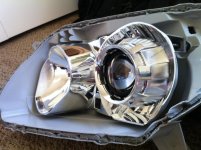
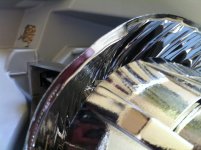
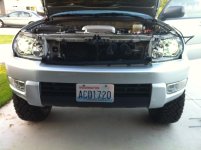
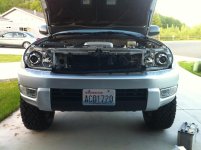
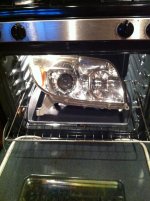
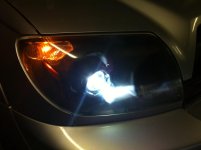
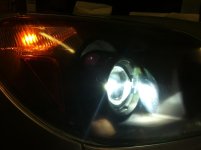
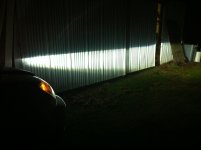
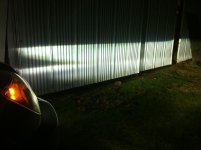
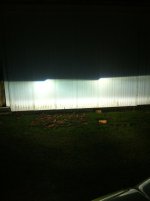
In the end it all went together well and I was just being cautious as this was my first retro. I feel like I got a good seal with the factory sealant and didn't add any silicone. We'll see if I get any moisture in the housing but I doubt it. Light output is rediculous, very wide and sharp cut-off line. I still have to do some alignment but it's pretty dialed in. Here are some pics:
For anyone planning on doing a retro I'd suggest the following:
1) TAKE YOUR TIME. I purchased a used set (in very good shape I might add) of OEM 4runner headlights on eBay. Stole them for $116 shipped. This way I could still use the runner as my daily driver and work on the retro when I could.
2) ran into a few things that I didn't plan for. My buddy did the same retro to his Taco and it was completely plug-n-play. He didn't have to do any trimming. Our 4runner headlights, at least '03-'05 models, will need some trimming to the back side of the bulb holder. They do have some very helpful info on the Retrofit Source's website and I was able to start trimming. It took a little more than expected but I'm happy with the result
3) Fitting the projector, I had to trim the thick rubber grommet that was included with the kit to make everything tighten up nice. It was either trim that grommet or the back of the bulb housing more and I didn't feel comfortable trimming the bulb housing anymore than I had. I took it from around 1/2" thick to about 3/8", maybe less. They really should make the back of the projector housing longer (by that I mean the threaded part to attach everything) so there could be less trimming.
In the end it all went together well and I was just being cautious as this was my first retro. I feel like I got a good seal with the factory sealant and didn't add any silicone. We'll see if I get any moisture in the housing but I doubt it. Light output is rediculous, very wide and sharp cut-off line. I still have to do some alignment but it's pretty dialed in. Here are some pics: