
I have been meaning to post this for sometime. I have been using this setup for about 4 months now and its working great. I used lots of information from this forum to get this done. Many thanks to those who came before me. Hope this helps someone else out in the future. I originally made this as a set of slides for my ham club so I had to reformat a little for this format.
FT7900 Install in 2010 4runner
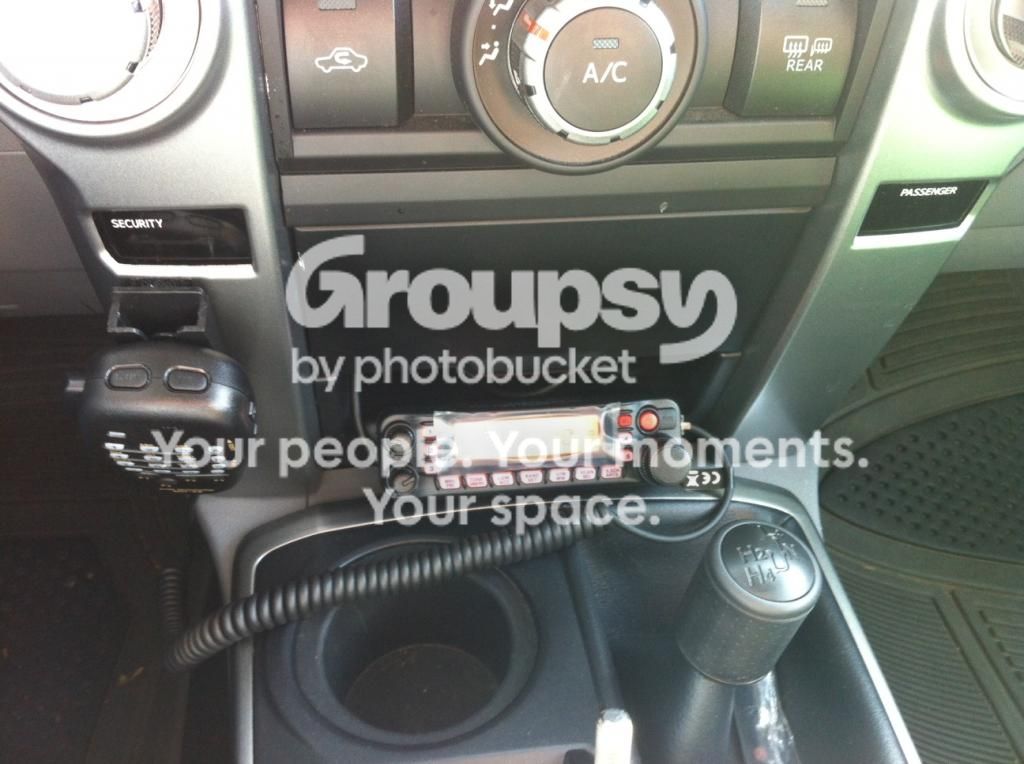
The Project
Goal: Install a mobile radio cleanly and semi permanently in 2010 SR5 4Runner
Installation Requirements:
– No exposed wires
– Radio body hidden
– Easy head unit removal
– No holes in the body
– Truck must still fit in garage with antenna
Main Install Components
Model #,Item , Manufacturer ,Price
FT-7900R ,Radio, YAESU,$328.95
YSK-7800-PROMO,Head extension kit, YAESU,$0.00
NR-770HB ,Dual band antenna, DIAMOND,$53.95
K400,Lip mount, DIAMOND,$39.95
C213-SMA,Coax,DIAMOND,$45.00
MLS-100,External speaker, YAESU,$44.95
LF-1-OEM, DC Line filter, Powerwerx, $29.95
Total
$525.70
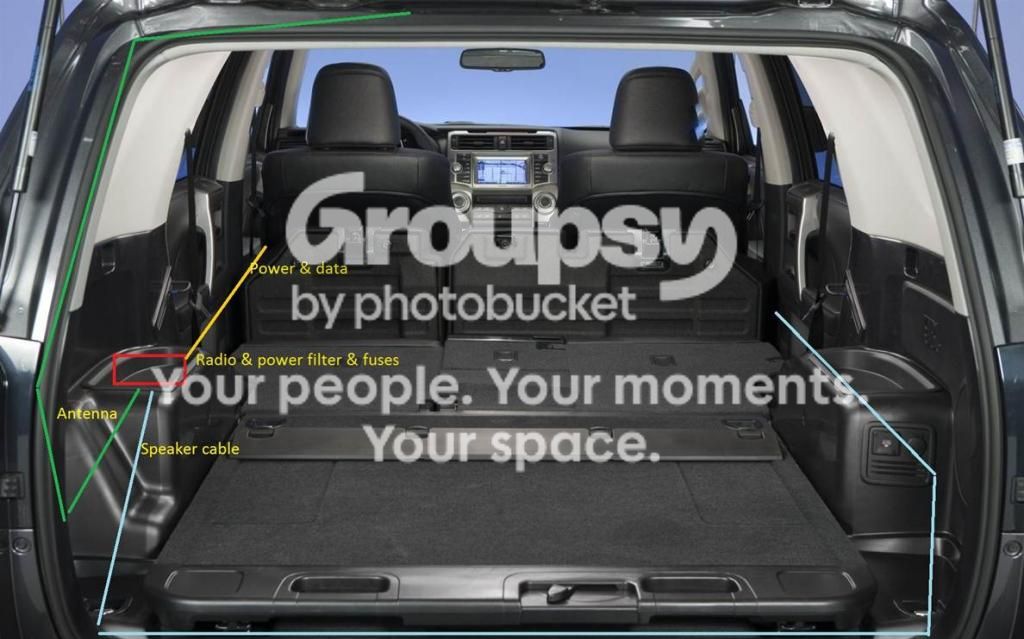
The Wire Plan
Way easier than I thought. Many thanks to DaPersianRug for the info he provided. It helped alot
Steps
Research online
– T4R Forum for hints from others
DaPersianRug(wiring) http://www.toyota-4runner.org/5th-gen-t4rs/160449-small-footprint-cb-ham-radio-install.html
Antman(wheel well storage) http://www.toyota-4runner.org/5th-gen-t4rs/95958-rear-wheel-well-storage.html#post847887
Scout out locations
– Radio body (rear driver wheel well – open, battery side)
– Speaker (under passenger seat attached to mount)
– Antenna (hatch driver side by radio)
– Power (to the battery)
– Head unit (by cubby hole)
Remove wheel well covers
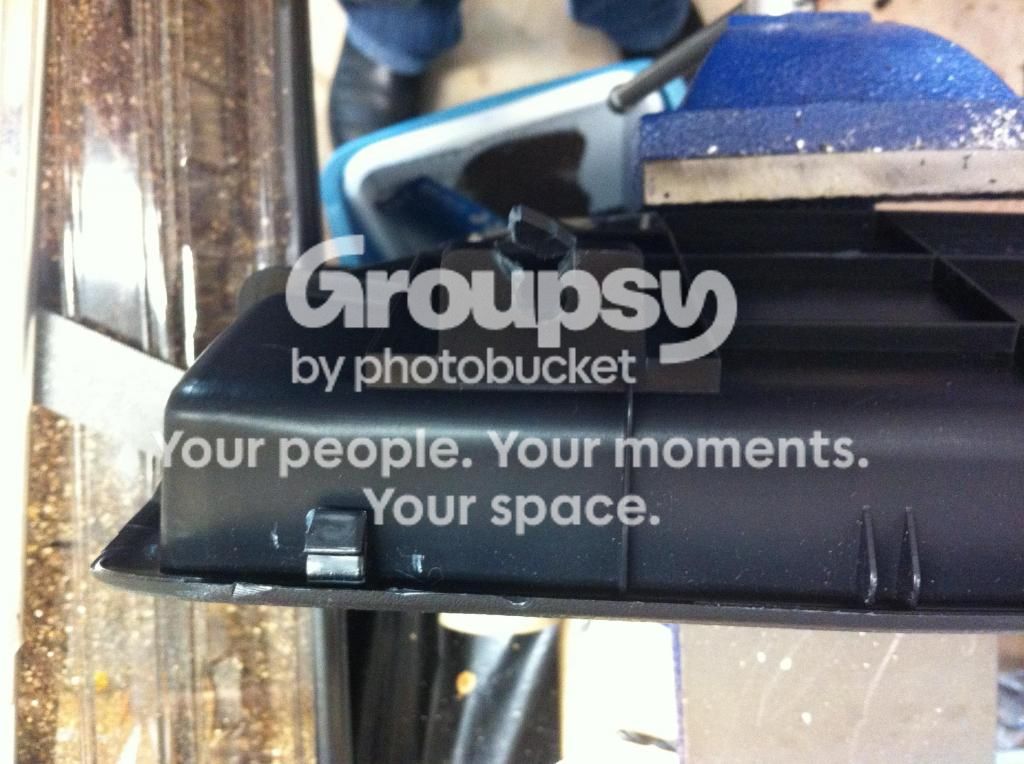 – Pry up, break tabs, cut off broken parts
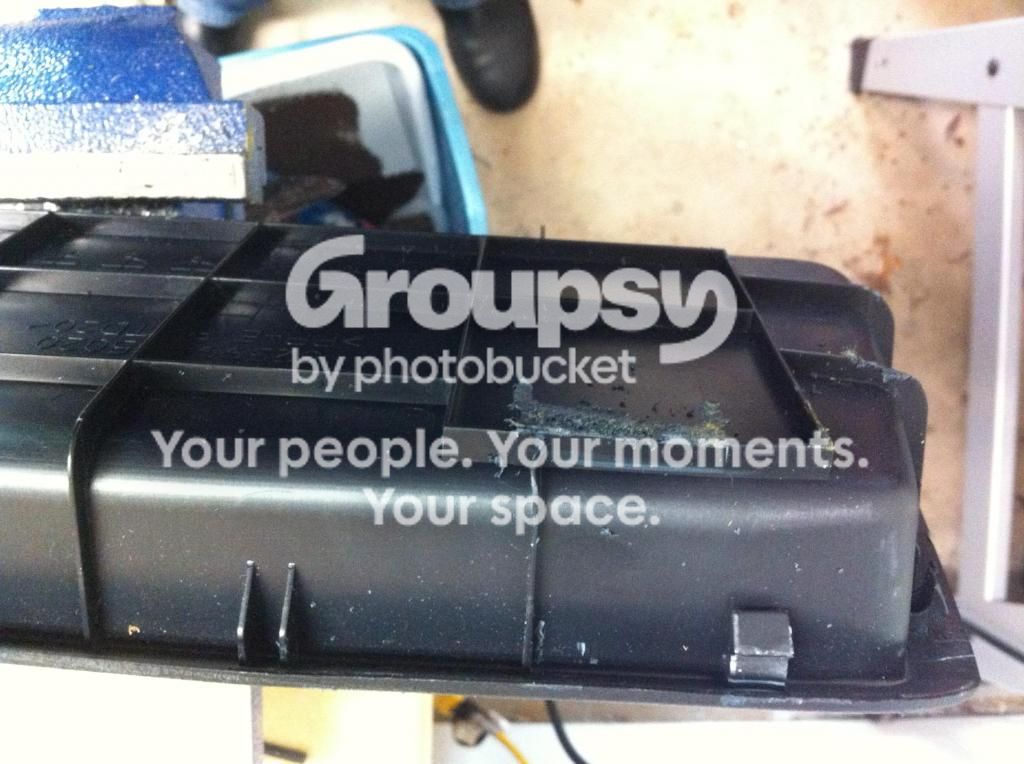
Remove trim/weather stripping exposing wire tray
– Pry up carefully
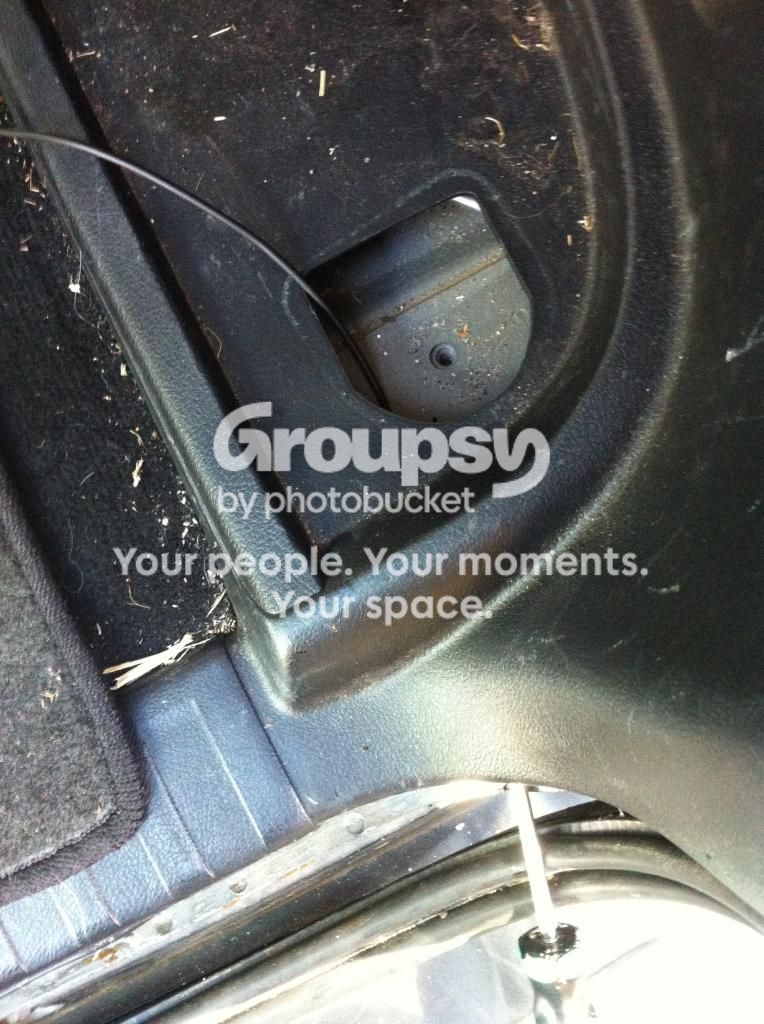
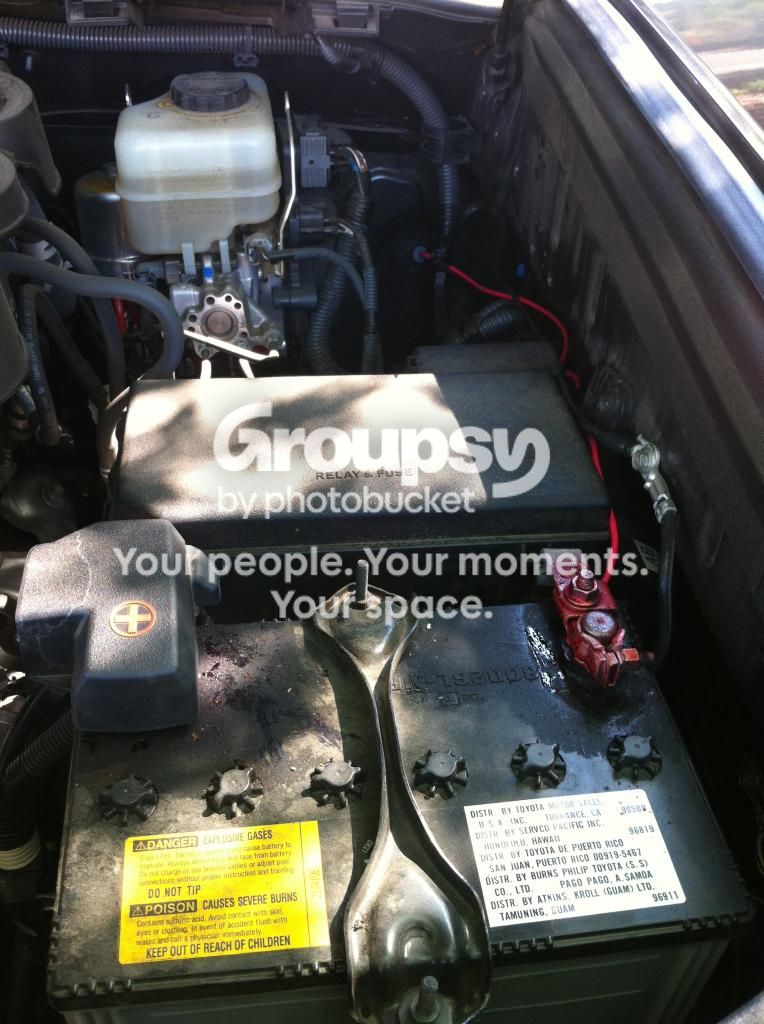
Run battery cable through firewall
– Existing port not easily passed through
– Nipple cut open to feed through
– Wires passed and sealed with silicon
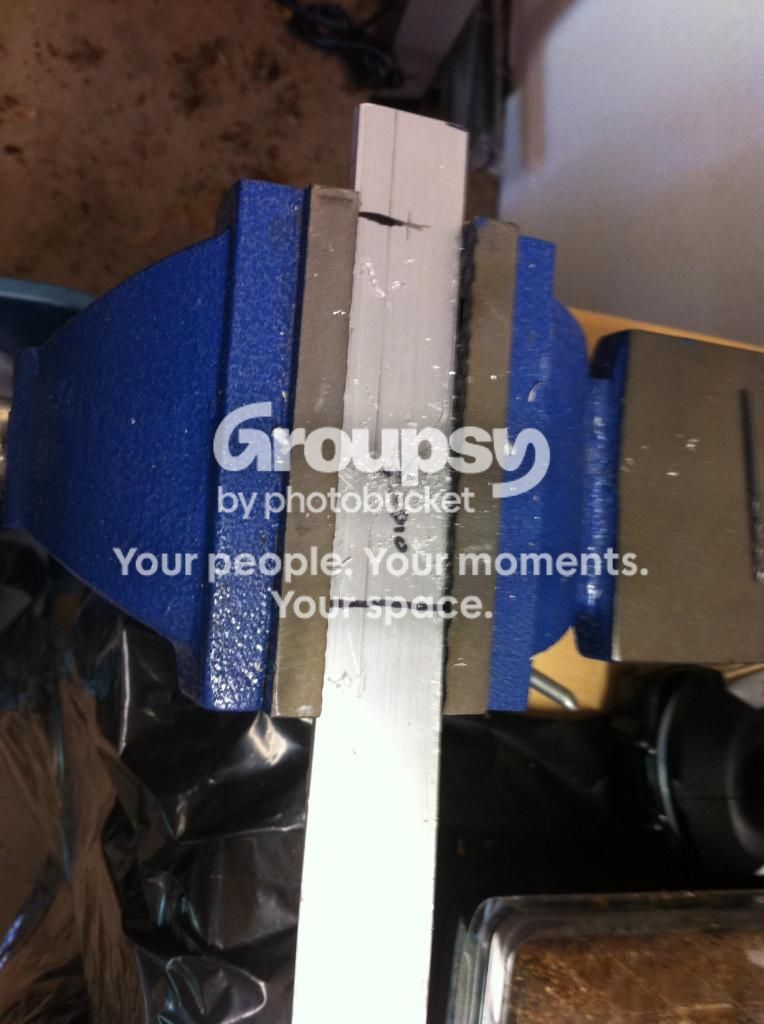
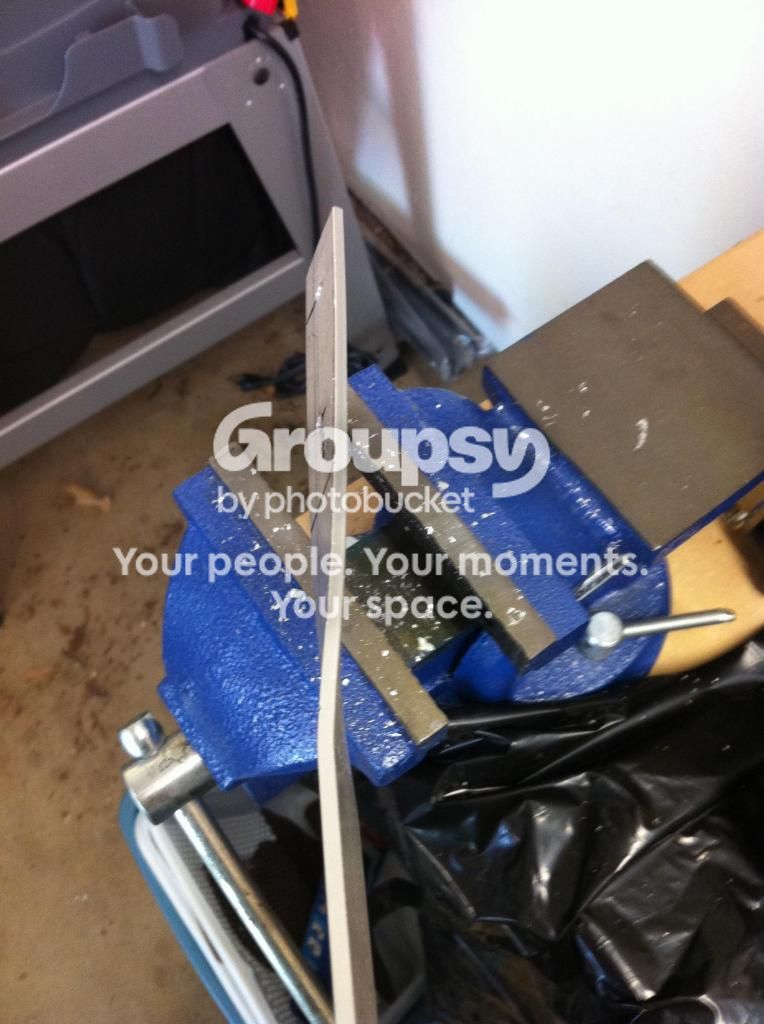
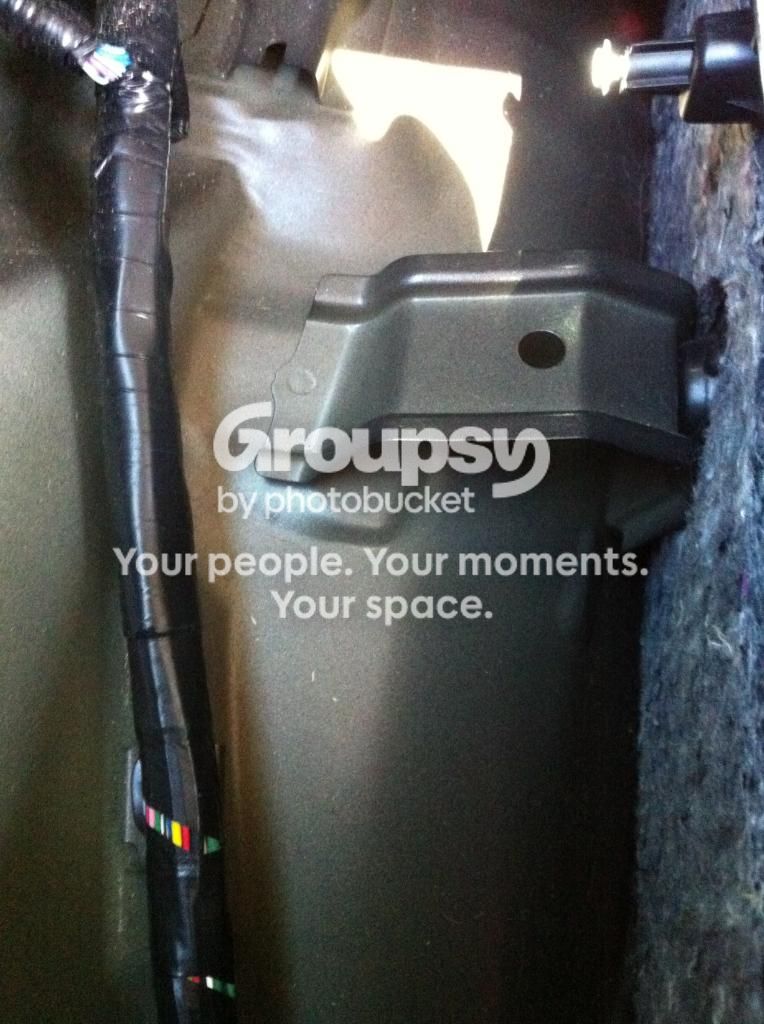
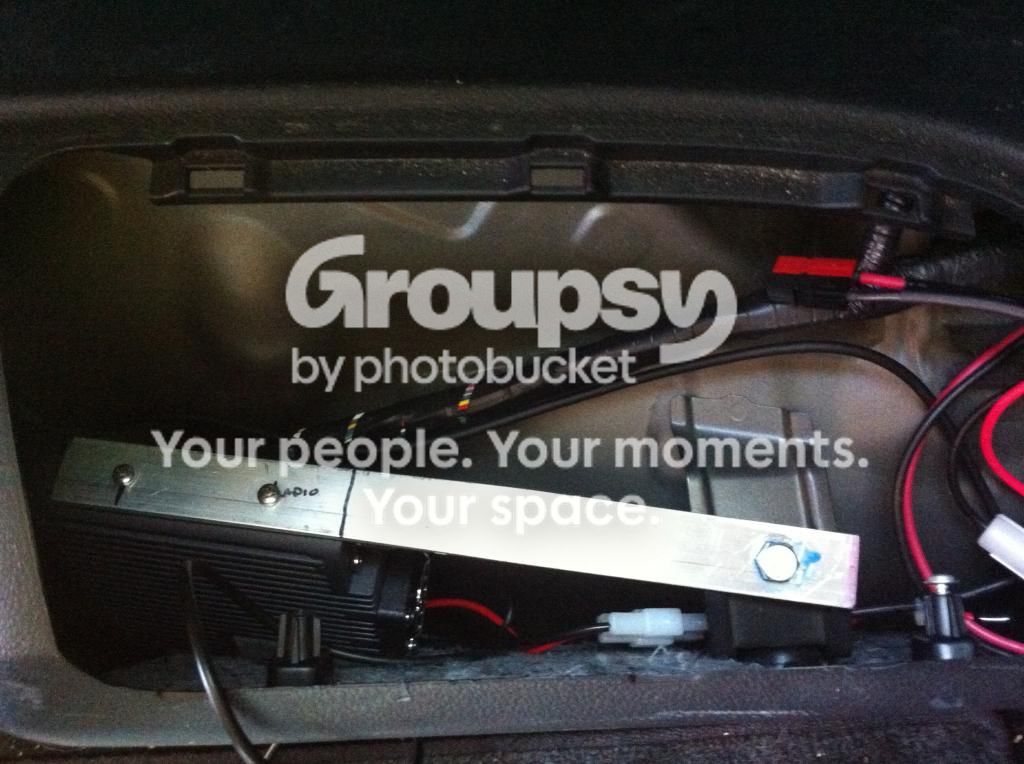
Fabricate radio mounting bracket
Found that in the driver side wheel well there was a great place to attach but needed a way to hold radio out where more space existed.
– Cut aluminum
– Bend aluminum(needed angle to sit correctly/vertically)
– Drill mounts for frame and radio
Fish Wires (coat hanger and electrical tape)
Nothing special. Just a coat hanger, tape, and patience.

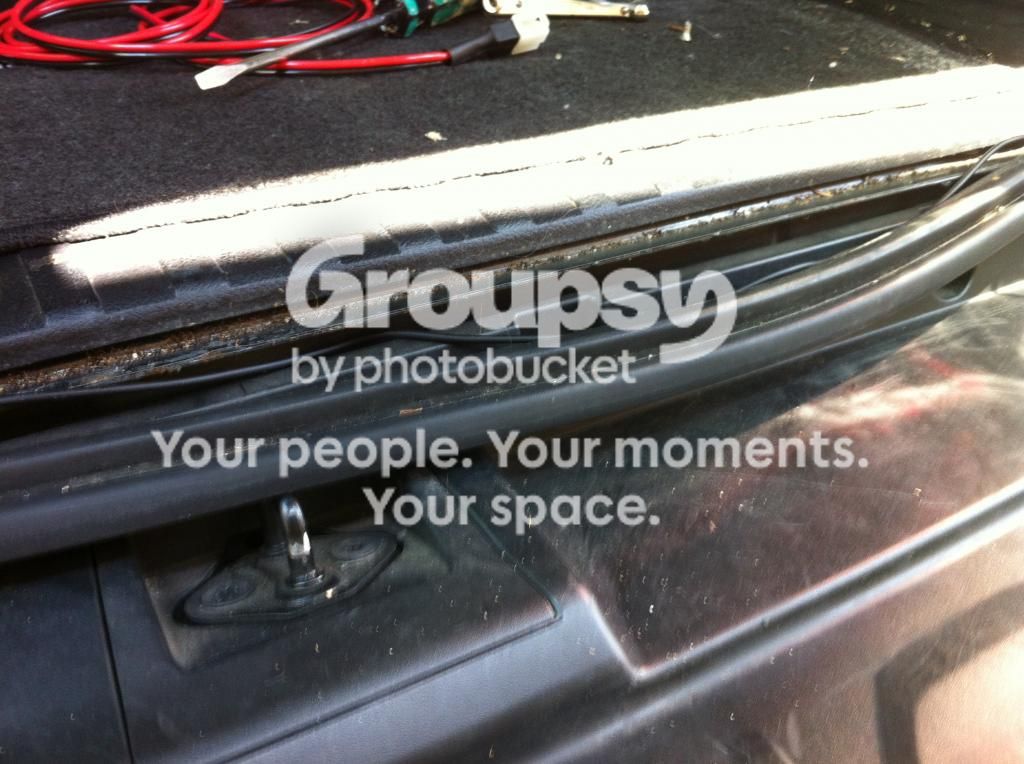
– power wires to back
– extension wire to front
– speaker cable around to right side and to passenger seat
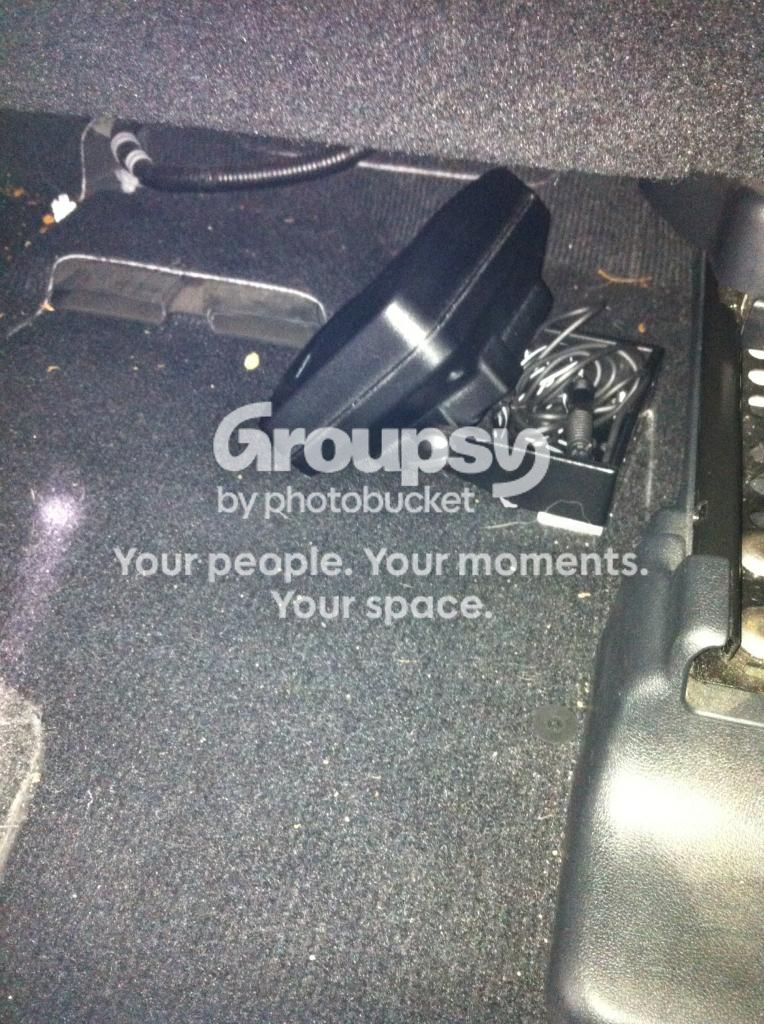
Mount speaker to small screw mount
– Mount is part of chassis body. No idea what for
– Connect speaker wire at radio for easy removal
Mount lip antenna mount
– Get height right (angled to fit in garage and still open hatch)
– Cut screws to height (too tall, hatch wouldn’t close)


Clip UHF connector so that it could be fished
Run antenna coax
– Run along hatch with tape (for now)
– Cut small hole in wire boot and seal with silicon
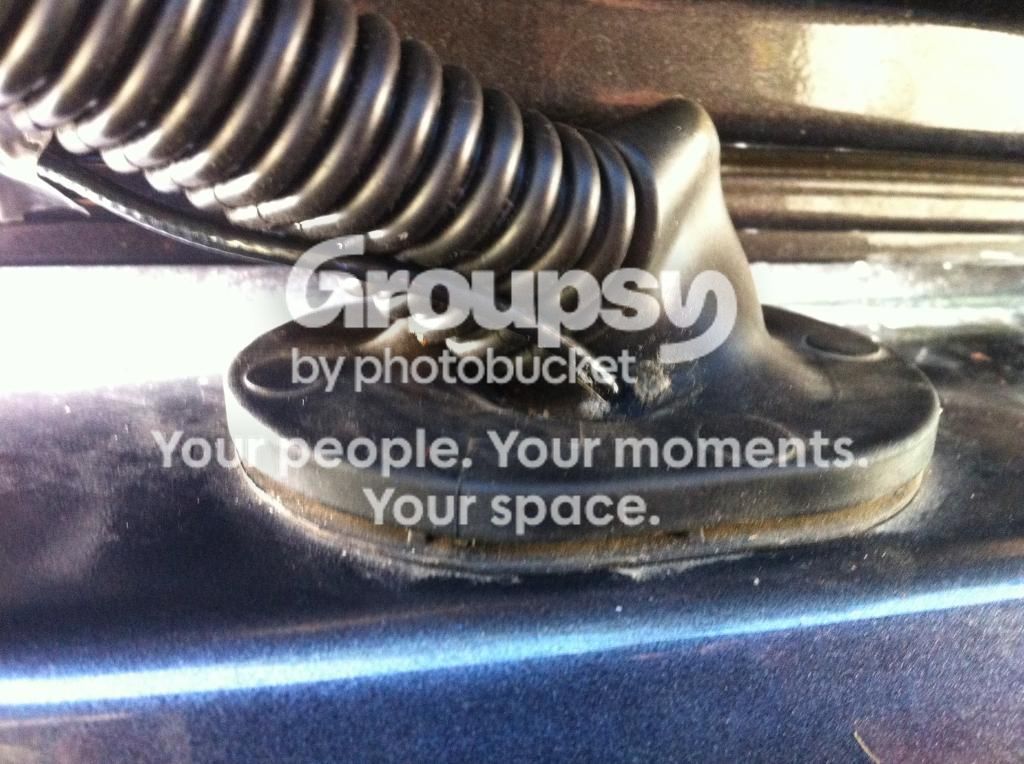
– Fish coax to wheel well
Steps Continue
Solder PL-259 connector to RG-316 coax
Steps continued
Fabric power cable connections (all with radio in well)
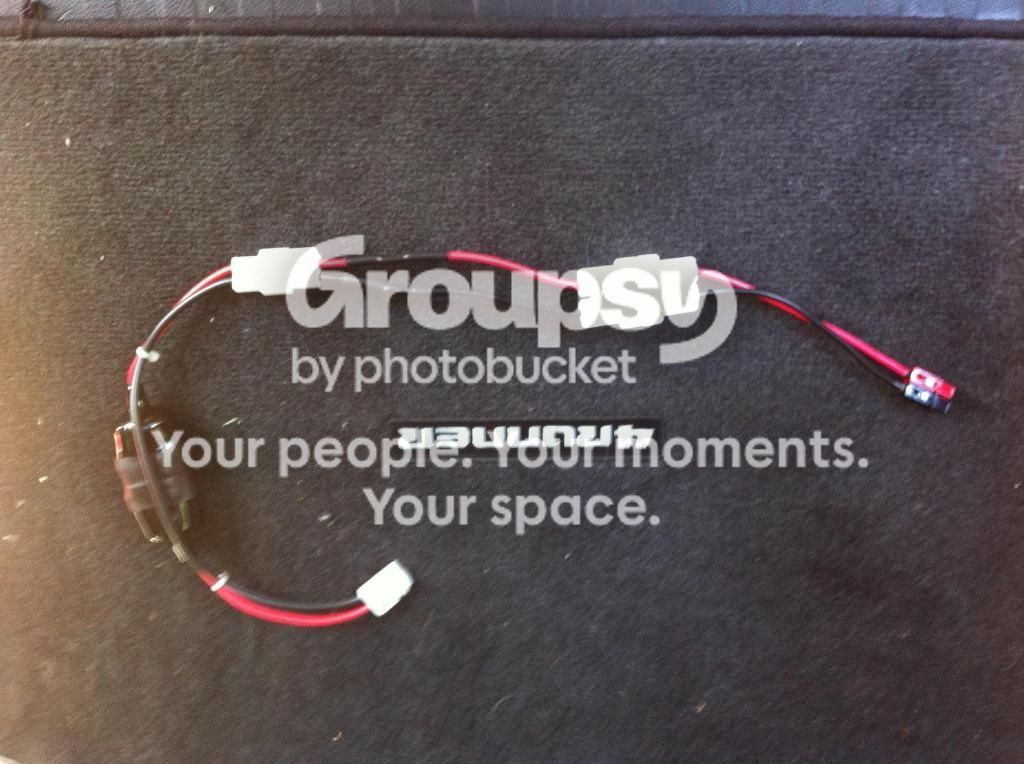
– Anderson power pole
– OEM connector
– Fuses
– Power filter
Shrink tube with adhesive lined shrink tube
Steps continue
Run extension wire under dash
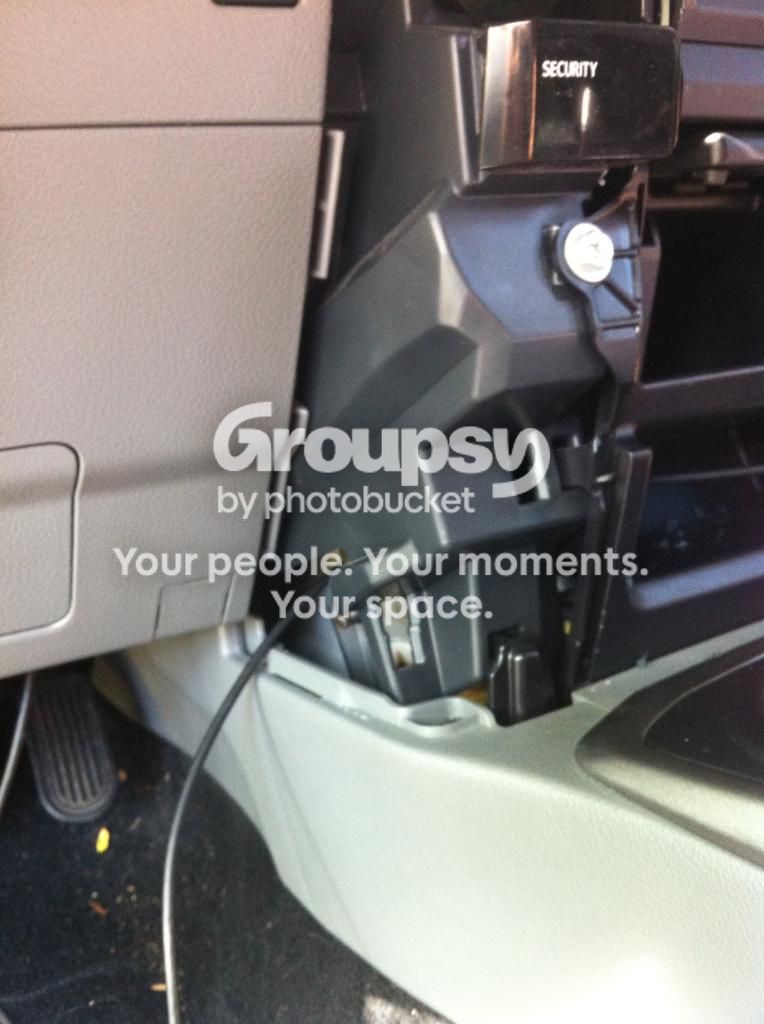
– Zip tie it up
Remove left dash panel
– Pull off carefully from bottom up
– Run extension under dash
Drill a hole in cubby for RJ11
Cut RJ11 off and push through hole

– Discover RJ11 connector special wiring
– Rewire and crimp
Steps continue
Hook up radio connections
Mount radio
– Foam weather stripping to radio to keep it from vibrating/bouncing
– Locktite bolts
Close it up
Mount head unit with velcro
Mount mic holder with velcro
Next Steps
Running data cable to front of vehicle for programming with extension
Speaker grill added to wheel well for ventilation
Incidentals
Aluminum Stock
Nuts/bolts
Battery connector
Anderson power poles
Shrink tube
12 gauge wire
RJ11 connectors
Foam weatherstripping
Silicon sealer
Velcro
Tools Required
Gas/electric soldering irons
Electrical tape
Wire coat hanger
Screw drivers
Wrenches/Sockets
Locktite
Hacksaw
Drill
Long drill bit
Crimpers
Needle nose pliers
Exacto
FT7900 Install in 2010 4runner
The Project
Goal: Install a mobile radio cleanly and semi permanently in 2010 SR5 4Runner
Installation Requirements:
– No exposed wires
– Radio body hidden
– Easy head unit removal
– No holes in the body
– Truck must still fit in garage with antenna
Main Install Components
Model #,Item , Manufacturer ,Price
FT-7900R ,Radio, YAESU,$328.95
YSK-7800-PROMO,Head extension kit, YAESU,$0.00
NR-770HB ,Dual band antenna, DIAMOND,$53.95
K400,Lip mount, DIAMOND,$39.95
C213-SMA,Coax,DIAMOND,$45.00
MLS-100,External speaker, YAESU,$44.95
LF-1-OEM, DC Line filter, Powerwerx, $29.95
Total
$525.70
The Wire Plan
Way easier than I thought. Many thanks to DaPersianRug for the info he provided. It helped alot
Steps
Research online
– T4R Forum for hints from others
DaPersianRug(wiring) http://www.toyota-4runner.org/5th-gen-t4rs/160449-small-footprint-cb-ham-radio-install.html
Antman(wheel well storage) http://www.toyota-4runner.org/5th-gen-t4rs/95958-rear-wheel-well-storage.html#post847887
Scout out locations
– Radio body (rear driver wheel well – open, battery side)
– Speaker (under passenger seat attached to mount)
– Antenna (hatch driver side by radio)
– Power (to the battery)
– Head unit (by cubby hole)
Remove wheel well covers
Remove trim/weather stripping exposing wire tray
– Pry up carefully
Run battery cable through firewall
– Existing port not easily passed through
– Nipple cut open to feed through
– Wires passed and sealed with silicon
Fabricate radio mounting bracket
Found that in the driver side wheel well there was a great place to attach but needed a way to hold radio out where more space existed.
– Cut aluminum
– Bend aluminum(needed angle to sit correctly/vertically)
– Drill mounts for frame and radio
Fish Wires (coat hanger and electrical tape)
Nothing special. Just a coat hanger, tape, and patience.
– power wires to back
– extension wire to front
– speaker cable around to right side and to passenger seat
Mount speaker to small screw mount
– Mount is part of chassis body. No idea what for
– Connect speaker wire at radio for easy removal
Mount lip antenna mount
– Get height right (angled to fit in garage and still open hatch)
– Cut screws to height (too tall, hatch wouldn’t close)
Clip UHF connector so that it could be fished
Run antenna coax
– Run along hatch with tape (for now)
– Cut small hole in wire boot and seal with silicon
– Fish coax to wheel well
Steps Continue
Solder PL-259 connector to RG-316 coax
Steps continued
Fabric power cable connections (all with radio in well)
– Anderson power pole
– OEM connector
– Fuses
– Power filter
Shrink tube with adhesive lined shrink tube
Steps continue
Run extension wire under dash
– Zip tie it up
Remove left dash panel
– Pull off carefully from bottom up
– Run extension under dash
Drill a hole in cubby for RJ11
Cut RJ11 off and push through hole
– Discover RJ11 connector special wiring
– Rewire and crimp
Steps continue
Hook up radio connections
Mount radio
– Foam weather stripping to radio to keep it from vibrating/bouncing
– Locktite bolts
Close it up
Mount head unit with velcro
Mount mic holder with velcro
Next Steps
Running data cable to front of vehicle for programming with extension
Speaker grill added to wheel well for ventilation
Incidentals
Aluminum Stock
Nuts/bolts
Battery connector
Anderson power poles
Shrink tube
12 gauge wire
RJ11 connectors
Foam weatherstripping
Silicon sealer
Velcro
Tools Required
Gas/electric soldering irons
Electrical tape
Wire coat hanger
Screw drivers
Wrenches/Sockets
Locktite
Hacksaw
Drill
Long drill bit
Crimpers
Needle nose pliers
Exacto
Last edited:


