Fuel Tank Relocation Write Up
Why Relocate the Fuel Tank?
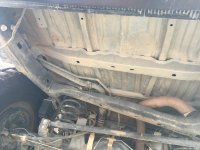
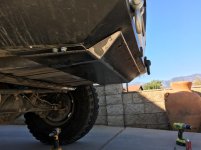
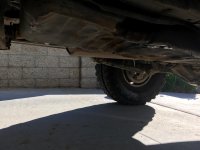
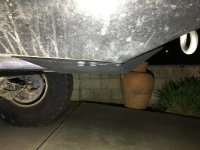
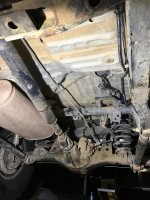
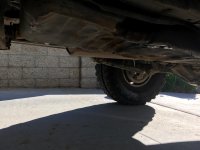
The reason for relocating the fuel tank is to increase belly ground clearance, more even weight distribution side to side, more room for activities like Dual Triangulated 4-Link or Cantilevered shock mounting. No increase in tank capacity than the factory tank. Also no more driveshaft contact with the stock tank being removed.
What I Did:
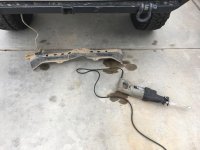
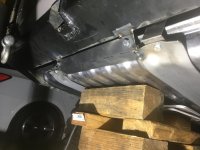
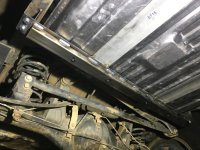
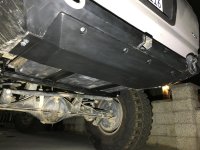
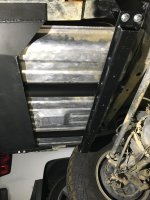
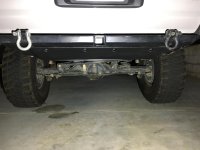
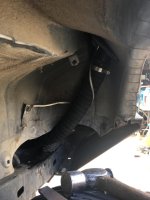
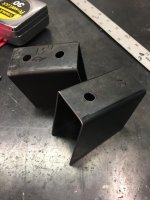
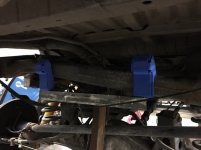
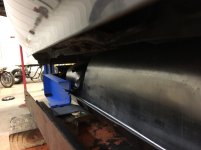
First, I started working on mounting the new fuel tank before I pulled the old tank. I cut the spare tire crossmember out with a reciprocating saw to make room for the new tank. Also, my low-profile rear bumper had to be cut back a few inches. You may be able to use a stock bumper or normal aftermarket bumper. I cut my frame rails back a few inches when building my bumper, so I started with much less room to work with. For mounting, I made tabs 12-gauge steel with welded nuts to mount the rear end of the tank. These tabs are welded to my bumper since there wasn’t much room for a crossmember and keep things low profile still. The front end of the tank is mounted to the frame. I made some brackets that hang below the frame rails. There is a crossmember that I made from 2” x 1” square tubing and 12-gauge steel under the tank that goes the full width of the tank and mounts to the frame brackets. The bottom straps are the original straps that came with the tank that I cut down a few inches on each side and drilled new holes. The upper straps are 16-gauge steel that bolt to the lower straps with M8 x 1.25 hardware.
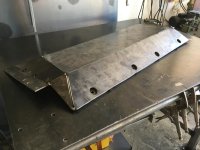
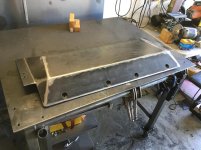
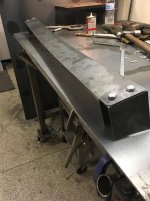
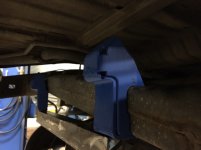
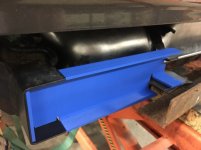
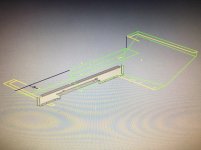
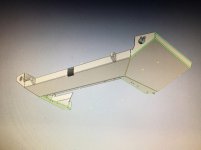
Next was protecting the new tank since the rear of the tank hangs about an inch below the frame rails. I decided to mount it directly to the rear bumper for strength and to keep it low profile. It was made with 3/16” steel plate and mounting with four M8 x 1.25mm bolts and incorporates into the M12 x 1.25mm bumper mount/ stock tow package bolts. I decided to only protect the rear half of the tank to save weight. I doubt the front half will ever make contact with anything. I did add some threaded holes to the tank crossmember to mount a thin skid plate in the future if needed.
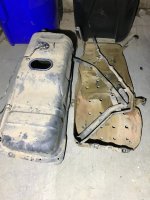
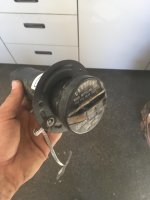
Now that the tank was mounted and protected, it was time to drop the old busted tank and plumb the new tank. The plumbing was pretty straight forward. The stock fuel lines are ¼” and 5/16” while the new pump uses 5/16” and 3/8”. I went to my local hardware store and found some brass barbed fittings to reduce the line size to fit the factory stuff. On the supply line there is a threaded fitting for the stock line. I just cut the factory hardline from the original tank and used hose clamps on the hard line, then the hard line is threaded into the factory fitting. Return line is simple, just reduce from 5/16” down to ¼” using the barbed fitting. EVAP line goes from the Vapor Valve on the tank to the stock EVAP line using ¼” fuel line. The tank I bought did not come with a vapor valve, so this and the seal will need to be purchased separately. I ditched the factory filler neck and hoses for a generic internally vented filler neck. The body needed to be cut back for the filler neck to reach the tank in a more direct line and more tire clearance too since my tires rubbed the stock filler neck constantly. The new filler neck did not come with a new fuel cap but the factory cap can be used with no issues.
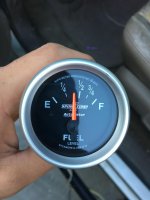
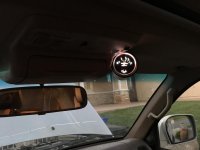
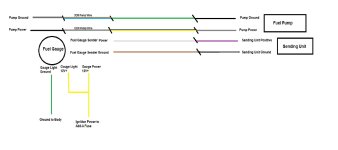
As for the fuel gauge, I couldn’t use the factory gauge since the new sending unit reads from 16 ohm empty to 158 ohm full. Factory gauge reads 110 ohm empty to 3 ohms full. Even if the new sending unit could be wired to the factory gauge, the readings would be very inaccurate and backwards. Wiring was pretty easy as well since the new Auto Meter fuel gauge came with the wiring diagram and the new tank pump/ sending unit came with a wiring diagram. I mounted the new fuel gauge to the passenger side of the overhead storage thing by the map lights. This allowed for no loss in visibility and is also out of the way. I do recommend getting a better gauge mounting cup wince the one I bought was cheap (cost and quality). Because the old gauge doesn’t work, the low fuel light stayed on. So I just pulled the bulb to that light.
Some of the issues I had along the way were frustrating at times, but now I think I have it all figured out. The biggest issue I had has been venting the tank. Initially I didn’t have it vented and quickly figured out why. So, I connected the vent tube on the top of the tank to the factory EVAP line without the vapor valve, just an open fitting. This worked for a while but eventually caused my Charcoal Canister to go bad. Since then I got the correct Vapor Valve which helped. Also, I had trouble filling the tank since the vent was not done properly. Initially I just had the line for the vapor valve connected to the factory filler neck. That was not enough ventilation during fill up and caused fill ups to be a real PITI. These tanks use an internally vented filler neck. Since using that, my fill ups have been much better.
Should you do the tank swap?
Well that really depends on what you are looking to do with your vehicle and how much effort you are willing to put in as well. If you are planning to keep the factory links and don’t plan on trying to make your 4runner have a flat belly, then this might not be for you. Just get an aftermarket skid and call it a day. Exhaust routing will need to change with this swap too since the new tank takes up most of the area behind the axle.
Parts Used & Part Numbers:
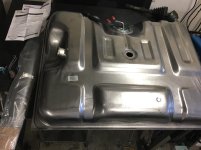
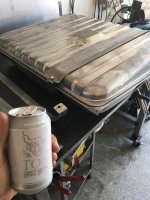
Fuel Tank & Assembly (Pump, Sending Unit, Gasket, Lock Ring, Mounting Straps) - Spectra #F1G1FA
18 Gallons Tank; Behind Rear Axle; Steel Tank; 34-3/4 in. x 27 in. x 7-7/8 in
Filler Neck Hose Outer 2”- GATES #23932
Filler Neck Hose Inner 1” – Filler Neck Supply #D100S
Fuel Filler Neck Internally Vented 2” – Filler Neck Supply #F30-FNS159-UPR
Fuel Tank Vapor Valve - #E7DZ-9B593-A
Fuel Tank Vapor Valve Seal - #F6TZ-9B076-AA
¼” Fuel Line for EVAP
5/16” Fuel Line for Return Line
5/16” EFI Fuel Line for Supply Line
3/8” EFI Fuel Line for Supply Line
¼” to 5/16” Brass Barbed Fitting
5/16” to 3/8” Brass Barbed Fitting
Fuel Level Gauge 16E/158F ohm - Auto Meter #3618
Gauge Pod/ Mounting Cup 2” - E Support #CXCGC01
Material Used:
12 Gauge Steel for brackets and mounts.
16 Gauge Steel for upper straps.
3/16” Steel for Skid Plate.
2” x 1” .120” Square steel tubing for tank mount crossmember.
M8 x 1.25 Hardware for gas tank mounting
Hose Clamps (Variety of Sizes)
Where I Purchased Parts:
Tank and 2” Filler Hose – Purchased from the company my brother works at, but can be bought at Rock Auto or Amazon or wherever.
1” Filler Hose & Filler Neck – FillerNeckSupply.com
Fuel Vapor Valve & Seal – Dennis-Carpenter.com (cheapest I could find.)
Fuel Lines – Local Auto Parts Store. EFI Line is not cheap so measure twice!
Fuel Gauge and Mounting Pod – Amazon.com
Steel – Local Metal Supply
I'm sure I am missing something, so if you have any questions let me know. I also have a bunch of pics throughout the process beyond what I am posting here.