Havin fun's build

how far have they worn and how many miles do you have?

I left them on after a Snake lake run for awhile, I usually take them off and put my stock ht tire back on, didn't for a 3-4k miles and noticed about 1/4" wear on them compared to my 5th ( spare).
 
I left them on after a Snake lake run for awhile, I usually take them off and put my stock ht tire back on, didn't for a 3-4k miles and noticed about 1/4" wear on them compared to my 5th ( spare).

I'll have to measure mine. I have about 10k miles on them and can't notice any wear.
 
Thanks for the update Leonard, ended up going with the the Hankook MT because of the bigger size i could get it in combined with n awesome price.
 
Had a winching party

Did a day run with a form member (MIEN4X4) and his boys. Supposed to be a quick trip and he decided to go up to the Rubicon. Wasn't that much snow and a lot of ice I would say.

So the guy all ahead of us decided to run down the granite area and holler back at me and Justin, " COME ON DOWN ", yea right, You come on back up and I'll head down with you. Needless to say, we had a winching party.

Figured this would be a good post for #1000.

https://www.youtube.com/watch?v=F7Cxto_FJhY&feature=youtube_gdata_player
 
Last edited:
Extra gussits for my slidders

Since I run with other members that have MORE extreme clearance on these trails around here, and keep up and get to where there going, I tend to USE my sliders for what they where designed for. Definitly gets me over them larger boulders and rocks on the trails. The only problem is, I noticed how much they flex and are sitting higher than where I have installed them. The kick outs are coming close to my rear door when open, and soon won't be able to open it.

So, I decided to give something a try. Bought some 1/4" x 1" flat stock and cut them into long lengths to weld on the mounting bars. See if this helps any.
If not, I'm prepared to cut some of the bottom trim on the door panels as you really won't be able to see it anyway.

In the future, plan on removing the trim across the bottom anyway, as soon as I decide on a rear bumper design and it won't look to funny removing them.

110.jpg

111.jpg
 

Attachments

  • 110.jpg
    110.jpg
    137.9 KB · Views: 1,027
  • 111.jpg
    111.jpg
    133.9 KB · Views: 1,147
I guess this is the time to take care of some things when it is slow.
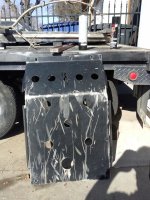
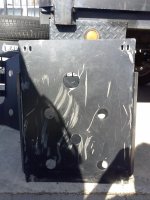
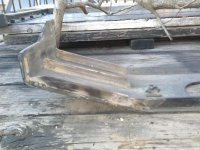
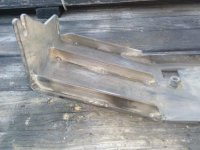
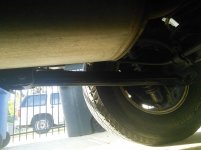
Got under her, and seen all the destruction from the fun.
Time to clean them up and repaint again.
011.jpg

012.jpg

013.jpg

Took the straight edge out and seen all the buckles in them, so decided that it was time to do some SKID PLATE CRAWLIN.

014.jpg

Wonder if I could get them Chico and Sac gen3 boys to help do this since they are putting this NOT SO CLEARANCED ride through them trails with them. :help:

While under there and have everything exposed, broke out the small wire brush and the paint and hit them minor rust spots on the welded areas on the frame. Weld areas basicly.
 

Attachments

  • 011.jpg
    011.jpg
    139.5 KB · Views: 1,005
  • 012.jpg
    012.jpg
    135.3 KB · Views: 979
  • 013.jpg
    013.jpg
    134.5 KB · Views: 979
  • 014.jpg
    014.jpg
    135.8 KB · Views: 979
I think this is why BAMF puts a large angle piece like you are doing on their HD sliders. I think you will see a very noticeable increase in stiffness.

I think all the companies sell/come with the triangle gusset. I have them on and still did the flex. I also had the extension a little longer.

After running EXTRA long gussets all the way to the slider itself, OH YEA, there is no movement with them when I stand on them. But the real test is going to be, putting all 4400+ pounds on them now.

My transfer attachment plate to the frame section took a major hit on the 22* angle section and bent it also. Working on that one right now. That will be the next post.

Edit- [MENTION=86678]ebg18t[/MENTION], just looked at your logo for your company, I like that and BAD A$$!
 
Last edited:
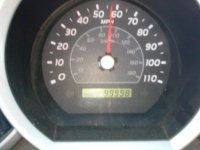
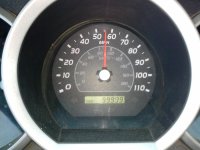
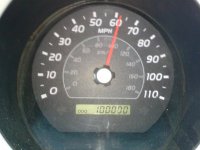
New Mile stone

Heading down to Modesto to check out a possible new job if I like what they offer me. Start heading that way and knew it was going to happen so...

004.jpg

Wait for it...
005.jpg

Wait for it...
008.jpg

AAAHHHHH... Made it to the 100k club.
 

Attachments

  • 004.jpg
    004.jpg
    131.3 KB · Views: 952
  • 005.jpg
    005.jpg
    129.8 KB · Views: 945
  • 008.jpg
    008.jpg
    132.1 KB · Views: 940
Updating

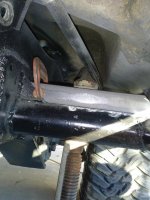
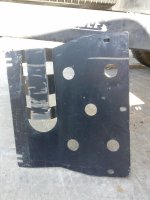
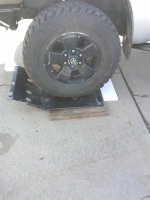
While cleaning up the undercarriage, and straightening the plates AGAIN. Noticed I needed to add reinforcements to the cross member for the transfer case skid.

Will probably have to pull them off again to add some enforcements to the cross pipe section next time.

001.jpg

002.jpg
 

Attachments

  • 001.jpg
    001.jpg
    134 KB · Views: 944
  • 002.jpg
    002.jpg
    127.6 KB · Views: 931
very nice build I am digging! it Looks ready to hit the rubicon to me! love the videos those guys should have aired down way more in the snow though thats why the traction was so bad!
 
Shouldn't have came to a stop.

Did a run up to Alturas lastmonth, where my daughter stays with here mom up there.
Took the back road in. Was going ok until we stopped.

What's that saying, DON'T STOP.

Kids wished we never did part two - YouTube

Needless to say what you have to do if you do stop.
http://youtu.be/whula16j3F8


We did get it out, spun it a 180 and back down the hill. Too much snow for the undercarriage to back out. Gave the kids a experience on how to do your own recovery...We'll call it a Father, Daugthers, bonding moment. LOL.
 
Last edited:
Did a run up to Alturas lastmonth, where my daughter stays with here mom up there.
Took the back road in. Was going ok until we stopped.

What's that saying, DON'T STOP.

Kids wished we never did part two - YouTube

Needless to say what you have to do if you do stop.

Kids wished we never did part two - YouTube

We did get it out, spun it a 180 and back down the hill. Too much snow for the undercarriage to back out. Gave the kids a experience on how to do your own recovery...We'll call it a Father, Daugthers, bonding moment. LOL.


looks like you might need a new cable
 
Did a drain and fill to trans. Back to HT tires again, and while I was in there, added loctite to all the bolts to the LRUCAS, re torqued. Checked the torque on the wheel spacers also.

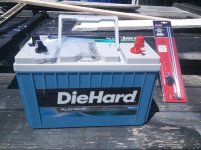
Battery stared to show it's signs of going out, and decided to go with this one.IMG_20140428_134117.jpg
 

Attachments

  • IMG_20140428_134117.jpg
    IMG_20140428_134117.jpg
    137.1 KB · Views: 851
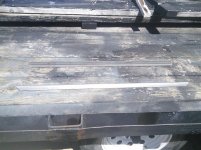
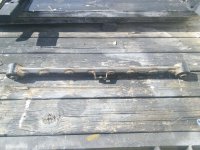
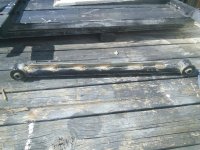
Bent up my rear LCAs on an adventure last year. Since I can't afford HD ones, I decided to break out some scrap steel and have a spare that is straight, so did these one at a time.
IMG_20140429_115053.jpg

IMG_20140429_160810.jpg

IMG_20140429_160821.jpg

IMG_20140429_193834.jpg

IMG_20140430_182037.jpg

Paint should be dry to put the other one in. Went to a drop off loading dock around the corner to flex them out, cleared all other components.
 

Attachments

  • IMG_20140429_115053.jpg
    IMG_20140429_115053.jpg
    136.6 KB · Views: 756
  • IMG_20140429_160810.jpg
    IMG_20140429_160810.jpg
    136 KB · Views: 743
  • IMG_20140429_160821.jpg
    IMG_20140429_160821.jpg
    135.6 KB · Views: 758
  • IMG_20140429_193834.jpg
    IMG_20140429_193834.jpg
    135.8 KB · Views: 759
  • IMG_20140430_182037.jpg
    IMG_20140430_182037.jpg
    133.1 KB · Views: 745

Members online

No members online now.

Forum statistics

Threads
278,309
Messages
3,554,068
Members
248,016
Latest member
Advally Service

Trending content

Back
Top