Hyde builds some axles.

Hyde802

New member
Hyde builds some axles! 92 V6 on 38s build thread

Photobucket sucks. Im Sorry. Maybe one day ill get them all hosted elsewhere.

After doing the Chevy 63" spring swap, I realized that my axles needed some work to handle the 38" TSLs that Im going to run. Nothing too crazy planned, just some simple durable axles. So here goes nothing.

EDIT: All my photos were hosted on photobucket... there is an add on for google chrome that will re show the pictures.

Ive got a full build thread over on "that other site" too if anyone is interested. HERE

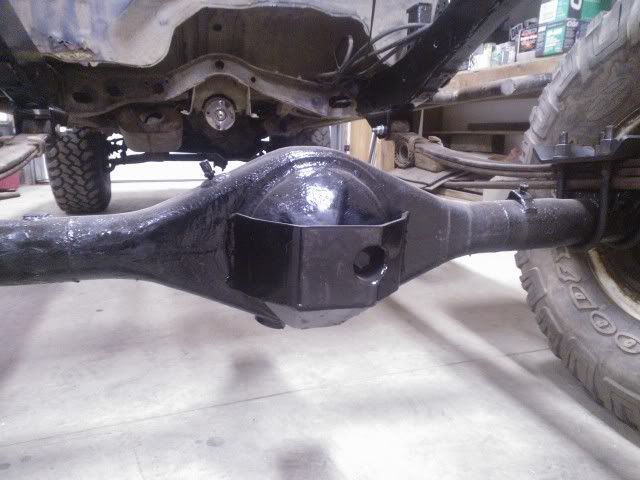
My current rear axle was shot. Had rust holes in the top of diff cover and some pretty bad rock rash on the bottom of the cover. It was yanked and replaced with a housing from a 95 pickup, which I added some TG armorand low profile drain plugs and cleaned off all the tabs I wasnt going to use.
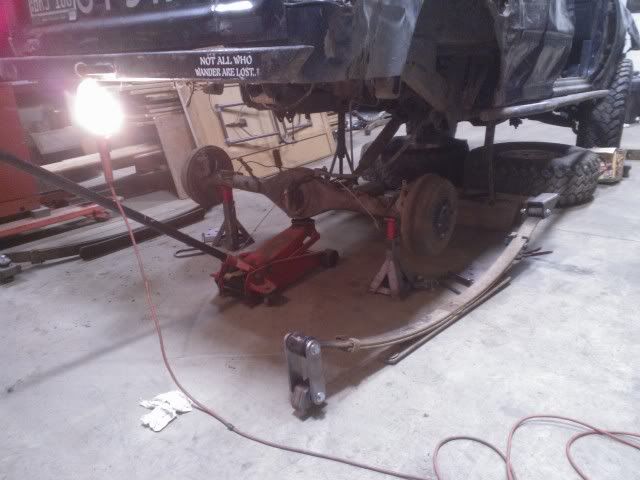
temporary-119.jpg~original


temporary-156.jpg~original


temporary-163.jpg~original


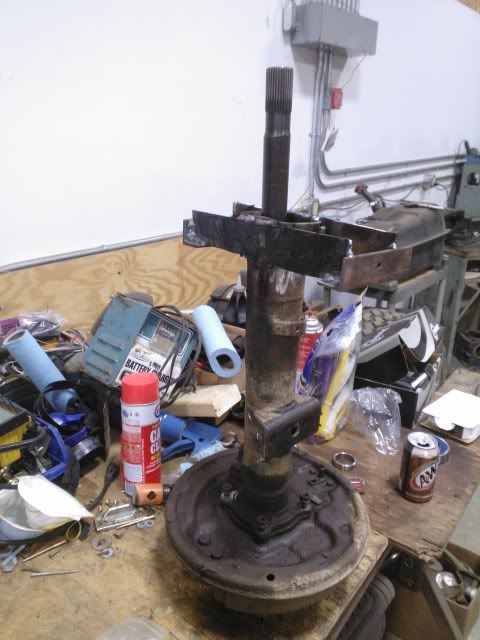
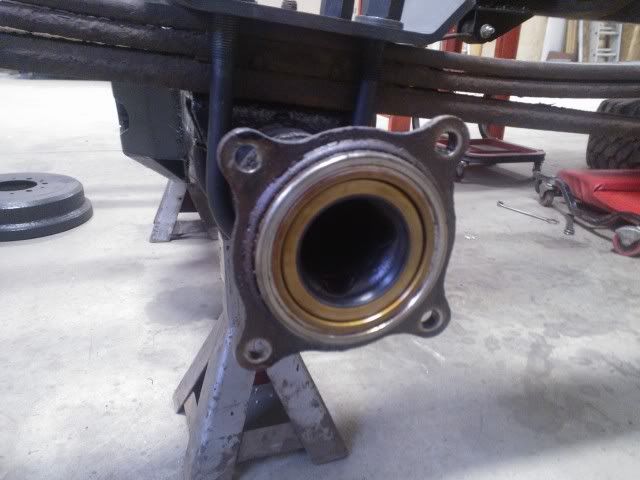
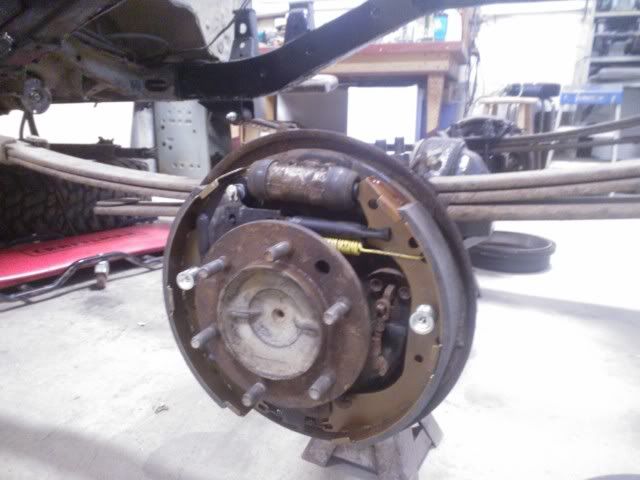
It needed a wheel bearing, so from following this site I chopped up my old housing
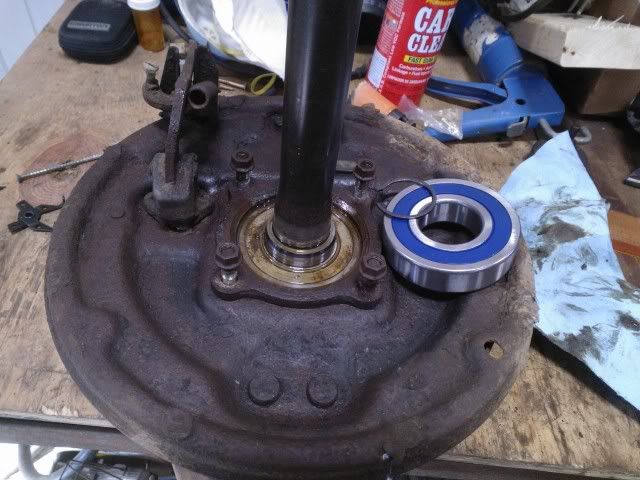
temporary-159.jpg~original


temporary-160.jpg~original


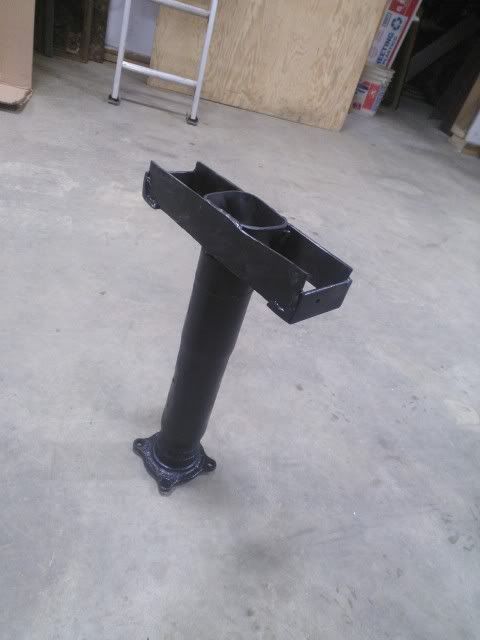
And cleaned up and painted

temporary-164.jpg~original


We dont have a press, so I took it to a friends house, and forgot my camera, but this is how it works int he press. Photo taken from the link above

press.jpg~original


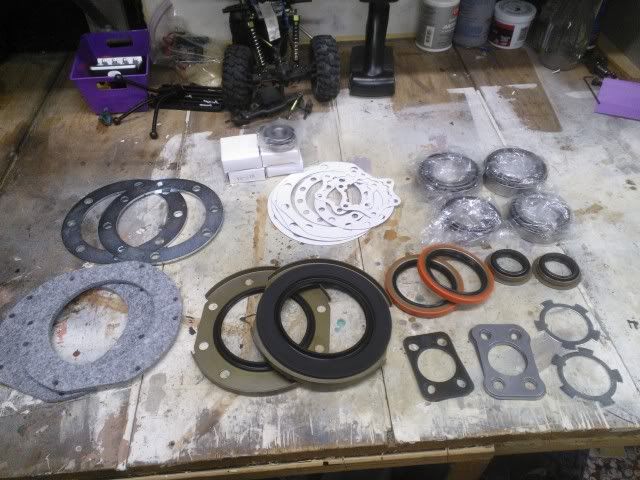
Marlin axle seals

temporary-166.jpg~original


And new shoes and hardware

temporary-165.jpg~original


The gears needed to be swapped because they dont match any other 3rds that I have. So Im taking the spool out of this one and putting it in a v6 4.10 diff.
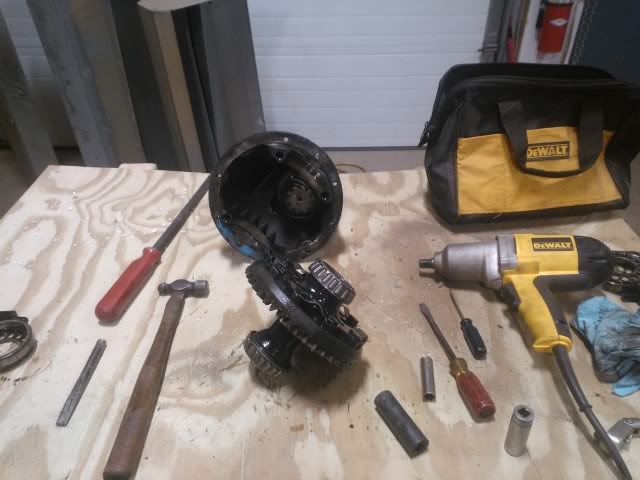
temporary-162.jpg~original


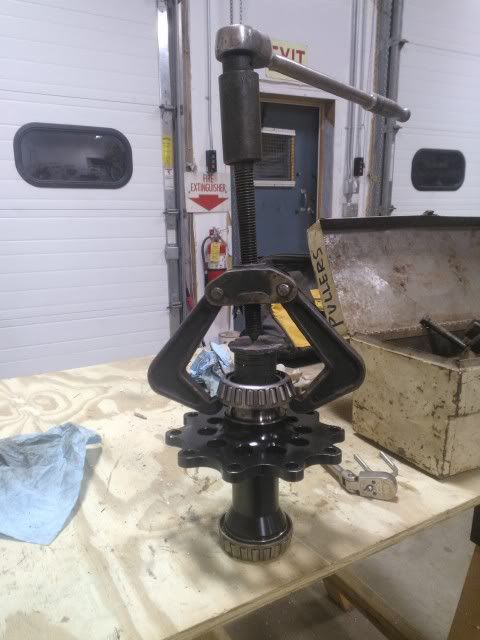
The bearings were the original ones from 92, and where showing signs of wear, so they are getting replaced too.
temporary-161.jpg~original


Ruff stuff lower shock mounts on the way, and I should have my 3rd update next weekend after I pickup the 4.10s.

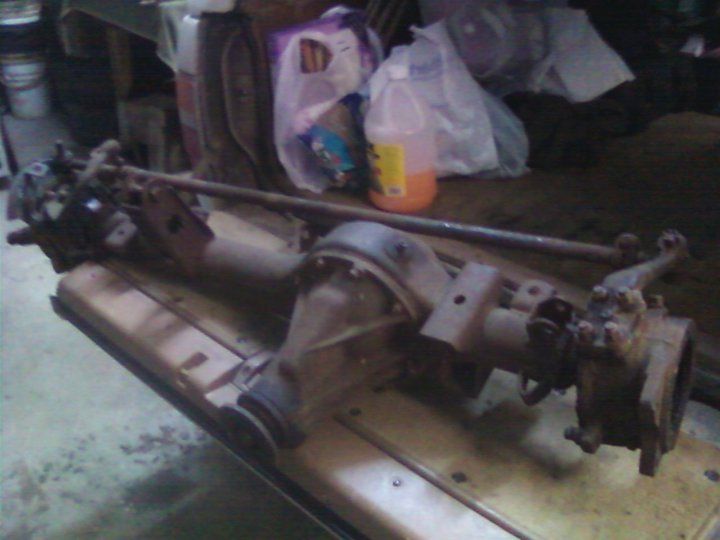
85 front axle to come next!
85Front_zps6d6c681e.jpg~original
 
Last edited:
Register to hide this ad
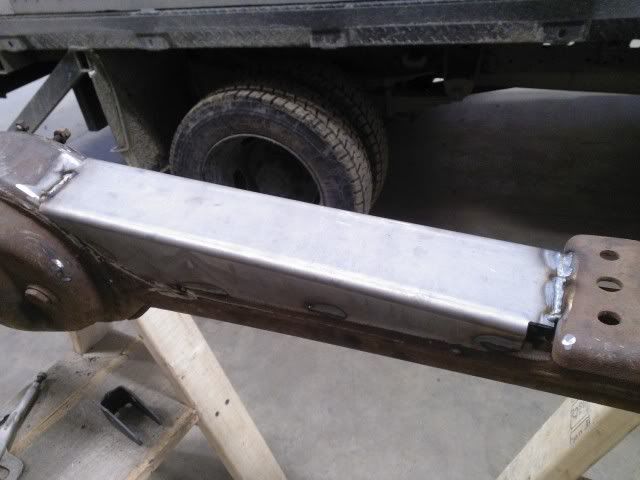
I cut 18.5ish" from the flange and welded some material to it to use as a Toyota SST for removing rear wheel bearings in a shop press.

I have another 1/2 of housing if anyone wants the other side to make one?
 
Last edited:
Marlin Cralwer front axle rebuild kit backing plate eliminators with Koyo wheel and trunion bearings

temporary-162.jpg


:boink:
 
Last edited:
I cut 18.5ish" from the flange and welded some material to it to use as a Toyota SST for removing rear wheel bearings in a shop press.

I have another 1/2 of housing if anyone wants the other side to make one?

Oh, ok, I see that now. Very cool! I'd take you up on that other half, but I bet I can find a bent housing local for cheaper than it'd cost you to ship it... :)
 
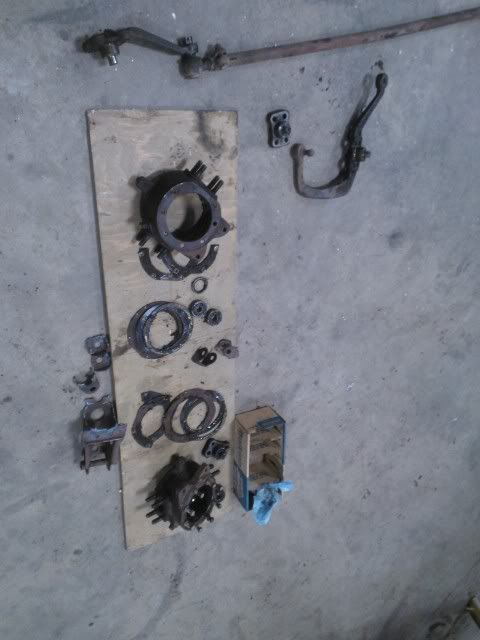
Got the non essential brackets cut off and ground smooth and ran the knuckles through the parts washer to get the 28 years of grease off.

temporary-165.jpg~original


temporary-164.jpg~original
 
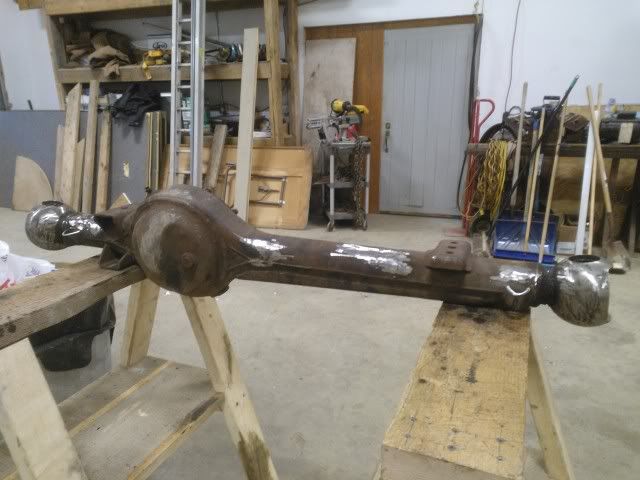
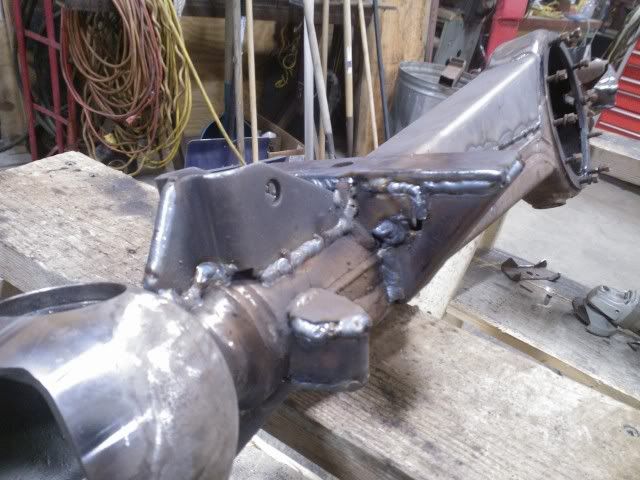
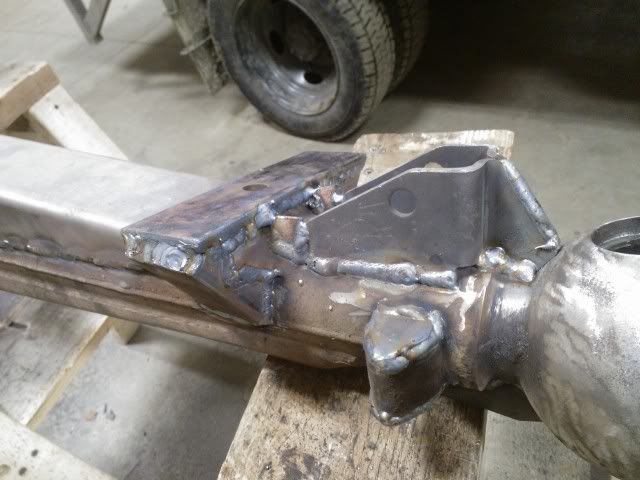
Trail Gear truss, I slid it down so it touched the spring perch. It took a while only welding 1" stitches at a time, but I wanted to make sure I did not not warp the housing.

temporary-170.jpg~original


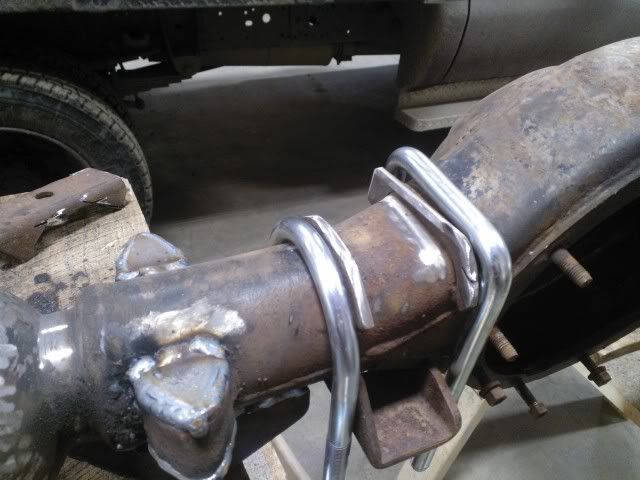
Trimmed the bottom perch so it wont hang up on things. TGs 84-85 ubolt flip kit came with 2 round and 2 square u bolts, but looks like it should have came with 3 square ones... ? What everyone else running for a u bolt in that spot right next to the diff?

temporary-169-1.jpg~original


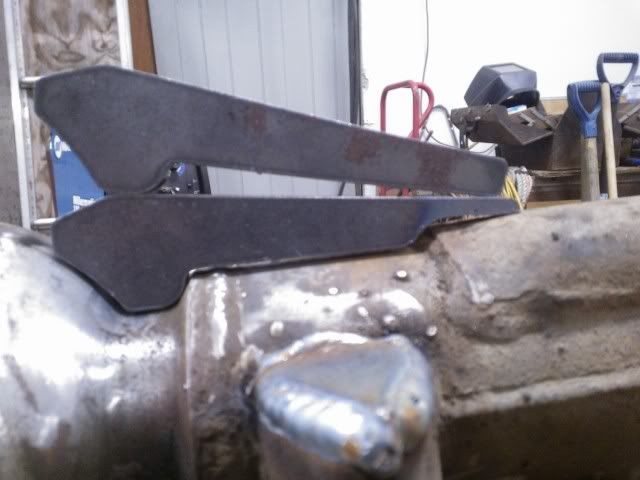
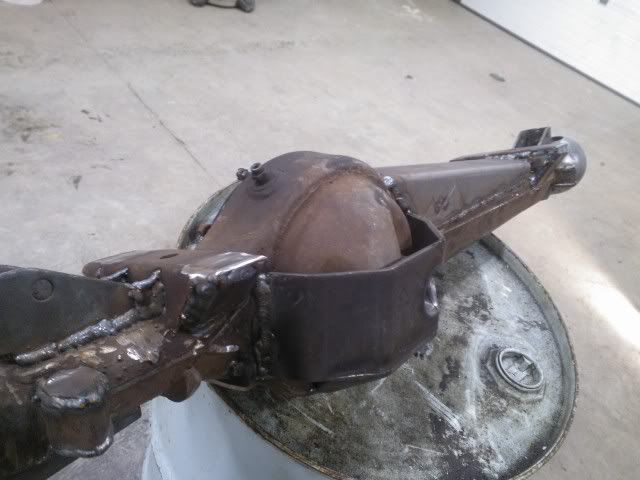
Bottom gussests, one had to be trimmed to fit over the 85s longer bottom truss.

temporary-168-1.jpg~original


And the upper knuckle gusset. I added small pieces of plate to connect them to the spring perches. I also added a 3/8ths plate to the drivers side spring perch to bring it level to the passenger side perch. When doing this I made the plate 8" long instead of the stock 5ish to try to help with axle wrap, then boxed it in.

temporary-167-1.jpg~original


temporary-166-1.jpg~original
 
Last edited:
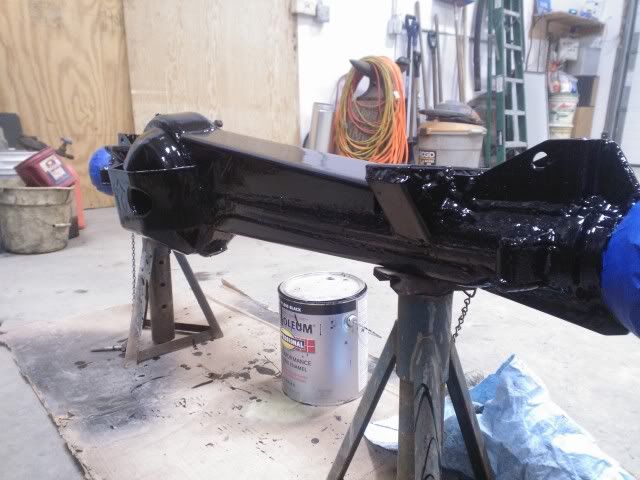
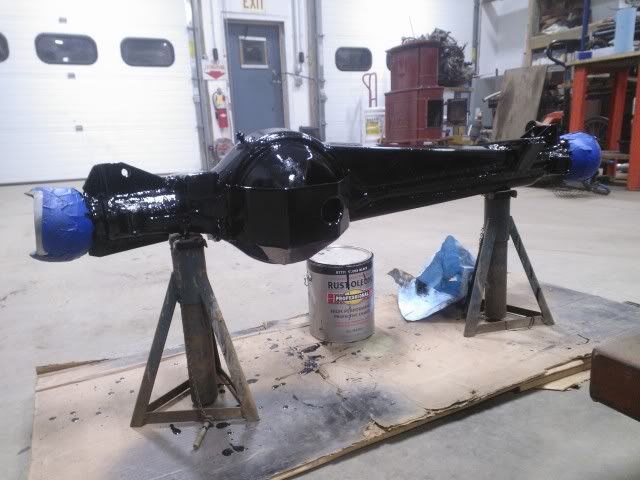
Extended the other spring perch to match, got the last piece of armor on and did a quick paint job.

temporary_zpscabf8260.jpg~original


temporary_zps52ba8a3d.jpg~original


temporary_zps36551566.jpg~original


I have JB weld on the knuckle balls to help smooth the pitting from the rust, Still needs a little more sanding..

Im in the process of a headgasket on an 03 Camry for my new DD , and as soon as thats out of the shop ill be able to roll my truck back in. :nod:
 
Last edited:
sweet axle build. looks tough as heck and i know its gonna need it. seen your type of wheeling!!! HG on a camry? 4 cylinder? they are know for the head bolts to pull threads out of the head
 
sweet axle build. looks tough as heck and i know its gonna need it. seen your type of wheeling!!! HG on a camry? 4 cylinder? they are know for the head bolts to pull threads out of the head

THanks! Yeah its the 2AZ. This one made it all the way to 220k before it went. It will get the time-serts and be put back on the road

Kid V.. Is that a good thing? haha. Im no pro welder but definitely getting better.. finally at the point where I dont have to clean them up before I paint them.. :pop2:
 
Last edited:
Kid V.. Is that a good thing? haha. Im no pro welder but definitely getting better.. finally at the point where I dont have to clean them up before I paint them.. :pop2:

Yours actually look better than mine. At least you're consistent. I'd have one or two beads that looked professional, and another fifteen or so that looked like a volcano sneezed on my axle. :D

I bought a much better welder last year and haven't had a chance to play with it much yet. I'm really hoping I'll get some cleaner welds with it.
 
UPDATE! Spent the summer on the bike instead of in the shop, But now that its too cold to ride, its time to get cracking on the truck again!

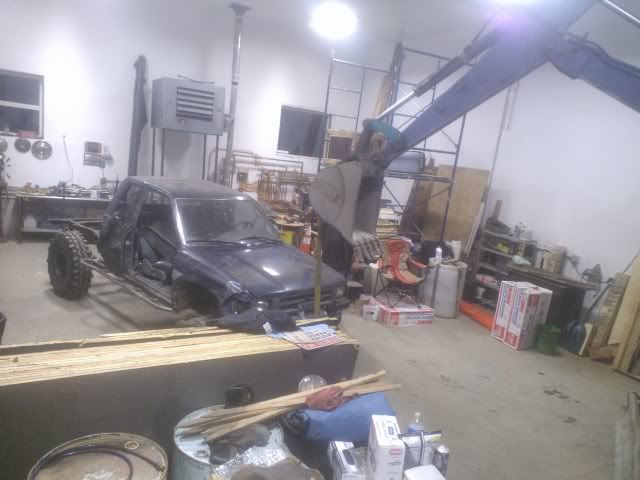
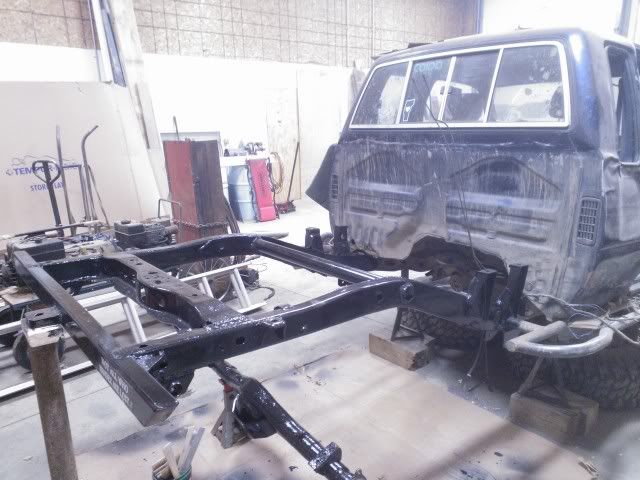
Got the truck back in the shop with a little help from the excavator..

temporary_zpsd4bfcd5c.jpg~original


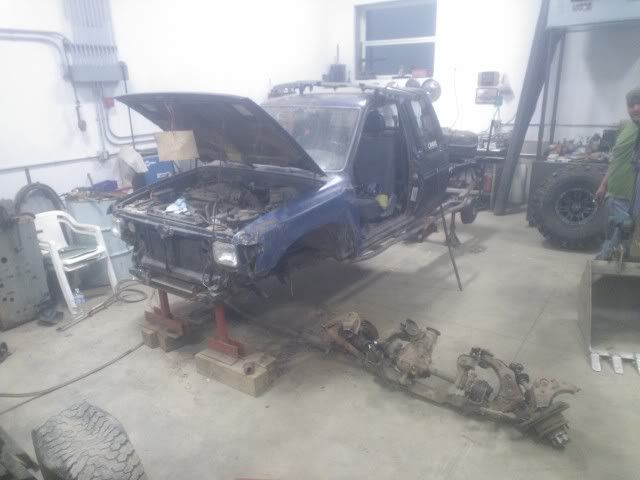
Then this happened...

temporary_zps90ab1fde.jpg


:whoo:
 
Haha. Yeah Its long over due to come out. Where both of the LCAs connect to the frame in the back were starting to peel off the frame... cant imagine why... :suspicious:

I will say that impressed how well the IFS held up. I never broke a cv (factory toyota) But just about every ball joint and tie rod has some wiggle to it.

Will start cleaning up the frame and dissembling the IFS parts tonight. Ill be using the hubs, break calipers, and lock outs on the SA. The trucks been broken since Aug of 2012, so I cant wait to wheel it. Hopefully I can get some snow wheelin in this year...

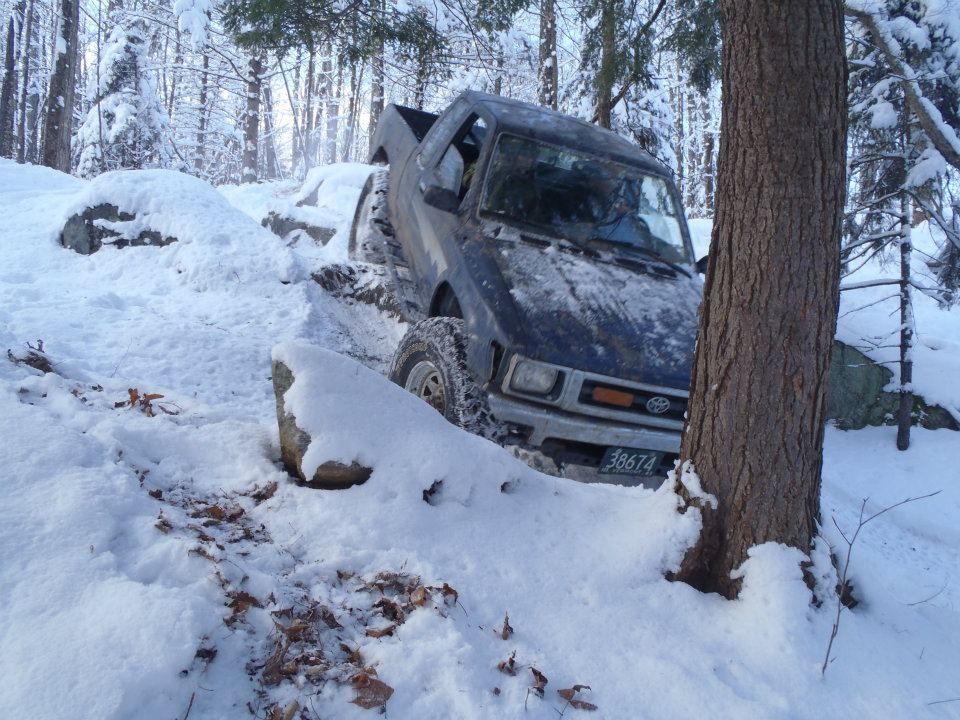
Heres some pics from 2012, mostly as motivation to me. haha. Was a brisk -5 that day.
down2_zpsee1d5cfe.jpg~original


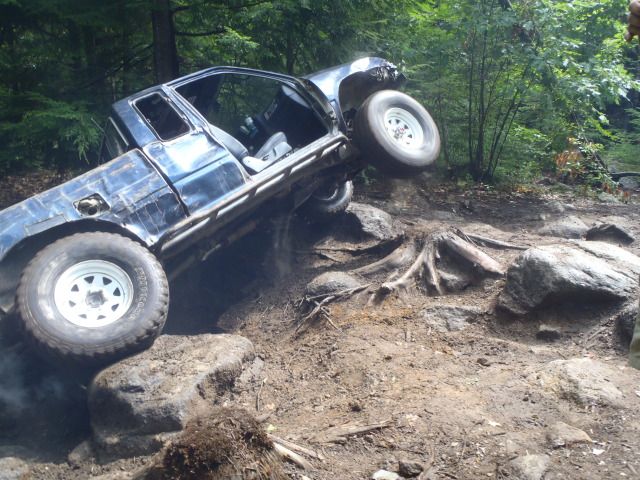
And from the day I blew up the front R&P which started this long overhaul. (but not at this spot, surprisingly)

P8101246.jpg~original


Ill try not to bore up the thread with minor details and just update when the big things happen.
 
Last edited:

Members online

Forum statistics

Threads
278,309
Messages
3,554,070
Members
248,016
Latest member
Advally Service

Trending content

Back
Top