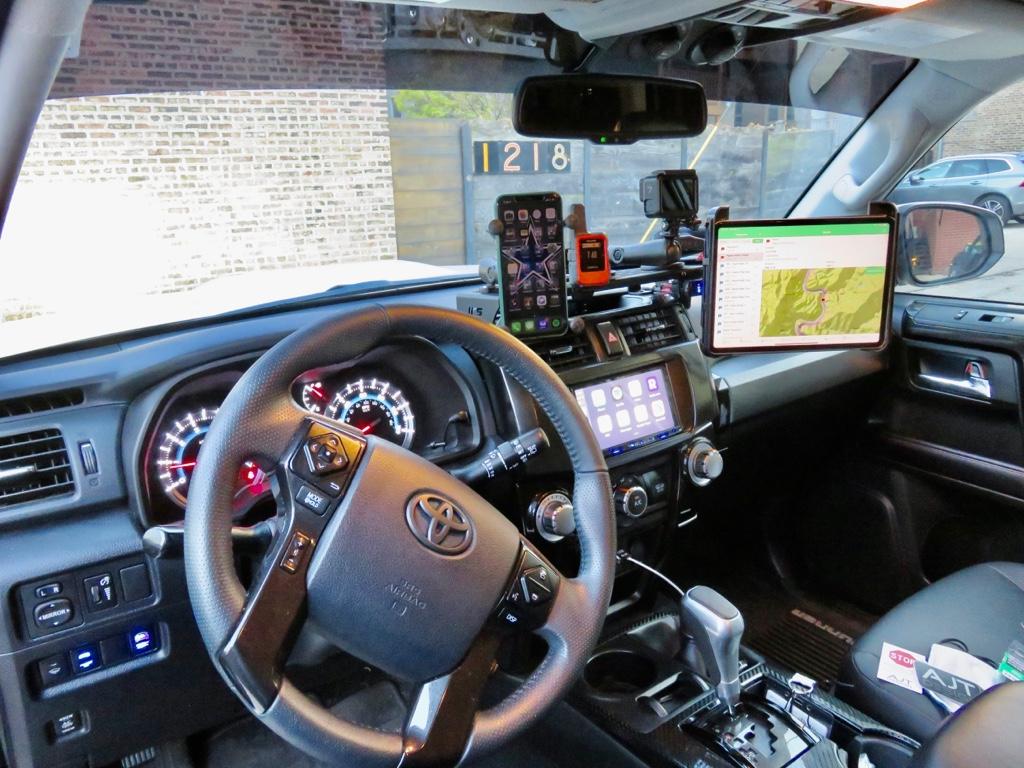
ICS Fab Dash Mount

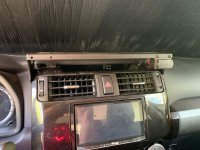
Received mine probably a week from ordering. Looks solid, waiting for time to actually installing it!!!

I'm jealous! :wink2: Mine still hasn't shipped and tomorrow will make it a week since I ordered. Am hoping I'll have enough time to get it installed before my next trip. Am also hoping the folks at ICS are staying healthy in these crazy times. :bigok:
 
I did not receive my ICS Fab mount until Wednesday afternoon. I spent most of Thursday struggling with one fitment issue. The forward "struts" are bent at right angles to the main deck. The right strut matched my 2018's bezel just fine as it is angular. However the left strut was a problem because the bezel's side is rounded, not squared off. Simply bolting the strut down would warp the bezel which would not mate back into the dash properly. I managed to add some "curve" to the strut and obtain a fairly perfect fit.

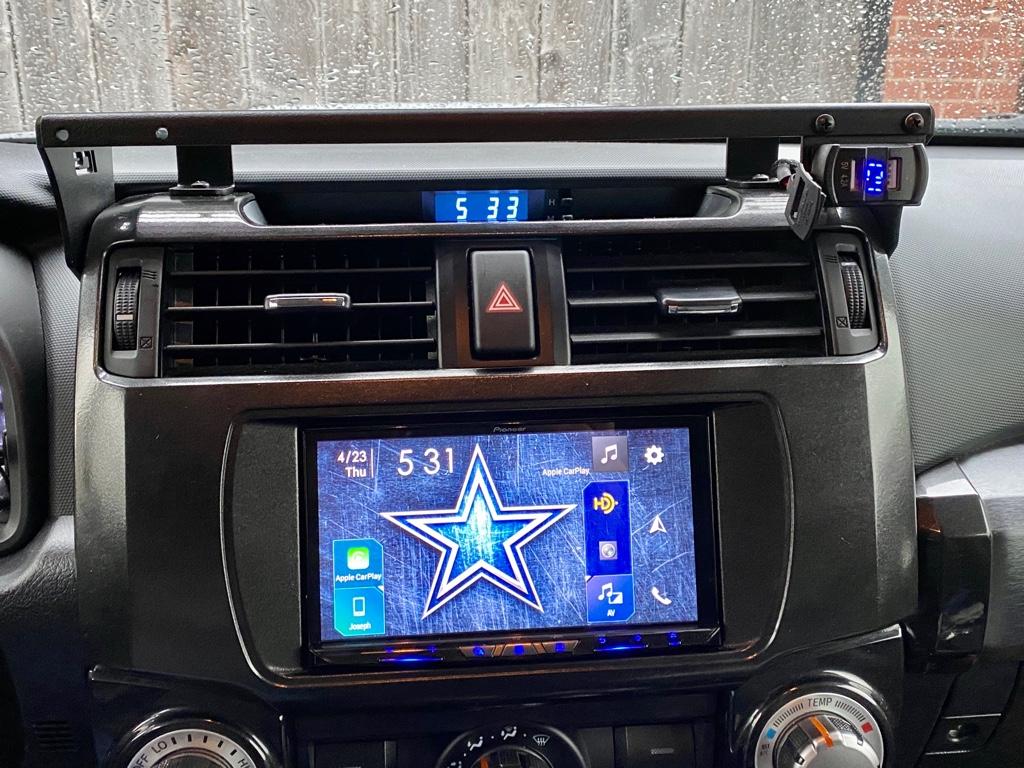
The deck now has my satellite messenger on a RAM mount, my Engel fridge's temperature display and my radar detector. For the latter I just lashed it down with zip ties until I can come up with a cradle.

Dash1-1-1.jpeg


Dash1-3-1.jpeg


For USB power I utilized some existing items I had on hand to provide 4 outlets.

Dash1-2-1.jpeg
 
Hey Pook Try this

Does anyone know where I can get another rubber grommet in that size? Wanted to drill another hole for a different cable on the other side.


[/"]www.amazon.com/gp/product/B002X4AFL0/ref=ppx_yo_dt_b_asin_title_o06_s00?ie=UTF8&psc=1"][/

Its a grommet assortment kit, am going with a larger grommet myself for my CB power and the USB power cord as well as another grommet for the coax cable for the CB antennae on the on the opposite side. Good luck.

Almost all my parts are in will be installing in June...will post pics then.
 
just got my kit in, ordered on friday and he shipped out saturday morning. shipped out from southern california so it was here super quick.

just waiting on mounts from tackform to come in and ill do install tomorrow.
 
just got my kit in, ordered on friday and he shipped out saturday morning. shipped out from southern california so it was here super quick.

just waiting on mounts from tackform to come in and ill do install tomorrow.


super solid construction. however, i suck ass at electrical and it consequently took me 2 whole days to get the USB power working.​

whoever manages their e-mail/social media is awesome. i was doing installs at like 11-2 in the morning as i work swing shift, and whenever i messaged them they would reply almost instantly. (i wasnt expecting an instant reply at all, more like leaving a message for them to get to when they can)

4HKahxX.jpg

4nKv5ke.jpg

pro tip(s)
-use snips for trimming the plastics inside for the nylok nut. i tried using a dremel and it sucked.
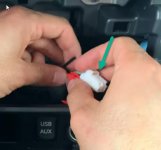
-the insulation on the harness provided by ICS is thicker than what's on your car. easiest way is to just strip it (ics harness) beforehand and use the bite connector after the fact.
-just pull the center console plastics. it will be SIGNIFICANTLY easier. i have large hands. it took me about 15 minutes of violating the 12v socket just to get the stupid connector out.
-you will REQUIRE a straight up philips head screwdriver, no multi-bit drivers will fit the slots to screw in the rear mounts.
 
Finally got the time to do my install. Alls that left is to hang the CB mike holder clip and attach a PL-259 connector to my coax...and clean up all the sweat I left behind...its been hellatiously hot here in Florida lately.

Had a few more cables to route then just the USB port charging cable, also had the cb power supply cord, cb coax, cb pa speaker wire, and scan gauge connector wire to route. Put a different size grommet on the right side in the location shown for the power cables and couldn't put a grommet on the left side for the coax, pa, and scan gauge wires. The location in the ICS Fab mounting instructional video was only large enough for their very small grommet. There is also a lot of ribs on the underside of the radio bezel which gives it strength and did not want to compromise it in this way. The locations shown for the cable routing through the bezel have no ribs an just barely gave me enough room for a 1/2" hole.

Instead of tapping into the 12 volt socket for power to the USB port, Ran a power wire directly from the battery (10 amp fuse at battery positive end) along with the coax for hood lip mount antenna and the pa speaker wire through the large grommet where the main wire loom runs through the firewall. Used a wire insertion tool and it made a clean hole through the grommet which stretched and closed up nicely around the wires. Actually pulled one wire through the wire insertion tool and then taped and pulled the wiring from the engine compartment to the cab. Then routed the wiring under the dash with the scan gauge wire behind the head unit to its current outlets.

Very satisfied with the outcome, very sturdy mount. It was a little hard to mark the spot to drill on the drivers side of the radio bezel because the way the dash is made, use a small nail instead of a punch as shown in the ICS Fab video, the bezels around the dic get in the way of the punch handle not allowing you to mark the hole correctly. Other than that great product and instructional video.

woXDpbt.jpg


mw4aCsJ.jpg


wyYqIR7.jpg
 
Last edited:
I got mine installed last weekend. I have ordered a new Ram ball base for my phone mount so I'm waiting for that. The USB is not wired up just yet. I'm very happy with how solid it is. I was afraid it would be wobbly because of my aftermarket radio bezel.
 

Attachments

  • 934C5325-229D-4BEE-87E8-23EA3EF62B5A.jpeg
    934C5325-229D-4BEE-87E8-23EA3EF62B5A.jpeg
    95.4 KB · Views: 1,025
Mine is arriving sometime today. The one thing I am concerned about though is that you have to tap into the cigarette lighter wires for the USB power.

Does anyone know where I can buy the male and female plugs that the 12V power connects to? I'd rather just make a spliter that splits the 12V line instead of using the supplied wiretaps.
 
Mine is arriving sometime today. The one thing I am concerned about though is that you have to tap into the cigarette lighter wires for the USB power.

Does anyone know where I can buy the male and female plugs that the 12V power connects to? I'd rather just make a spliter that splits the 12V line instead of using the supplied wiretaps.

I haven't looked but it may be a standard 12 volt connector such as:

media.nl
 
Finally got the time to do my install. Alls that left is to hang the CB mike holder clip and attach a PL-259 connector to my coax...and clean up all the sweat I left behind...its been hellatiously hot here in Florida lately.

Had a few more cables to route then just the USB port charging cable, also had the cb power supply cord, cb coax, cb pa speaker wire, and scan gauge connector wire to route. Put a different size grommet on the right side in the location shown for the power cables and couldn't put a grommet on the left side for the coax, pa, and scan gauge wires. The location in the ICS Fab mounting instructional video was only large enough for their very small grommet. There is also a lot of ribs on the underside of the radio bezel which gives it strength and did not want to compromise it in this way. The locations shown for the cable routing through the bezel have no ribs an just barely gave me enough room for a 1/2" hole.

Instead of tapping into the 12 volt socket for power to the USB port, Ran a power wire directly from the battery (10 amp fuse at battery positive end) along with the coax for hood lip mount antenna and the pa speaker wire through the large grommet where the main wire loom runs through the firewall. Used a wire insertion tool and it made a clean hole through the grommet which stretched and closed up nicely around the wires. Actually pulled one wire through the wire insertion tool and then taped and pulled the wiring from the engine compartment to the cab. Then routed the wiring under the dash with the scan gauge wire behind the head unit to its current outlets.

Very satisfied with the outcome, very sturdy mount. It was a little hard to mark the spot to drill on the drivers side of the radio bezel because the way the dash is made, use a small nail instead of a punch as shown in the ICS Fab video, the bezels around the dic get in the way of the punch handle not allowing you to mark the hole correctly. Other than that great product and instructional video.

woXDpbt.jpg


mw4aCsJ.jpg


wyYqIR7.jpg

Jesus!... Well, at least we know that the ICS will hold approximately 350lbs...lol
 
Jesus!... Well, at least we know that the ICS will hold approximately 350lbs...lol

lol...it is a sturdy mount.

Any suggestions where to mount the microphone holder? Most places on the left side of the radio bezel have the mic cord going down the center of the nav screen. Thought about suspending it from the ceiling but couldn't come up with any good spots to do that. If you have an ideas please let me know...thanks...have a good weekend y'all….cheers
 
super solid construction. however, i suck ass at electrical and it consequently took me 2 whole days to get the USB power working.​

whoever manages their e-mail/social media is awesome. i was doing installs at like 11-2 in the morning as i work swing shift, and whenever i messaged them they would reply almost instantly. (i wasnt expecting an instant reply at all, more like leaving a message for them to get to when they can)

4HKahxX.jpg

4nKv5ke.jpg

pro tip(s)
-use snips for trimming the plastics inside for the nylok nut. i tried using a dremel and it sucked.
-the insulation on the harness provided by ICS is thicker than what's on your car. easiest way is to just strip it (ics harness) beforehand and use the bite connector after the fact.
-just pull the center console plastics. it will be SIGNIFICANTLY easier. i have large hands. it took me about 15 minutes of violating the 12v socket just to get the stupid connector out.
-you will REQUIRE a straight up philips head screwdriver, no multi-bit drivers will fit the slots to screw in the rear mounts.

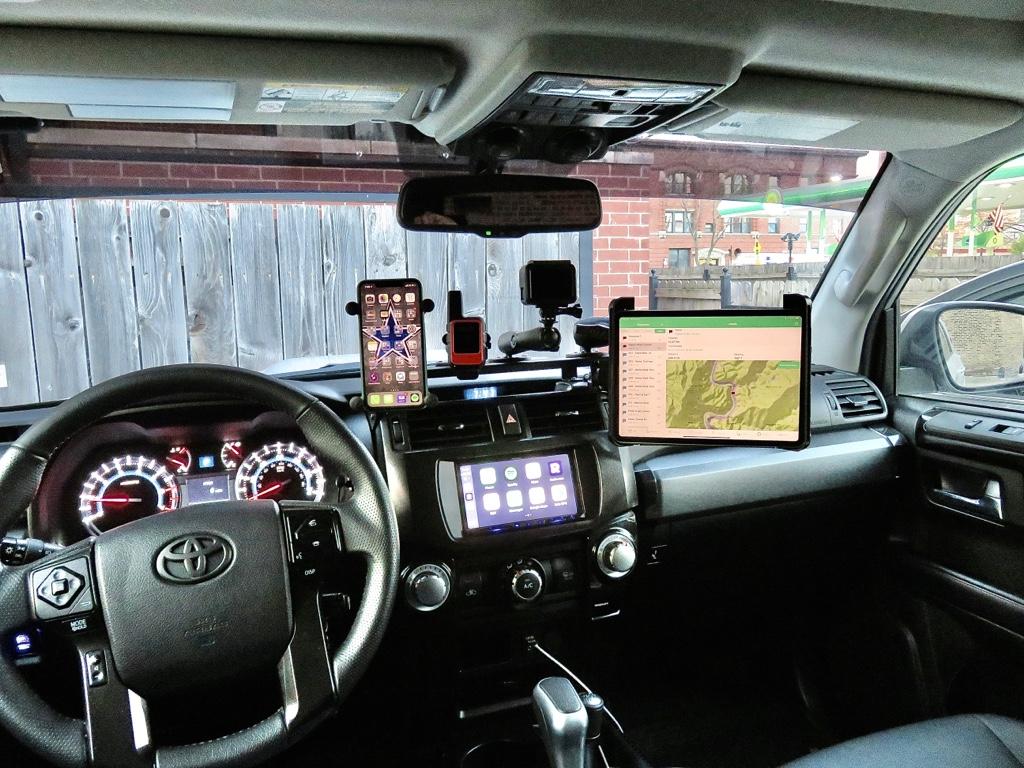
Hi [MENTION=380932]jaemz[/MENTION], would you be so kind yo point me in the right direction for the 67 design mounts. I will be installing 2 iphones, 1 ipad and a go pro. Thanks in advanced!!!
 
Installed mine a few months ago and love it. No regrets and cleaner looking than the expedition unit, IMO.

fac57e0a73383d63a2705ac6686ce508.jpg


df2a40446b60667638868c9ce35f1798.jpg

585af1ffb89517578368b21ef3280561.jpg


Sent from my iPhone using Tapatalk
 

Members online

Forum statistics

Threads
278,307
Messages
3,554,049
Members
248,016
Latest member
Advally Service

Trending content

Back
Top