Installing Savage Rear Bumper w/Swingout - **Pictures!**

ramonortiz55

New member
I received my Savage Rear bumper with swingout a few months ago, I barely had the time to have it sent for powdercoating and getting it installed.


I decided to do a writeup on the installation since the vendor didn't provide any. Hopefully this helps anyone that is interested in buying this setup in regards to installation.


This will be installed on a 2001 4runner.


The morning sunlight was not good with me - So I apologize in advance if any of the pictures are too dark. I try to make this as comprehensive as possible.


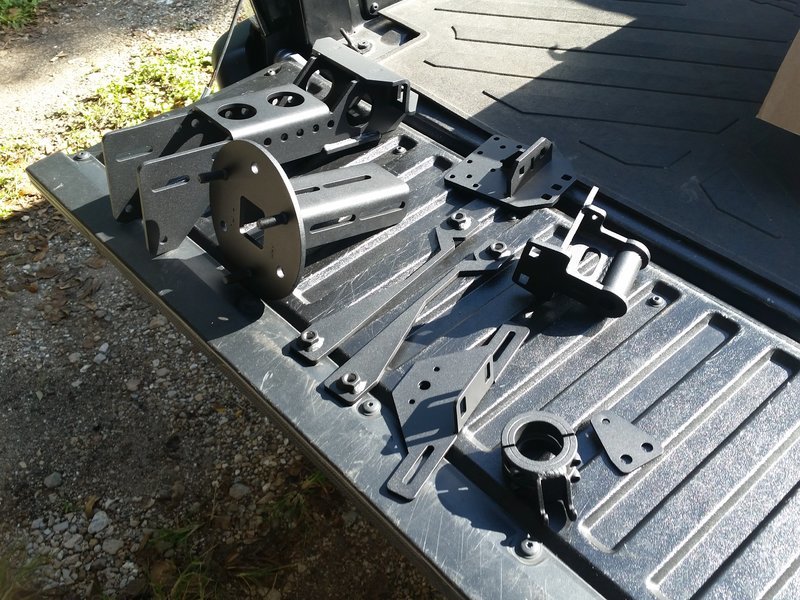
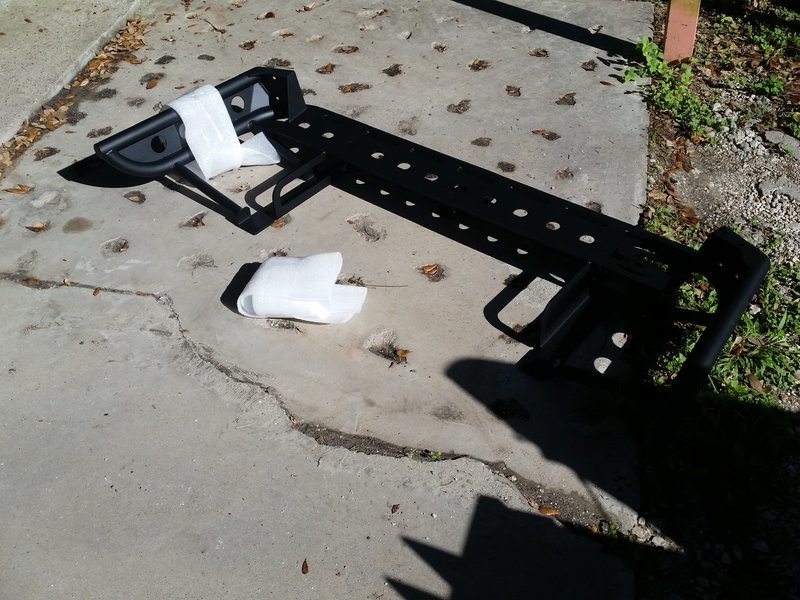
Here is the powdercoated bumper and swingout assembly:


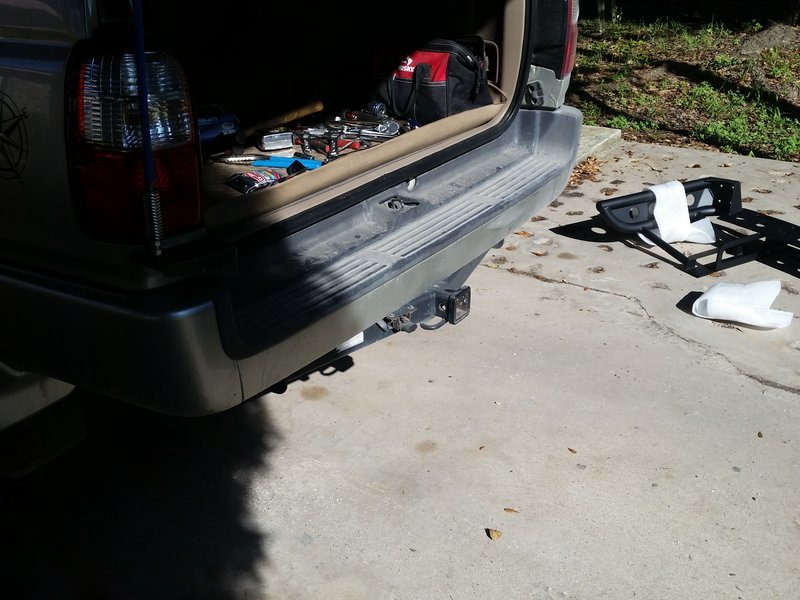
First step is to obviously remove the rear bumper and hitch:


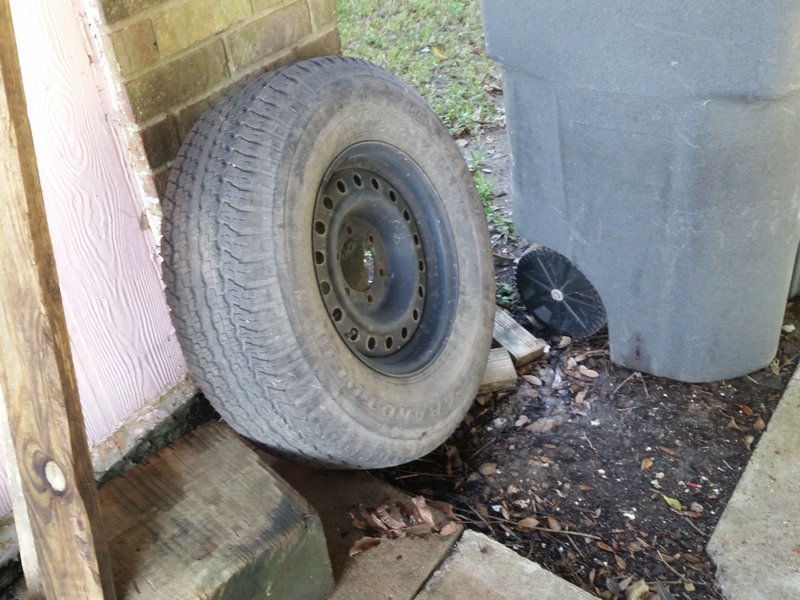
Drop the spare and get it out of the way:


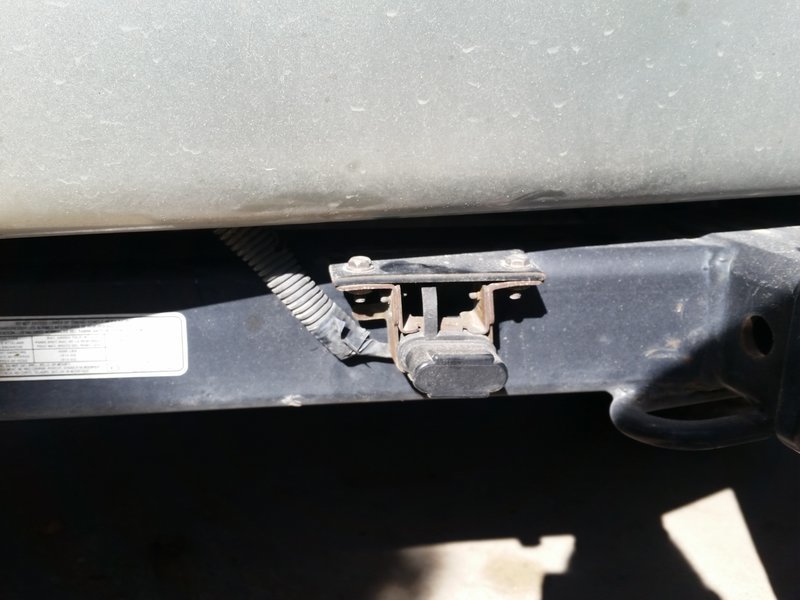
Since the hitch is the first thing to go, I made sure the trailer wiring harness bracket was disconnected from the hitch:


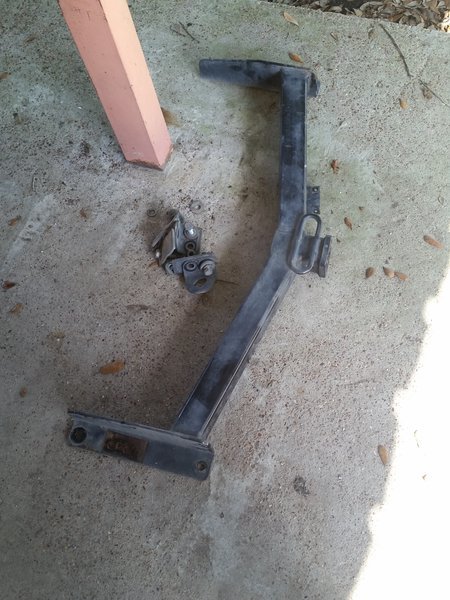
The hitch receiver is held in place to the frame with a total of 8 bolts - 4 on each side:
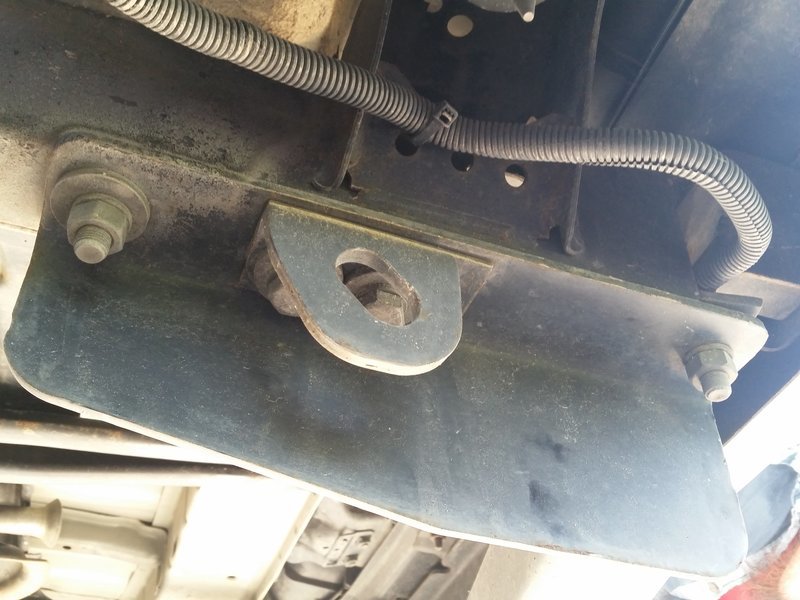


Removing the eight bolts will drop the hitch receiver:


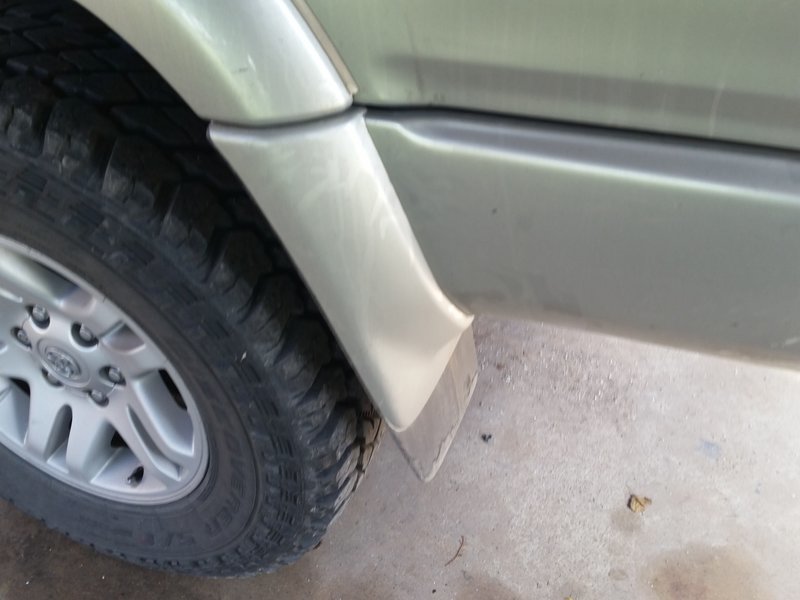
Next remove the mudflaps, there are about 3 screws that hold the mudflaps onto the 4runner. They are located against the wheel well:
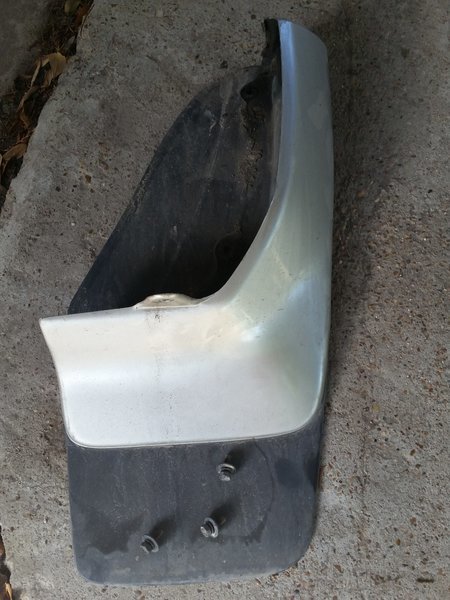


Removing the mudflaps will reveal a bolt, take it out:
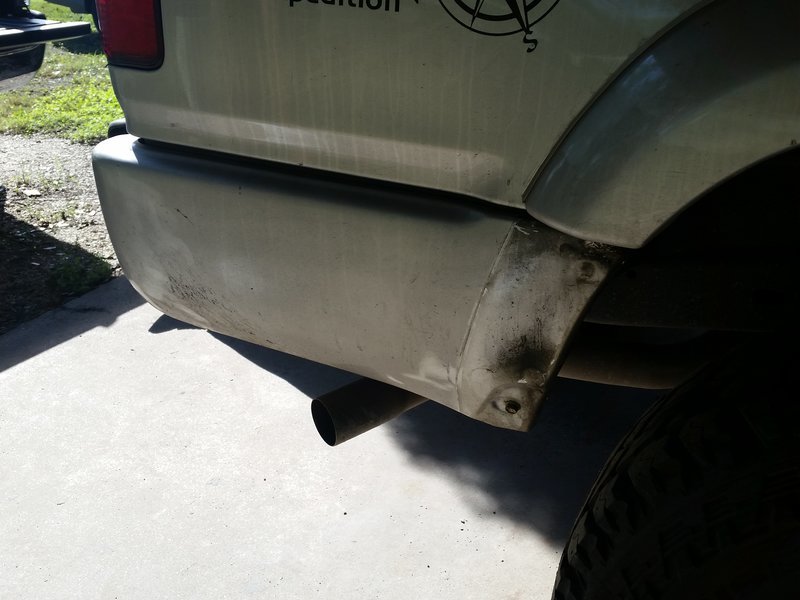


Once that bolt is off, remove the bumper cover. These are held firmly in place with tabs, crawl underneath the vehicle and push the tabs out with a flathead, pliers, etc.
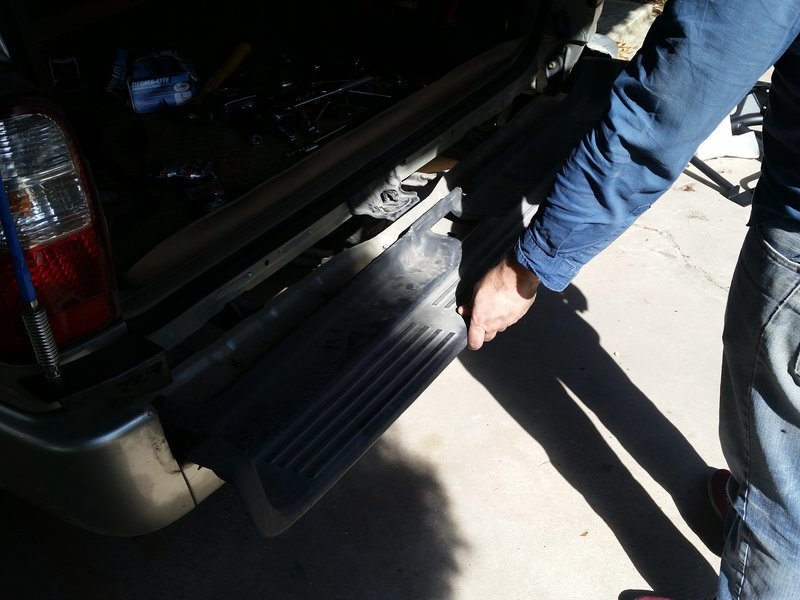
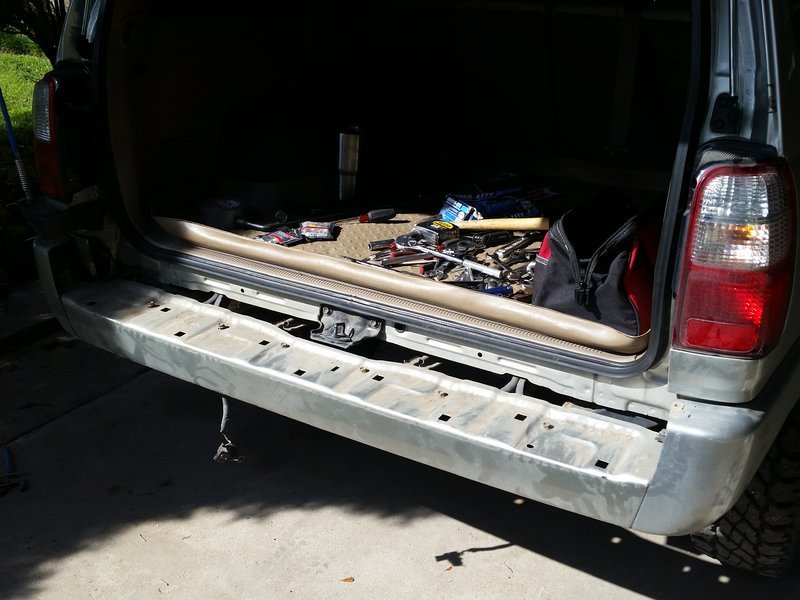
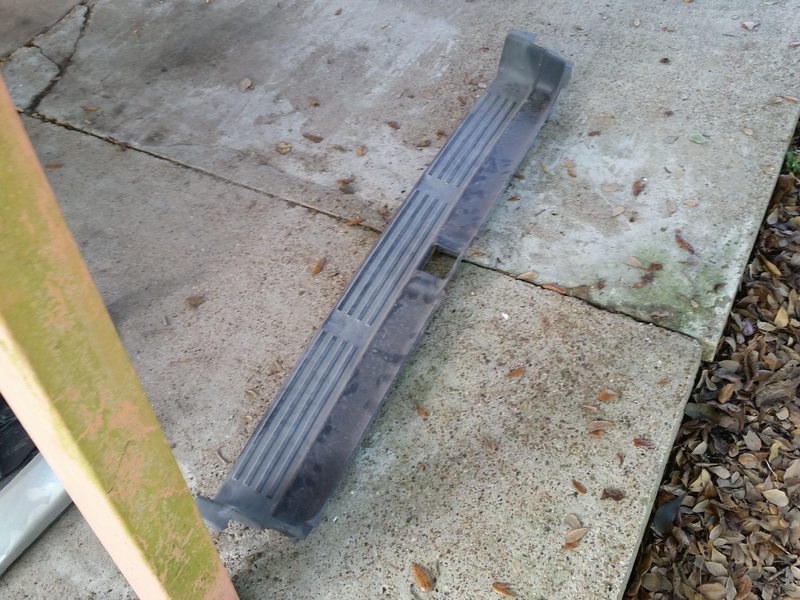


Once that black bumper cover is gone, it will reveal a black bracket with two bolts, remove the top two bolts on EACH side of the bumper:
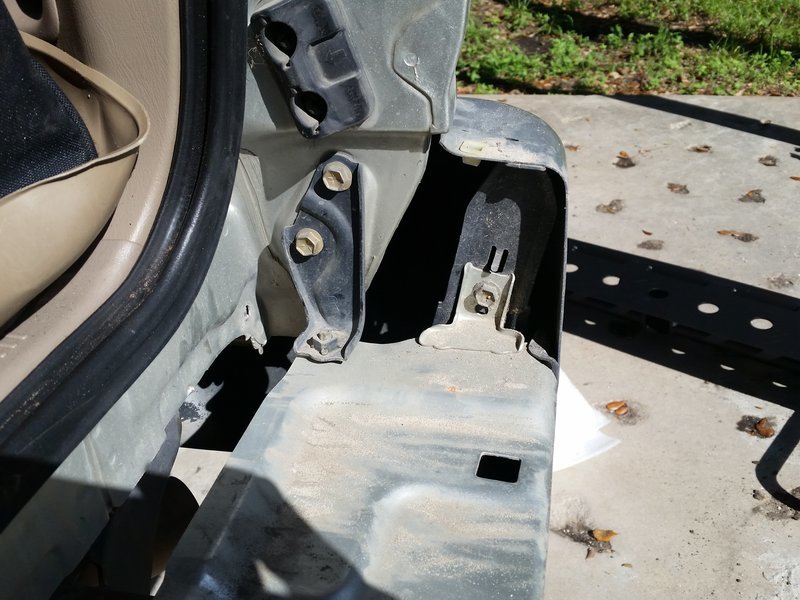
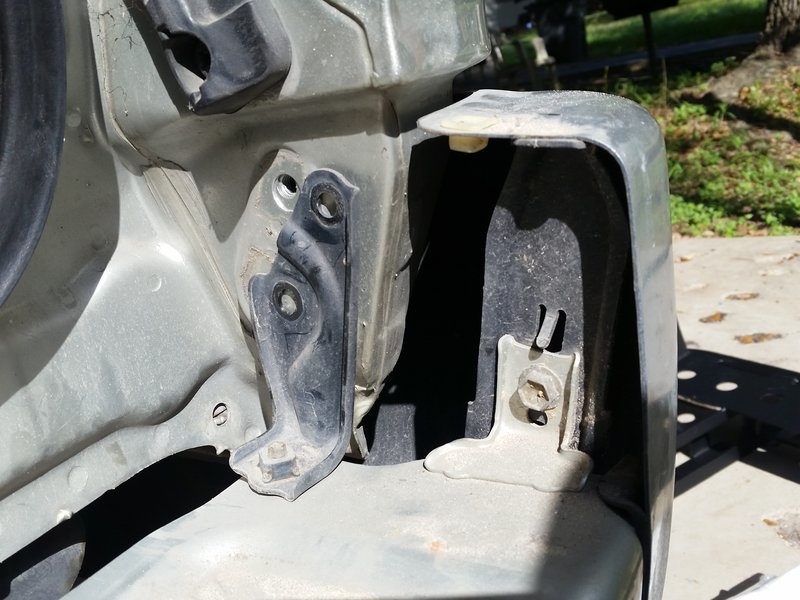


The bumper is now being held in place by four bolts underneath the vehicle, two on each side on this bracket:
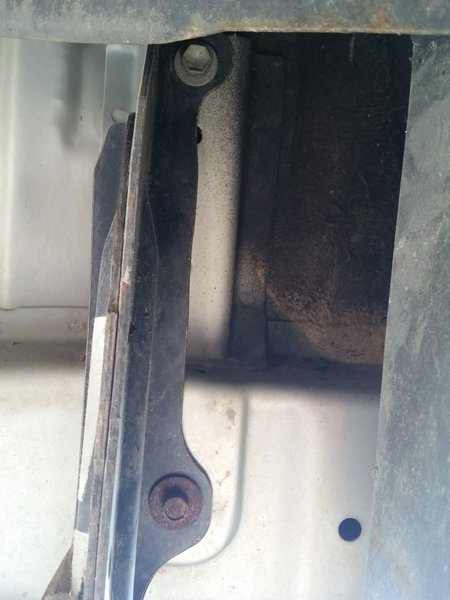


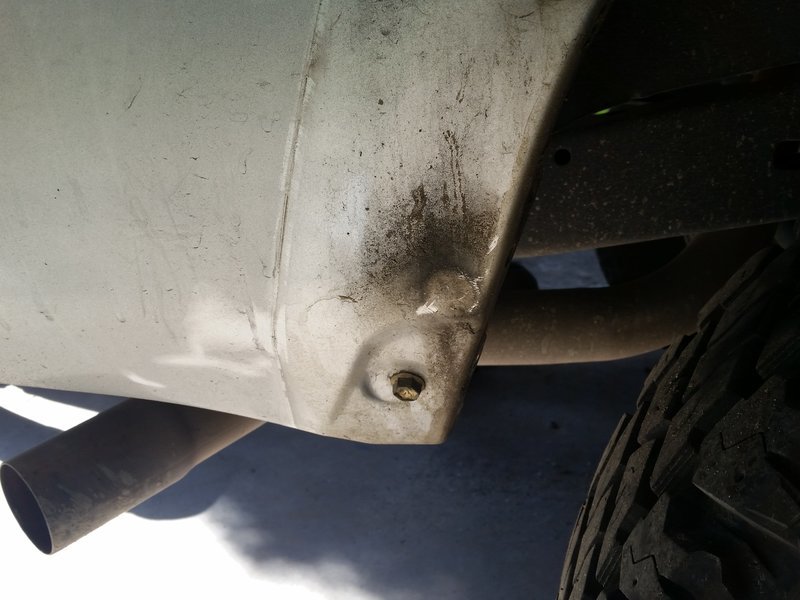
Oooops.. found two more bolts - The bolts are located where the bumper ends at the mudflap - notice the fuel filler neck cover - One on each side - These are a little hidden.
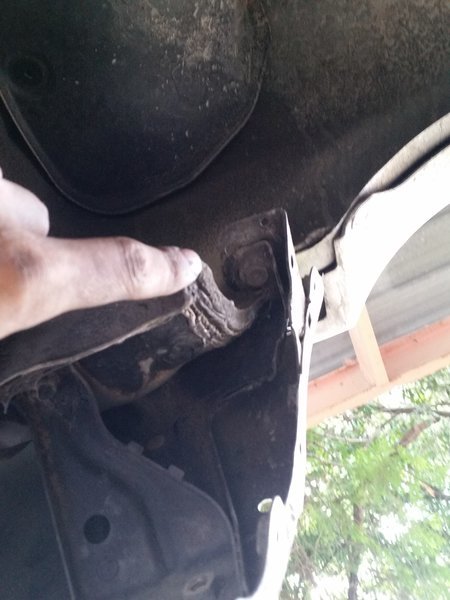


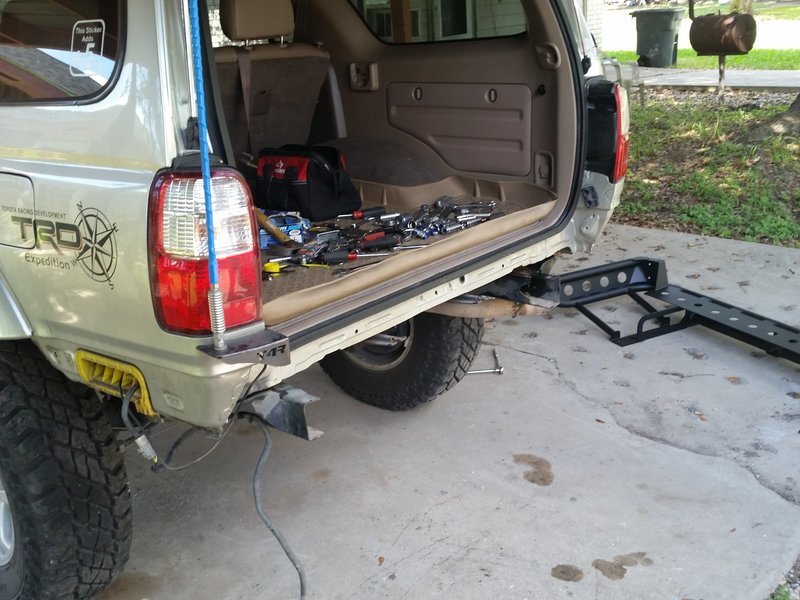
The bumper should now come off:
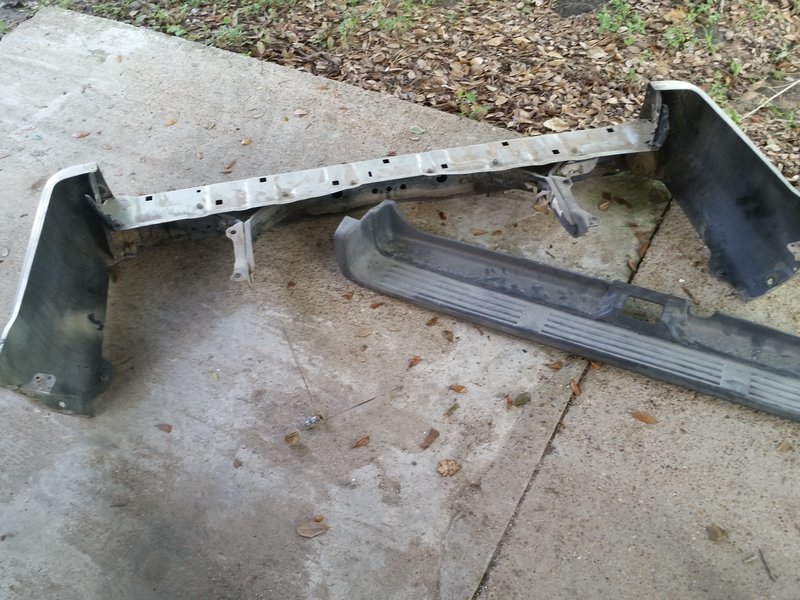


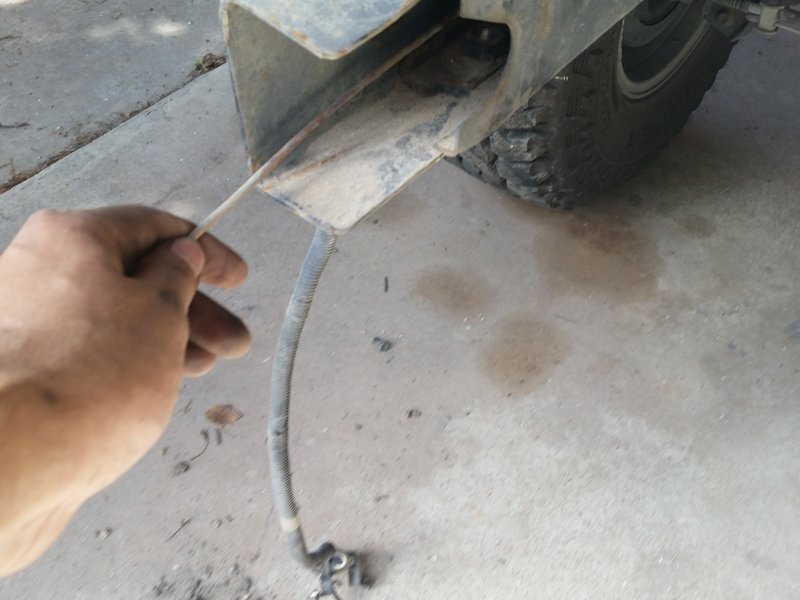
Inside of the frame rails, a long rod with a bolt welded on it will be seen, pull them out:


Register to hide this ad
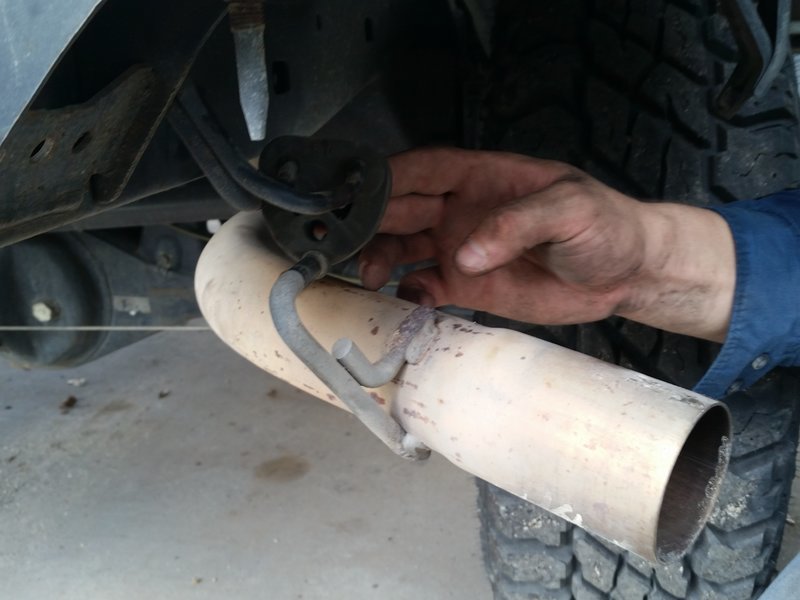
In order to get the bumper in, the rubber grommet that holds the exhaust tail piece must be removed:


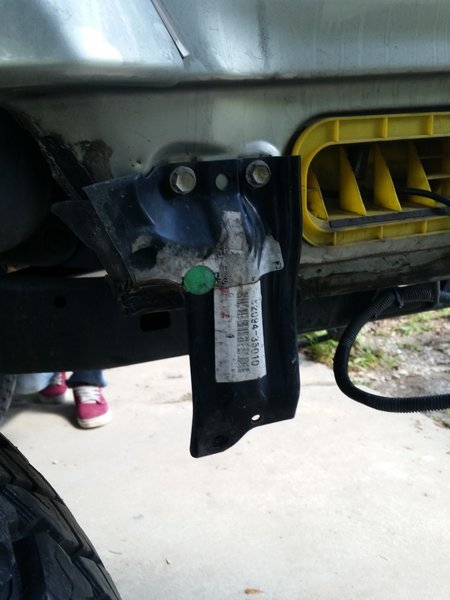
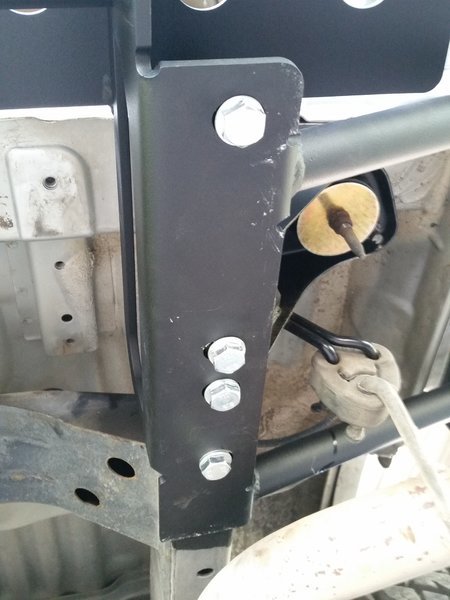
When the bumper was removed, this black bracket was revealed - one on each side. Remove this also:


Feed your cat:


Once you're finished feeding the cat, it is time to install your bumper:


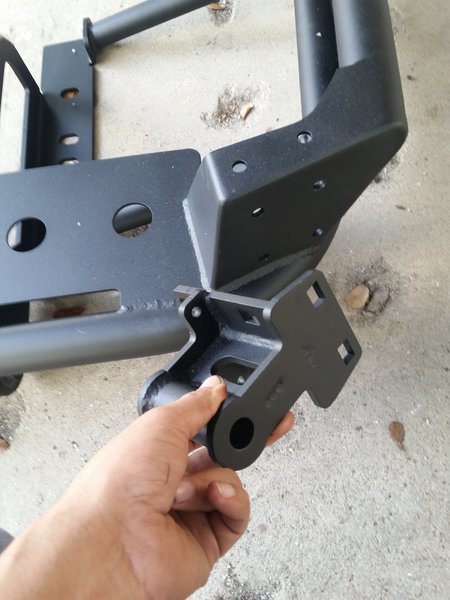
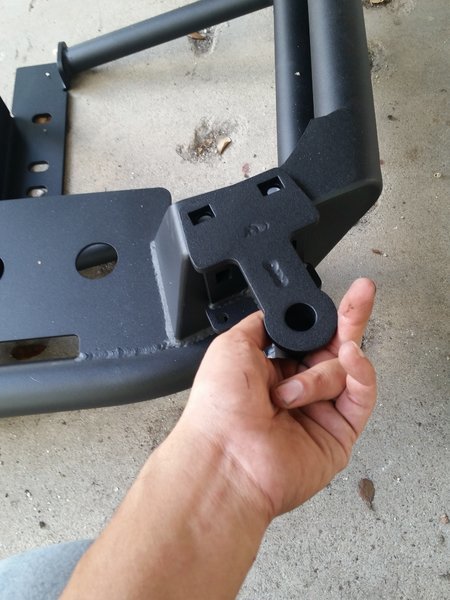
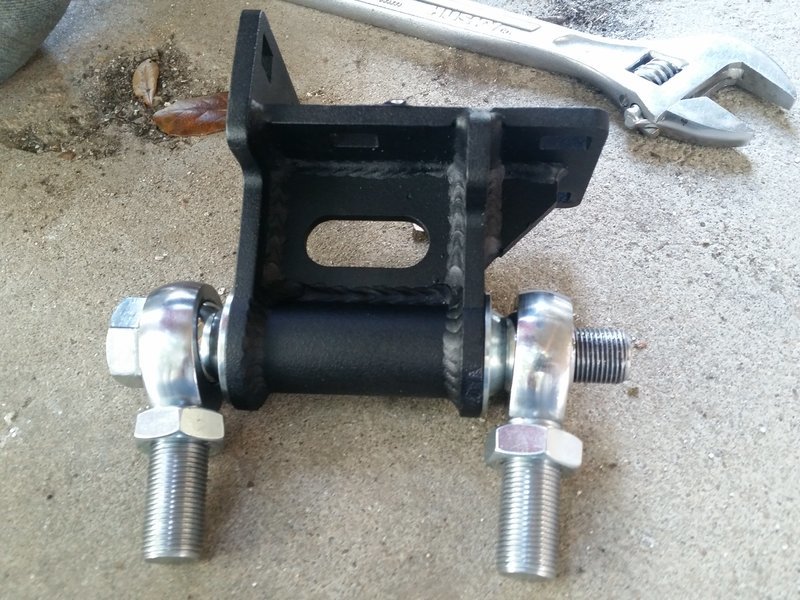
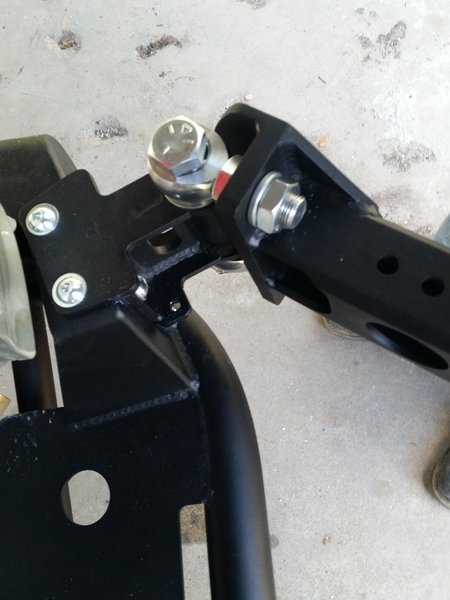
This is the hinge bracket where the swingout attaches to. Make sure this gets installed FIRST before installing. When the bumper is purchased, Savage only drills pilot holes for the hinge bracket. Drill them out BEFORE getting the bumper powdercoated or painted.


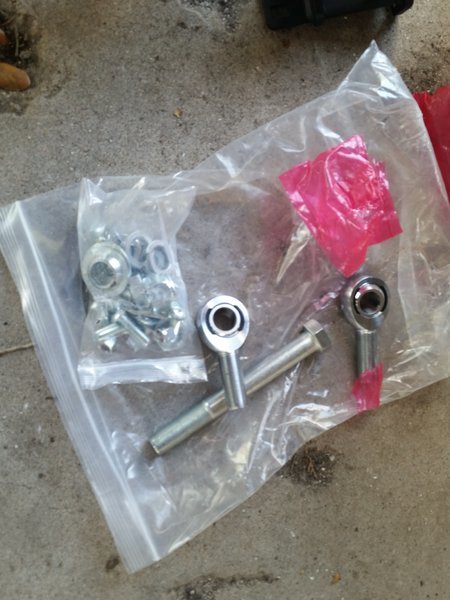
Hinge hardware:


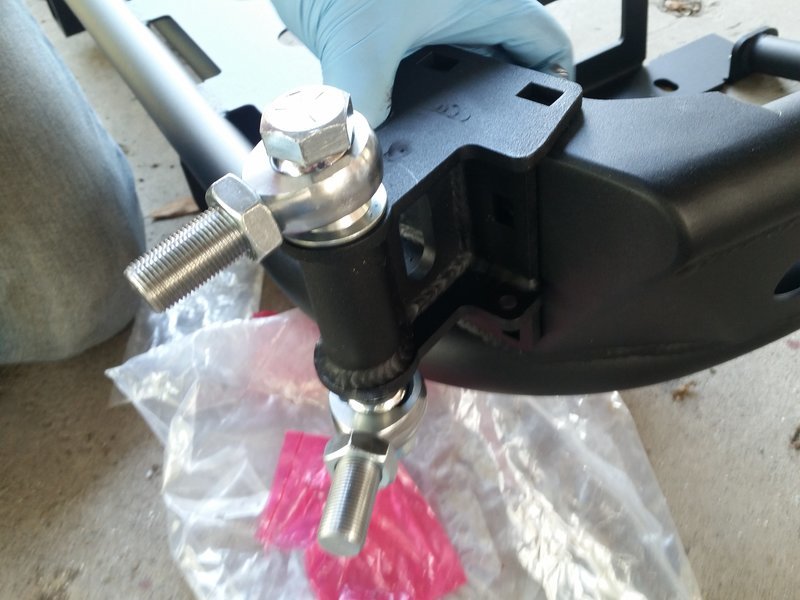
Assemble and bolt on like this:


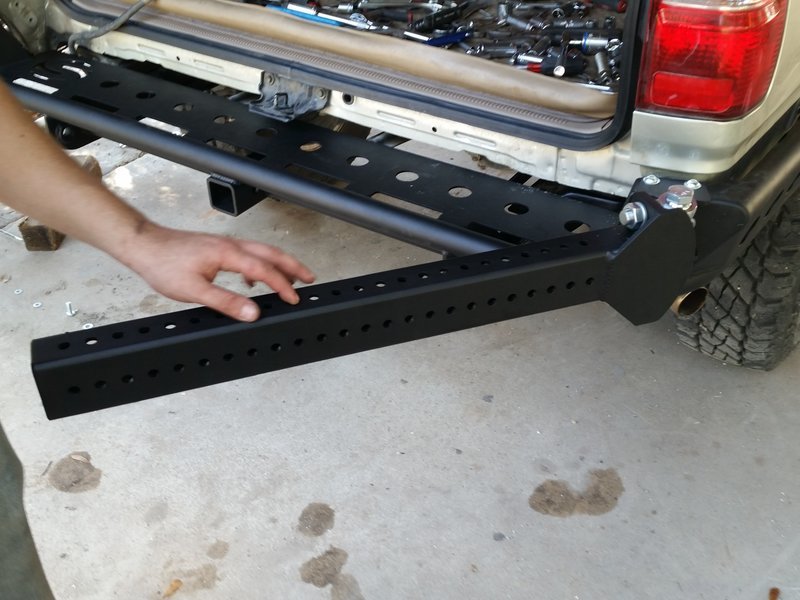
Install bumper:


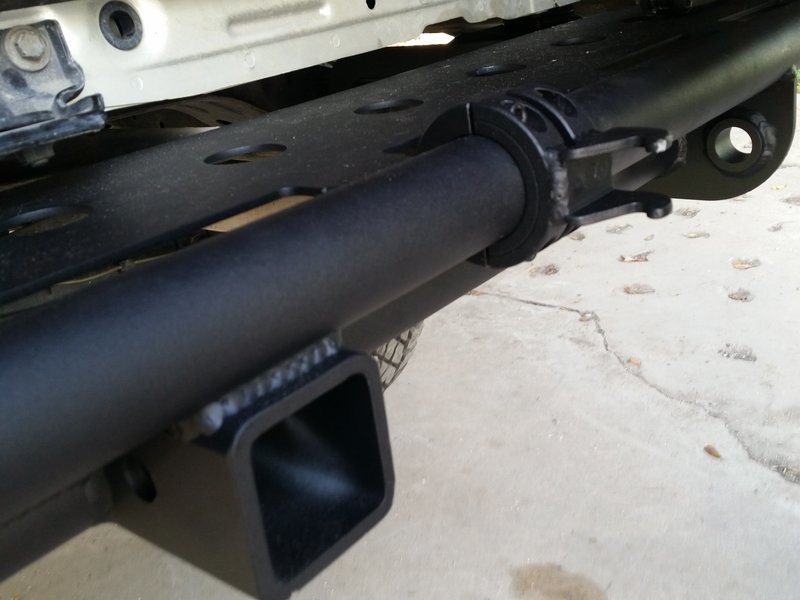
Picture of hinge for the swingout:


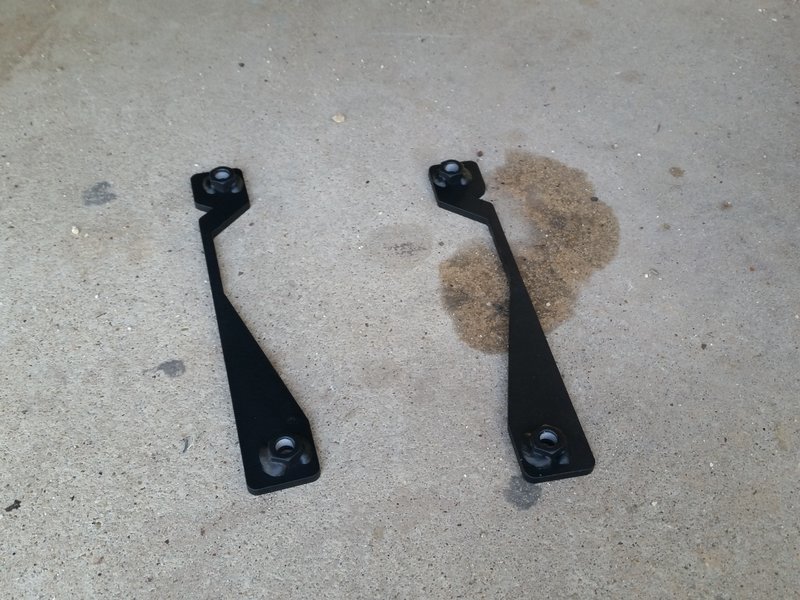
Only FOUR bolts were used to set the bumper. In the bumper kit, these two brackets were included:


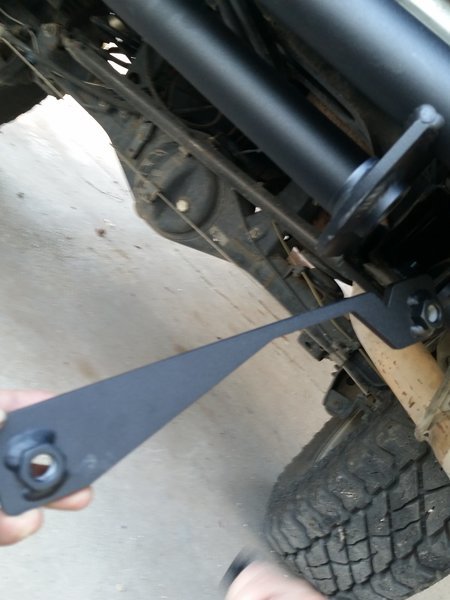
These go into the frame rail:


The first and last bolt now threads into that bracket:


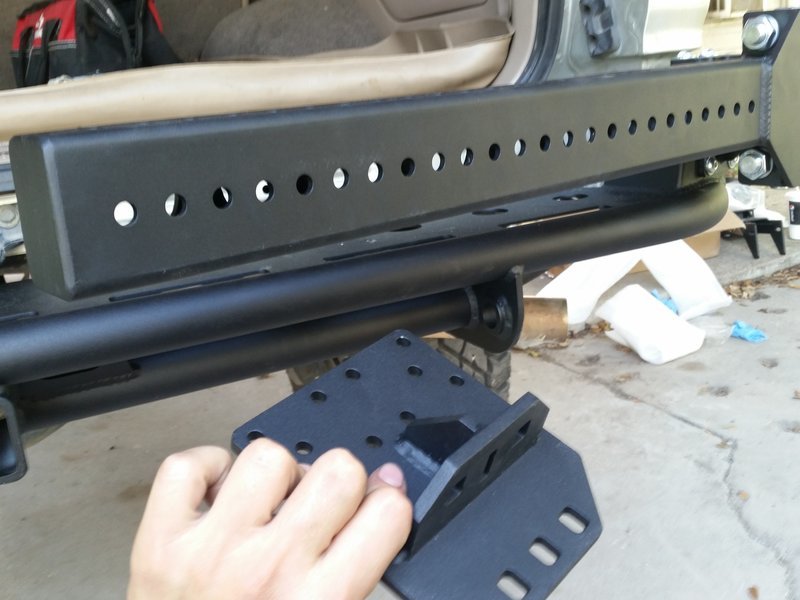
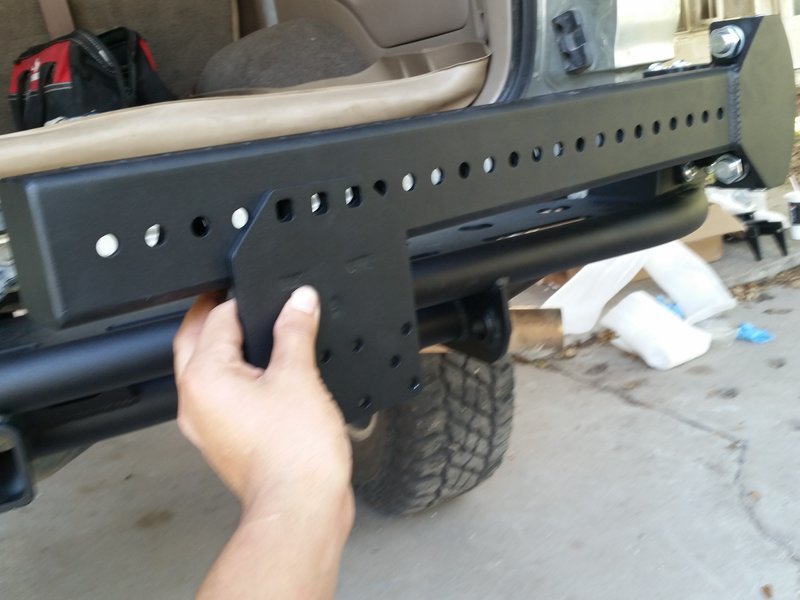
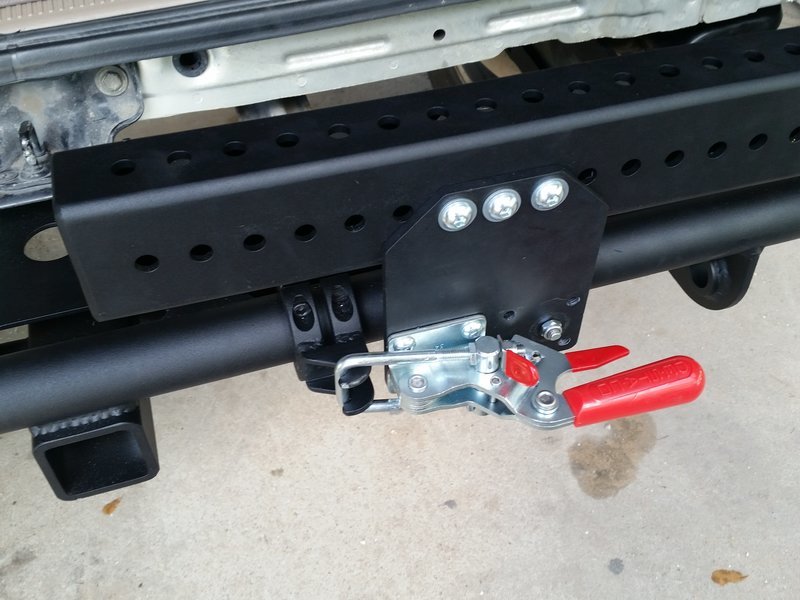
This plate is used to install the locking lever:


Install the "anchor" for the locking lever:


Install the locking lever:


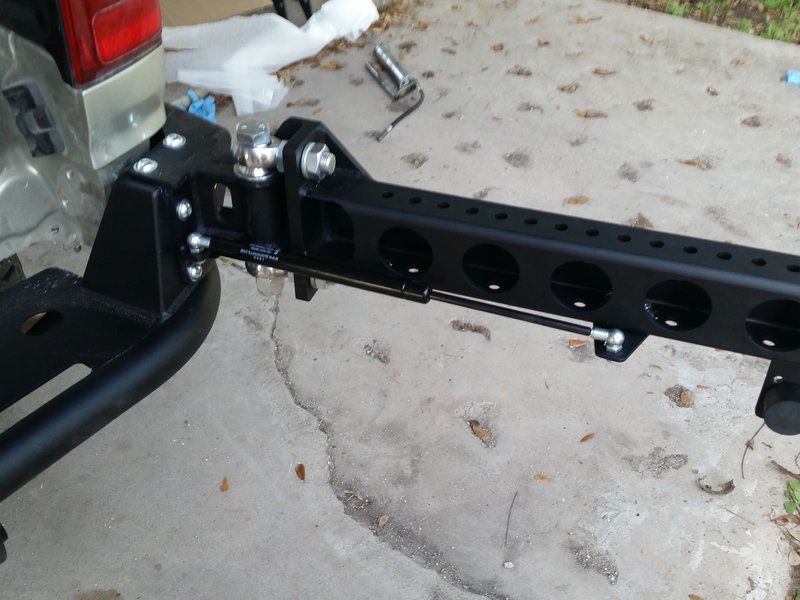
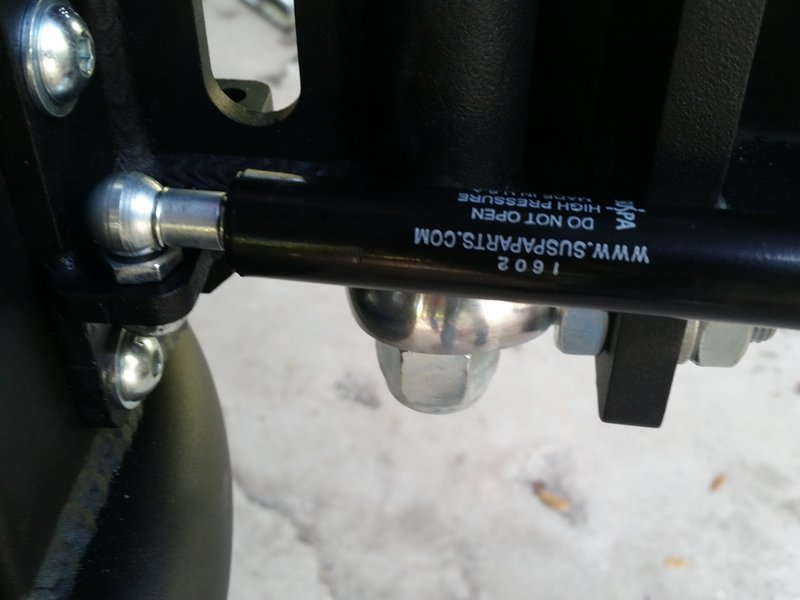
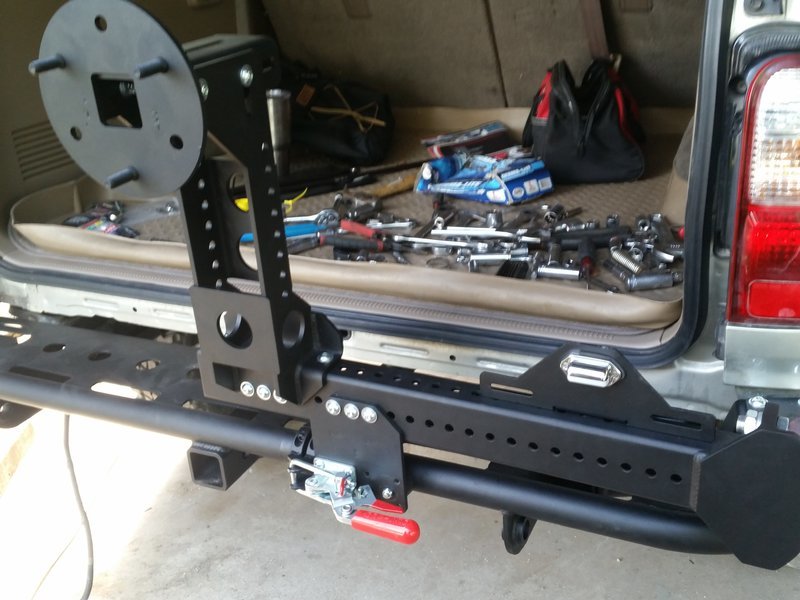
Now the gas strut is installed:


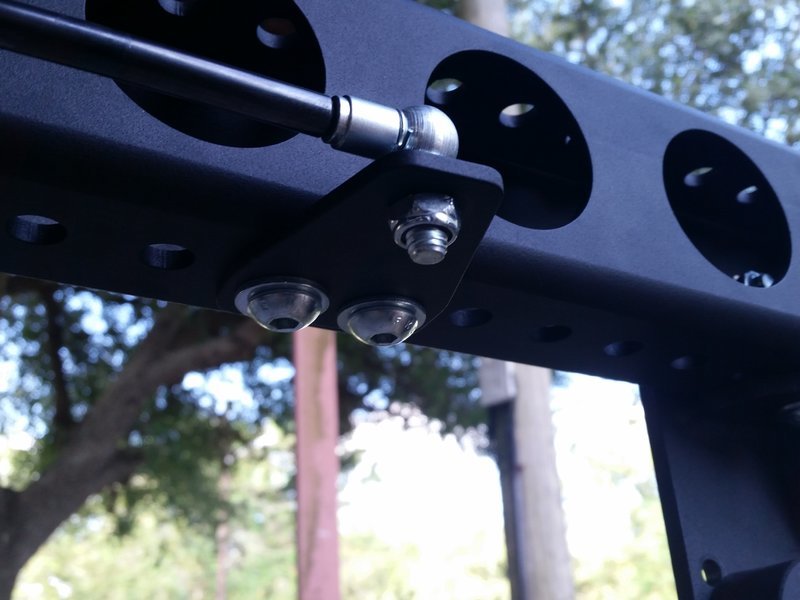
Strut bracket that is attached to the arm:


Pop open a beer and enjoy your progress:


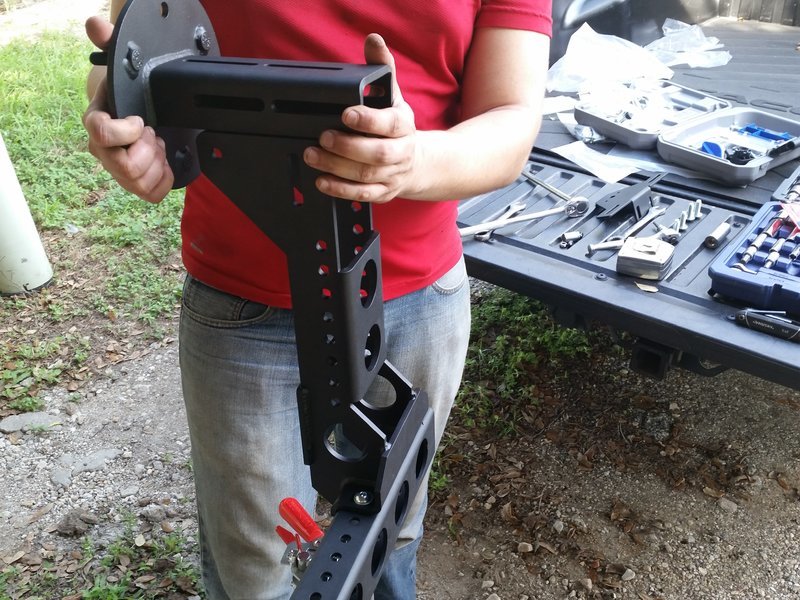
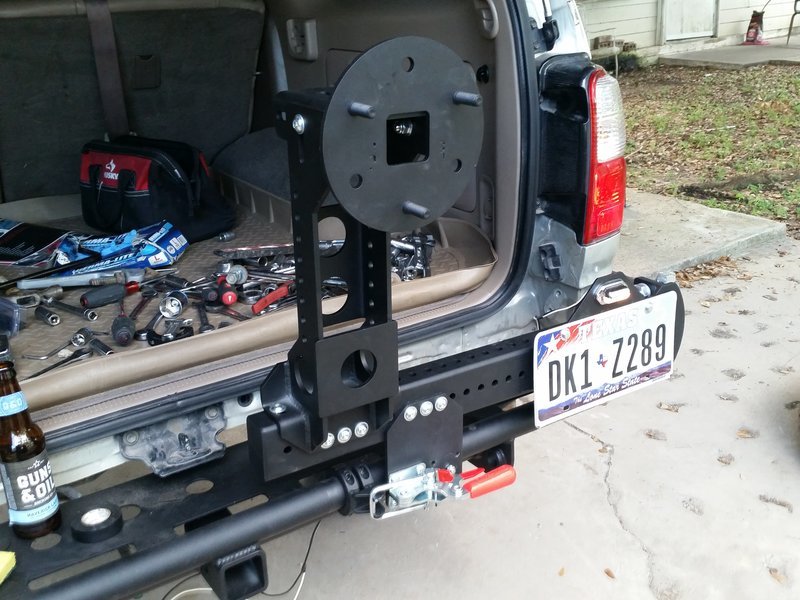
Behold the tire carrier stand:


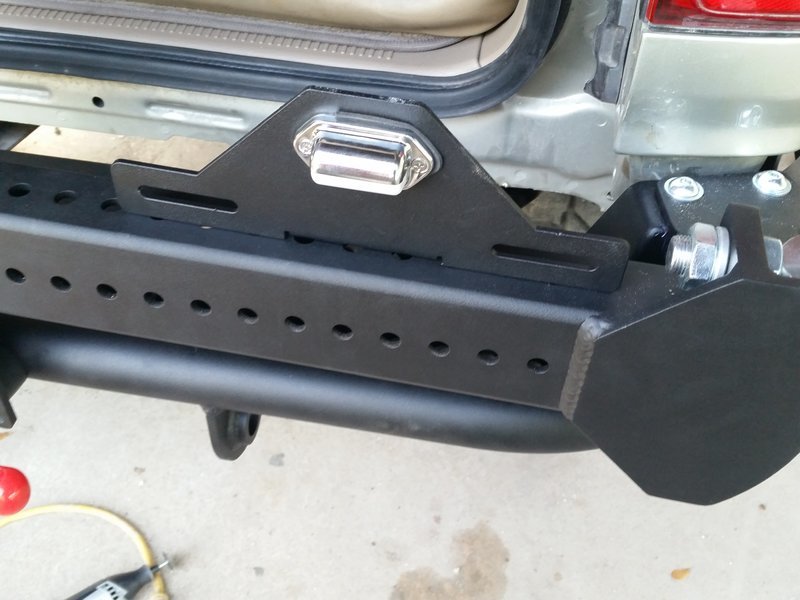
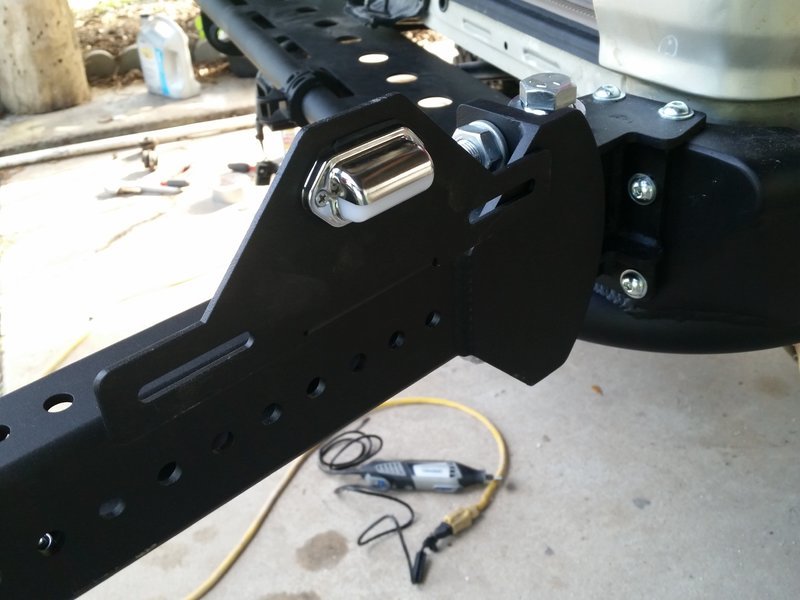
Next, the license plate bracket is installed.


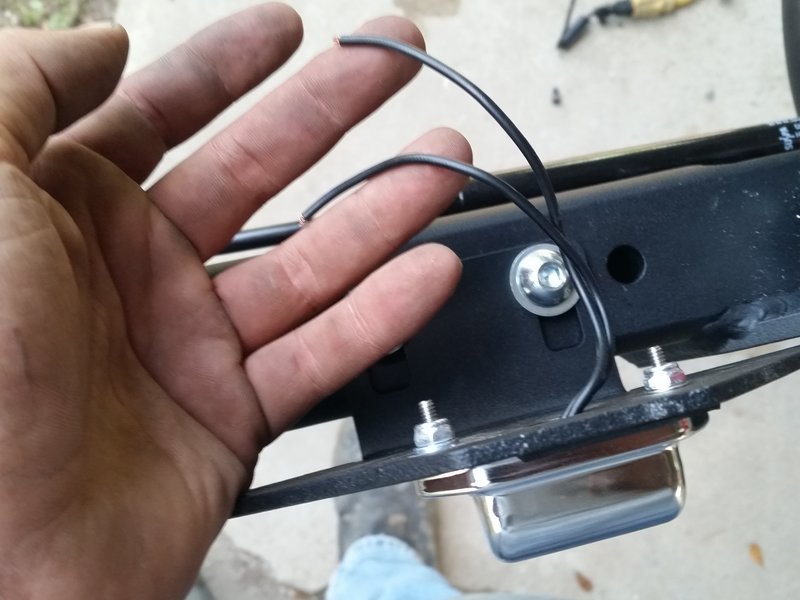
Hmm.. time to run some wiring:


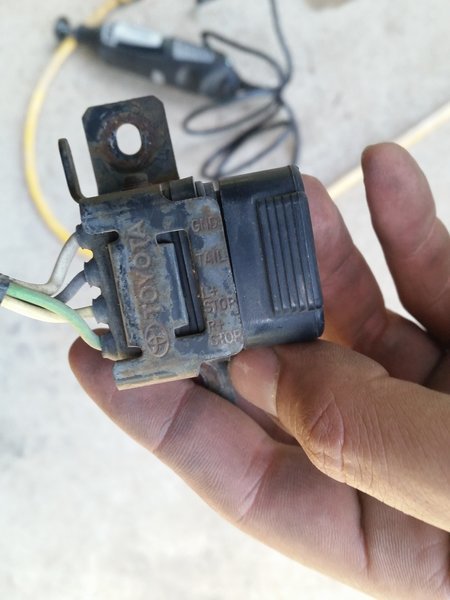
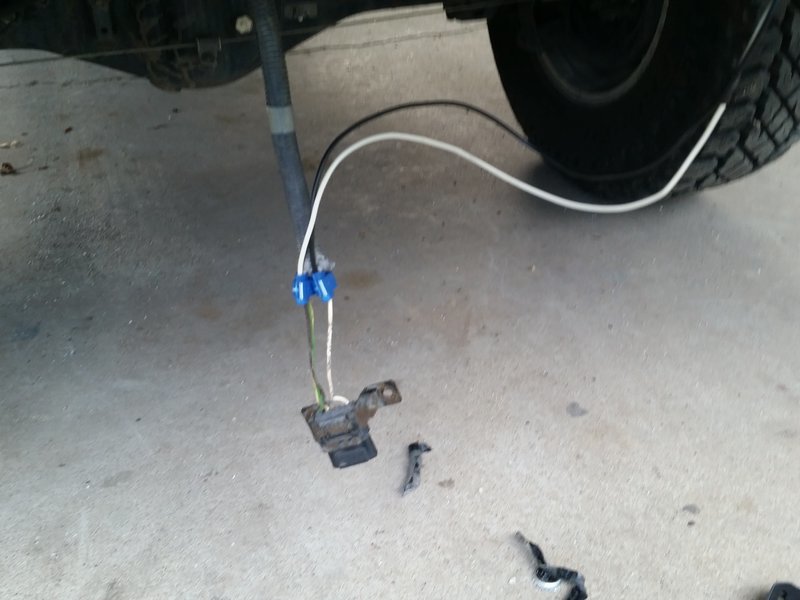
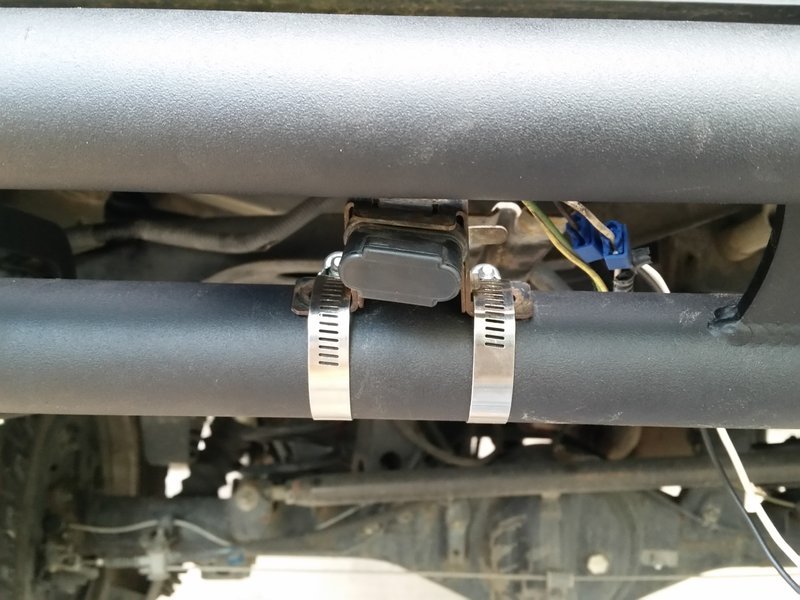
I decided to tap into the trailer wiring, good thing they were labeled. I tapped into "Tail" and "Ground", black and white:


Run wiring and attached using quick splices - I made sure it was well wrapped in electrical tape:


Clamped it to the rear tube of the bumper, where it is hidden. No, I don't mind the hose clamps. It cant be seen unless you are looking for it.


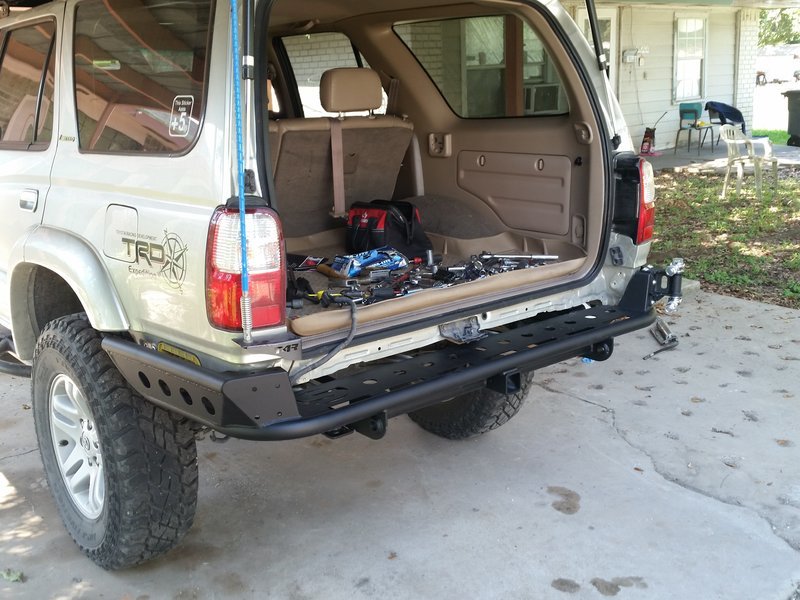
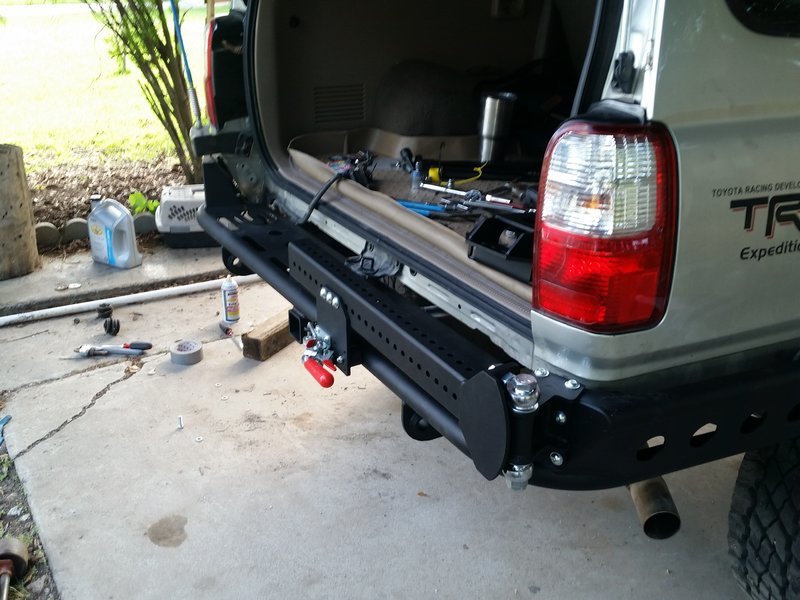
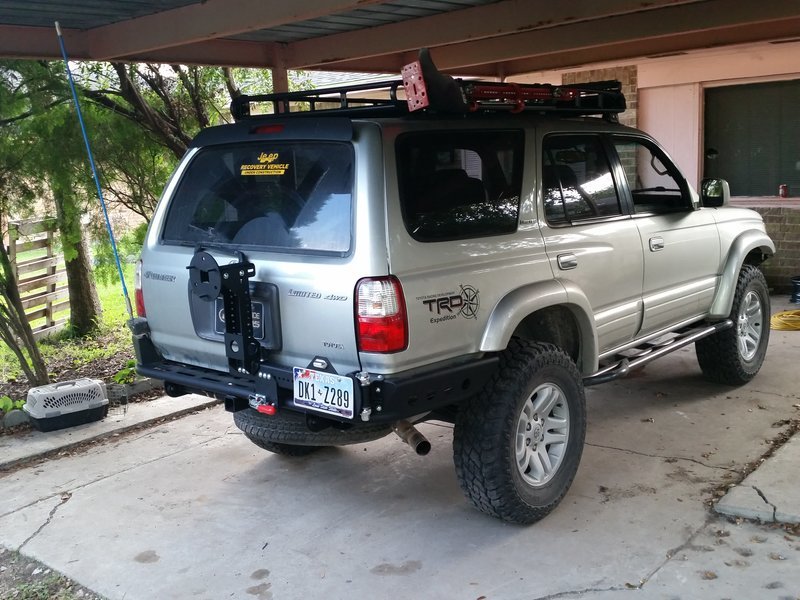
Now complete:


Enjoy the rest of that six pack!
 
The most detailed write up on this I've seen so far. Excellent job :guitar3:
Where did you get that TRD Expedition sticker? Definitely unique!
 
The most detailed write up on this I've seen so far. Excellent job :guitar3:
Where did you get that TRD Expedition sticker? Definitely unique!

I love doing write-ups, a lot of people install setups and when asked if they did a writeup, they always say "I was in a rush, couldn't take pictures".

I try to give back to the T4R.org community by doing my part.

I have dozens of more writups, I have them posted on TW, I need to bring them over here.

I picked it up from a decal maker here in town, I love it! One of the first mods I ever did.
 
For those of you wondering.

I will get a full spare and lug nuts next week lol.

That is why the stock spare is still down there.
 
Not to hijack your thread. Great write up bud. I to have the same bumper. I did few things different. Especially wiring the license plate light. Here's how I did it. I ran it to inside the car near the passenger side. I also installed a connector. So if you have to re love the bumper you just unplug it and your good to go. And I'll show you few tips from making your license plate not rattle or scratch the paint.


I just t- taped into the trailer wire. But inside the truck. Right where it plugs into the little box.


For license plate. Go to Home Depot and get this door thing. One side is sticky other side is soft.


And I put a lock on my tire.

Also recommend putting silicone in the hole where the wires come out for the license plate to seal it. Guarantee water will ruin it if not.
 
Not to hijack your thread. Great write up bud. I to have the same bumper. I did few things different. Especially wiring the license plate light. Here's how I did it. I ran it to inside the car near the passenger side. I also installed a connector. So if you have to re love the bumper you just unplug it and your good to go. And I'll show you few tips from making your license plate not rattle or scratch the paint.


I just t- taped into the trailer wire. But inside the truck. Right where it plugs into the little box.


For license plate. Go to Home Depot and get this door thing. One side is sticky other side is soft.


And I put a lock on my tire.

Also recommend putting silicone in the hole where the wires come out for the license plate to seal it. Guarantee water will ruin it if not.

Thanks for the tips! I didn't think about running the wiring behind the taillight like that.
 
We both did the same thing w/ the handle and put it on the way it SEEMS to go...then had to reverse it.
 
So tire carrier folks. How often your tire gets caught up on obstacles? The trails I do I've notice lot of rigs tires hit coming off steep obstacles. I love the look but I'm about 100% usability of my mods and don't need something holding me back on the trail.
 
So tire carrier folks. How often your tire gets caught up on obstacles? The trails I do I've notice lot of rigs tires hit coming off steep obstacles. I love the look but I'm about 100% usability of my mods and don't need something holding me back on the trail.

I haven hit anything yet. But then again I haven't went on any serious rock crawling trails. Dod few and some serious hill climbs and down the hill. It's more likley to hit the hitch reciever/hitch ball. This bumperr has good ground clearance. It is nice to have a spare. Trunk gets used up with other recovery gear.
 

Members online

Forum statistics

Threads
278,316
Messages
3,554,120
Members
248,016
Latest member
Advally Service

Trending content

Back
Top