Joelzy's 96 5SPD(daily) & 5VZ block-up rebuild

Hey there buddy, great score and nice project :thumb:

Check out this thread for maintenance, etc http://www.toyota-4runner.org/3rd-gen-t4rs/82033-3rd-gen-4runner-buyers-guide.html

Eibach paints their springs grey, look for the Eibach logo on them. If want do tackle suspension as a project in it's entirety, check out this thread here http://www.toyota-4runner.org/3rd-gen-t4rs/66976-3rd-gen-4runner-lift-information-faqs.html

Keep your build thread updated and put a link to it in your signature :D

Thank you for the links and will do!
 
Time for an update... not the one i was hoping to have. :help:

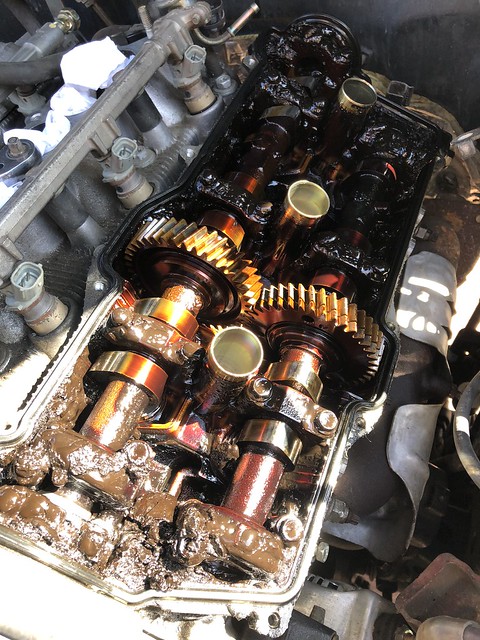
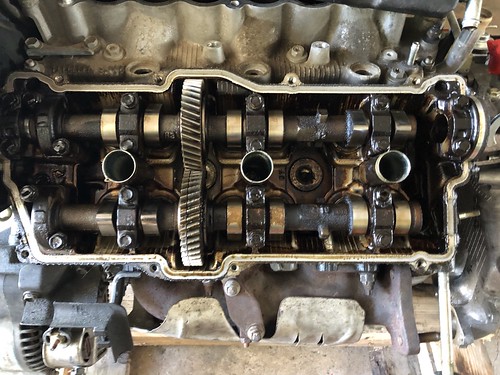
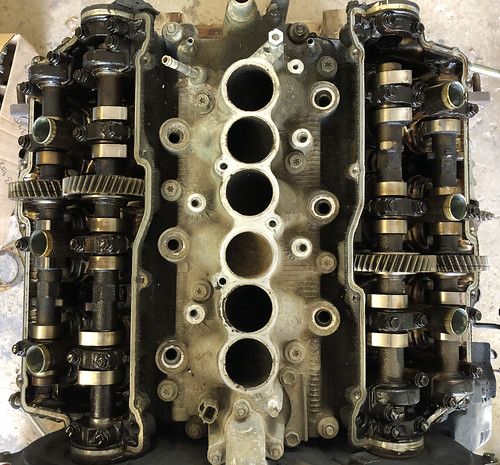
Got all my seals for the valve covers so saturday the wife and I decided to dig in and get it done. Unfortunately once getting the first cover off i knew we were in deeper than expected. sludge city in the heads so now we're going to be pulling those off :frusty:
27083541127_198db8ceb5_z.jpg


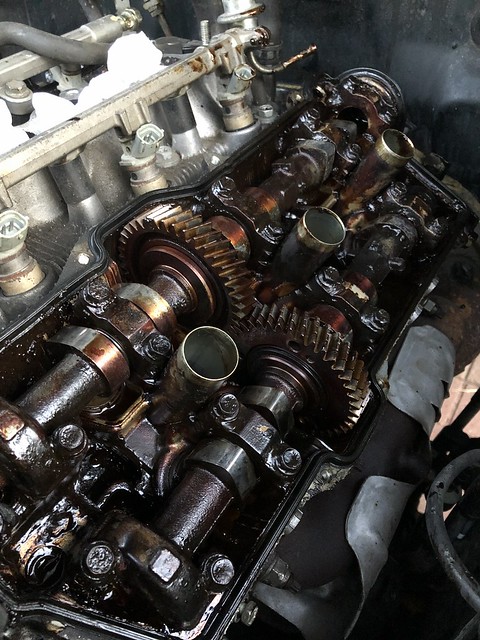
I spent a couple hours scoopin poop and got it cleaned up pretty well but still think i want to pull them and have a machine shop deep clean the heads.
28081387318_3fd8ef36dc_z.jpg


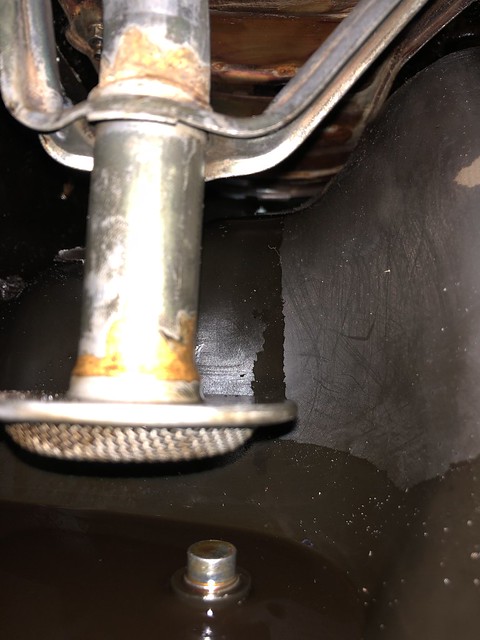
Wasn't able to get the oil pan off due to the front diff but i stuck my phone in the sliver of space once i unsealed it and saw that the pickup looks pretty good.
41952138151_9a9e2360f5_z.jpg


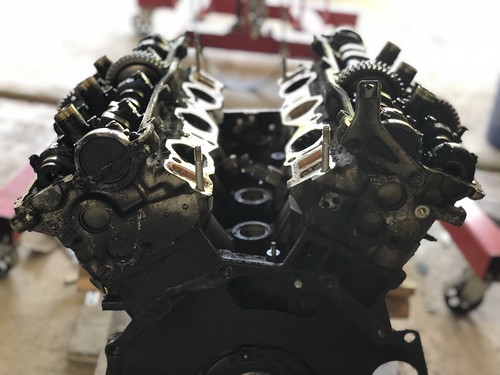
New plan is to borrow a hoist, pull the motor out, build a quick engine stand with some lumber i have, pull the heads off and take them to a machine shop, clean the oil passages the best i can and with the pan off, get any more i can see from underneath. If its worse that expected, i think i can get the motor they pulled out to swap this one in so that might help, or hell, at least the heads.

Not the best start but hey, the deeper i go, the less i have to worry about in the long run. this is a great example of why you can never really trust the "low-mile used motors" but oh well. i wish they had just left the motor in with the bad headgasket, at least we knew the only real issue there.

Any thoughts or suggestions are appreciated

Update: After talking with a friend with some room in his shop and more expertise than myself, I think we're going all the way!
Gonna take it down to the block, have everything cleaned then start over with new bearings and seals everywhere. Definitely not what i was expecting to do but i plan on driving the wheels off this thing so i might as well do it right and build it brand new. its a bit daunting but i've always wanted to build one from the ground up and heres my chance.
This build just got a lot longer and more interesting.
 
Last edited:
Finally have the free space in the shop for the motor!
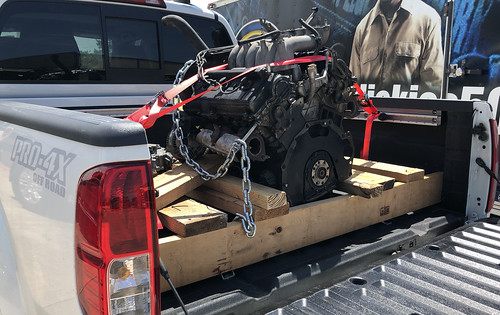
Picked up the original(claimed to have bad head gasket) to take to the shop and begin the teardown.
27284128097_42d0dbe862.jpg

If the head(s) are warped i'll use the sludgefactory heads as i'm getting everything cleaned anyhow. Plan is to make a fresh motor between the 2 of them and get her going asap. definitely didn't see this coming but i'll be much happier with a fresh motor and knowing its all done than waiting for a brick of sludge to break off, clog the pick-up and have to do this when i least expect it.
LET TEARDOWN BEGIN

update:
heyhey!! look what i found, a sludge-free high-mile head

41270271315_f1581e1f99.jpg


Hoping to get this thing apart tomorrow and get moving on it.
 
Last edited:
Lots of progress!
just keeping track of it on here so don't mind a lot of me posting
42208786462_9c24580087.jpg


If you look closely you can see the port that saw coolant from the HG leak
28381879808_1e14ae7c90.jpg

42208904802_0c1d83453d.jpg


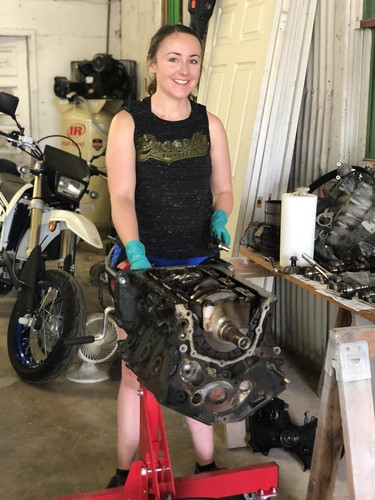
Even talked the wife into helping me teardown the motor.
42208781992_48e9fd96d9.jpg


and now we're ready for the machine shop!
42255232791_cb73a0a238.jpg

block, pistons, heads, crank and cams all going to get hot tanked and we'll see where we stand after. if the head(s) are warped i might use the sludge heads or just see the shops recommendations. seemed ok when i put a straight edge on them but the gasket was trashed on that side and actually blew the metal gasket ring into the cooling jacket.

Update: found an awesome machine shop in South Dallas, called around and wasn't loving a lot of places but these guys were great and have done a ton of 5VZs before.
Dropped everything off to get going :whoo:
 
Last edited:
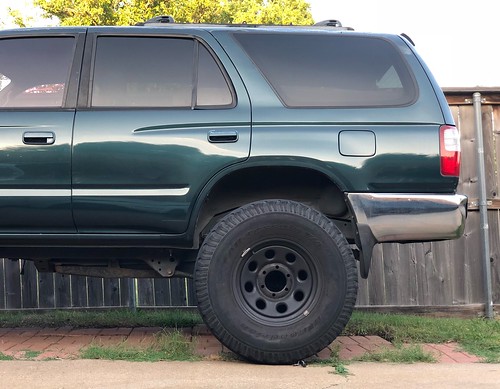
Still waiting on everything from the machine shop but i did pick up a new set of shoes for the 4R last night.
A friend hooked me up big time on em and i wasn't a huge fan of the 17s so i'll be selling them to get new tires for these. I know they're a bit plain and simple but i like this look a whole lot.
42443127872_7c11ef5607.jpg


Update: heads and block needed decking, cylinders are getting bored, new pistons, full valve job... this thing is going to be brand friggin new
 
Last edited:
Joelzy's 3rd Gen SR5– motor rebuild

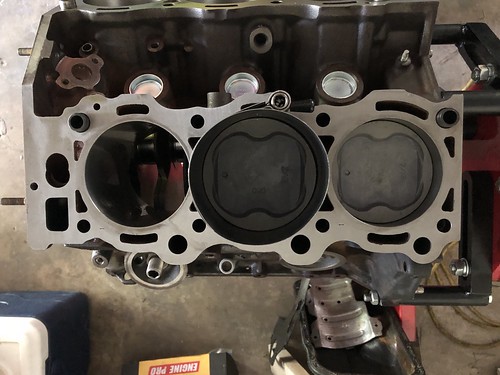
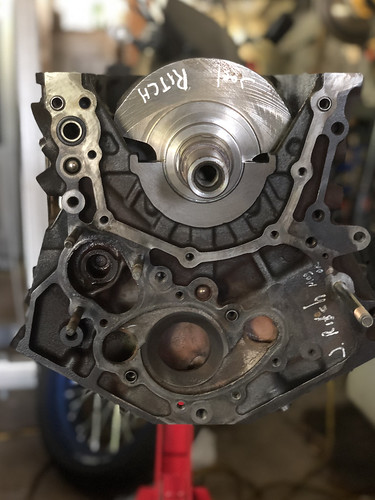
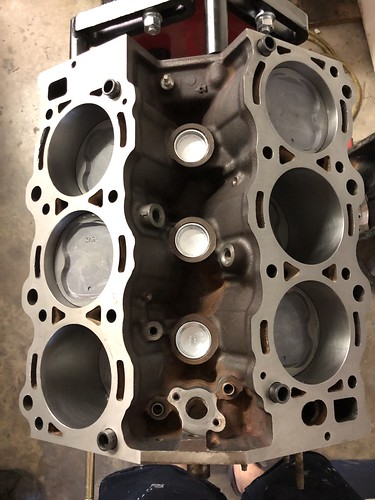
Got everything back from the machine shop!
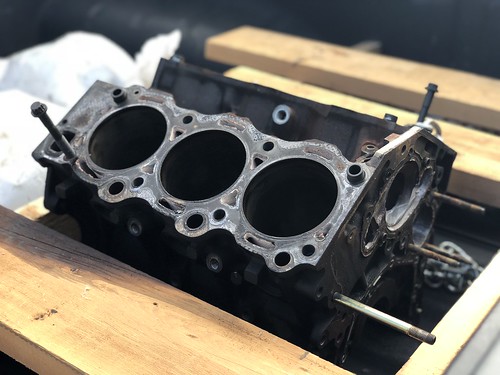
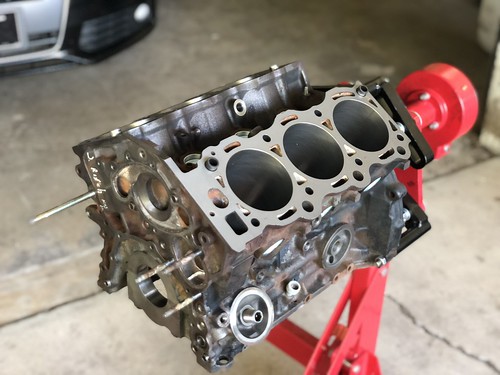
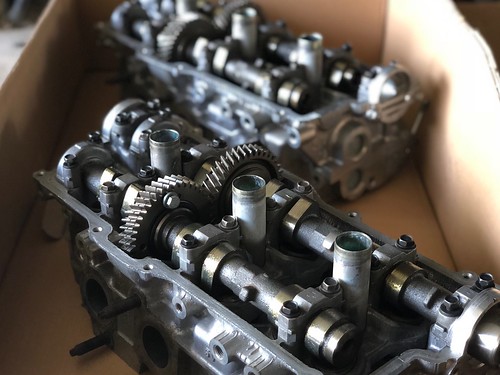
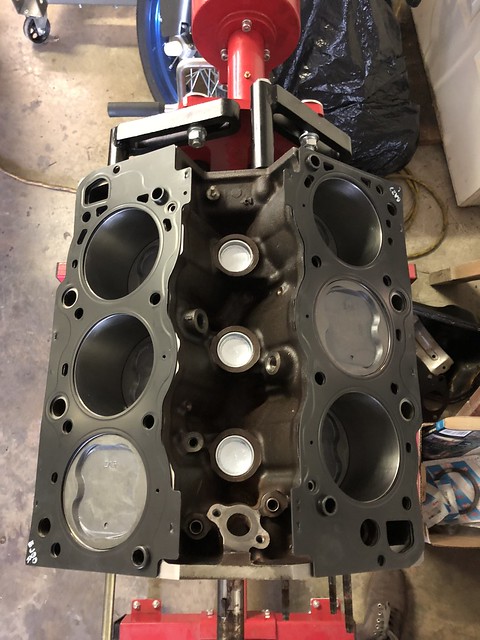
Decked, bored, honed and ready for reassembly
28076792877_fb6c594b9a.jpg

28076792897_0fd0b8f2ea.jpg

Sent from my iPhone using Tapatalk
 
Last edited:
Got everything back from the machine shop!
Decked, bored, honed and ready for reassembly
28076792877_fb6c594b9a.jpg

28076792897_0fd0b8f2ea.jpg

Sent from my iPhone using Tapatalk

them heads look tasty....SLAP EM IN!!! I wanna hear it purr.

how much did it run you to get it all machined? I'm thinking maybe some time down the line I might rebuild my entire engine if it ever came to it.
 
them heads look tasty....SLAP EM IN!!! I wanna hear it purr.

how much did it run you to get it all machined? I'm thinking maybe some time down the line I might rebuild my entire engine if it ever came to it.

didn't realize the block would need decking and boring so i was expecting a lot once i heard that news but with that + everything hot tanked(including valve covers and rear plate), 2 decked heads, 2 full valve jobs, new pistons, rings and bearings, and a polished crank i came out to a little over a grand with tax and cc fee. i was pleasantly surprised with the amount with as much as they did.
 
Very nice job, nice to see it done right. I'm really looking forward to seeing it run.

That is a LOT of sludge!!! Can't say I've ever seen anything quite that bad. Just a serious lack of proper oil changes cause that?
 
That is a LOT of sludge!!! Can't say I've ever seen anything quite that bad. Just a serious lack of proper oil changes cause that?

I have a theory with JDM motors that makes some kind of sense, to me at least.
I don't know the specifics on the laws in Japan for motors but FROM MY UNDERSTANDING the Kyoto Protocol essentially created the JDM engine market in America. Their regulations somehow make it easier to replace motors than fix, recertify and keep older ones... or something along those lines.
Y'all feel free to correct me if I'm wrong. This explains the hundreds of JDM motors you see for sale with <60k miles. This is great and all, and i have a JDM motor in my Bugaru, but it also begs a question of the people paying to ditch these motors near a quarter of their American life.

"Why do regularly scheduled maintenance on a motor that i know I'm going to yank out and replace before it needs spark plugs?"

Enter a motor with oil that could potentially be from the factory in the 4runner i bought. The unfinished JDM swap definitely came to a screeching halt at some point and judging by the loose valve cover bolts, i'd say it was the second they got a look at the heads.


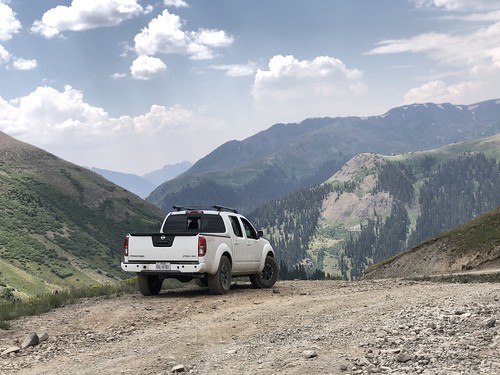
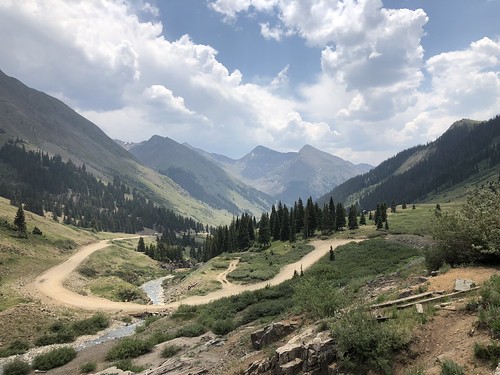
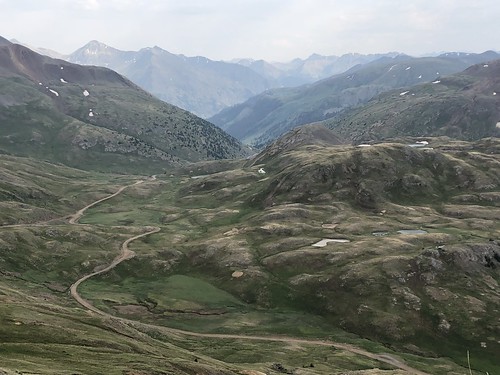
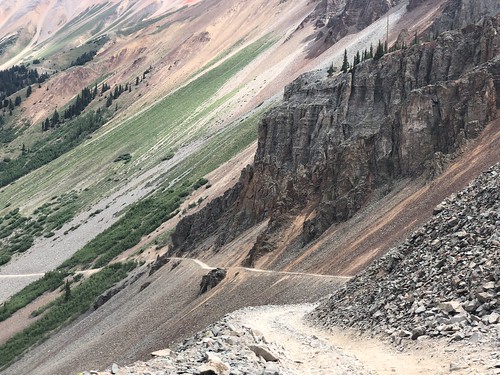
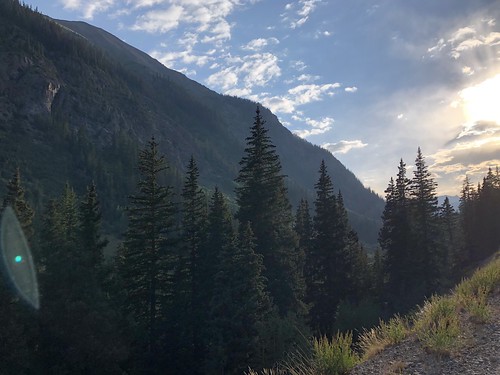
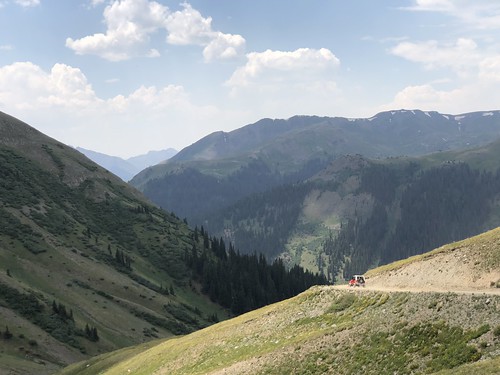
Anywho, took a trip to CO in my wife's Nissan and while it did fantastically on the trails, i couldn't help but wish we were in my 4runner at the time. SOON!

some picks for the clicks from Cinnamon, Engineer and Ophir Passes

43443236672_b17de84e07.jpg
41683137040_3ffa9e551c.jpg
43490996441_a86f8ac60e.jpg
42774400804_d89dfdcda8.jpg
42586450015_817b31b52a.jpg
43491007001_15fe9687bc.jpg
42586467815_8ebe3a8054.jpg
42774373064_10e49cb535.jpg


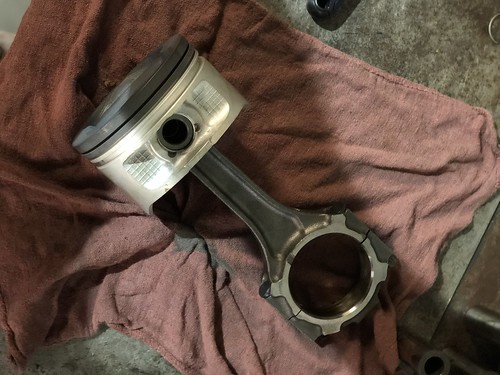
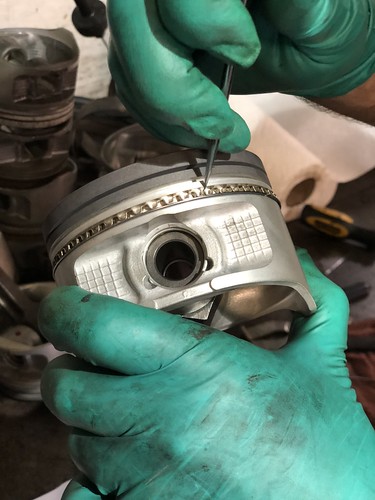
ALSO, and most importantly, I got the new Pistons assembled and ringed and will be putting them in on Friday. ready to get this thing going now that my friend the shop owner and my own overlapping vacations are over.

42586458435_59970166b1.jpg
28604281267_b414754e20.jpg
41683134550_4c9a67828b.jpg
 
Last edited:
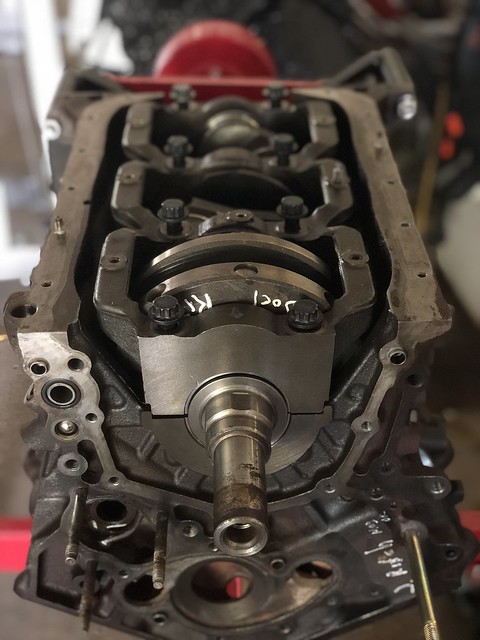
bottom end almost done, didn't realize i needed new main cap bolts and waiting on an OE oil pump and crank timing gear
43570892961_9a0abc81ab.jpg
41762992030_ecbfbaeb43.jpg
41762992080_cf6871606f.jpg
 
thanks for the great photos documenting this rebuild.. it sure adds to the time in getting things done..

i wish progress wasn't so slow but the shop where i'm rebuilding the motor is about 40 minutes away so i have limited myself to trips where i have the time to get a lot done. If its not buttoned up by the weekend i'll be spending saturday doing so and hopefully getting it to the house to move forward with the install.
Assuming the oil pump comes in
 
awesome start to your build man!!

I don't live far from you in richardson and im about to do a lot of suspension work and VC replacement/timing belt. Do you ever go wheeling around here? Bridgeport or marble falls? ive never been but im wanting to go once everything is up to par.
 
awesome start to your build man!!

I don't live far from you in richardson and im about to do a lot of suspension work and VC replacement/timing belt. Do you ever go wheeling around here? Bridgeport or marble falls? ive never been but im wanting to go once everything is up to par.

Oh nice! a local!
I have not been wheeling around here for 15 years or so when i was a punk kid and there were trails right off the highway everywhere. After our trip to CO in the Nissan i have the itch though and saw a few of those places around to hit so as soon as this thing is running i will probably be out there. I bought it with a partially completed/fully sludged swap so before even getting it running i decided to start over from scratch with the original 200+ motor rebuild. I work in Richardson so you're really close, lmk if you need any help wrenching

Sold my other project last night for a lot more than expected considering it wasn't quite complete.
soooooo lift for the runner?
 
Last edited:
always something

well things were going pretty well last night until i had a hiccup.

Going to try to document the build a little better and not just with abstract shots but potentially helpful ones.
Got back to the shop yesterday afternoon and got the new main cap bolts(special ordered and backordered from Toyota) in and torqued. didn't realize until way late that they were one-time bolts like the heads.

29801838498_02083ce403_z.jpg


Got those and the rod caps torqued + the extra 90 degrees it asks for.

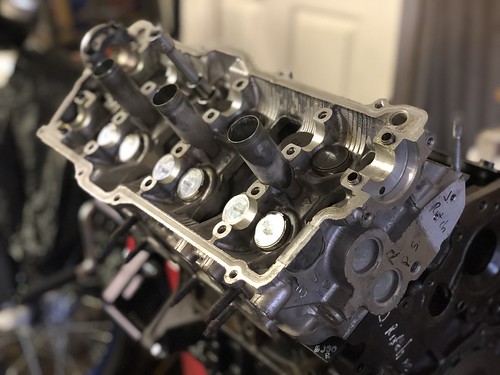
Up next would be the heads. So i slapped the new head gaskets on and pulled one of the heads out of the garbage bag its been living in and got to it.
Note: went with later 3.4L metal headgaskets to avoid the potential of failure that the early gaskets are known for.

43663854541_aa0f4ccbd2_z.jpg

Note: set the motor to TDC now because its easier than it will be later

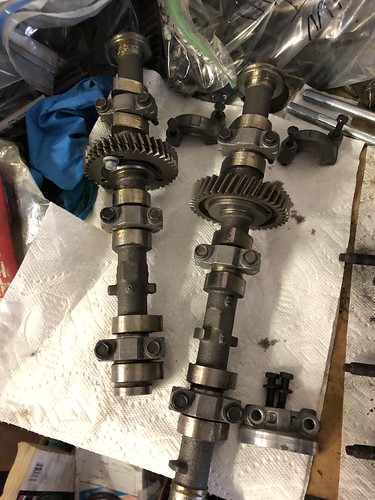
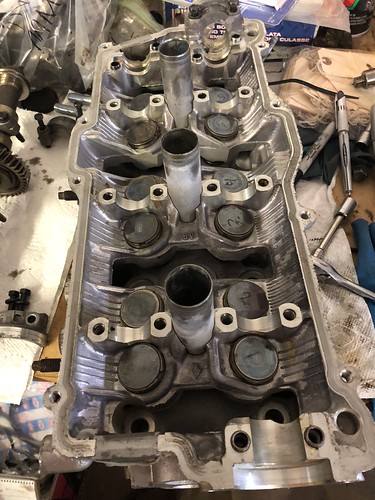
The heads are assembled from the machine shop doing the valve job and its a little annoying to pull the cams in order to put the heads on when they look so fresh. Thanks Toyota for putting the head bolts below the cams :crazy:

43617570142_5c34d62ac5.jpg
43617570192_255d2feff7.jpg
42947465674_b87ba82ed2.jpg


don't mind the messy workspace, i have limited space in my friend's shop and it drives me crazy too.
Doing one head at a time for that reason.

When preparing to start torquing headbolts, i realized the new ones were a little weird. I'll add a photo here later, but the factory were a 12 point 13mm i think and that was too big for these. Tried a 12mm, no dice. 1/2" was the only thing that fit and i realized they were made in America, so makes some kind of sense. That's fine and i'm all for it, but the 1/2" wasn't exactly snug. Decided to start despite that, but i was worried that i'd have issues once the bolts got tighter. Told my buddy the shop owner and he mentioned the bolts won't strip easily and just to see how it goes. So i went for it and the torque sequence was going well until i got to round 3.

for anyone who hasn't done them, it goes:
-25 Ft lbs
-90 degrees
-90 degrees

Well i made it all the way through round 1 and 2.
Then 3 bolts into the 3rd round, the socket jumped. checked it, the bolt wasn't chewed up he said the try again, jumped again. The bolt held up just fine but the rounded edges were just jumping across because the socket didn't get enough bite. :redbrick::redbrick::redbrick:
So now i have a bolt that is like 45 degrees from being fully torqued and kind of stuck. tried a couple other sockets but no luck so far so i'm going to be searching for a 1/2" socket with better bite and if i can't find that, I'll be finding new head bolts and starting over.

Incase you're wondering, the head bolt company is DNJ. wish me luck on finding a better socket and not starting over with new bolts.

42947463274_3bc9dbfd32.jpg


to be continued...
 
Last edited:

Members online

Forum statistics

Threads
278,315
Messages
3,554,123
Members
248,016
Latest member
Advally Service

Trending content

Back
Top