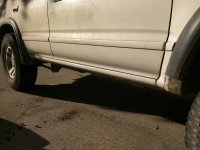
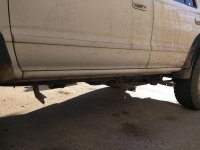
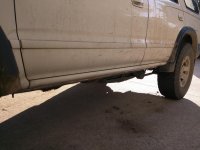
Joshua.O.Brown7 99' 4Runner SR5 Build

Joshua.O.Brown7

New member
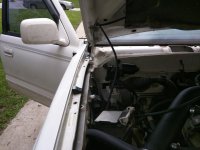
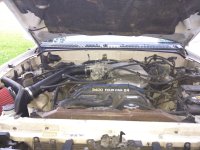
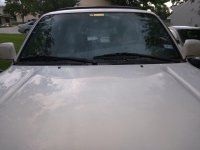
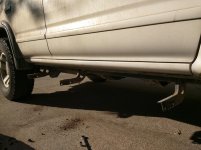
Starting my build, here's a little background:

I originally got the 4Runner back in 2011 time frame as my first vehicle. It has served me well, and I believe it's time to pay it back and give it some new life.​

It's a 99' 4Runner SR5 2WD, however when finished I plan to make my T4R into 4WD Supercharged Lifted Off Road Monster. After all my 4Runner deserves it after all I've put it through.​

Table of Contents
Engine
Cold Air Intake

1999 4Runner SR5
Engine:
cold Air Intake​
Suspension:
Front-

Rear-
Wheels/Tires:

Armor/Recovery:
Interior-

Exterior:
Lighting:

Interior-

Exterior-
Communications:

 
Last edited:
Register to hide this ad
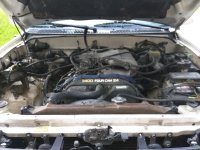
Cold Air Intake

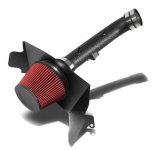
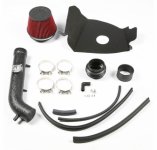
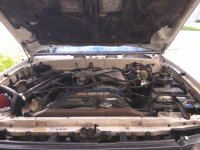
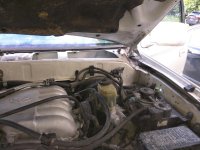
Started with a cold air intake today. I purchased a 99-04 Toyota Tacoma 3.4L V6 Heat Shield Air Intake - Texture Black:

99-04-toyota-tacoma-3-4l-v6-heat-shield-air-intake-texture-black-15.jpg

99-04-toyota-tacoma-3-4l-v6-heat-shield-air-intake-texture-black-16.jpg

Product Description

99-04 Toyota Tacoma 3.4L V6 Heat Shield Air Intake - Texture Black

Package Includes:

1 x Air filter
1 x Air intake pipe
4 x Clamps
1 x Heat shield
2 x Silicone coupler hoses
4 x Silicone hoses/ vacuum lines
All necessary hardware included


Air Intake System:
A Cold Air Intake System relocates the filter outside of the engine compartment to deliver the coolest air inlet temperatures possible. Cooler air carries more oxygen, which translates into a more intense explosion in the combustion chamber to create more horsepower and torque. But that's only part of the power equation. Tuning the inlet pipe in length and diameter to match the engine's resonance helps move more air to the cylinders (think of your engine as a big air pump), and this tuning allows us to deliver the maximum power gains throughout the entire RPM range.

Notes:

100% Brand New
Professional Installation is Highly Recommended
Installation Instruction is NOT Included


Features and Benefits:

Made of high quality T-6061 aluminum material for strength and durability
Lightweight high air flow racing performance spec. design
Helps engine to draw in more and colder air resulting in better throttle response and higher explosive horsepower output
Improves up to 95% filtration efficiency
Increases 5 to 10 horsepower, 6 to 8 precent of torque, and improve the gas mileage


Instructions not included with most of our products.
We highly recommends professional installation on our performance parts.


Fitment:

1999 2000 2001 2002 2003 2004 Toyota Tacoma
1999 2000 2001 2002 Toytoa 4Runner
Fits Models with 3.4L V6 Engine ONLY​

I purchased from Amazon, however you can purchase from ProComp Labs as well.

Amazon.com: Toyota Tacoma Black Coated Aluminum Air Intake System - 1 Gen V6: Automotive

99-04 Toyota Tacoma 3.4L V6 Heat Shield Air Intake - Texture Black

Here's the build from start to finish:

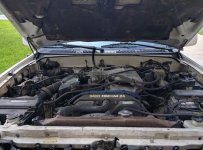
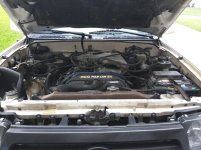
IMG_20160526_173334.jpg
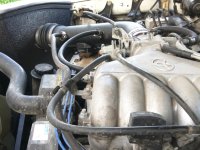
Start of Modification

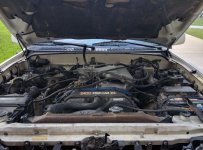
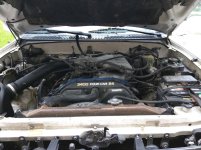
IMG_20160526_173406.jpg
Removal of Upper OEM Air Intake

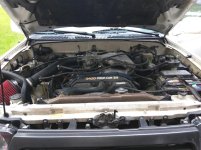
IMG_20160526_173530.jpg
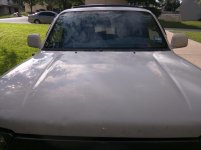
Removal of Air Filter Box

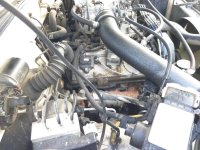
IMG_20160526_175908.jpg
Installation of Heat Shield

IMG_20160526_182431.jpg
Instillation of Air Intake Pipe

IMG_20160526_191059.jpg
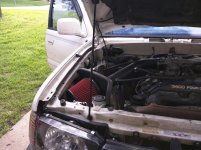
Instillation Filter and Hose Hook Up. Instillation Completed​
 

Attachments

  • IMG_20160526_173334.jpg
    IMG_20160526_173334.jpg
    136.9 KB · Views: 739
  • IMG_20160526_173406.jpg
    IMG_20160526_173406.jpg
    136.3 KB · Views: 717
  • IMG_20160526_173530.jpg
    IMG_20160526_173530.jpg
    126 KB · Views: 768
  • IMG_20160526_175908.jpg
    IMG_20160526_175908.jpg
    132.4 KB · Views: 748
  • IMG_20160526_182431.jpg
    IMG_20160526_182431.jpg
    134.4 KB · Views: 744
  • IMG_20160526_191059.jpg
    IMG_20160526_191059.jpg
    132.9 KB · Views: 728
  • 99-04-toyota-tacoma-3-4l-v6-heat-shield-air-intake-texture-black-15.jpg
    99-04-toyota-tacoma-3-4l-v6-heat-shield-air-intake-texture-black-15.jpg
    35.2 KB · Views: 906
  • 99-04-toyota-tacoma-3-4l-v6-heat-shield-air-intake-texture-black-16.jpg
    99-04-toyota-tacoma-3-4l-v6-heat-shield-air-intake-texture-black-16.jpg
    53.7 KB · Views: 933
Welcome aboard! That's some great detail you've got in that write-up. I would advise keeping a table of contents in the first post as well for people to easily access your write ups and not bother you as much with questions when your thread gets longer and longer. Keep up the dedication on the write-ups as well, it helps enrich the community way beyond showing it to the buyer as a log when if you sell. Look forward to seeing your transformation!
 
Remember to stay out the water with that bad boy. I have sucked water just hitting puddles on the street. If you have to cross, just remember very slowly.
 
Welcome aboard! That's some great detail you've got in that write-up. I would advise keeping a table of contents in the first post as well for people to easily access your write ups and not bother you as much with questions when your thread gets longer and longer. Keep up the dedication on the write-ups as well, it helps enrich the community way beyond showing it to the buyer as a log when if you sell. Look forward to seeing your transformation!

Thanks for the advice, table of contents added
 
CBI Ditch Light Mounts

My ditch light mounts from CBI OffRoad came in today.

t4r3-ditch-brk.jpg

Contents of the Box:
  • Driver's Side Bracket
  • Passenger's Side Bracket
  • 4x 13mm Hex Bolts w/Washers
  • CBI Business Card w/QR Code for Instructions
  • Large CBI T-shirt
  • 2x CBI Decals
  • Invoice
Total Cost $59.99
Tax and Shipping was included.​
CBI OffRoad 3rd Gen 4Runner Ditch Lights Mount

INSTALL:

IMG_20160603_180538.jpg
I started by removing the driver's side windshield wiper assembly, then removed the passenger's side windshield wiper assembly.

IMG_20160603_180723.jpg
Next I removed the cowling between the hood and the windshield.

IMG_20160603_181446.jpg
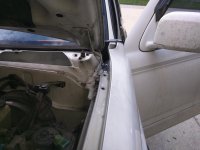
Then I removed the driver's side front body panel bolts, four in total, and lifted the panel for clearance and access to the hood hinge.

IMG_20160603_181855.jpg
I removed the two 12mm bolts holding the hing to the body and installed the driver's side bracket using the provided 13mm bolts and washers.

IMG_20160603_182304.jpg
Then I removed the passenger's side front body panel bolts, again four in total, and lifted the panel for clearance and access to the hood hinge.

IMG_20160603_183254.jpg
I removed another set of 12mm bolts holding the hing to the body and installed the passenger's side bracket using the provided 13mm bolts and washers.

IMG_20160603_185326.jpg
I reinstalled the driver's and passenger's side panels. Then after trimming the edges of the cowling to make clearance for the brackets, I reinstalled the cowling.

IMG_20160603_190252.jpg
Finally I reinstalled the windshield wiper assemblies, thus finishing my install of the CBI Ditch Light Mounts.
 

Attachments

  • IMG_20160603_180538.jpg
    IMG_20160603_180538.jpg
    126.5 KB · Views: 539
  • IMG_20160603_180723.jpg
    IMG_20160603_180723.jpg
    133.3 KB · Views: 572
  • IMG_20160603_181446.jpg
    IMG_20160603_181446.jpg
    132.6 KB · Views: 582
  • IMG_20160603_181855.jpg
    IMG_20160603_181855.jpg
    122.8 KB · Views: 555
  • IMG_20160603_182304.jpg
    IMG_20160603_182304.jpg
    138.4 KB · Views: 557
  • IMG_20160603_183254.jpg
    IMG_20160603_183254.jpg
    127.1 KB · Views: 575
  • IMG_20160603_185326.jpg
    IMG_20160603_185326.jpg
    136 KB · Views: 555
  • IMG_20160603_190252.jpg
    IMG_20160603_190252.jpg
    123.5 KB · Views: 564
Last edited:
Pretty nice so far!!! like those mounts.

Ordered the replacement filter(as a back up) to my K&N so i wont be down a vehicle while Maintaining.
 
Running Board Removal

I finally decided to remove my running boards today. Total time from start to finish about an hour including breaks and children coming to "help", lol.

Removal:
IMG_20160617_184627.jpg
First I was going to try to remove the brackets and running boards as a complete unit, however ran into a space issue. I ended up removing the running boards first, starting with the passager side. There were six 13mm bolts and nuts which held it on.

IMG_20160617_185244.jpg
I then removed the five 13mm bolts and nuts that held the brackets to the frame.

IMG_20160617_190013.jpg
Next I moved on to the driver side and removed the running board, another six 13mm bolts and nuts removed then off it came.

IMG_20160617_190628.jpg
Finally removed the driver side five 13mm bolts and nuts and the brackets were off.
Next step is to either find OEM Front Mudguards PT413-35966-DF and PT413-35966-PF, drivers side impossible to find it seems. I could go with a pair of D Farm's End Caps. I was even possibly thinking of modifying a pair of Rear Mudguards and seeing how that works. I'll keep y'all posted.
 

Attachments

  • IMG_20160617_184627.jpg
    IMG_20160617_184627.jpg
    137.6 KB · Views: 445
  • IMG_20160617_185244.jpg
    IMG_20160617_185244.jpg
    135.9 KB · Views: 470
  • IMG_20160617_190013.jpg
    IMG_20160617_190013.jpg
    135.3 KB · Views: 441
  • IMG_20160617_190628.jpg
    IMG_20160617_190628.jpg
    133.7 KB · Views: 466
Last edited:
Members online

Forum statistics

Threads
278,316
Messages
3,554,105
Members
248,016
Latest member
Advally Service

Trending content

Back
Top