Jsmarine's 4runner build thread (lots of pics)

jsmarine

New member
Owner: "jsmarine"
Location: Dallas, TX
Year: 2000
Make: Toyota
Model: 4Runner SR5 Sport

Engine: 3.4L V6
Trans: Auto
T-Case: Stock
Front axle: Open
Rear axle: Open

Suspension:
Front- Toytec 650 lbs Adjustable Coil-Overs
Rear- Old Man Emu 891 coil springs
1" Toytec Diff Drop

Wheels:
Tires- (5) 285/75/16 Load Range E, BFG All Terrains
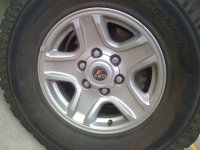
Rims- 16x7 Stock 5-Star

Armor:
Custom front winch bumper
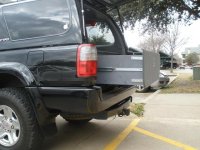
Custom rear bumper w/ tire carrier & jerry can mounts
67" Rock Sliders

Performance:
AirRaid Intake Tube
Snorkel w/ pre-cleaner
Deck plate mod 4"
Dynomax muffler

Electrical:
SmittyBilt 8k winch
Dual Battery's
Vortex Dual Battery management system
2 - 6" 100W KC lights on front bumper
Cobra CB radio, w/ external speaker

Accessories:
On board air - MV10-50 Air Compressor
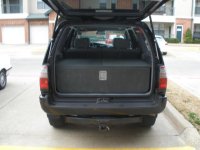
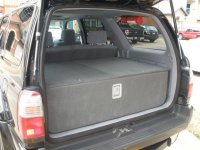
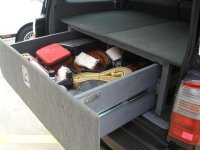
Rear cargo drawer system
Smittybilt seat covers
Fire Extinguisher
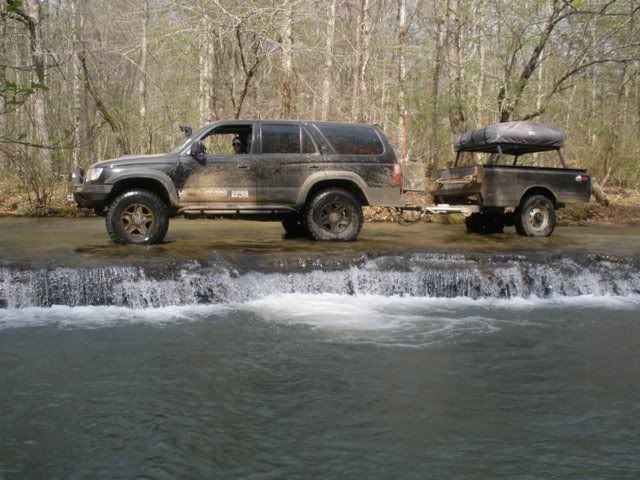
P4090058.jpg~original
 
Last edited:
Register to hide this ad
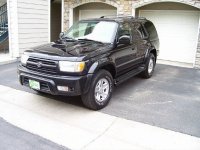
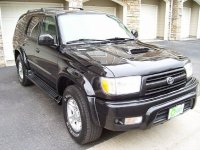
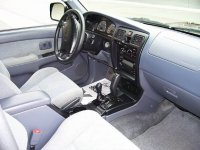
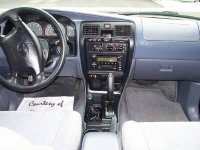
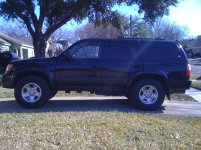
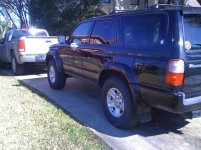
first day I got her!

Bought her used at the GO Nissan dealership in Colorado, for those of you in Denver it was the dealership right off 25 and Arapahoe. I used to work nearby, and I spotted her one day, pretty much exactly what I was looking for, minus the rear e-locker, but the price was right so I bought her.
 

Attachments

  • 1.jpg
    1.jpg
    70.4 KB · Views: 44,275
  • 3.jpg
    3.jpg
    82.1 KB · Views: 44,303
  • 4.jpg
    4.jpg
    65.1 KB · Views: 44,043
  • 5.jpg
    5.jpg
    66.4 KB · Views: 44,105
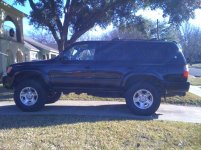
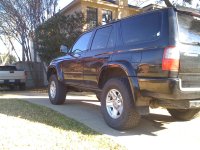
Lift

Removed running boards. 2.5" Daystar spacers installed in the front, and OME 890's in the rear. A few before and after shots
 

Attachments

  • Before Lift.jpg
    Before Lift.jpg
    67.6 KB · Views: 44,184
  • Before Lift 2.jpg
    Before Lift 2.jpg
    60.4 KB · Views: 43,930
  • After Lift.jpg
    After Lift.jpg
    67.3 KB · Views: 43,878
  • After Lift 2.jpg
    After Lift 2.jpg
    136.3 KB · Views: 44,960
Last edited:
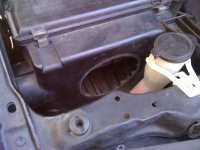
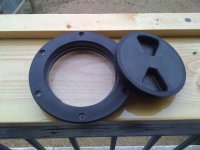
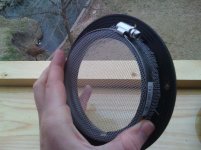
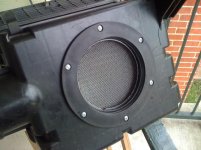
Deckplate and ISR mod

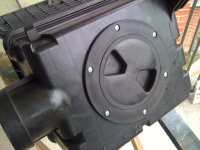
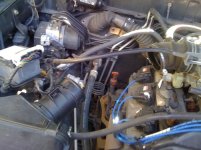
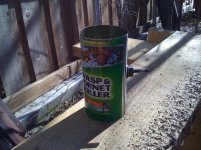
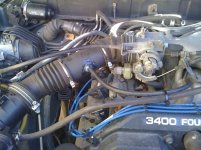
I didn't know about this mod until I joined this site. Heres a few pics I took when I did it. I used a can of wasp and hornet killer on the intake tube, fit perfectly, painted black and no one can tell what it was originally! ha

EDIT: I have since removed the can of wasp and hornet killer and replaced with an airraid intake tube. Nothing wrong with the can of wasp and hornet killer, it worked just fine. I just happen to come across the airaid intake tube on craigslist for $40.
 

Attachments

  • IMG_0286.JPG
    IMG_0286.JPG
    121.6 KB · Views: 43,844
  • IMG_0340.JPG
    IMG_0340.JPG
    126.2 KB · Views: 43,750
  • IMG_0341.jpg
    IMG_0341.jpg
    48.2 KB · Views: 43,571
  • IMG_0343.jpg
    IMG_0343.jpg
    52.5 KB · Views: 43,460
  • IMG_0342.JPG
    IMG_0342.JPG
    119.9 KB · Views: 43,495
  • IMG_0287.jpg
    IMG_0287.jpg
    52.4 KB · Views: 43,208
  • IMG_0288.jpg
    IMG_0288.jpg
    63 KB · Views: 43,156
  • IMG_0291.jpg
    IMG_0291.jpg
    61 KB · Views: 43,619
Last edited:
My favorite mod!

I built a cargo storage box in the rear of my 4runner, I got the idea from here: Irbis Offroad It is by far the best thing I could have done to organize all the tools, parts, recovery gear etc that I always carry.
 

Attachments

  • 1.jpg
    1.jpg
    33.5 KB · Views: 43,730
  • 2.jpg
    2.jpg
    47.1 KB · Views: 46,792
  • 3.jpg
    3.jpg
    40 KB · Views: 45,960
  • 4.jpg
    4.jpg
    54.4 KB · Views: 44,568
Last edited:
CB radio

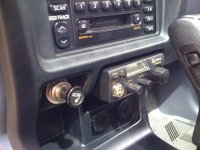
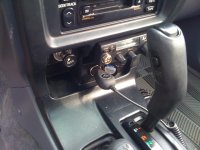
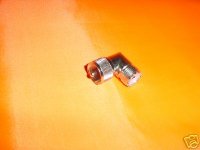
I found out (I think on here, maybe on Expo) that my CB radio will fit exactly where the ash tray is. I had to get a 90 degree bend piece where the antenna cable mounts in the back so I could get the CB to mount as close as possible. Without that piece it stuck out too far IMO.

IMG_0352.JPG

IMG_0392.JPG

cb 90.jpg
This is the 90* piece you need to get the CB to fit closer to the instrument panel
 

Attachments

  • IMG_0352.JPG
    IMG_0352.JPG
    118 KB · Views: 46,596
  • IMG_0392.JPG
    IMG_0392.JPG
    123.6 KB · Views: 43,745
  • cb 90.jpg
    cb 90.jpg
    13.1 KB · Views: 38,363
Last edited:
GPS mount

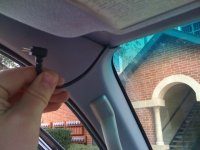
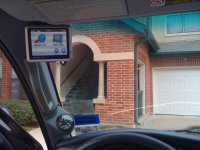
I hard wired my GPS in, actually its not hard wired as I thought I might want to take it out for some reason, but I hid a 12V power outlet under the dash and ran the cable up the A pillar. Works great and puts the GPS close to me so its easier to program a destination.
 

Attachments

  • IMG_0394.JPG
    IMG_0394.JPG
    116.2 KB · Views: 42,805
  • IMG_0395.JPG
    IMG_0395.JPG
    132.2 KB · Views: 42,941
Last edited:
Vacuum Gauge

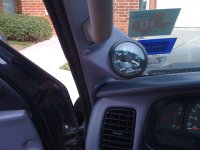
I installed a vacuum gauge that I got for free. For those that don't know, the vacuum pressure is a pretty good real time indicator of MPG. BMW uses this in their cars, even today. If you have seen the fuel mileage gauge on them, its really vacuum pressure.
 

Attachments

  • Vaccumm.JPG
    Vaccumm.JPG
    111.6 KB · Views: 42,645
TRD stickers

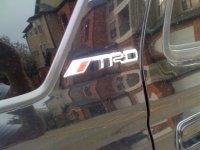
Well I wanted the TRD logo, and of course found some cheap emblems on ebay. Had to wait almost three weeks for the cheap little things to come from Hong Kong, but I like the look. I'm not really a fan of the bigger stickers on the back panels, just my opinion, so I got something a little more subtle.

EDIT: I have since removed these, along with the ones on my wheels, just changed my mind about them. They held up well though for being a cheap ebay item.
 

Attachments

  • IMG_0398.JPG
    IMG_0398.JPG
    120.8 KB · Views: 42,497
  • IMG_0399.JPG
    IMG_0399.JPG
    121.8 KB · Views: 42,340
Last edited:
looks good, i like the little trd decals. the small things makes the difference to me. also....those vacum guages..how much are they..and how accurate? ...all in all really nice rig. prob my fav model, black color keyed bumpers with sport edition upgrades.
 
The vacuum gauge I have is made by Isspro, it think they are kind of expensive. But you can get a vacuum gauge at the auto parts store like pep boys etc.
 
Last edited:
sweet ride man,like the cb and cargo box, does teh cargo box have the sleeping extension built into it ? do you have plans for it? like over all dims and such?
 
Well I was hoping to finish my front bumper this past weekend, but the new tank of shielding gas my brother picked up last week was actually empty. So we couldn't do any welding, an there are not any welding supply shops open on the weekend, at least that we know of.

So next weekend I'm determined to get the front bumper finished; all welded up, sanded, primered and painted! I will post some pics.

EDIT: On a good note, I was able to pick up some brand new BFG All Terrains off craigslist for $515! (285/75/16) Got them mounted up, so that helped my mood since I couldn't work on my bumper. :)
 
Last edited:
The springs are working out great! They are holding up to the weight much better than my old stock springs. Thanks!
 
Last edited:
Looks good.

Are those just emblems over your old center caps, or did you find some center caps that are 'trd'?

I'm in need of new center caps, so I'm curious.
 

Members online

Forum statistics

Threads
278,315
Messages
3,554,102
Members
248,016
Latest member
Advally Service

Trending content

Back
Top