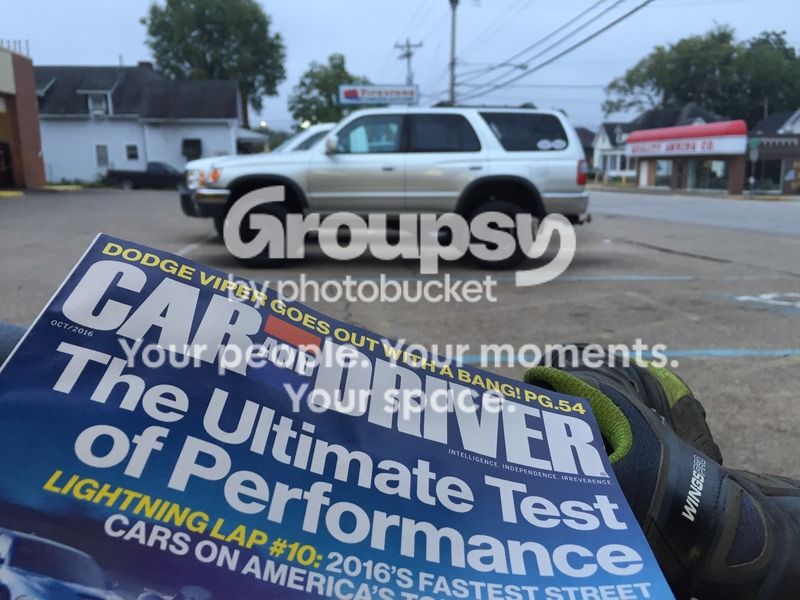
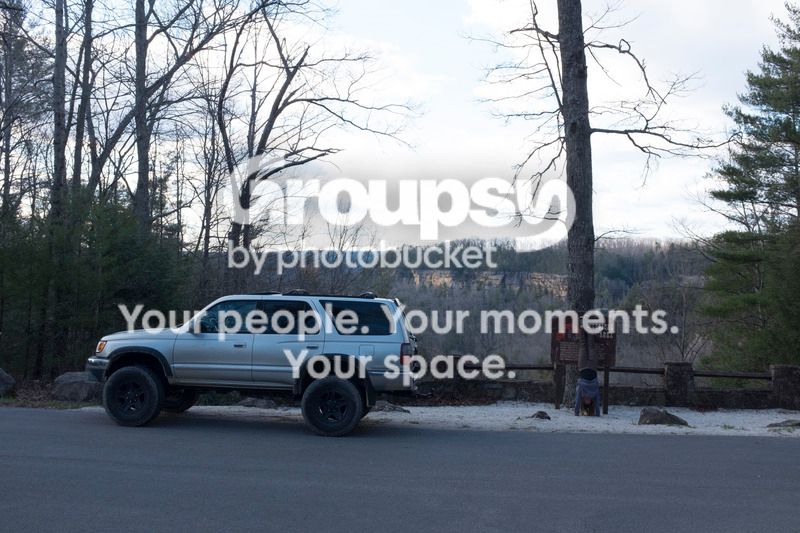
KY: '99 Billy Goat 4Runner Build

Sweet ride, and you are doing some awesome work on it...
We need get a trail-cruise together...
P.S.
love your Silvia...
 
There is a ride coming up on the 19th at Slade for the Zoe Vol. Fire Dept. I plan on attending and will be my first venture with my 4runner
 
What part of KY are you in?

alanflies said:
Sweet ride, and you are doing some awesome work on it...
We need get a trail-cruise together...
P.S.
love your Silvia...

[MENTION=94929]Taylor20[/MENTION], I'm over in Bowling Green, KY. West of you quite a bit. [MENTION=91286]alanflies[/MENTION] is closer to me, just a county over.

Thanks [MENTION=91286]alanflies[/MENTION]. I appreciate the kind words, especially on Silvia.

We made a commercial that featured her for an event we're throwing for work at Beech Bend next weekend. Check it out if you get a chance. Saturday is the best day to come.

<iframe width="560" height="315" src="https://www.youtube.com/embed/TMJeCDzDKlU" frameborder="0" allowfullscreen></iframe>


At the moment I'm feeling somewhat frustrated. I'm not entirely sure I got the axle seal on the driver's side all the way in correctly. I used up my third seal that I purchased and still couldn't get it to where I feel comfortable. Don't have a straight edge to take super accurate measurements. Just using a tape measurer at four points around the seal.

I went and picked up a couple more (thankfully they were in stock) at the dealership this morning. I think I'm just going to run it and see what happens. I'll be able to switch it out so much faster this time around since it'll just be the seal I'll have to replace if I notice gear oil coming through a leak anytime soon.

The larger concern I have at this juncture is a clicking noise I'm hearing when I rotate my hub assembly after installing the axles. It's on both sides.

Any ideas here fellas? The hub isn't bent if you're picking that up from the video, there is just a casting imperfection on there and it throws it off. Took an iPhone vid below for reference. Turning the driveshaft doesn't produce the same noise, but it isn't spinning them as fast. There is still fluid in the differential case, the axle removal didn't lose all that much fluid. Thanks in advance!


EDIT: I buttoned everything up and took it for a drive. Hit the brakes hard at one point to see if the ABS light on the dash would stay unlit, but sure enough it came on. I took it back home and popped both sensors out and discovered gear oil on both reluctors. So much for an easy job. I am divided as to whether or not my seals were installed improperly or if the retainers on the inside most portion that the seals ride on are not at proper place as that would allow fluid to make its way through the seal and onto the reluctors. In the service manual it reports you need to have that inside retainer 122.2 mm +/- 1mm to the inside of the axle measured from the end of the inside retainer to the outside of the hub mating surface (wheel mounts flush to this). I don't have a large enough set of calipers to measure that so I'll update once I figure it all out. Thanks for reading.
 
Last edited:
It's been a while since I've updated this. Posted in several other threads. Like what I'm seeing. My truck is back on the road, albeit the axle seals still need a bit of work. I needed the truck back on the road as work is really busy for us during September through December. Will update on that when I have more time and better luck to sort it out.

In other news....

The other day I saw a friend of mine that I hadn't seen in years. His family had a 4Runner when I was a kid and used to hang out (though a 2WD) and I'd wanted one ever since. He said he still had that thing and that it was at 361K now! Impressive.

He told me about a local junkyard that had a 3rd gen that was still wearing it's SR5 fender flares so last Monday we went out there, purchased and removed them and the hardware for $30. For the same price, I also scored a perfect condition passenger side airbag cover (mine is messed for some reason from previous owners) and one of the little rods that retains the sunglasses holder in '99-2002 trucks. Two steps closer to having the interior up to par!

Came home and got out the Plastidip, and sprayed those, the rear bumper plastic, and the license plate garnish. I was impressed how well this stuff works!

Before (with smaller flares w/chrome strips):
0FEDA576-7681-4DAB-A610-B21812FD4931.jpg~original


During:
8FE300DB-1664-4A35-8560-F630A6FB6B31.jpg~original

793599AC-A07E-4639-A60B-CBCFB7FDD5B1.jpg~original

CC55A339-BD52-491E-8EF7-FDAA83711F96.jpg~original


After:
39B9EB5E-B060-4476-BDD8-6351BA2D25C3.jpg~original

06C93E9F-8846-4977-AB8E-92B4C0EDBEFE.jpg~original


Think I may do the front grille next along with redoing the wheels and center caps.

I took advantage of time off over the Thanksgiving holiday to replace the clutch master and slave cylinder as well. Since I bought it has had a soft pedal and it finally started getting much worse the last couple of days.

Now I'm happy to report it has a much better pedal feel and clutch engagement feels spot on!

Out with the old:
285ADDCA-D0CD-4BC9-ABA9-65CE11A97F24.jpg~original


In with the new:
A2416CBE-5372-447D-A529-D4BE9BEC28BD.jpg~original

0295BEEE-FDAB-4186-8CA0-3E259BF0AC92.jpg~original

E978A17A-A051-4FB4-B39A-4B6055199DF9.jpg~original


Today it was super rainy and so I stayed in and caught up on some rest, annnnddd thought of some other things I need to do to the truck.

-Replace valve cover seals. Have OEM ones sitting in the garage. Need to put them in.
-Head back to same junkyard and see if any of the driver side door seals are any count. Mine is trash at the bottom of the door.
-Remove gnarled passenger airbag cover and install the one I found at junkyard.

EE3337C6-089B-4C1A-9EA1-BA1008893025.jpg~original


Hopefully those will be the last items that are general upkeep related for some time. It'd be nice to start working toward adding some of the more performance enhancing items to the truck here shortly, i.e. coilovers and rear shocks, front plate bumper/winch combo, etc.
 
Last edited:
Updates and first trip of the year

There's nothing quite like setting a deadline/goal in order to motivate yourself to get some work done.

Kenz and I wanted to take a short trip over to eastern KY to see what Natural Bridge State Park and Red River Gorge had to offer. If we were going to take the 4Runner that meant I had a busy week of fixing my shaky brakes and replacing the blown shocks in the rear of the truck.

I ultimately decided on biting the bullet and going with the Tundra 231mm upgrade that has proved useful on so many of the other builds on this thread. I followed [MENTION=44220]BigFishAllDay[/MENTION] 's thread to a tee and things went as planned. So hats off to him!

Brakes:
A40A5185-69A1-4580-9718-612E837F776D.jpg~original


The other issue I had to sort out in addition to replacing the shocks was reverting back to the OEM style shock rather than keeping the setup that was installed previously.

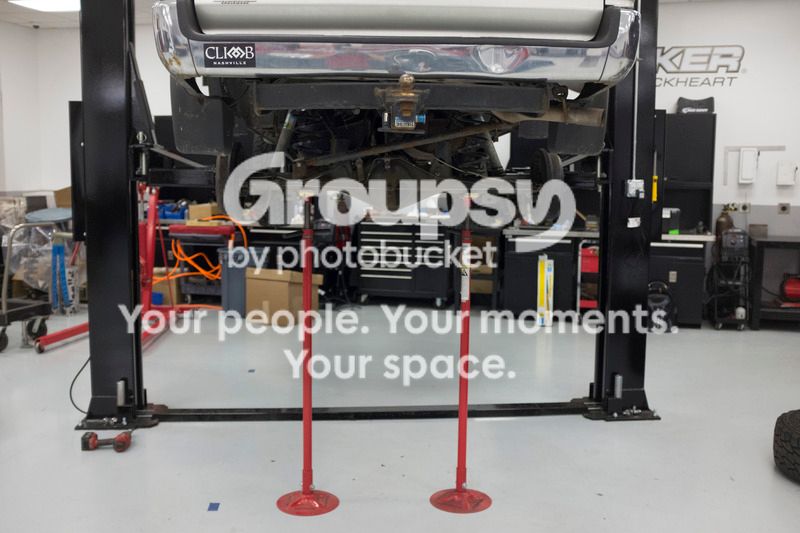
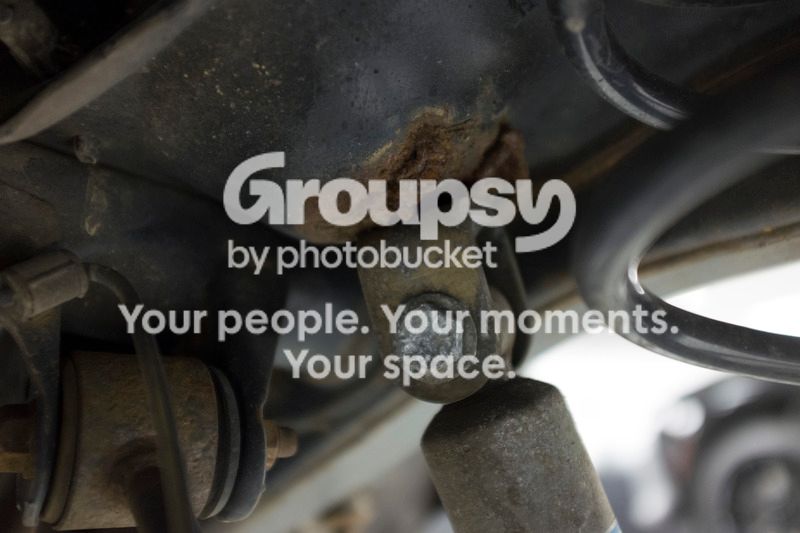
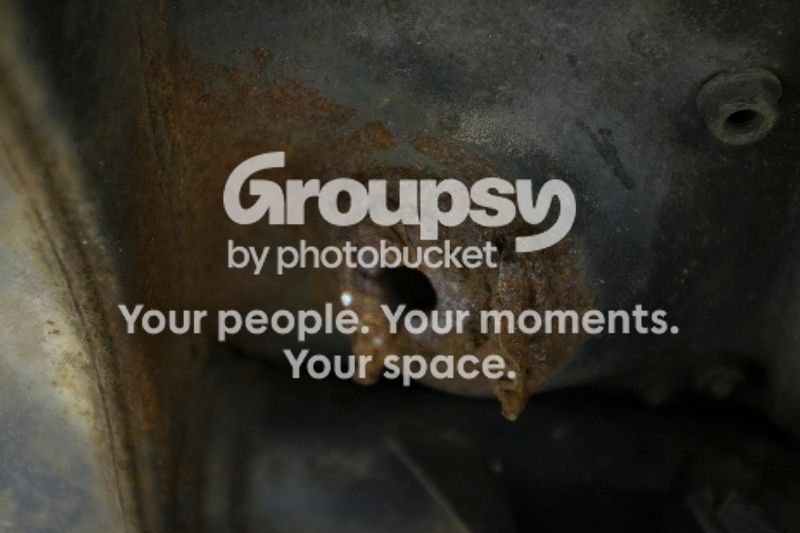
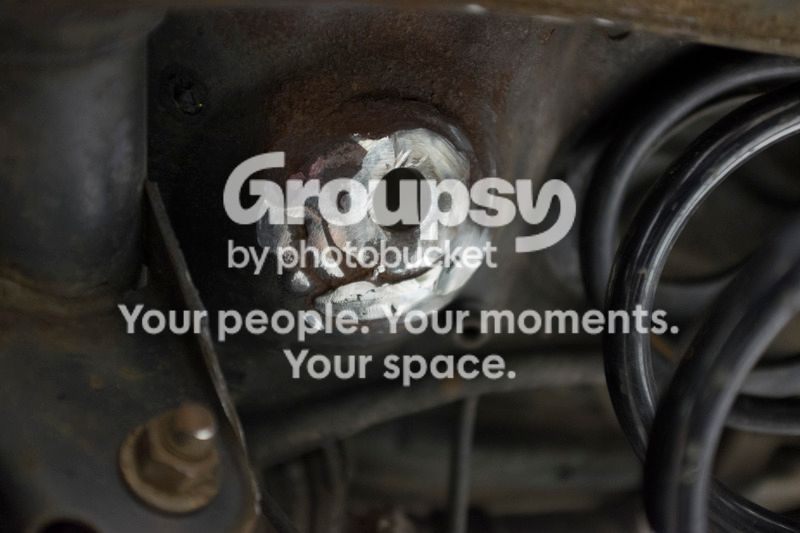
That meant grinding down the rusty welds that were in the way of installing the bushings on the threaded portion of the new shocks and coating the underside to protect from any additional rust. That process took the longest after I got it up in the air and removed the old shocks and springs.

Shocks:
DSCF3044.jpg~original


DSCF3046.jpg~original


DSCF3047.jpg~original


DSCF3050.jpg~original


Out with the old, in with the new:
F5A918C6-6D68-4E42-B315-11A3260A1BDE.jpg~original


Shocks installed:
C33BE157-5C0B-480C-AD45-E895FC1E0560.jpg~original


Finished all this up on Thursday evening, test drove it afterward, and we hit the road headed east Friday afternoon following work.

From Bowling Green, KY we hit I-65N and followed it all the way until we hit the Bluegrass Parkway, which was gorgeous approaching dusk. After we passed through Versailles and Lexington, our campground was only an hour southeast of there down the Mountain Parkway.

AF452A8D-35FD-4E3E-B271-AA5903A4AF16.jpg~original


We lost an hour headed into Eastern Time Zone from Central and got into camp after ten o'clock. Set up camp, ate smores and hit the sack and woke up to flurries the next morning (yeah....in April. That's weird for KY).

Some pics from Natural Bridge State Park:

5AC120AE-1F39-4D2F-AAC4-E9797B4FA187.jpg~original

54082440-D543-4000-B852-A1E3A836FEAC.jpg~original

B5C0E655-D72C-43FF-BEA1-F2517DBA334B.jpg~original

A2EEAD18-D140-4954-94AF-56D9421B1E0D.jpg~original

Bridge.jpg~original

0DB3C7D3-6915-4C3F-B571-D04FAF4C0D99.jpg~original


Before we headed over to the Gorge, we made sure to stop by Miguel's Pizza, which is famous amongst rock climbers and the local community for its awesome triangular slices of heaven (45 toppings to choose from:jaw:). Price was economical, the quality of the food was top notch, and as a guy who likes to rock climb when he gets a chance, I admired the culture. Definitely put this on your list of places to stop at if you ever make it out this way.

D104D1A8-564D-4694-B711-41A942FB7BD4.jpg~original

3DE07E61-387A-4FA7-A7C2-4C5F6AEADABA.jpg~original

FB6ED5F1-00B5-4C7A-8142-75CD308FFB6E.jpg~original

DCC9AD99-2003-49D5-AF73-E2346B74AA38.jpg~original

0054DFB4-36E6-4D83-8483-AAD8F5935040.jpg~original
 
Last edited:
NB and RRG trip continued.

C67323C8-47AD-481B-8880-8D3109365195.jpg~original


Parked just outside the NADA tunnel, a 900 ft hold blown out of the rock wall so that this area of the forest could be utilized for its logging resources back in the early 1900's. This tunnel allowed for a train to make it back into the park, but now it serves as access for automobiles (one at a time of course), often referred to as the "Gateway to the Gorge".

34BF72A8-9487-4D50-97CD-11B7BA7430FE.jpg~original

595FEEE9-B3CE-4060-B9ED-C5584D8643FD.jpg~original


Snapped this image over toward the Skybridge arch:
DSCF3076.jpg~original


Some of the nicer views from around the park:
CB3B80A0-939D-422A-979D-19397258B423.jpg~original

EB82E453-6BF7-41D3-AB55-26EBFCDDF7B4.jpg~original

08F50B3D-7EE0-4AAA-96A5-BF7C4759ED17.jpg~original


Underneath the Skybridge Arch:

A3F2943C-61B4-4E26-B212-59F831BF5E07.jpg~original


The ride home was delightfully uneventful. John performed just fine. The only item I need to address is a minor vibration that became slightly annoying for a while but then mysteriously dissipated after a while. It very well might have been the type of pavement we were on for a short period of time.
 
Updates:

Update: While prepping for another long weekend trip to the Gorge, I started to address some things that I had been experienced on “John”. Namely, it was time to rotate the tires, and the truck seemed to be pulling to the left quite a bit under braking. I knew it wasn’t the brakes as I installed those and they all went together perfectly, including the bedding process. The calipers weren’t hanging either. The truck would make audible popping noise when I would brake hard and have to turn, i.e., pulling into a parking spot.

So I took it in for an alignment at Firestone (paid for the lifetime alignment, so I figured I’d continue saving as much money as possible).

They said they would take a look at the truck and share their thoughts as to why it was pulling later that day.

Long story short they discovered my issue is worn out lower control arm bushings, causing the assembly to bind. They were quick to offer me a solution. It was pretty simple really. They wanted me to fork over $2,400+, and they would replace all my lower control arms, bushings, sway bar endlinks (which I have disconnected on purpose) and then I’d be all set.
I chuckled to myself, and told them thank you for their time. I asked them to please rotate the tires and that I would take it from there.

Since then, I've taken delivery of a couple of LCAs from a well connected junkyard owner friend of mine, and then ordered a set of bushings for each control arm. Those were around $204 bucks for OEM bushings when all was said and done. Yesterday I changed those out at work with the help of some experienced shop guys in the back.

1DC33F36-999E-49AF-9541-8B6940800E5D.jpg~original


I have also learned that you have to move the steering rack out of the way a bit to slide the front LCA bolts out of their holes. That is disheartening but at least it gives me an opportunity to replace the steering rack bushings. I purchased Energy Suspension kit part to handle that specific task.
 
Been a while. Work's been crazy, SEMA happened again, I became a first time home owner (scary and exciting all at the same time) and then I took a week off in Washington to introduce Makenzie to the Evergreen State. Didn't have a way to do any off-roading since my truck was home pouting in the driveway so we mainly stuck to my local Washington friends 267,000 mile 2005 Ford Exploder. Thing just keeps on clocking the miles, much to my surprise. We mainly stuck to hiking whilst there.

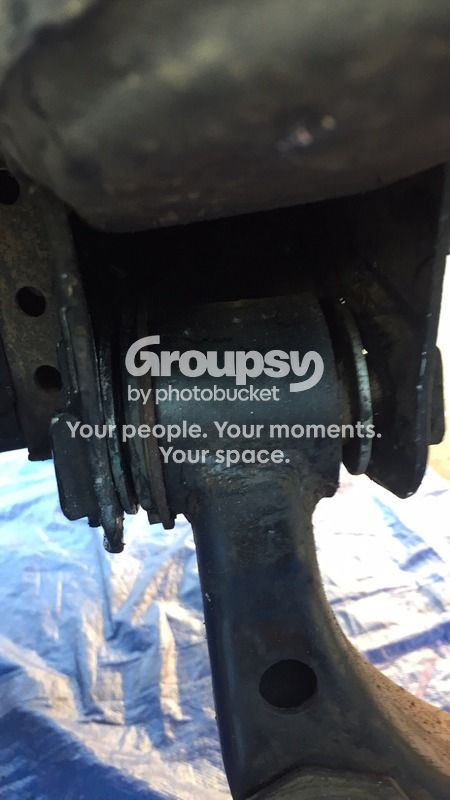
Anyhow, update to the truck. My last post alluded to need to replace some of the front end suspension components on the vehicle. So after LS Fest I pulled the truck off the road and go it up on jackstands. Unfortunately I don't have any more pictures than the following as my phone lost all of its photos unfortunately. I may have some more on a backup but don't hold your breath.

The driver side LCA came off fine, but the passenger side was a booger.

FullSizeRender.jpg~original


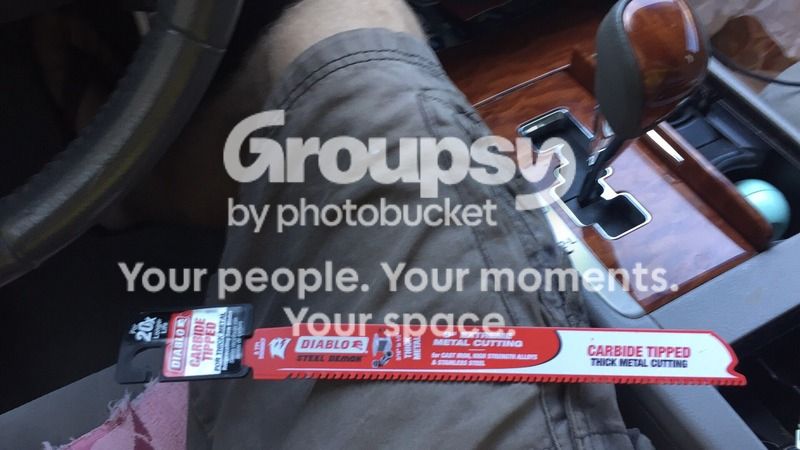
The rearward inside bolt was seized in the cam sleeve. Ended up spending a lot of time with a hammer and a pry bar to no avail. Ended up borrowing a friend of mine's Sawzall (Note to self: purchase one) and then took a trip to Home Depot to buy this:

FullSizeRender2.jpg~original


It worked a like a charm. Less than a minute of cutting and I was through the sucker and it's been helping me with some random brush removal off of a fence line at the house since then. Diablo is good stuff and I am now a fan for life.

I also replaced all of the bolts, cam nuts and cam sleeves with new OEM units, partially to make sure it could be adjusted in the future, and also to make sure that I wouldn't be stuck with a non-functional vehicle after the conclusion of the weekend. While I was under the truck I installed some black in color poly Energy Suspension steering rack bushings. Mine were pretty junky so I'm glad I did it while I was under there. I used Timmy the Toolman's YT video to aid me, which made things go smoothly. Look him up and subscribe. You'll be glad you did.

Also decided to do some more work while I was in there. The reason being is I wanted to make sure I didn't end up having the unfortunate experience of throwing one of my front wheels through the fender when the ball joint fails.

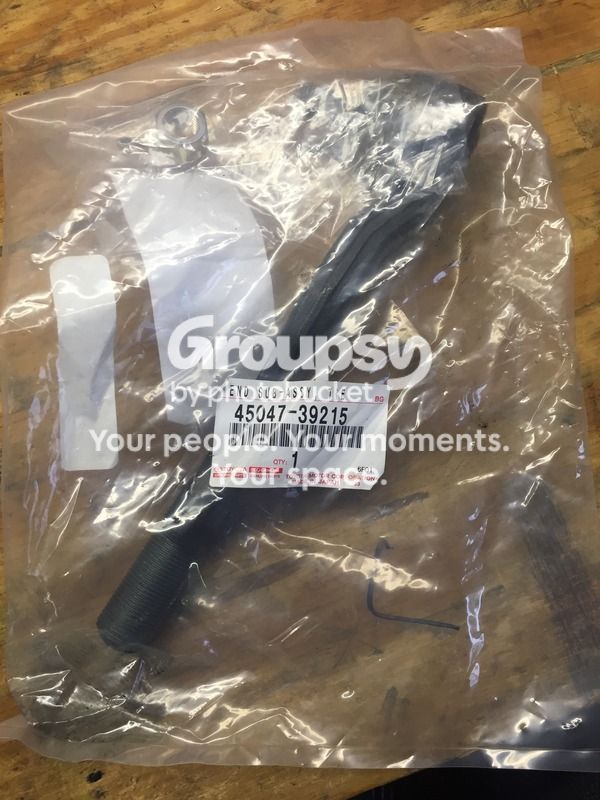
So, on went new lower ball joints, and I purchased outer tie rod ends while I was at it.

FullSizeRender5.jpg~original


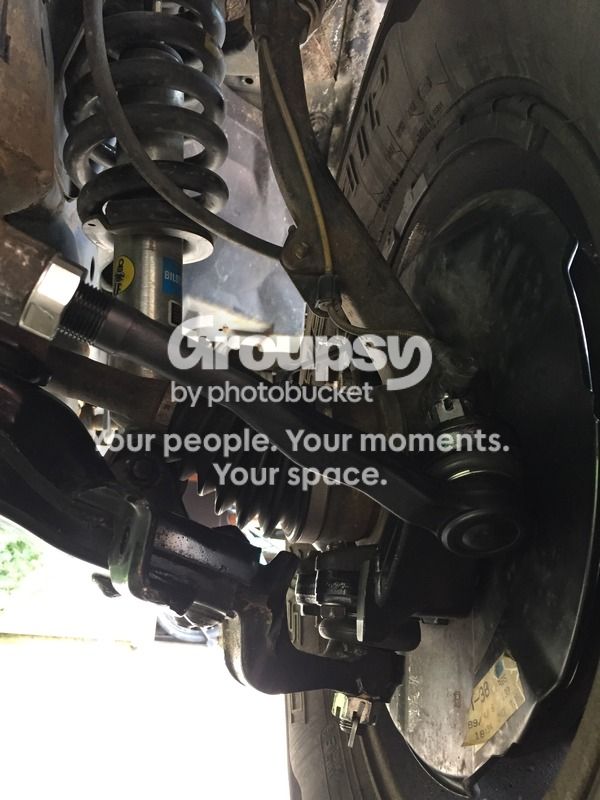
All said the truck now has an almost new front end. The only thing I haven't replaced other than diff bushings in the front are the upper control arms, which will be coming soon. Probably before end of year.

fullsizerender3.jpg~original


Everything all back together.

FullSizeRender4.jpg~original

Always make sure you get an alignment after putting your vehicle's suspension back together. If you're waiting like I did, make sure you grab some good reading material while you're at it!

End of update.
 

Members online

Forum statistics

Threads
278,312
Messages
3,554,087
Members
248,016
Latest member
Advally Service

Trending content

Back
Top