Leather install

macoyle

New member
So I bought a leather kit and had no clue how to do this but it was pretty cheap so I figured wth Ill give it a shot. as of right now the back seats are done and Ill be gettin around to the front tomorrow after work-

Tools required for the rear:
12mm
14mm
ratchet
phillips screw driver
Hog ring pliers
hog rings
razor
dikes

So first step is to remove the back seats, pretty simple, tilt the bottom ones down and remove the two 12mm bolts holding them in place, then the backs of the seats, tilt them down and remove them with a 12mm socket, then use a 14mm socket to remove the bottom of the seatbelt bracket.

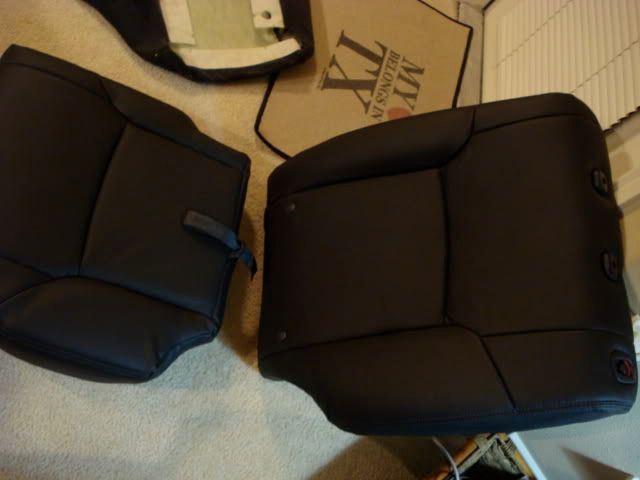
The back of the backseat portion just pops off and on to pics
DSC01282.jpg~original


start by peeling off the bottom holder from around the edge of the metal bracket, then go on to cutting the old hog rings off and peeling the cloth off

DSC01283.jpg~original

DSC01286.jpg~original

DSC01288.jpg~original


(different piece but same process) remove all the hog rings and start placing the new leather inside out to install new hog rings

DSC01289.jpg~original

DSC01287.jpg~original


poke a hole where the hog ring will be inserted to the metal frame to make the install easy

DSC01290.jpg~original


Once all the hog rings on the seat portion are installed, move to the back portion to get those and stretch everything to fit

DSC01293.jpg~original

DSC01291.jpg~original


*****UPDATE*****
Its been just over 3 years since I did the install and just about 40k miles and they have held up GREAT! I do condition them about 3-4 times a year and I always do the quick leather wipes every time I clean the truck, so about every 2 weeks.

Heres the pics!


Last edited:
Register to hide this ad
for the seat portion stretch and press the plastic around the metal frame

DSC01297.jpg~original


and these portions are done

DSC01292.jpg~original


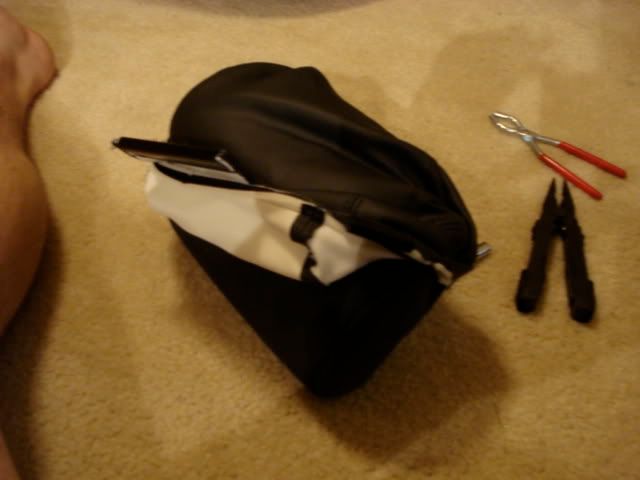
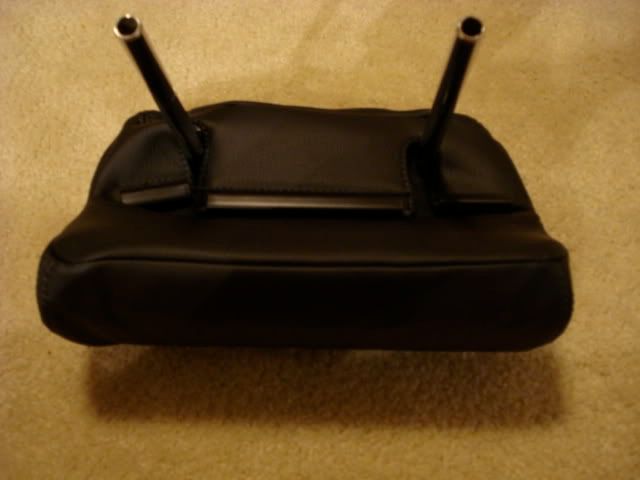
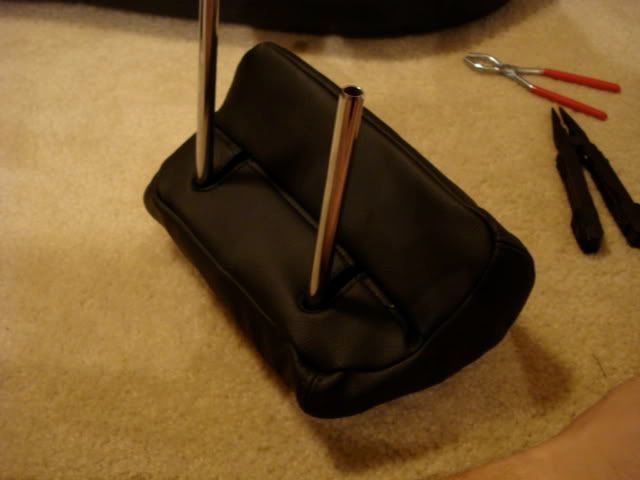
head rests, at least the rear ones the cloth stays on because its attached to the foam, these are a PITA but they gotta get done, so turn them inside out and start stretching and you will slowly make progress. Once done one side folds into the other to make a nice seam

DSC01294.jpg~original

DSC01295.jpg~original

DSC01296.jpg~original
 
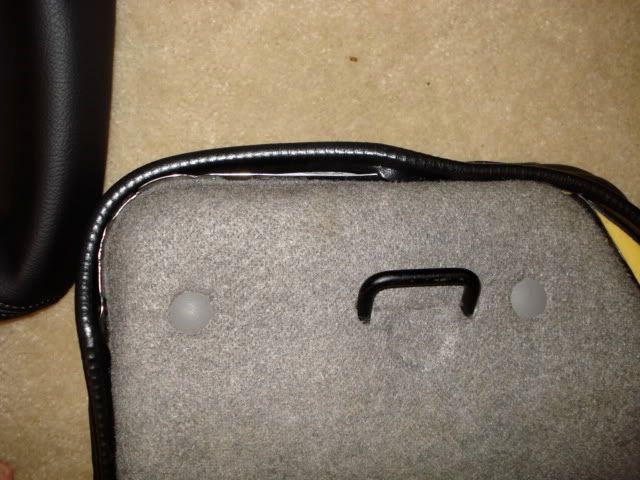
the larger portions of the rear seats are a huge PITA, hog rings around the edges where the console folds into take patience. after everything is peeled off start doing the same process with hog rings and pulling and stretching to avoid wrinkles


the console is awkward as well, the rear portion is zipped inside out, so I used pliers to unzip it and start rolling it forward, you will notice 3 screws so remove those and the cup holder will pull out. After that the cloth peels off. Sorry I forgot to take pics of that process but reversing the process with the new leather I snapped a couple pics

DSC01298.jpg~original

DSC01299.jpg~original


and heres the rear finished-
 
Last edited:
I chose to take this inside because its easier lol but this is really a simple install and this took around 4 hrs with me and a buddy not knowing anything about this- The leather quality is top notch as well-
 
If its not too late, before you put the seats back in the vehicle set them out in the direct sun for about 4 hours and that should remove any fold lines or wrinkles. Also it will tighten up the leather a little. Looks great so far! Be sure to disconnect the battery before pulling the front seats.
 
Very nice!!! My drivers seat is pretty worn on the bottom section, I've considered buying that kit and replacing just the bottom. The rest of my leather is in excellent shape and that kit is cheaper than buying just the peice I need. Wonder if color would match? I'll have to check that out, thanks for the write-up!
 
Nice work. I've been wondering how much new covers would cost since I did my driver-passenger swap/repair last week. A lot of work, and next time I might just find new covers all around.
 
There are some things that are within my limited technical ability, like greasing the slip yokes. Putting on those seat covers? Nope, not a chance. I'd grip and pull and scream and curse and rip it to shreds accidentally before I put a hole in the garage wall.
 
You should install a seat heater kit while you have the fronts apart! Oh... you're in Texas... maybe you don't need them!

Great job!
~Doozi
 
Ill get some installed pics tonight once I get the front done. Im about to start here in a few. I thought about seat heaters but for the next 4 years Ill be in TX so I couldnt use those in a long time anyway...now if they had a kit for AC seats like new vehicles id be all over that
 
ok the fronts are done, a bit more of a PITA but no biggie.

From here I just unzipped the rear of the back of the seat and started removing the seat covers. Remove the plastics around the bottom of the seat, theres a tiny screw on the rear of both plastic covers and they pop off /slide forward to remove them, the drivers seat with the lumbar support, obviously un plug the sensor. The seat adjustments come off easy, the round one has a c-clip and the height adjustment has two screws.

DSC01308.jpg~original

DSC01310.jpg~original

DSC01311.jpg~original


Once all the way removed turn the new cover inside out and start getting the hog rings in there. (I also used needle nose pliers to crimp them down as tight as possible)

DSC01314.jpg~original


Once all the hog rings are in, the front has to be flipped inside and it is held on by pressure. The rear is pulled through the back and later gets clipped to the seat springs.

DSC01315.jpg~original


the back is the same process, except my kit was for the one with side airbags, I dont have those so I cut the straps off.

DSC01316.jpg~original


Tuck everything underneath and pull it as tight as you can.

DSC01318.jpg~original


DSC01319.jpg~original
 

Members online

Forum statistics

Threads
278,305
Messages
3,554,041
Members
248,016
Latest member
Advally Service

Trending content

Back
Top