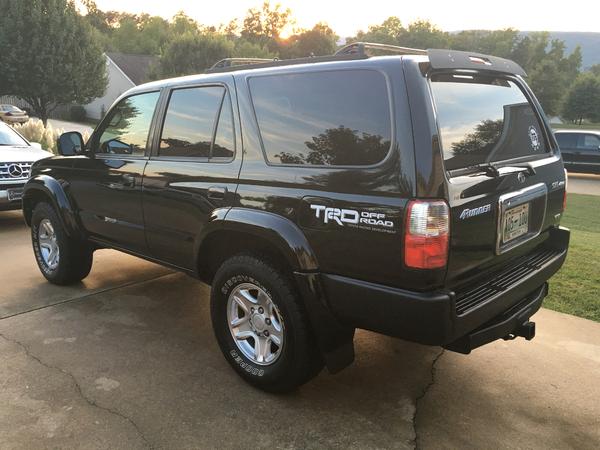
Lets see your Stock bumper pics..... You read that right..

cstmg8

New member
So now that I've ordered new suspension components, my budget truck is quickly going over budget.
What have people done to improve/modify the stock bumpers? Accessories, cutting, I saw a drilled one somewhere.
I'll get bumpers eventually, but until then....

Sent from my XT1585 using Tapatalk
 
Register to hide this ad
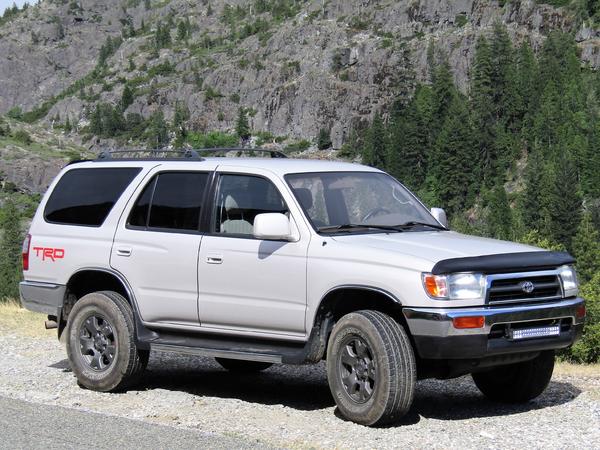
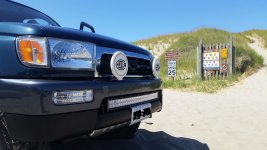
Here's mine, stock 97 bumper. I cut the center section out and installed a 27" single row light bar in there. I attached it to some factory drilled holes. I have it wired to a factory toyota fog light switch.

White truck oil pull off by austin jenkins, on Flickr
Bumper light bar 1 by austin jenkins, on Flickr

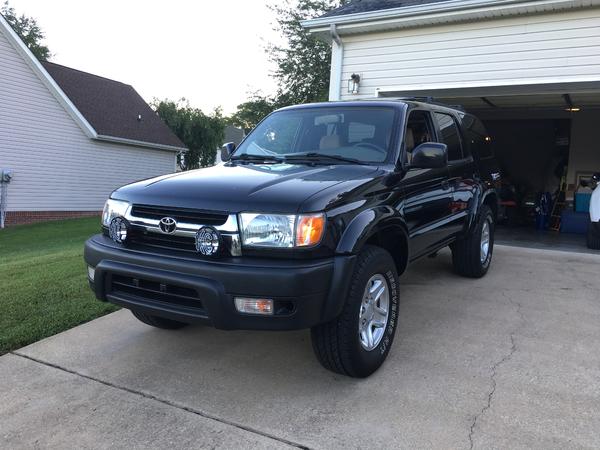
Wow, your 4Runner looks very, very similar to mine! Same graphite painted TRD Tacoma wheels, same spot for a 24" LED bar, that's hilarious! Great minds think alike.

gamefreakgc-albums-mods++upgrades-picture46624-6-27-17.jpg
 
I like that, Did you paint match the fender flares, or is that factory?

Sent from my XT1585 using Tapatalk

Flares came black OEM, I just properly prepped the bumpers and spray on bedliner. After a few weeks/washings/rain, there were some dots of shiny coming through so I put a medium respray on and haven't had an issue since...that was about a year ago now and still looks great.

I also ran a Toyota fog light rocker switch to power my KC Apollos, looks factory clean and zero issues. Personally I wouldn't obstruct that lower bumper gap as it just seems like it would block a fair amount of air from passing through the condenser and radiator. Besides that, if you're running light that low seems like yellow fog lights would be better as white would just throw cast shadows on a trail. Ditch lights or up top LED bar would be best for illumination. Bumper mounts work pretty decent unless I'm in tall grass.
 
Last edited:
How did you decide where to cut? Looks great.

Sent from my XT1585 using Tapatalk

Thanks, this was a few years back but I just eyeballed one side to begin with, and marked my lines using masking tape, then matched the other side symmetrically. I believe the little strip towards the wheel well is 6 inches long and the thickness of 1" masking tape. The angle downward was marked using only the tape between the end/start of the 6 inch strip and down to the front bumper guard part. I cut it with a heavy duty utility blade (wouldn't recommend) only because I didn't have a rotary tool like a Dremel. When I cut I left slight extra to be sanded to shape so no rough edges. I did it all disassembled, and spent the most time probably prepping and sanding for the bed liner. Still holding up about 3 years later.

I believe I originally got the idea from Rickashay's build thread, and he made his cuts slightly different from mine and looks just as good IMO, so personal preference really.
 

Members online

Forum statistics

Threads
278,316
Messages
3,554,120
Members
248,016
Latest member
Advally Service

Trending content

Back
Top