MasonT4R
New member
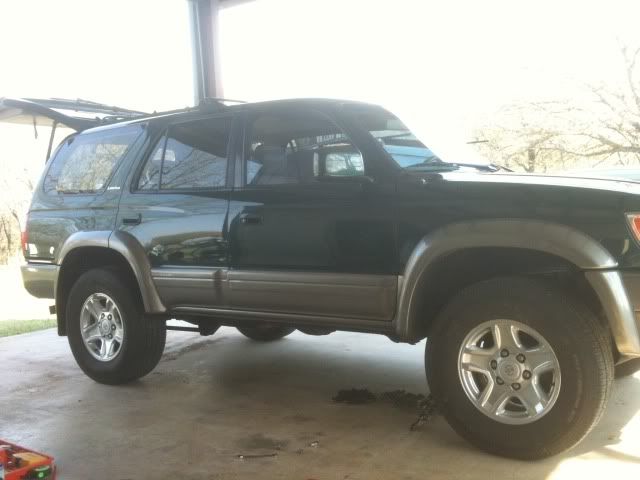
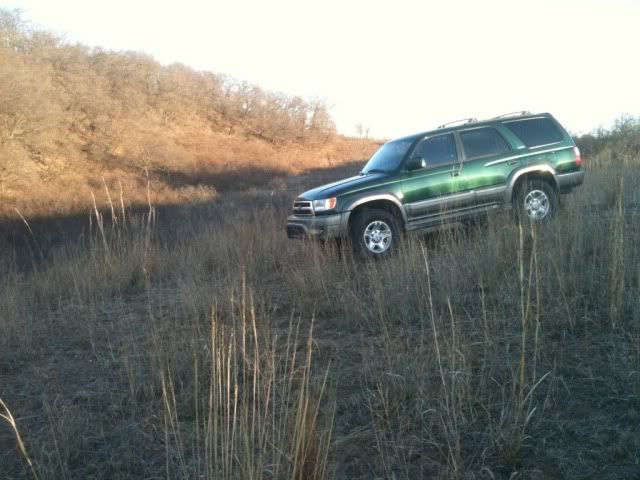
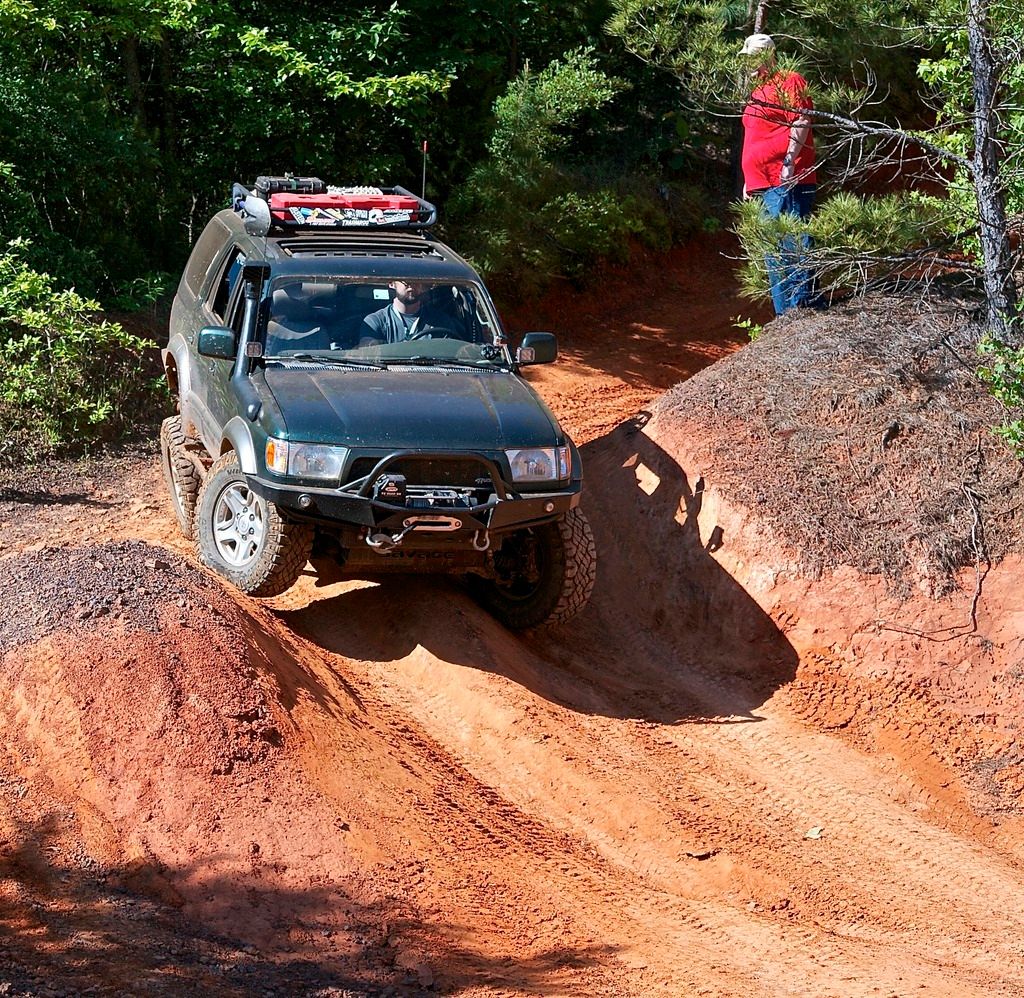
1999 4Runner Limited 4WD with Locker Overland Build.
Now called the Godzilla Build after a particularly noisy hill decent while wheeling with dirty brakes.
Right after I got it:
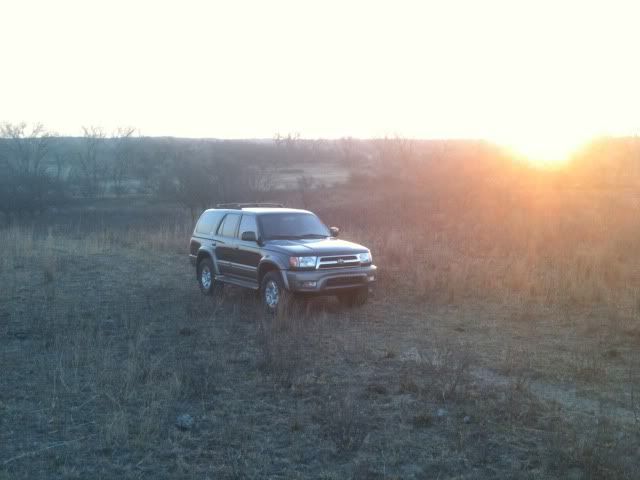
Current Photo:
Updates:
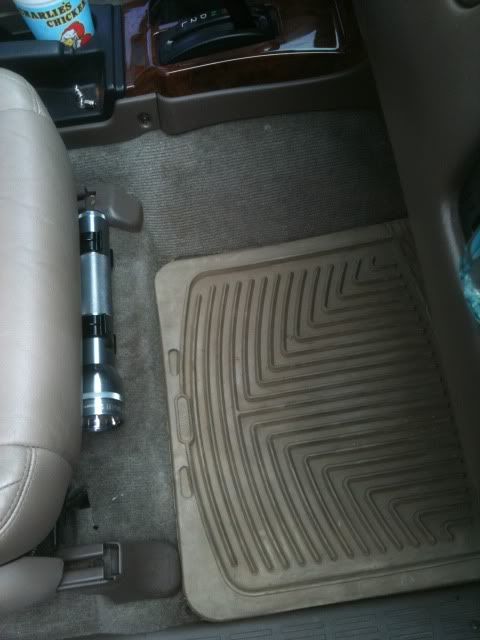
Maglite Mount, ISR, Removed Running Boards Post #6
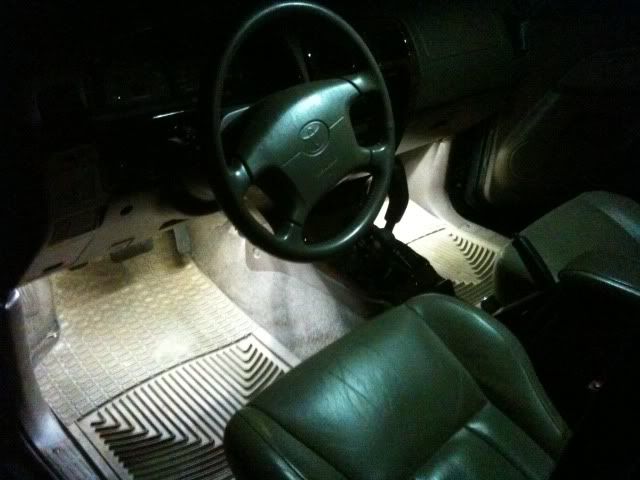
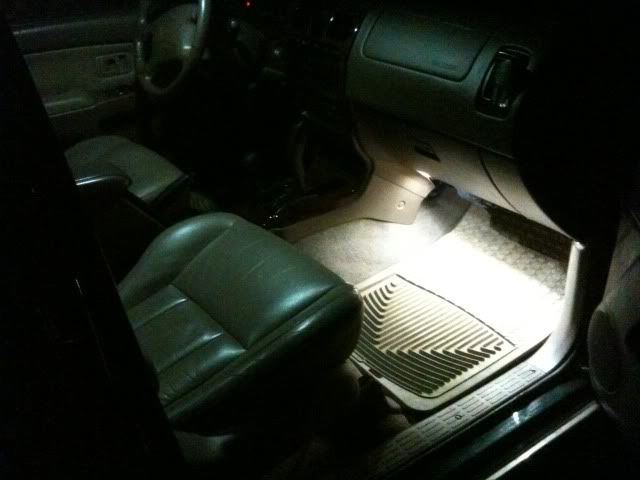
Footwell Lighting Post #9
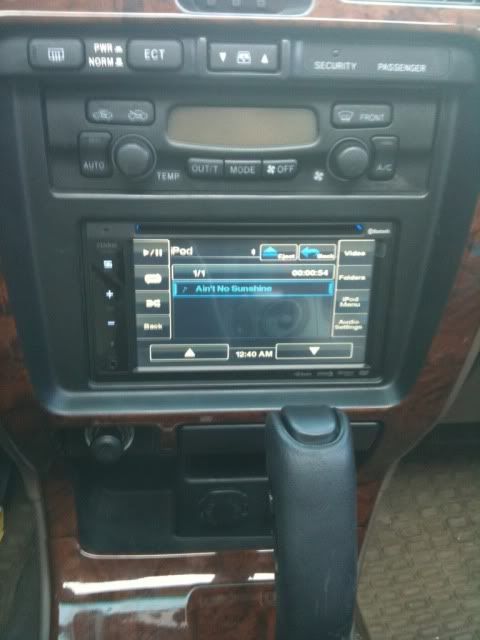
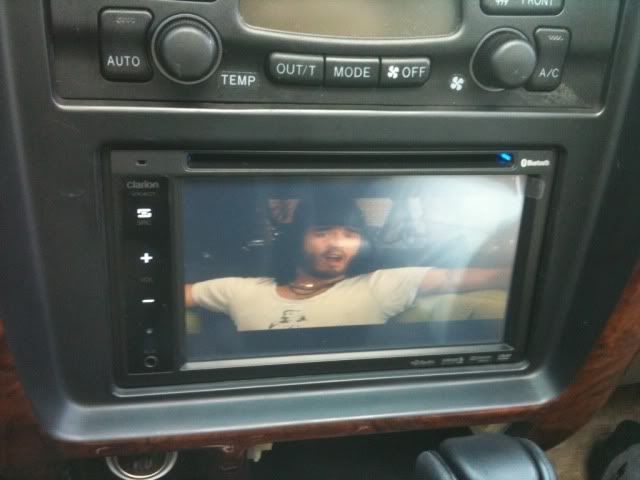
Head Unit Post #10
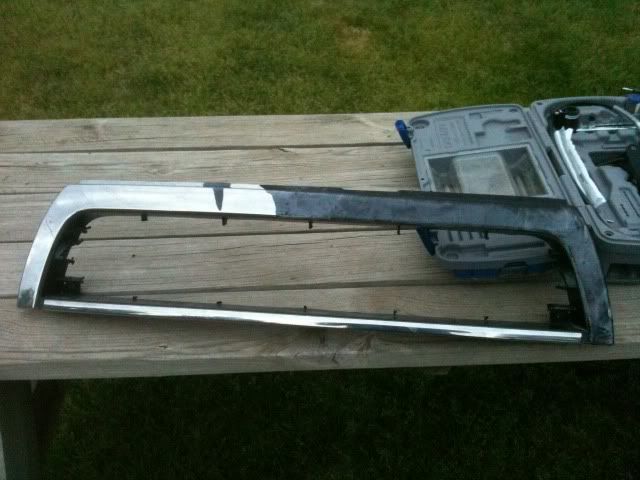
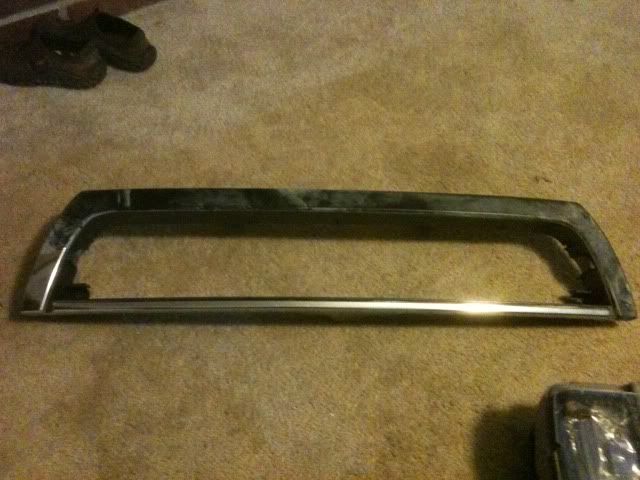
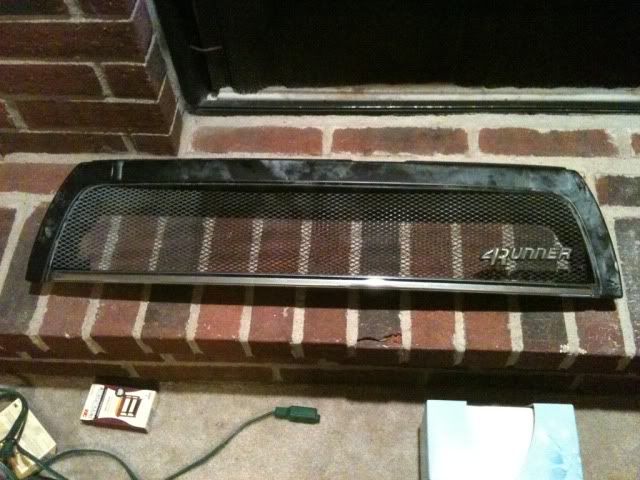
Satoshi Mod Begins Post #11
Satoshi Finished Post #16
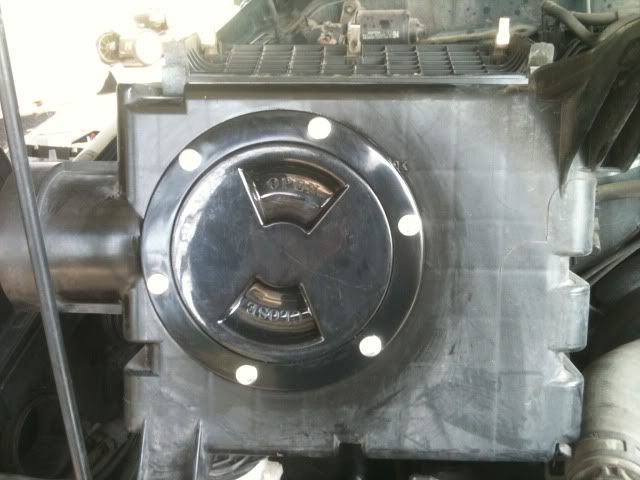
Hidden Hella 500 Black Magics (since removed) Post #22 and Post #27
ScanGauge Post #37
Duratracs 265/75/R16 Post #38
iPad Mount for Navigation Post #38
Blue Sea Fuse Block Post #58
CB, Tundra Brakes, Rally Armour Mud Flaps Post #59
Lift! Post #63
ITRE, OTRE, LBJ, Flex Test Post #65
Maintenance and Painting Post #69
MStudt End Links Post #71
Savage Rear Bumper w/ Swing Out Post #76
4xInnovations Sliders w/ Kickout Post #77
Staun Tire Deflators Review Post #79
Swing Out Wiring Post #81
Hilux Surf Snorkel Post #85
Roof Rack, Rotopax, Tacoma Antenna, Maintenance, New Spare Post #87
Addicted Offroad Front Bumper Post #89
New Carpet Post #98
CBI Ditch Lights Post #106
Superwinch Tiger Shark 9.5 Post #111
Final Winch and Savage Front Skid Post #123
Rock Lights Post #127
Storage and Slide Post #130 and Post #135
Trips:
Ozark National Forest with Central Overland Post #29 and Post #32
Buckhorn Post #50
Ozark National Forest with Central Overland #2 Post #54 and Post #56
K-Trail Post #57
Gruber Post #62
Keystone Post #67
Disney Oklahoma Offroad Post #121
Buckhorn 2.0 Post#84
High Water Mark Arkansas Post #92 and Post #93 and Post #116
10th Lone Star Toyota Jamboree Post #134
Now called the Godzilla Build after a particularly noisy hill decent while wheeling with dirty brakes.
Right after I got it:
Current Photo:
Updates:
Maglite Mount, ISR, Removed Running Boards Post #6
Footwell Lighting Post #9
Head Unit Post #10
Satoshi Mod Begins Post #11
Satoshi Finished Post #16
Hidden Hella 500 Black Magics (since removed) Post #22 and Post #27
ScanGauge Post #37
Duratracs 265/75/R16 Post #38
iPad Mount for Navigation Post #38
Blue Sea Fuse Block Post #58
CB, Tundra Brakes, Rally Armour Mud Flaps Post #59
Lift! Post #63
ITRE, OTRE, LBJ, Flex Test Post #65
Maintenance and Painting Post #69
MStudt End Links Post #71
Savage Rear Bumper w/ Swing Out Post #76
4xInnovations Sliders w/ Kickout Post #77
Staun Tire Deflators Review Post #79
Swing Out Wiring Post #81
Hilux Surf Snorkel Post #85
Roof Rack, Rotopax, Tacoma Antenna, Maintenance, New Spare Post #87
Addicted Offroad Front Bumper Post #89
New Carpet Post #98
CBI Ditch Lights Post #106
Superwinch Tiger Shark 9.5 Post #111
Final Winch and Savage Front Skid Post #123
Rock Lights Post #127
Storage and Slide Post #130 and Post #135
Trips:
Ozark National Forest with Central Overland Post #29 and Post #32
Buckhorn Post #50
Ozark National Forest with Central Overland #2 Post #54 and Post #56
K-Trail Post #57
Gruber Post #62
Keystone Post #67
Disney Oklahoma Offroad Post #121
Buckhorn 2.0 Post#84
High Water Mark Arkansas Post #92 and Post #93 and Post #116
10th Lone Star Toyota Jamboree Post #134
Last edited: