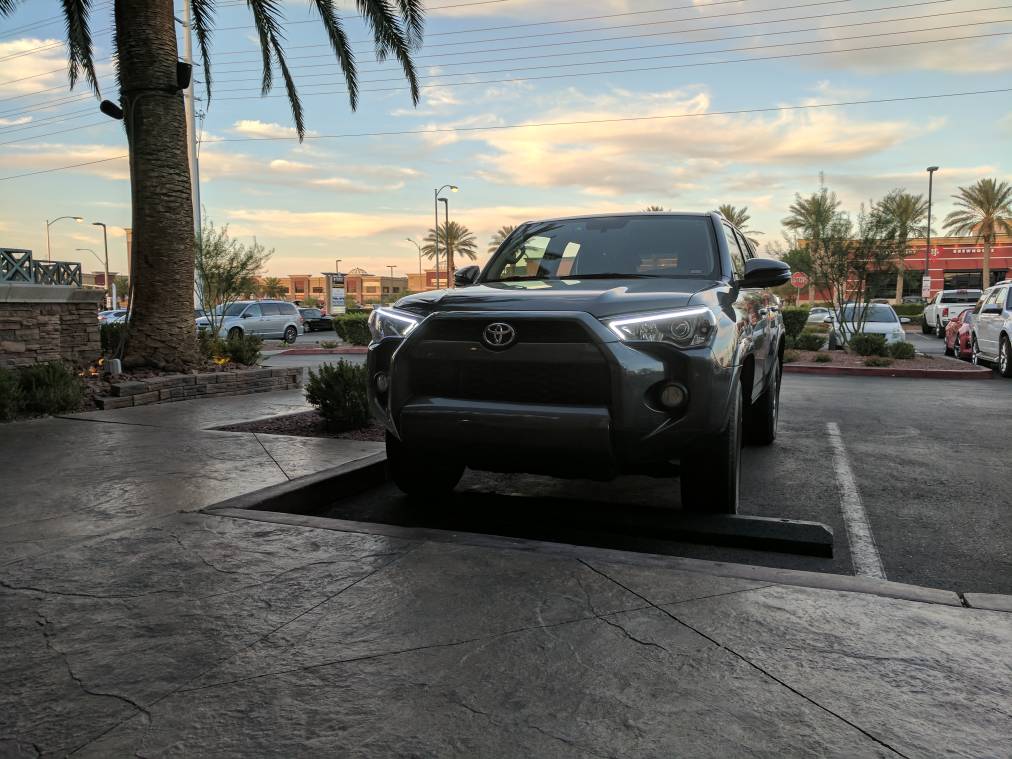
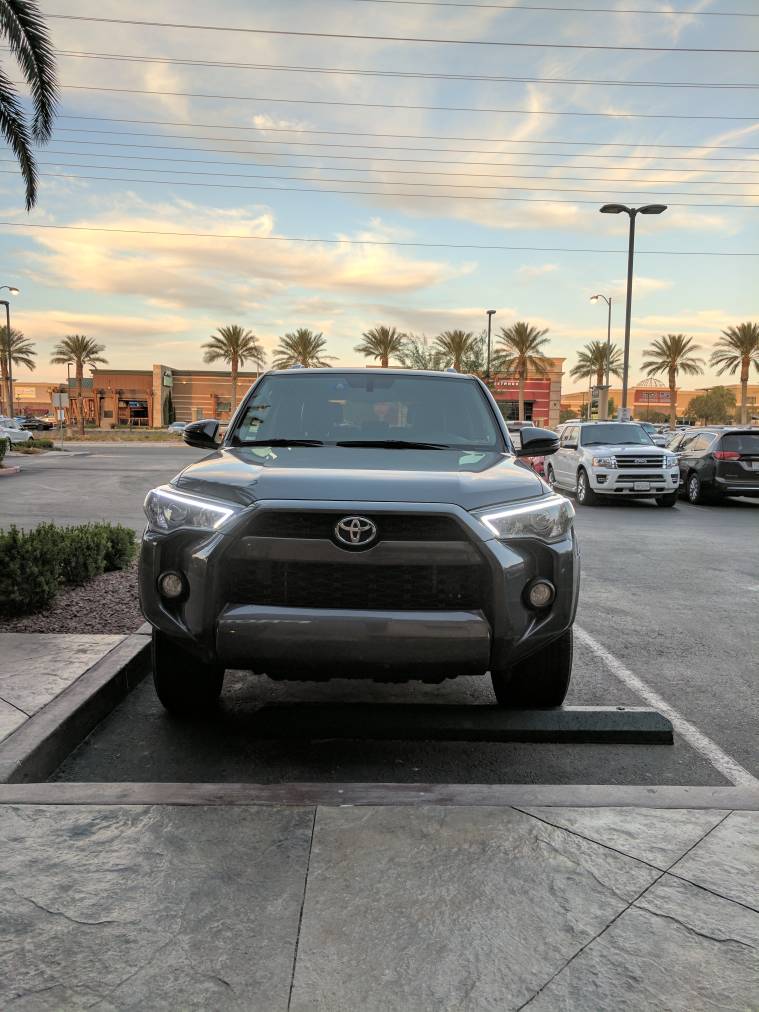
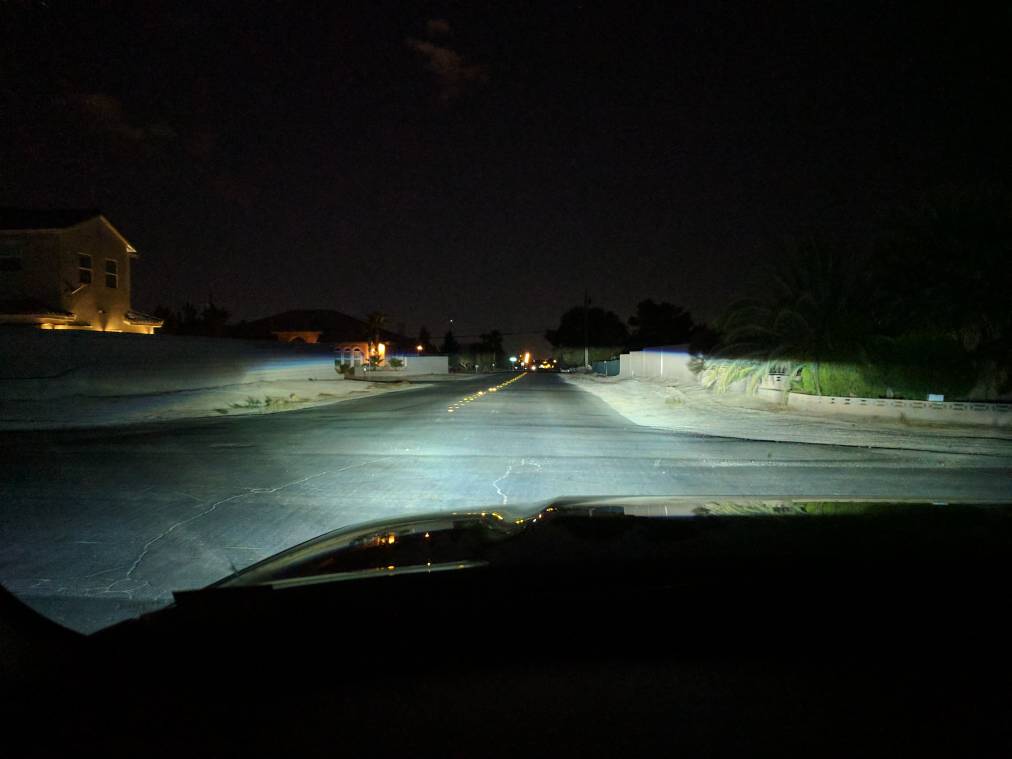
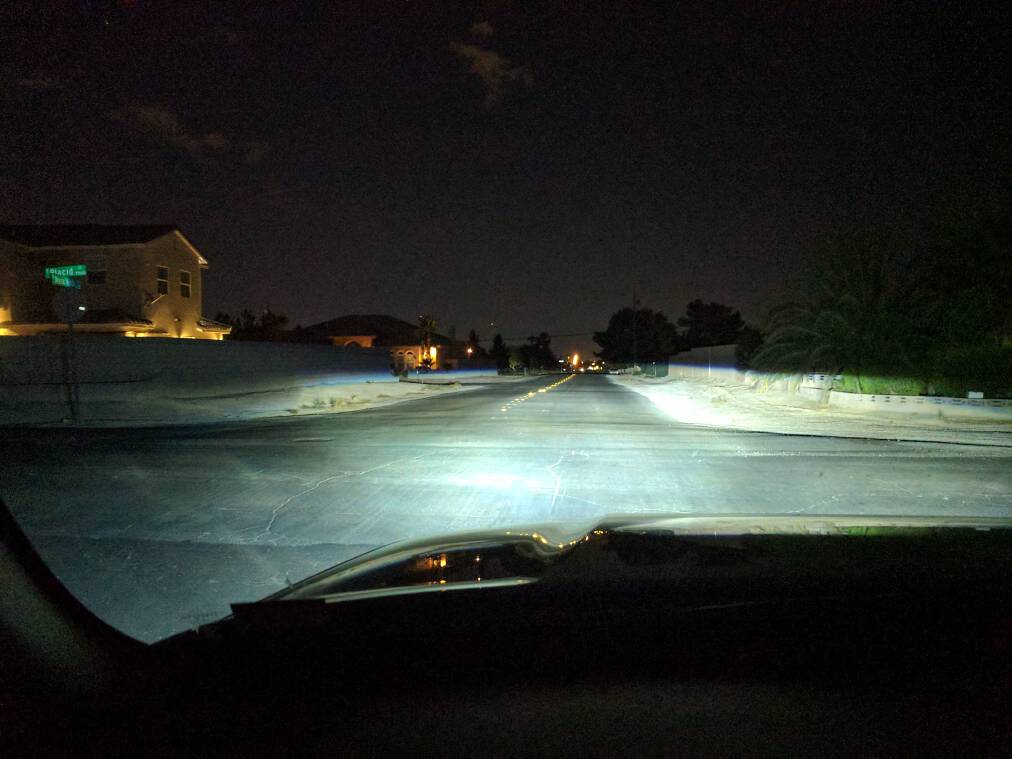
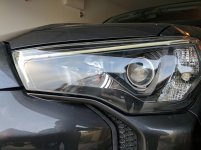
your cutoff looks high in this pic... pics with truck on level surface pointed at a wall 25ft away plz. cutoff should be around 36" from ground. Your cutoff could be totally fine as well, but this pic makes it seem high (unles syour brights are on). more info please!!!
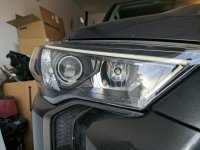
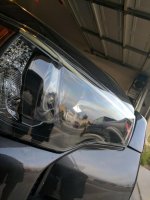
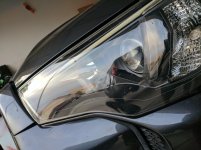
Parts are from TRS. They are the Morimoto XSB 3.0 LED strips. 18" and 3" pairs. I used fishing line to secure the LEDs to the headlight bezel. I had to drill tiny holes for them but you can't see them unless you literally look for them. A little bit of super glue was used as well for safe keeping and long lasting.
Hardest part is baking the headlights to separate the lens from the housing. Very annoying spending 1 hour on each headlight to open them.
[MENTION=149481]JakeKo[/MENTION] Was the sealant relatively soft after you heated it up? Or was it still pretty firm? I've baked open a few headlights before and by far the worst set were a pair of Nissan Altimas because the sealant would just not get soft enough to make it easy to pry open.
[MENTION=149481]JakeKo[/MENTION] Was the sealant relatively soft after you heated it up? Or was it still pretty firm? I've baked open a few headlights before and by far the worst set were a pair of Nissan Altimas because the sealant would just not get soft enough to make it easy to pry open.
The 4Runner headlights are the same way. They are a pain to open because of the glue they use. I believe it's 'permaseal'. It's like these things need a warm up time, a practice round of testing where the glue is soft and then eventually being able to open them. Take me anywhere from 45 minutes to an hour and a half per headlight. The TYC headlights take about 20 minutes to open. And no 'Preheat' cycle haha. I always use the Moriomoto Butyl to seal it back up with. I don't even bother removing the old glue because it heats up enough to bond to the butyl while it's cooling.
The 4Runner headlights are the same way. They are a pain to open because of the glue they use. I believe it's 'permaseal'. It's like these things need a warm up time, a practice round of testing where the glue is soft and then eventually being able to open them. Take me anywhere from 45 minutes to an hour and a half per headlight. The TYC headlights take about 20 minutes to open. And no 'Preheat' cycle haha. I always use the Moriomoto Butyl to seal it back up with. I don't even bother removing the old glue because it heats up enough to bond to the butyl while it's cooling.
Sorry I've been away for a bit. The projectors I used were 2006-2010 OE IS250\IS350 projectors. They are side mounted bulbs just like the OE 4Runner but they are HID and BiXenon. It was a lot of work to make a new bracket for the OE IS250\IS350 projectors but it's possible. I basically cut off the backside of the 4Runner OE projector and 'fitted' it in between the front and rear pieces of the IS350 projector. (You can disassemble the IS350 projector) Also replaced the fresnal lens with a clear lens to give it that pretty cutoff.
The housing was pretty easy. I just took a dremel to the inside housing where the new projector would scrape. Didn't take much to make it fit. I just kept test fitting the new projectors in the housing, looked where it was scraping and then took a dremel tool to it. Not hard.