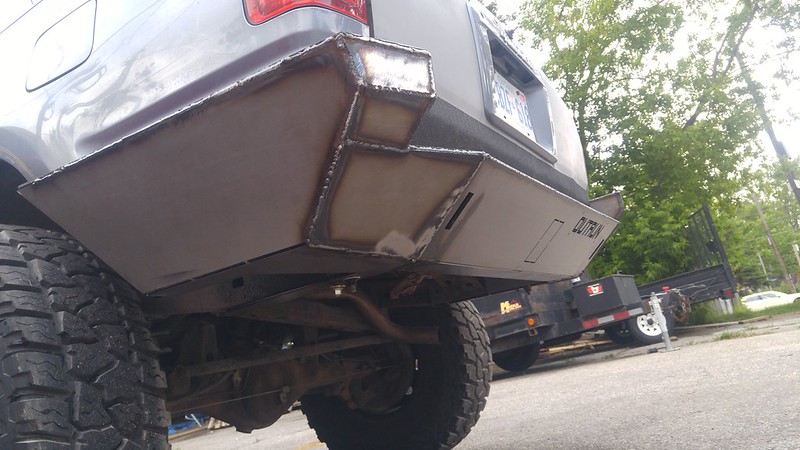
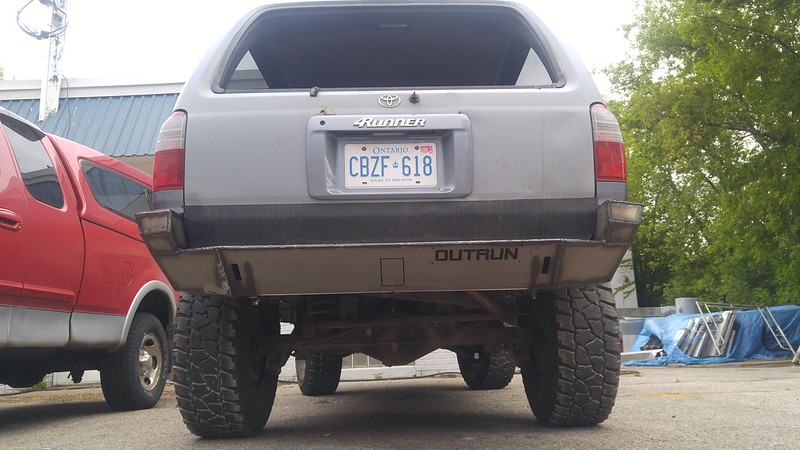
After receiving all the likes in the "what did you do to your 3 Gen today" thread I think many of you would like to see the progress on the rear bumper I am doing.
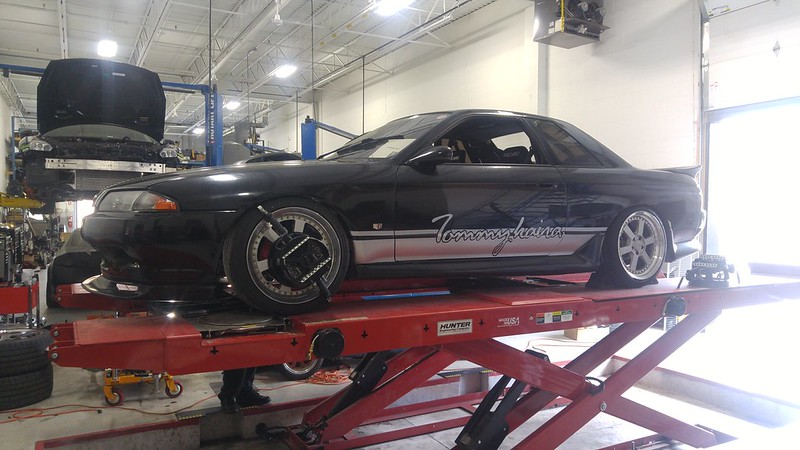
Quickly about me because I am new. Ive been big into Nissan cars for the longest time ( See Skyline Build Here : //Running in the 90s// R32 GTS-T Revival - Zilvia.net Forums | Nissan 240SX (Silvia) and Z (Fairlady) Car Forum) But over the winter my close friend took me out for a little off roading in his 3rd Gen and I was hooked.
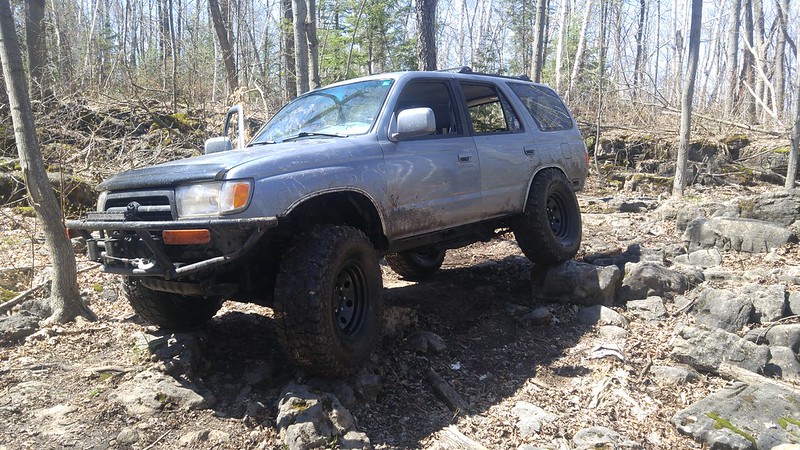
After watching him fab up his front bumper (lots of one off manual tube bending) and doing a bit of research on the type of things people do with these trucks I offered to help him design a bumper for the rear of the truck.
I am a mechanical designer by trade and use CAD daily to design enclosures for machines at work.
Naturally we got to work on a cardboard mockup.
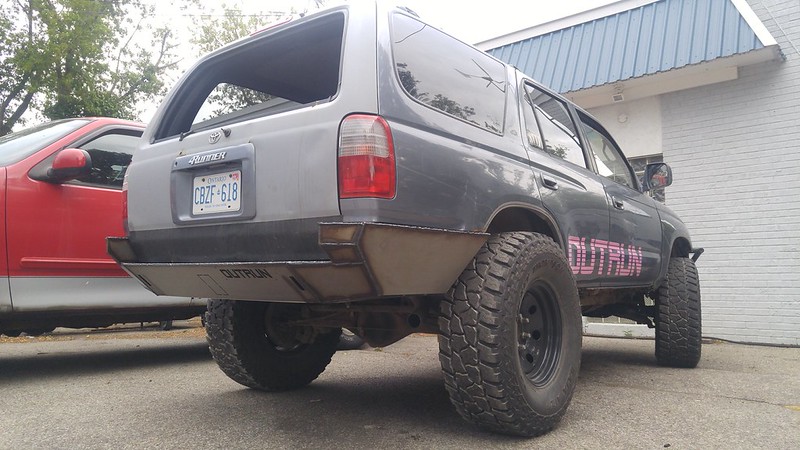
The idea was to design around having it able to accept a swing out in the future and be a fully bolt on part. I found many of the plate bumper designs out there to be very bulky and visually heavy looking so we tried to keep things as slim as possible (also helping out with approach and departure angles)
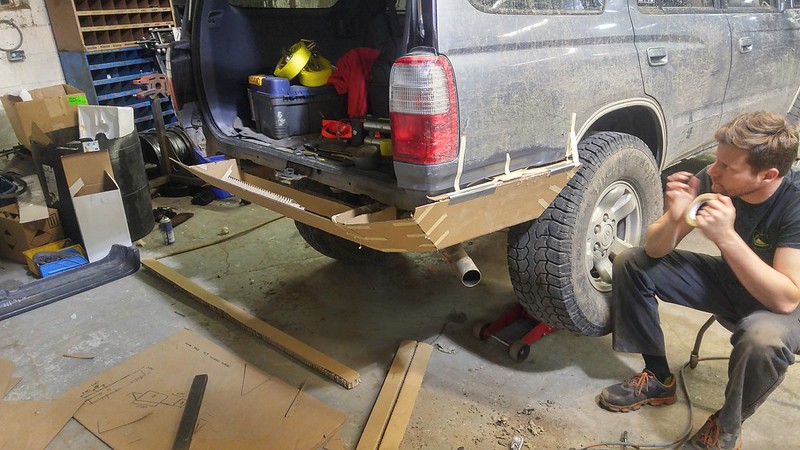
From there we went ahead an extensively measured the truck. These measurements were used to create a model in solidworks to build around.
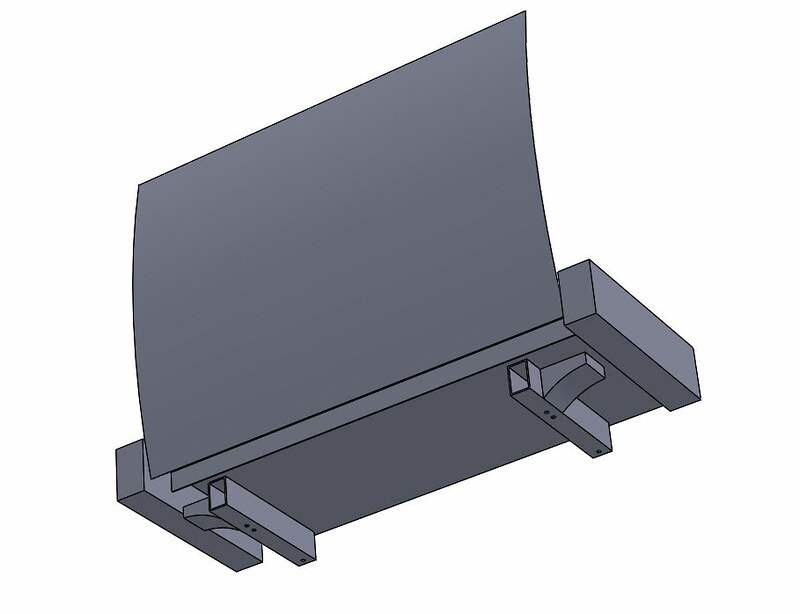
This helped helped getting the bumper to "fit" the truck but I knew we could get it fitting better if we were able to somehow get a scan of the truck. After some researching and digging I was able to use an old Xbox Kinect to scan the back half of the truck.
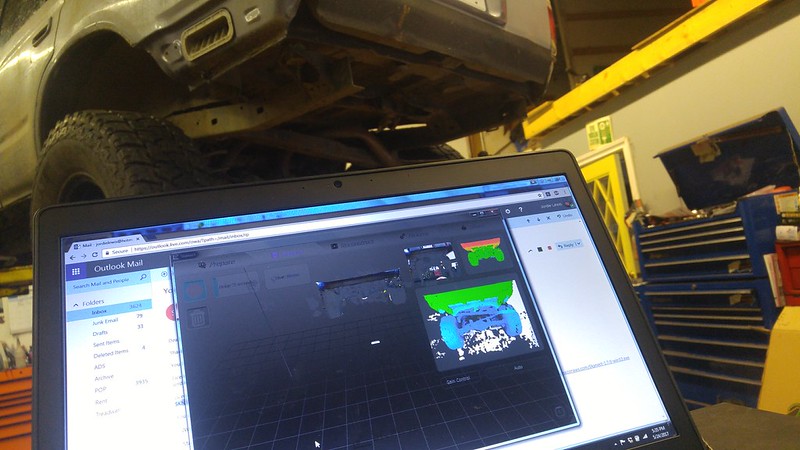
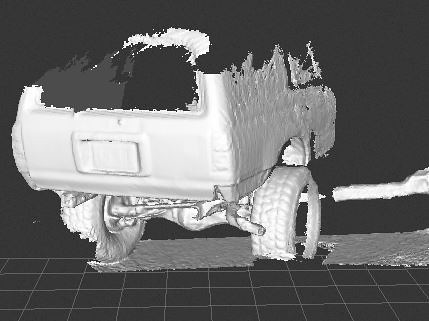
This was the end result of my very amateur 3d scan. It wont give me hole locations or anything that detailed but it is to scale and works wonders for creating a base to follow the lines of the truck.
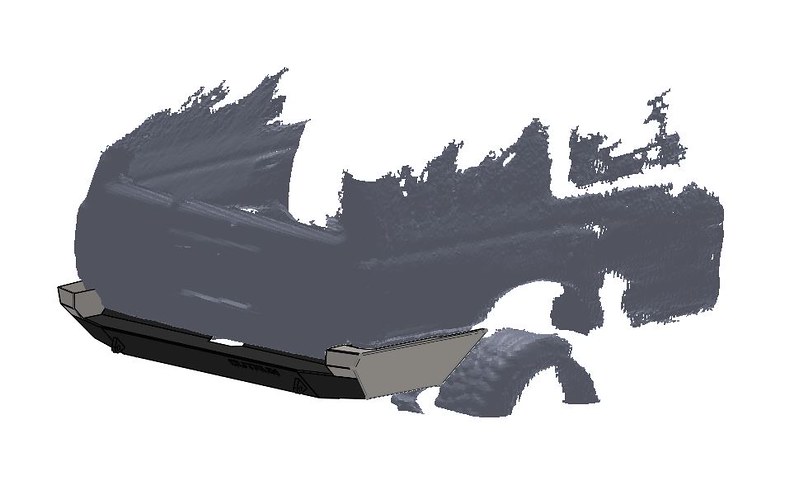
Here is a snapshot of the bumper "mounted" on the 3d scan to verify fitment. then it was off to the laser cutter to be cut from 3/16 plate
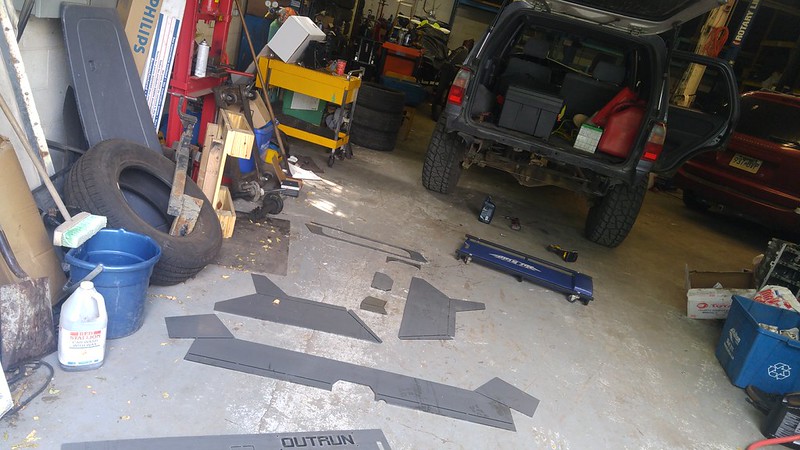
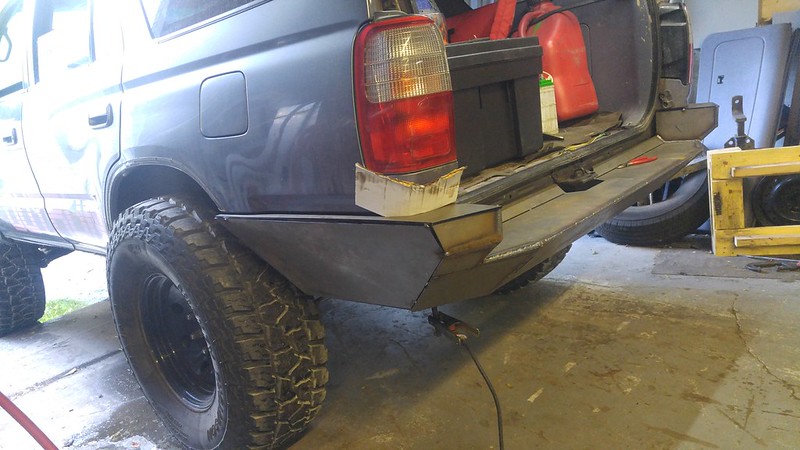
We wasted no time fitting it all up and tacking it together.
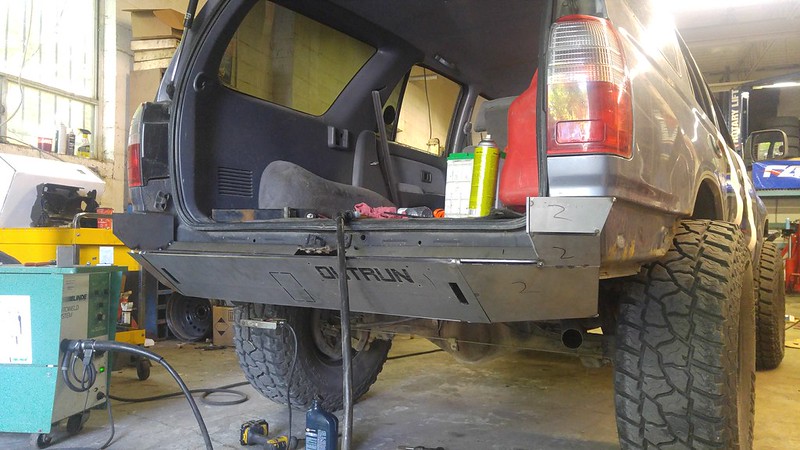
Fitment with the tailgate closed is spot on
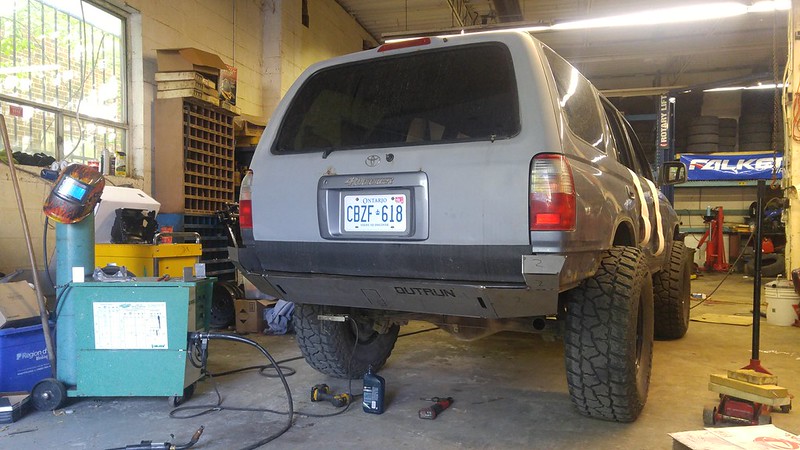
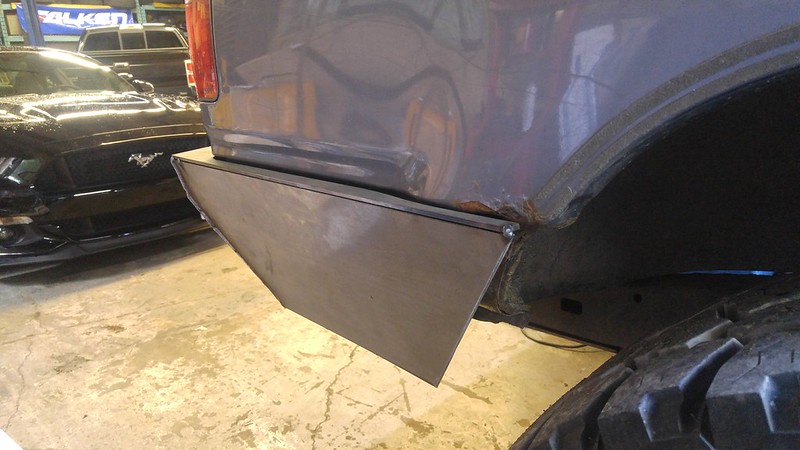
I realized after the parts were cut that the scan was done with the truck on the hoist. This meant that the suspension was drooped and I made the side a bit to long. I hope to have those pieces back from their date with the metal shop later today. So far I love how the bumper looks.
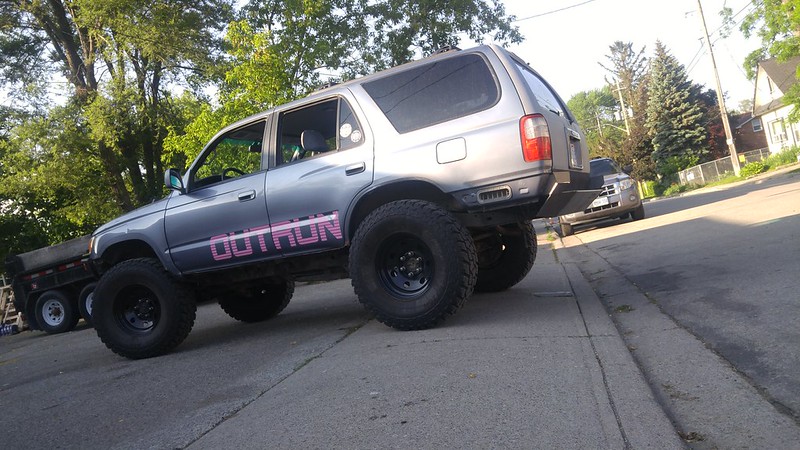
I will post up more progress as it happens.
Thanks for reading
- Jordie
Quickly about me because I am new. Ive been big into Nissan cars for the longest time ( See Skyline Build Here : //Running in the 90s// R32 GTS-T Revival - Zilvia.net Forums | Nissan 240SX (Silvia) and Z (Fairlady) Car Forum) But over the winter my close friend took me out for a little off roading in his 3rd Gen and I was hooked.
After watching him fab up his front bumper (lots of one off manual tube bending) and doing a bit of research on the type of things people do with these trucks I offered to help him design a bumper for the rear of the truck.
I am a mechanical designer by trade and use CAD daily to design enclosures for machines at work.
Naturally we got to work on a cardboard mockup.
The idea was to design around having it able to accept a swing out in the future and be a fully bolt on part. I found many of the plate bumper designs out there to be very bulky and visually heavy looking so we tried to keep things as slim as possible (also helping out with approach and departure angles)
From there we went ahead an extensively measured the truck. These measurements were used to create a model in solidworks to build around.
This helped helped getting the bumper to "fit" the truck but I knew we could get it fitting better if we were able to somehow get a scan of the truck. After some researching and digging I was able to use an old Xbox Kinect to scan the back half of the truck.
This was the end result of my very amateur 3d scan. It wont give me hole locations or anything that detailed but it is to scale and works wonders for creating a base to follow the lines of the truck.
Here is a snapshot of the bumper "mounted" on the 3d scan to verify fitment. then it was off to the laser cutter to be cut from 3/16 plate
We wasted no time fitting it all up and tacking it together.
Fitment with the tailgate closed is spot on
I realized after the parts were cut that the scan was done with the truck on the hoist. This meant that the suspension was drooped and I made the side a bit to long. I hope to have those pieces back from their date with the metal shop later today. So far I love how the bumper looks.
I will post up more progress as it happens.
Thanks for reading
- Jordie