Phantom Runner Build

RockenAlex

New member
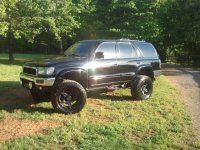
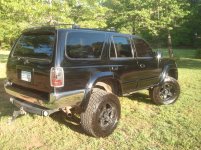
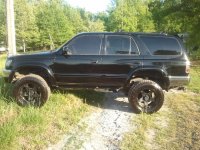
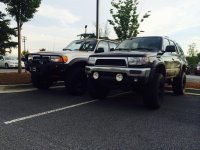
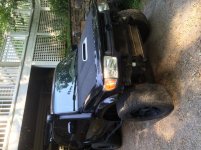
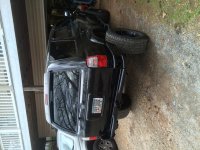
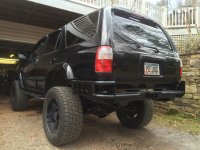
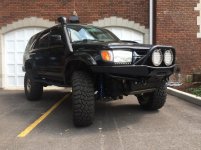
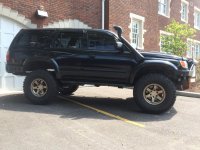
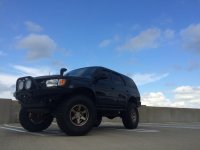
Phantom 4Runner Build (pic heavy)

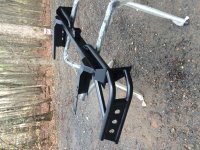
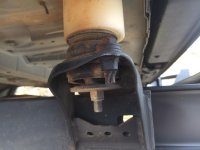
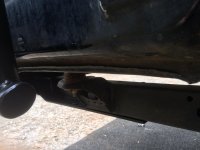
***If anyone can help me out with the sideways pics I'd appreciate it***

It's about time I start contributing to the forum I take so much from, build threat commence:


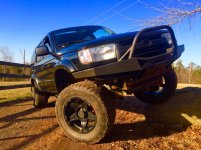
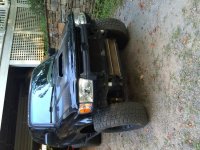
1998 TOYOTA 4RUNNER 4x4 LIMITED
Black
3.4L V6 5VZ
4-Speed A340 Automatic Transmission
4x4
IMG_4579.jpg

Suspension:
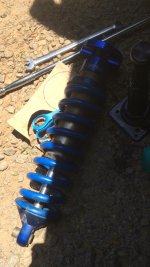
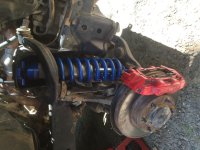
-Dirtlogic 2.5" Tacoma Coilovers
-LC 7.5 wraps w/ toyco shocks
-1" diff drop


Wheels & Tires:
-V-tec Wizzard 18x9 4.5"BS
-Nitto Terragraplers 305x70r18


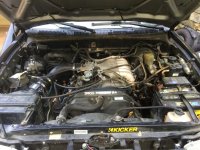
Engine & Performance Upgrades:
-Safari Snorkel
-K&N Filter
-Airaid Jr Intake


Undercarriage / Drive Train Upgrades:
-Tundra 231mm Brakes (13WL)
-Stainless Front Brake Lines
-E-locker: 4.30 Gears


Interior Upgrades:
-02 Dealer Package Sport Leather Front Seats
-New Carpet Kit
-LED Interior Lighting Conversion
-First Gen Roll Bar Mod


Stereo/ CB/ HAM:
-Walmart head unit (PO)
-Some sort of system (PO)
-Cobra CB (not hooked up)


Exterior Upgrades:
-Addicted Offroad Rear Bumper
-Addicted Offroad Plate Front Bumper
-4x Innovations Sliders
-2" 4Crawler Body Lift
-10% Front/Rear Tint
-LED Running lighs/DRL
-LED Front Turn signal in corner lights
-LED Reverse Lights
 

Attachments

  • IMG_4579.jpg
    IMG_4579.jpg
    135 KB · Views: 970
Last edited:
Register to hide this ad
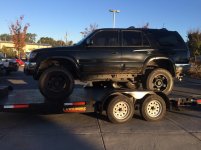
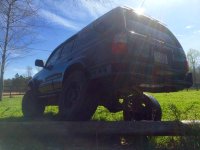
Well here's how it looked when we bought the Rig. 160K miles good shape but the interior was pretty beat up and it needed some maintenance.

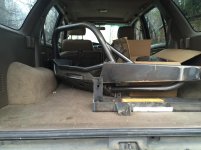
I replaced the carpet with a carpet kit online, but shame on me if I was expecting that to be easy. The thing came in one big square that was "formed" or "molded to the car... HA! That was a total pain in the ass, one I'm glad was only a one time thing.

I also replaced the front seats with some perforated leather ones out of an 02, I think this specific leather was a dealer option as they were also mechanical seats not power.

2014-05-04 19.00.18.jpg

2014-05-04 19.05.21.jpg

2014-05-04 19.02.14.jpg

IMG_0262.jpg

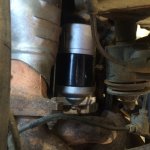
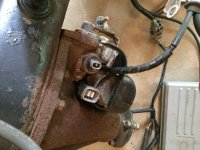
The routine maintenance was performed as well oils, fluids, and grease's as all over the place. As well as new joints and a re-balanced driveshaft. And some much needed new nitto rubber. Then a few weeks later the starter went out on me after a football game.

IMG_0659.jpg

IMG_0662.jpg
 

Attachments

  • 2014-05-04 19.00.18.jpg
    2014-05-04 19.00.18.jpg
    142 KB · Views: 998
  • 2014-05-04 19.05.21.jpg
    2014-05-04 19.05.21.jpg
    142.3 KB · Views: 998
  • 2014-05-04 19.02.14.jpg
    2014-05-04 19.02.14.jpg
    141.1 KB · Views: 1,032
  • IMG_0262.jpg
    IMG_0262.jpg
    137.4 KB · Views: 992
  • IMG_0659.jpg
    IMG_0659.jpg
    133.9 KB · Views: 972
  • IMG_0662.jpg
    IMG_0662.jpg
    125.7 KB · Views: 990
Last edited:
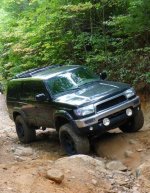
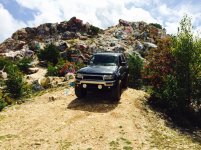
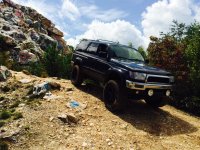
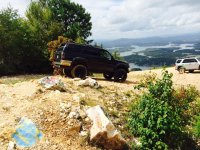
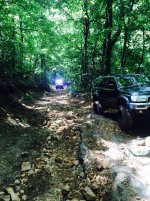
A break from the build to showcase my first wheeling trip, we went to Bell Mtn and Charlies Creek. I'd never known anyone into 4x4's so this was a experience in it of its own. And I went balls deep right off the bat, i quickly learned where the skinny pedal was and how to use it. Coming down the first trail I saw there was a harder line taken by maybe 3 people and decided it would be a good idea to take it... Because I was already an expert... I ended up rolling on my sidewalls in a deep V notch for about 15 feet before the wall I was riding/pinned up against dropped off. Despite that I had an absolutely killer time and knew then and there I had found my new favorite thing to do. Enjoy the pics!

IMG_0151 (1).jpg

IMG_0153.jpg

IMG_0172.jpg

IMG_0148.jpg

IMG_0164.jpg

IMG_0188.jpg

IMG_0245.jpg

IMG_0209.jpg
 

Attachments

  • IMG_0151 (1).jpg
    IMG_0151 (1).jpg
    139.4 KB · Views: 1,036
  • IMG_0153.jpg
    IMG_0153.jpg
    141.4 KB · Views: 900
  • IMG_0172.jpg
    IMG_0172.jpg
    140.8 KB · Views: 1,001
  • IMG_0148.jpg
    IMG_0148.jpg
    142.4 KB · Views: 932
  • IMG_0164.jpg
    IMG_0164.jpg
    138.6 KB · Views: 921
  • IMG_0188.jpg
    IMG_0188.jpg
    139.5 KB · Views: 973
  • IMG_0245.jpg
    IMG_0245.jpg
    93.2 KB · Views: 979
  • IMG_0209.jpg
    IMG_0209.jpg
    138.1 KB · Views: 947
Last edited:
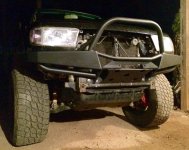
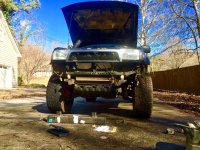
My first major modification was a front bumper. I purchased an Addicted Off Road Plate bumper through the group buy. It took forever and a day to show up but when it finally did I could not have been more happy. I had to order it built for a vehicle without a body lift so I had to modify the bracket to make it fit. Here's what it end up looking like, I chopped the bracket up some, a bit more than necessary but I only figured that out when it was done. Overall it fit exactly like it was supposed to but i had plans to beef up the bracket a bit since I wasn't confident it would be sturdy enough for me. And of course some obligatory flex pictures when I finished it up.

IMG_1679.jpg

IMG_1682.jpg

IMG_1684.jpg

IMG_1685.jpg

IMG_1686.jpg

IMG_1689.jpg

IMG_1756.jpg

IMG_1899.jpg
 

Attachments

  • IMG_1679.jpg
    IMG_1679.jpg
    129 KB · Views: 1,015
  • IMG_1682.jpg
    IMG_1682.jpg
    138.9 KB · Views: 951
  • IMG_1684.jpg
    IMG_1684.jpg
    124.3 KB · Views: 954
  • IMG_1685.jpg
    IMG_1685.jpg
    135.8 KB · Views: 1,044
  • IMG_1686.jpg
    IMG_1686.jpg
    133.3 KB · Views: 927
  • IMG_1689.jpg
    IMG_1689.jpg
    140.5 KB · Views: 977
  • IMG_1756.jpg
    IMG_1756.jpg
    134.8 KB · Views: 926
  • IMG_1899.jpg
    IMG_1899.jpg
    138.1 KB · Views: 943
Last edited:
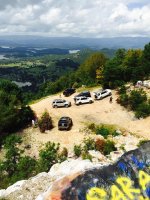
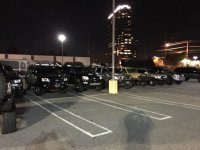
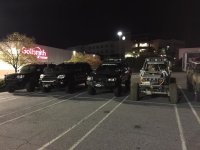
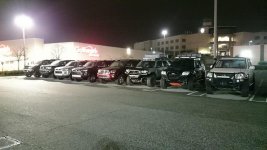
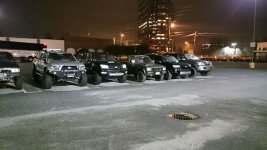
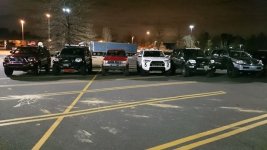
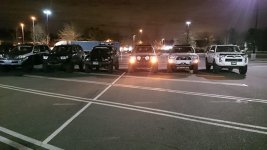
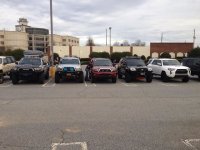
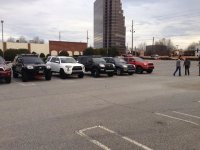
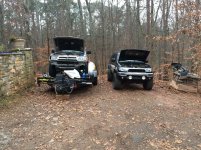
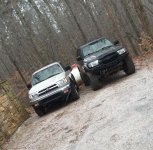
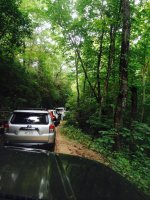
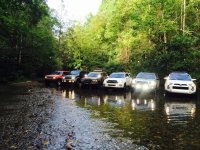
A little background on the wheeling pic's with all the 4Runners in them. Through the AOR bumper group buy I got introduced to [MENTION=72521]blight1234[/MENTION] who is an admin on the Atlanta 4Runners Facebook page. Also another reason why I dove so fast into this Toyota off road world. Anyhow we have monthly meetups where we talk shit about each others rigs and plan wheeling trips etc. although were not all 4runners, here's some pics from our group meets.

IMG_0866.JPG

IMG_0867.JPG

IMG_1561.jpg

IMG_1565.JPG

IMG_1780.JPG

IMG_1782.JPG

IMG_1923.JPG

IMG_1924.JPG
 

Attachments

  • IMG_0866.JPG
    IMG_0866.JPG
    83.4 KB · Views: 909
  • IMG_0867.JPG
    IMG_0867.JPG
    88.1 KB · Views: 902
  • IMG_1561.jpg
    IMG_1561.jpg
    81.4 KB · Views: 931
  • IMG_1565.JPG
    IMG_1565.JPG
    132.1 KB · Views: 954
  • IMG_1780.JPG
    IMG_1780.JPG
    64.4 KB · Views: 933
  • IMG_1782.JPG
    IMG_1782.JPG
    63.4 KB · Views: 930
  • IMG_1923.JPG
    IMG_1923.JPG
    84.7 KB · Views: 892
  • IMG_1924.JPG
    IMG_1924.JPG
    85.4 KB · Views: 939
Last edited:
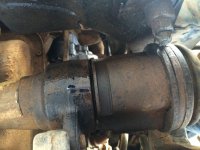
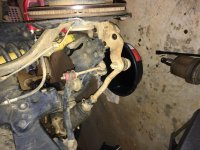
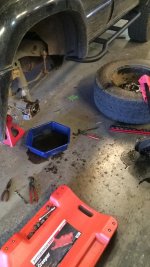
Had the passenger side front diff seal blow out on me and start puking fluid, so that needed to be changed.

IMG_1798.jpg

IMG_1799.jpg

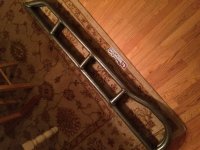
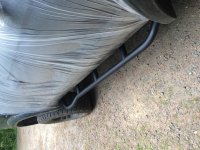
Then I was prepping for a big wheeling trip, called GSMTR. So it was time for some sliders, I was ready to build them with the same guy who helped me with my bumper until my parents surprised me on my birthday with a set of 4X-innovations sliders! My dad had come around to the whole off road idea and persuaded my mom enough to get the OK on it. So on they went!

IMG_1708.jpg

IMG_2157.jpg

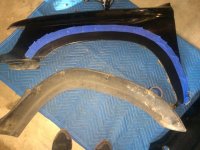
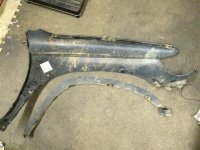
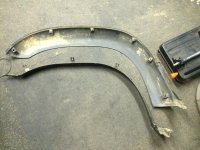
I also trimmed and cut my fenders a bit. The fenders were raised about 2" with a buzz saw and smoothed over with a grinder. The flares, which I always planned on reinstalling had the inside trimmed out with a hand held router, the thing cut through the plastic like a hot knife through butter but boy would it get away from you if you let it. I covered the lip in bed liner to prevent rust on the new edge and try and get the edge to be a little less sharp.

IMG_2442.jpg

IMG_2450.jpg

IMG_2449.jpg

IMG_2597.jpg
 

Attachments

  • IMG_1798.jpg
    IMG_1798.jpg
    133.6 KB · Views: 957
  • IMG_1799.jpg
    IMG_1799.jpg
    134.6 KB · Views: 910
  • IMG_1708.jpg
    IMG_1708.jpg
    133.8 KB · Views: 913
  • IMG_2157.jpg
    IMG_2157.jpg
    138.6 KB · Views: 920
  • IMG_2442.jpg
    IMG_2442.jpg
    134.4 KB · Views: 910
  • IMG_2450.jpg
    IMG_2450.jpg
    136.4 KB · Views: 919
  • IMG_2449.jpg
    IMG_2449.jpg
    136.2 KB · Views: 905
  • IMG_2597.jpg
    IMG_2597.jpg
    132.1 KB · Views: 878
Last edited:
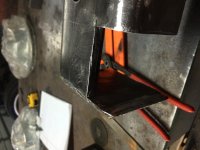
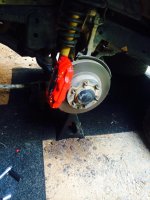
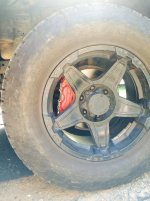
Also somewhere in there I upgraded the old 231mm Tundra calipers for some red power stop ones that I purchased off rock auto. They were an upgrade over the napa re-mans for sure.
IMG_0285.jpg

IMG_0286.jpg

I also picked up a '99 4cyl auto from a friend for cheap since it needed a new head, exhaust manifold, and seals everywhere. So that was my learning project and to make a little extra cash.

IMG_1411.jpg

IMG_1813.jpg

Next up I had to replace my rear axle seal. Was surprisingly easy but I went to like 3 auto parts store's to find the dang seal.

IMG_2172.jpg

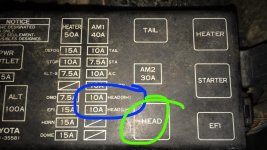
And then I was mind boggled when one of my headlights went out, I replaced the light and still had nothing, so I checked the old bulb and it wasn't blown... I started checking voltages and was completely lost. Well after a couple of hours of this crap I went to the fuse box and discovered that there are individual headlight fuses, I had no clue so I pulled them out and the passenger was popped, new one in and lights were good to go again.

IMG_2438.jpg
 

Attachments

  • IMG_0285.jpg
    IMG_0285.jpg
    79.6 KB · Views: 863
  • IMG_0286.jpg
    IMG_0286.jpg
    129.1 KB · Views: 980
  • IMG_1411.jpg
    IMG_1411.jpg
    140.6 KB · Views: 886
  • IMG_1813.jpg
    IMG_1813.jpg
    138 KB · Views: 872
  • IMG_2172.jpg
    IMG_2172.jpg
    99.5 KB · Views: 910
  • IMG_2438.jpg
    IMG_2438.jpg
    112.1 KB · Views: 858
Last edited:
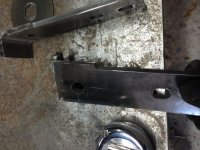
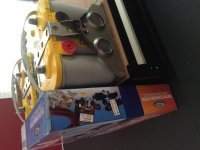
Picked up some serious goody's while I had the itch to spend, two yellow top Optimas, a pair of battery trays off ebay from a fab shop and a national luna dual battery isolator kit. I've got a hookup on Optimas and get them at $100 a piece so I saved quite a bit there. In total I was in the neighborhood of $700 as opposed to $1000. Yet a year later I still haven't installed any of it...

IMG_2659.jpg

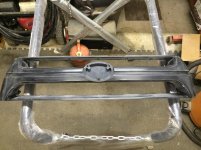
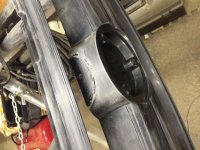
Then I decided it was time for a custom grill with a little bit of lighting! Cut the grill up with a hand router for the fast and easy stuff and a drywall hole saw. Then reused part of the lower plastic span to drill holes in it and glue it to the top for LED's here's how it turned out.

IMG_2664.jpg

IMG_2672.jpg

IMG_2673.jpg

IMG_2705.jpg

IMG_2701.jpg
 

Attachments

  • IMG_2659.jpg
    IMG_2659.jpg
    123 KB · Views: 842
  • IMG_2664.jpg
    IMG_2664.jpg
    134.5 KB · Views: 873
  • IMG_2672.jpg
    IMG_2672.jpg
    132.4 KB · Views: 858
  • IMG_2673.jpg
    IMG_2673.jpg
    133.7 KB · Views: 766
  • IMG_2705.jpg
    IMG_2705.jpg
    139.2 KB · Views: 798
  • IMG_2701.jpg
    IMG_2701.jpg
    134.6 KB · Views: 773
Last edited:
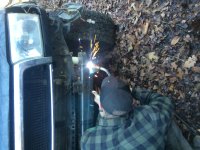
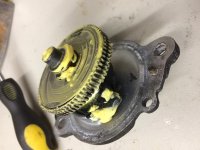
So I picked up a 4.30 elocker and opened it up to check everything out and look at the gear! the factory grease is still there, never even made a full turn, looks like the thing was engaged a single time! It was a bit rusty but i cleaned it all up and got it installed, never found a matching front diff tho.

IMG_2536.jpg

IMG_3183.jpg

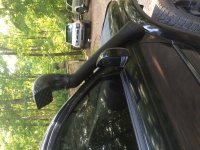
I also picked up a first gen Safari Snorkel from Southeast Overland in NC. He offers Atlanta 4Runners an local groups good pricing when he make large stock orders. The install was fairly easy and the fitment was good but I was terrified to cut the hole. I love the look tho! Also picked up a sport hood somewhere in there off craigslist.

IMG_4915.jpg

IMG_4909.jpg

IMG_4913.jpg

And I picked up a Airaid Jr. Intake kit. Kinda expensive but it looks a lot better than the shitty exhaust tube ISR that was there.

IMG_4906.jpg
 

Attachments

  • IMG_2536.jpg
    IMG_2536.jpg
    134.3 KB · Views: 785
  • IMG_3183.jpg
    IMG_3183.jpg
    123.1 KB · Views: 780
  • IMG_4915.jpg
    IMG_4915.jpg
    136.6 KB · Views: 757
  • IMG_4909.jpg
    IMG_4909.jpg
    129.4 KB · Views: 731
  • IMG_4913.jpg
    IMG_4913.jpg
    138.3 KB · Views: 783
  • IMG_4906.jpg
    IMG_4906.jpg
    137.4 KB · Views: 762
Last edited:
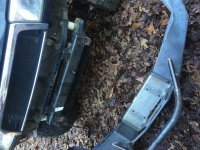
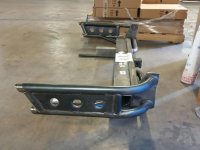
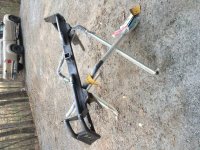
Up an ordered an Addicted off road third gen heavy duty package for my father and my 4Runners. The front bumper went on his and sliders too eventually and the rear bumper went on mine.

IMG_4406.jpg

IMG_4470.jpg

IMG_4473.jpg

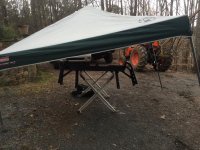
We were worried it was going to rain while we painted the bumper so we tossed a canopy over it just in case, but the rain held off.

IMG_4474.jpg

I had some minor fitment issues but noting I couldn't sort out in a few hours. I also don't know if its a normal option or not but I had them build the rear bumper for my 2" body lift. So this may have changed the fitment in some way, I'm not really sure.

IMG_4489.jpg

IMG_4488.jpg

And the final product! I've already bought a spindle I need to sink into the bumper for a swing out carrier but I don't know when I'll be tackling that.

IMG_4493.jpg

IMG_4491.jpg
 

Attachments

  • IMG_4406.jpg
    IMG_4406.jpg
    112.5 KB · Views: 669

  • IMG_4470.jpg
    IMG_4470.jpg
    135.6 KB · Views: 707
  • IMG_4473.jpg
    IMG_4473.jpg
    139.8 KB · Views: 688
  • IMG_4474.jpg
    IMG_4474.jpg
    136.9 KB · Views: 712
  • IMG_4488.jpg
    IMG_4488.jpg
    123.3 KB · Views: 656
  • IMG_4489.jpg
    IMG_4489.jpg
    110.4 KB · Views: 688
  • IMG_4493.jpg
    IMG_4493.jpg
    138.1 KB · Views: 676
  • IMG_4491.jpg
    IMG_4491.jpg
    137.1 KB · Views: 745
I picked up a 96 Tacoma that needed a little love recently and i was planning on returning it back to stock and selling after I cleaned it up a bit. And little did i know it had these bad boys on it. Needless to say they weren't leaving my house unless it was on my Runner. So I swapped my bilstien tundra coilovers for these Dirt-logic ones. I honestly didn't expect this much difference in ride quality but the old coilovers rode like a tank. So the difference is quite noticeable and I'm very happy with them at the moment. I know understand the lure of such high dollar coilovers as kings and icons. The rear needs some love now tho gonna have to find some good shocks for that.

IMG_4932 (1).jpg

IMG_4942.jpg

I also finally added my stainless steel brake lines while I was down there.

IMG_1824.jpg

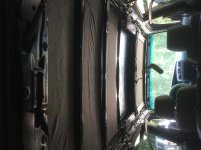
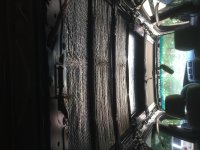
Then I pulled my headliner to replace the sunroof with a spare i had so it would open again. Well once i completed that, I sound deadened and insulated the roof from the sunroof opening to the rear door frame. I can feel a massive difference in the temps inside the car. Parked with the rear window cracked in the sun the car stays at least 10 degrees cooler and driving with A/C now feels like the car has actually cooled down rather than the A/C just cranking away.

IMG_5316.jpg

IMG_5317.jpg
 

Attachments

  • IMG_4932 (1).jpg
    IMG_4932 (1).jpg
    137.5 KB · Views: 348
  • IMG_4942.jpg
    IMG_4942.jpg
    133.9 KB · Views: 341
  • IMG_1824.jpg
    IMG_1824.jpg
    131.6 KB · Views: 354
  • IMG_5316.jpg
    IMG_5316.jpg
    133.7 KB · Views: 333
  • IMG_5317.jpg
    IMG_5317.jpg
    134.4 KB · Views: 426
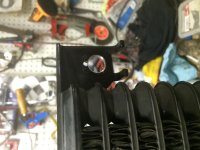
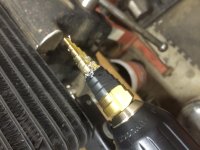
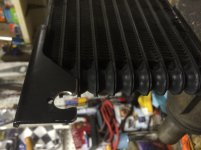
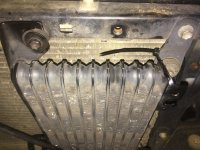
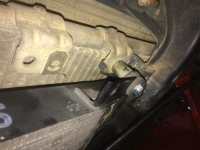
I picked up an OEM trans cooler off a Tundra while I was checking out a junkyard. I figure if its enough to cool a V8 truck its enough to cool mine, plus it says Toyota which is always better. I modified it a bit to fir where I liked used some existing holes and moved one of the rubber isolation so it was mounted as similarly to the factory setup as possible.
Here's how it turned out.

IMG_5089.jpg

IMG_5090.jpg

IMG_5092.jpg

IMG_5114.jpg

IMG_5115.jpg

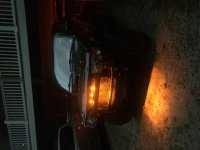
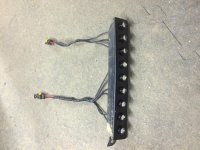
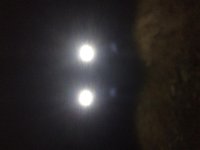
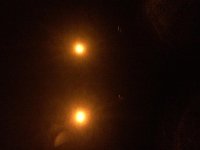
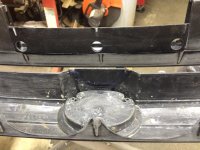
Then I decided I wanted some LED DRL/Running lights for my rig since I moved the turn signals to the corner light and ditched front running lights all together. There are 9 bolt beam LED's sunk into the bumper filler piece. On my first design I used 6 white for the running light and 3 amber for a turn signal. They looked really bad ass and functioned great until a few started flickering. I assumed at a price of roughly $1 per light they weren't the highest quality so i tore them back apart and tested them all the ones that flickered continued to do so and those that didn't stayed solid, so I tested more and replaced those that were blinking with new ones I thought would not. Well the whole passenger side functions perfectly but some of the drivers side still blink after being tested. They do get pretty hot so if someone has some advice on where to get better quality LED's that aren't terribly expensive or what to try with wiring id appreciate it, I'd like mine to work properly and I've got my dads to set up the same but I know he wont be happy if they don't work properly.

IMG_5066.jpg

IMG_5071.jpg

IMG_5070.jpg
 

Attachments

  • IMG_5089.jpg
    IMG_5089.jpg
    121.2 KB · Views: 340
  • IMG_5090.jpg
    IMG_5090.jpg
    123.5 KB · Views: 331
  • IMG_5092.jpg
    IMG_5092.jpg
    118.3 KB · Views: 354
  • IMG_5114.jpg
    IMG_5114.jpg
    134.8 KB · Views: 352
  • IMG_5115.jpg
    IMG_5115.jpg
    125.6 KB · Views: 342
  • IMG_5066.jpg
    IMG_5066.jpg
    135.3 KB · Views: 337
  • IMG_5071.jpg
    IMG_5071.jpg
    148.1 KB · Views: 341
  • IMG_5070.jpg
    IMG_5070.jpg
    137.8 KB · Views: 330
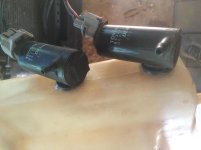
So I added a different reservoir that would take up a little less space in the engine bay and moved it to the other side, with that I reused the old overflow tank as a washer fluid reservoir and stuffed it in front of the air box. All I had to do was drill two holes in the plastic which was surprisingly fast and then I silicone the rubber seals in to ensure no leaks. I also plugged up the holes in the cap with some hot glue, I didn't think they'd be an issue but I didn't wanna do it twice.
IMG_5427.jpg

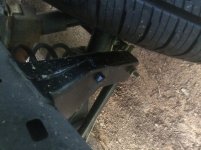
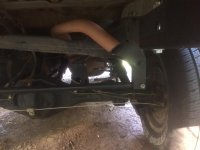
I also built a panhard drop, its flat welded to the truck and its run through the original bolts. Happy with the result, the drop was about 3.25 inches but it wasn't super exact, I just got it as flat as possible.

IMG_5522.jpg

IMG_5520.jpg

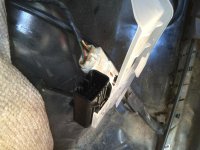
Also discovered I'm semi-prewired for a locker while I was installing my stand alone harness...
IMG_5586.jpg
 

Attachments

  • IMG_5427.jpg
    IMG_5427.jpg
    127.8 KB · Views: 331
  • IMG_5522.jpg
    IMG_5522.jpg
    135.8 KB · Views: 332
  • IMG_5520.jpg
    IMG_5520.jpg
    132.9 KB · Views: 329
  • IMG_5586.jpg
    IMG_5586.jpg
    126.8 KB · Views: 318
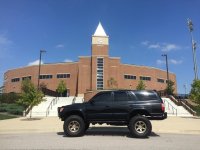
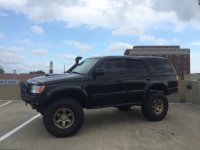
It was decided I needed new tires for the snow this year, so I sold my old wheels and tires off CL and went with these, Bronze Level 8 MK6 wheels 16x8 with -10 offset and a set of 315/75 cooper STT Pros. I absolutely love the look of the bronze on black but gears are the next purchase, very necessary at this point. I also bought some knock off ARB 9" led lights from amazon with a rigid harness, They got wired up and tabs welded onto the stinger to mount them upside down, I'm very happy with the front end of the truck now. The rear needs some attention at this point. Here's some pics I took on and off of campus for the hell of it one afternoon.

IMG_5672.jpg

IMG_5676.jpg

IMG_5680.jpg

IMG_5682.jpg

IMG_5692.jpg

IMG_5686.jpg
 

Attachments

  • IMG_5672.jpg
    IMG_5672.jpg
    136.4 KB · Views: 326
  • IMG_5676.jpg
    IMG_5676.jpg
    136.3 KB · Views: 318
  • IMG_5680.jpg
    IMG_5680.jpg
    138.1 KB · Views: 317
  • IMG_5682.jpg
    IMG_5682.jpg
    136.9 KB · Views: 298
  • IMG_5692.jpg
    IMG_5692.jpg
    130.1 KB · Views: 342
  • IMG_5686.jpg
    IMG_5686.jpg
    130.5 KB · Views: 307
Your 4runner looks good. I love those wheels on a black runner and those tires are badarse. I put Cooper ST Maxx on mine because the STT pros had not came out yet. Why did you change grilles?
 

Members online

Forum statistics

Threads
278,304
Messages
3,554,041
Members
248,016
Latest member
Advally Service

Trending content

Back
Top