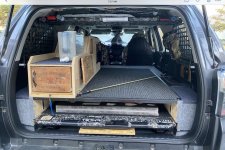
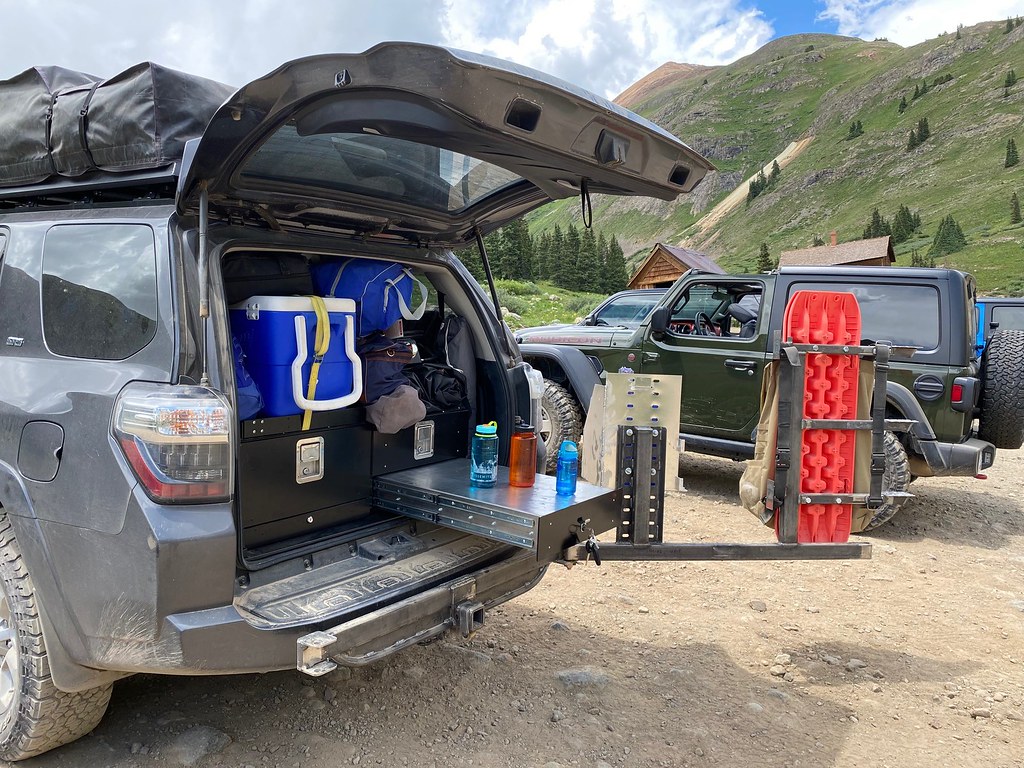
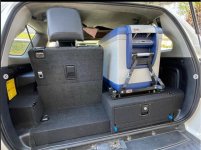
Post pics of your drawer/storage system

Finished up the storage drawers/camp kitchen.

QuDLQAD.jpg

IL433MM.jpg

S04Wbi3.jpg

HHZo6ru.jpg

This is fantastic! Love the attention to detail: angled cabinet back, drawer handle slot doubles as fuel line pass thru port, and the bottle hold is great, lol. Not sure I have seen a stove slide out from the side like that; I like it! I can certainly appreciate the design time you surely have into this.
 
Last edited:
This was the first modification to my 4R and my first wood working project. Learned a lot, made mistakes but was able to recover. Props to RACK for his drawer pics that served as a foundation for me to build.
6afe6a6348cf0f5dae51b226c65e77d7.jpg

edff3a115a62c28965a30813e1946c89.jpg


Sent from my iPhone using Tapatalk
 
I added some lighting to my previous design using LED strips and limit switches. I have been working on doing a better job with wiring lately so I used all the proper connectors, expando sleeving, etc. and ran the cable all the way to the engine bay to my Blue Sea distribution block. Lights are always hot and turn off when the lids close.
72ac531dd8fc8e1a4a1d85fc23bce4d9.jpg
ad7bee9a4d29b9312a6fb5205a806449.jpg
527c4268a7e661287b74d3795b1efbe3.jpg


Sent from my Pixel 2 using Tapatalk
 
I added some lighting to my previous design using LED strips and limit switches. I have been working on doing a better job with wiring lately so I used all the proper connectors, expando sleeving, etc. and ran the cable all the way to the engine bay to my Blue Sea distribution block. Lights are always hot and turn off when the lids close.
72ac531dd8fc8e1a4a1d85fc23bce4d9.jpg
ad7bee9a4d29b9312a6fb5205a806449.jpg
527c4268a7e661287b74d3795b1efbe3.jpg


Sent from my Pixel 2 using Tapatalk

How has the "exposed floor" been working out for you? Maximum space in that area, but I'd think at the very least you've got some rattling going on? And I guess you don't through anything small enough down there that might fall through or get caught on hole?
 
How has the "exposed floor" been working out for you? Maximum space in that area, but I'd think at the very least you've got some rattling going on? And I guess you don't through anything small enough down there that might fall through or get caught on hole?
A few things do slide and knock around a bit in there but I am planning to install sound deadening in the future which will mitigate that. Hopefully will only add 1/2" of thickness max.

Sent from my Pixel 2 using Tapatalk
 
continued from... https://www.toyota-4runner.org/5th-...our-drawer-storage-system-29.html#post3606744

^^ 3 YEARS after this project started I am finally getting to finish the passenger side module.

50960571253_bed8fce627_b.jpg


...

Anxious to get it all mounted up, but it will be a few months till I get this powder coated and installed. Other projects in the hopper to go for coating at the same time too.

After more than 3 years as a work in process, having spent much time on the back burner, this project is finally complete, installed, and in use!

51442388257_537b6ba2db_b.jpg


This is my new full time set-up…

51443146906_2c5e3997ee_b.jpg


I’ve been running the tall driver side module for 3 years now, having deleted one of the two third row seats; see: https://www.toyota-4runner.org/5th-...our-drawer-storage-system-17.html#post3022144 . Since we have another vehicle with third row seating, I opted to delete the passenger side too and dropped the lower drawer in its place. With the third row seat removed, this passenger side module is not much higher than the factory set-up in the back–about 3/4" taller towards the hatch but zero towards the second row seats. The cargo area is now level as opposed to sloped. That is a 1/2" thick solid acrylic sheet (piece of scrap from work–SCORE!) that I wrapped an 1/8” thick 3/4" aluminum channel around. For trips, this gets removed and replaced by the upper drawer assembly using (4) 1/4" bolts.

51443393178_21b35f3783_b.jpg


Sometimes feet dragging and project delays are for the better. Were it not for needing to fit a full time large dog crate for our pup, the passenger side module would have been one piece, 13” tall module, losing a lot of valuable cargo space. Since our dog loves to tag along much of the time with us, I was able to cut my sidewalls into two pieces and convert this to a modular set-up before it was too late. In hindsight, the added utility and capacity being able to remove the top drawer section for normal day to day use is most welcome.

51444110910_c827c004c5_b.jpg


I’ve been waffling back and forth on black or not for the drawer cover/prep surface for a quite some time. While I do appreciate the look of bare aluminum–perhaps it is my affinity for MITS Alloy products of late?–it is hard to argue that powder coating adds a notable finishing touch to the completed product. Ultimately, I left the drawers and cover mill, and painted the cabinet and drawer fronts black. I like the contrast. Whereas the driver side got powder coated, the passenger side got rattle canned with a matching paint due to time constraints. No surprise, after a few months of use, the cheap paint job is not holding up nearly as well as the powder coated driver side drawers.

51443393428_48e81b3974_b.jpg


Here is the lower passenger module, fully extended. Since I had some extra slides (ordered a discounted 10-pack for this project), I put two sets of slides on the drawer cover for added stability.

51443393368_cfd4628a72_b.jpg


How the system is typically deployed during use…

51443393358_66d3b866f4_b.jpg


I just LOVE the flexibility and convenience to make a quick stop, deploy a drawer or two, and have an instant food or gear access and now a work surface for making snacks or lunch, filling waters, whatever, without having to rifle thru a bunch of stuff in the way.

51444110750_3060efb45d_b.jpg


Making breakfast…

51443146231_067d058c2e_b.jpg


Typical packing set-up for a camping outing…

51443392983_edae892106_b.jpg


Bent up some little stackable sheet metal holders to keep my propane bottles from rolling around…

51443145961_a437c91651_b.jpg


So, hope this adds a little inspiration or ideas for your own next project. I know I’ve gleaned plenty from others on here during the course of this design-build!

 
Has anyone upgraded their rear coils after adding their drawers?

im on dobinsons 2" lift - standard weight.
my drawer system weighs about 120lbs and feels like my rear dropped a bit after installing. i should've measured.

has anyone upgraded their coils to a medium weight?
 
Has anyone upgraded their rear coils after adding their drawers?

im on dobinsons 2" lift - standard weight.
my drawer system weighs about 120lbs and feels like my rear dropped a bit after installing. i should've measured.

has anyone upgraded their coils to a medium weight?

I was actually running my drawers on stock springs, I just upgraded to Dobinsons 2" twin tube with stock load springs, my system is 150# and I haven't noticed any settling yet. That may change when I add the RTT though. I don't keep my drawers in all the time, so stock load was the right choice for me.
 
just needed a low profile storage solution so i went with the plans from trail4runner. i made the stupid mistake of using too thin of a plywood for the floor (1/2"), so it curls a bit in the summer. for that reason, i'll probably do it all over again next year with a more sturdy build. overall though, still proves useful and really comes in handy at times. i added small toggle latches to the side of each drawer front to keep them from flopping open when going up steep hills. i also added a 42" marine cargo net to help hold random grocery bags in place for errand running and a lip on the opening edge to help hold things from sliding out on an incline.

su1PJVY.jpg
 
Last edited:
just needed a low profile storage solution so i went with the plans from trail4runner. i made the stupid mistake of using too thin of a plywood for the floor (1/2"), so it curls a bit in the summer. for that reason, i'll probably do it all over again next year with a more sturdy build. overall though, still proves useful and really comes in handy at times. i added small toggle latches to the side of each drawer front to keep them from flopping open when going up steep hills. i also added a 42" marine cargo net to help hold random grocery bags in place for errand running and a lip on the opening edge to help hold things from sliding out on an incline.

su1PJVY.jpg

I am wanting to make a smaller set like these. Good job!
 
I am wanting to make a smaller set like these. Good job!

thanks! you got this - its not too tough and can be done fairly cheap. just be sure you get nice thick ply for the floor, if that wood warps it throws all the drawer slides out of alignment.
 
thanks! you got this - its not too tough and can be done fairly cheap. just be sure you get nice thick ply for the floor, if that wood warps it throws all the drawer slides out of alignment.

What thickness did you use on the top? Will you use the same thickness on the floor?
 
Work in progress… 80/20, bit of wood, and spray on bed liner…my version of GooseGear.
e70a58bc69bbf94efdc6ace1b50e40da.jpg

8d26d069d7ee1d87928c2f87a72a2f2d.jpg


Still need to finish out stove slide and start working on fridge slide.


Sent from my iPhone using Tapatalk
 
What thickness did you use on the top? Will you use the same thickness on the floor?

either 3/8 or 1/2"...i'd go 3/4" on the top next time. i might even be tempted to go with hardwood ply vs the cheap floor-grade stuff. the rest i'd leave exactly as the tutorial builds it.
 
Has anyone upgraded their rear coils after adding their drawers?

im on dobinsons 2" lift - standard weight.
my drawer system weighs about 120lbs and feels like my rear dropped a bit after installing. i should've measured.

has anyone upgraded their coils to a medium weight?

we swap to toytec hd's when the drawers are in and we're loaded for a long trip. otherwise the wheelers springs are way too soft.
 

Members online

Forum statistics

Threads
278,316
Messages
3,554,120
Members
248,016
Latest member
Advally Service

Trending content

Back
Top