Post pics of your drawer/storage system

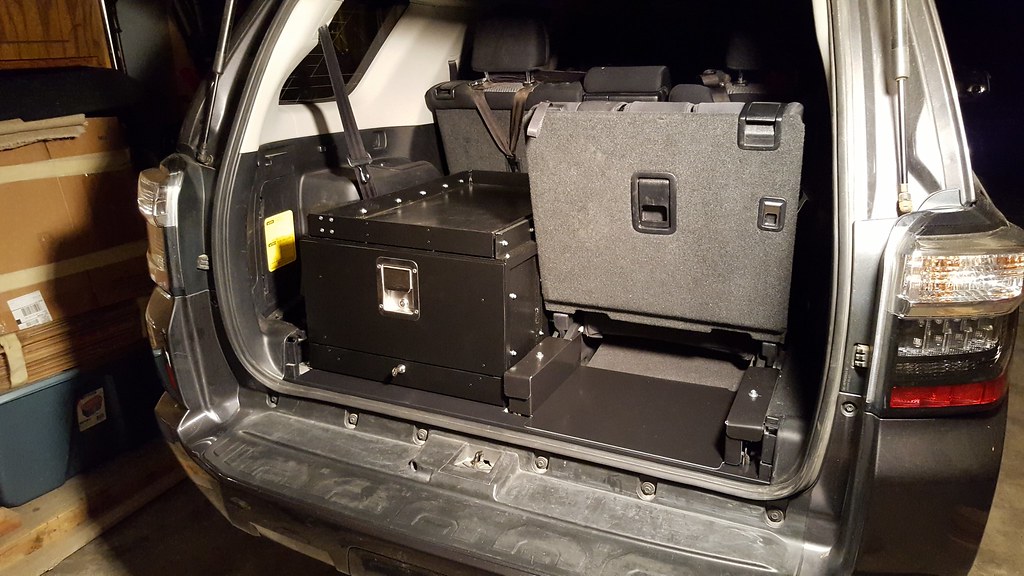
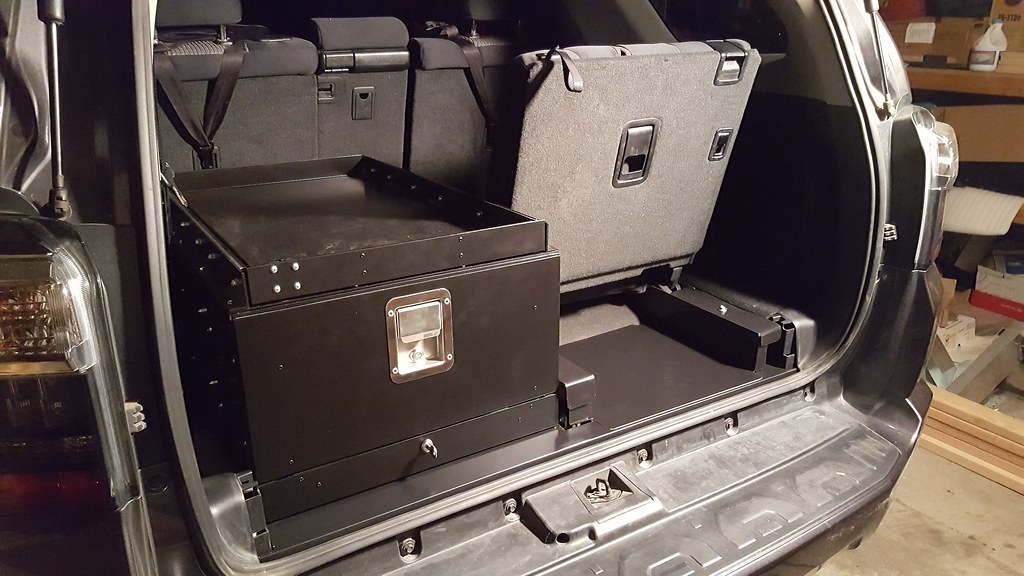
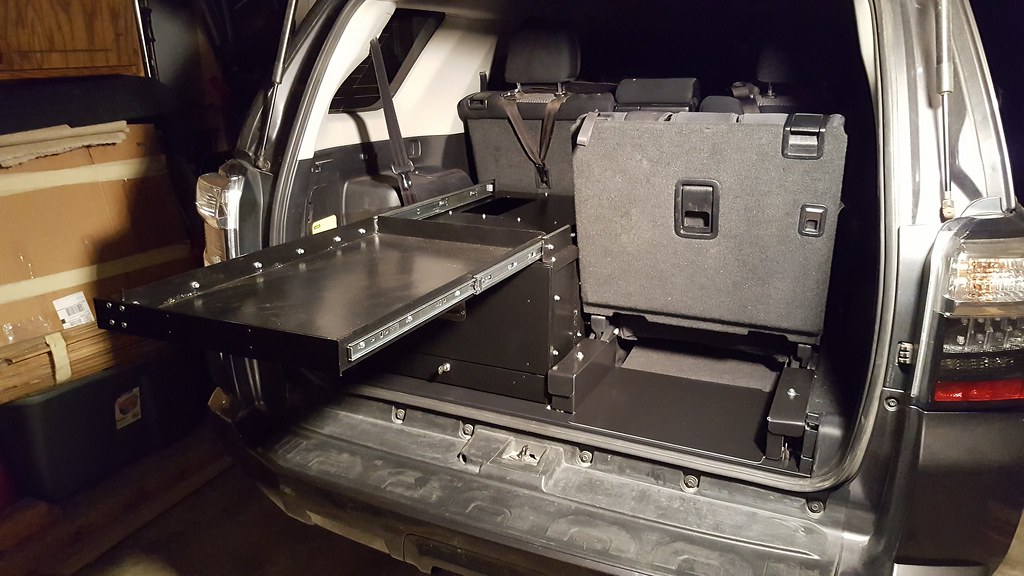
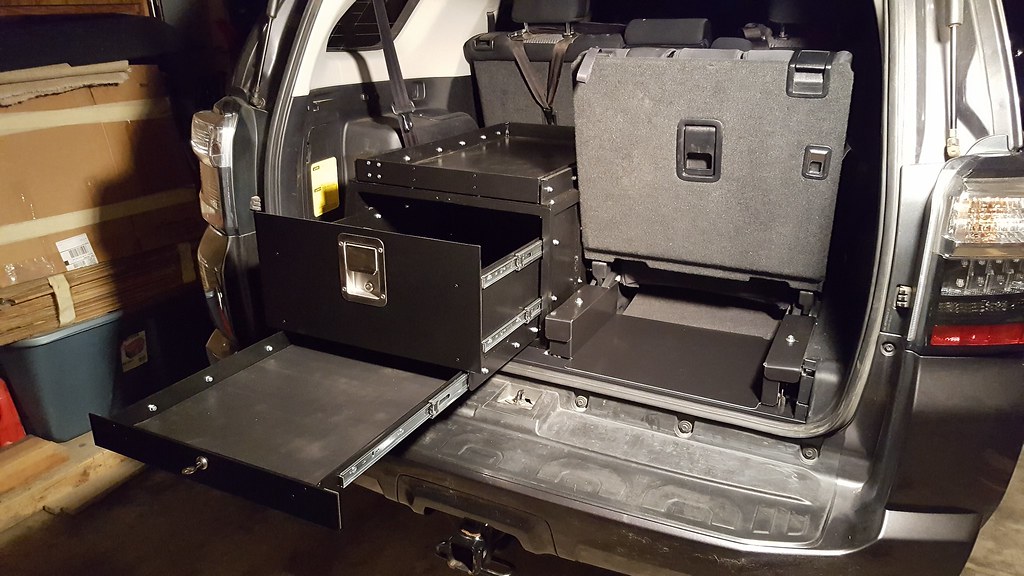
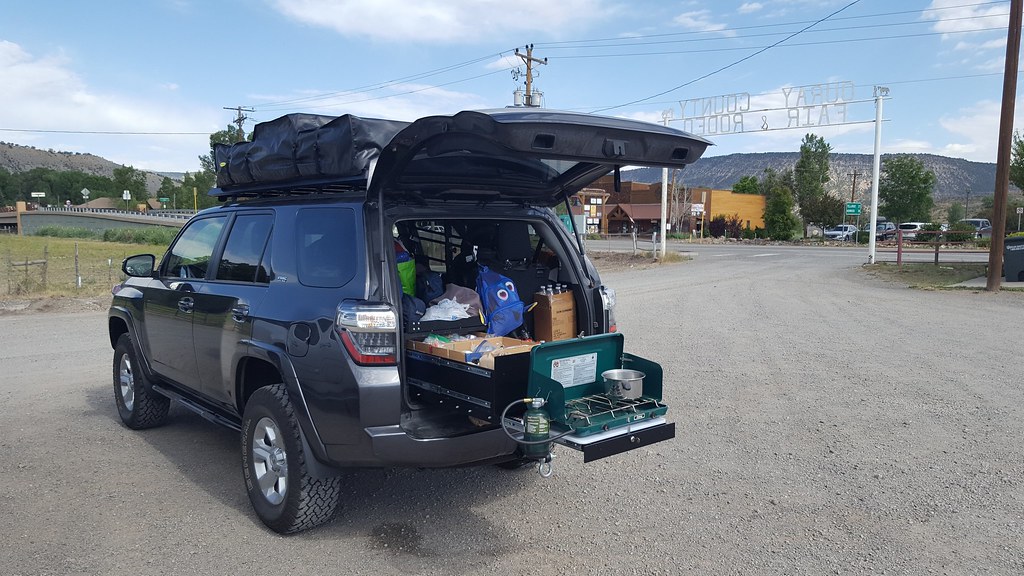
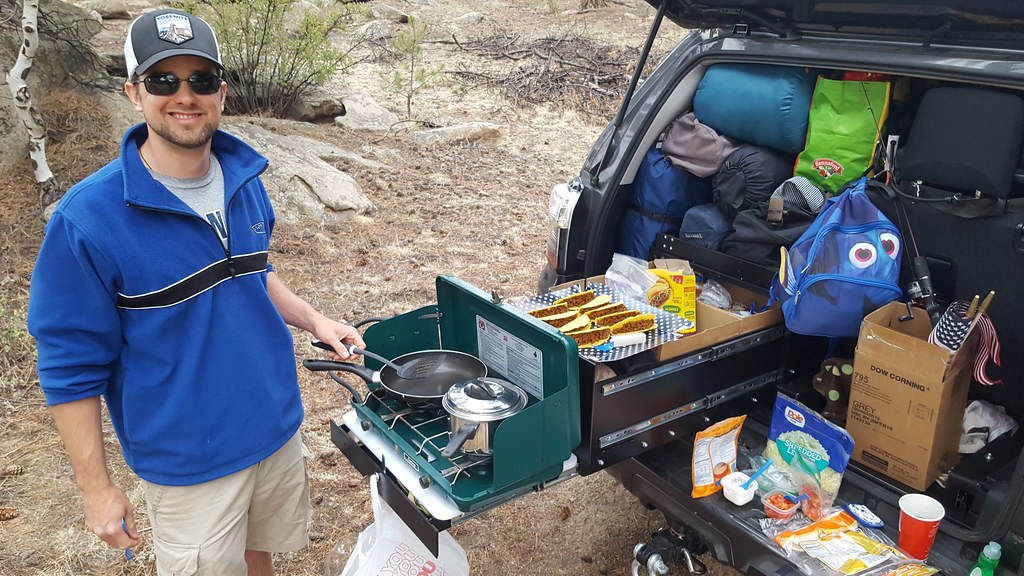
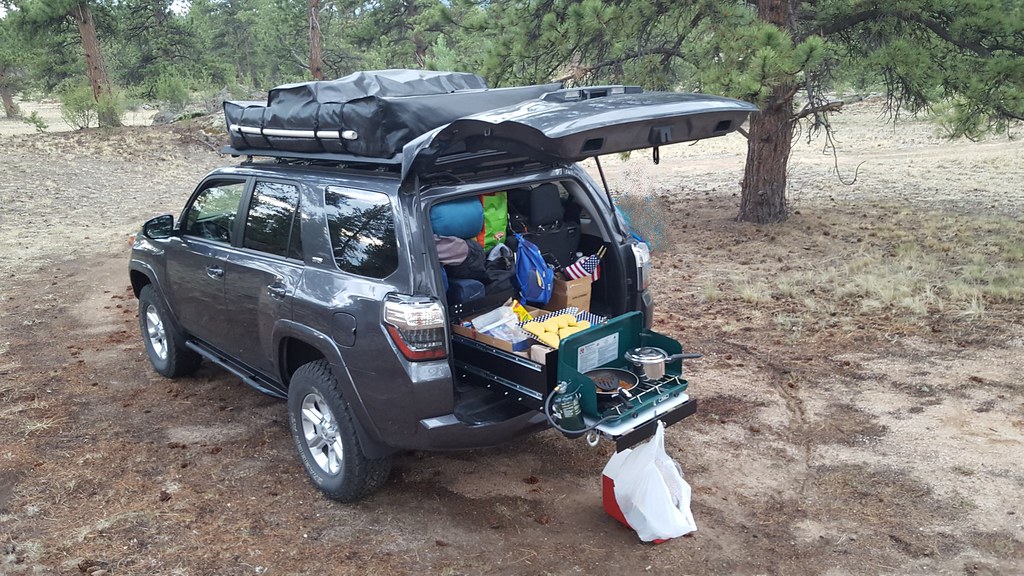
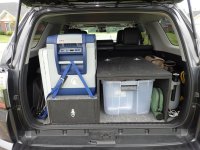
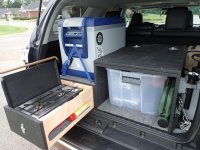
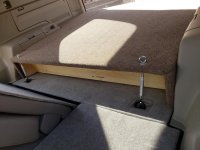
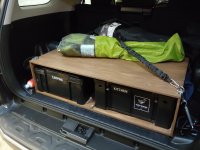
I don't think I have posted this yet. Had the drawer system in for awhile and, while it worked pretty great, I hated the elevated sleep platform and the fact that I couldn't use my whole cargo area without removing the whole drawer system.

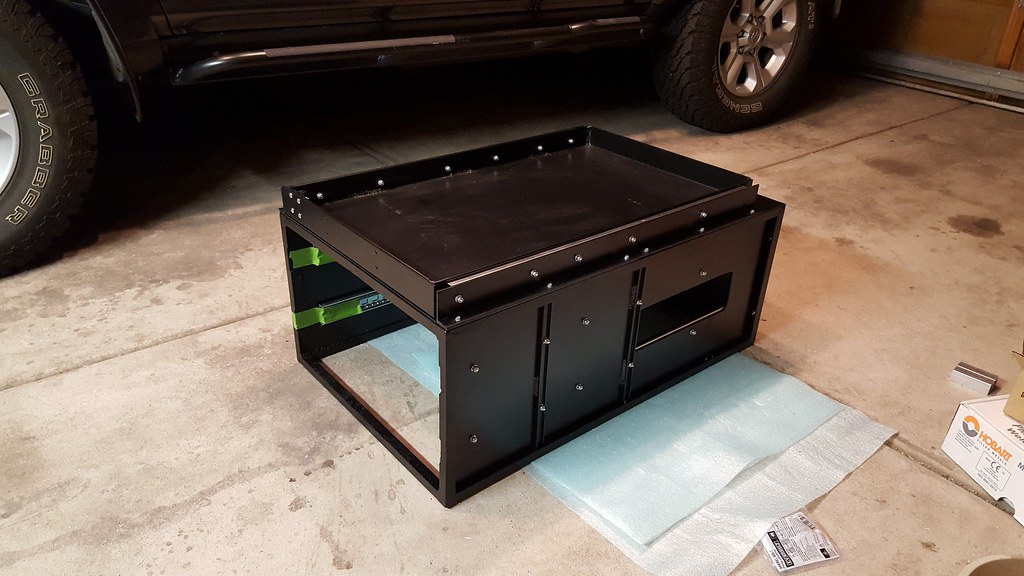
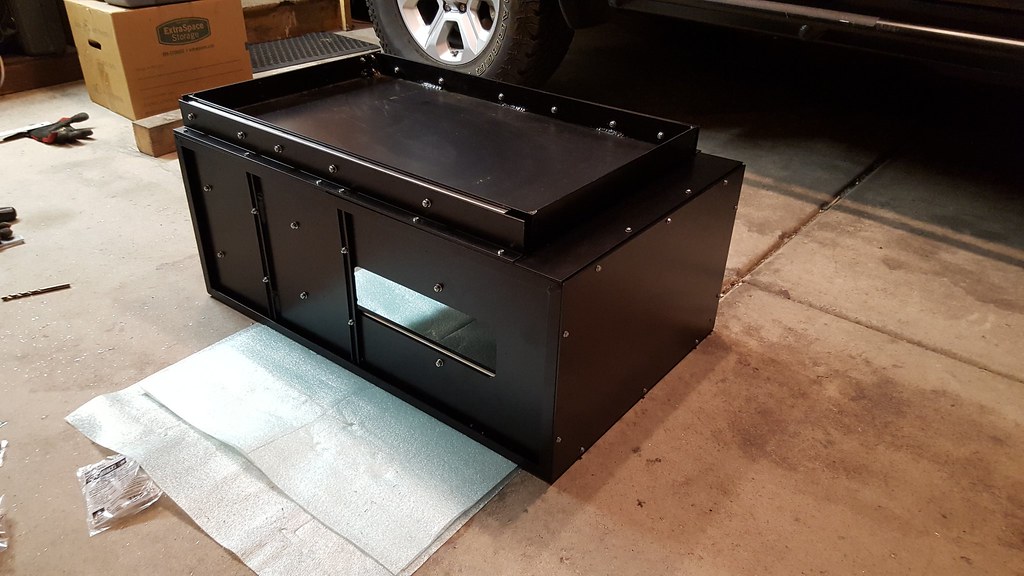
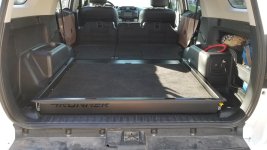
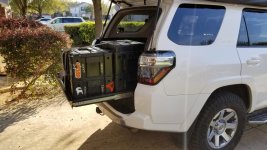
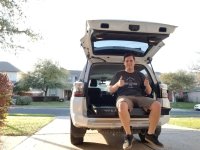
So I decided to make a heavy-duty version of the factory slide out tray that's perfectly flush with the rear seats and incorporates e-track tie downs. Really pleased with it. I have been using it for 3-4 months now with WolfPacks and it's the perfect setup. I can keep just the roadside/recovery box in the truck at all times and then throw the camping gear in when I need it or visa versa.
 

Attachments

  • 20180313_181245.jpg
    20180313_181245.jpg
    135 KB · Views: 4,448
  • 20180313_181037.jpg
    20180313_181037.jpg
    140.5 KB · Views: 4,193
  • 20180313_182008.jpg
    20180313_182008.jpg
    131.4 KB · Views: 4,152
I don't think I have posted this yet. Had the drawer system in for awhile and, while it worked pretty great, I hated the elevated sleep platform and the fact that I couldn't use my whole cargo area without removing the whole drawer system.

So I decided to make a heavy-duty version of the factory slide out tray that's perfectly flush with the rear seats and incorporates e-track tie downs. Really pleased with it. I have been using it for 3-4 months now with WolfPacks and it's the perfect setup. I can keep just the roadside/recovery box in the truck at all times and then throw the camping gear in when I need it or visa versa.

I really like your setup. Looks really clean. I was wondering if you could answer a few questions:

1. Which drawer slides did you use?

2. How are the slides secured? Did you have to do any drilling into the steel cargo floor?

3. Did you use wood for the frame and floor?

Thanks!
 
So I decided to make a heavy-duty version of the factory slide out tray that's perfectly flush with the rear seats and incorporates e-track tie downs. Really pleased with it. I have been using it for 3-4 months now with WolfPacks and it's the perfect setup. I can keep just the roadside/recovery box in the truck at all times and then throw the camping gear in when I need it or visa versa.
That's pretty sweet! Nice work :thumb:

Question: Is there room for flat storage underneath the tray? room for straps, tire iron, other low height objects.
 
I really like your setup. Looks really clean. I was wondering if you could answer a few questions:

1. Which drawer slides did you use?

2. How are the slides secured? Did you have to do any drilling into the steel cargo floor?

3. Did you use wood for the frame and floor?

Thanks!

Those are 500lb Accuride Slides.

I made a base frame that uses 3 existing M10 holes in the floor. I think they are the same holes that the factory cargo tray uses. No drilling whatsoever. The slides are riveted to the frame and tray that I build using steel 3/16" rivets. Something like 12 per side. Super beef.

I used steel for everything except the base of the drawer, which is 3/4" Birch Ply

That's pretty sweet! Nice work :thumb:

Question: Is there room for flat storage underneath the tray? room for straps, tire iron, other low height objects.

Thanks! There is not any storage underneath. This whole assembly is about then 2.5" thick in order to be flush with the rear seats. I use a single WolfPack with a high top in order to fit straps, a telescoping breaker bar, bottlejack/jack stand, tire patch kit, deflator kit, compressor, etc. That typically stays in the truck and the 'Tools', 'Kitchen' and 'Camp' boxes are loaded when we head out for a trip.
 
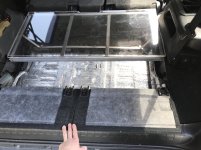
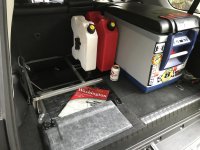
Here is my 3rd row delete/mod me and a friend came up with. It keeps the arb 50 qt and rotopax cans/mount below the second row seat back when it is upright.
 

Attachments

  • FA83CF20-3667-4E11-A73F-7B574C571380.jpg
    FA83CF20-3667-4E11-A73F-7B574C571380.jpg
    134.9 KB · Views: 4,044
  • 8299FDA0-5CBA-4BCA-BD44-E649C2F99374.jpg
    8299FDA0-5CBA-4BCA-BD44-E649C2F99374.jpg
    130.5 KB · Views: 4,059
Not your average drawer build...

Finally completed the install of my first of two drawer modules for use with a 3rd row seat model. Big shout out to [MENTION=107460]Magnetic4R[/MENTION], [MENTION=130932]wild_turkey[/MENTION], [MENTION=15690]jerad[/MENTION], and many others who have posted inspiration along the way.

42353021065_071cf81a3c_b.jpg


43207962522_9636578587_b.jpg


43207963272_5656240906_b.jpg


41447382620_65c99eb3e1_b.jpg


41447384330_20d255e6d6_b.jpg


42353019175_a2abafb6df_b.jpg


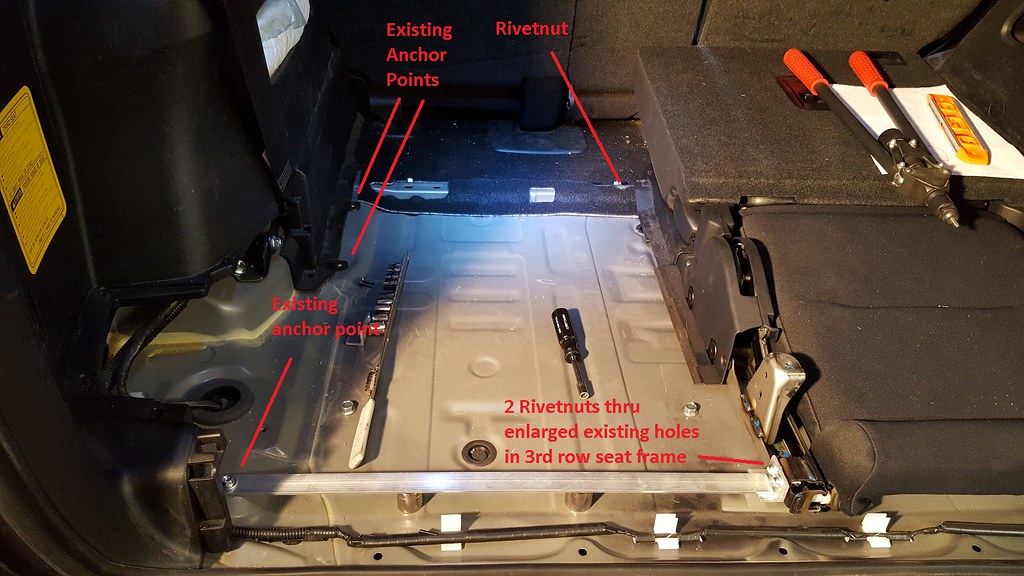
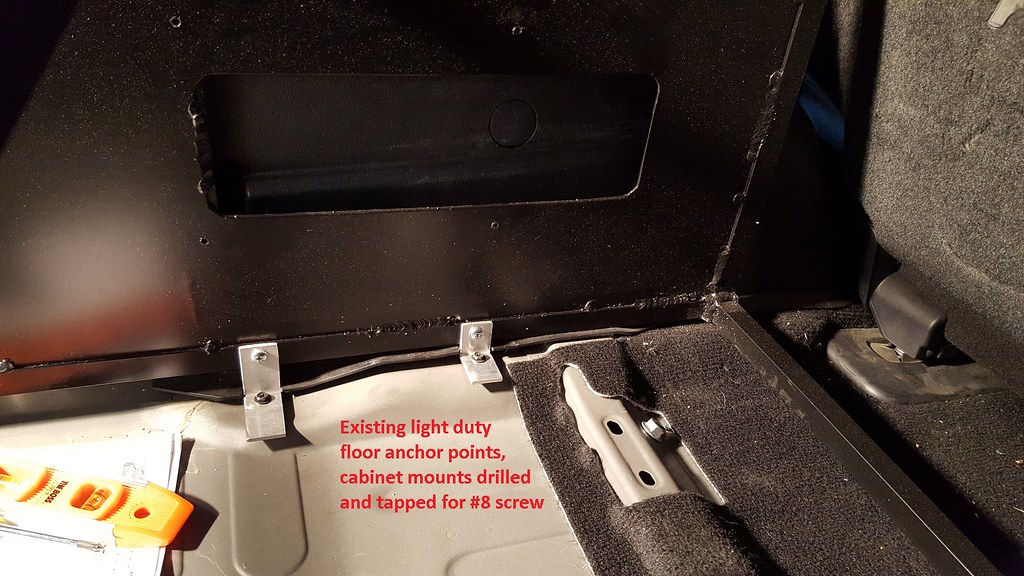
I had originally planned on just mounting these atop the existing 3rd row seat, but some recent posts by a couple of the aforementioned individuals convinced me to remove one of the seats altogether. SO MUCH BETTER!! This netted 4"-5" of additional vertical storage capacity and just returning from a week long road and camping trip with 3 adults, 2 kids, and gear for all, this proved absolutely necessary as we used every single square inch of available space. No new holes were drilled, although a few existing holes were enlarged for installing 1/4" rivetnuts; otherwise, existing anchor points were used.

41447533480_565a9e3cef_b.jpg


41447534060_bb3c682493_b.jpg


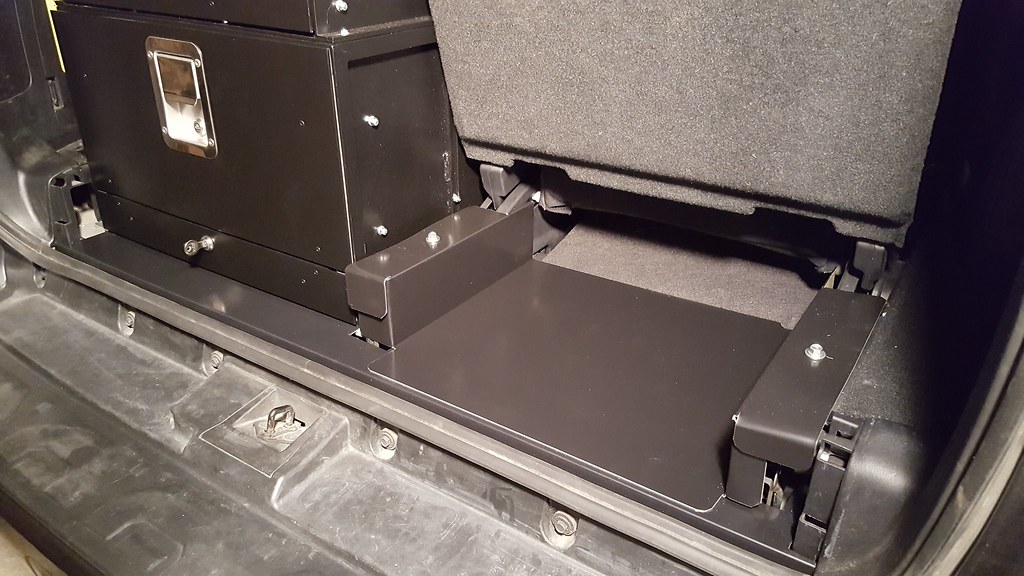
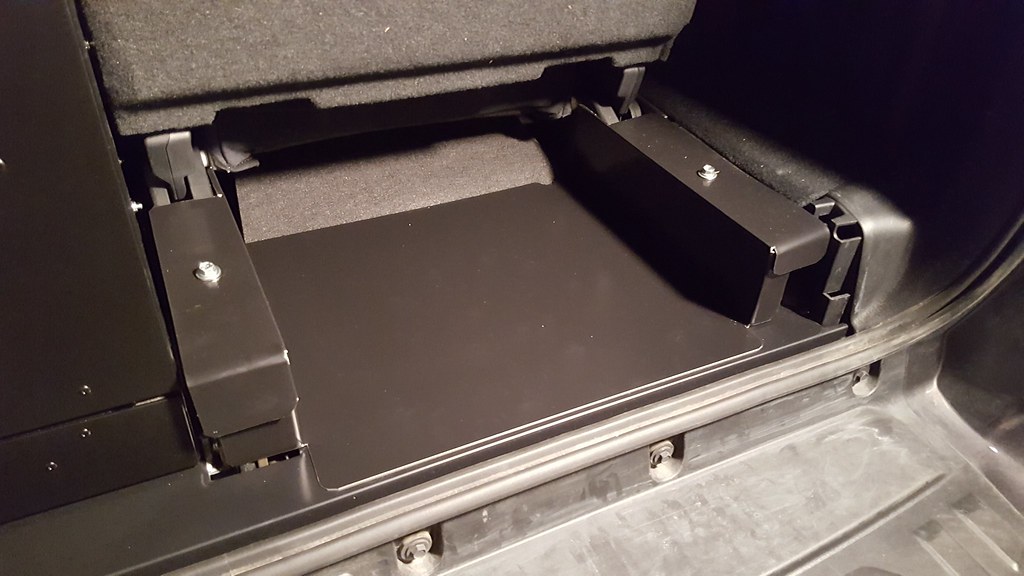
I could not see cutting up a $200 factory plastic cover if I want to remove the drawers and return this to stock later, so I added some sheetmetal to cover some of the guts and finish this off. Still a little bit of a work in process before calling it 100% complete and finished, but this is honestly probably as good as it will ever get unless I add a few more finishing pieces. I'm not a big sheetmetal guy and this was a "2am day before the trip" job which my wife lovingly described as looking like a "well thought out botch job" before I removed the masking (lol, love you, babe), but I am happy how it turned out and it definitely aided the versatility and usable finished space.

43207961002_b83fc33d3b_b.jpg


42538525424_b4691bcefb_b.jpg


A few quick shots in use from our trip. The module for the other side will actually have a drawer built to house the stove, but this works great in the interim when a 3rd row seat passenger is needed. Couldn't be happier how this turned out, definitely a game changer from the versatility and ease of use aspect.

29395742588_80038703a1_b.jpg


42361426345_4fa1e9db0e_b.jpg


29387792508_2555fb55ca_b.jpg


42539494504_c528b0a0fe_b.jpg


Love it! Thanks again for all who have posted ideas along the way!
 
Last edited:
Pops,

Does this sit flush with the rear seats when they are down? I've been looking at making a platform to sit flush so I can sleep in the back, but that pull out tool storage is perfect. What kind of rails did you use on the drawer?

Sorry for the delayed response. I rarely login. I've made two storage systems and they lay flush. The rails that I used are Knape and Vogt 8900.
 
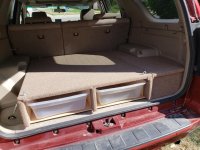
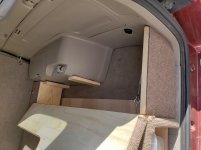
I saw your request for pictures and info on building a rear storage unit. I finally built mine with the added weight in mind, material available to me, and also the need to leave my bag in my vehicle w/o being seen. So, for a father-daughter weekend project, we came up with this. Used 3/4" cabinet shop plywood for the body, 1/4" plywood for the bottom, pine shelving for the vertical pieces, piano hinge for the lg hidden compartment, covered it in rubber backed outdoor carpet, and 1/4" turnbuckles x4 to anchor the unit and to make it easily removable if I needed to. I was able to keep the area behind the backseats open for additional out of sight storage. Not bad for my first venture and made possible by all of the generous information found on this forum, just like your looking for.
Good luck!
 

Attachments

  • 20180929_151751.jpg
    20180929_151751.jpg
    137.4 KB · Views: 3,467
  • 20180929_151823.jpg
    20180929_151823.jpg
    127.8 KB · Views: 3,453
  • Front Compartment.jpg
    Front Compartment.jpg
    138 KB · Views: 3,415
Finished this today. Pretty happy with how it turned out. Rubber gym flooring on top so the dog doesn't fly around the car. Drawer can support up to 500lbs; plan on using it as work station while camping or seat when needed.

This is so incredibly perfect. Low profile enough to have a flat sleeping platform and retaining roof clearance while still having a drawer or two. The other low-pro ones are good but with hatches you can't access the stuff if there's anything on top. Did you remove the factory carpet at all?
 
Pics in my build thread as well..

Did the main platform/deck several months ago. Just finished the new portion last weekend. Hemmed and hawed about if I wanted drawers and ultimately decided to go for simplicity for now.

https://imgur.com/a/7XVWVMv
 
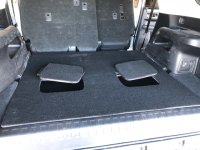
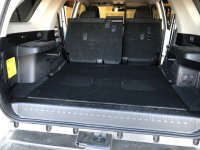
Built this storage/platform cover thing for my 2018 SR5 w/3rd row. I removed the 3rd row seats, seatbelts, and used the same mounting brackets to bolt down the platform. The only regret is not making the access holes a bit larger. There is a ton of storage, plenty to replace the 150lbs of seats I removed. Next up a removable sleeping platform for the 60% side of the 2nd row.
 

Attachments

  • IMG_0732 (1).jpg
    IMG_0732 (1).jpg
    101.4 KB · Views: 4,122
  • IMG_0733 (1).jpg
    IMG_0733 (1).jpg
    91.6 KB · Views: 4,091
I don't think I have posted this yet. Had the drawer system in for awhile and, while it worked pretty great, I hated the elevated sleep platform and the fact that I couldn't use my whole cargo area without removing the whole drawer system.

So I decided to make a heavy-duty version of the factory slide out tray that's perfectly flush with the rear seats and incorporates e-track tie downs. Really pleased with it. I have been using it for 3-4 months now with WolfPacks and it's the perfect setup. I can keep just the roadside/recovery box in the truck at all times and then throw the camping gear in when I need it or visa versa.

WOW that's impressive... ill buy it from you, is that possible? lol
 
Mine is a super simple build (let me add that I have a negative amount of wood working skill)... Removed the original carpet/foam, covered the entire cargo area floor with three layers of Noico 300mil sound deadening, and then built a box out of 1/2" birch ply (5 sided) to hold a pair of Front Runner Wolf Pack boxes and a pair of Front Runner Cub Pack boxes... Front Runner boxes are held in place with several strips of grip tape and divided side to side with a left over piece of ply to eliminate lateral movement. The entire storage box is secured to the OEM tie downs via turn buckles at the rear and cargo ratchet straps at the front (in an X pattern).

There is enough room longitudinally forward of the cub pack boxes to house a second battery (up to a H8), or more realistically for me, probably where I'll put my air compressor. The rear seats also still have room to recline. Between the cargo box and the rear seat there is enough room to store a emergency clothing bag for my GF and I, my CB and high-gain UHF/VHF antenna, and a few odds and ends. There is also just enough room on either side of the box (between the box and wheel wells) to slide a few reusable shopping bags or similar. The camp chairs are a year round staple, held in place with a pair of Front Runner Stratchits.

Since this photo my drivers side PSD has been installed, and at some point I need to order a slide for the ARB 50qt. There is enough room, however, to open the ARB 50 and reach down to the bottom without removing it.
 

Attachments

  • 20190109_173301.jpg
    20190109_173301.jpg
    123.6 KB · Views: 4,411
I just want to thank everyone in this thread for posting their setups. There are so many great ideas in here and some extremely skill craftsmen.

For our platform we debated between making it out of wood or metal, and finally decided on metal because we could go without stabilizing the middle and have one big drawer. Then we decided to nix the drawer and leave an open space under the platform. We will finish it with a door on the front that will probably flip downward, however the drawer idea might still pop up once we get out and use this a few times.

So anyway, we used 1x2 steel for the 35x41 frame, built it to fit the entire cargo area. We then put wood flaps either side to cover the wheel wells that are hinged for access if needed (thank you Jerad) and supported underneath. The top is plywood covered in black carpet. Everything is anchored using turnbuckles and the stock brackets in the floor.

i.ashx


i.ashx


i.ashx


i.ashx


The extra sleeping platform piece that goes over the back seats is 53.5x30, made of wood and covered with carpet. It has removable wood legs that slot into place so that that piece can be stored on top of the cargo area piece during transit. The two pieces slot together using sectional couch brackets.

i.ashx


It gives us a sleeping area of 65" length and ~54" width (width-wise will fit a full size mattress). We are short, lol. I fit on the platform perfectly but my husband's feet hang off the end and he's ok with that. We have a tent for the back with the cargo door open so the length isn't really an issue. This setup allows for the back seats to remain intact in case we have a passenger, but we may consider lengthening the middle part and removing the seat-bottoms.

Still need to make the door (I want one that says "TOYOTA" like btcsxj's amazing drawer) and the pieces that cover the front on each side. Not bad for a work in progress but at least we can begin sleeping on it!
 

Members online

Forum statistics

Threads
278,316
Messages
3,554,120
Members
248,016
Latest member
Advally Service

Trending content

Back
Top