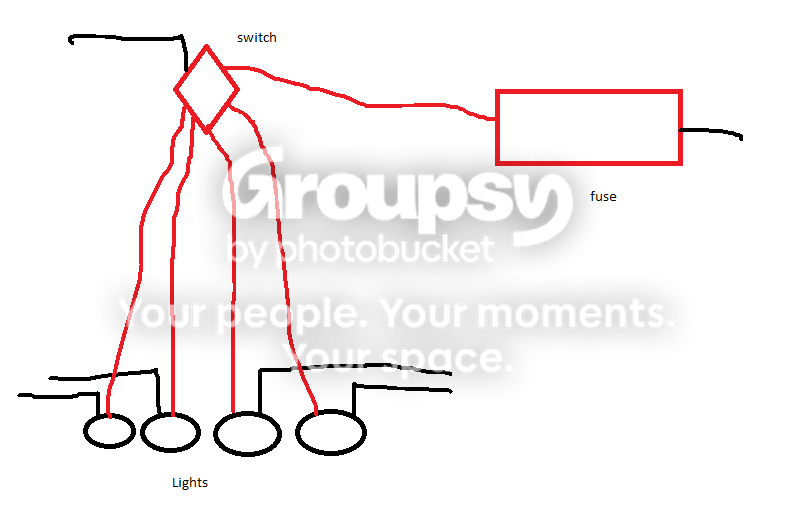
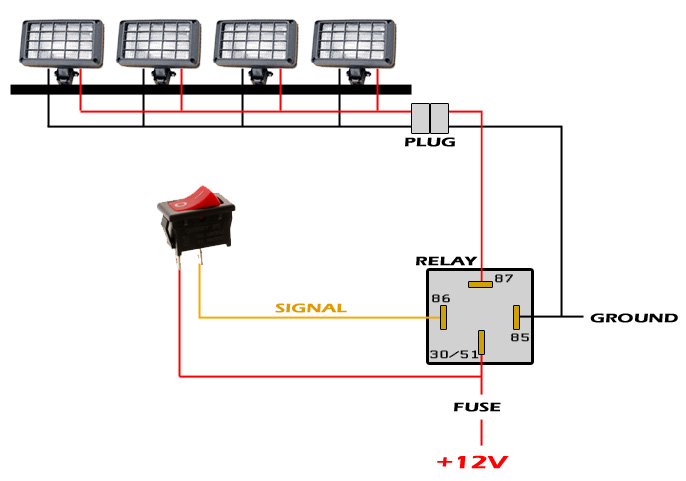
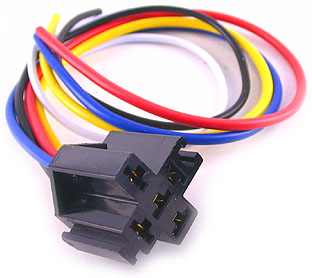
This is a very good write-up for starters.
DIY: Wiring after-market lights - Tacoma World Forums
And this post (same thread) shows a diagram of what is explained in the OP.
DIY: Wiring after-market lights - Page 3 - Tacoma World Forums
You should have received a pinout sheet with the switch, something like this:
http://www.otrattw.com/J66a.pdf
If you want your new switch to dim with the factory switches, you will need to find the positive and negative for the dimming circuit on a nearby switch. You will tap the positive wire and connect to pin 6, and tap the negative and connect to pin 7. Pin 8 will connect to a nearby ground.
8 - Upper light Neg (-) - connect to a nearby ground
7 - Lower light Neg (-) - connect to ground wire of dimmer circuit
2 - Incoming from power source - I use a add a circuit to tap into an existing fuse. I use one that is only on when the key is on (so you can't accidentally leave the light bar on).
3 - Outgoing - to relay, accessory, or equip.
6 - Lower light Pos (+) - connect to positive of dimmer circuit
This is a overview of what needs to happen. If you have questions on any specific part, let me know and I'll try to explain further.
On the roof rack corners, my suggestion is very carefully. They break pretty easily. There are 4 tabs (2 on each side) that hold it on. I took a small screw driver and gently pried out/up to release the tabs. I did get a little impatient and several of mine broke, so again, be careful with this and don't force it.