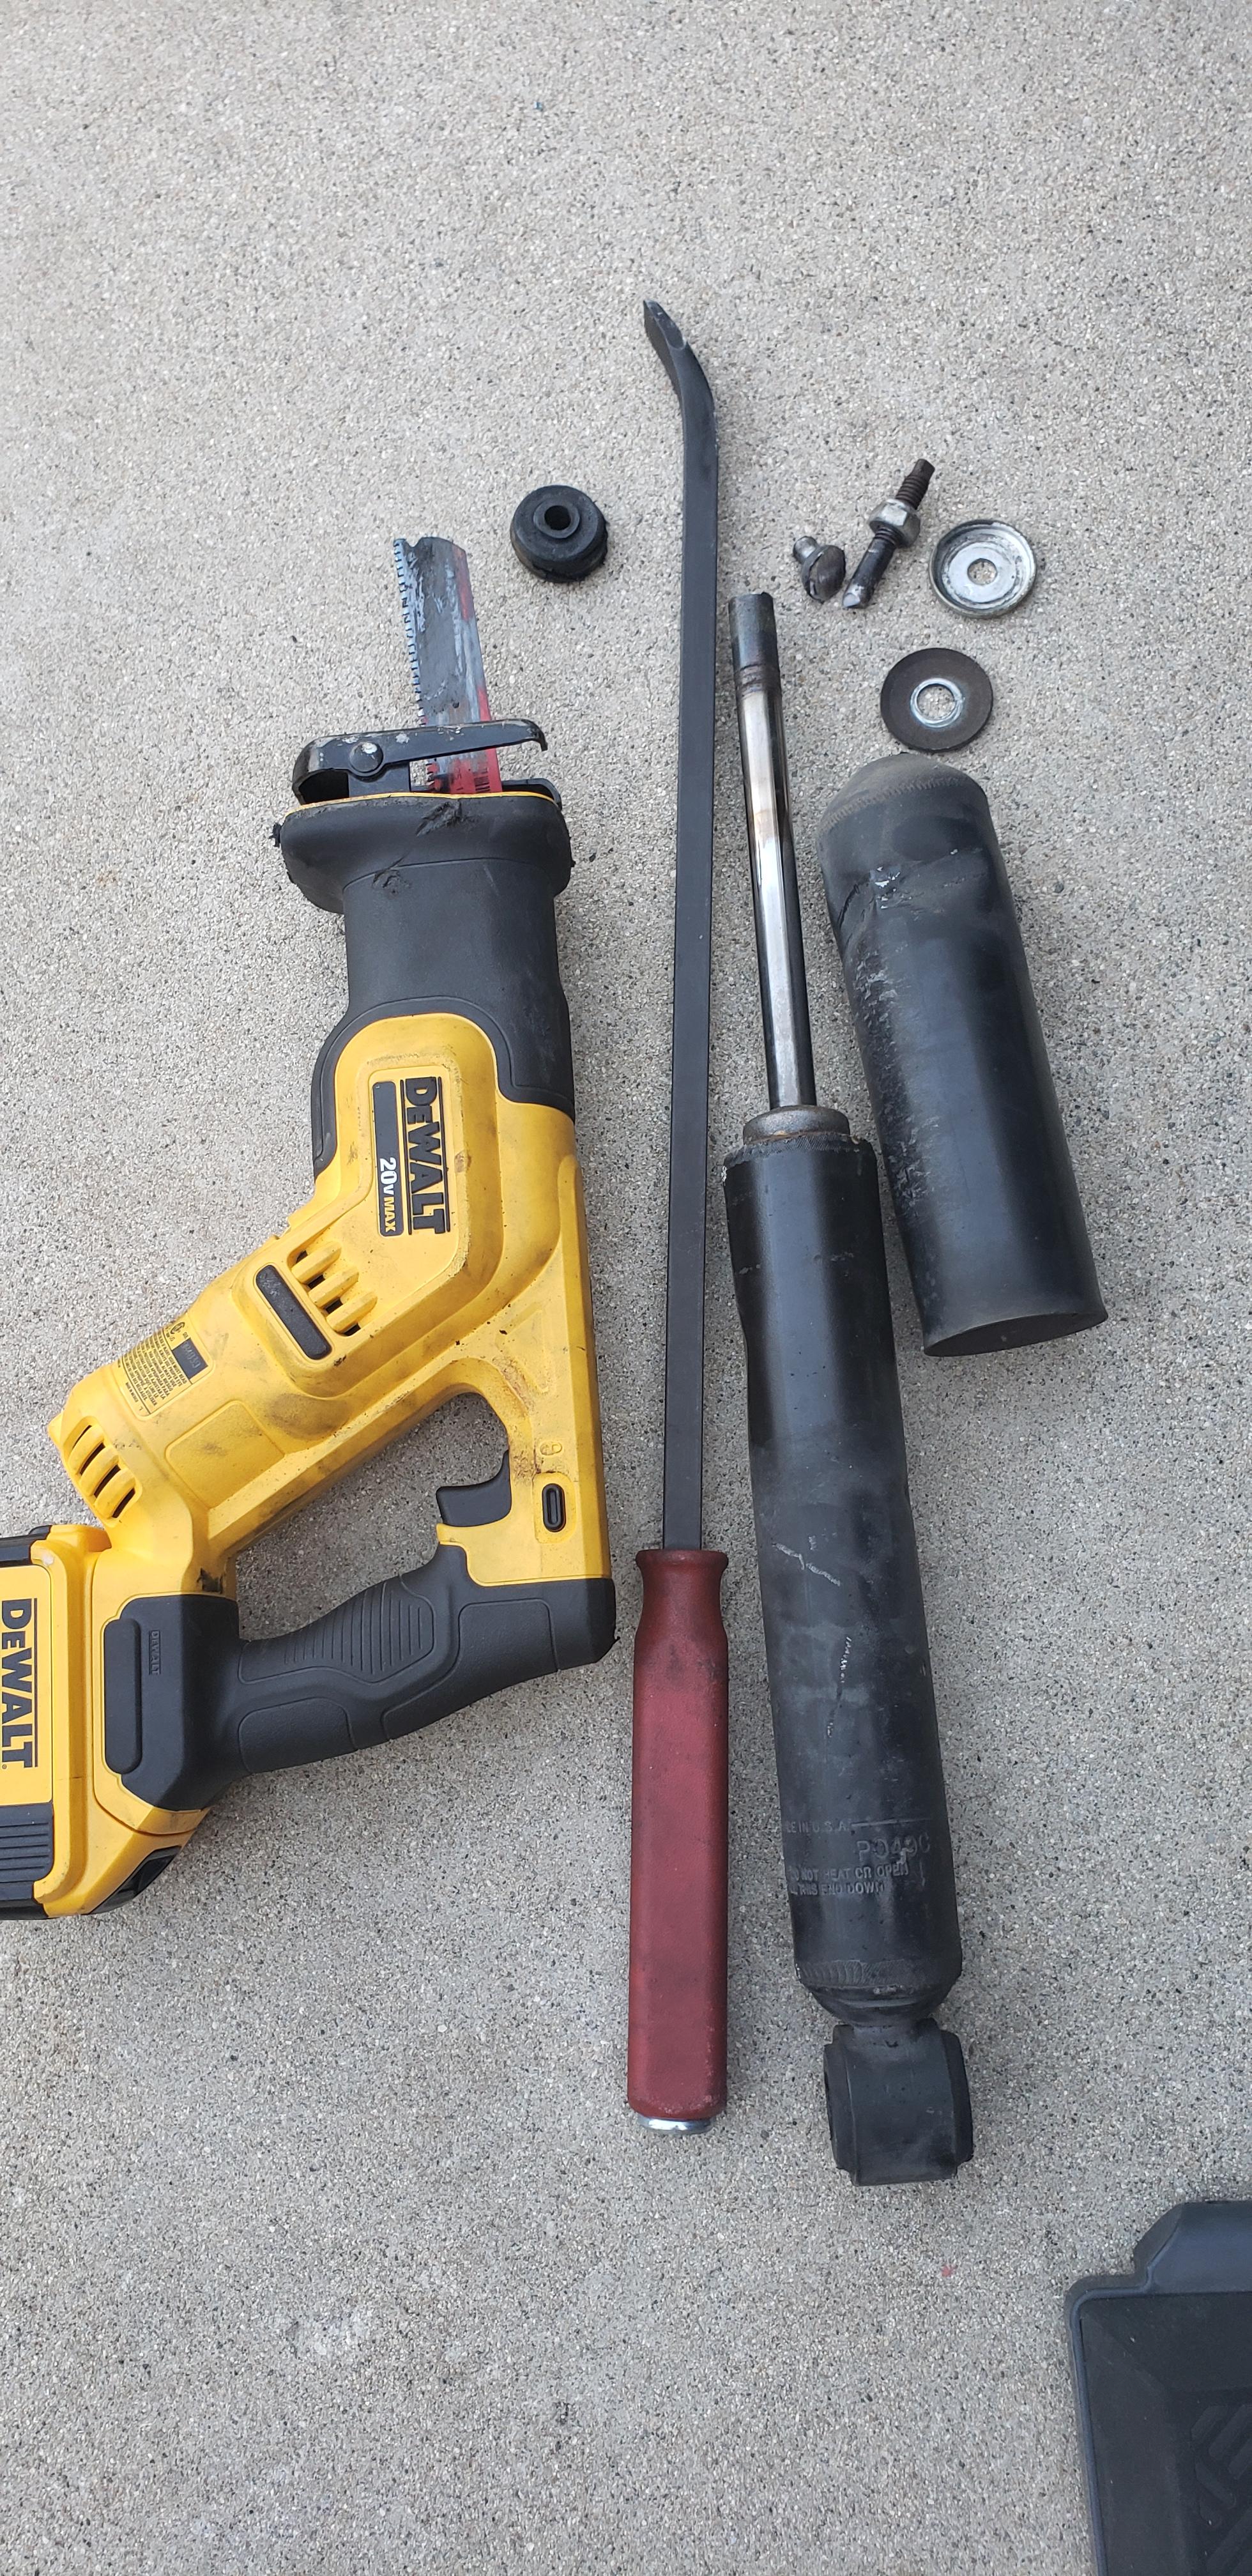
Removing rear shocks

busmup808

New member
Just was wondering how you folks removed the rear shocks, so that the people that have not done this will know how to remove when the time comes.


1st let me say that removing mines was difficult. I couldn't see at all. I used feel and damn it felt like forever. By the time my arms started to bleed sticking it a small space and fiddling with it for and hr, I said to myself screw it. I got up grabbed my cut off wheel and cut it off in 5min. The spot where I cut was right above the bottom washer holding the rubber bushing. I had to so the shaft would come off from the top and the bottom would just drop. When I pulled the top shaft off, to my surprise there were 2 nuts.

So there it us 10 minutes and the 2 shocks were off with the help of my cut off wheel. Sorry I don't have pics.

Just thought of share to help the guys/gals out. Mahalos & Aloha
 
Last edited:
Register to hide this ad
I put my wrench up there and it just stays. Then I take my cut off wheel and cut up the protective cover of the shock. (NOT THE SHOCK BODY ITS SELF).
Then I fold the protective cover back and grab onto the shaft with vice grips.
My wrench is still up top and gets jammed against the body of the vehicle as I rotate it with the vice grips and it comes right off.
Of you have Installed a body lift like I have now and you can access the top but right through the body and the frame.

Oh i forgot. I also drilled out that drain hole to a larger size so the smaller pebbles that get up there will not clog it up and start rust.
 
Last edited:
My rear shocks are still ok but knowing I have to replace those in the years to come, I sprayed some WD40 once in a while to prevent any rust buildup on the shock top nut/bolt. Hope I don't have to go through all this pain.
 
I put the wrench on the top nut and wedged it against the frame. I then used a Stilson wrench on the body to get it loose. After replacing I put a piece of PVC tubing on the new threads to keep water off. No idea it it will work but it won't hurt. And by the way - *&%!!!!!!!! the engineer who designed this. They could have attached the top with an eye bolt or added an access hole from the rear section to make it easy but instead left it to be a real pain for anyone with rust. Luckily I am in Texas but a lot of people have found the "cut off the top" option to be the only way.
 
I jacked the car up, put it on stands, took off the wheels, dropped the spare out, and cut through the bushings with a sawzall half way, then bent and snapped them out.. New ones went in very easily.
 
On the last two I did, I drilled a hole through the dust shield and stuck a long screwdriver through. Put a short socket on the top bolt and turn the screwdriver.
 
I've done both methods and it really depends on how "stuck" the ones you are taking off are.
My first set were easy to my amaze and came off with ease with just holding a wrench up there and squeezing the shaft cover with some channel locks to hold the shaft from spinning.

I realized after if I was going to destroy the shock anyway by bending that protective cover to hold onto the shaft with the channel locks, on my second install for a buddy I took out the cutting wheel and cut just underneath the protective cover.
Finished in a few minutes and the lower shock fell right off and the remaining nuts on the top was just picked off by hand.
 
Easiest way I've found with simple tools was to drill a hole in the upper sheath, stick a long screwdriver through the holes and then turn.
 
I did it a few weeks ago, wedged a wrench on the top nut, and used an 18in pipe wrench to turn the shocks. Worked fine, although there were several choice words used by my friends and I.
 
I read on another forum where someone cut a 3" access hole above and through another panel with 2.75". Then replaced the cutout piece afterwards. My shocks are still good so I want to salvage them. Does anyone know exactly where I should drill?
 
Tried for a while with a wrench wedged of there turning the shock body - wouldn't turn, wouldn't break off. Sawzall through the bushing worked for me - but it smoked quite a bit. I cut too low (below the bushing) the first time and leaked shock fluid everywhere. Didn't want to rough up the shock mount by cutting too high.
 
I read on another forum where someone cut a 3" access hole above and through another panel with 2.75". Then replaced the cutout piece afterwards. My shocks are still good so I want to salvage them. Does anyone know exactly where I should drill?
An offset box-end wrench and a ratchet with the right attachment works just fine... (Bilstein uses a hex) Well, assuming you are working on a rust free truck... :crazy:

A8yBcyj.jpg


-Charlie
 
I read on another forum where someone cut a 3" access hole above and through another panel with 2.75". Then replaced the cutout piece afterwards. My shocks are still good so I want to salvage them. Does anyone know exactly where I should drill?

Try Charlie’s method first. I was able to take off my 8 year old bilstiens with no trouble. I used a toothbrush to clean up the threads first to prevent binding.
 
if your not saving them , dont be gentle.
recently on my 2001 I had to replace the rear shocks. I just removed from lower mount and then rocked them back and forth a few times and they just snapped off at the shaft right at the upper mount.. Actually saw it on you tube, a guy working on a 3rd gen.

Debate with myself if I should replace rear shocks and springs b4 winter on my 2000....and if I do ...it will be that method or the sawzall method.
 
I liked a couple of used cutoff wheel's just big enough n grinder, Vise grips and ratching box wrench.
Holes and plugs like body mounts would of been sweet.
 
Last edited:

Members online

Forum statistics

Threads
278,306
Messages
3,554,045
Members
248,016
Latest member
Advally Service

Trending content

Back
Top