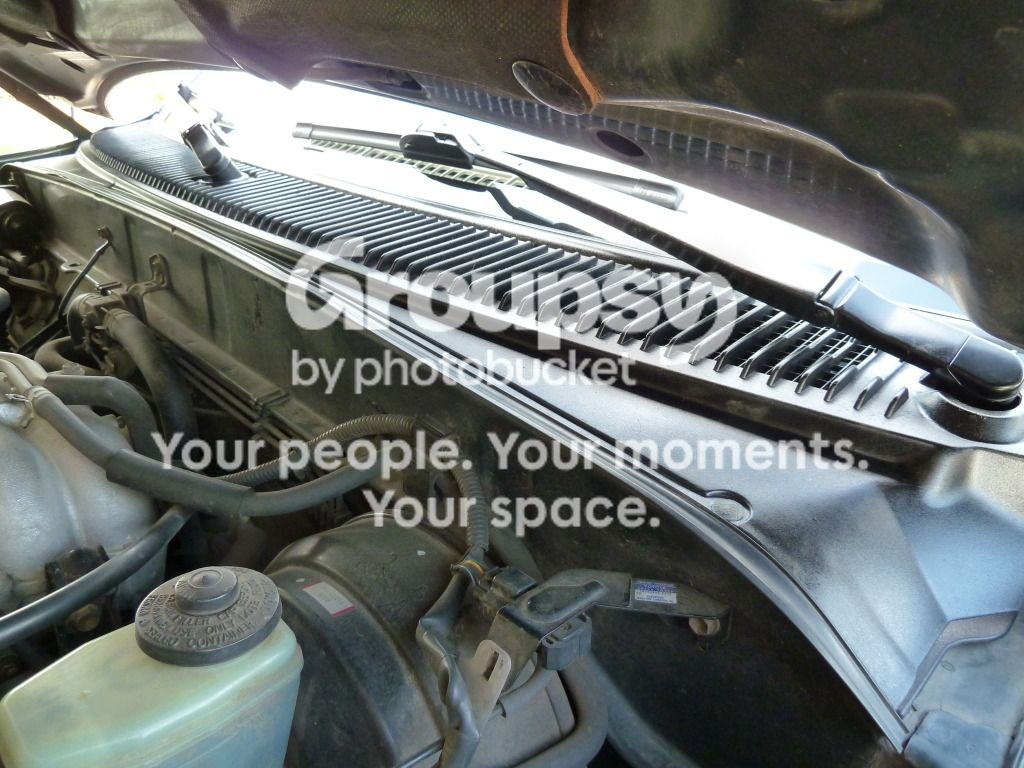
This is one piece of plastic that is overlooked quite often and is an eyesore as it ages. I figured it was time for a write-up to remedy this problem and it's one of the easier resto jobs you can do on a 3rd gen.
I was getting a newe windshield so I figured it was time to take care of this very weathered piece.
Step one: Remove the windshield arms using a 13mm socket,then remove the five(5) phillips head screws along the cowl closest to the windshield.
Step two: Lift the hood and prop it up,take a flathead screw driver and pop the four(4) plastic connecting tabs straight up being careful not to break them. Pull the cowl piece toward you from under the windshield removing the rubber gasket at the front of the cowl also.
Painting is the same as painting all the other plastic parts. Clean the cowl,use a prep spray to further clean it,soak it,wipe it down and let it dry.
I used Krylon for plastics and sprayed about 3 coats and followed up with 2 solid coats of clear
It's little things like this that go a long way when you're the one looking at your ride the most. Other people probably won't notice it, but you will every time you look at it! Can't wait to see it on.
It's little things like this that go a long way when you're the one looking at your ride the most. Other people probably won't notice it, but you will every time you look at it! Can't wait to see it on.
It isn't the one thing that hopefully would be noticed but what it looks like as a whole package since even the casual car person would notice a weathered part more than a clean piece but when all the restored parts come together it makes the whole truck not look as dated.
Awesome, I too need to do this I finally did my rear spoiler last month and it turned out great so it's on to the plastics now I guess! Thanks for this. So you were pleased with the krypton for plastic?
I just used the same stuff I used on my scoop insert. I cleaned the cowl with Dupli-color Prep Spray,then sprayed it with Krylon for Plastics and then a couple coats of Dupli-color clear. I also used the same paint on my wiper arms.
Good info. I've got 341k highway miles on my Runner and that piece is definitely looking date. As soon as I can scrape together some cash I will probably do this.
Go for it. And then post pics of how it turns out. Depending on your tastes you may go for a satin finish instead of glossy.
Personally I think I would go for satin on a piece that big.
I'll be doing my lower valence and the little top piece on the bumper using the same process but will include Dupli-color adhesion promoter which I didn't have a can handy when I did the cowl.
Installation is pretty much the reverse of removel of course. Here make sure you get the rubber gasket in place and get the holes lined up and insert the plastic connector and tap in gently with a rubber mallet as to not break them as they are a tad brittle from age.
All buttoned down
It came out good but I rushed it a little so it has a few blemishes only I'd probably see but am happy with it;next up the lower front valence and then the rear bumper step.