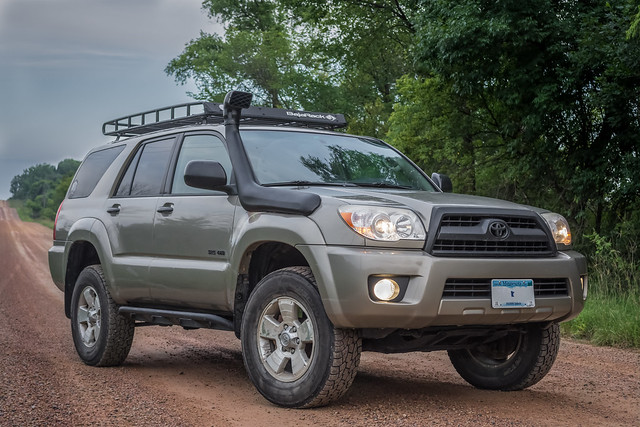
Snorkel Install
Outline of my process for installing the TMS Snorkel Air Ram Intake Kit for 90-97 Toyota 80 Series Land Cruiser/Lexus Lx450 on my 2006 4Runner SR5 V6.
Tools Needed:
Flat Head Screwdriver
Phillips Screwdriver
3.5" hole saw ($25 hole saw and bit)
Drill bits - various sizes (sorry can't remember what I used)
Metal file (chainsaw file works great)
Angle grinder with cutoff wheel (or your preferred method of cutting sheet metal) ($4 for wheel)
10mm socket and open end wrench
13mm socket and open end wrench
Jack, lug nut wrench, jack stands etc. if you take the wheel off
Hand saw
Wood clamps
Heat gun (borrowed)
painters tape
Dry erase marker
Flashlight
Piece of Cardboard long enough to trace the snorkel "base"
Pop Rivet Gun ($7.95)
Stress relieving beverage or your choice (prices may vary)
Parts:
Auto/marine silicone ($5)
Spray paint ($4)
Step 1.
The backside of the snorkel is not flat and the screws are not all oriented parallel to each other, perpendicular to the body of the snorkel. The body of it is also not a perfect form fit to the 4Runner edge. What I did to try and address that was to cut a piece of cardboard to the shape of the snorkel body. I then used the supplied mounting bolts, washers and Nyloks (don't tighten them all the way on) to bolt the cardboard to the snorkel. I then wet the cardboard and weighted it to try and form it to the snorkel.

Clamped and weighted.

My hope was that this would give me a better orientation of the bolts holes to minimize the wallowing of the holes others have needed to accomplish to fit the bolts through the body panel.

Side view to show the curvature. I let it dry for a day until the cardboard would hold its shape.
Step 2.
You will need to pull the wheel well liner to access the interior of the fender. I struggled getting this thing off so I pulled the front wheel off. There are 3 - 10mm bolts under the fog light, 3 along the end of the wheel well and then 5 on the mud flap. I was able to bend the liner back enough that I didn't need to pull the mud flap anyway.

In addition there are a whole bunch of the square clips.

Some you can pinch from inside the engine bay.

Once you see how they are released a small flat head will assist it popping the others out. there are 3 I believe that are hidden under the lip of the fender in the arch of the wheel well. PITA to get them out. I only ended up breaking 2.
Step 3.
Remove the air inlet that bolts to the wheel well. Release the hose clamp at the end of the hose to completely remove the air inlet.
Sidebar:
I the inside of air inlet I saw "pebbles." Closer inspection revealed it was dog kibble. Completely intake, clean, dog kibble. I have no idea.