smkd13's Build Thread

I was reading through your build, the rig is coming along nicely. For the rear you are running the superflex coils and trim packer? Also what is your hub to fender measurement, is there any weight back there? Thanks.
 
I was reading through your build, the rig is coming along nicely. For the rear you are running the superflex coils and trim packer? Also what is your hub to fender measurement, is there any weight back there? Thanks.

I just ordered the trim packer and i have adjusted the coilovers on the front and have tried adusting them several times and could not get it to level. So thinking about it, I took and using a bottle jack raised the rear from the LCA bracket frameside and raised it up about 3/8" to 1/2" and it leveled out. I strongly think the body is leveled from the rear springs.

as for the hub to fender it is off by and inch driver to passenger.

FL - 22.75
FR - 23.75

RL - 23.25
RR - 24.5

and no there was just the spare tire but now that is removed.
 
Ok so installed the trim packer today and got all the measurements up by about 3/4 of an inch. This makes it sit almost level just off my 1/4 inch now.

9yvyrage.jpg

(Yes I know. Rust. I am slowly getting it all off. Just waiting for the summer to pull the axle and do it all.)

And another thing that adds to this is that my frame is out of square. I have an alignment done and I have a setback of almost 1" on the drivers tire. It will be going to a body shop next week to have it measured and then quote to put it back into spec. Gotta get this done before anything else. But locker is still a go and so are sliders. But probably not the bumpers or skids till after Moab. Little speed bump is all this is to me
 
Ok, so I spent the better part of the day installing this Lock-Right locker into my truck. Process is easy but time consuming. But here is my write up on how to install it:

The first step that you have to do is to chalk your wheels and jack up the rear (just enough to get the tires off the ground.)

Also drain out your fluid at this time as well.

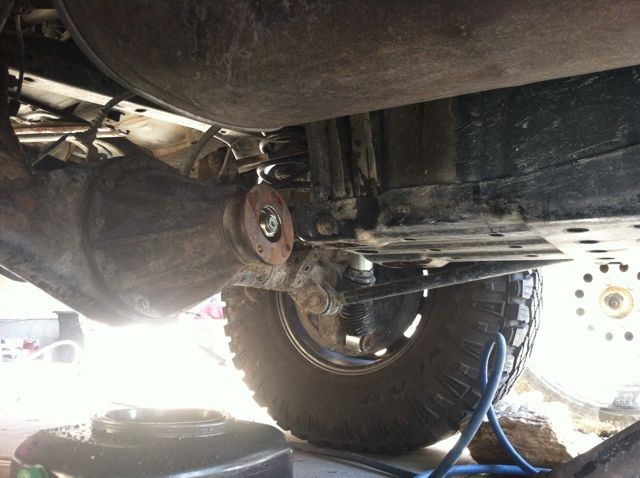
If you don't chalk then your truck will more than likely start to roll away on you. :loco: but after it is chalked the first thing would be to disconnect the driveline.

These are 14mm bolts and are on there TIGHT!!! but after you get them off just use a hammer and tap the flange a bit and it will loosen up. (Troque spec is 54 ft/lbs)

9C8008AC-5EE8-47C6-8ED4-D8C50DF8A237-54222-00000DC6BF053C3E_zpscfbfdd21.jpg~original


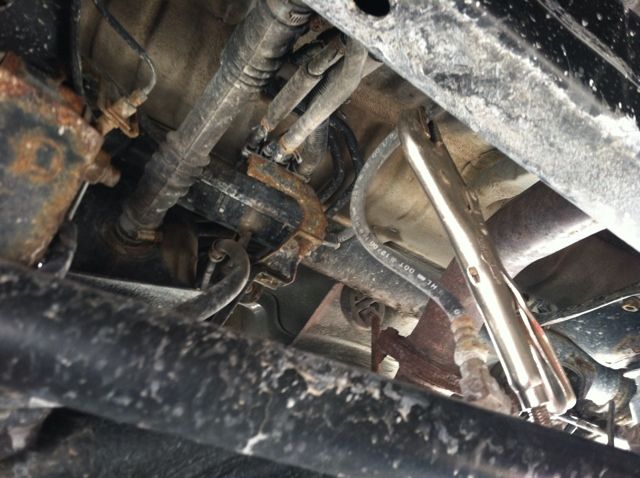
Next if to make life easier when you put it back together use a set of vice-grips to pinch the brake lines (if your sill running OEM).

4C27A9BA-CE2A-4E6D-9254-80FCDF48E3B1-54222-00000DC6C2AA2572_zps492474a6.jpg~original


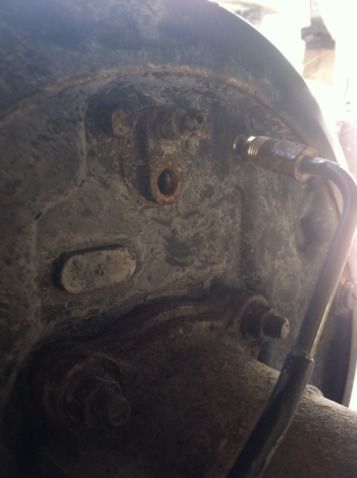
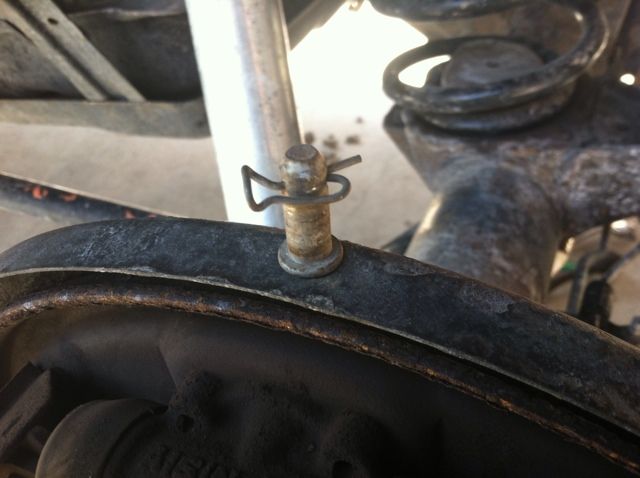
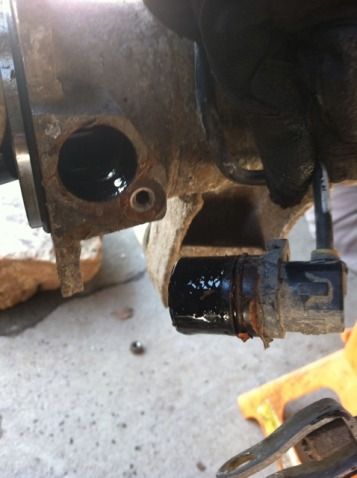
Next disconnect the e-brake (pinned), brake lines (10mm), and abs sensor (10mm). The ABS sensor is a little hard to get out but just use a flat head screwdriver and ease it out.

779238C5-2F39-4B58-9170-78377ADA7D2B-54222-00000DC6C47A43A4_zps35cb61e1.jpg~original

58C7E6D2-96C5-49B0-AB9D-97B109D4C4AD-54222-00000DC6C65DFE37_zps3332fcf7.jpg~original

43C44554-05EA-4EF9-BFB9-3F665903DC49-54222-00000DC6C7FD678C_zps6be6adf3.jpg~original

6B50DFA8-C321-4EC6-BCAD-ED17474CF015-54222-00000DC6CF40E355_zps984b94bf.jpg~original


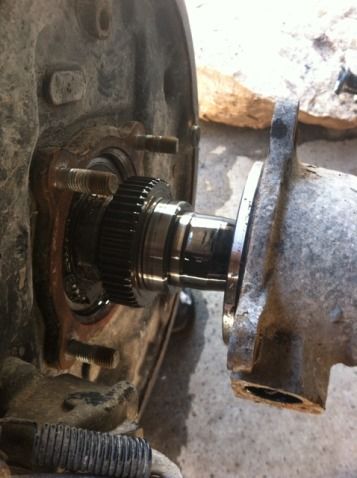
You then separate the axle shafts from the housing. They should separate fairly easy. I removed the drums when I did this so that I could check the brakes. Good time to check your bearings as well.

50F155E2-AA88-4D83-9C42-0869C66F9DD8-54222-00000DC6C9D87D00_zps83044f2a.jpg~original


All you really have to do is pull the axle shafts out about 3 - 4 in. but i wanted to bull them all the way out and inspect all the bearings and seals as well. (I don't have any pictures of this but some will get posted later when i do my rear bearings.)

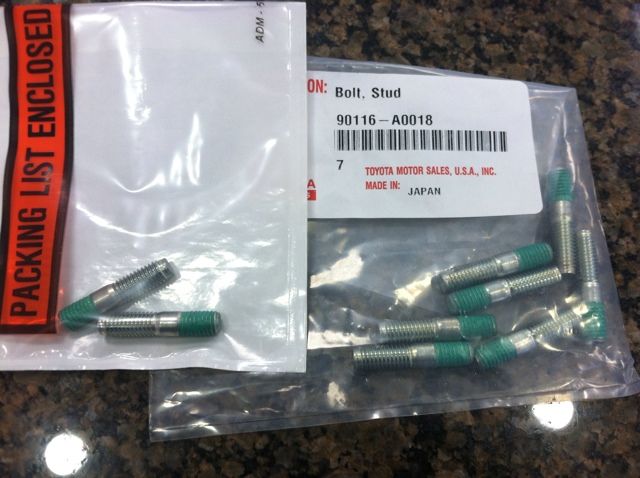
After you pull the shafts out you can then remove the 3rd member. remove all the nuts around the 3rd memeber (12mm). Sometimes the studs will come out when removing the nuts. Good luck finding them. they are a dealer thing. The studs are a M8x1.25 if your wondering and are about 1.74 a piece. They come with a thread locker on them. P/N # 90116-A0018 (NOT A LOT OF DEALERS CARRY THEM SO PROBABLY A GOOD IDEA TO HAVE SOME BEFORE YOU START.)

1049E358-0C9F-4F53-AF93-F9F9CC67E9E3-54222-00000DC6D0F4CA11_zps48d8bfd1.jpg~original


Using a flat scraper or chisel. lightly separate the 3rd from the housing. Careful cause it is actually kinda heavy and the weight is offset. Once you have it out set it on its side and let the left over gear oil drain out. (use a towel)

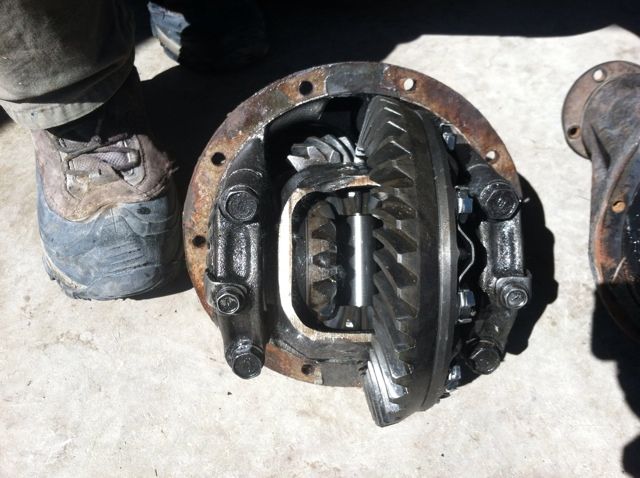
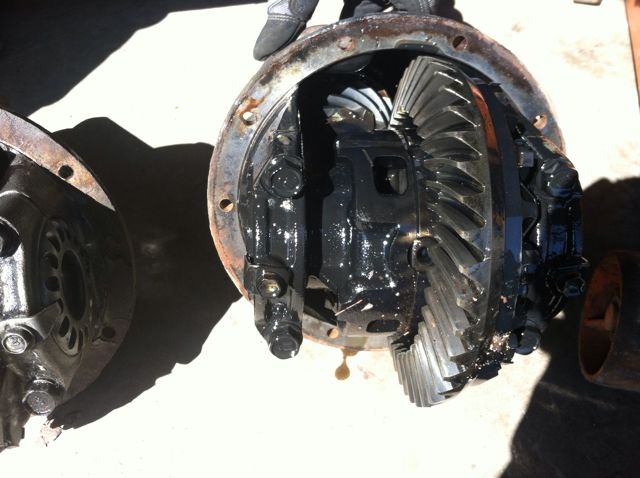
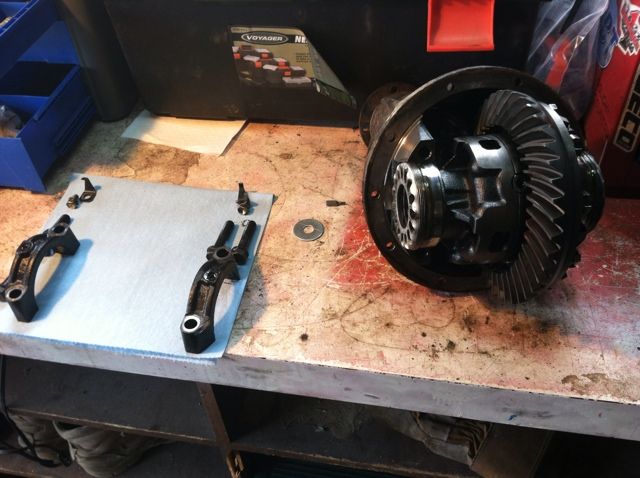
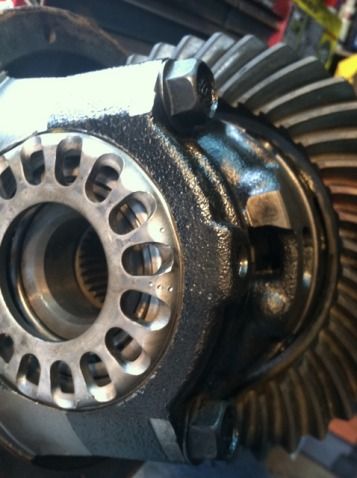
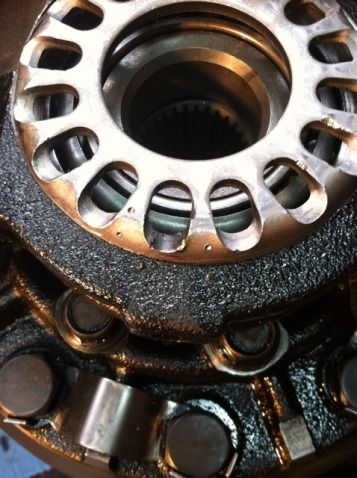
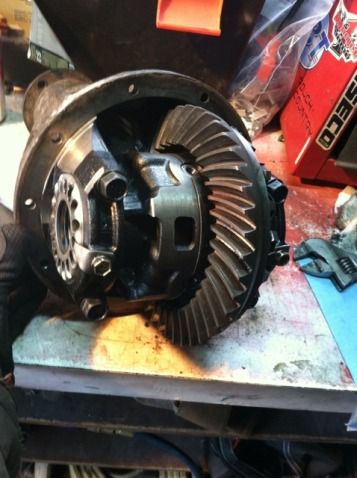
Here is some side by side comparisons between the older 3rds and the new 3rds. The first one is out of an 81 IIRC and the second one is out of mine. Notice the difference in the carriers. You will see the bigger difference later on.

6F67A8F7-3788-4955-8B95-72B991A65B51-54222-00000DC6CD4CA47B_zpsc24d061a.jpg~original

358A7242-09BD-4CEE-8F09-427D665559C3-54222-00000DC6CBB57981_zpsdc67bb23.jpg~original


Next I cleaned off all the remaining fluid and metal dust. (normal wear). I used brake cleaner to do this. Worked great. Now we can get onto the fun stuff :)

Mark each adjuster ring on each side so that you know where they are suppose to be at and as well what side they go on. I used a center punch for this but you can use a sharpie or paint pen or whatever. JUST MARK THEM!!!

3DF6DF24-3869-47A6-834B-EFDAD75E7DFA-54222-00000DC6D28CACD3_zps0624130f.jpg~original

8F958A8D-1533-43C4-B1BC-85FC6E680C58-54222-00000DC6D458ED7F_zps987852cc.jpg~original


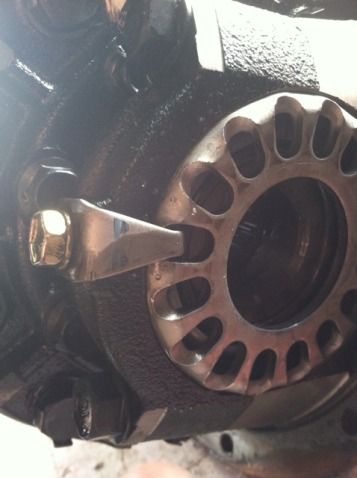
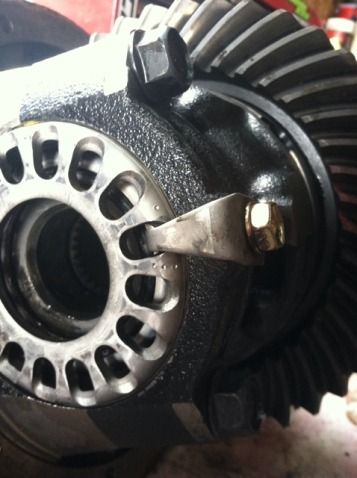
next remove the clips that hold the adjuster ring in place (12mm)

42EDFA00-F1E2-4DE0-A492-A4B9C03880FC-54222-00000DC6D8240BBB_zps2ee1554d.jpg~original


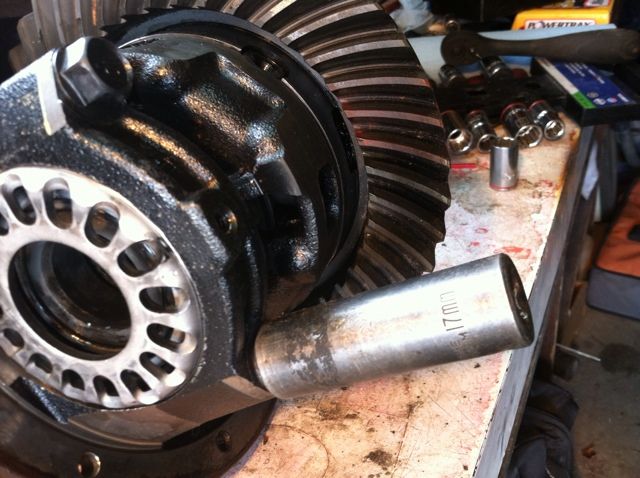
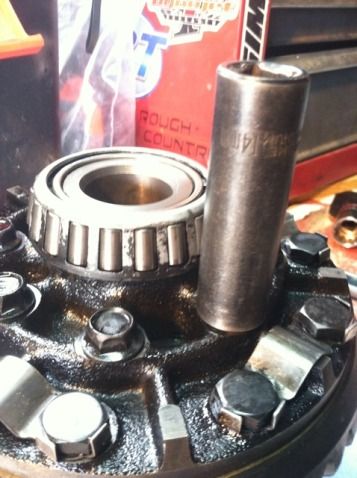
Then remove the two bolts on the top cover for the carrier bearings (17mm)

465575DC-645E-42D5-8140-16665A9F2896-54222-00000DC6DC42A51A_zps7e91f781.jpg~original


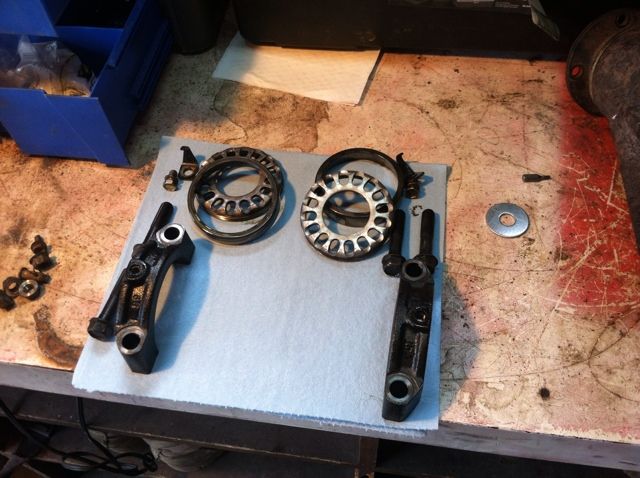
I used a shop towel to keep things organized:

CB318FA3-159C-44FB-A84C-50543BCCB4E6-54222-00000DC6E1C537D1_zpsd195b149.jpg~original


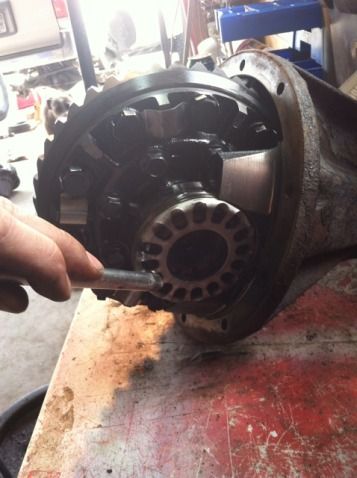
To remove the carrier you have to loosen the adjuster rings, this can be done with a screwdriver, punch, or just a 3/8 extension.

1F698734-06BC-4767-90A0-149F1C6FA126-54222-00000DC6E71B954D_zps9e9ec68d.jpg~original
 
Last edited:
It will take about one full turn to get them loose enough to be able to remove them. just lightly tap and it will turn. Place the adjuster rings and the outer races to the side Again keep the sides separated

559097FB-94B5-4770-A3CD-F2B99EE329CF-54222-00000DC6E925F3FB_zps8f85a0ad.jpg~original


Now with the carrier out, not all carriers will have this but it is a good way to remember how to put this thing back together.

4DD25C7C-367F-46B9-B6DD-435A3EDF5FE9-54222-00000DC70012731F_zpsb1b25139.jpg~original


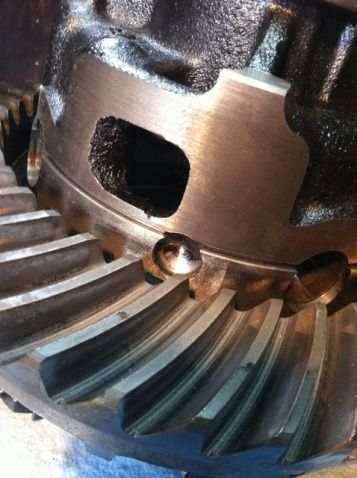
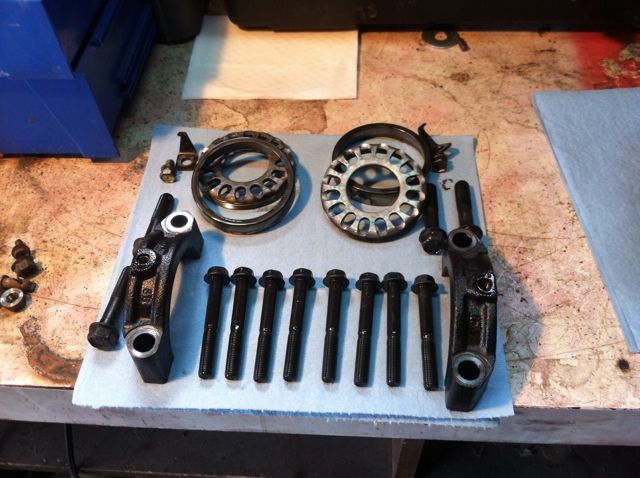
there will be two rows of bolts behind the ring gear. The ones that we need to loosen are the ones on the inner circle. There are 8 - 14mm bolts to remove. To remove these I used an impact, I only use impacts to remove bolts, Not to put them back in

5E752EDA-275F-40F5-A570-4EE676A2F53E-54222-00000DC6F1771CEE_zps4886ce12.jpg~original


this is what your shop towel should look like now:

51025357-07BB-4894-A07A-43CF19D2F32F-54222-00000DC6F3B50FE8_zps539ad782.jpg~original


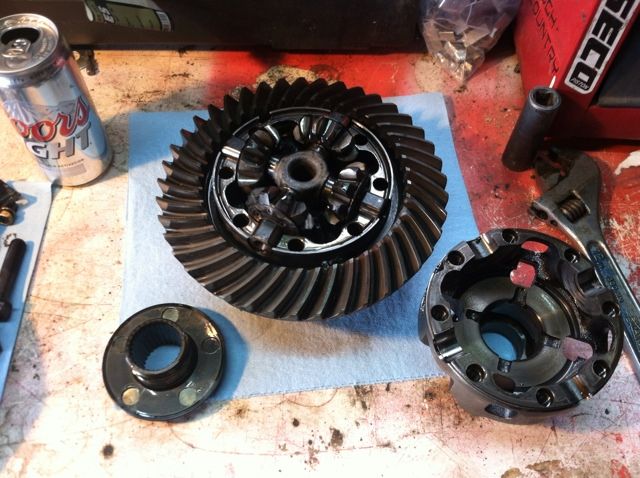
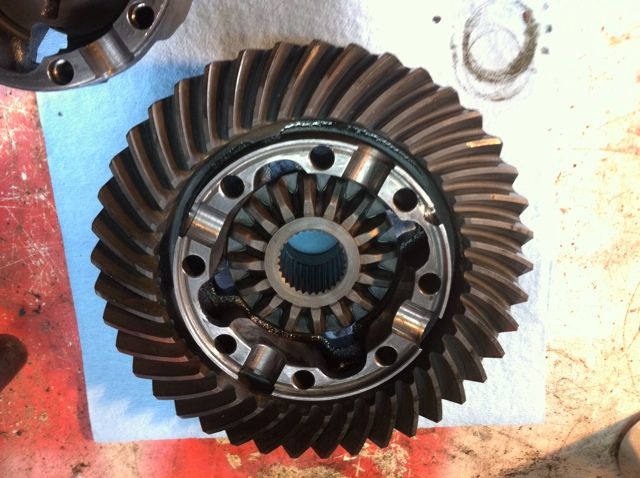
Flip over the carrier over, remove the now what is top piece (ring gear half should be on bottom. (You dont have to remove the side gear, I just did for this tutorial)

2B456D36-EB19-47B0-8AD7-19E2F0A74A63-54222-00000DC6F7CF175C_zpse43acb94.jpg~original


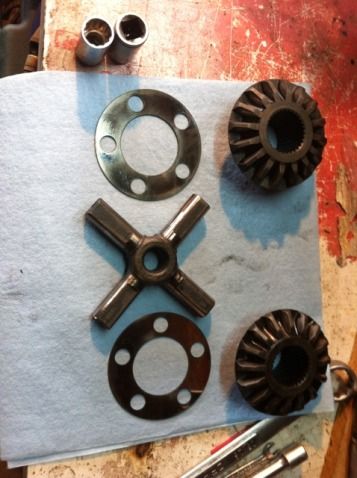
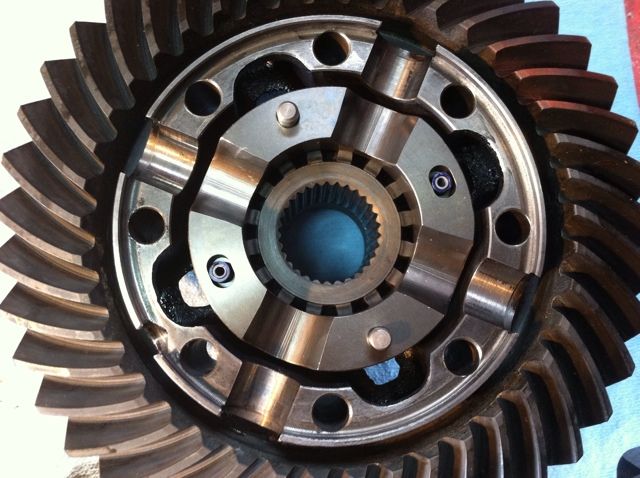
here is a close up of the spider gears. To remove them, just lift up on the "X" - center pin, and slide the spiders off. here how the carrier should look now:

7AEADB3D-0CFC-4B18-AF44-42E15F4441C0-54222-00000DC7024E4A81_zps277a089c.jpg~original


here is a picture of the side gears, thrust washers, and center pin.

F2FDF451-BB39-49DC-8CCB-1B5FD5E897EE-54222-00000DC6FC0CDF9B_zpsde418085.jpg~original


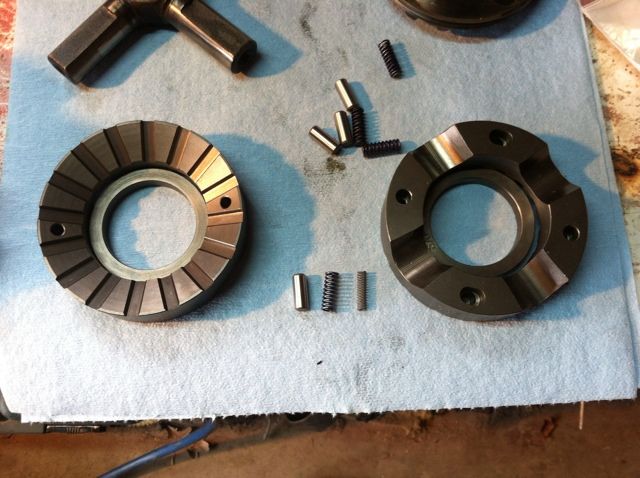
Now, lets get this locker installed :D This is everything that comes in the Lock-Right box:

A7B665AE-4F7A-49A4-AF8C-79827379770D-54222-00000DC70A1AB59B_zps5711e99f.jpg~original


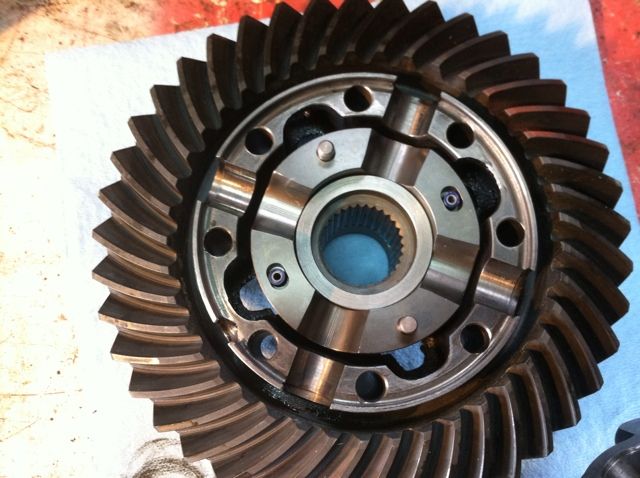
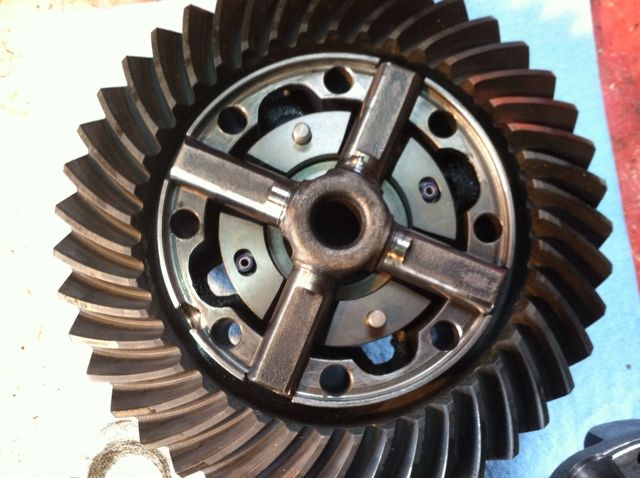
First you place one side in face down, make sure the valleys line up and the teeth mesh. Then place the gray spring in the blue spring, drop them in the slots that dont have holes going all the way through if you do the silver spring will fall all the way through and place the posts into the slots with the holes.

5DCBBD4C-8FC7-4713-9AED-52B66C3F0EAF-54222-00000DC707FE7810_zps70de4d61.jpg~original


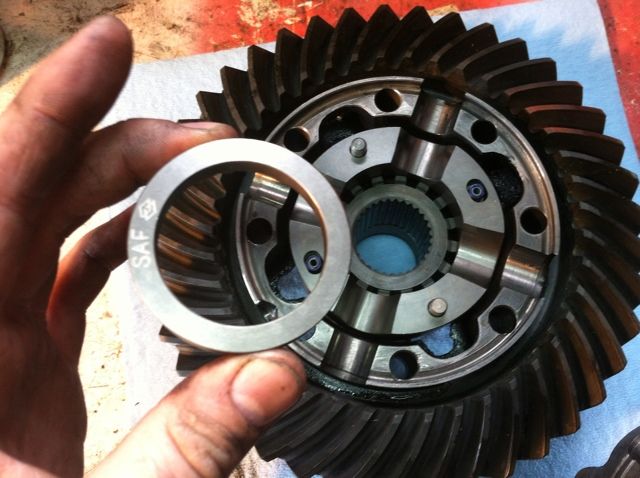
Then place the spacer in like so:

88081B82-4689-4752-A74B-8A448BAF570F-54222-00000DC70C0B53EC_zpsdadc3d36.jpg~original

2A43F21E-8929-4576-A66F-C68D5658C729-54222-00000DC70DD0071F_zps60dad14b.jpg~original


Place the center pin in like this:

AB5EDF50-2C62-4FAF-B2A3-3C04C03661FD-54222-00000DC70FBA923D_zps128a72f5.jpg~original


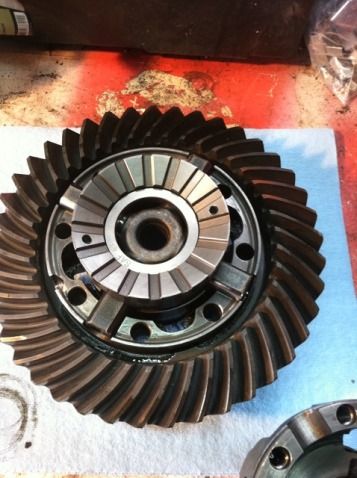
Put the pins and springs in the other side. I used a little bit of grease to hold the springs and pin in were as you have to turn it upside down to put it on. Place the spacer in the same position. I will look something like this:

5B3DD8AE-ABA6-498A-B488-0BA9891481F0-54222-00000DC7189DFCA6_zps2ea7746e.jpg~original


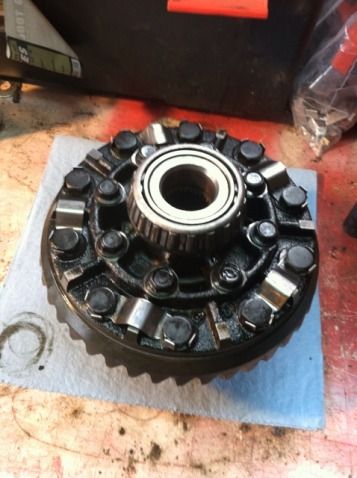
Now put the other half of the carrier on. make sure that the marks (if there) align and holding the whole thing together, flip it over so that you can see the bolt holes again. Place and hand tighten the bolts down, then torque in a star pattern. FSM does not have any torque requirements. I torqued them down as much as I felt comfortable with.

C9E08E59-9B34-4672-8A1A-E300ED587A36-54222-00000DC71AE23B9A_zps96c50dbd.jpg~original


Place the Outer Bearing Race's on each side and slide it back into the carrier, place the adjustment rings in place and put the bearing caps on. Hand tighten the bolds down so they are snug. Line up your marks on each side. (I then turned the adjuster cap on the ring gear side one full turn and lined up the markings. MAKE SURE THAT THE THREAD LINE UP!!!

F24E494A-69CF-4BEF-B3DD-1D860E27B1E3-54222-00000DC725AE50F8_zpsf419e790.jpg~original

2C1494EE-BD6D-49EE-B663-E780C4F6AB8E-54222-00000DC7276B1332_zps4207c018.jpg~original


Torque the bearing cap mounts down to 63 ft/lbs. install the adjuster ring retainers and torque to 9 ft/lbs. And then you are ready to reinstall the third

CB90CC88-ED08-4E1D-8B65-02450435FA02-54222-00000DC72991F619_zps78fd6347.jpg~original
 
Last edited:
I drove the studs in using two nuts that i pinched together, that way i was able to remove the nuts without the stud backing out.

242C86C8-C563-443B-91A6-88E21CEBBE60-54222-00000DC72F25AD36_zps179e645e.jpg~original


I use RTV. Generally I use Ultra Black but this time i went with "The Right Stuff" which sets up fast. This stuff is AWESOME!!! will always use this stuff :) (Thanks Konsta)

FB15ADCC-EB05-478F-AC04-BFD84C31890F-54222-00000DC73338BCC8_zpsdec32901.jpg~original


put the 3rd back into the housing. (kind of a pain honestly) and torqued the nuts down to 54 ft/lbs
(FYI e-locker nuts are only suppose to be torqued to 18 ft/lbs)

87731417-A0E0-44E9-90AA-E1CA22FF0E83-54222-00000DC7356B7FE1_zpsd0180dca.jpg~original


from here just follow the steps backward to installing the axle shafts. after you get the axle shafts in go ahead and fill the diff up. I used

Front - 75w-90
Rear - 75w-140

and just because I wanted to post this lol I am a small dude lol

8520BED0-86BC-4ADA-9667-3007EA280C3E-54222-00000DC73729D13E_zps34c4e74b.jpg~original


As for the operation of the locker. It is a pretty quiet locker. you will normally not hear it in the cab.

if you have your window down you can hear the ratcheting (clicking) going around corners. sometimes a loud bang. and you will notice when you press on the gas there is a slight jerk that sounds like a slam. it will be more prevalent in reverse as well.

THIS IS ALL NORMAL!!!

This is because if you look the center pin holes are slightly oval allowing the pin to move a bit this allows for when pressure is put on the pin it forces the two plates away from each other. When the power is gone it centers itself and allows the plates to ratchet.

The loud bang is when the locker engages or disengages under load.

Hope this helps some of you out there, and hope you enjoyed my write up :)
 
Last edited:
Very nice! You're gonna love that locker - that spot where you crossed up your axles and had to back up and use momentem to get through? That won't ever happen again. :)
 
Awesome write-up man! Definitely one of the best auto-locker install write-ups that I've seen. You ought to cut and paste that into it's own thread so it's more searchable.

I have no intention of ever installing one of those things, but I enjoyed the writeup all the same because I've never seen detailed pictures of a rear 3rd broken down like that. It was educational just to see the process. Also, your explaination of how the locker works w/the pins & oval holes was really helpful... before reading that I never had a good grasp of how these auto-lockers work. Nice work, great pics, and congrats on the upgrade!

Now that I think about it, reading this makes me wonder about putting one of those in my '97. Hmmmmmmmmmmmmmmmmm........
 
Last edited:
Awesome write-up man! Definitely one of the best auto-locker install write-ups that I've seen. You ought to cut and paste that into it's own thread so it's more searchable.

I have no intention of ever installing one of those things, but I enjoyed the writeup all the same because I've never seen detailed pictures of a rear 3rd broken down like that. It was educational just to see the process. Also, your explaination of how the locker works w/the pins & oval holes was really helpful... before reading that I never had a good grasp of how these auto-lockers work. Nice work, great pics, and congrats on the upgrade!

Now that I think about it, reading this makes me wonder about putting one of those in my '97. Hmmmmmmmmmmmmmmmmm........

thank you bud! coming from you that really means a lot!

glad that you have a better understand of the rear 3rd and how these auto lockers work :) I will post up a driving and perfromance review.

And that is a really good idea actually (I gotta go back through and make sure everything is good with spelling and grammar.)
 
I've learned that they're much more forgiving in an automatic. Manual + Spartan + tight turn under half throttle = JERK JERK JERK JERK.

Very impressive to those girls checking out my truck, I'm sure. :pound:
 

Members online

Forum statistics

Threads
278,307
Messages
3,554,053
Members
248,016
Latest member
Advally Service

Trending content

Back
Top