

Speedy
Member
So I know you guys have been doing this for years, but I needed a project to work on. Either my 2002 4Runner's headlights were getting old and dim, or I'm getting old and my night vision is suffering, or I got spoiled by the HID projectors in my other cars, or all three, so I started looking in to aux lighting to assist and came across the HID projector retrofit as an option. Seemed like TRS (The Retrofit Source) had a bundled kit you could put together and customize as you wanted, so that's what I did. TRS gets a thumbs up from me, I actually got a person on the phone when I called to ask a question and they were very knowledgeable and gave me a tip or two as well.
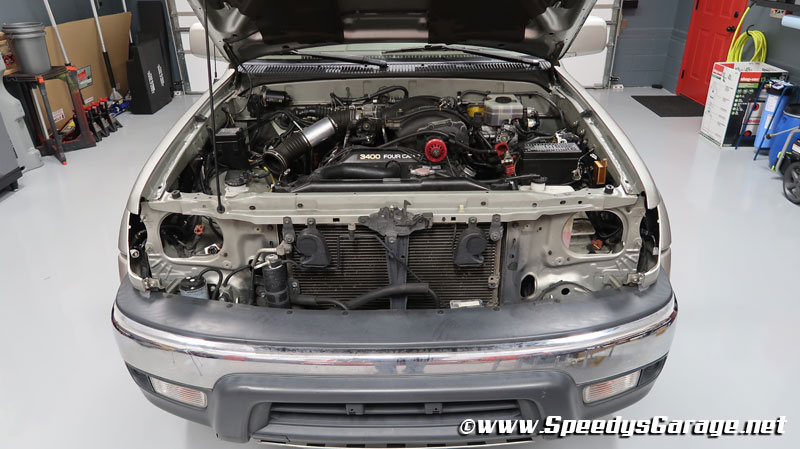
It's an INVOLVED project, but not technically difficult, just time consuming. I highly recommend a set of aftermarket headlights to work on while you keep the factory ones in the vehicle so you can drive it.
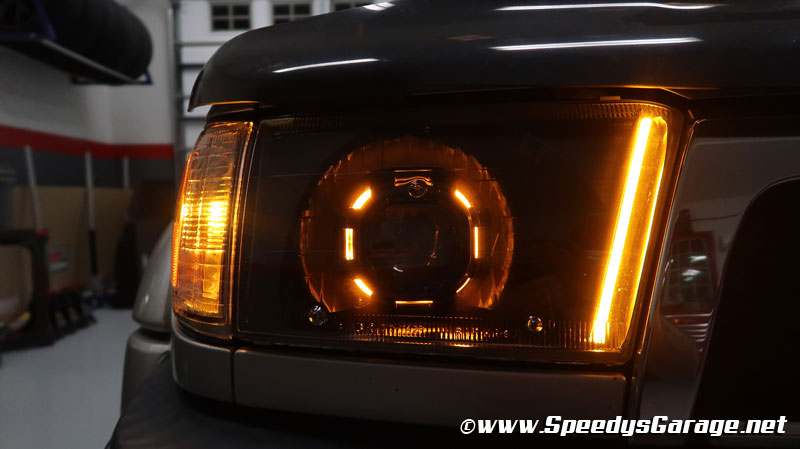
Results were dramatic and some of the best bang for the buck money I've spent on the 4Runner, but Mrs. Speedy wasn't real thrilled about me cooking car parts in her oven LOL. I also updated the Satoshi grill while I was at it.
Here's how mine came out. Part 1 of the video on my install is published, I'll post up Part 2 this upcoming weekend and will come back and add it to this thread for those that like that kinda stuff.
I never get tired of tinkering on the o'l 4Runner.....I may do a new rearview mirror with temp/compass/backup camera next to continue the modernization process.
<iframe width="560" height="315" src="https://www.youtube.com/embed/H_49i6JZreU" title="YouTube video player" frameborder="0" allow="accelerometer; autoplay; clipboard-write; encrypted-media; gyroscope; picture-in-picture; web-share" allowfullscreen></iframe>
<iframe width="560" height="315" src="https://www.youtube.com/embed/WGjkp2IlmZs" title="YouTube video player" frameborder="0" allow="accelerometer; autoplay; clipboard-write; encrypted-media; gyroscope; picture-in-picture; web-share" allowfullscreen></iframe>
<iframe width="560" height="315" src="https://www.youtube.com/embed/df-XvaK6c9Q" title="YouTube video player" frameborder="0" allow="accelerometer; autoplay; clipboard-write; encrypted-media; gyroscope; picture-in-picture; web-share" allowfullscreen></iframe>
Grill update bonus footage
<iframe width="560" height="315" src="https://www.youtube.com/embed/UIs60uMzulQ" title="YouTube video player" frameborder="0" allow="accelerometer; autoplay; clipboard-write; encrypted-media; gyroscope; picture-in-picture; web-share" allowfullscreen></iframe>
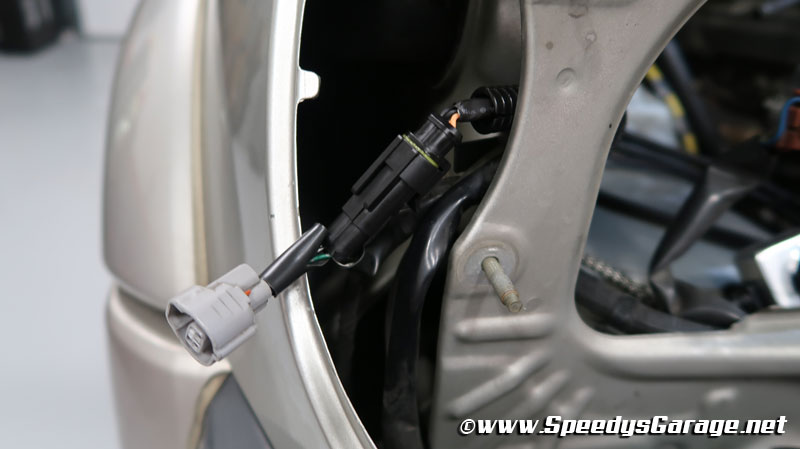
WeatherPak style connectors used for LED lighting. Cheap, easy, and durable.
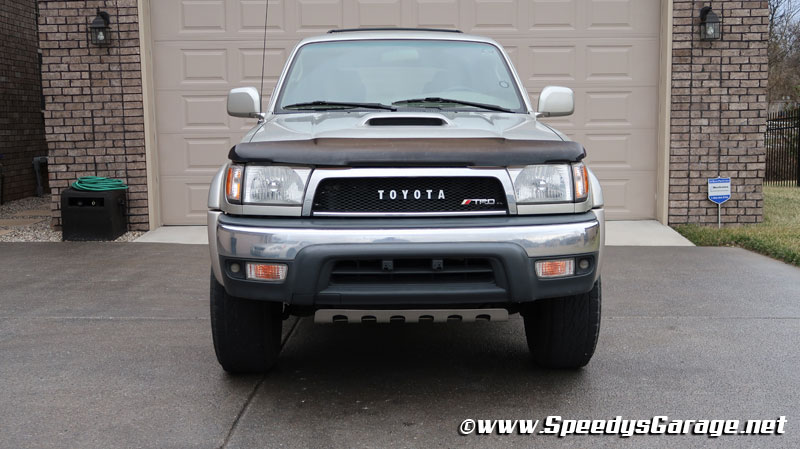
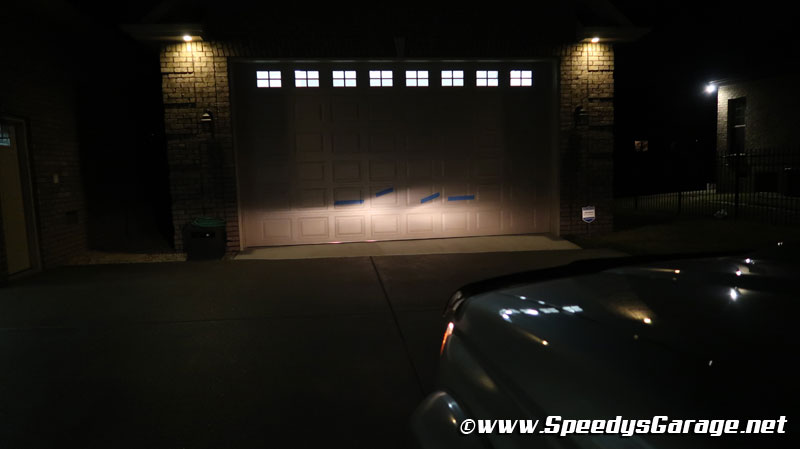
Before
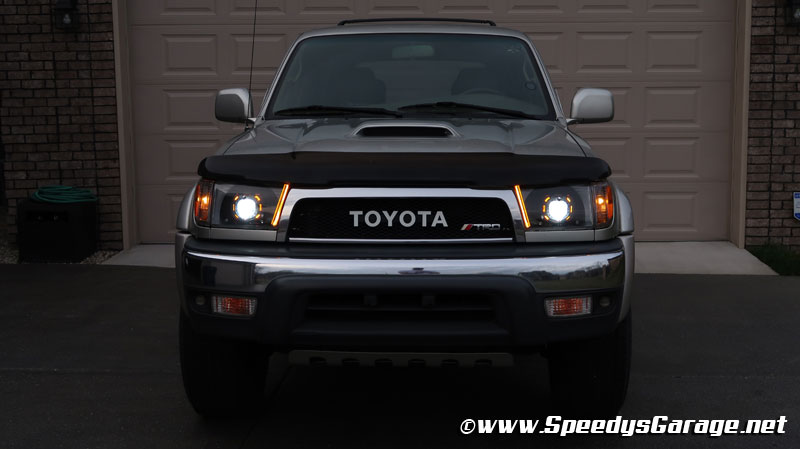
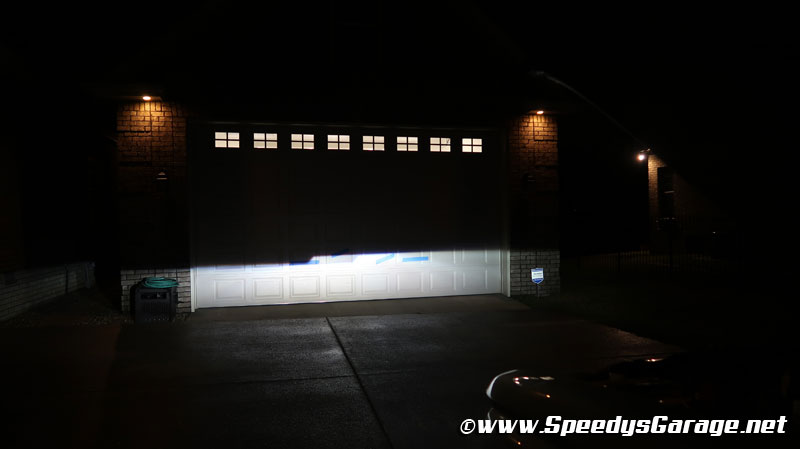
After
It's an INVOLVED project, but not technically difficult, just time consuming. I highly recommend a set of aftermarket headlights to work on while you keep the factory ones in the vehicle so you can drive it.
Results were dramatic and some of the best bang for the buck money I've spent on the 4Runner, but Mrs. Speedy wasn't real thrilled about me cooking car parts in her oven LOL. I also updated the Satoshi grill while I was at it.
Here's how mine came out. Part 1 of the video on my install is published, I'll post up Part 2 this upcoming weekend and will come back and add it to this thread for those that like that kinda stuff.
I never get tired of tinkering on the o'l 4Runner.....I may do a new rearview mirror with temp/compass/backup camera next to continue the modernization process.
<iframe width="560" height="315" src="https://www.youtube.com/embed/H_49i6JZreU" title="YouTube video player" frameborder="0" allow="accelerometer; autoplay; clipboard-write; encrypted-media; gyroscope; picture-in-picture; web-share" allowfullscreen></iframe>
<iframe width="560" height="315" src="https://www.youtube.com/embed/WGjkp2IlmZs" title="YouTube video player" frameborder="0" allow="accelerometer; autoplay; clipboard-write; encrypted-media; gyroscope; picture-in-picture; web-share" allowfullscreen></iframe>
<iframe width="560" height="315" src="https://www.youtube.com/embed/df-XvaK6c9Q" title="YouTube video player" frameborder="0" allow="accelerometer; autoplay; clipboard-write; encrypted-media; gyroscope; picture-in-picture; web-share" allowfullscreen></iframe>
Grill update bonus footage
<iframe width="560" height="315" src="https://www.youtube.com/embed/UIs60uMzulQ" title="YouTube video player" frameborder="0" allow="accelerometer; autoplay; clipboard-write; encrypted-media; gyroscope; picture-in-picture; web-share" allowfullscreen></iframe>
WeatherPak style connectors used for LED lighting. Cheap, easy, and durable.
Before
After
Last edited:


