
You are using an out of date browser. It may not display this or other websites correctly.
You should upgrade or use an alternative browser.
You should upgrade or use an alternative browser.
Stereo prep
- Thread starter tigger
- Start date
Register to hide this ad

MaliciousClout
New member
NICE. What do you have planned to install?
NICE. What do you have planned to install?
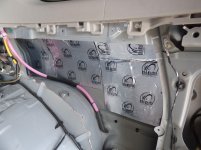
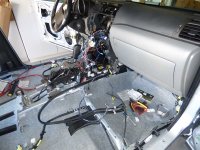
Currently pulling out all of the lower panels and flooring. Installing KnoKnoise 100 Mil CDL over all metal surfaces. Then putting down a layer of Radiant Barrier, then will cover everything with a layer of MLV.
Adding in a rear camera, Pioneer AVHX5700BHS, Alpine PDX400.4 amp, Alpine PDX600.1 amp, 2 pairs Boston Pro 6.5", and still working out the sub. Trying to build it into the cubby. Picked up an already fabed cover plate that fits the cubby. Came with an 8" Excelon sub. Will see if that works or if I need to move to a JL 8W3. Or scrap the idea and put in a 10" Alpine Type R DVC.
Oh, and cleaning a disastor of an interior. THe previous owner was a mudder and like to run trails with a lot of red dirt (guessing Sedona). Have spent countless hours cleaning mud and dirt from every nook and cranny and inside the frame and in the doors and... etc.
So what should be a very simple project is taking 10 times longer due to the amount of cleaning needed. The amount of mud in the door panels is crazy.
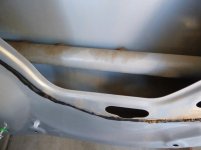
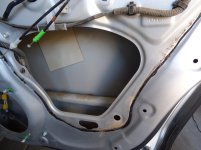
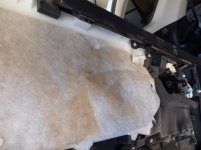
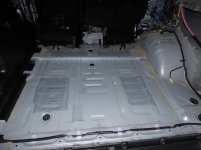
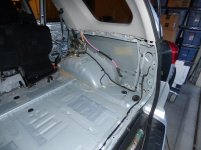
I didn't get nearly as far as I had hoped today, but here is the culmination of the last few days of work.
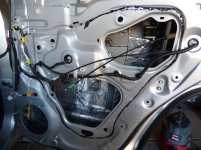
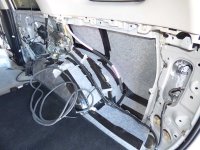
This is the cleanest of the doors. The only one that didn't require a scraper to get the mud out of the bottom.
I didn't get nearly as far as I had hoped today, but here is the culmination of the last few days of work.
This is the cleanest of the doors. The only one that didn't require a scraper to get the mud out of the bottom.
Attachments
Last edited:
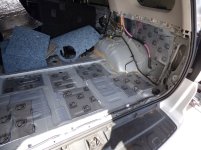
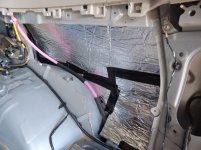
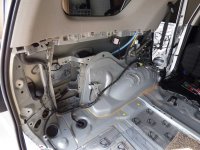
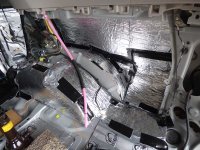
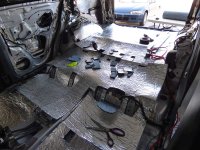
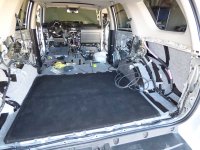
Using KnoKnoise as the dampner. Rated very highly for dampening ability.
Then covering with RadiantBarrier. Once the mass loaded vinyl arrives later this week, I will put a layer of that over everything and then I can start putting things back together.
Then covering with RadiantBarrier. Once the mass loaded vinyl arrives later this week, I will put a layer of that over everything and then I can start putting things back together.
Attachments
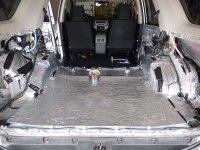
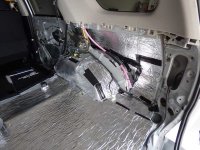
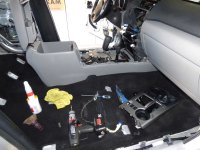
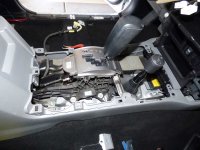
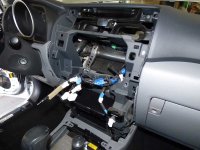
Tearing apart the interior can be very time consuming. Getting it back together in a few days after I have forgotten where the little parts go should be fun.
Attachments
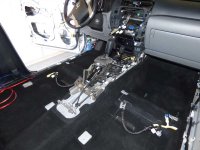
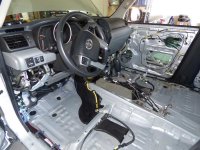
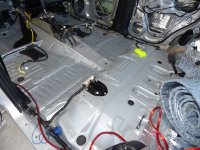
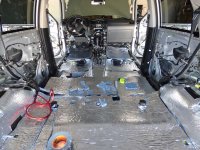
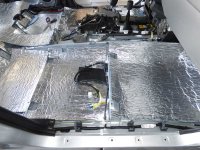
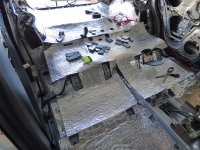
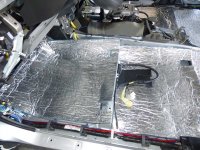
After I opened the Pioneer head unit to start wiring that, I found out that Amazon was kind enough to ship me a used unit. So back it goes and another big delay in this project. I am running out of time quickly.
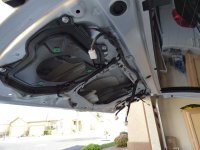
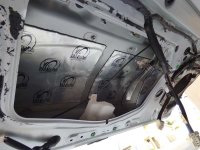
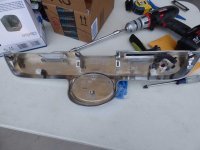
So I decided to work on the tailgate. Another 2 hours of cleaning.
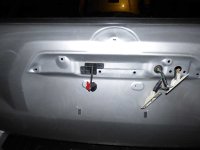
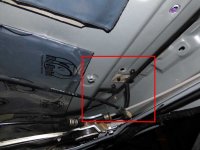
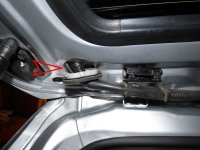
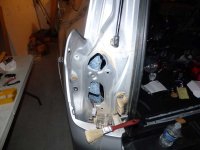
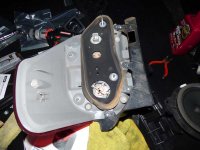
Decided to run the camera through the tailgate and into the Toy. Yea, that was fun... NOT.
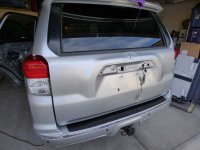
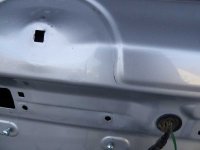
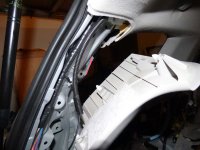
Also notice the paint damage from the rear handle.
Oh, and trying to open the tailgate when you have no power is really fun. Getting that stupid little cover off to reach the latch is a real pain.
So I decided to work on the tailgate. Another 2 hours of cleaning.
Decided to run the camera through the tailgate and into the Toy. Yea, that was fun... NOT.
Also notice the paint damage from the rear handle.
Oh, and trying to open the tailgate when you have no power is really fun. Getting that stupid little cover off to reach the latch is a real pain.
Attachments

flyinhawaiian01
New member
Hey Brian,
Forgot to tell you yesterday, my driver's rear door was actually filthier than your clean one in this thread! WAY dirtier!!!
I think its the way the door seals around the windows that allow everything to be washed down into the doors. Surprising though, Toyota didn't do a shield for the speakers, unless that plastic frame is supposed to be one!
Ended up having to clean the doors with alcohol to get my soundproofing stuff to stick this past weekend, now I'm thinking about doing those rear quarter panels! Sure looks like a hell of a lotta work...
Forgot to tell you yesterday, my driver's rear door was actually filthier than your clean one in this thread! WAY dirtier!!!
I think its the way the door seals around the windows that allow everything to be washed down into the doors. Surprising though, Toyota didn't do a shield for the speakers, unless that plastic frame is supposed to be one!
Ended up having to clean the doors with alcohol to get my soundproofing stuff to stick this past weekend, now I'm thinking about doing those rear quarter panels! Sure looks like a hell of a lotta work...
Hey Brian,
Forgot to tell you yesterday, my driver's rear door was actually filthier than your clean one in this thread! WAY dirtier!!!
I think its the way the door seals around the windows that allow everything to be washed down into the doors. Surprising though, Toyota didn't do a shield for the speakers, unless that plastic frame is supposed to be one!
Ended up having to clean the doors with alcohol to get my soundproofing stuff to stick this past weekend, now I'm thinking about doing those rear quarter panels! Sure looks like a hell of a lotta work...
They are a real pain. This was way more work than I planned on.
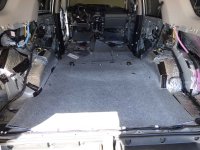
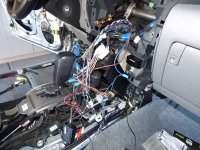
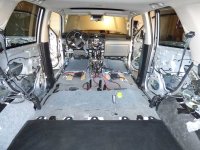
So it doesn't look like I have gotten very far and I sure don't feel like i have gotten very far. But I am making headway. All of the Radiant Barrier has been cut. All of the MLV has been cut. Stereo is hooked up and functioning, mostly. (Notice the simple 1 wire hook up :sobbing: ) Need to program a few of the steering wheel controls. Front speakers are mounted.
Attachments
Last edited:

Socal4RunnerTrail
New member
Yikes! Looks like a scary project! Can you do mine after lol:cheers:
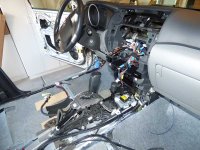
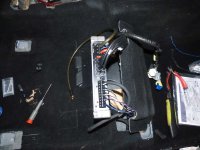
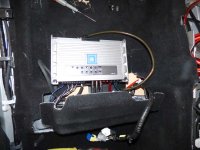
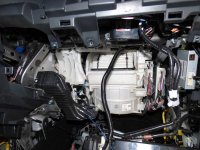
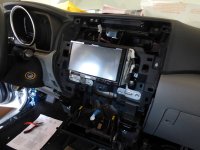
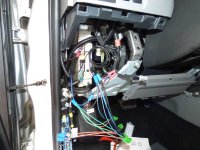
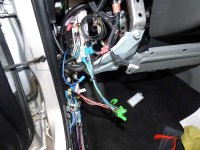
So cleaned up the rats nest a little. Not sure how all of this is supposed to fit behind the head unit but there is some room off to the right behind the glove box.
So the original plan was to rape the Honda for the stereo components for the Toy and put the smaller stuff in the Honda. Decided to hook up the new amp and see how it compared to the PDX series. I have to say I am very impressed. I didn't think this would be able to power the Boston's very well seeing as it is only 75 watts per channel and I am currently running them in the Honda bridged off of the PDX400.4 at 200 watts. I grabbed the Alpine 10" type R out of the Honda to test with this amp. In the Honda it is running off of the PDX 600.1. This little amp only puts out 350 at 2 ohms and has no problem running the sub. Will be interesting how it sounds with a smaller sub at 4 ohms and only 250 watts. For now, I will be running this in the Toy and not mess with ripping the amps out of the Honda.
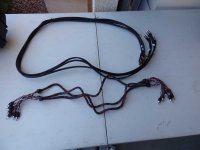
I have to order shorter RCA cables. The 6' are too long and even though these are a really nice set, they are just too thick to run in the car. I am replacing them with some V-12 Phantom Braid cables from T-Spec.
So the original plan was to rape the Honda for the stereo components for the Toy and put the smaller stuff in the Honda. Decided to hook up the new amp and see how it compared to the PDX series. I have to say I am very impressed. I didn't think this would be able to power the Boston's very well seeing as it is only 75 watts per channel and I am currently running them in the Honda bridged off of the PDX400.4 at 200 watts. I grabbed the Alpine 10" type R out of the Honda to test with this amp. In the Honda it is running off of the PDX 600.1. This little amp only puts out 350 at 2 ohms and has no problem running the sub. Will be interesting how it sounds with a smaller sub at 4 ohms and only 250 watts. For now, I will be running this in the Toy and not mess with ripping the amps out of the Honda.
I have to order shorter RCA cables. The 6' are too long and even though these are a really nice set, they are just too thick to run in the car. I am replacing them with some V-12 Phantom Braid cables from T-Spec.
Attachments
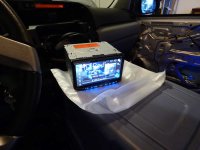
Testing out the mounts Crutchfield sent. They work for now. Will probably make something a little more solid at some point. I just need to get this thing back together soon.
Got the Boston Pros mounted in the front. Still need to pull the other pair of Bostons from the Honda and install the Polks.
Had to get creative with the foam on the tweeter. Seems the stock speaker is offset a little.
Got the Boston Pros mounted in the front. Still need to pull the other pair of Bostons from the Honda and install the Polks.
Had to get creative with the foam on the tweeter. Seems the stock speaker is offset a little.
Attachments
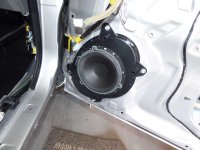
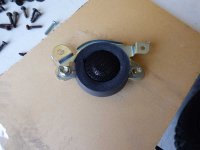
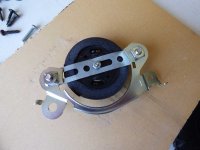
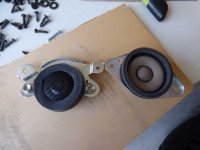
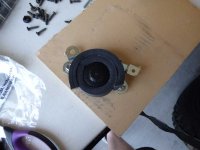
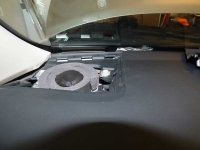
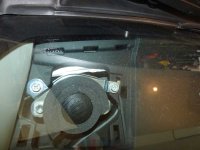
Crossovers were a pain. Should have bought all new wire, but no, I had to use what I could scrounge from old installs. Nothing matches. But it works.
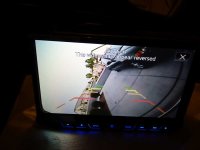
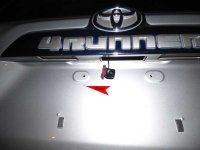
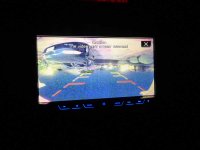
Tested the head unit out. Works pretty well. Got the reverse camera working (even though it looks like the Toy tipped over). Need to do some testing on the correct positioning of the camera.
My garage is fairly short and there are built in's along the walls so the Toy just fits. I have to use a towel on the tailgate when I open it as it hits the stucco on the house. What I didn't realize one day is that the camera had moved and was jammed sideways between the tailgate and the house. (I had the garnish off at the time) The mount was pressed against the paint and as I was in and out of the toy, it scratched all of the way through the paint to the metal. Always something.
Tested the head unit out. Works pretty well. Got the reverse camera working (even though it looks like the Toy tipped over). Need to do some testing on the correct positioning of the camera.
My garage is fairly short and there are built in's along the walls so the Toy just fits. I have to use a towel on the tailgate when I open it as it hits the stucco on the house. What I didn't realize one day is that the camera had moved and was jammed sideways between the tailgate and the house. (I had the garnish off at the time) The mount was pressed against the paint and as I was in and out of the toy, it scratched all of the way through the paint to the metal. Always something.
Attachments
Last edited:
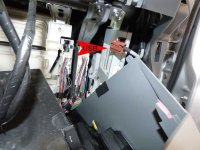
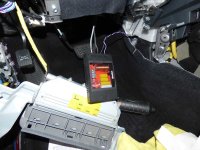
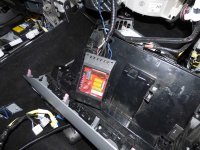
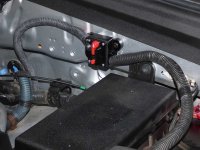
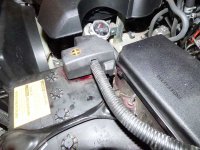
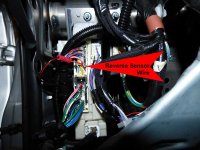
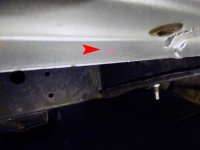
Got the power hooked up. Used a 100 amp breaker. Also, here is the location of the Reverse Sensing Wire on 5th gen in case someone needs a visual reference. (I really needed one)
Once it got dark, I decided to pull the tail lights off and clean behind them. The red dirt is never ending on this beast.
Once it got dark, I decided to pull the tail lights off and clean behind them. The red dirt is never ending on this beast.
Attachments
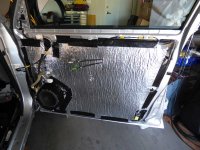
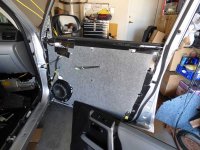
It was another day from hell. Anything that can go wrong is going wrong. Got the radiant-barrier installed on the door, then installed the MVL. Could not get the door panel on. Pulled off every piece of the panel that I could but still couldn't make it work. Just too thick. So pulled it apart and went on the hunt for some thin Closed Cell Foam. After striking out at Home Depot, I found some flooring underlayment at Lowes. So all of the hours spent cutting and fitting the radiant barrier wasted.
Got all of the doors put together and finished up the hatch. The mailman delivered the new RCA cables. A little thinner, shorter and easier to work with. Only one problem, they are 6" too short. So off to Best Buy. They only have 3' or 17' in mobile audio RCA cables. So I pick up 3 sets of 4' RocketFish home theater cables. Right length but back to the really thick cables. Oh well, tired of messing with it. And now I have $80 in RCA cables that I can't use.
I decide that I don't want to use the crappy plastic supports that come with the faceplate, so just bolt the metal ones back on. Unfortunately the stereo won't line up with the face plate. It's a little to high and too far forward. So I try the plastic ones and there is just no easy way to make them work and trying to program the steering wheel interface. And they are just too flimsy. So I spend the next two hours fitting and adjusting and drilling holes in the metal brackets and finally get everything to line up. So I hook up all of the wires, jam everything behind the head unit and fire it up. Sound is pretty good. Steering wheel buttons all work except for the voice activation, which I knew wouldn't. Then I press on the brake to move into reverse and the stereo goes out. I let off the brake and then it comes back on. I try it again, same thing. Crap, where's the short. No short, battery is dead. Throw the charger on and try again. Stereo stays on this time, but now we have a new problem. The text on the display for the camera is wrong. It should say image may be inverted because the idiot installer put it in upside down. GRRRRRRRR. I don't think there is enough cable to flip it over so will probably have to pull the hatch apart to get a couple inches of play. And for some reason, the head unit doesn't dim with the lights. One more thing to troubleshoot.
Got all of the doors put together and finished up the hatch. The mailman delivered the new RCA cables. A little thinner, shorter and easier to work with. Only one problem, they are 6" too short. So off to Best Buy. They only have 3' or 17' in mobile audio RCA cables. So I pick up 3 sets of 4' RocketFish home theater cables. Right length but back to the really thick cables. Oh well, tired of messing with it. And now I have $80 in RCA cables that I can't use.
I decide that I don't want to use the crappy plastic supports that come with the faceplate, so just bolt the metal ones back on. Unfortunately the stereo won't line up with the face plate. It's a little to high and too far forward. So I try the plastic ones and there is just no easy way to make them work and trying to program the steering wheel interface. And they are just too flimsy. So I spend the next two hours fitting and adjusting and drilling holes in the metal brackets and finally get everything to line up. So I hook up all of the wires, jam everything behind the head unit and fire it up. Sound is pretty good. Steering wheel buttons all work except for the voice activation, which I knew wouldn't. Then I press on the brake to move into reverse and the stereo goes out. I let off the brake and then it comes back on. I try it again, same thing. Crap, where's the short. No short, battery is dead. Throw the charger on and try again. Stereo stays on this time, but now we have a new problem. The text on the display for the camera is wrong. It should say image may be inverted because the idiot installer put it in upside down. GRRRRRRRR. I don't think there is enough cable to flip it over so will probably have to pull the hatch apart to get a couple inches of play. And for some reason, the head unit doesn't dim with the lights. One more thing to troubleshoot.
Attachments
Last edited:
So by now it's really late, too dark to see and the noise is probably bothering the neighbors, so I decide to jump on another project in the garage since I don't have enough going on as it is.
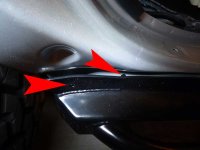
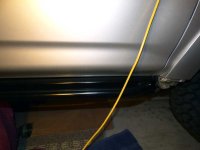
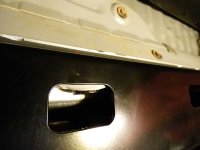
Let's break out the sliders and get the holes drilled for them. So the instructions say that the rear upper hole will line up with a hole in the body that the rocker panel used. Uhmmmm, I don't think so. Off by about 4 inches. Maybe a Trail has a hole there.
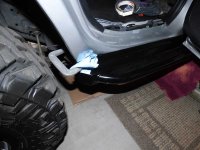
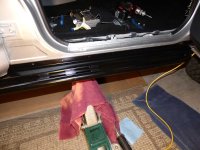
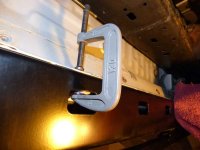
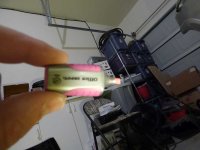
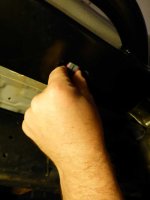
So I jack it up against the body, and clamp off the rear. At the front you have to clamp through one of the windows against the pinch seam. Problem is that I don't have a clamp that will work that way. I decide to use a socket as a spacer, but it rolled down the slider. I retrieved it and slapped some duct tape on it to keep it in place. You only have about 2" to work with to mark the holes on the pinch seam. After looking through the normal stuff to mark with, I remember that i have a mini highlighter that might work. Sure enough, it's just small enough to fit in there.
So I get the holes marked, and start drilling. Get all of the holes on the pinch seam drilled but my hand is starting to get pretty sore. After reading the thread on the RED sliders, I had decided to use the rivet nuts and bolts to do the upper part instead of the supplied rivets. This way I can pull it off to clean behind it. I start drilling the upper holes, go through no problem, and then wait, damn, second layer. Get through that and, crap, third layer. There is a lot of metal on that section. I get about 4 of the upper holes drilled and tink, there goes a piece of the bit. But it's still cutting away a little so I keep at it. Can't get through the third layer, so move to the next hole. Get through the outer skin, but then get stuck on the second layer. Bit is just to dull.
Pull out one of the rivet nuts,fits fine in the first 4 holes, but we have a problem on the fifth. I had ordered the small flanged rivet nuts and while trying to get through the third layer on that hole, I wallowed the hole a little to much so the rivet nut goes all of the way through. So now I have to send them back, and wait for the standard flange replacements to arrive. Not sure what I am going to do on that hole. Hopefully I can get the nut compressed enough to keep from spinning when putting the bolt in. Fortunately these aren't major support bolts so as long as I can get it in fairly tight with some loctite, I should be OK.
So I need to pick up a new drill bit and wait a couple days for the swelling to go down in my hands, then I can finish drilling the holes.
The good news is that the suspension has shipped so I can start that project as well next week.
I really should pay someone to install this stuff for me, but then you wouldn't have these wonderful stories to make you laugh at me :tinfoil3:
Let's break out the sliders and get the holes drilled for them. So the instructions say that the rear upper hole will line up with a hole in the body that the rocker panel used. Uhmmmm, I don't think so. Off by about 4 inches. Maybe a Trail has a hole there.
So I jack it up against the body, and clamp off the rear. At the front you have to clamp through one of the windows against the pinch seam. Problem is that I don't have a clamp that will work that way. I decide to use a socket as a spacer, but it rolled down the slider. I retrieved it and slapped some duct tape on it to keep it in place. You only have about 2" to work with to mark the holes on the pinch seam. After looking through the normal stuff to mark with, I remember that i have a mini highlighter that might work. Sure enough, it's just small enough to fit in there.
So I get the holes marked, and start drilling. Get all of the holes on the pinch seam drilled but my hand is starting to get pretty sore. After reading the thread on the RED sliders, I had decided to use the rivet nuts and bolts to do the upper part instead of the supplied rivets. This way I can pull it off to clean behind it. I start drilling the upper holes, go through no problem, and then wait, damn, second layer. Get through that and, crap, third layer. There is a lot of metal on that section. I get about 4 of the upper holes drilled and tink, there goes a piece of the bit. But it's still cutting away a little so I keep at it. Can't get through the third layer, so move to the next hole. Get through the outer skin, but then get stuck on the second layer. Bit is just to dull.
Pull out one of the rivet nuts,fits fine in the first 4 holes, but we have a problem on the fifth. I had ordered the small flanged rivet nuts and while trying to get through the third layer on that hole, I wallowed the hole a little to much so the rivet nut goes all of the way through. So now I have to send them back, and wait for the standard flange replacements to arrive. Not sure what I am going to do on that hole. Hopefully I can get the nut compressed enough to keep from spinning when putting the bolt in. Fortunately these aren't major support bolts so as long as I can get it in fairly tight with some loctite, I should be OK.
So I need to pick up a new drill bit and wait a couple days for the swelling to go down in my hands, then I can finish drilling the holes.
The good news is that the suspension has shipped so I can start that project as well next week.
I really should pay someone to install this stuff for me, but then you wouldn't have these wonderful stories to make you laugh at me :tinfoil3:
Attachments
Last edited:
So I have given up on the sub in the storage cubby for now. Can't find anyone that will build one for less than $500 which is crazy for something this small. So I might just have to learn how to work with fiberglass this summer.
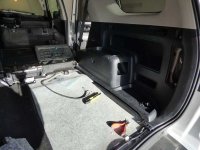
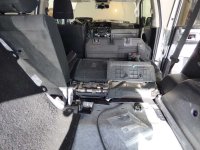
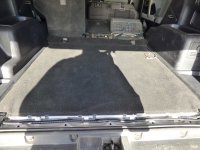
Started putting the rest of the interior back in. That radiant barrier makes it a real bear to fit the panels in. And not everything fits right. The separator piece between the back seat and rear carpet won't lay flat. And I can't put the feet covers back on the seats. Will have to see if I can live with the little issues.
Still need to finish balancing the levels on the amp and programming the steering wheel control then I can put the passenger seat back in and finish the dash. Everything will be wrapped up by Monday.
Still need to pick out speakers for the rear and hatch. Thought the stock ones would do for now but they just sound so flat.
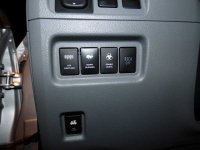
Got the switches installed. Now to get some lights and compressor to hook them up to.
Took it for a drive today just to put on some miles to settle the suspension. It is really quiet at low speeds. But once I hit highway speeds, it is really quiet from the windows down, but sounds like a jet engine above me. That roof rack and light bar are crazy loud. Not sure what to do there. Really like the way it looks, but may have to scrap that part of the project. Will try to create a new fairing and see if that helps, but not counting on it.
Will post up a few more pics by Monday night of the completed project.
Started putting the rest of the interior back in. That radiant barrier makes it a real bear to fit the panels in. And not everything fits right. The separator piece between the back seat and rear carpet won't lay flat. And I can't put the feet covers back on the seats. Will have to see if I can live with the little issues.
Still need to finish balancing the levels on the amp and programming the steering wheel control then I can put the passenger seat back in and finish the dash. Everything will be wrapped up by Monday.
Still need to pick out speakers for the rear and hatch. Thought the stock ones would do for now but they just sound so flat.
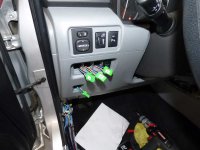
Got the switches installed. Now to get some lights and compressor to hook them up to.
Took it for a drive today just to put on some miles to settle the suspension. It is really quiet at low speeds. But once I hit highway speeds, it is really quiet from the windows down, but sounds like a jet engine above me. That roof rack and light bar are crazy loud. Not sure what to do there. Really like the way it looks, but may have to scrap that part of the project. Will try to create a new fairing and see if that helps, but not counting on it.
Will post up a few more pics by Monday night of the completed project.
Attachments
Last edited:
Similar threads
- Replies
- 2
- Views
- 843

- Replies
- 1
- Views
- 942

- Replies
- 2
- Views
- 2K


