Strut hat design

cspicer

New member
Hey guys.

I'm looking to install a set of Tacoma TRD coils up front and purchased new top hats to install in my 2006 T4R.

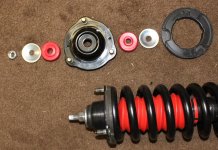
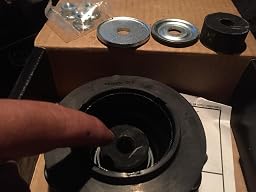
One top hat arrived like the picture below:

kysm5640_is


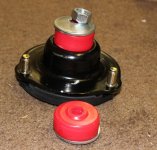
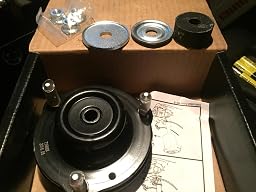
The other one was the same with the additional top hat bushing like below:
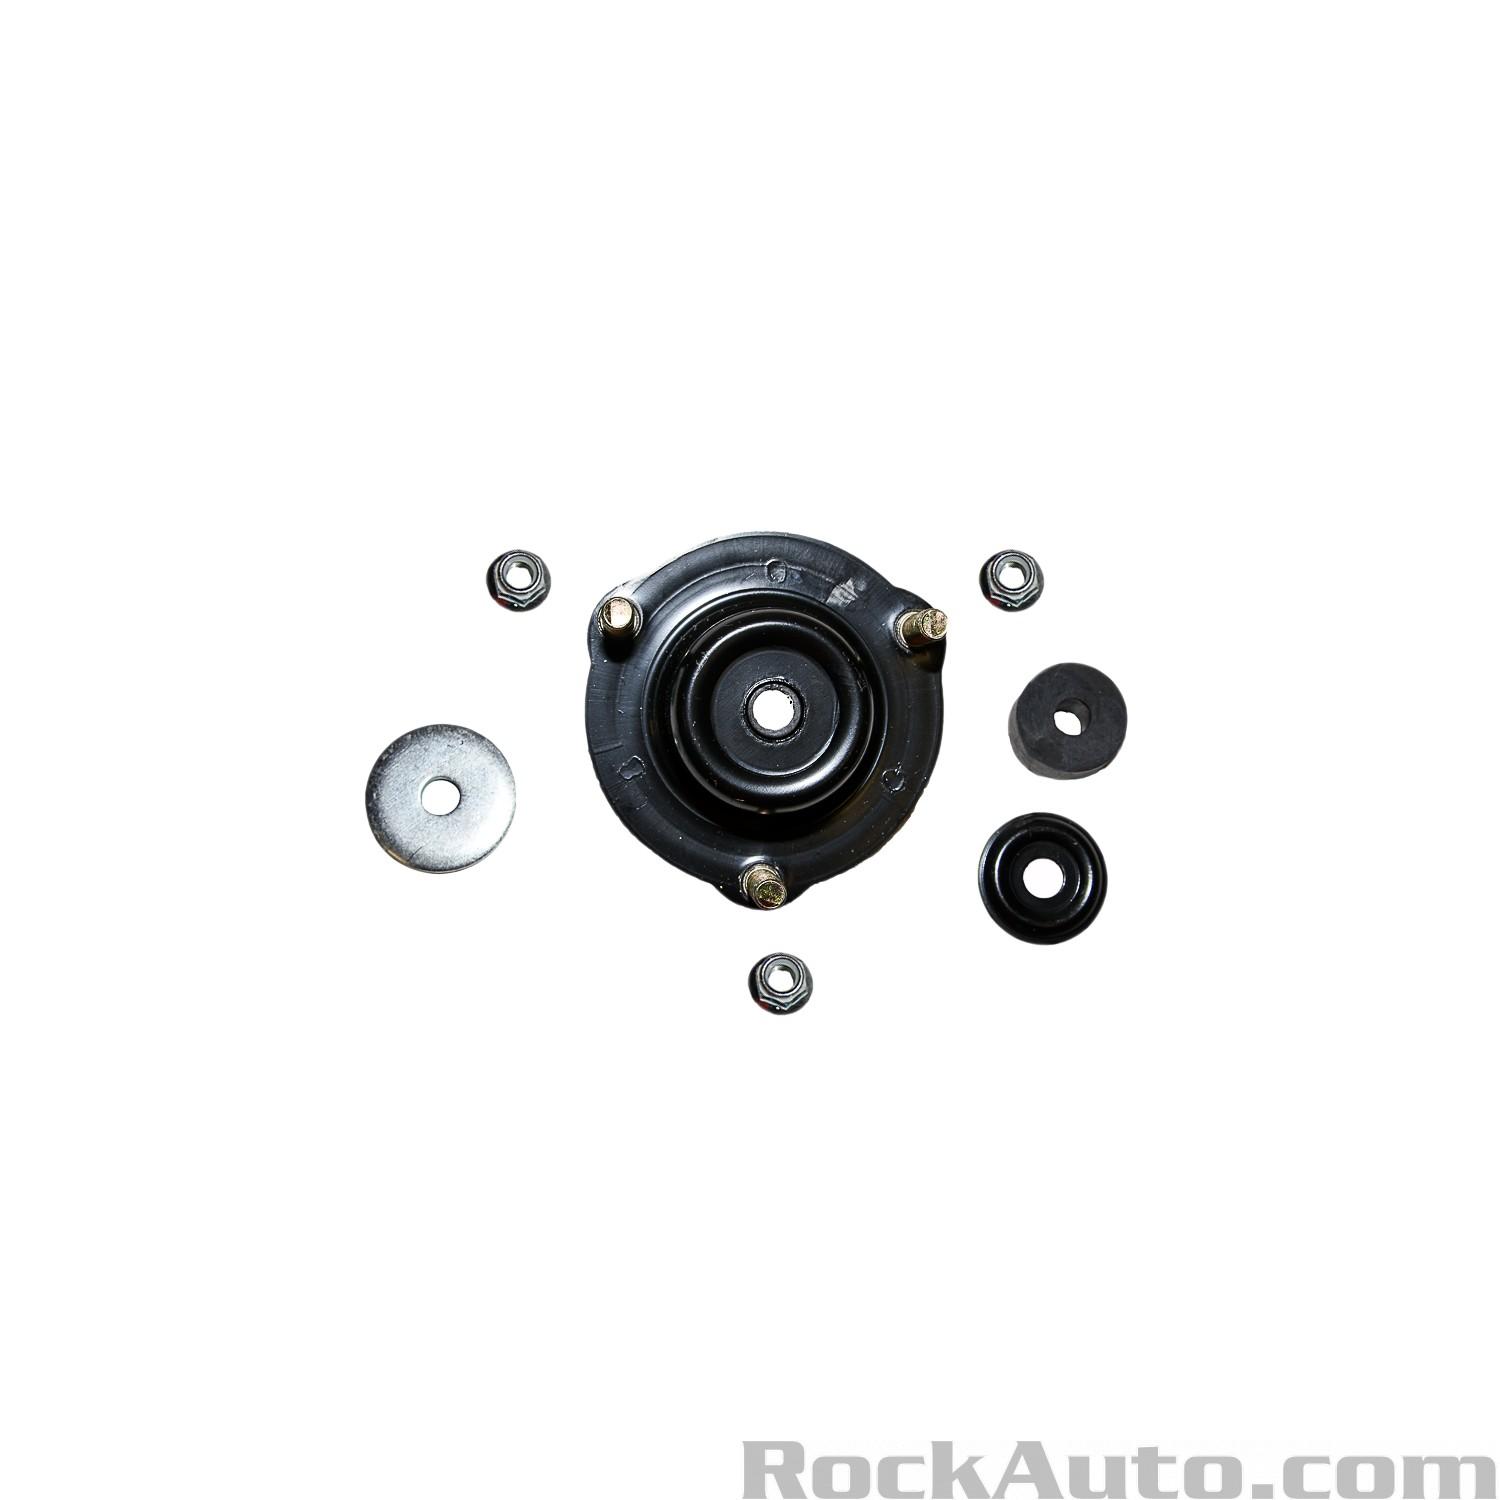
143383_TOP.jpg


I've discussed with both RockAuto and Moog and they assured me the first example will work to assemble, but I'm skeptical how this can assemble without properly securing the strut body.

I'm more from the Jeep world so trying to more understand this strut assembly. I can't seem to find any references or diagrams which explain you can assemble without the other top bushing.

Thoughts?
 
Register to hide this ad
OEM doesnt have rubber between the top hat and the frame.

I don't see the need to change these as there isnt a bearing like other designs.

The strut is secured on both sides so I'm not sure how you are looking at it. The top of the strut bolts through the center and has a shoulder to keep it from goinng through. then the tophat is bolted to the frame.
 
i cant tell if that rubber bushing goes above the spring under the hat or if its meant to go on top of the hat under the frame bucket. if its the latter then its not needed.
 
i cant tell if that rubber bushing goes above the spring under the hat or if its meant to go on top of the hat under the frame bucket. if its the latter then its not needed.

How do you reckon? The parts diagram from Toyota shows an additional bushing above the hat including a rubber bushing that goes above the spring under the hat.

The TRD coils and struts didn't come assembled.

The attached link indicates the upper bushing requirement listed as part #7.

2006 Toyota 4Runner Suspension Parts struts & components parts - OEM Toyota Parts
 
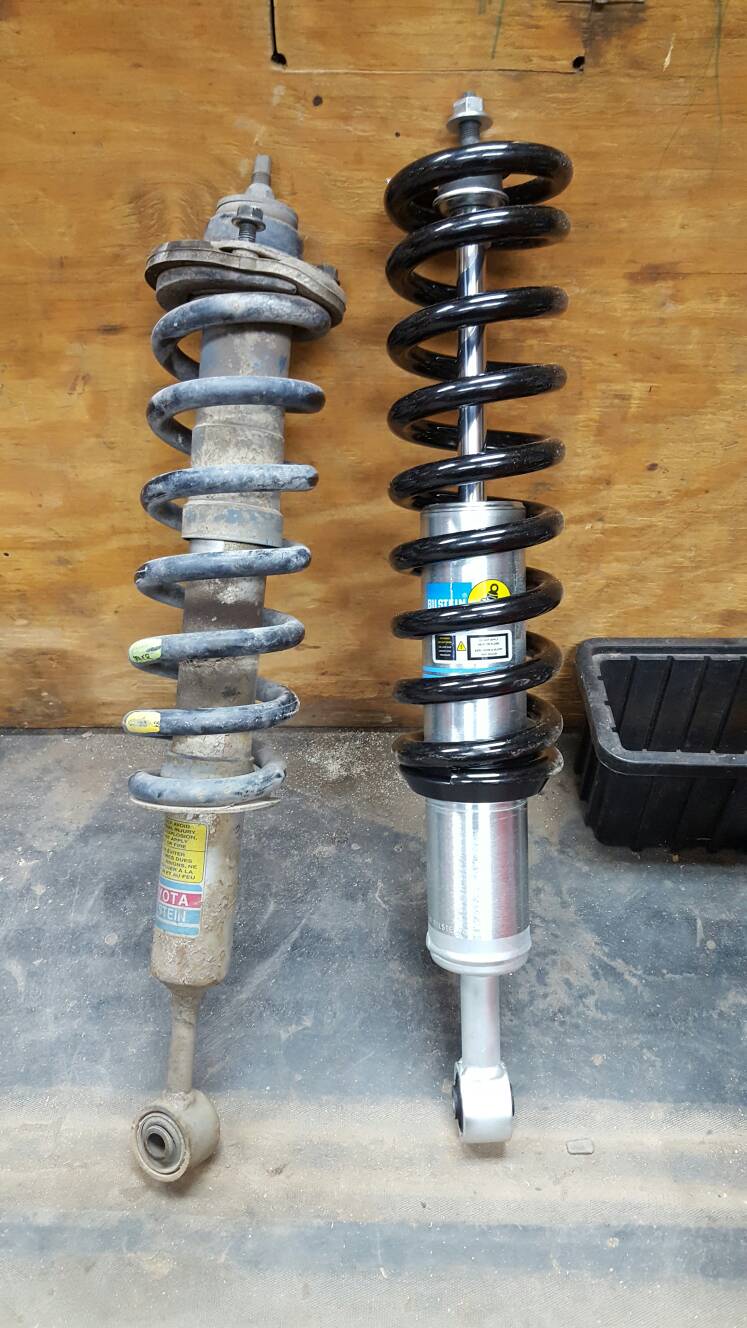
I hope these pics help, found them on my phone from the 6112 install project.

20161227_055802.jpg

c5a116c639df9976d5344e1323030d26.jpg


Sent from my SM-G920V using Tapatalk
 

Attachments

  • 20161227_055802.jpg
    20161227_055802.jpg
    68.4 KB · Views: 967
Couple more for you visual types.
 

Attachments

  • IMG_5778.jpg
    IMG_5778.jpg
    92.3 KB · Views: 1,058
  • IMG_5779.jpg
    IMG_5779.jpg
    104.6 KB · Views: 1,032
So this is what both top hat assemblies came like.

8VfbUj1.jpg


Rockauto is saying that the extra bushing is not neccesary, but when installed it should look like this.

dfQSJCk.jpg


Here is that same setup, but now the single bushing is swapped to the top. That doesn't seem right at all because the locking nut will never compress the bushing and then there is metal on metal contact within the top hat.

Fxllr6h.jpg
 
I cant see any difference in your 2 pics.
You should have 4 washers and 4 rubber bushings, 2 per strut.
To assemble them...take strut, install large washer(cupped up), bushing, tophat, bushing, then washer(cupped down) and the locknut.
Some of these have a sleeve that goes in the center of the bushings to prevent the strut shaft from contacting the tophat.
 

Members online

Forum statistics

Threads
278,309
Messages
3,554,066
Members
248,016
Latest member
Advally Service

Trending content

Back
Top