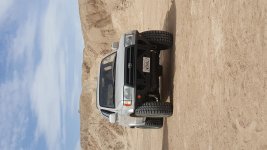
Tell us about your aftermarket front bumper installation.

Road Bull

Senior Member
After installing my own Shrockworks front bumper, I began to wonder how some of the different bumpers varied in installation.

It seems that most that I have read about involve cutting the flanges off the front portion of the frame and a bit of welding, while others make it sound as if they just bolt on.

I know it doesn't happen often, but do people trade out one aftermarket bumper for another? Does cutting the flanges off the front portion of the frame negate being able to use bumpers that rely on using that hardware?

I have been considering another design that does not have full hoops that are as close to the grill and body. I was wondering if most aftermarket bumpers have you remove these flanges, thus, being able to swap out one bumper for another.

So...

What aftermarket bumper did you go with and why?

What modifications did you have to do to install your bumper? Cutting? Welding?

How did installation go?

Did you have it powder coated, did you rattle can it, bed liner, or use another finish option? How is it holding up?

Are you happy with your bumper, or would you go with something else next time?

Thanks all!
 
Last edited:
Register to hide this ad
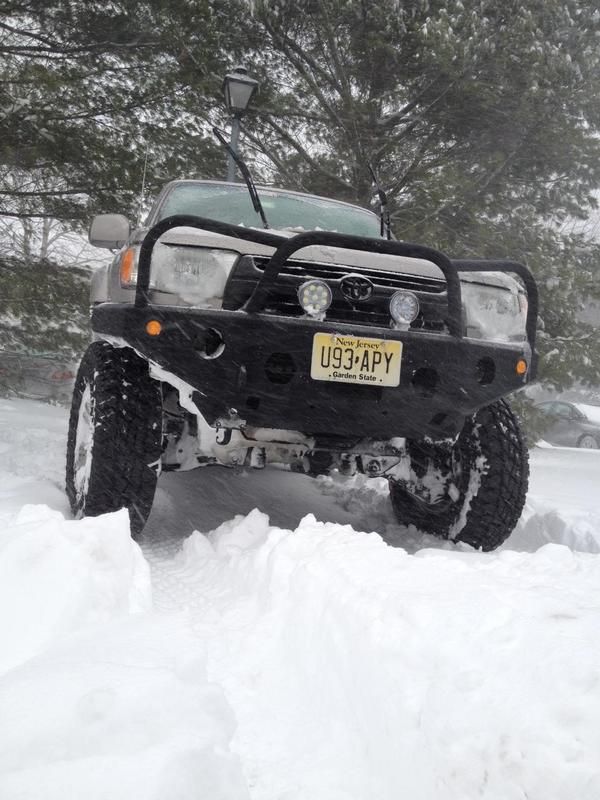
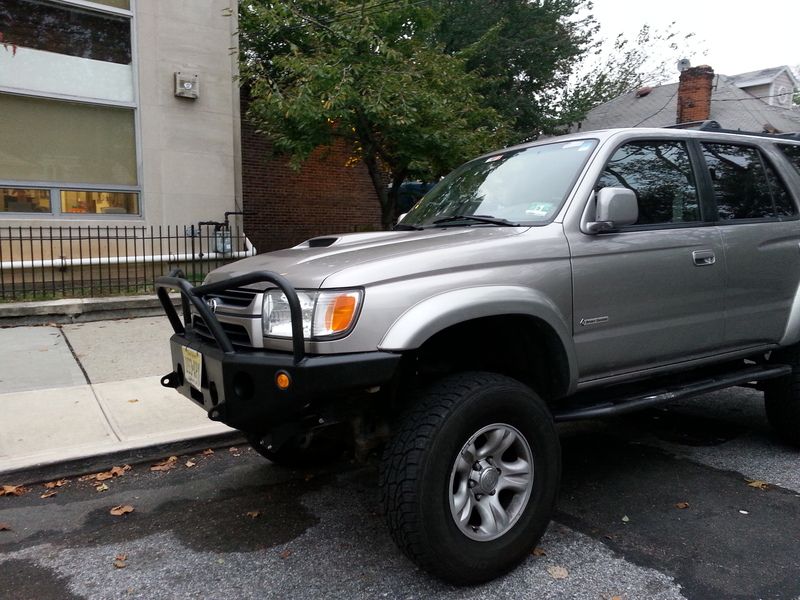
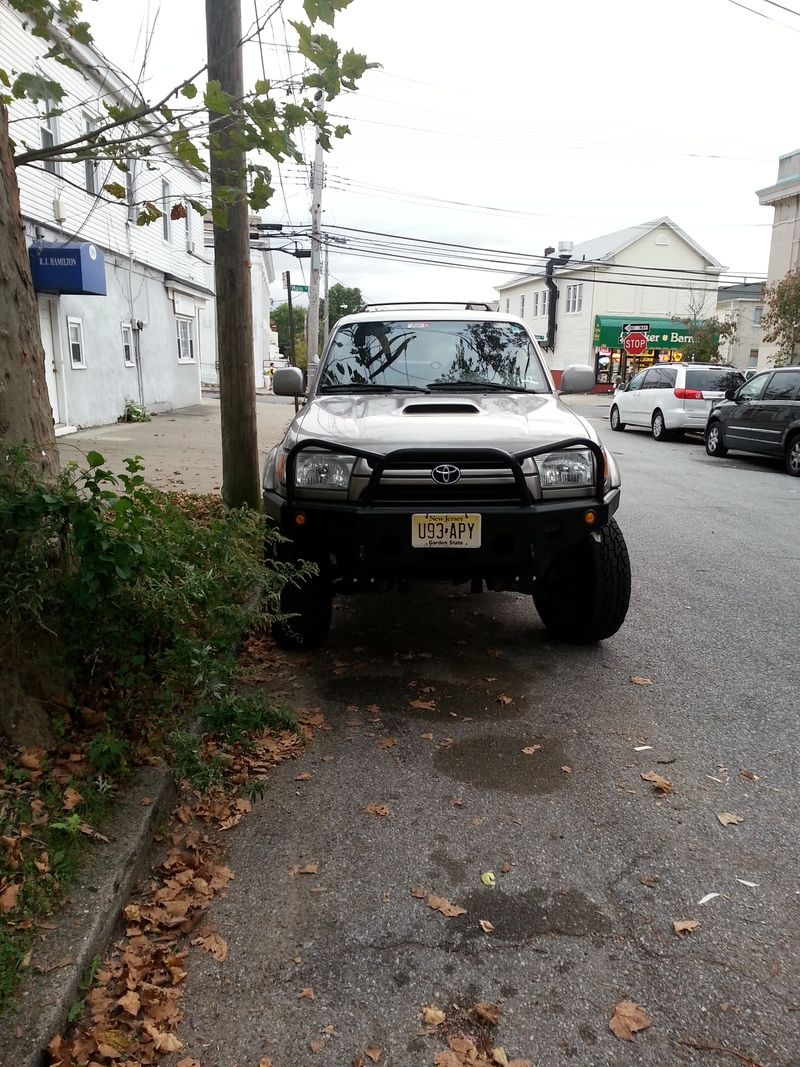
My 4xinnovations bumper bolted up, no modification needed. Getting the holes perfectly aligned required some use of a jack but other then that pretty easy.
IMG_5857_zps3o59do3a.jpg~original

IMG_20131010_180114_zpsr8vrzvnb.jpg~original

IMG_20131009_180316_zpsezkqtqqg.jpg~original
 
the ones where cutting is required will be stronger, the flange on the front of the frame is a joke. of the aftermarket mounts my favorite is the addicted offroad. that being said the mount I made for my bumper is nice because i can put the bumper on then bolt it up afterwards without using jacks or two people.
 
I mounted my Addicted Offroad bumper yesterday. I didn't realize I would be cutting the front flanges off and drilling two holes in the frame, but it wasn't a big deal. However it would've been good information to have. Unfortunately, the upper-forward holes of the bracket didn't line up with the existing holes in the top of the frame. Since I had already cut off the stock bumper mounts I had no choice but to mount the bumper bracket using only the existing weld nuts that the stock recovery points attach to. If I had removed any more of the frame to line up the bracket with the hole, the lower attachments points of the bracket wouldn't have lined up with the weld nuts in the frame any longer. The bracket and bumper is solid on the frame but is certainly temporary. I'll have to work with Scott at Addicted to get this figured out. Overall my experience was a little frustrating and disappointing. I like the look and build quality of the bumper. But to get to the point of no return and be forced to continue with a less than secure solution doesn't leave me feeling all warm and fuzzy with Addicted at the moment.

558bb57ae86c85e45181866ce574288f.jpg

6cc0dbce87a0c833c620bc39e88487f7.jpg

076c1f7059eb0469553dfe457638daea.jpg

c97d0e97edc1673492932a6930ee95c9.jpg
 
I had a shit show of a front bumper. It mounted using all factory points. Weak mounting system. Bolted to the bottom using 1/8" "strap" brackets where the tow hooks are. Then 10 gauge brackets on the vertical supports off the frame rail. It left it where the OEM bumper could be re-installed rather simply. It looked decent, but was very weak after doing some homework and considering why one puts armor on to begin with.

Now I have an addicted bumper. I ground the material off around the frame end caps so it's still nice and sealed up. Painted it, then the bumper is a one man show. Just pick it up and set it on the frame rails. Very nice mounting system.

If one were to return to stock, you'd have to hit up a junkyard, cut the ends of the frame off, and weld them back onto the end of your frame rails. A lot of screwing around, but if you ever hit something, the way I figure, the stock bumper would have collapsed and destroyed the front end. At least with the aftermarket stuff, it's much more rigid and should handle a lot more without trashing the front of your truck.
 
Front Valence Bar

I've got a '96 4Runner I bought about 4 years ago. I've finally ordered a new valence bar (the gray piece on the front) and I got out on it today to take the old one off and found that my actual bumper is in the way of the bolts on the outer edges of the valence. Do I need to take my entire bumper off just to change to valence?
 
The Shrockworks front bumper is one stout piece of metal. Installation is definitely is not a one man job unless you are a fan of pulleys, leavers, and good old Roman engineering. My installation was a bit of a handful.

We cut off the frame flanges, welded in the new endcaps, had to do a bit of grinding to get the frame mounts to seat flush with the frame. But when it came time to mounting the bumper to the frame, it was a no go. The mounting brackets did not have enough room to allow the bumper to sit between the two guide rails. We used various devices to try to spread the mounting bracketso enough to mount the bumper. We finally got it sorted, but it was not easy. Now I am kinda wishing that I went with the Pre Runner center only guard tube. The Pre Runner tube is angled enough away so as to let you work on the front without taking the FB off, which seems like a huge PITA.

I might look at switching my FB out for another option that is not as formal fitting.
 
The Shrockworks front bumper is one stout piece of metal. Installation is definitely is not a one man job unless you are a fan of pulleys, leavers, and good old Roman engineering. My installation was a bit of a handful.

We cut off the frame flanges, welded in the new endcaps, had to do a bit of grinding to get the frame mounts to seat flush with the frame. But when it came time to mounting the bumper to the frame, it was a no go. The mounting brackets did not have enough room to allow the bumper to sit between the two guide rails. We used various devices to try to spread the mounting bracketso enough to mount the bumper. We finally got it sorted, but it was not easy. Now I am kinda wishing that I went with the Pre Runner center only guard tube. The Pre Runner tube is angled enough away so as to let you work on the front without taking the FB off, which seems like a huge PITA.

I might look at switching my FB out for another option that is not as formal fitting.

Sounds like my Shrockworks install experience. The mounting brackets were not anywhere near useable. Thankfully, my buddy has a CNC machine. We had to notch the brackets a good 1/2" x 3" to get them to work.
Also had the same issue trying to wedge the bumper in between the brackets, it took plenty of floor jacks and a heavy dose of dead blow hammering. It still is not exactly where I want it.

But... It is such a great looking bumper.
 
I got the Savage hybrid. The installation was very easy. No cutting or drilling required and all the holes lined up perfectly. That's one of the main reason got, since I'm not very mechanical and it looks nice and quality built.
 

Attachments

  • 20160218_175336.jpg
    20160218_175336.jpg
    135.7 KB · Views: 1,200
  • 20160305_130727.jpg
    20160305_130727.jpg
    139.3 KB · Views: 1,146
I got the Savage hybrid. The installation was very easy. No cutting or drilling required and all the holes lined up perfectly. That's one of the main reason got, since I'm not very mechanical and it looks nice and quality built.

That Savage bumper looks good on your rig. To me, the Savage looks very similar to the CBI front bumper. They both look a bit more aggressive than your average bumper, but very clean looking. So you just had to grind off the flanges then bolt it up?
 
That Savage bumper looks good on your rig. To me, the Savage looks very similar to the CBI front bumper. They both look a bit more aggressive than your average bumper, but very clean looking. So you just had to grind off the flanges then bolt it up?

Yep then bolt on the brackets and then hang the bumper on then and bolt it to the brackets. It's a one person job.
 
it doesn't look like anyone has talked about their tacoma ARB bumper yet...

the only really modification i had to do was chop the end plate on the frame rail....

besides sorting out all the hardware thats intended for a Tacoma, it was pretty straight forward.

<iframe width="560" height="315" src="https://www.youtube.com/embed/_GDFrvmCrlI" frameborder="0" allowfullscreen></iframe>
 
Last edited:
I though only the 00-02 require the cutting/welding/drilli g and not the 96-99?

That savage bumper looks sweet. I've been wanting it forever. If you can mount a winch and use the bumper and it mounts to stock location. It's pretty strong.
 
[MENTION=102606]infamousRNR[/MENTION]
"besides sorting out all the hardware thats intended for a Tacoma, it was pretty straight forward."

What does this sorting entail? Did you need to get different hardware, or not use all the parts from ARB?
 
I did the Addicted Off road bumper and loved it. Im not a fabricator and could install it with only the tools I had on hand.

The instructions given to me from the manufacture said I needed to cut off and grind down the edges of the bumper not cut the end off the frame so, my reinforcement kit fit perfect. All I had to do was drill one hole on the top of each side of the frame to match the lower holes. I did have to move my AC line coming across the radiator because the reinforcement kit hit it


Here is the AC line I was referring to
 
I put on the Addicted front mount/crossmember last weekend. I shaved the flanges off the frame and it mounted without problem. Drilled 2 holes..

25101847011_716578b008_c.jpg


25249224339_c5f2a99d61_c.jpg
 
[MENTION=102606]infamousRNR[/MENTION]
"besides sorting out all the hardware thats intended for a Tacoma, it was pretty straight forward."

What does this sorting entail? Did you need to get different hardware, or not use all the parts from ARB?


I used the hardware ARB provided in the bag.....

But there was like a ton of items.... Out of all the pieces we only used like 1/3 of what was provided .

The instructions help but are a little vague .

Let me know if you have any questions if you end up purchasing one though
 
Just installed my addicted hybrid bumper Monday. Easy deal for me. Grind off the two welds that attach the frame end caps. Top of each frame rail has a 14mm hole (If I recall measurement correctly). Just need to drill through that one to make a bottom hole for a pinch bolt. Then bolt on the frame crossmember/brace with 6 bolts- 2 pinch bolts, and the 4 stock tie down loop/hook bolts. Then bolt the bumper to the crossmember. Done deal. Took maybe 2-3 hours working slow to not scratch up the new bumper and blacking out/trimming a lot of the "background noise" the stock bumper used to hide.
Rock solid, looks good. Now I gotta order a winch to fill the bumper!
 
Clearly there's a problem with my Addicted bumper bracket! I'm out of town for next three 3 weeks. It'll be there when I get back!
 

Members online

Forum statistics

Threads
278,316
Messages
3,554,120
Members
248,016
Latest member
Advally Service

Trending content

Back
Top