TerraCrawler
New member
TerraCrawler is for sale! Please let me know if you are interested! Location is West Palm Beach, Fl
Welcome to TerraCrawler's (formerly username "Signal") Build thread!!!
Here is a link to pictures just taken recently of my 4Runner:
Dropbox - 4Runner For Sale - Simplify your life
Some of the pictures in my full thread are of it during various stages of build, I made notes when anything was sold off like my Roof Top Tent, Shower, etc.
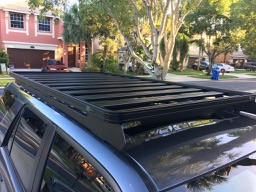
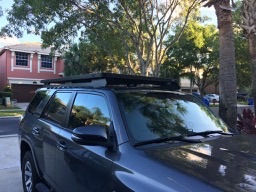
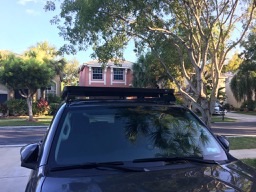
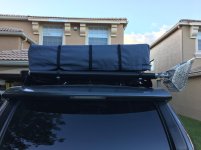
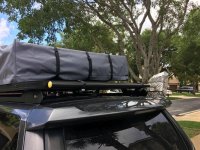
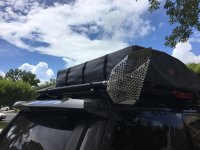
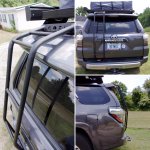
Here is my 4Runner "TerraCrawler" as it stands now:
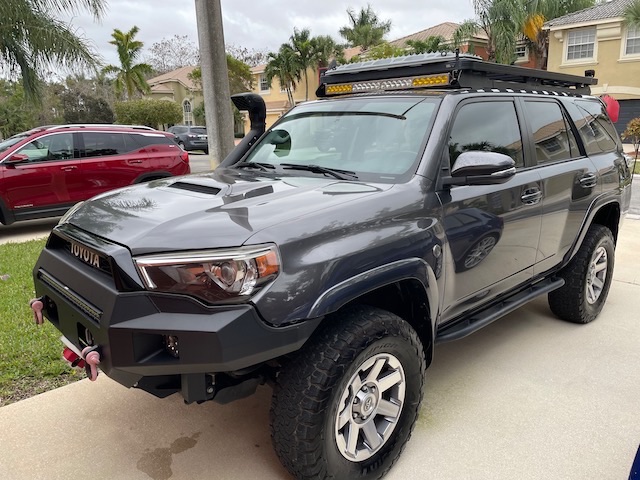
2014 Magnetic Grey Metallic 4Runner Trail Edition Premium purchased June 2017, with 52,000 miles on the clock. Had a perfect service record and in outstanding condition.
Purchased as a daily driver and most importantly for extended overland travel. I will be embarking on travel for months at a time and documenting my journey. I did extensive research of everything from VW Touareg, Jeep Wrangler, Subaru Forester, and many others before discovering this wonderful machine.
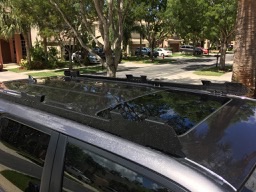
Below is a pic of her the day I picked her up and before modifications.
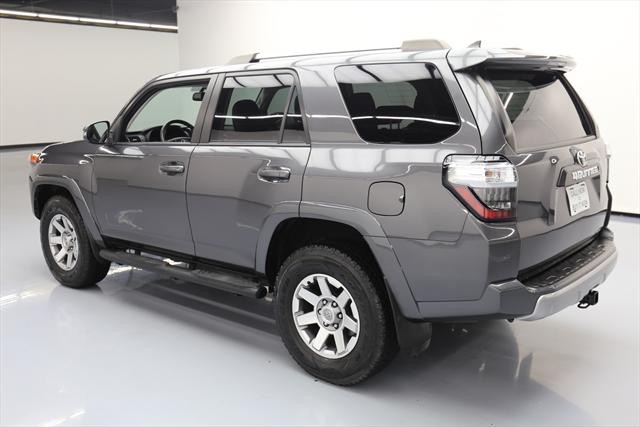
Options included were:
Installed
Misc Onboard Items
Air
Tow
Armor
Camp
Communications
Cooler Box
Electrical
Engine
Lights
Rack
Recovery
Storage
Suspension
Tires
Misc
Not installed
Rack
Welcome to TerraCrawler's (formerly username "Signal") Build thread!!!
Here is a link to pictures just taken recently of my 4Runner:
Dropbox - 4Runner For Sale - Simplify your life
Some of the pictures in my full thread are of it during various stages of build, I made notes when anything was sold off like my Roof Top Tent, Shower, etc.
Here is my 4Runner "TerraCrawler" as it stands now:
2014 Magnetic Grey Metallic 4Runner Trail Edition Premium purchased June 2017, with 52,000 miles on the clock. Had a perfect service record and in outstanding condition.
Purchased as a daily driver and most importantly for extended overland travel. I will be embarking on travel for months at a time and documenting my journey. I did extensive research of everything from VW Touareg, Jeep Wrangler, Subaru Forester, and many others before discovering this wonderful machine.
Below is a pic of her the day I picked her up and before modifications.
Options included were:
- Security glass etching
- Remote start
- Glass break sensor
- Factory Stepsides (no longer installed)
- Full clear bra (no longer installed)
Installed
Misc Onboard Items
- Weathertech Digital Floor Mats
- Salex Vehicle OCD Center Console Tray
- Salex Vehicle OCD Center Console Organizer
- Toyota Cargo Cover (was sold and replaced with Goose Gear Storage System)
- Wits End Fire Extinguisher Mount
- H3R HG250B Fire Extinguisher
Air
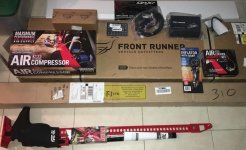
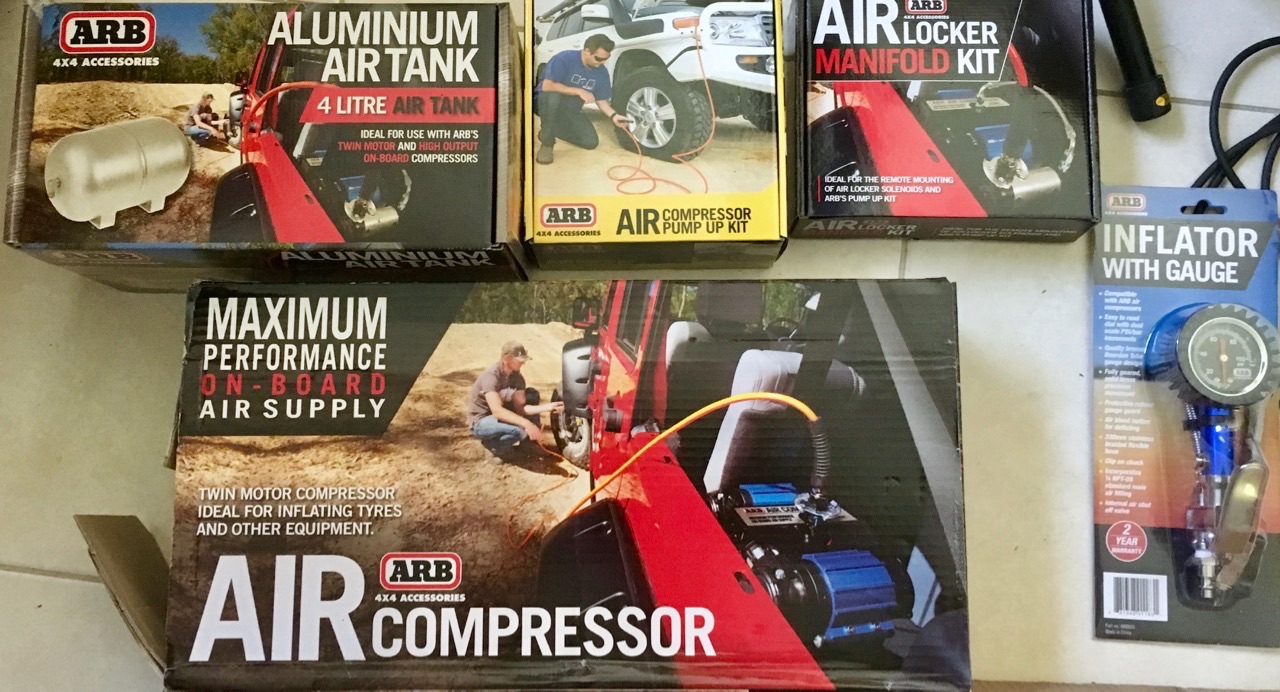
- ARB Dual Compressor
- ARB Aluminium 4L Air Tank
- ARB Compressor Manifold
- ARB Air Compressor Pump Up Kit
- ARB Compressor Blow Gun
- ARB Inflator with Gauge
- Bandi ARB Compressor Mount
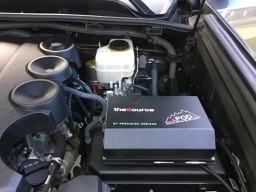
- SPOD ARB Compressor harness
- Misc Elbows and Hoses to connect compressor/manifold/mount
Tow
- Redarc Tow Pro Elite
Armor
- MetalTech Front Bumper
- RCI Offroad Rock Sliders
- FJToyman King Shock Skids
Camp
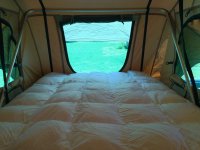
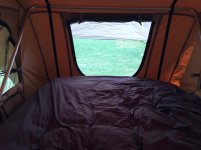
- ARB Simpson III Roof Top Tent (sold, not included in sale)
- Mellanni Sheets (sold, not included in sale)
- Lucid Plush Down Mattress Topper (sold, not included in sale)
- Eezi-Awn Series 1000 2.5M Black Awning (sold, not included in sale)
Communications
- Uniden CMX760 CB
- Firestik K4R Heavy Duty Stud Mount
- Firestik MU-8R9 Coax
- Firestik 5ft Antenna with Tunable Tip
- SS-3H Heavy Duty Spring
- Firestik INS-59 O-ring inserts
- AC Delco EGS20 Grounding Strap
- Rago Fabrication Antenna Mount
Cooler Box
- ARB Fridge Freezer 50QT
- ARB 50QT Transit Bag
- ARB Fridge Straps
Electrical
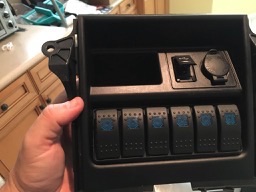
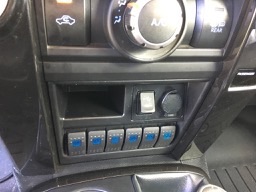
- SPOD Universal 6 switch
- Odyssey 31M-PC2150ST Group 31 Battery (Engine/Main)
- Odyssey 31M-PC2150ST Group 31 Battery (Battery Box/Aux)
- Pelfreybilt Battery Cage
- Blue Sea 6-port Fuse Block
- Fuzeblocks FZ-1 (used as a power distribution up front for dash cam, cb, etc)
- National Luna Dual Battery System (mounted behind Goose Gear setup)
- National Luna Dual Battery Controller
- Slee Offroad Universal Battery Terminal Extensions
Engine
- Safari Snorkel
- ARB Differential Breather
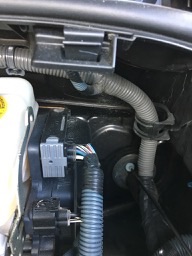
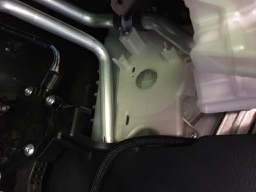
- Expedition One Washer Reservoir / Air Pump relocation kit
- Rad Rubber Engine Guards
Lights
- Baja Designs Onx6 40" Dual Mode Light Bar
- Baja Designs Work Lights: Squadron Sport (Amber LED Work/Scene)
- Outpost Offroad 30" Single Row Spot/Flood Combo light (mounted in front bumper)
- Outpost Offroad Flange Mount LED Fog Lights (mounted in front bumper)
- Baja Designs Rock Lights with Rago Fabrication Mounts
Rack
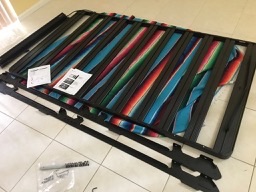
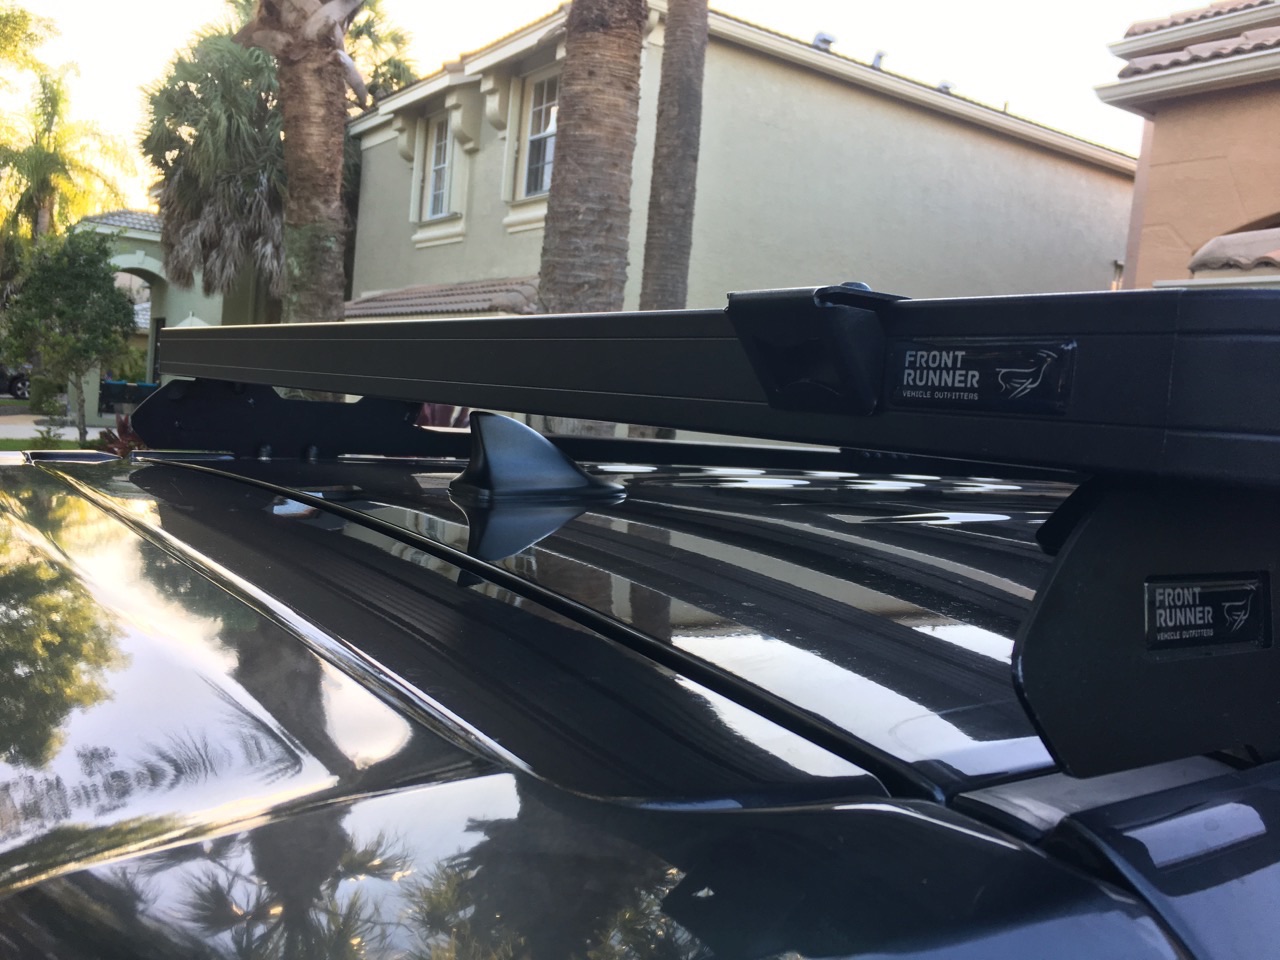
- Front Runner Full Roof Rack
- Front Runner Rack Mounted Bottle Opener
- Front Runner Shovel Mount
- Front Runner Hi-Lift jack mount
- Front Runner tie-down rings
- Front Runner Eezi-Awn mount
- Eezi-Awn Series 1000/2000 Awning mounting brackets (sold not included in sale)
- Gobi Ladder
- Gobi Hatch Struts
- Front Runner Pro Table (mounted on slides under rack)
Recovery
- Hi-Lift Red Jack
- Hi-Lift Jack Cover
- Hi-Lift Jack Rattle Stop
- Krazy Beaver Shovel with stand off mount and cover
- Smittybilt 98510 X20 Winch
- Factor 55 Flatlink E w/ rope guard
- Pair of MaxTrax (Grey) with Front Runner mounts (installed on top of rack)
- Complete Recovery Kit (Substantial, all quality)
- Adventure Tool Company Large Recovery Bag
Storage
- Blue Ridge Overland 4Runner Attic
- End of the Road Quick Fists
- Overland Equipped Ladder Steps
- Blue Ridge Overland Visor Organizer
- Rago Fabrication MSP
- Goose Gear Plate System
- Goose Gear Module Double Drawer Stack 22-3/16"W X 16"H X 27"D
- Goose Gear Module Icebox Standard 30-50 QT
- Trek Packs organization system
- Goose Gear Module Anchor Pack (2)
- Front Runner Stratchits (2 pair)
- Trek Packs 4” x 46” Strip (4)
- Trek Packs 6” x 46” Strip (4)
- Trek Packs Cutting Tool
- Trek Packs Foam Drawer Liners (5)
- Trek Packs Pins and Tabs (40)
- BlueRidge Overland Utensil Storage for fridge
Suspension
- Toytec KS4R10 King/Total Chaos complete kit (itemized below)
- King Front 2.5 Remote Reservoir Coilovers
- King 2.5 Rear Remote Reservoir Shocks
- Front Differential Drop Kit
- ToyTec Superflex RCC2.0 Rear Coils
- Rear 2" Bump Stop Drops
- Total Chaos Uniball upper control arms
Tires
- 285/70R17 BFGK02 2-ply
- Spidertrax 1.25" Spacers
Misc
- Smittybilt Beaver Step
- Tyger Locking Hitch Pin
- Proclip / RAM iPad Mount
- RAM-HOL-AP14U
- RAM-B-202U
- RAM-B-347U
- RAM-B-201U
- RAM-VB-138-SW1 (This is their complete laptop support system, substantial)
- Toyota TRD Pro Grill
- Toyota TRD Pro Grill Surround
- Toyota Emblem
Not installed
Rack
- Front Runner T-slot rubber beading
Last edited: