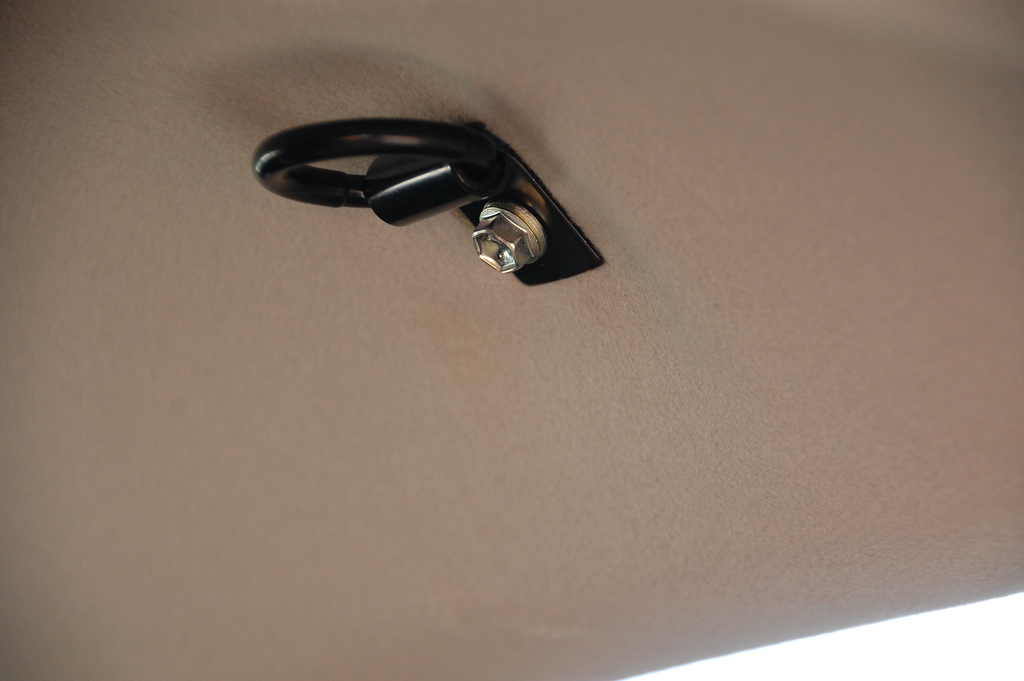
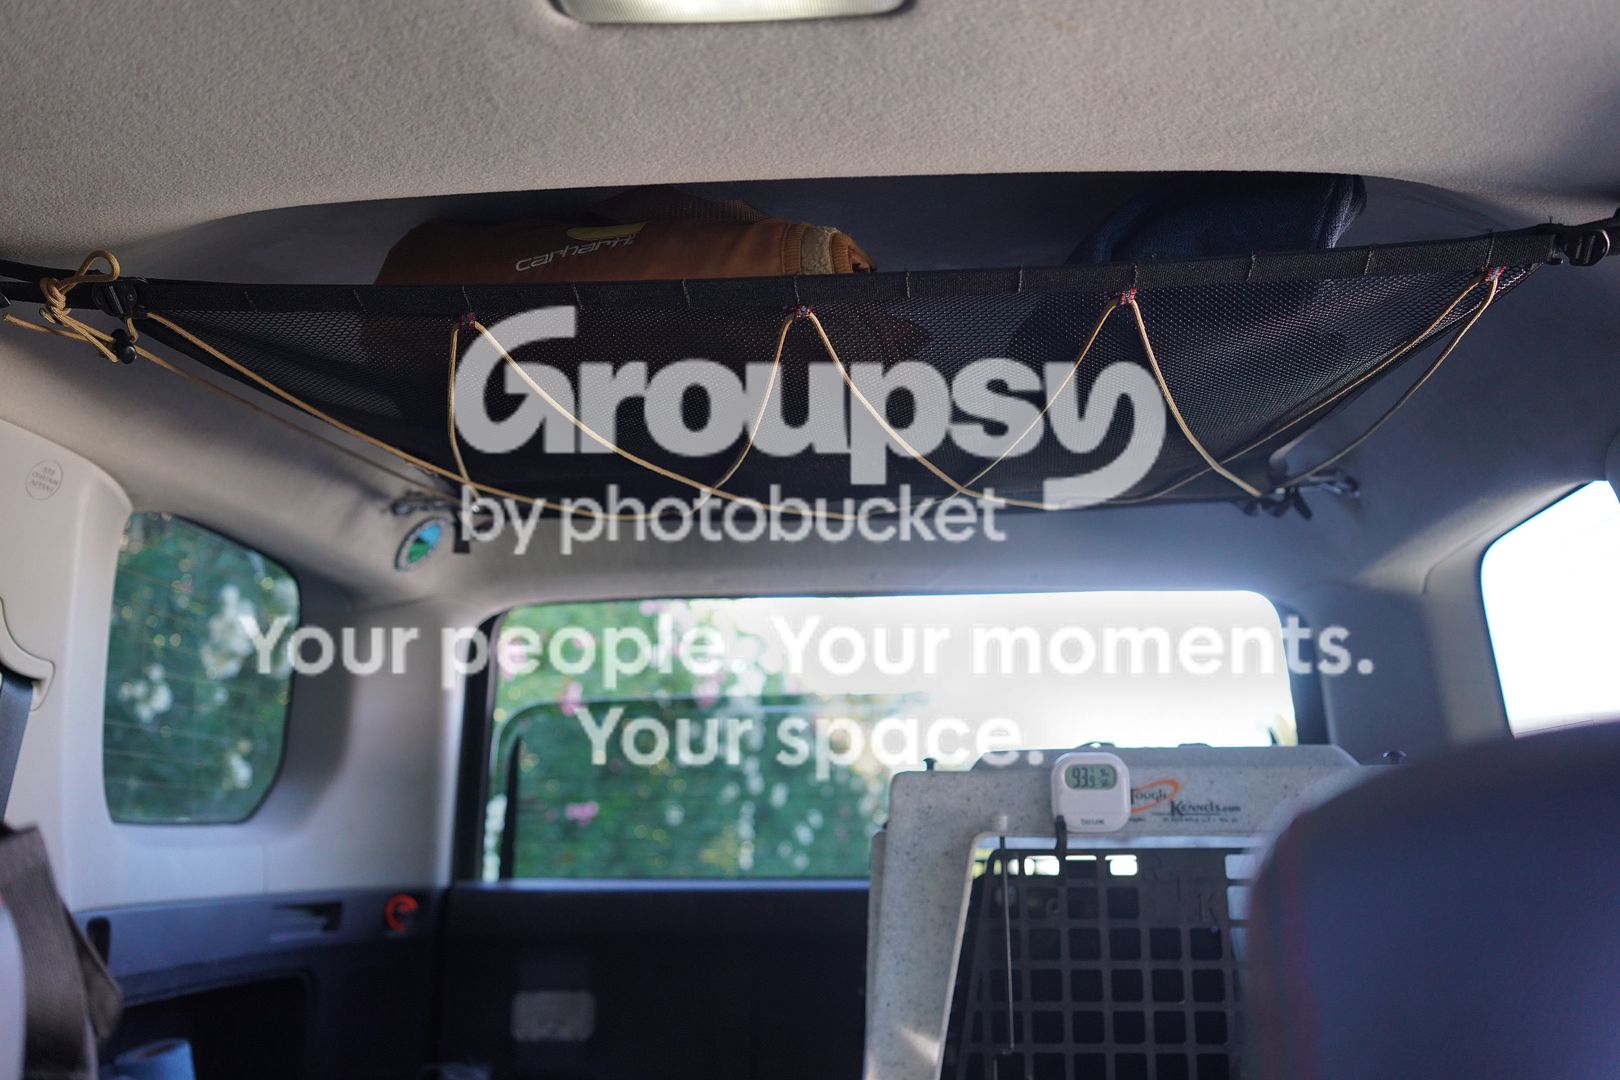
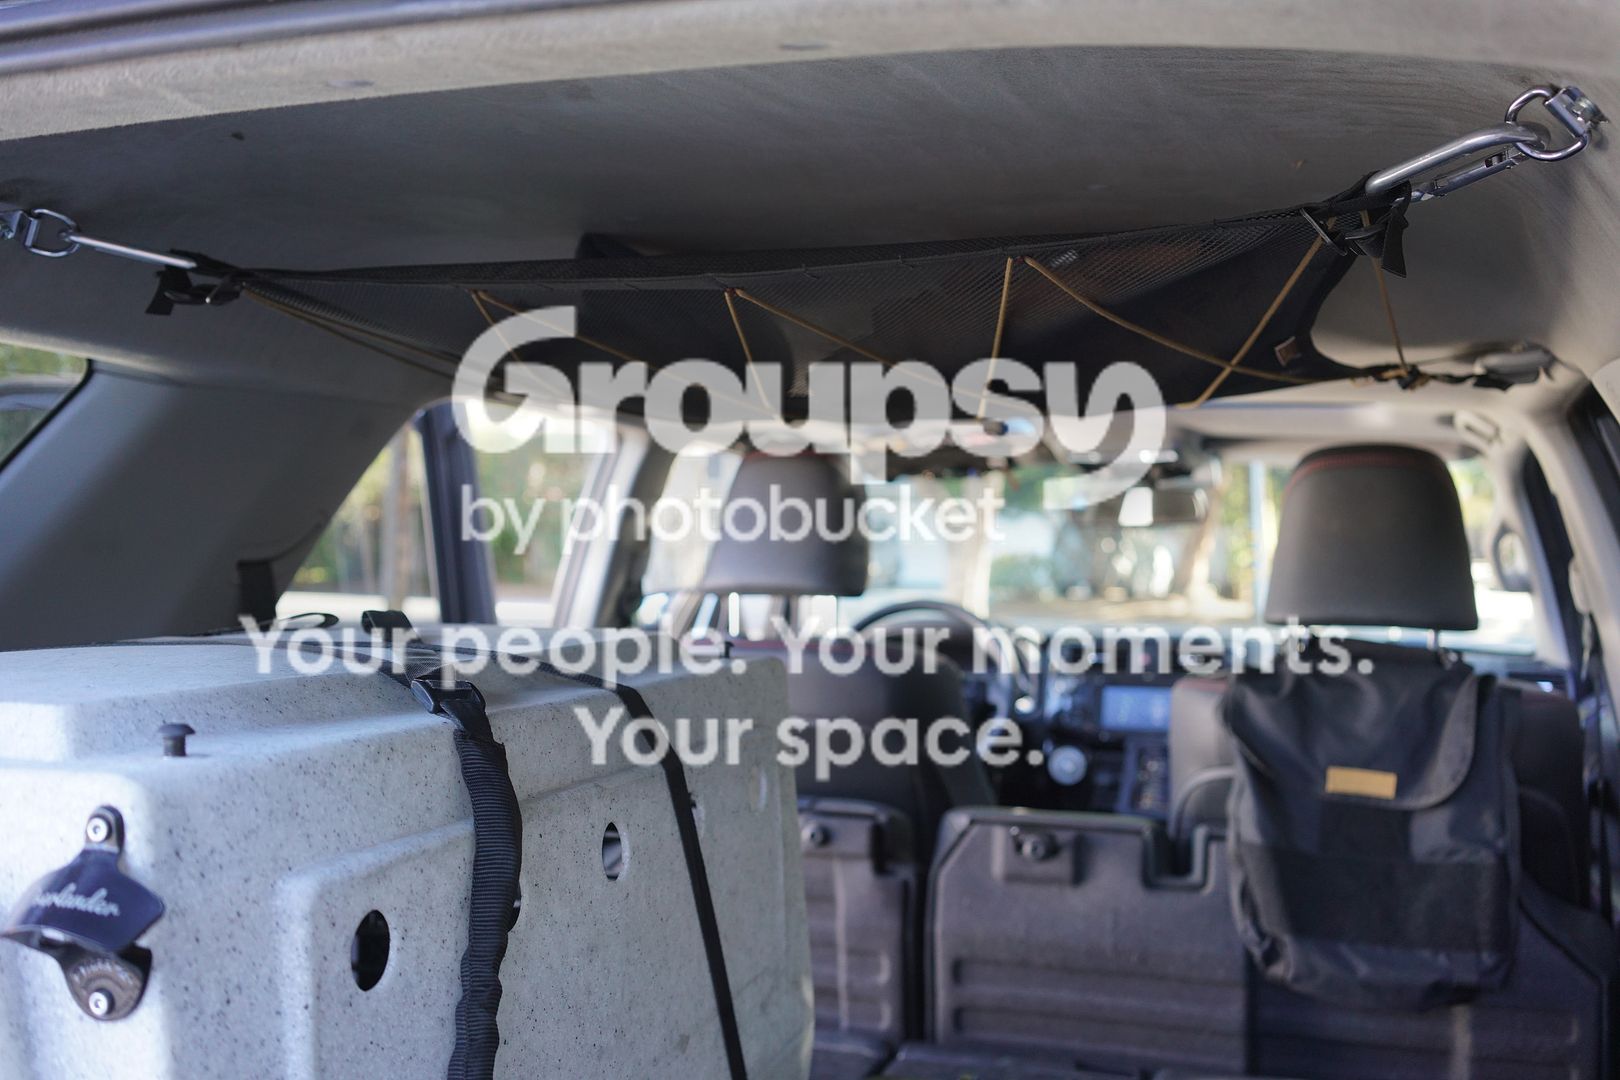
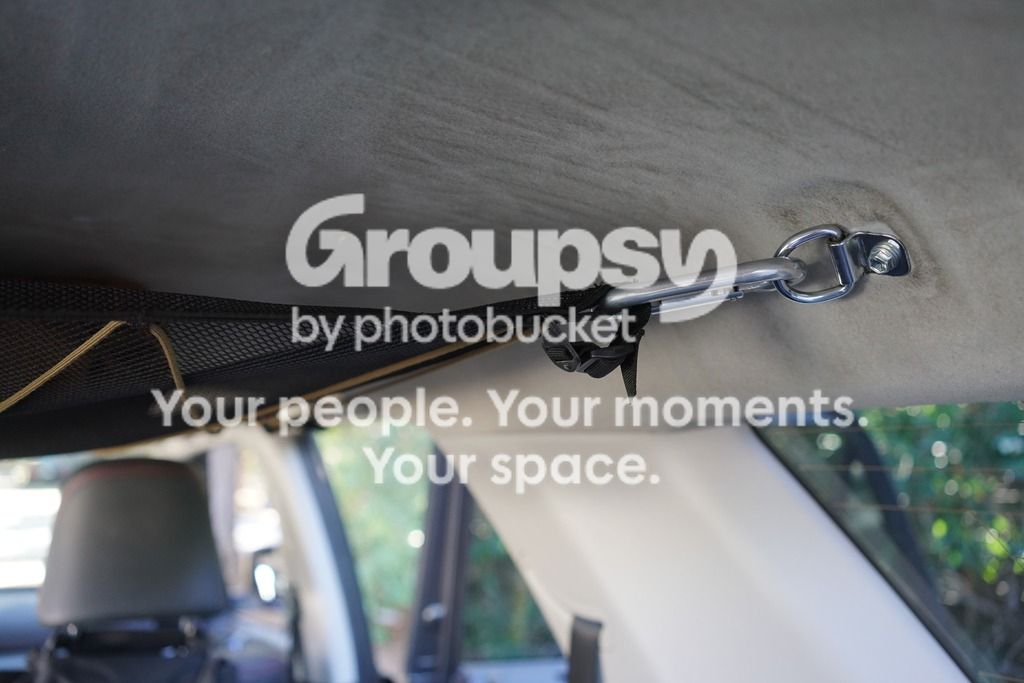
I built my ceiling net today. Ceiling net is built with 2 FJ Cruiser D rings (Toyota part 58460-35012, $11 ea) , approx. 16' paracord ($3), a 28"x28" ATV bungee cargo net ($15), a NiteIze rope lock ($8), and velcro wrap ($10).
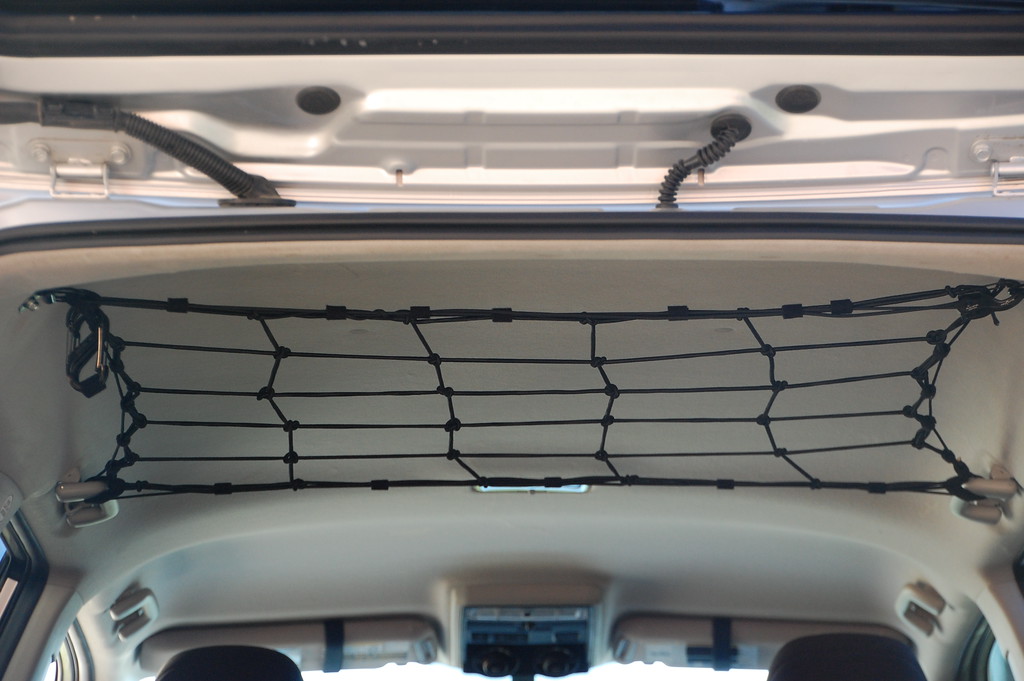
Build a frame with the paracord, the passenger grab handles, the rope lock, and the D rings. The rope lock lets you pull the paracord super tight, easily. The grab handles can still be used. The paracord hanging down on the right will later be trimmed off.
You can mock the net up using zip ties - or you can actually mount it using them if you want. I chose to mock it up with them but then replace the zip ties with pieces of velcro wrap.
Cut the velcro into 20 2" strips and 4 11" strips. Each 2" strip goes in between a square of the bungee net to hold it to the paracord frame, and each 11" strip goes in the corner to secure it to the handle or D ring. You don't have to be exact in the size.
Finished product. Useful for holding light bulky items (fleece jackets, for example). I will use it while sleeping in the back to stow my clothes and such up and out of the way but still be able to access them fast for those 2am piss strolls.
Not "cargo management" specifically but a few days ago I also built a basic platform to fit in the cargo area (mine is non 3rd seat equipped) to raise the floor 2.5" so that the entire area is flat when the seats are laid down. This is to make it more comfortable to sleep on top of. We recently tried to sleep in the cargo area with the seats folded down and the drop between the seat backs and the cargo floor was annoying, even with an air mattress to kind of fill the gap.
I thought about making this into a storage cubby like a lot of guys have, but I really have no use for that space, and it was exponentially easier to make this "pallet style" platform. I'm currently putting black upholstery on it so it will blend better.
It's built with 2 pieces of 1/2" plywood stacked on top of each other, perfectly fitted so as to drop into the cargo area and not move around at all - 43.5" wide by 38.5" long. It's screwed to 4 strips of 2"x2" (which are actually 1.5" x 1.5" if you aren't familiar with the retarded manner in which lumber is measured) laid front-to-back, 37.5" long and spaced to a 41.3" wide footprint (so the plywood just slightly overhangs the base on either side and the rear and thus snugs up against the plastic fascia panels in the cargo area). In the picture, the 2x2s appear to be not centered up, this is because the design of the seat backs and the rear seat mounts require you to slightly offset the middle two 2x2s.
Because it is perfectly fit to the void area, you don't need to bolt it down, it just drops in on top of the existing carpet. There is no slop or movement while driving / cornering. I suppose aggressive off road might cause it to bounce up and down a little though. Can be removed in 5 seconds if I'm not camping out of the back. You do have to remove the angled plastic / carpeted panel that slopes down between the seat backs and the cargo floor so this will fit flush - you unbolt the two D rings with 10mm socket and it comes right up.

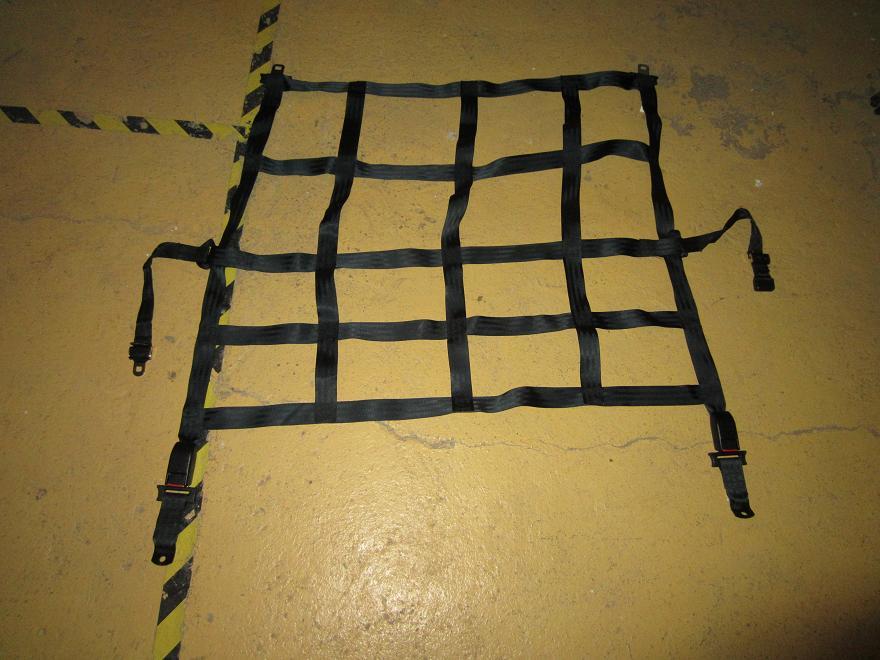
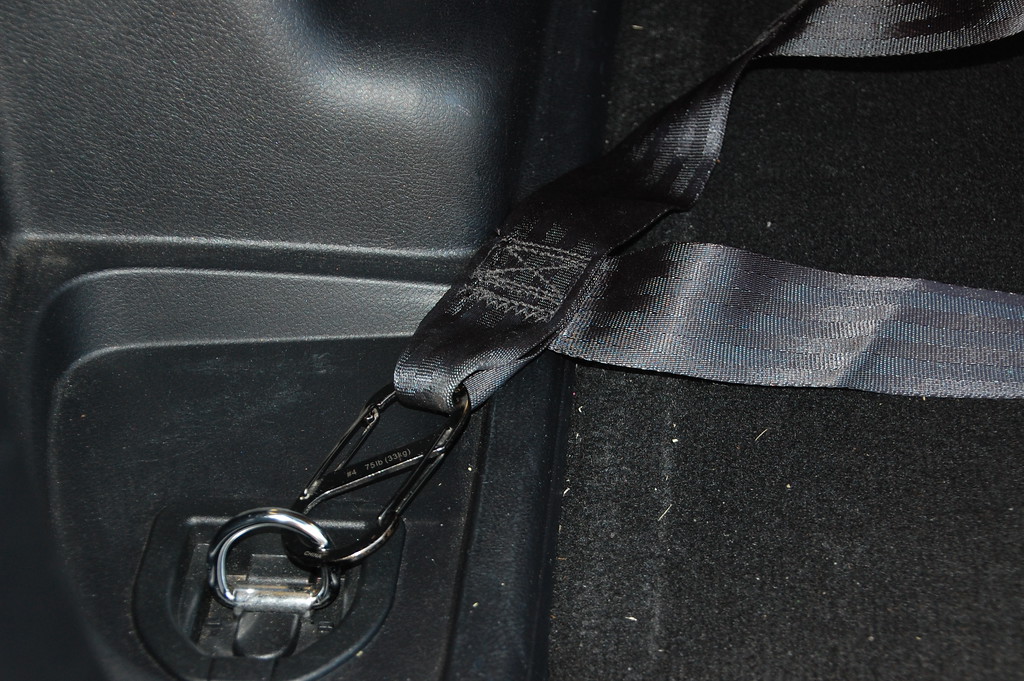
I also modified the $10 Volvo safety net shown in my post above to use as a cargo hold down, and it can be raised up to use as a divider between cargo area and backseat (not shown). It could probably be used as a bad ass ceiling net but it's fairly big and would run from the rear D rings up to the driver's ceiling mounted grab handle which is larger than I wanted. I cut the seat belt buckles off the net using a hacksaw, leaving loops in the fabric to use NiteIze #4 / 75 lb S carabiners on.
Shown very loose over this box; I plan only on using it when the seats are folded down, clipped into the child seat "bars" on the back of the seat and the D rings on the floor by the hatch. It will be tighter when used like that and will keep gear from flying forward in a crash or under hard braking.