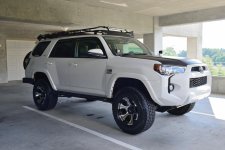
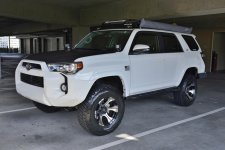
TomasAllan's Build Thread

...... continued....

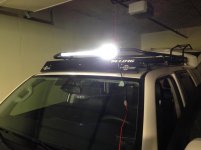
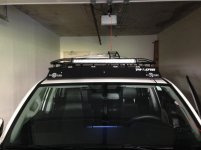
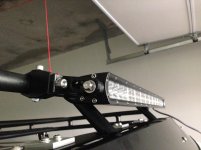
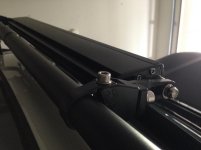
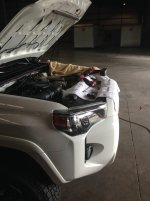
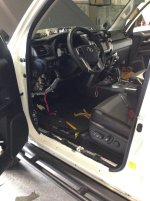
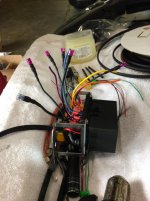
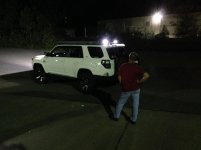
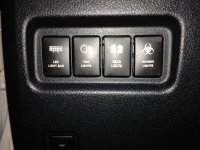
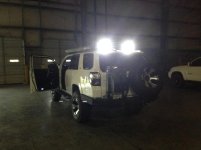
Lights....

Courtesy of the great Steven ?=^) [MENTION=632]toyo[/MENTION]

He did all the electrical work here.
 

Attachments

  • IMG_9510.jpg
    IMG_9510.jpg
    70.8 KB · Views: 1,522
  • IMG_9512.jpg
    IMG_9512.jpg
    77.7 KB · Views: 1,529
  • IMG_9515.jpg
    IMG_9515.jpg
    89.6 KB · Views: 1,529
  • IMG_9516.jpg
    IMG_9516.jpg
    62.1 KB · Views: 1,516
  • IMG_9780.jpg
    IMG_9780.jpg
    77.6 KB · Views: 1,484
  • IMG_9799.jpg
    IMG_9799.jpg
    84.6 KB · Views: 1,501
  • IMG_9803.jpg
    IMG_9803.jpg
    107.6 KB · Views: 1,487
  • IMG_9807.jpg
    IMG_9807.jpg
    120.6 KB · Views: 1,479
**** couple more ****

.
 

Attachments

  • IMG_9810.jpg
    IMG_9810.jpg
    72.3 KB · Views: 1,486
  • IMG_9813.jpg
    IMG_9813.jpg
    139.7 KB · Views: 1,481
  • IMG_9832.jpg
    IMG_9832.jpg
    77.4 KB · Views: 1,478
  • IMG_9838.jpg
    IMG_9838.jpg
    115.1 KB · Views: 1,512
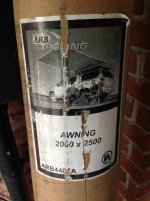
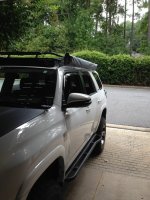
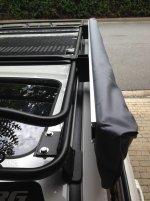
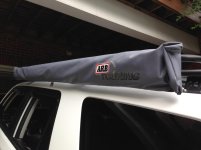
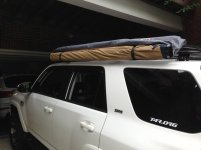
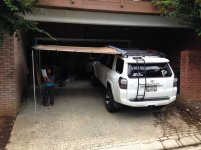
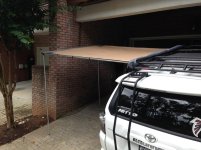
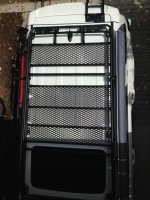
Finally received my ARB Awning...

I also got my cool mounting brackets fabed by the awesome [MENTION=69819]FactoryRide[/MENTION].... thanks Spence.

....
 

Attachments

  • IMG_9528.jpg
    IMG_9528.jpg
    94.9 KB · Views: 1,493
  • IMG_9531.jpg
    IMG_9531.jpg
    129.5 KB · Views: 1,484
  • IMG_9533.jpg
    IMG_9533.jpg
    104 KB · Views: 1,503
  • IMG_9534.jpg
    IMG_9534.jpg
    60.9 KB · Views: 1,466
  • IMG_9535.jpg
    IMG_9535.jpg
    61.6 KB · Views: 1,511
  • IMG_9536.jpg
    IMG_9536.jpg
    126.4 KB · Views: 1,638
  • IMG_9539.jpg
    IMG_9539.jpg
    113.2 KB · Views: 1,519
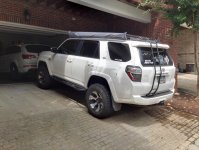
.... from another angle.

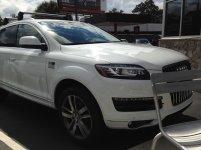
.... and yes that's my other ride (wife's really)

.
 

Attachments

  • IMG_9546.jpg
    IMG_9546.jpg
    121.6 KB · Views: 1,630
  • IMG_9553.jpg
    IMG_9553.jpg
    124.6 KB · Views: 1,463
  • IMG_9737.jpg
    IMG_9737.jpg
    89.4 KB · Views: 1,468
Last edited:
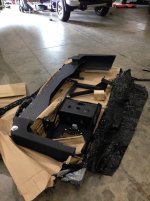
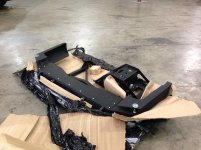
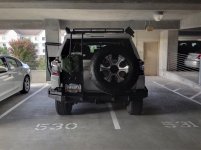
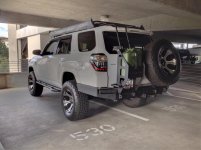
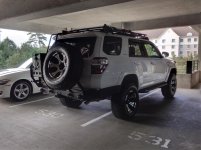
It's here it's here.

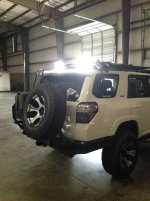
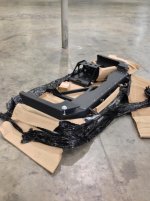
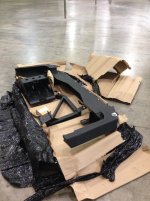
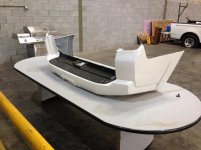
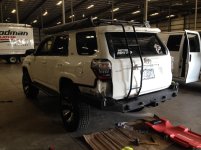
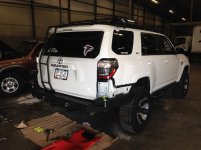
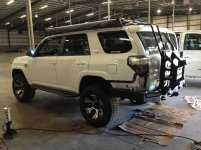
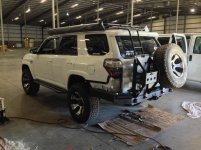
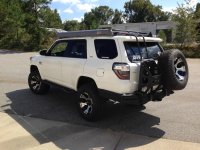
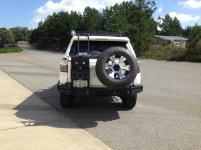
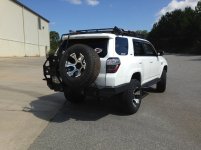
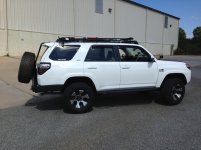
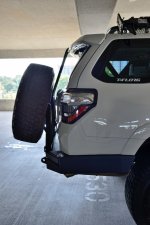
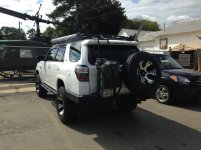
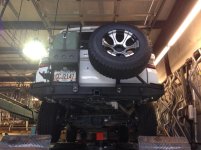
The day my Hefty Fabworks bumper arrived...... I really liked the look, clearance and the reduced weight compared to other models...... I also always did like the way the swing arms just tuck in on the bumper.... hope that part makes sense....... personal thing.

Thanks to [MENTION=50186]adio3x[/MENTION] for the info and all the help with this one, helped me make my mind......

Chris is a great guy to do business with....
 

Attachments

  • IMG_9588.jpg
    IMG_9588.jpg
    97.2 KB · Views: 1,465
  • IMG_9590.jpg
    IMG_9590.jpg
    122.4 KB · Views: 1,441
  • IMG_9591.jpg
    IMG_9591.jpg
    115.5 KB · Views: 1,444
  • IMG_9593.jpg
    IMG_9593.jpg
    117.6 KB · Views: 1,466
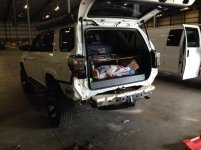
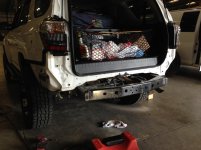
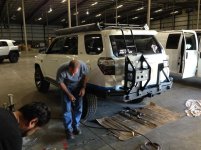
Install Time!!

The eerie most difficult part of this is the cutting...... you better measure, then measure again, then again, then have your buddies double check... then hold on for the ride as you see your bud (in my case [MENTION=632]toyo[/MENTION]) starting to cut as you hold the thing. :surfer:

Nahh it really wasn't that bad, nerve wrecking at the beginning YES but once you get in the groove things start to smooth sail.

Also, before you measure and cut make sure you have your bumper lined up the way you want with shims and stuff to get the desired pitch and yaw angles.... then tight the *&^ up and then's when you start measuring :drummer:

.

 

Attachments

  • IMG_9597.jpg
    IMG_9597.jpg
    103.1 KB · Views: 1,438
  • IMG_9600.jpg
    IMG_9600.jpg
    104.7 KB · Views: 1,441
  • IMG_9601.jpg
    IMG_9601.jpg
    114.6 KB · Views: 1,430
  • IMG_9602.jpg
    IMG_9602.jpg
    95.2 KB · Views: 1,451
  • IMG_9604.jpg
    IMG_9604.jpg
    111.5 KB · Views: 1,437
  • IMG_9605.jpg
    IMG_9605.jpg
    97 KB · Views: 1,444
  • IMG_9615.jpg
    IMG_9615.jpg
    123.6 KB · Views: 1,454
  • IMG_9619.jpg
    IMG_9619.jpg
    118.2 KB · Views: 1,448
*** Continued ***

Finishing the bumper install.....

.
 

Attachments

  • IMG_9621.jpg
    IMG_9621.jpg
    126.7 KB · Views: 1,449
  • IMG_9625.jpg
    IMG_9625.jpg
    107.9 KB · Views: 1,715
  • IMG_9632.jpg
    IMG_9632.jpg
    137.6 KB · Views: 1,489
  • IMG_9636.jpg
    IMG_9636.jpg
    137.6 KB · Views: 1,501
  • IMG_9637.jpg
    IMG_9637.jpg
    108.1 KB · Views: 1,519
  • IMG_9638.jpg
    IMG_9638.jpg
    111.6 KB · Views: 1,606
  • IMG_9642.jpg
    IMG_9642.jpg
    99.6 KB · Views: 1,641
  • IMG_9641.jpg
    IMG_9641.jpg
    116.3 KB · Views: 1,439
Last edited:
*** More ***

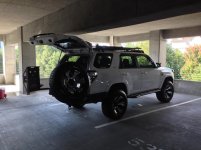
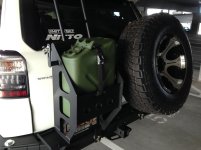
More pics with the gas can...
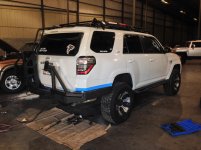
.
 

Attachments

  • IMG_9675.jpg
    IMG_9675.jpg
    81.5 KB · Views: 1,376
  • IMG_9678.jpg
    IMG_9678.jpg
    79.5 KB · Views: 1,360
  • IMG_9683.jpg
    IMG_9683.jpg
    82.3 KB · Views: 1,357
  • IMG_9702.jpg
    IMG_9702.jpg
    122.3 KB · Views: 1,376
  • IMG_9705.jpg
    IMG_9705.jpg
    83.4 KB · Views: 1,366
  • IMG_9707.jpg
    IMG_9707.jpg
    94.3 KB · Views: 1,332
  • IMG_9708.jpg
    IMG_9708.jpg
    96.7 KB · Views: 1,445
  • IMG_9709.jpg
    IMG_9709.jpg
    101.1 KB · Views: 1,469
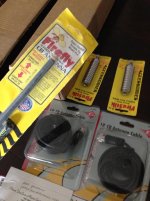
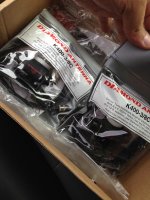
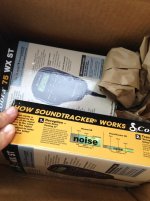
CB Radio and parts ready to go.....

Cobra 75WXST
Firestik SS-3H Heavy Duty Stainless Steel Antenna Spring
18' RG-58A/U Coaxial Cable With Pl-259 Connectors
4ft Black Firefly Antenna
DX Engineering - DMN-K400-3-8C - Antenna mount
UHF-7614P - UHF Female to Female inline splice (Avail at Fry's electronics)


Yes the setup is for two vehicles..... :-)

.
 

Attachments

  • IMG_9722.jpg
    IMG_9722.jpg
    118.4 KB · Views: 1,356
  • IMG_9797.jpg
    IMG_9797.jpg
    122.5 KB · Views: 1,327
  • IMG_9798.jpg
    IMG_9798.jpg
    113.1 KB · Views: 1,344
*** Exhaust Port ***

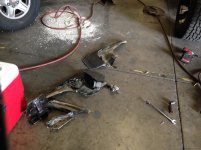
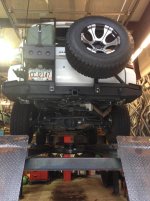
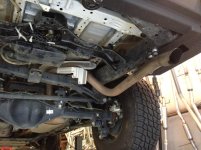
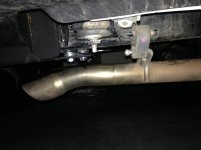
I didn't really know what to do with the exhaust port on the runner since I was getting a rattle due to it being so extremely close to the new bumper bolts....

When starting up it sounded like something was seriously wrong with the engine.... (yes it took me a day of freaking out to figure this one out).

So after taking it to the muffler place the guy was quite open and honest about it and he stated that if he was me he wouldn't mess with cutting and re-routing my exhaust port, his reasoning was that this stuff that comes from Toyota is made from the good stuff (Stainless) and cutting and re-routing would mean using a cheaper material that will rust and blah blah blah...... basically he convinced me to just let him apply heat to the thing and bend it over slightly do that I wouldn't have the rattling noise problem. I appreciated the honesty.

I still am not too excited about seeing the thing protrude under the bumper since this one is a slim type profile and would've rather it be hiding a bit better and maybe even route it towards the side...... (to which he promptly replied it will get all kinds of mud on them ......uhmm yes? :brick:)

Open to suggestions......

.
 

Attachments

  • IMG_9839.jpg
    IMG_9839.jpg
    121.1 KB · Views: 1,360
  • IMG_9841.jpg
    IMG_9841.jpg
    126.4 KB · Views: 1,337
  • IMG_9842.jpg
    IMG_9842.jpg
    113.8 KB · Views: 1,331
  • IMG_9843.jpg
    IMG_9843.jpg
    67.3 KB · Views: 1,334
That's all for today kids....... shut I realize I had been holding out.....

Next up (hopefully tomorrow) I will be installing Kevin's [MENTION=110183]SouthernSS[/MENTION] front slim line bumper and winch..... wish me luck.

I'll post pictures when we are all done. [MENTION=632]toyo[/MENTION] / [MENTION=69819]FactoryRide[/MENTION] get ready.

You guys are all BAD BAD influences....... my wife says so!!!!
 

Members online

Forum statistics

Threads
278,307
Messages
3,554,056
Members
248,016
Latest member
Advally Service

Trending content

Back
Top