Following the thread
http://www.toyota-4runner.org/3rd-g...e-cover-gasket-replacement-part-s-n-pics.html and my FSM I charged hard into this job late morning Saturday.
Took some pics and notes to refer back to and pulled the top end off the truck.
Before I started disassembly. It looks cleaner than it was
The valve covers were caked in dirt and dust, probably from the ancient gaskets and spark plug tube seals. All the rubber was hard and brittle, especially the factory wire harness cover.
Look at that valve cover on the right, totes embarassing
As advised, I proactively destroyed it before pulling the valve covers. I then proceeded to do a mini detail of everything around and above the valve covers to keep contaminants out of the heads - this took up way more time than I imagined it would, but when in rome, clean like a roman.
I sprayed the valve covers with full strength PurplePower and let them sit overnight. The plan was to pressure wash them along with the bottom engine cover (factory skid plate) but when I pulled my pressure washer out of storage, it wouldn't turn over. I cleaned upper and lower intakes, throttle body and valve covers by hand. I used PP diluted 1:1 for the intakes. I cleaned the throttle body with plain water, and all the plastics I removed with standard degreaser and soapy water leaving everything to dry overnight.
Got an early start Sunday morning and focused on the engine. Cleaned all around the open cylinders but kept them covered with hand towels to keep unwanted debris out. I stuffed paper towels into the intake runners, but knocked one out while working around them so I opted to close of the runners with a strip of 2" wide blue painters tape.
The painters tape was perfect in all respects
I wrapped the exposed wiring with
heat proof engine bay wire harness tape and made standoffs out of some spare mounting brackets that came with my trans cooler. I attached the standoff brackets to the same holes the factory wire harness was bolted to, one on each head. I was lucky enough to keep the rear wire harness cover intact.
Tape and harness wrapping
Standoffs and harnesses secured (I test fit them under the lower plenum and bent the standoffs so the wiring was not touching the plenum)
The order of assembly is important because you want to land the valve covers on tacky FIPG, so I prepped the valve covers first. Knocking out the old spark plug tube seals goes well with a 1/2" chisel. First use the chisel to get under the tabs on the inside of the VC that hold the seals and pry up. Tap the chisel with a hammer to get under the tab if need be. Then insert the chisel from the inside of the valve covert, under the seal opposite of the tab you just pried up and twist, the seal will rise slightly. Move the chisel around until you work enough of the seal up to pull it out.
Installing the seals is easy and I lubed them with grease and drove them in with a socket. I put a piece of 2" bar stock I had on hand under the seal so I was driving it down against something solid, no reason to stress an aluminum valve cover. Once the seals are in, knock the tabs back down and install the VCG. One thing I found is that the corners around the arches on either end don't want to sit down nicely. I lubed the inside of the channel at the corners and along the entire semi-circle with grease, then forced the corners down fires, then fit the rest of the gasket in place. Ready to install.
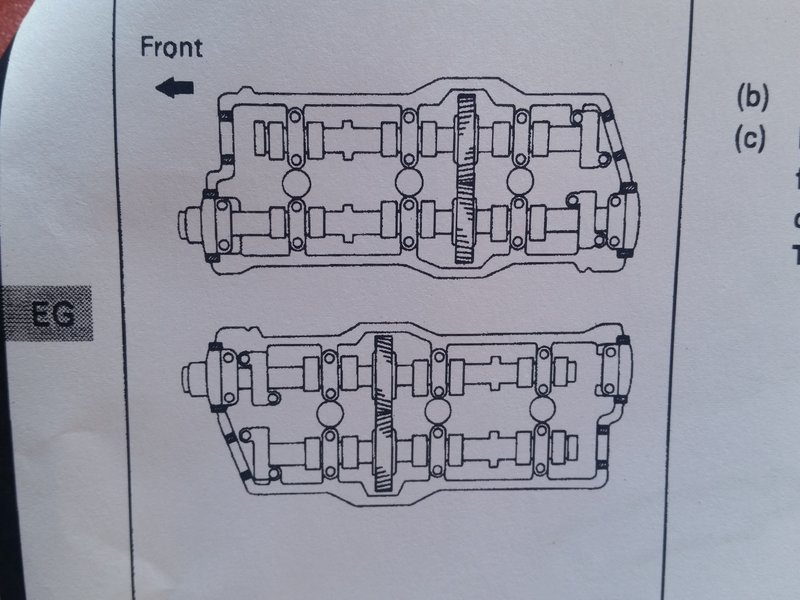
Now I focused on the cam plugs and semi circles, no real tricks here, just a tight fit between the firewall and back of the heads. My passenger side rear cam plug was leaking, the driver side was not.
I measured the old passenger side rear cam plug vs the new one, old one was 50mm and fell out, basically, when I removed the bearing cap. The new seal measured 50.3mm
I pulled the rear brackets that hold the cam plugs in, to clean the back of the heads then put them back. I then installed the cam plugs and torqued the rear caps. I lubed the tops of the spark plug tubes and hustled the valve covers into place while the FIPG was still tacky; having a friend hold the wire harness is handy. Using the spark plug tubes as guides is the best way to get the covers aligned and once they are, just press down. Installed the cleaned up bolts (soaked overnight) with new washers and torqued down in a star pattern from middle bolts to outer bolts. I torqued them in 4 stages - time consuming but worth it if they don't leak.
Installed my wire harness standoffs and lower plenum then upper plenum torquing each in 3 stages. Reattached all vacuum lines and reconnected all sensors and electrical connectors disconnected and installed spark plug cables that I also had cleaned and degreased. Everything went back together easily, in the opposite order of disassembly and most all bolts torque to the same spec, so it went quickly.
Spark plug tube seals out and in
Torque specs courtesy of [MENTION=76419]Doc2012[/MENTION]
Camshaft bearing cap 12 ft lbs (144 inch pounds)
Valve cover bolts (Toyota calls them cylinder head covers) 53 INCH pounds
Intake manifold, plenum, throttle body 13 ft lbs (156 inch lbs)
All other 10mm bolts for brackets and what not I did the same as the valve cover bolts, 53 inch lbs
To keep everything simple, and work with just one, smaller torque wrench, I did everything in INCH pounds
I then cleaned up the bottom engine cover and bolted it on and started the truck. Fired right up. I did not end up draining any coolant so there was no filling and burping. All in all, it's easy work, just time consuming if you want to clean all the parts along the way. Now I just have to clean the rest of the engine bay.
Before (top) and After (bottom)
I replaced the PCV gasket because it was hard and brittle, but it's worth noting that that grommet is boxed in by the plates inside the valve cover, so if you want to change the PCV/grommet on the car and your old grommet disintegrates it won't fall into the cylinder head