Whytey's '07 V8 SE Build

Whytey

New member
Current Photo

gvWnCx.jpg


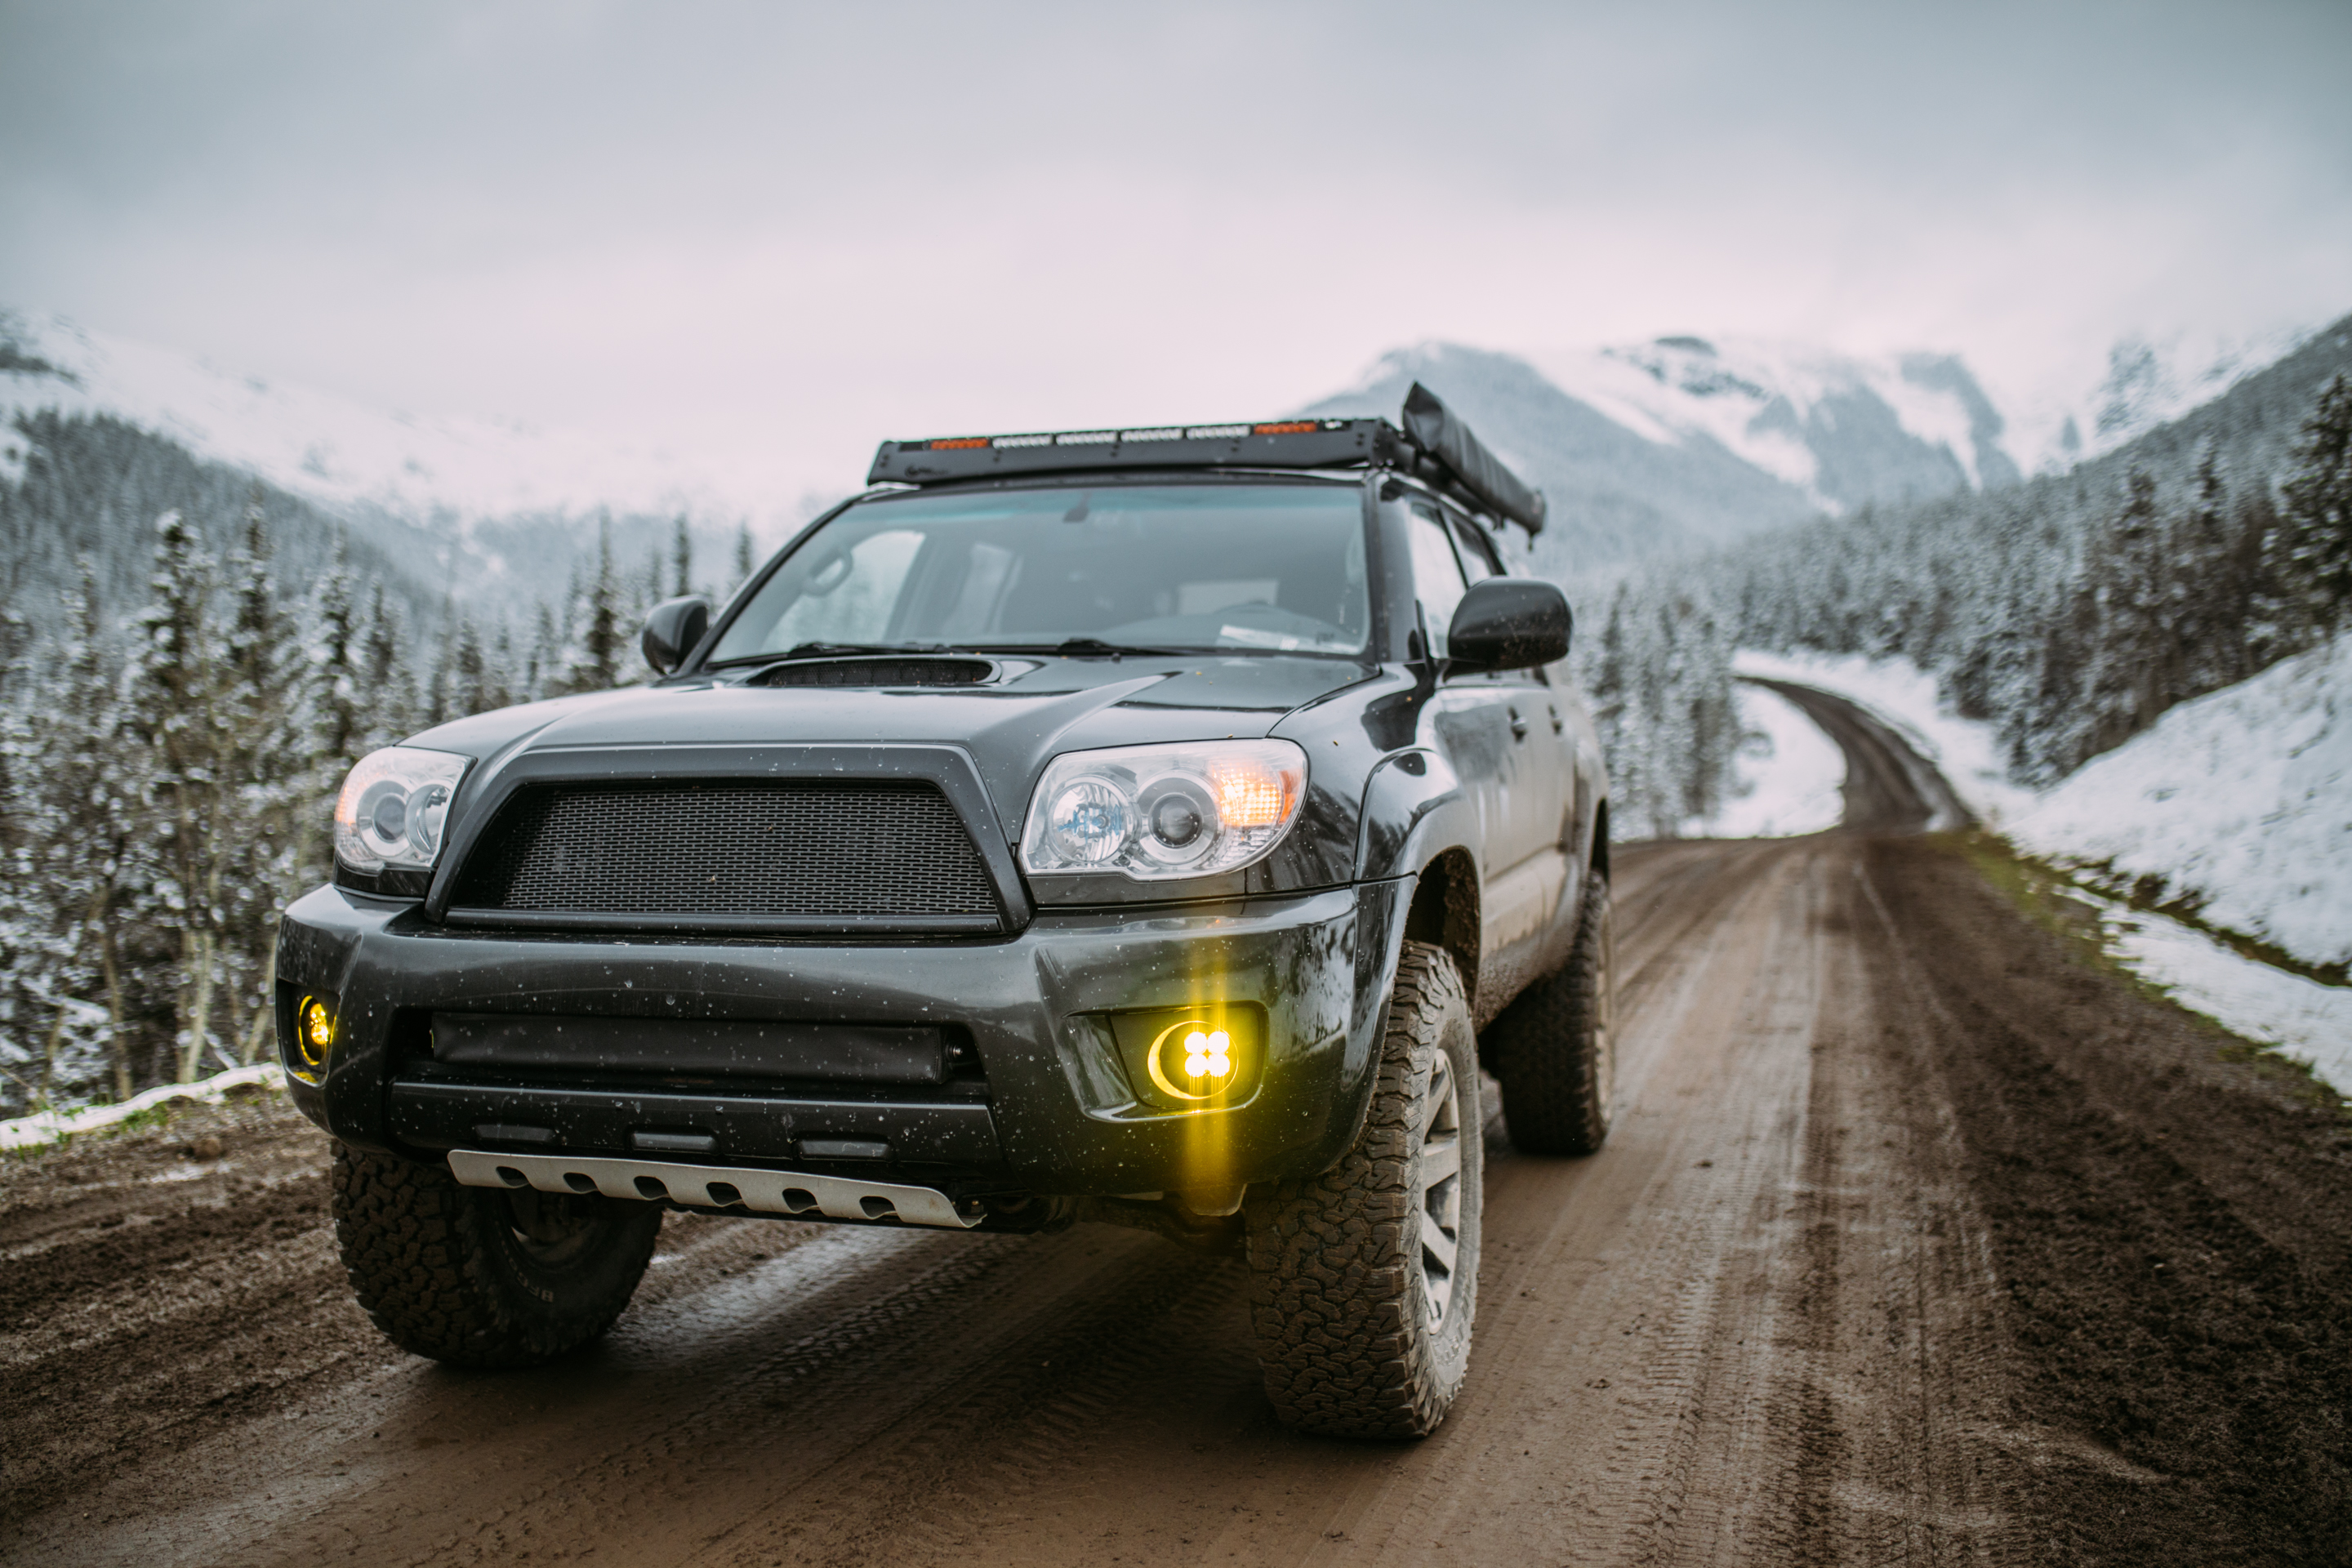
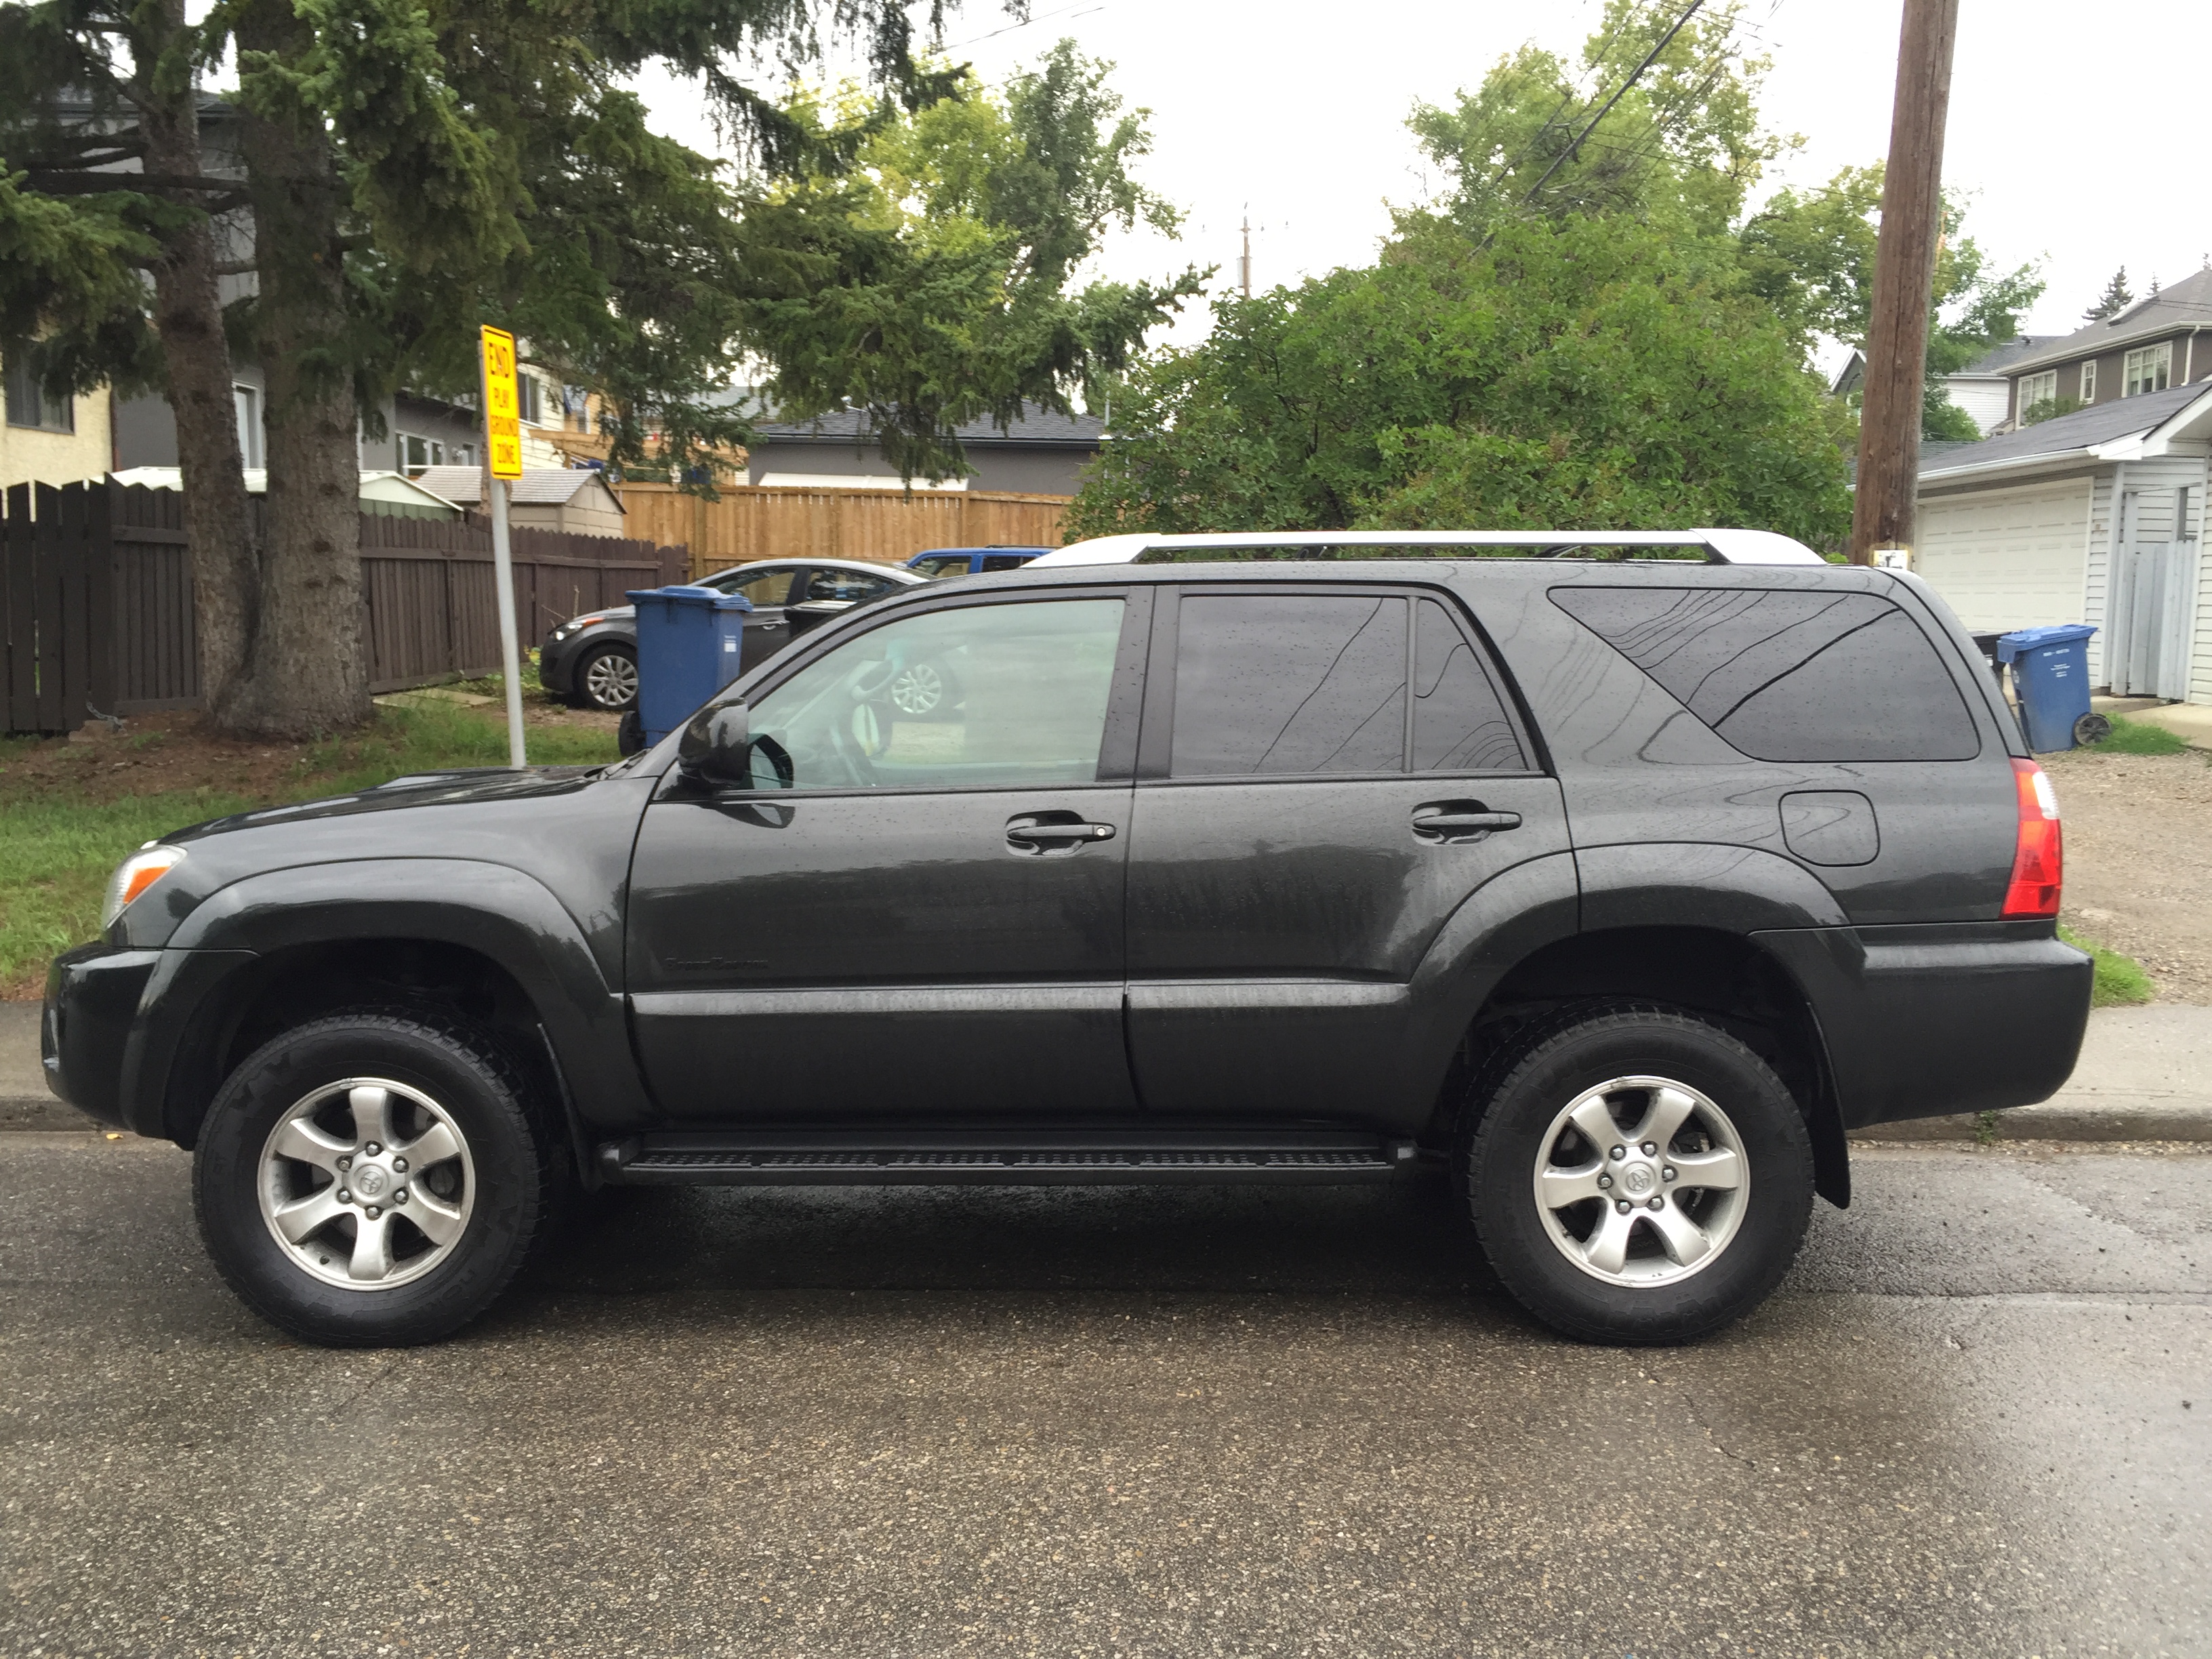
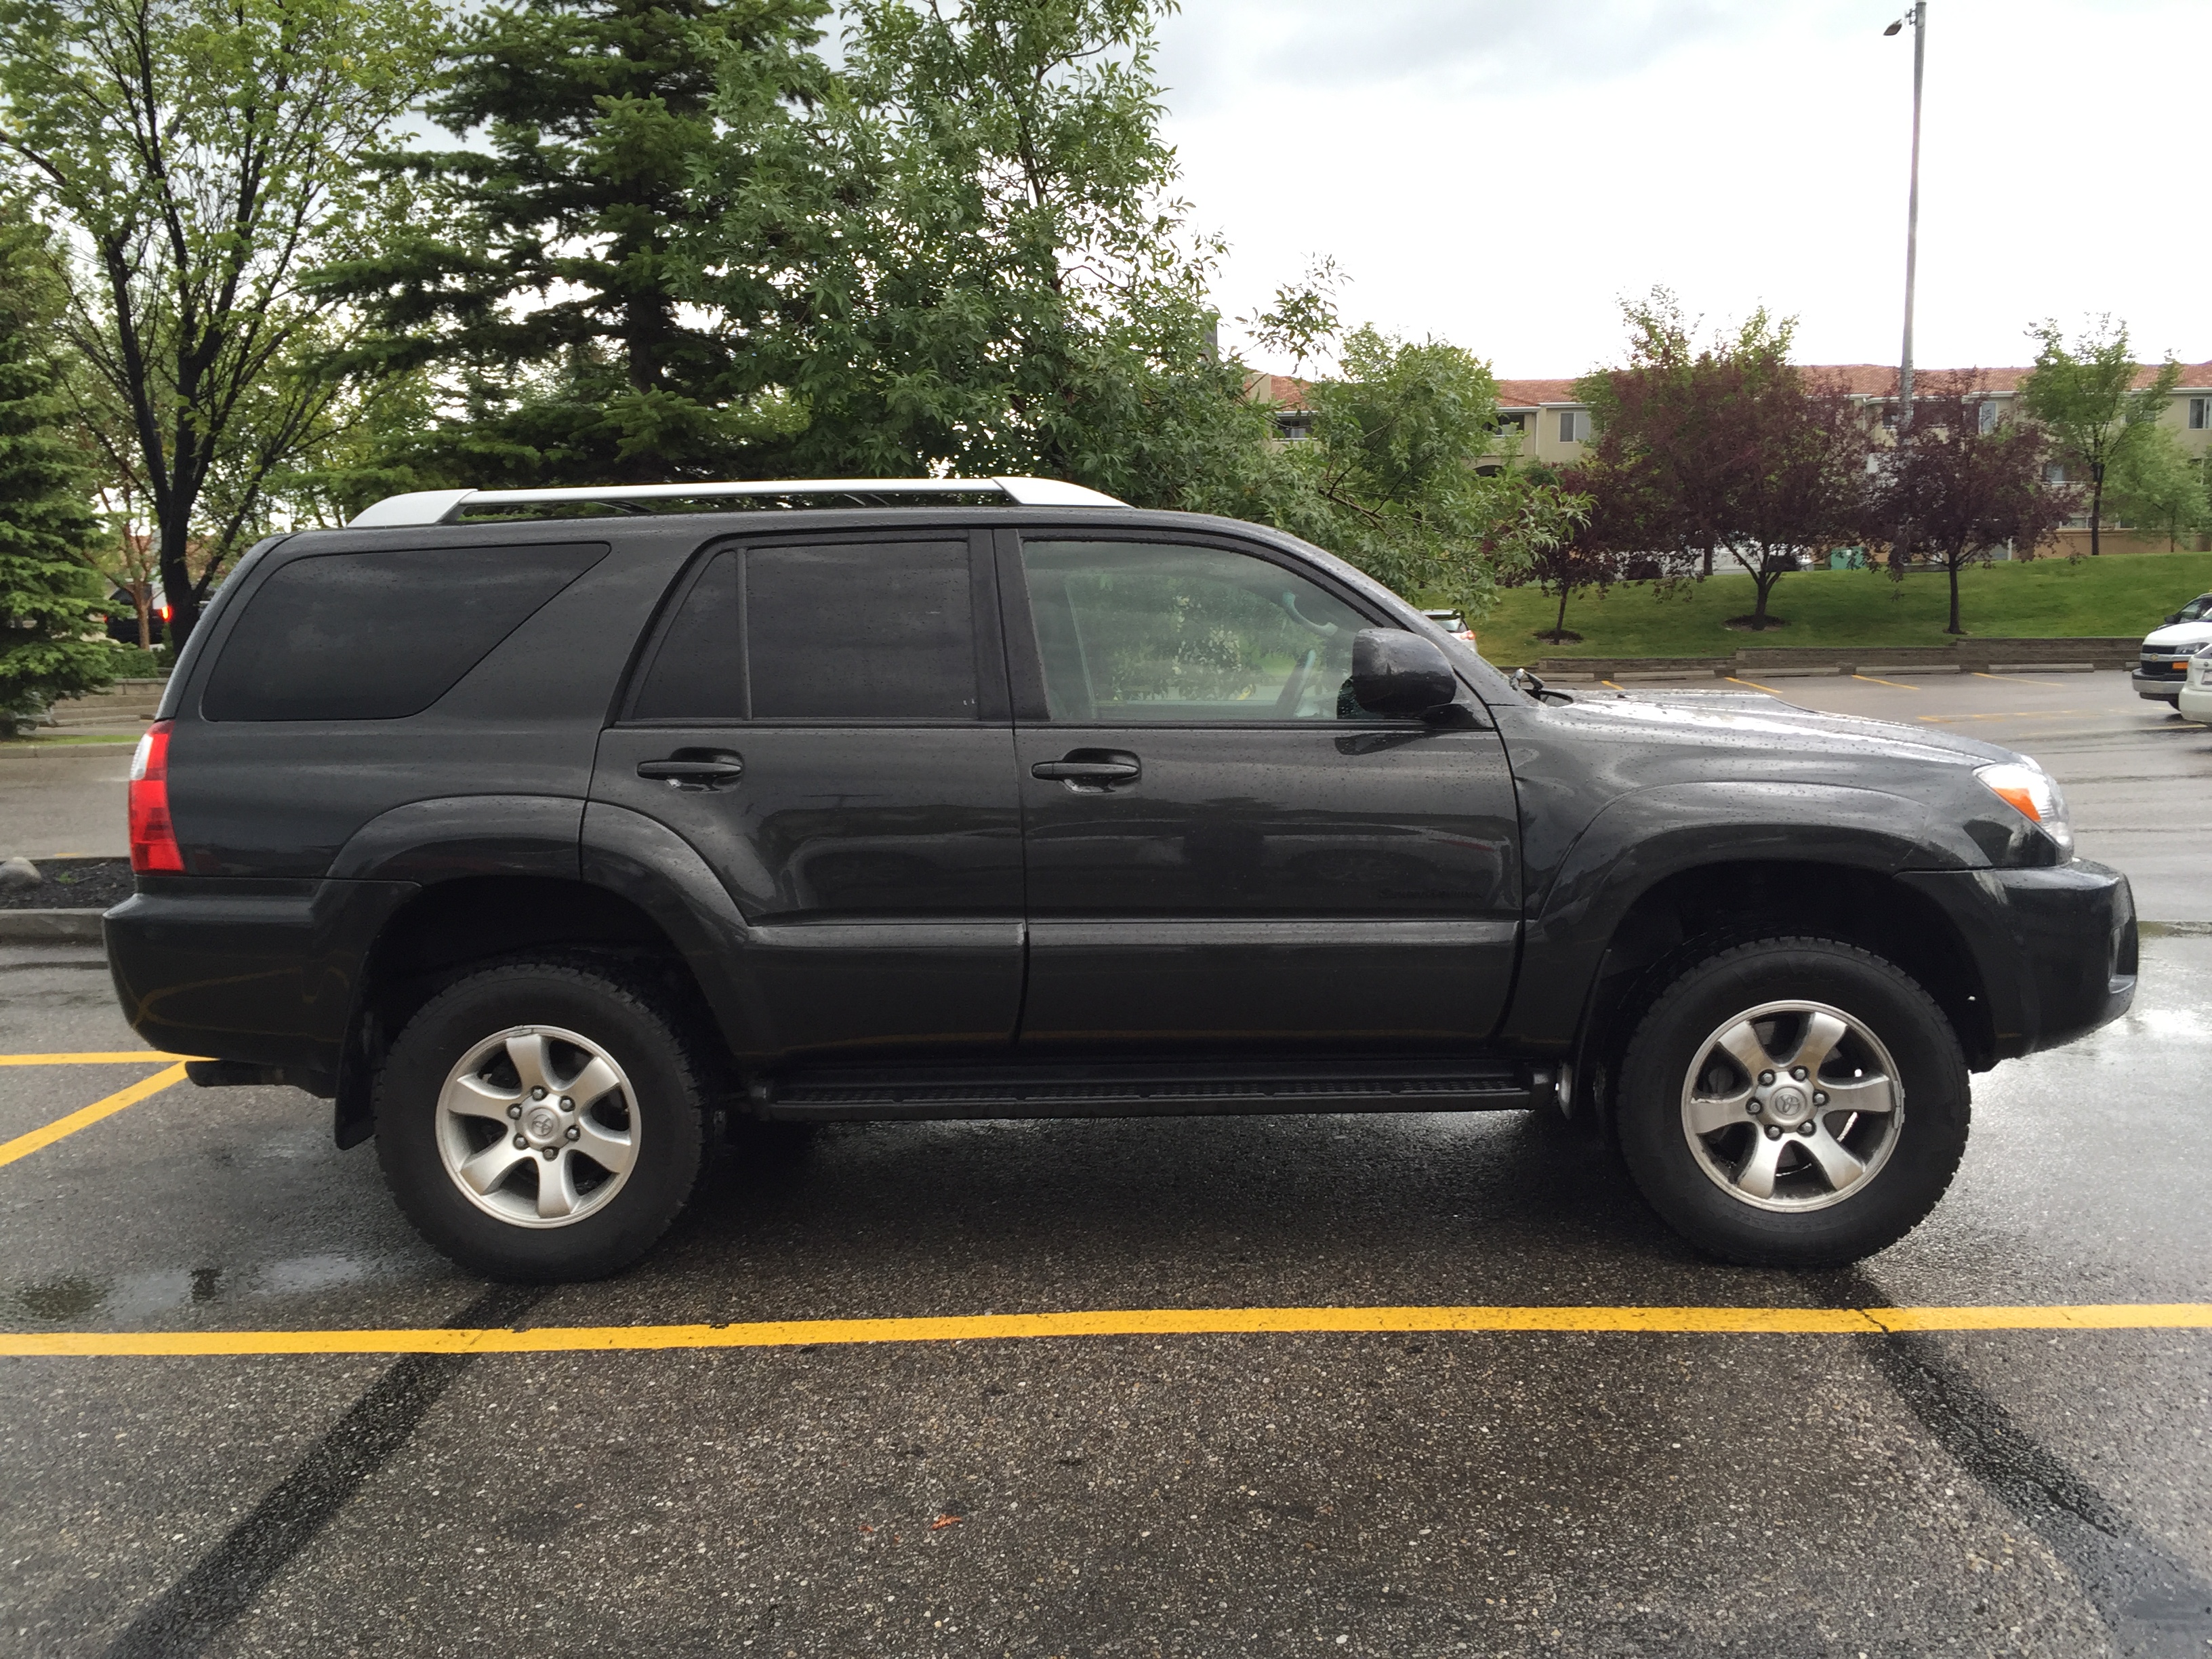
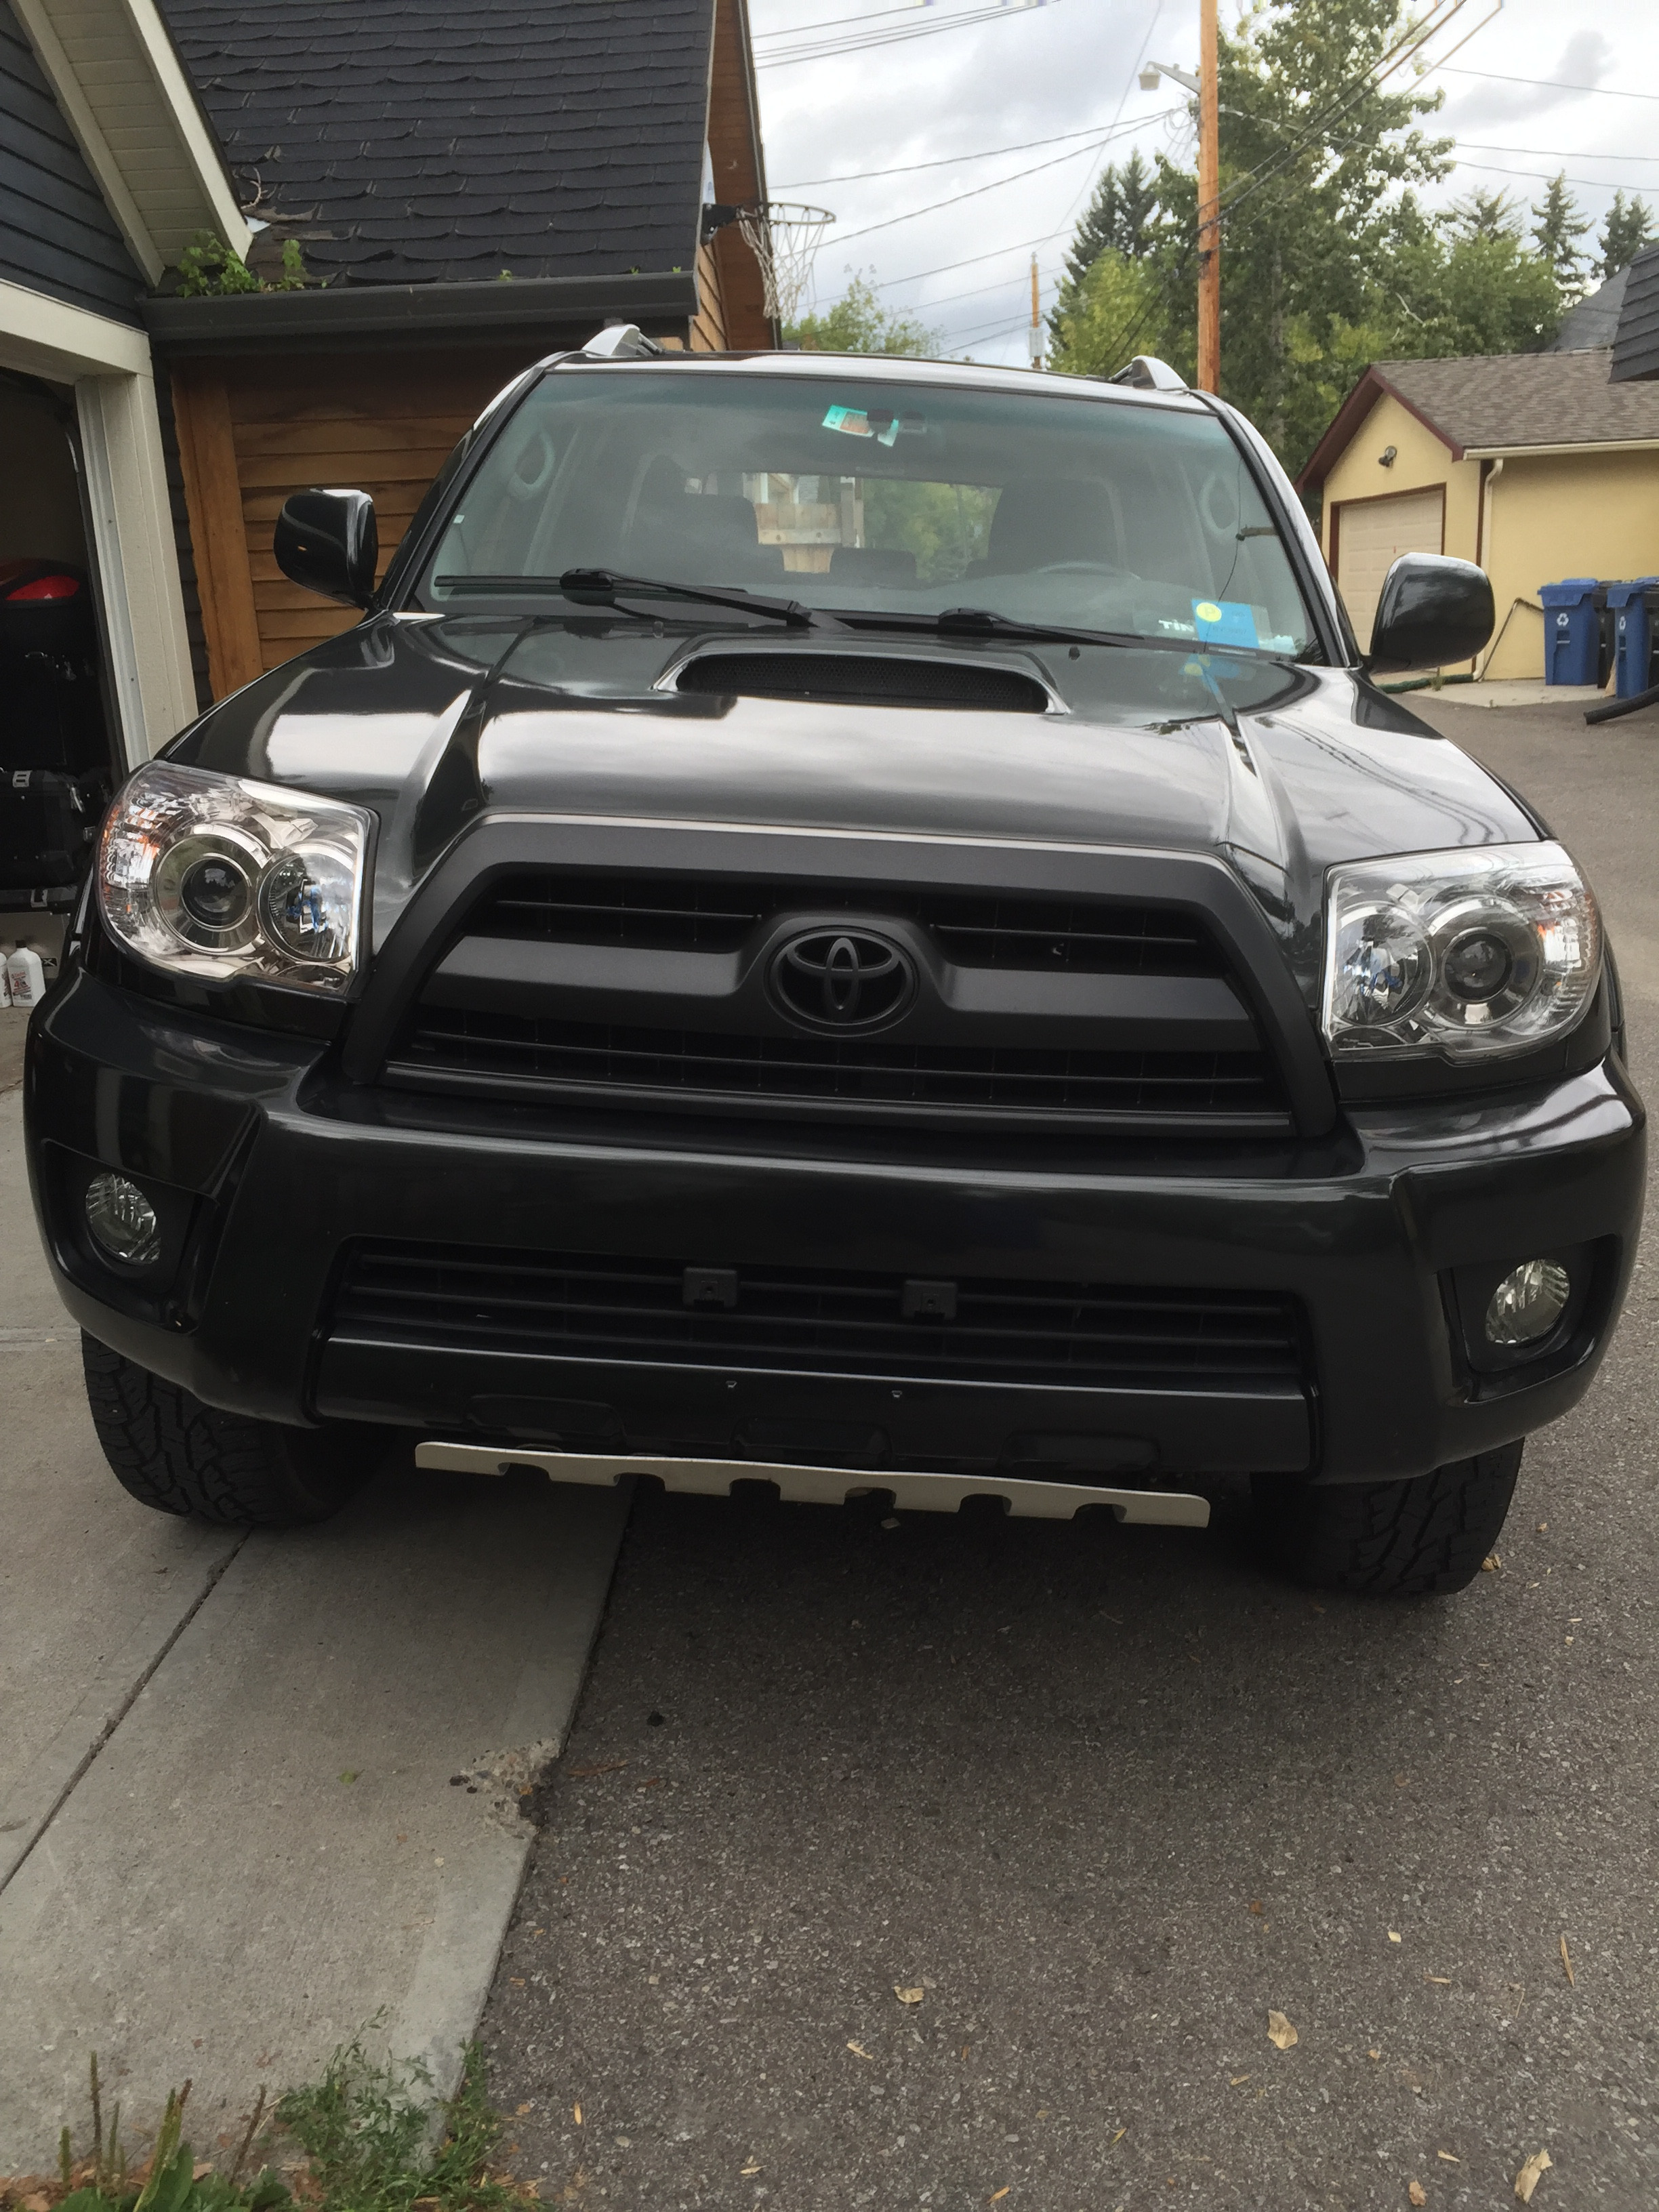
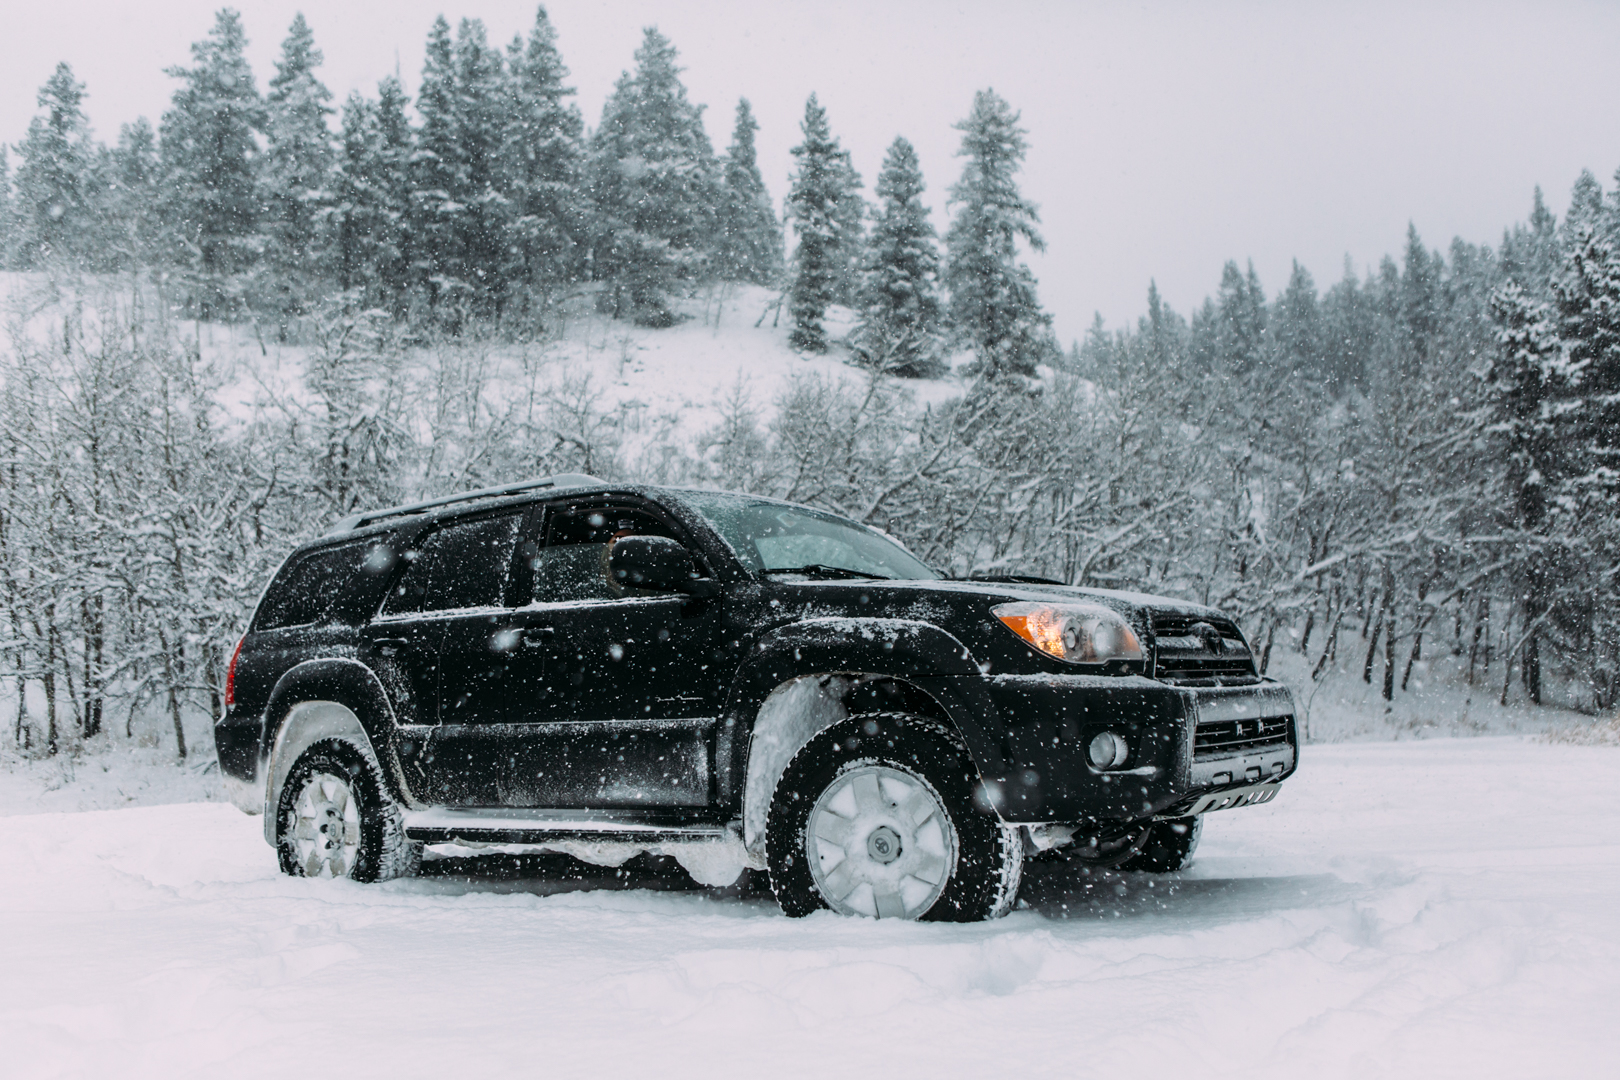
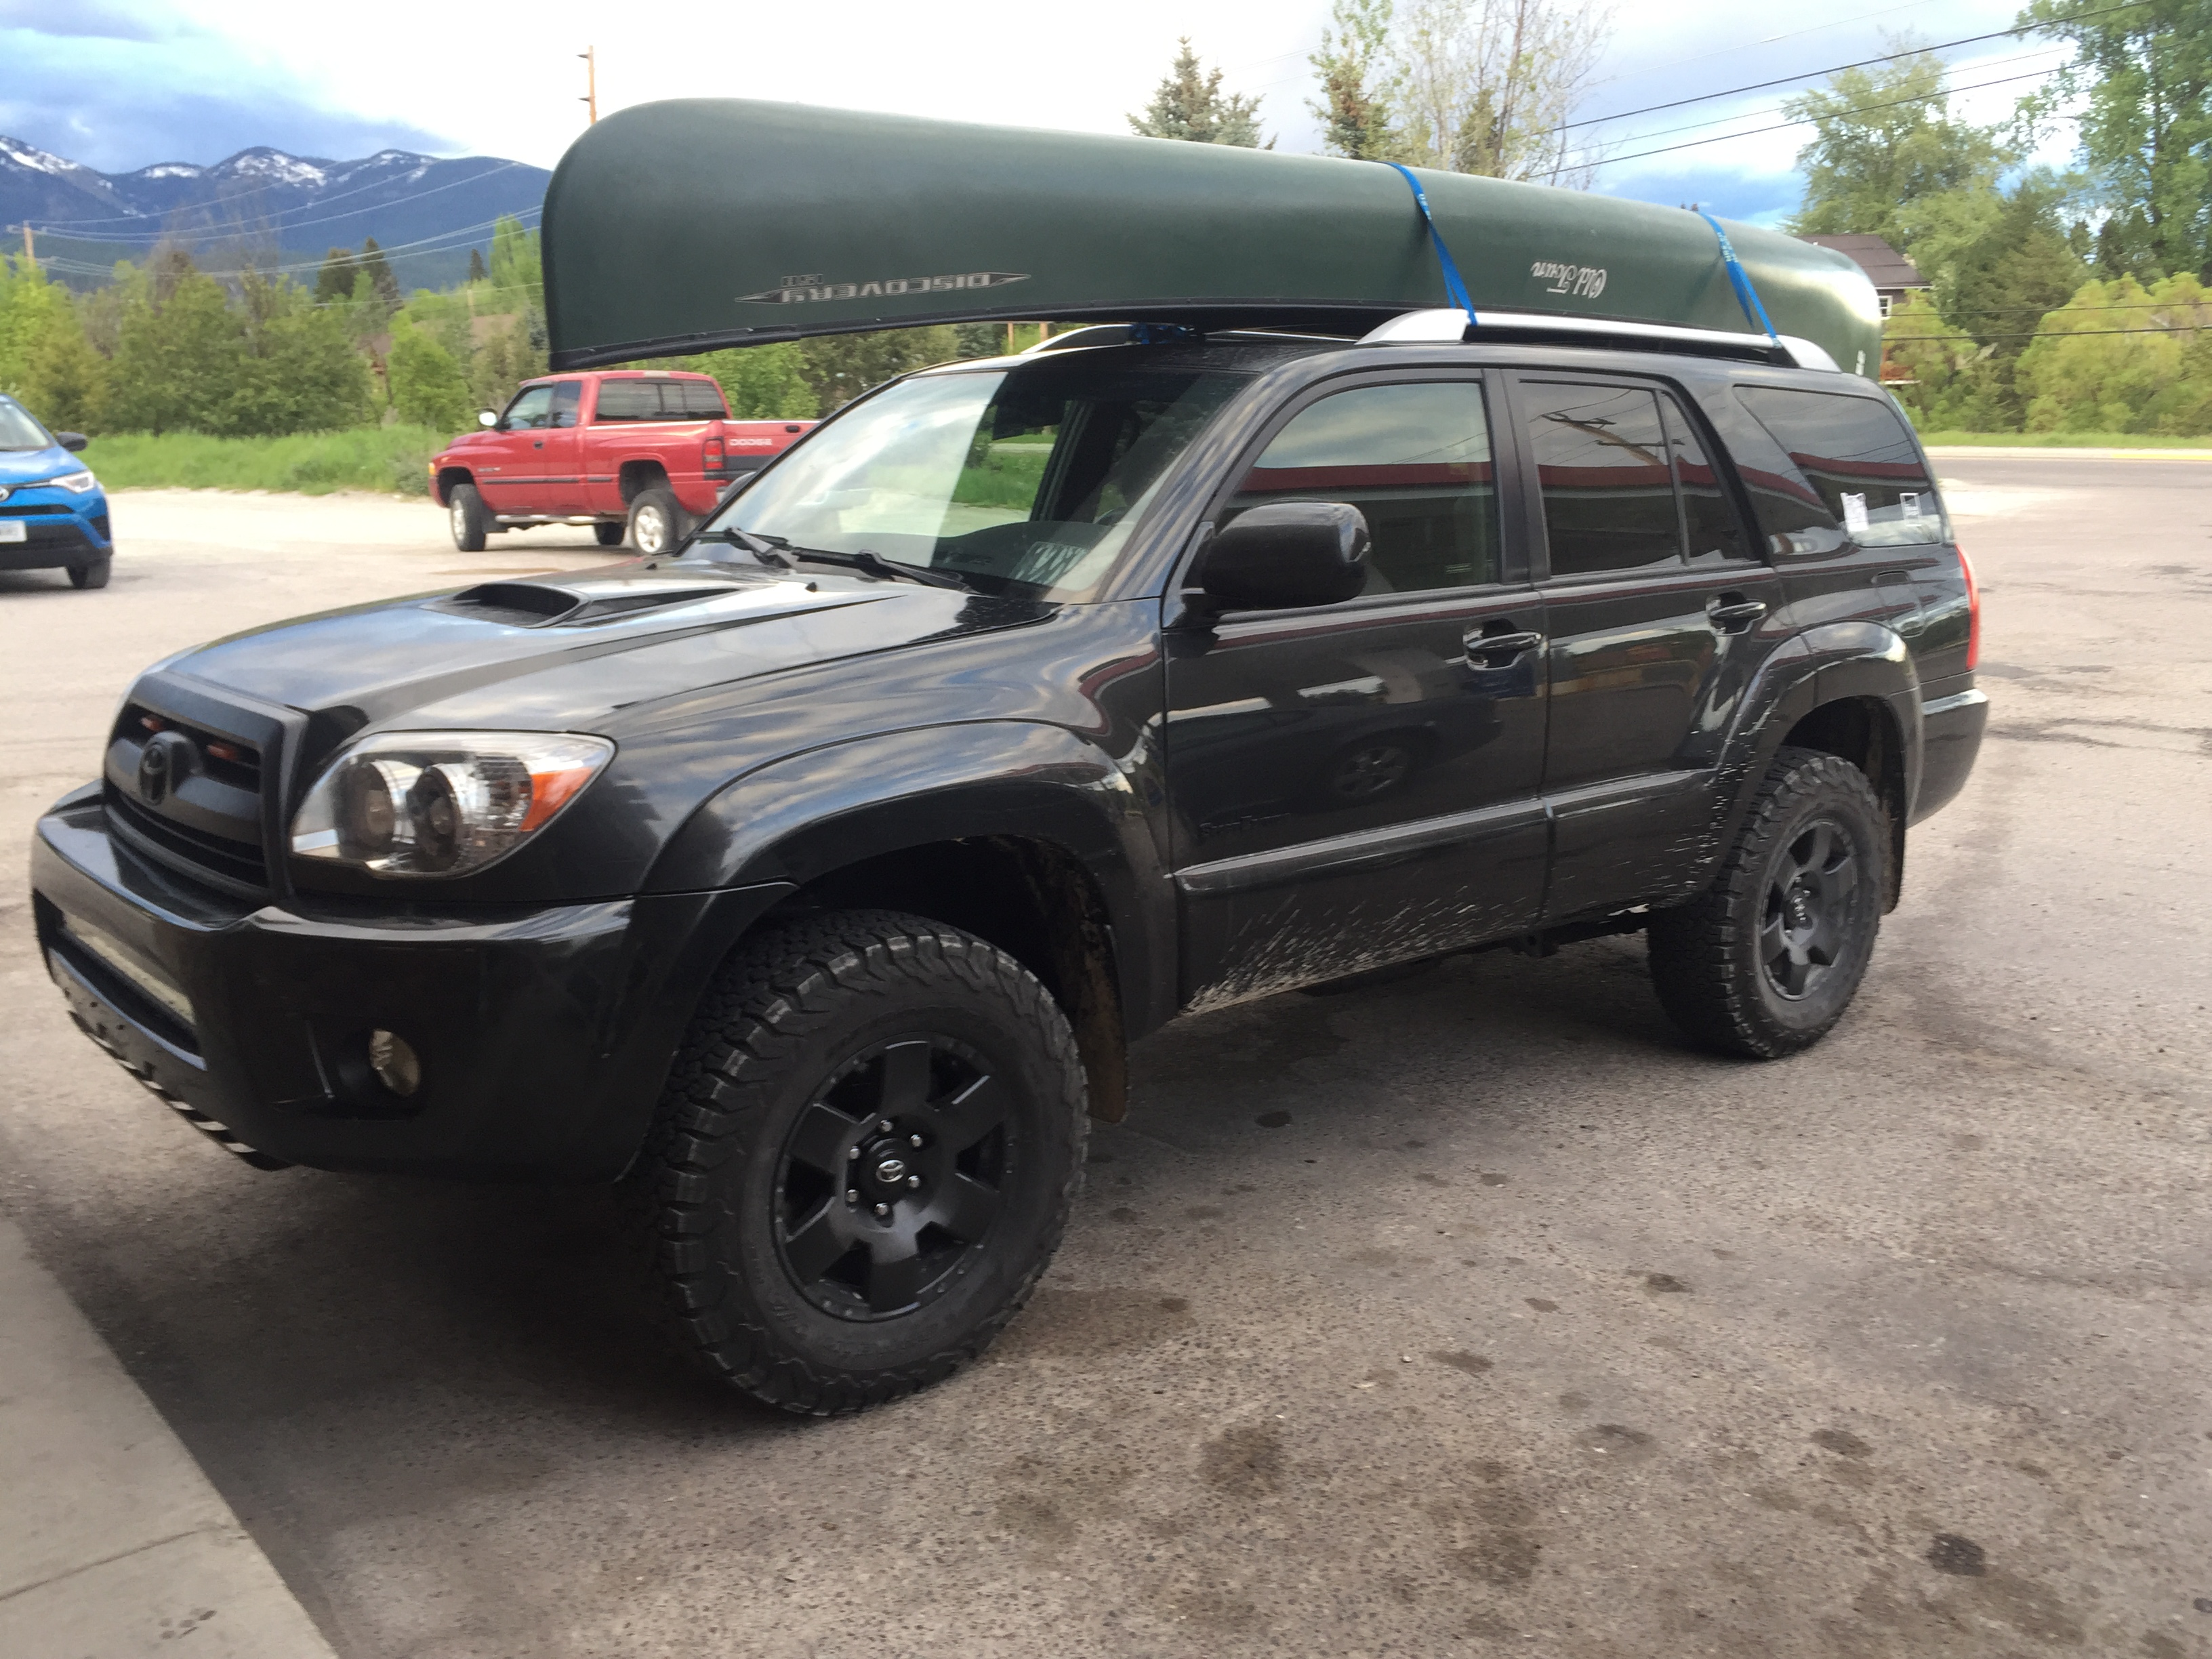
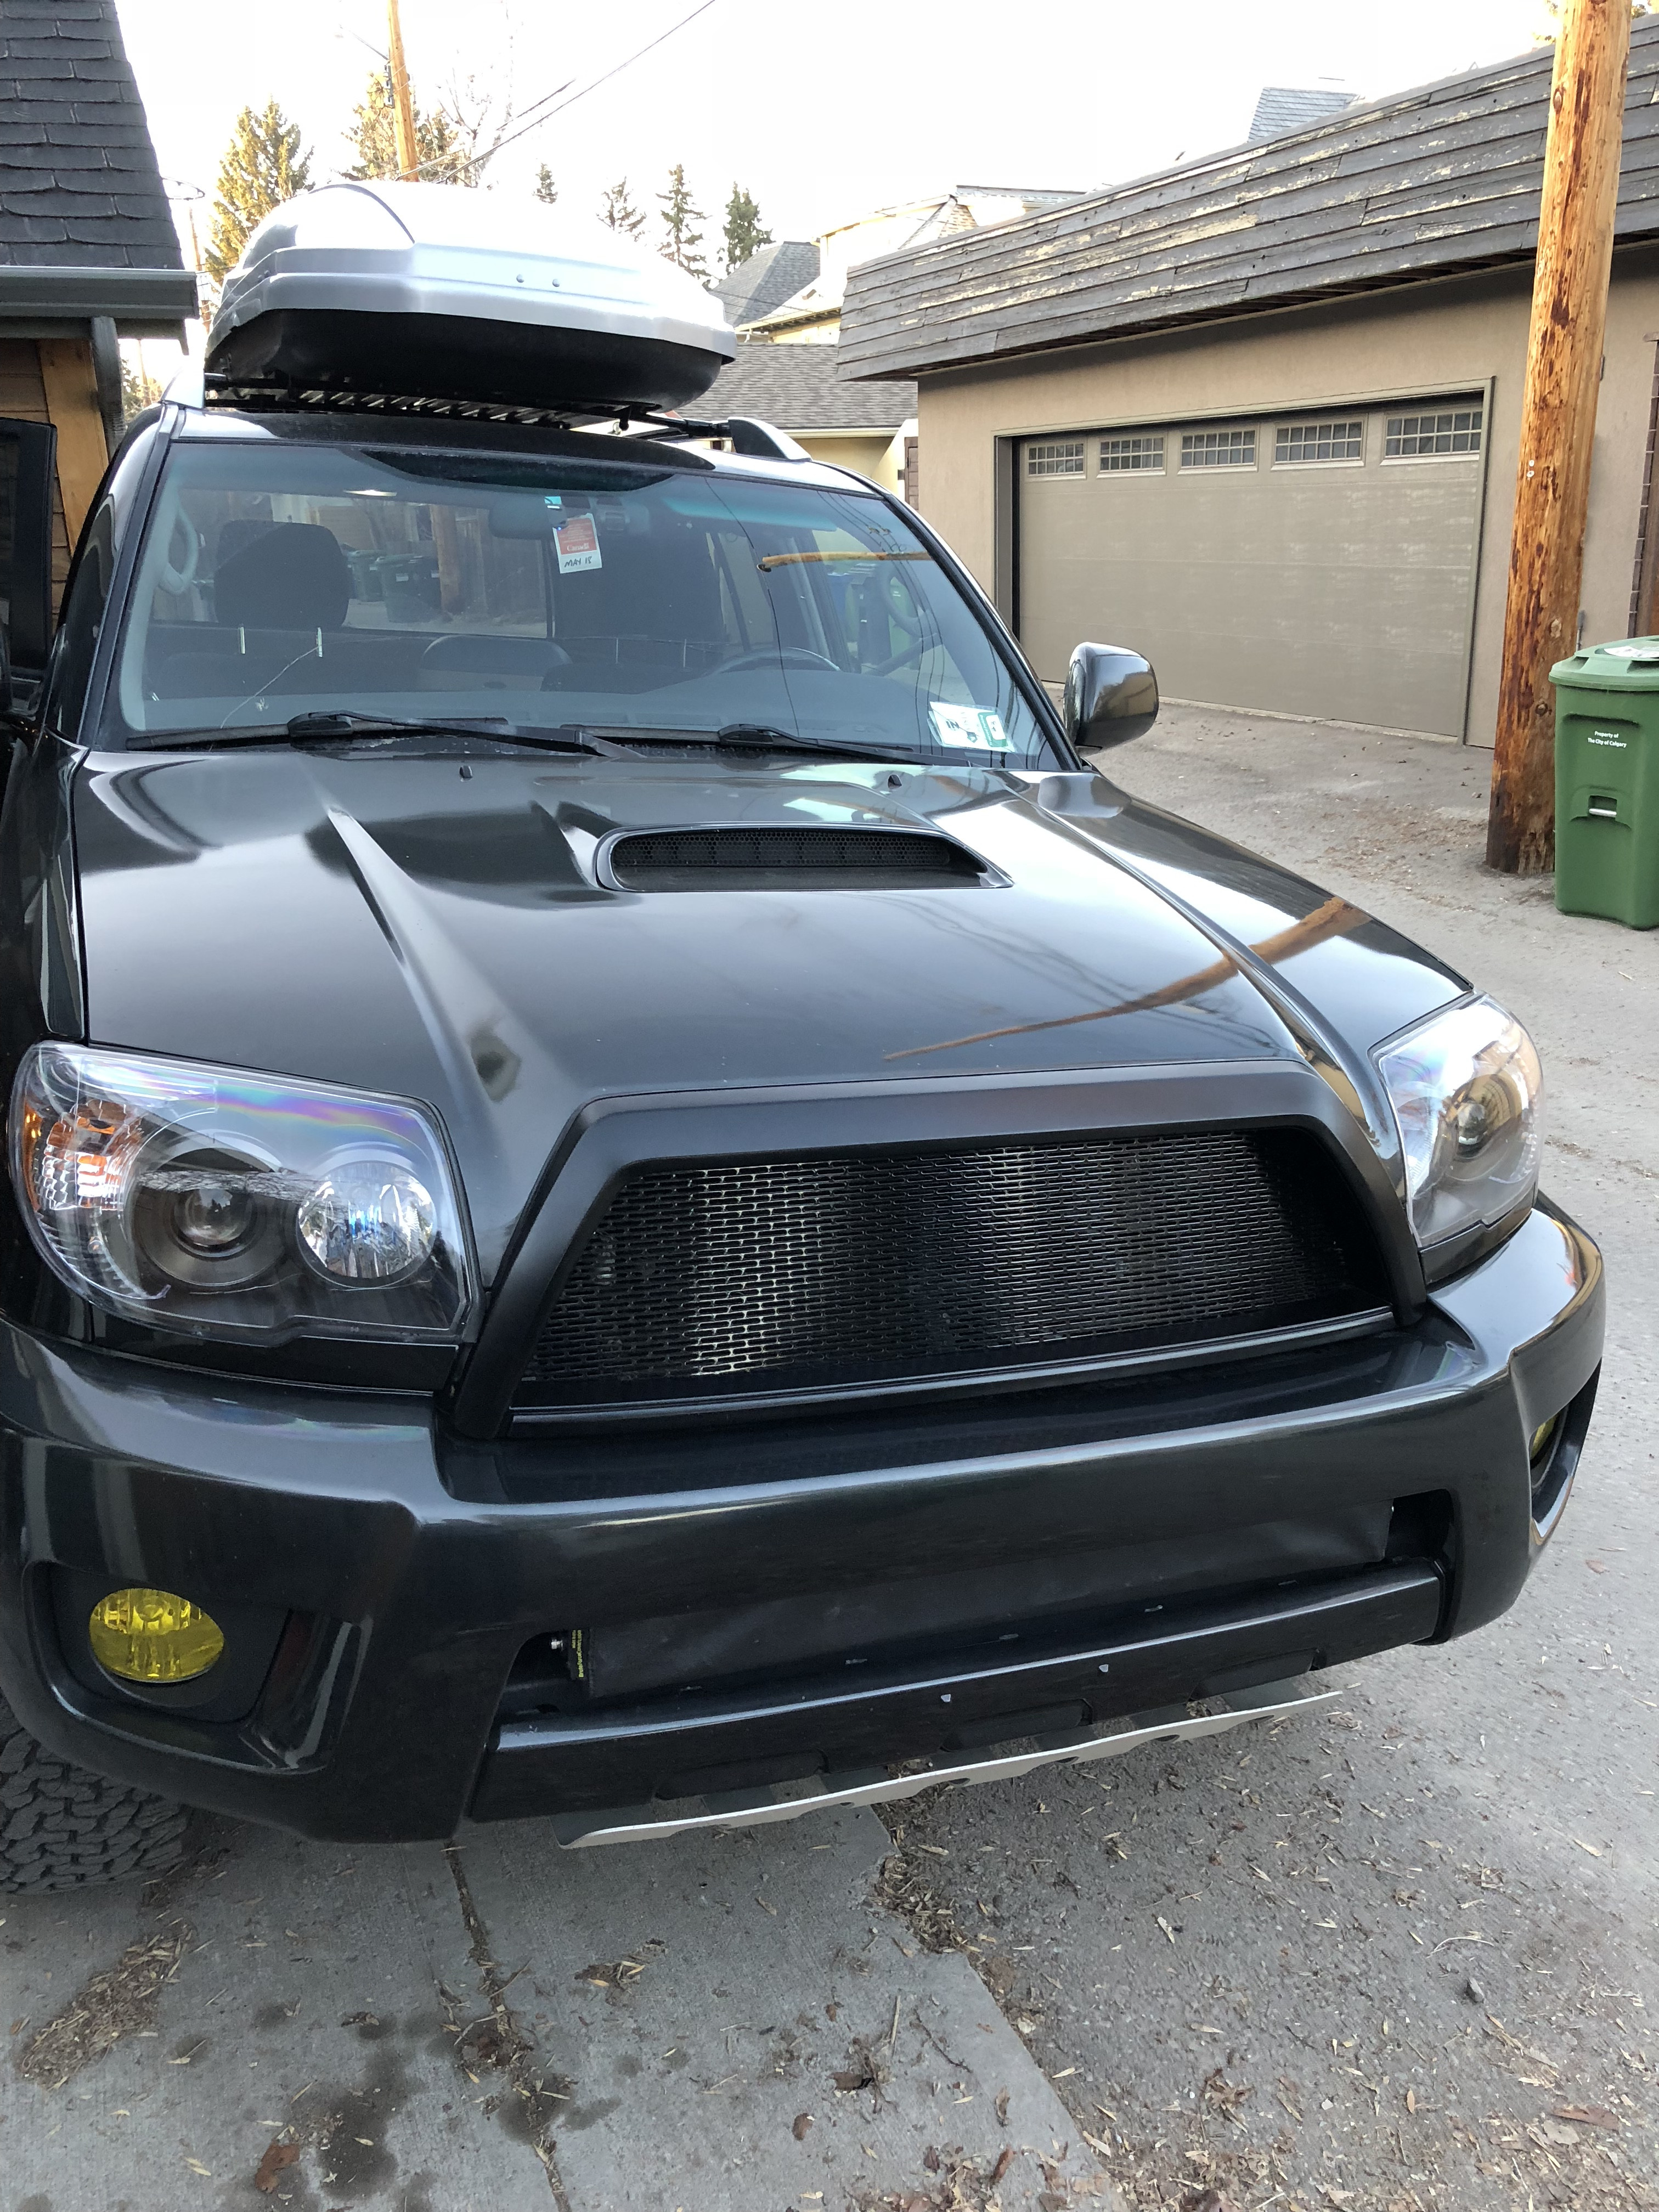
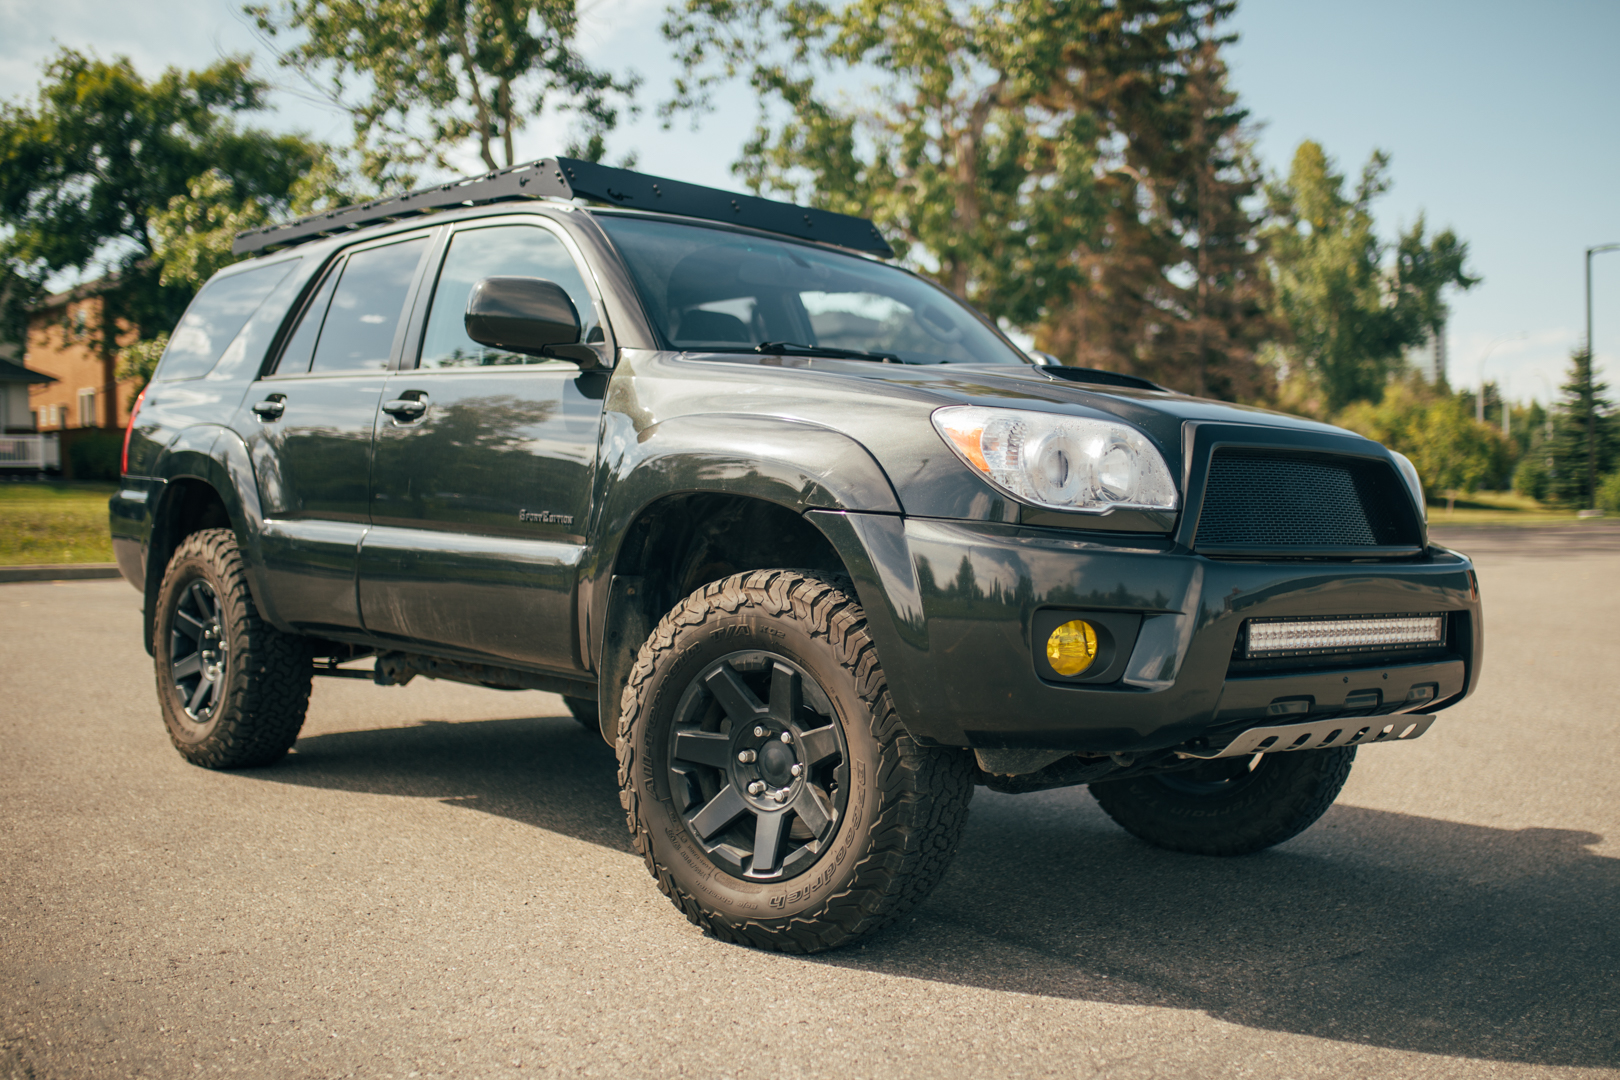
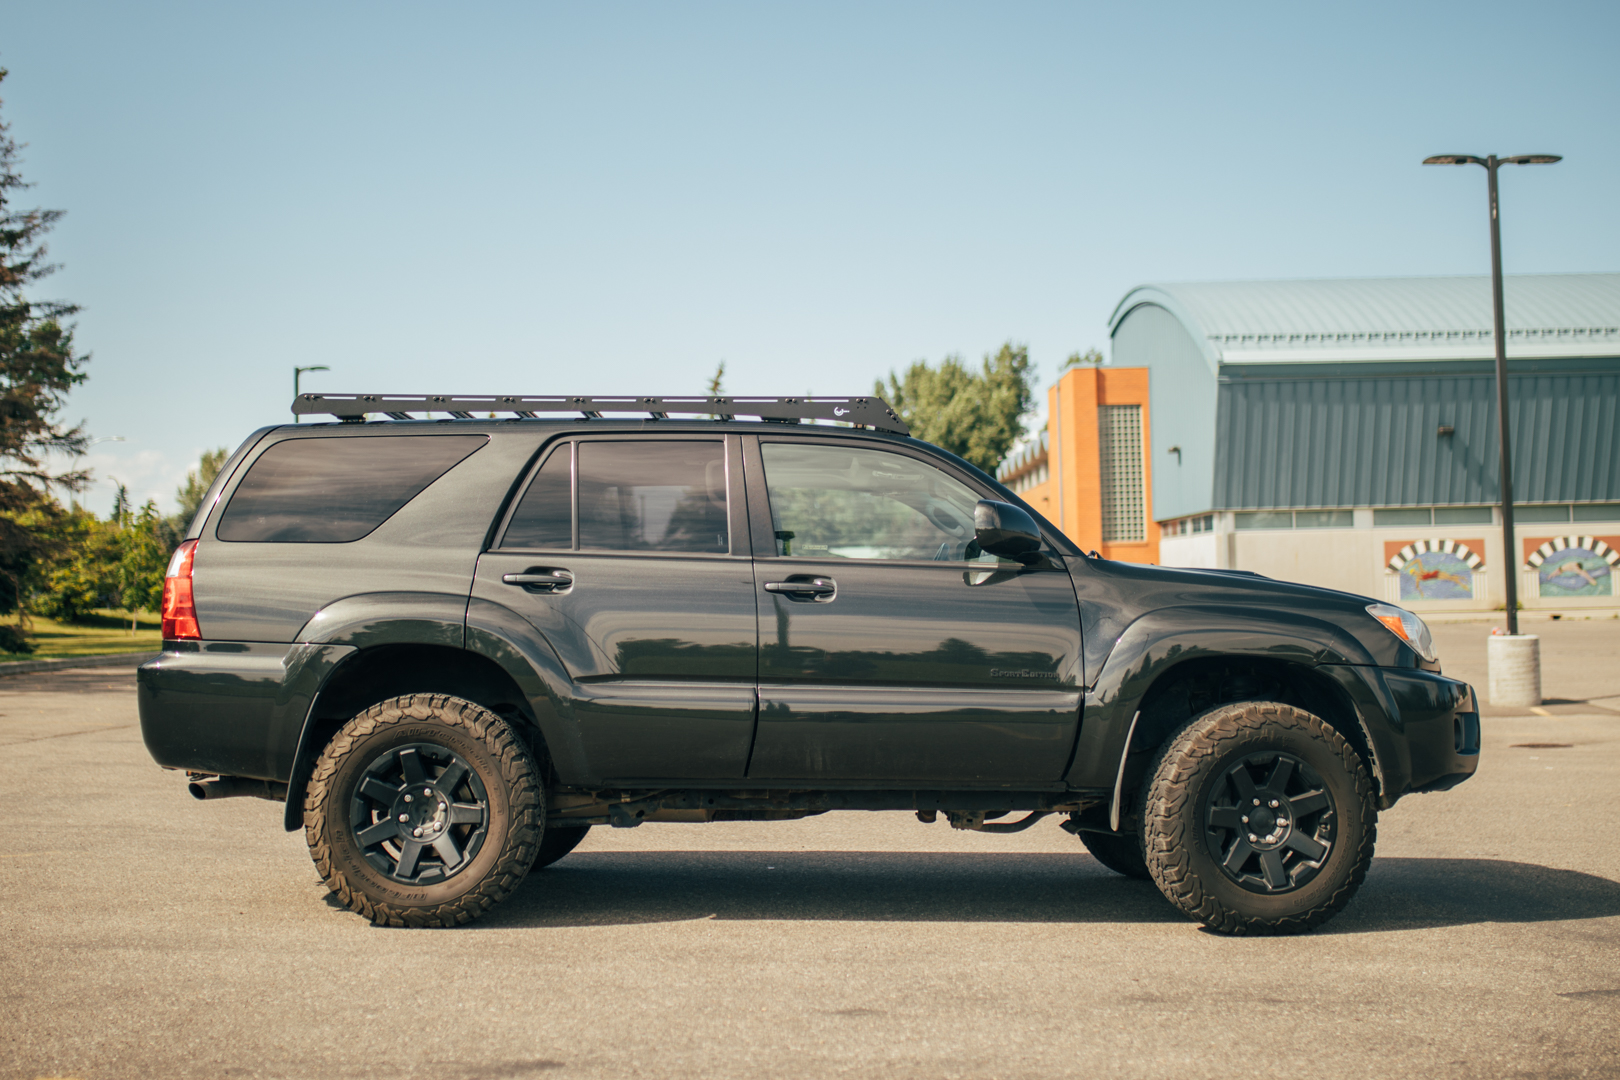
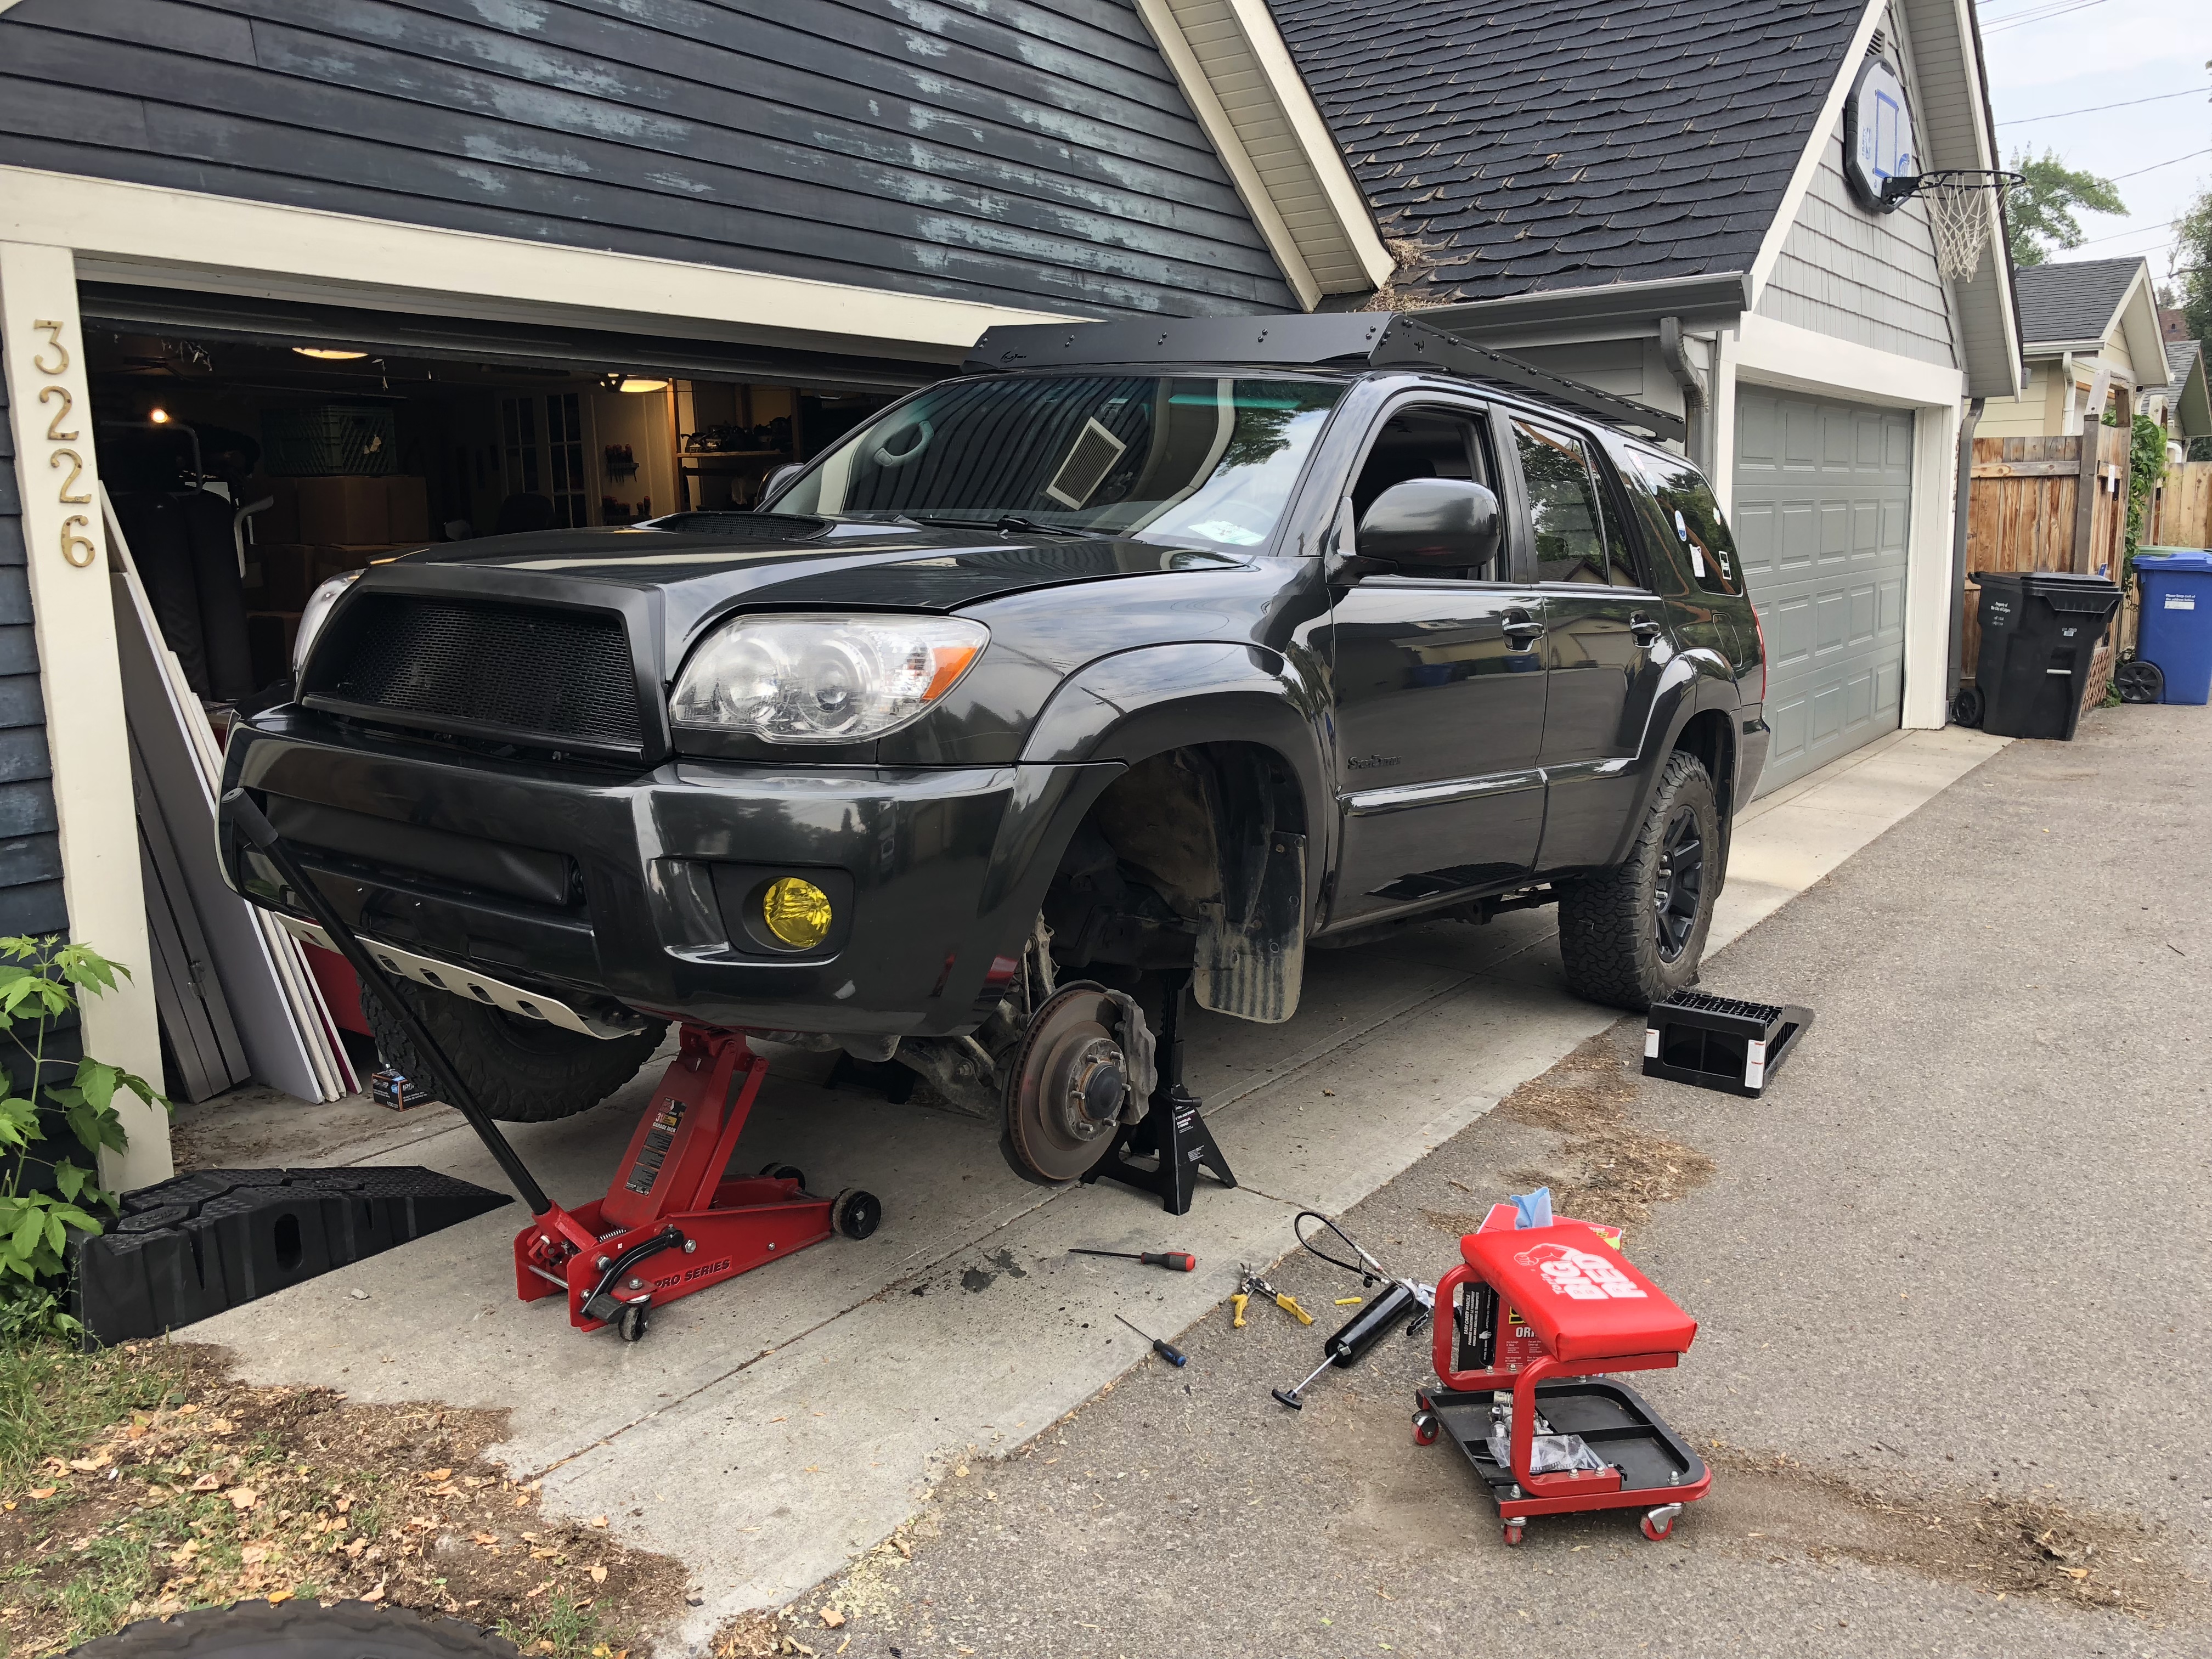
Whytey's 2007 V8 4Runner Sport Edition


Tires/Wheels
Summer:
35x12.5R17 Yokohama G003 Geolander M/T
Stealth Custom Series Gen5 17x9 -38mm Wheels
Winter:
35x12.5R17 Yokohama G003 Geolander M/T Custom Studded and Siped
Stealth Custom Series F5 17x9 -38mm Wheels

Suspension
Specialty Products Company UCA
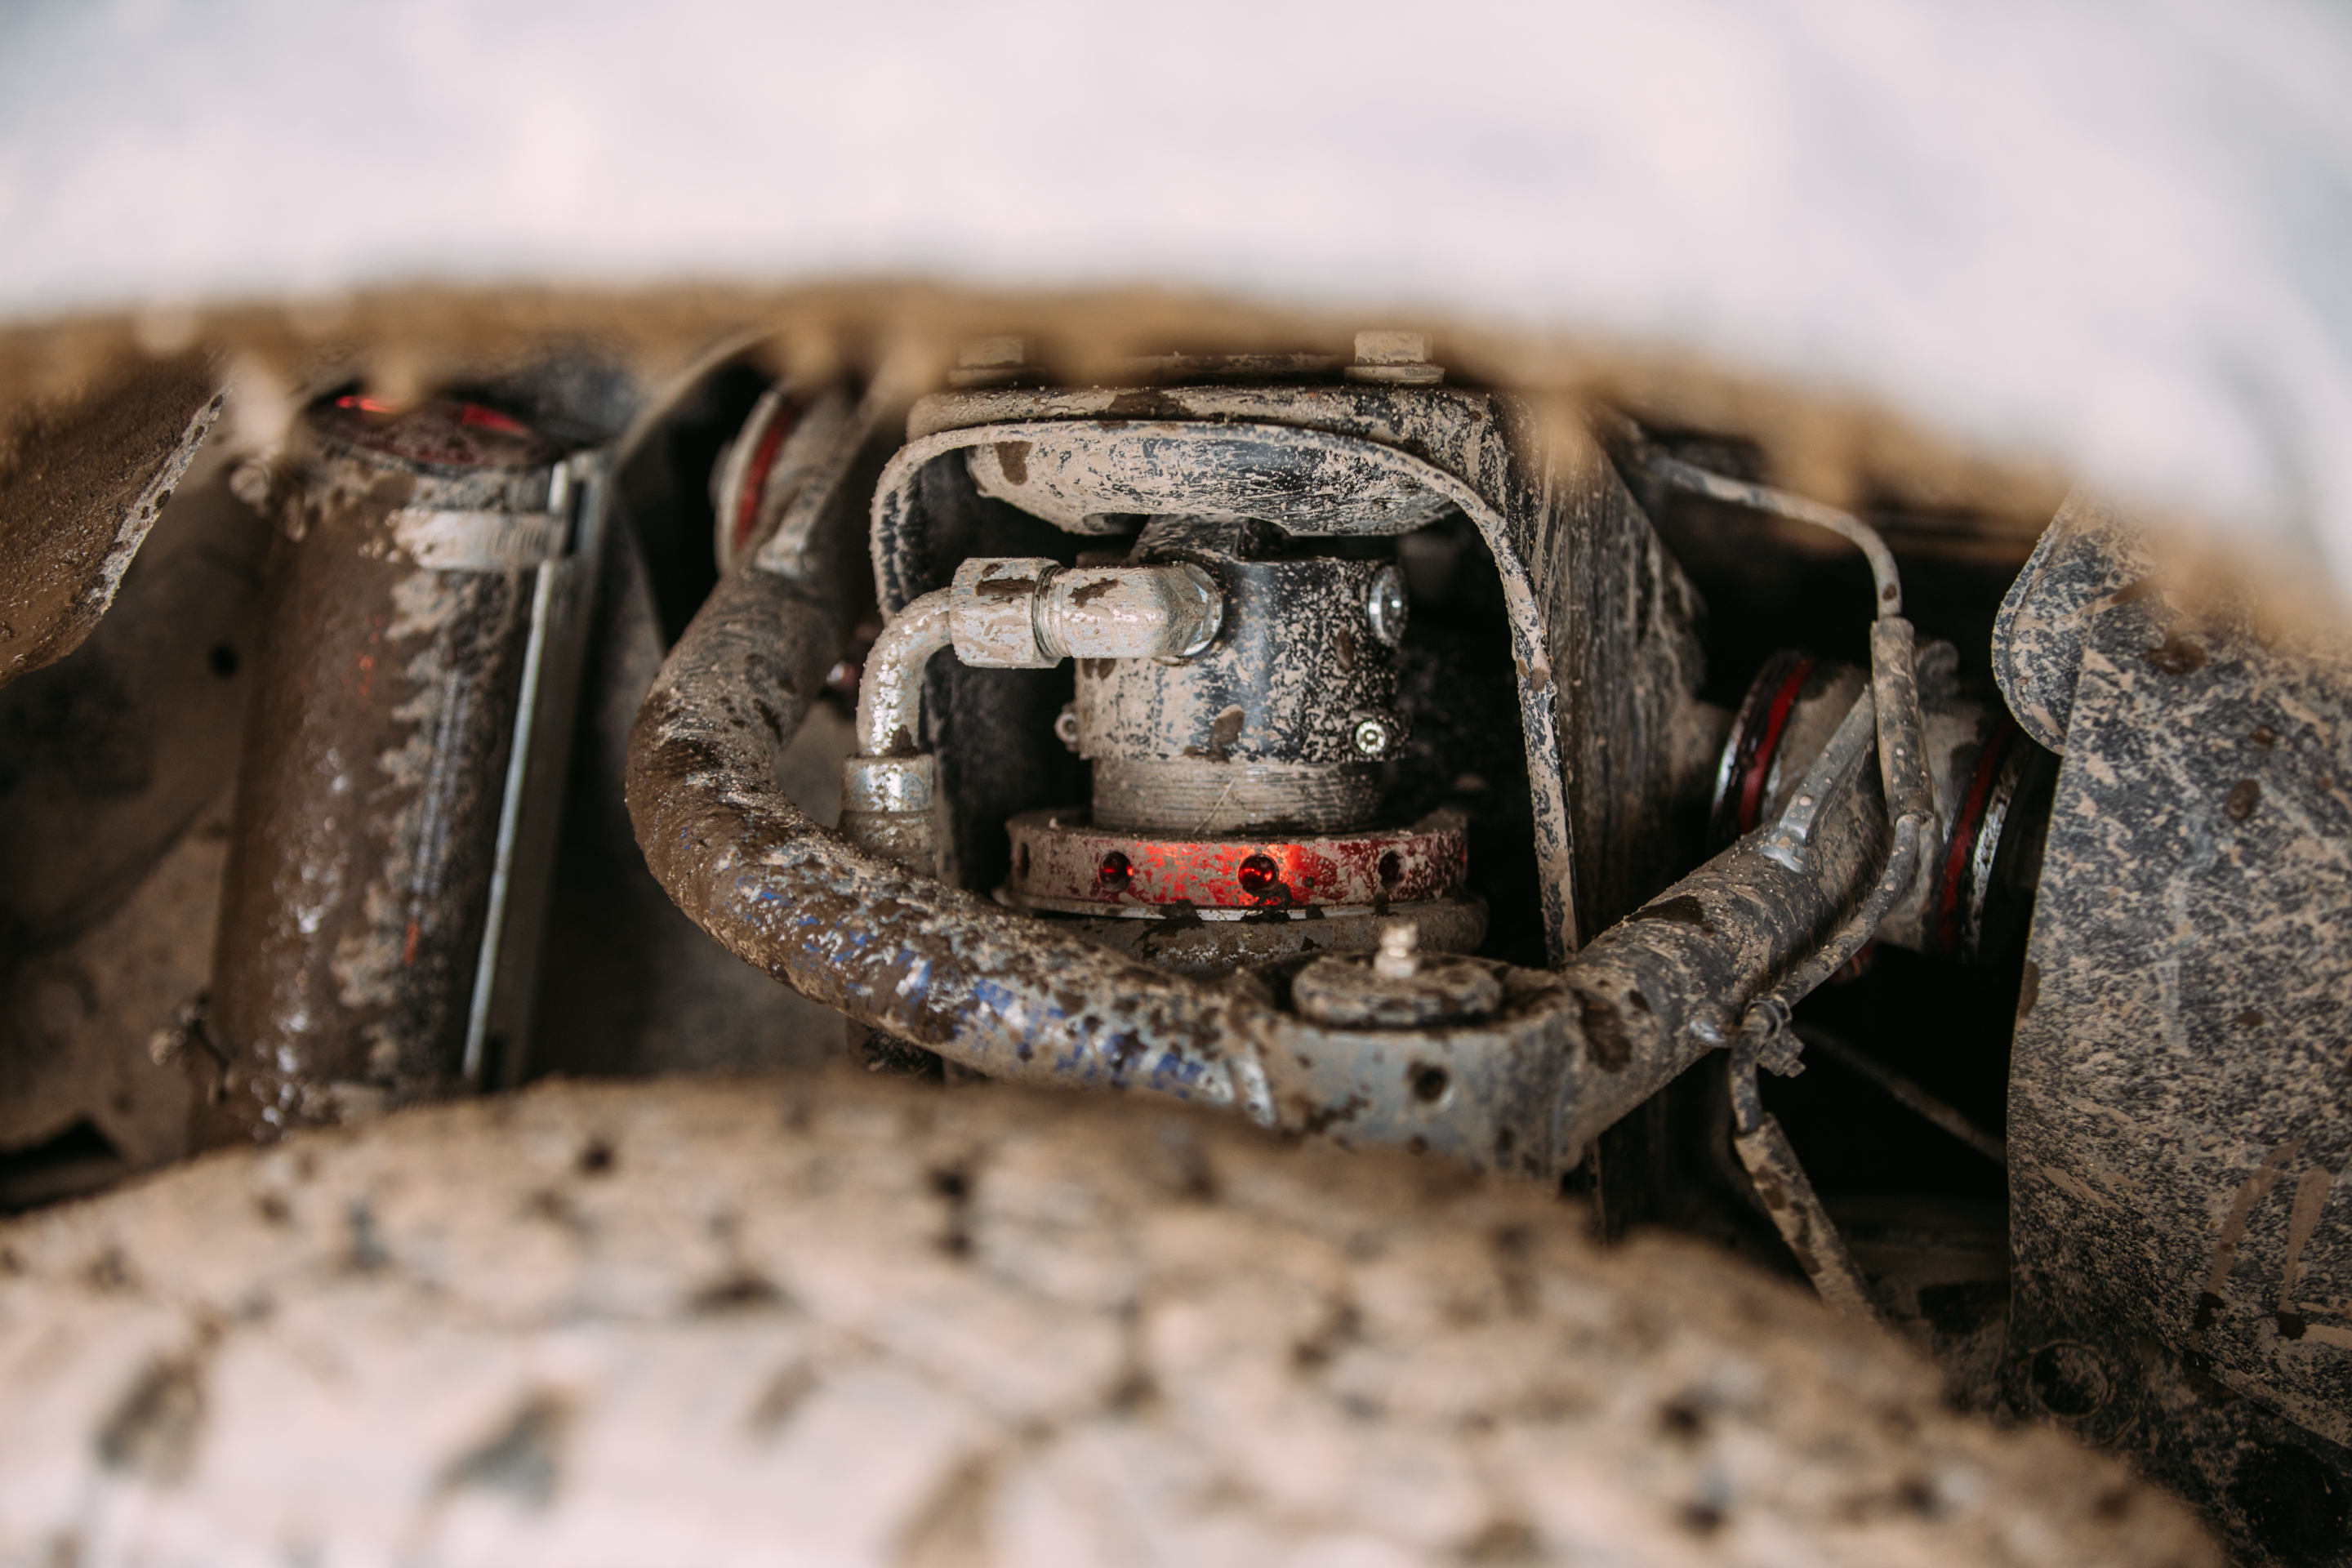
Elka 2.5 Reservoir w/ DSC Front & Rear
Eibach 14" x 700lb Springs on Front Coilovers
Dobinsons C59-749V Rear Coils
Timbren Active Offroad Rear Bumpstops
Timbren SES Front Bumpstops
Total Chaos Spindle Gussets
Total Chaos Cam Tab Gussets
Eimkeith PCK

Armor
Demello Offroad Stealth Series front Bumper
Coastal Offroad Rear Dual Swing Out
RA Motorsports Full Aluminum Skid Plates

Electrical
Northstar AGM Group 31
Switchpro 9100
Powertray Mount for Switchpro & Busbar
BlueSea 80 Amp Circuit Breaker
Blue Sea Dual USB Mounted on Center Dash

Appearance
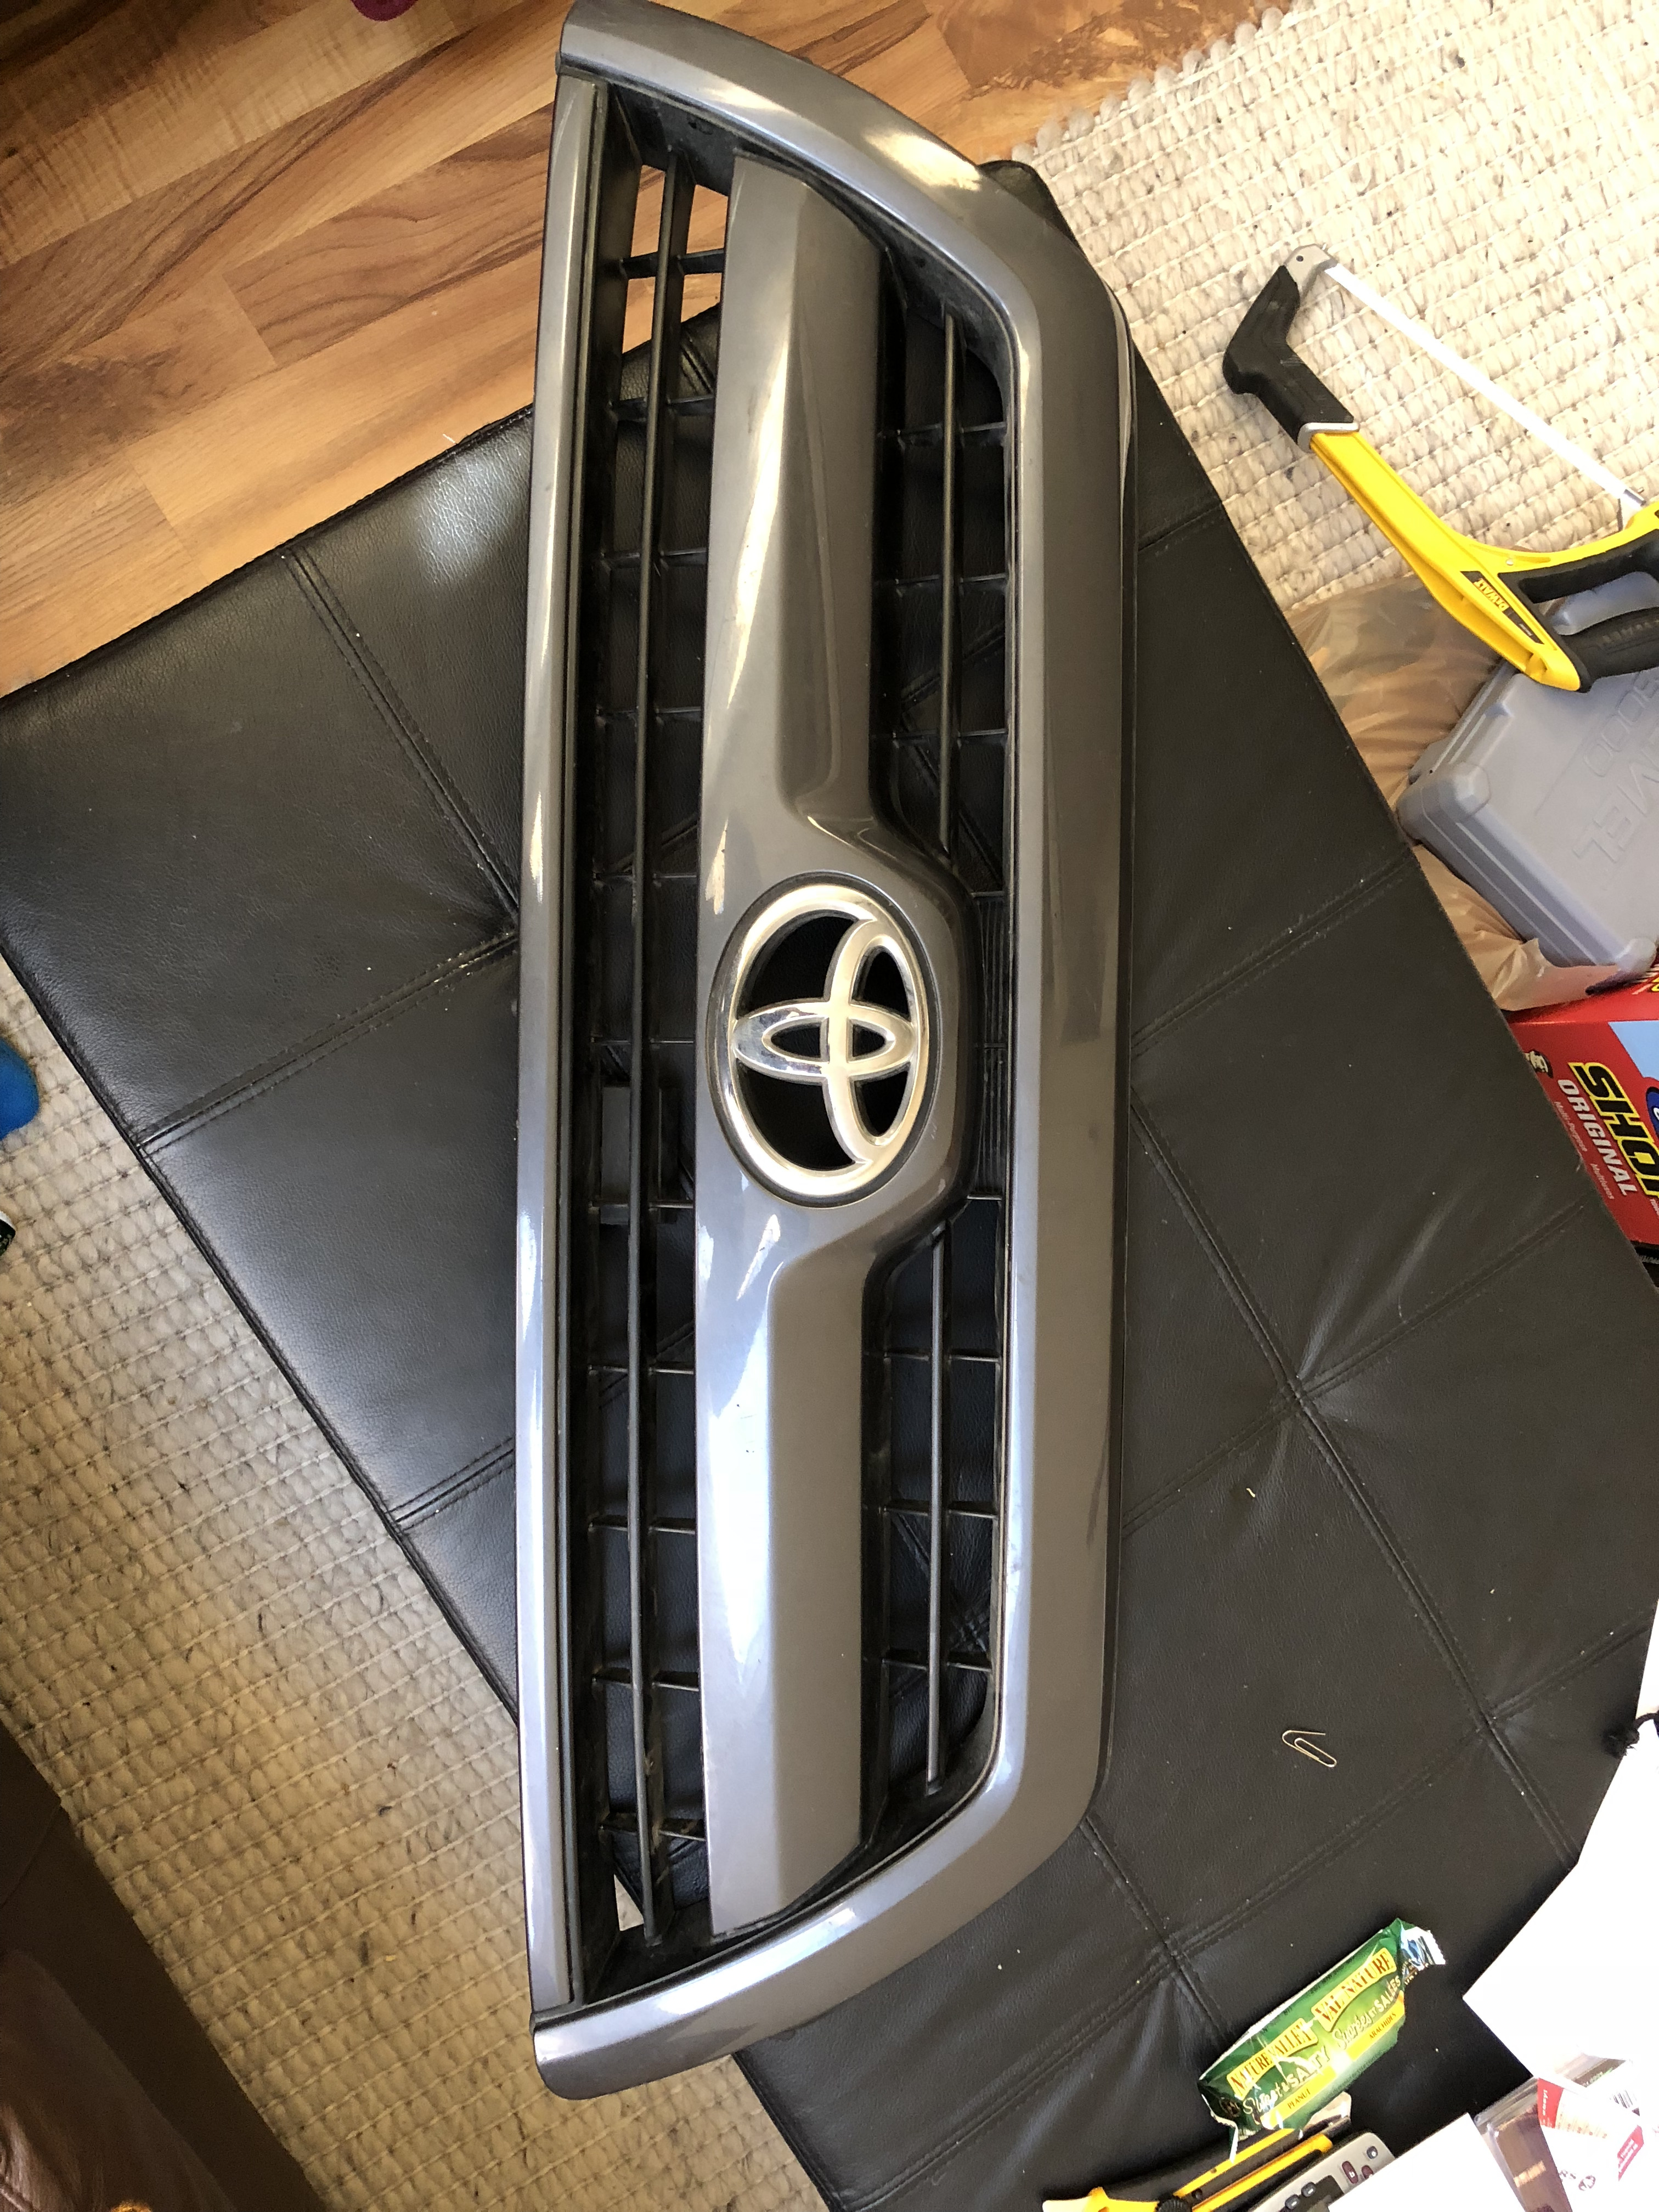
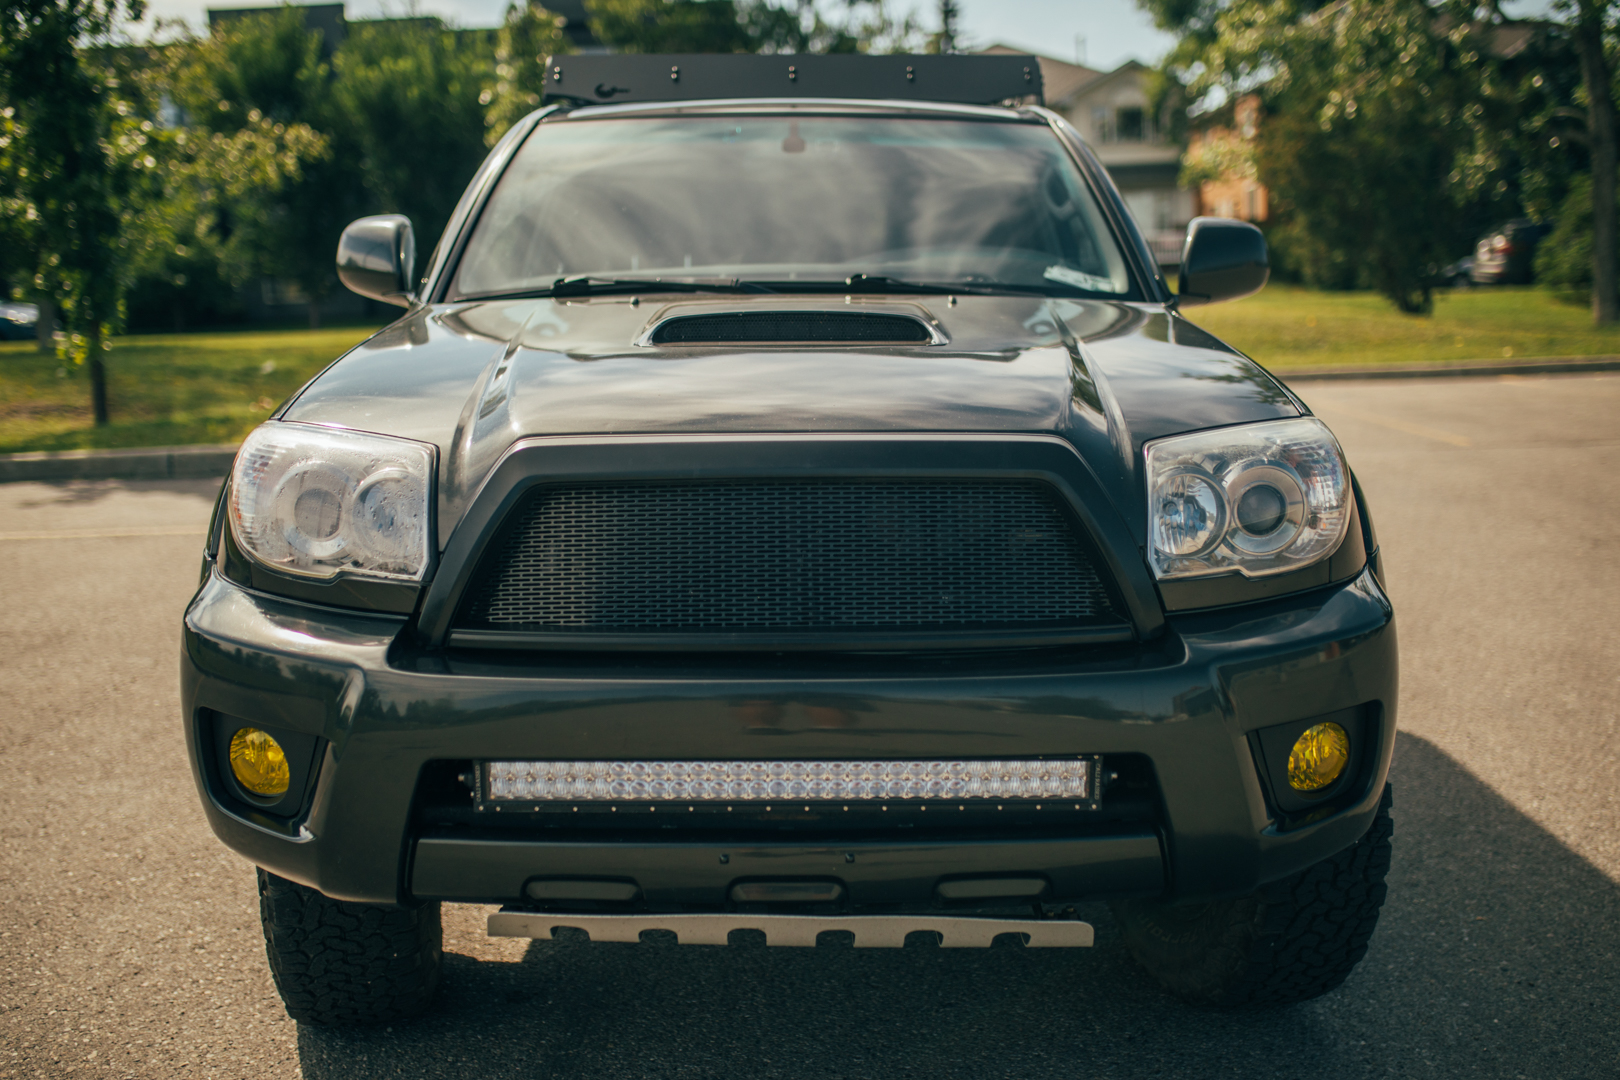
TRD Pro Style Grill
Running Boards Delete
Blacked Out Emblems & Chrome Delete

Lighting
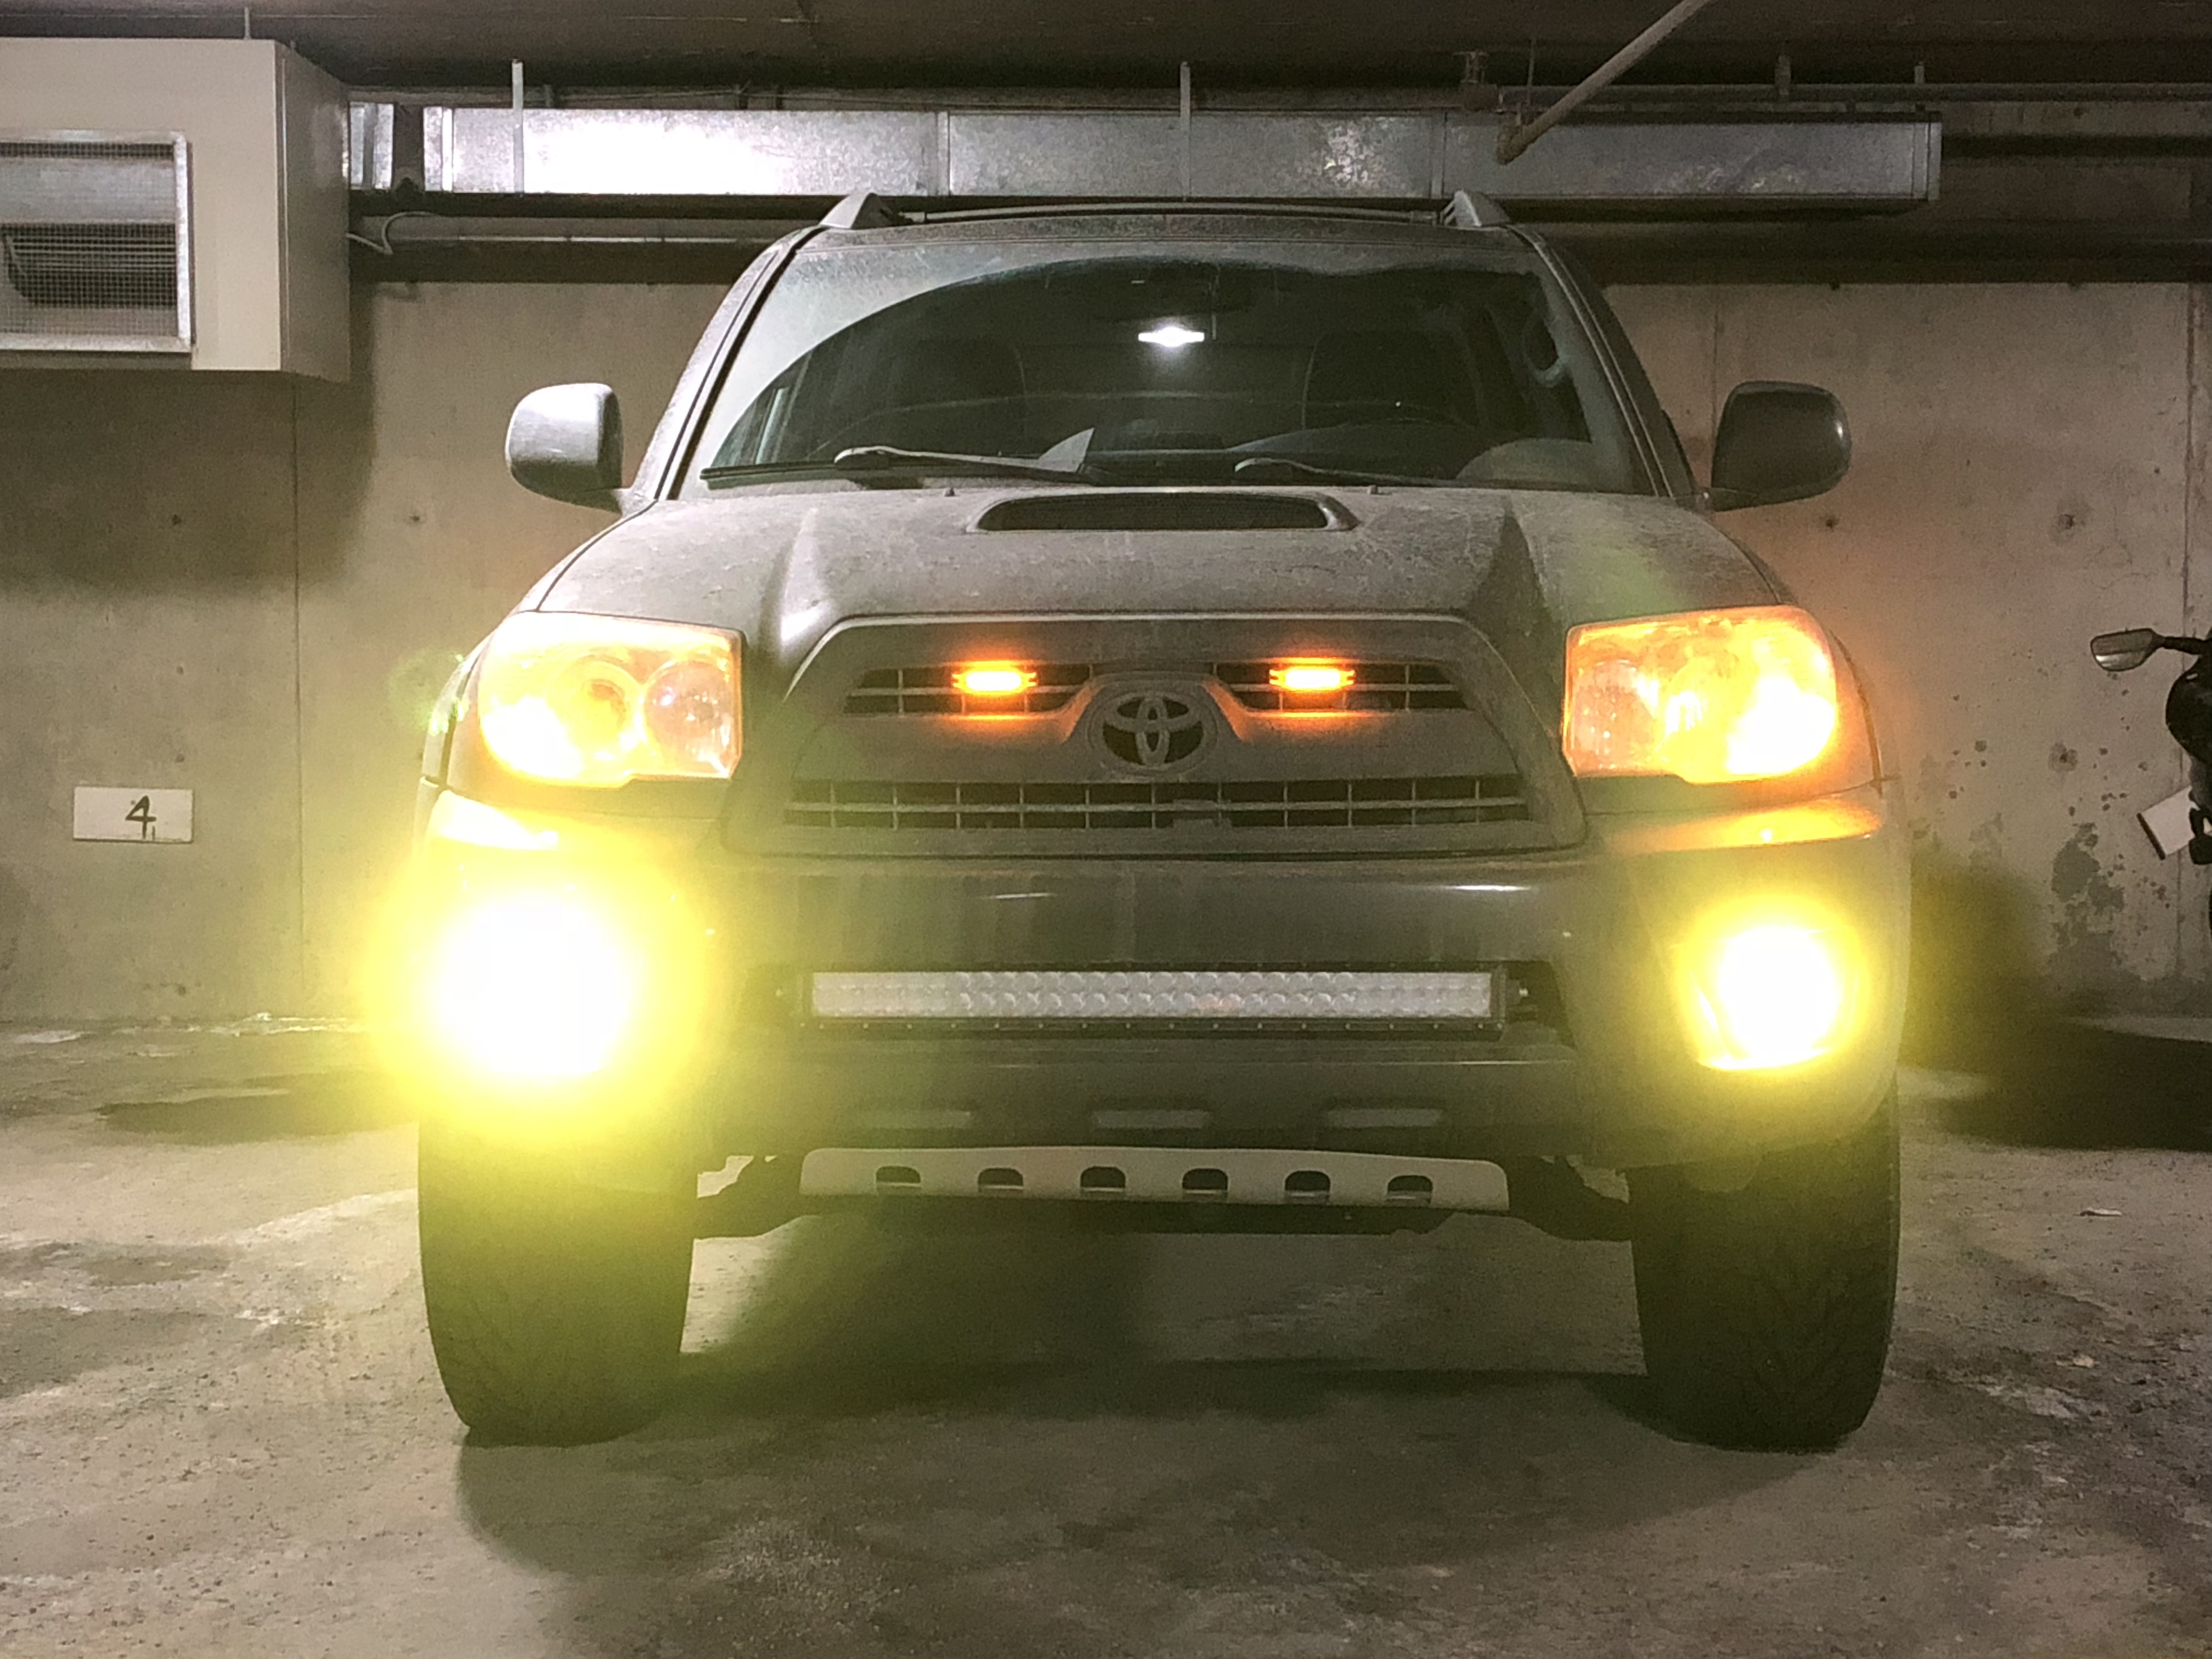
Baja Designs 30" S8 Amber Lightbar
Baja Designs Squadron Sport Amber Diving Combo Fog Lights
Baja Designs S1 Amber
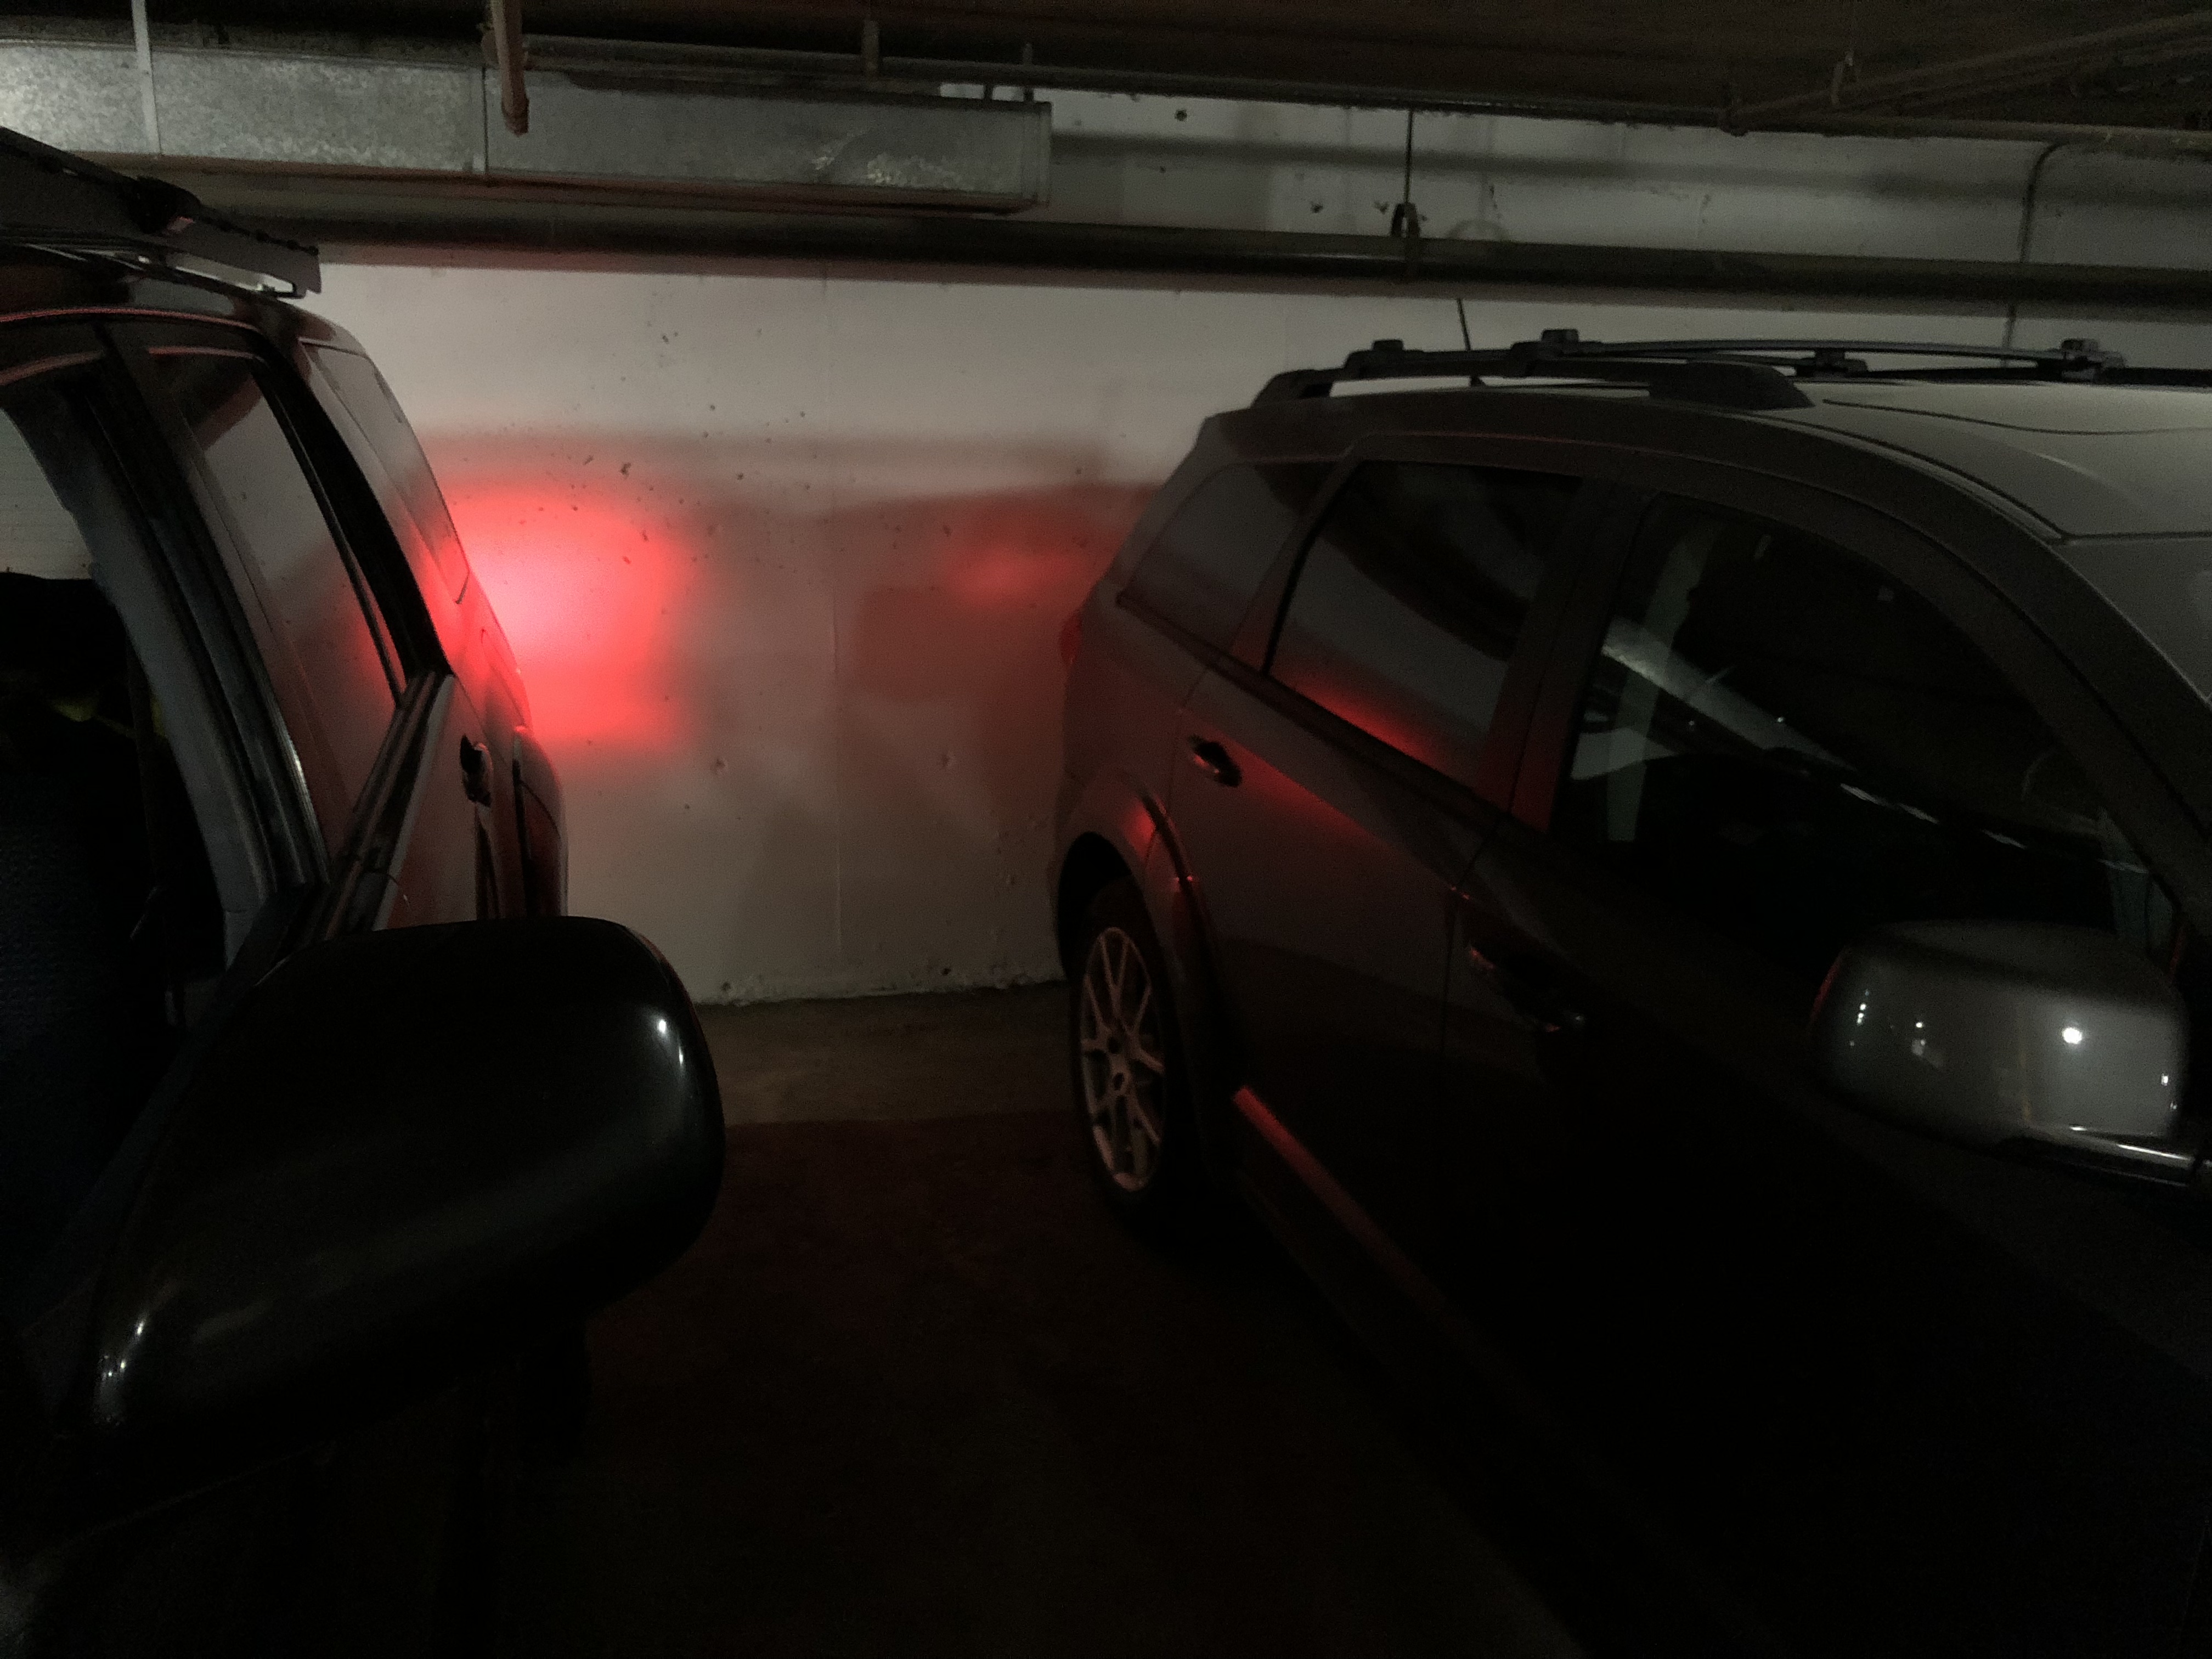
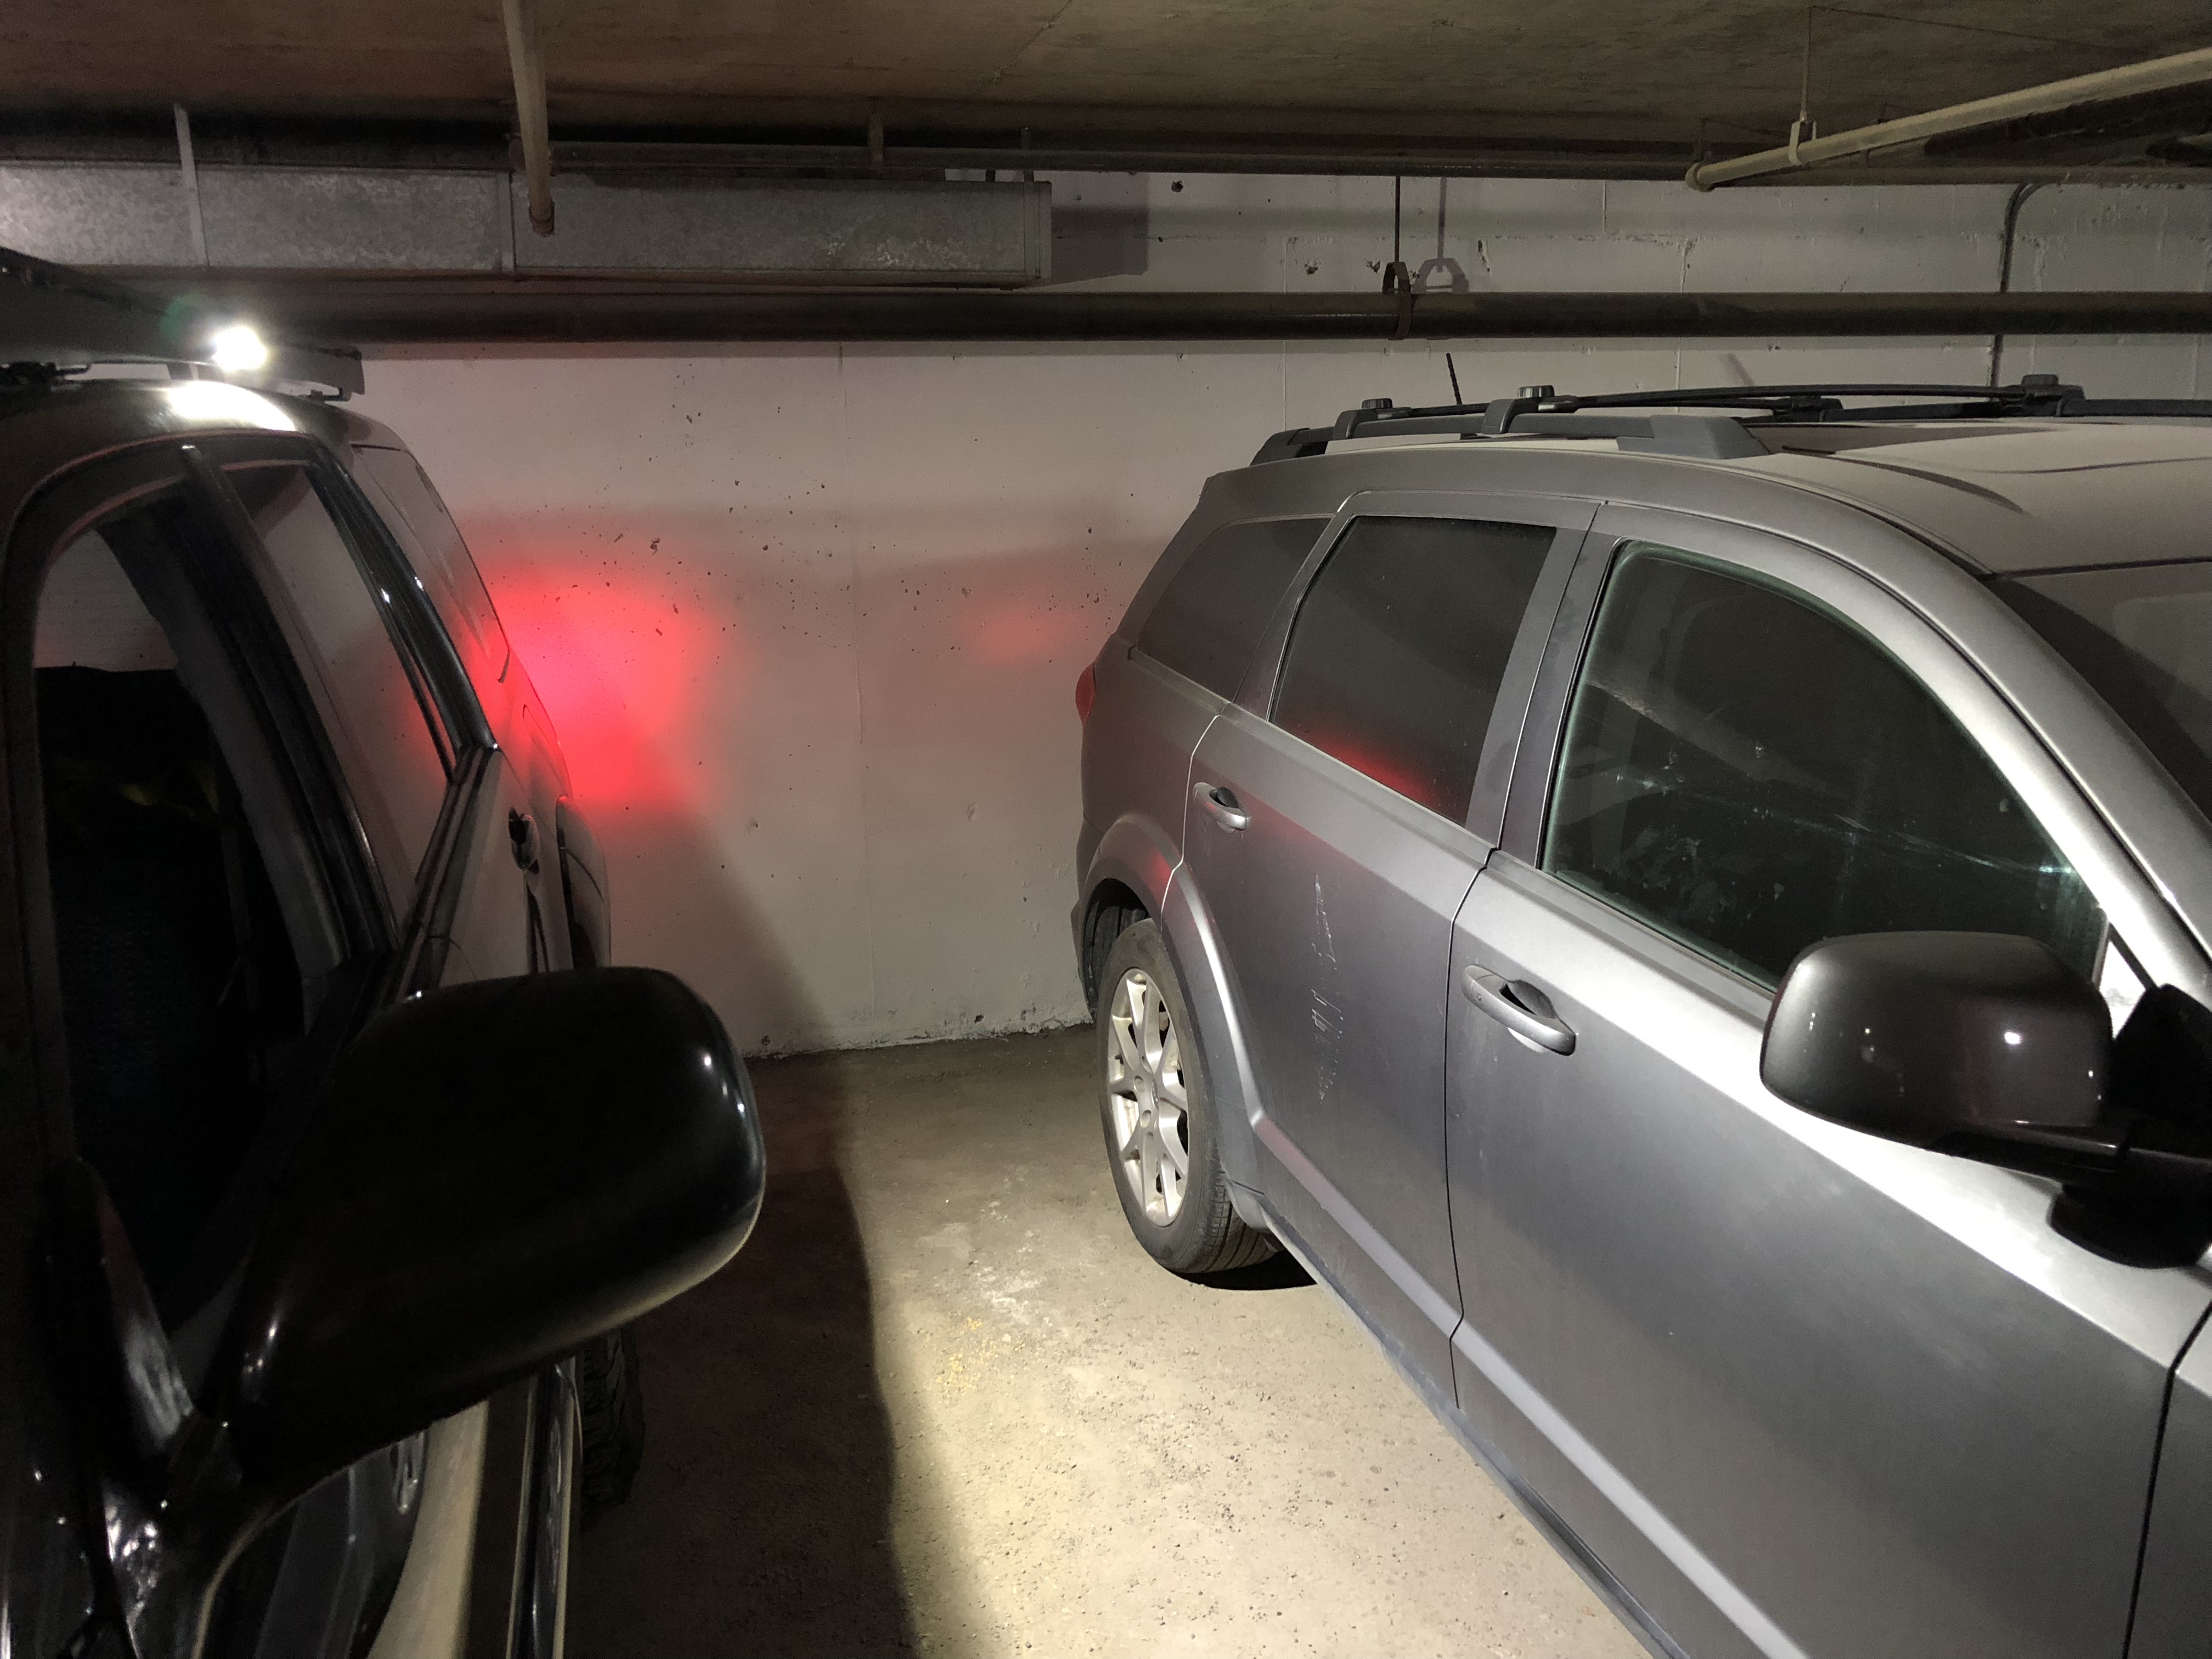
Baja Designs S2 Sport Amber Rear Chase Lights mounted to tent
Baja Designs S2 Sport Rear Reverse Lights in Coastal Bumper
Black Out DRL LED Tube Headlights
Amazon LED strip Hoodmount Engine Light
Sylvannia High Beams
HID Low Beams
Meso Customs Dual Color Interior Lights

Performance
Yukon Gears 4.88 Front and Rear
ARB Air Lockers Front & Rear
ARB Dual Air Compressor Mounted in Engine Bay
Safari Snorkel
Sy-Klone Snorkel Head
Flowmaster Super 50 Muffler
AFE Pro Dry Filter

Audio
Pioneer AVH-4100NEX with steering wheel control
Rockford Fosgate R165-S Component Front Speakers
Rockford Fosgate R1525X2 Rear Speakers

Storage
Custom Made Aluminum Extrusion Drawer System
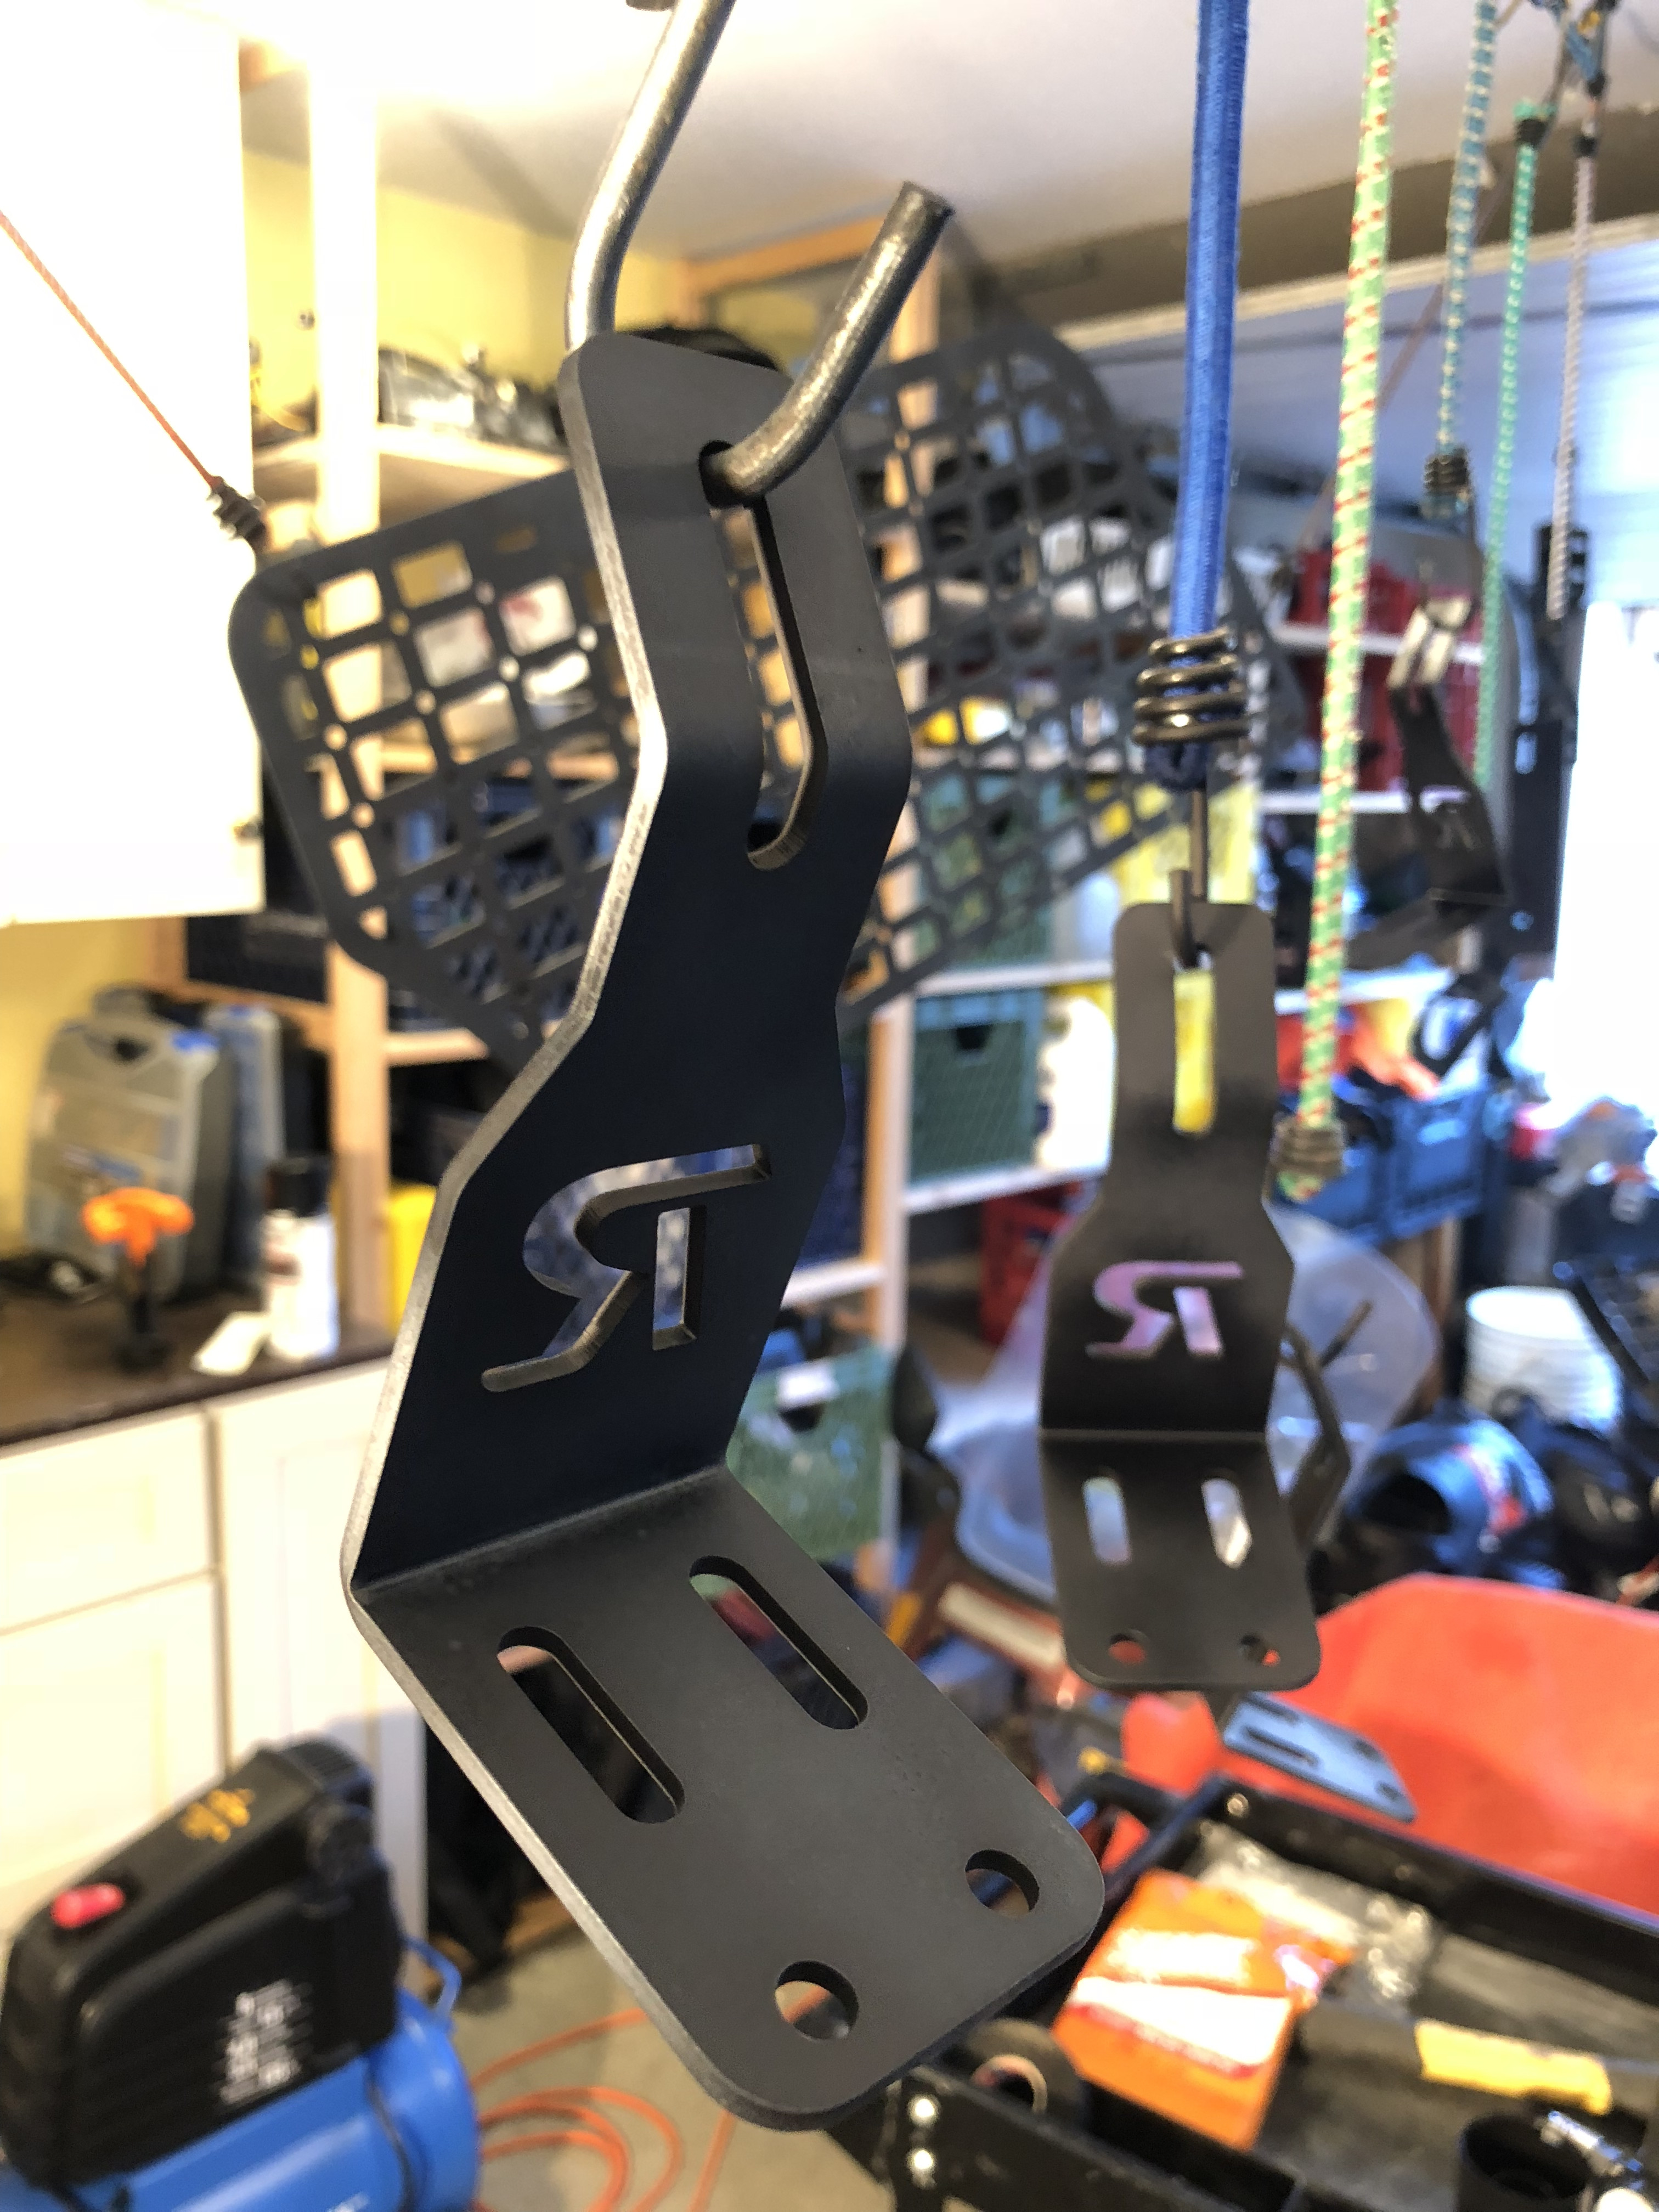
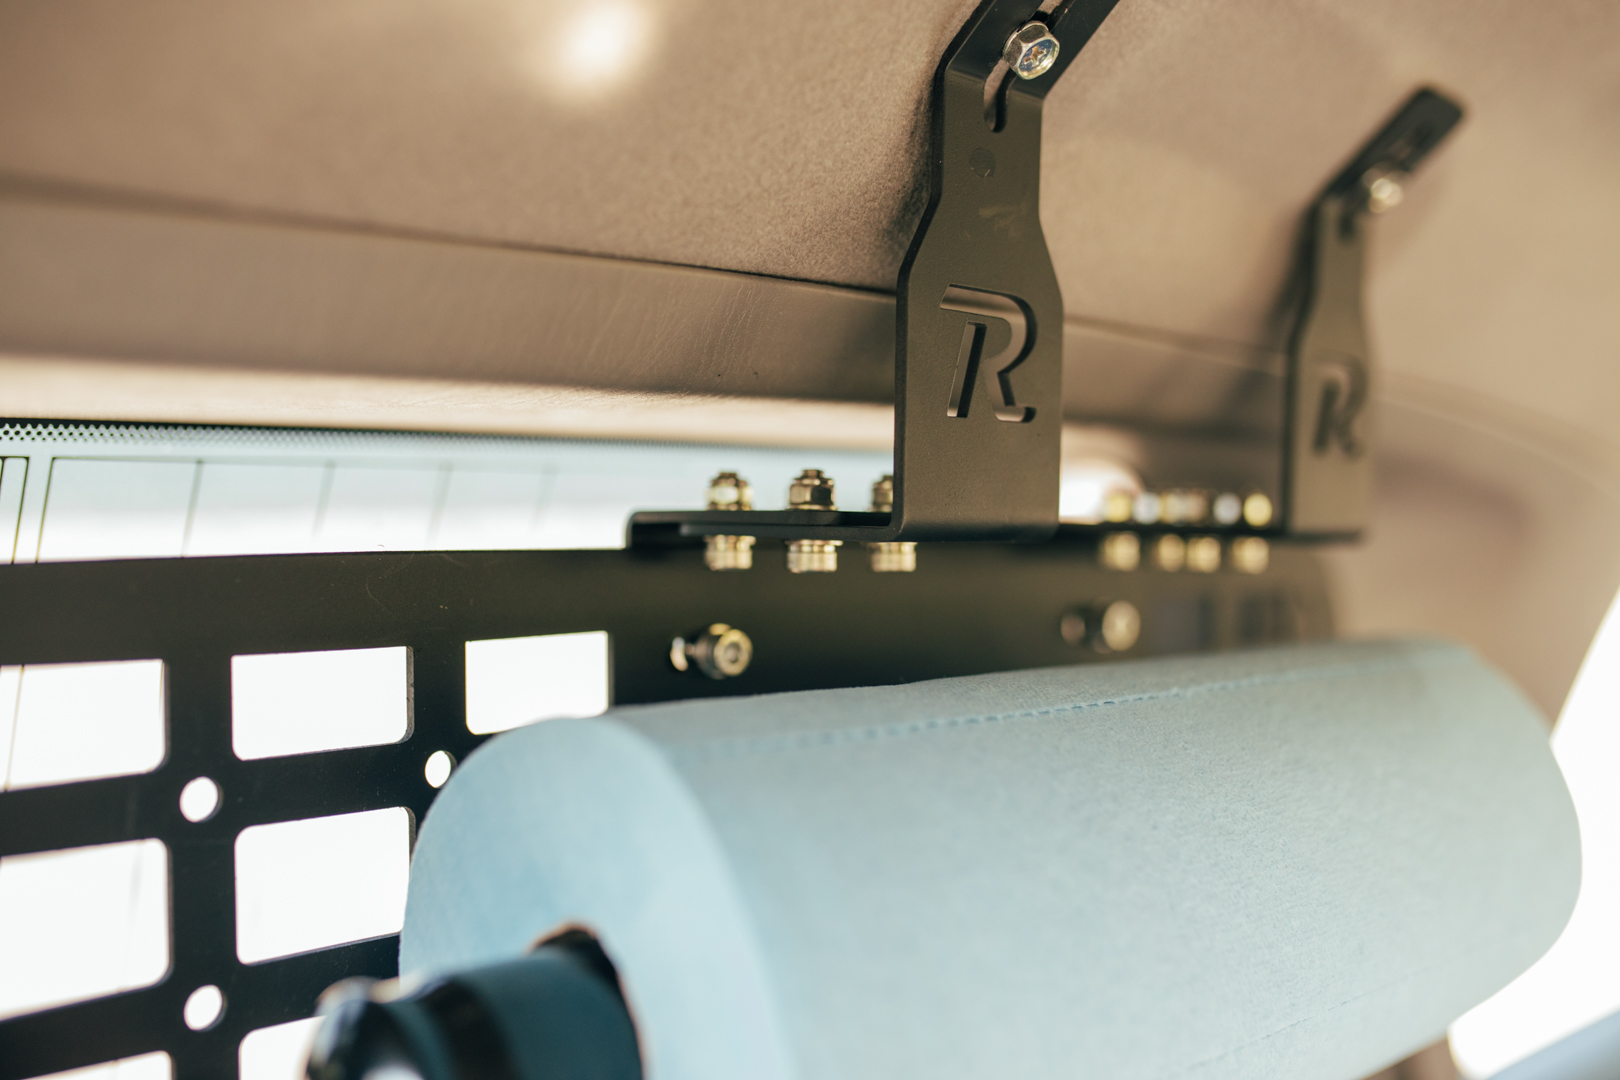
Rago Fabrication Molle Panels
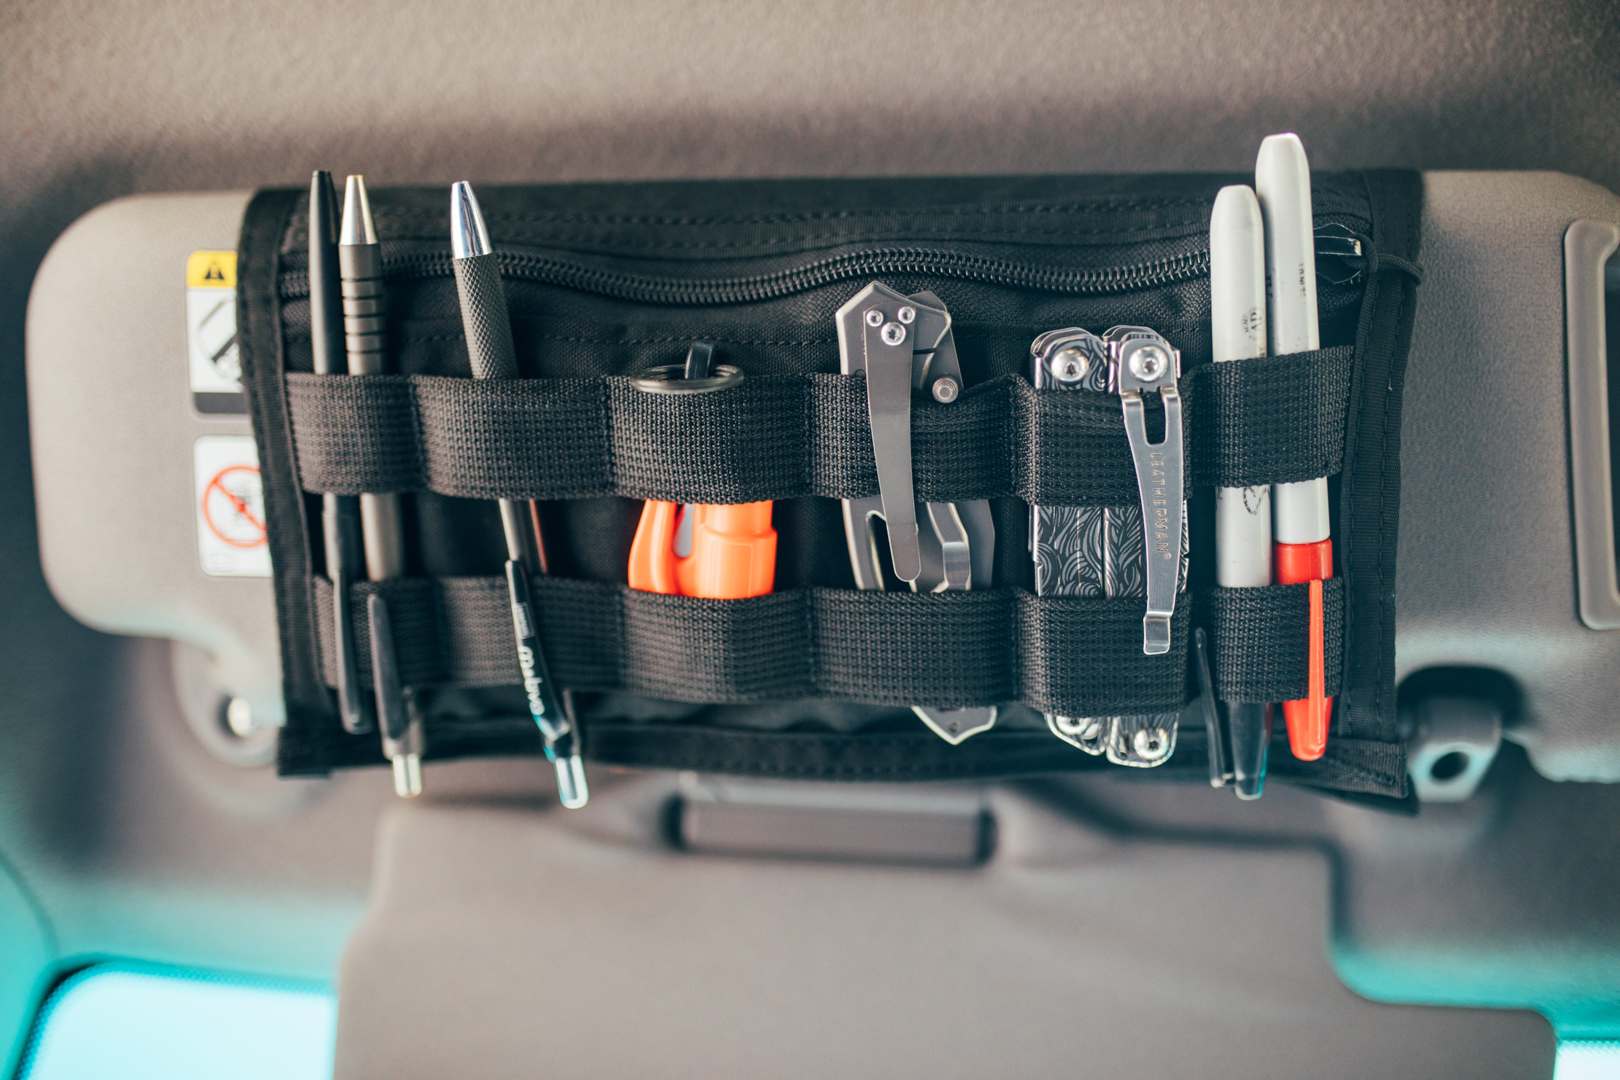
BlueRidgeOverland Molle Visor
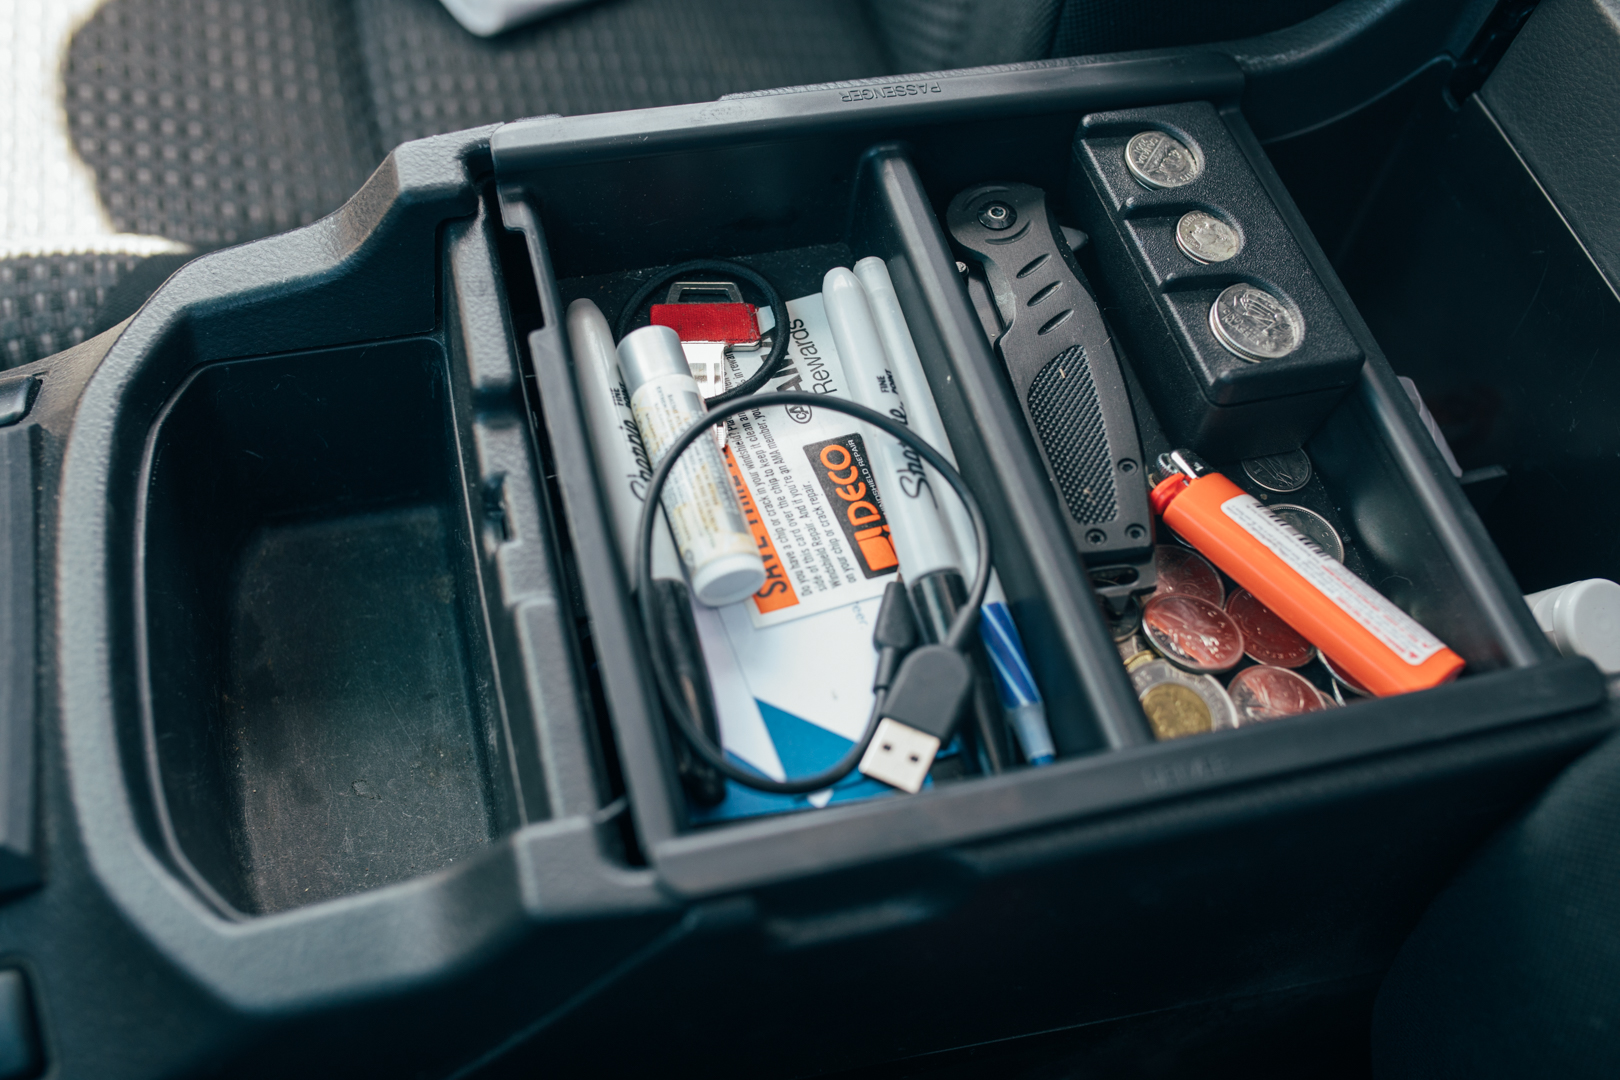
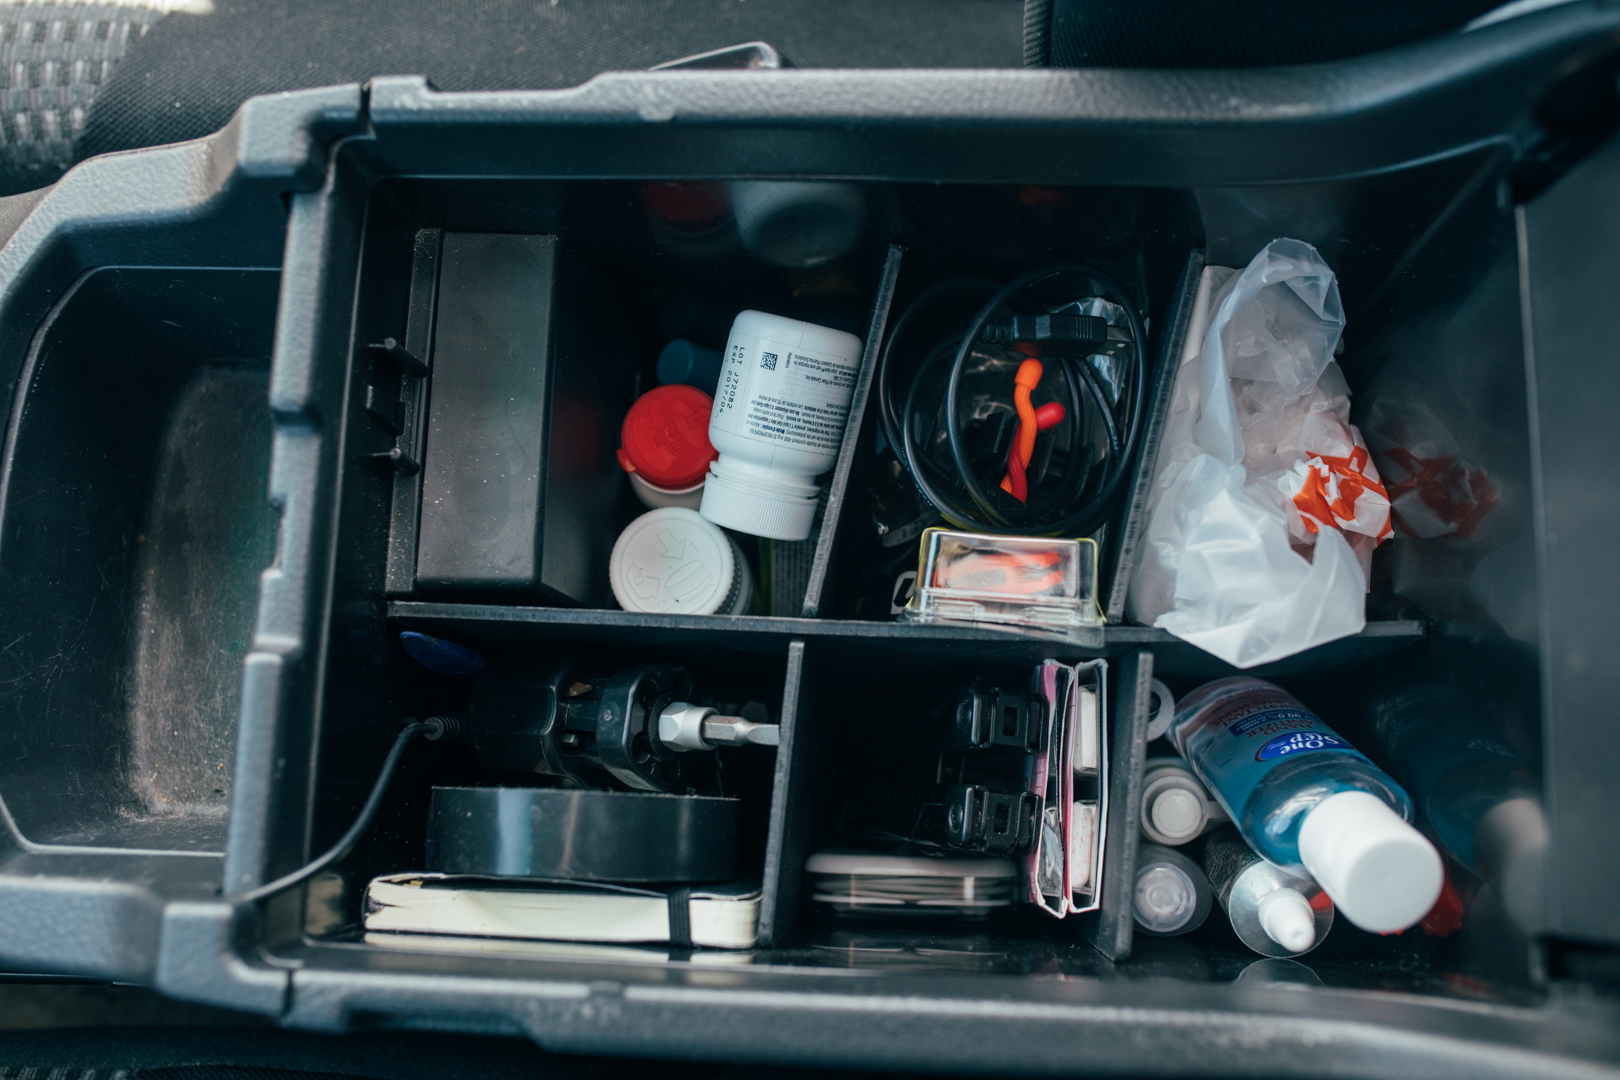
Ebay Center Console Organizer and Tray

Extra
Reika Tent
OutGearSolutions Low Profile Crossbars
ARB Awning
4x Maxtrax
Quadlock Phone Mount on Center Console
Track Mounted to Dash for Phone & Garmin Mounts
WeatherTech Floor Mats Front & Rear


Shots of the truck


ikuobc.jpg


ikuDtK.jpg


ikulPQ.jpg


iku460.jpg


ikuQrz.jpg


ikomTc.jpg


ikoVAk.jpg
 
Last edited:
Register to hide this ad
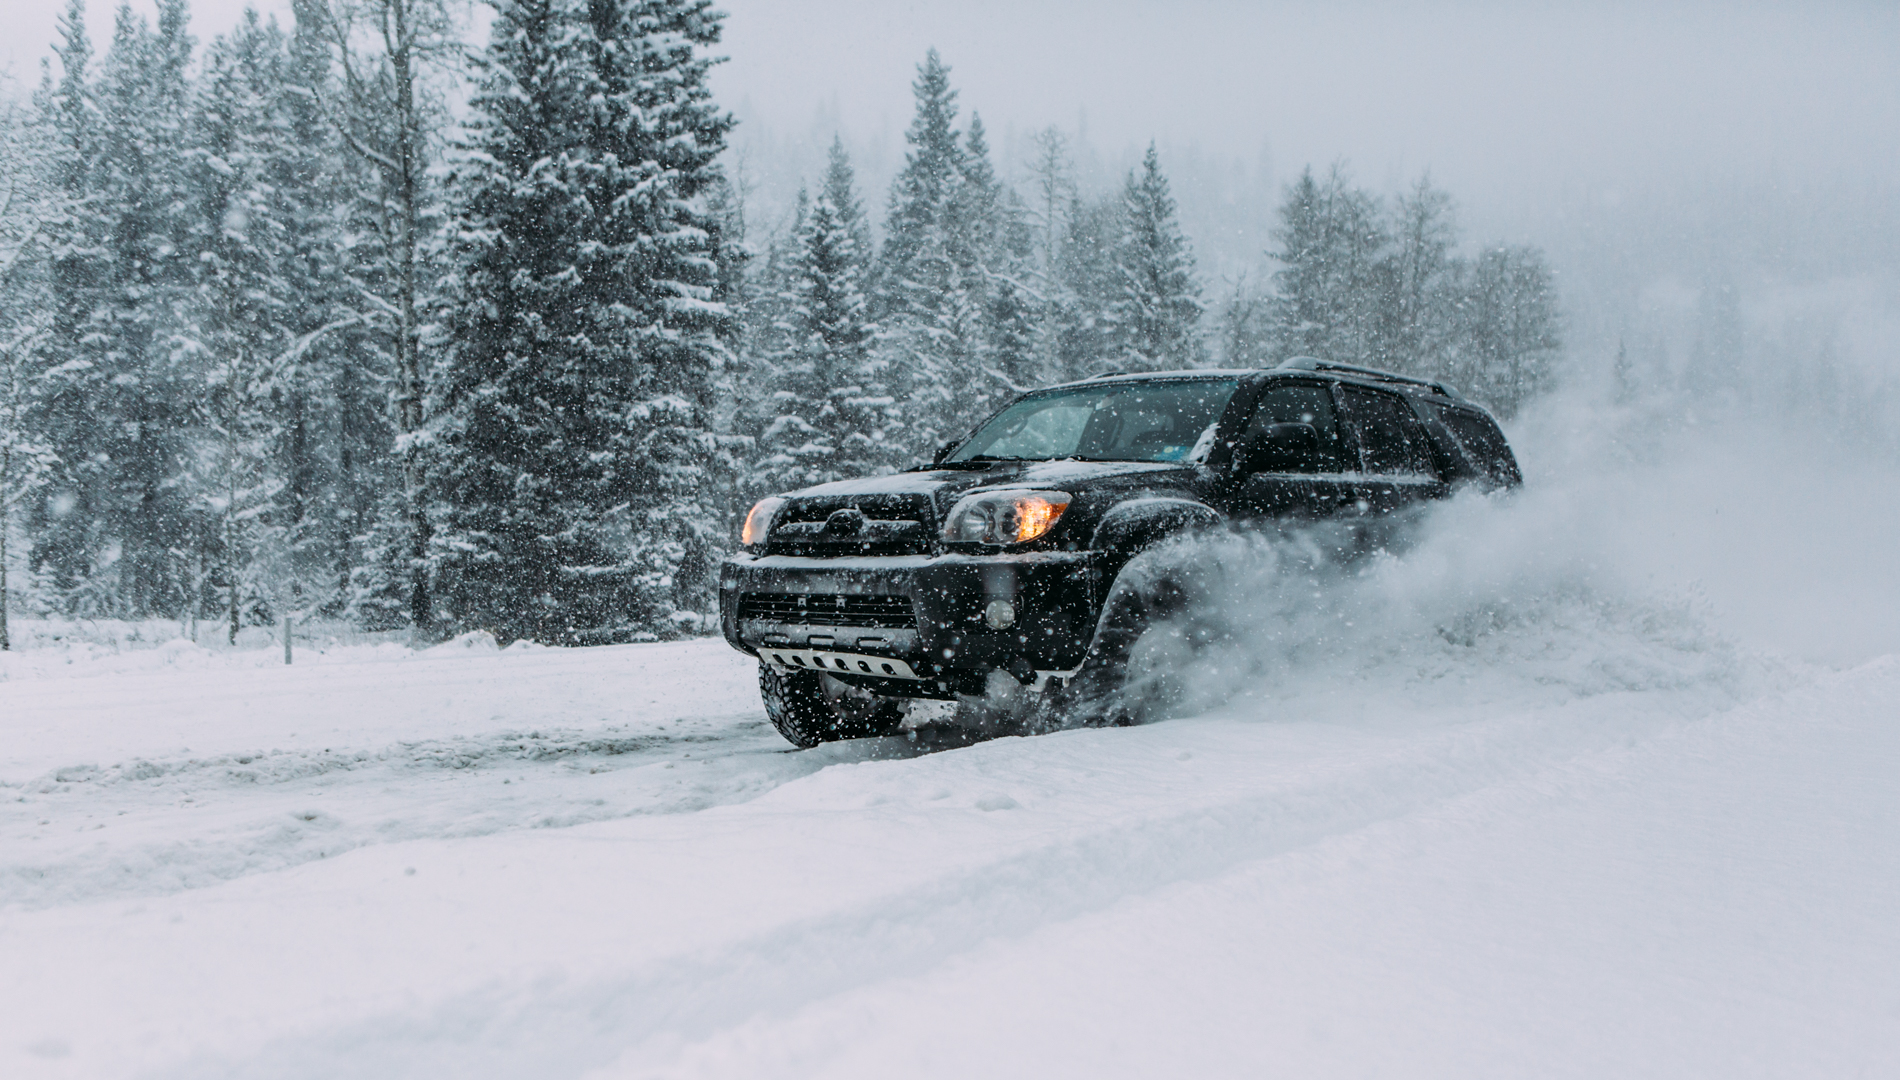
I'm a little behind in starting the build thread but at least now i'll have a few things to add. I tried to go through the last two years of photos and include anything I could find. This is my only vehicle and DD so the mods are slow to come but I am slowly building it into the truck I want!
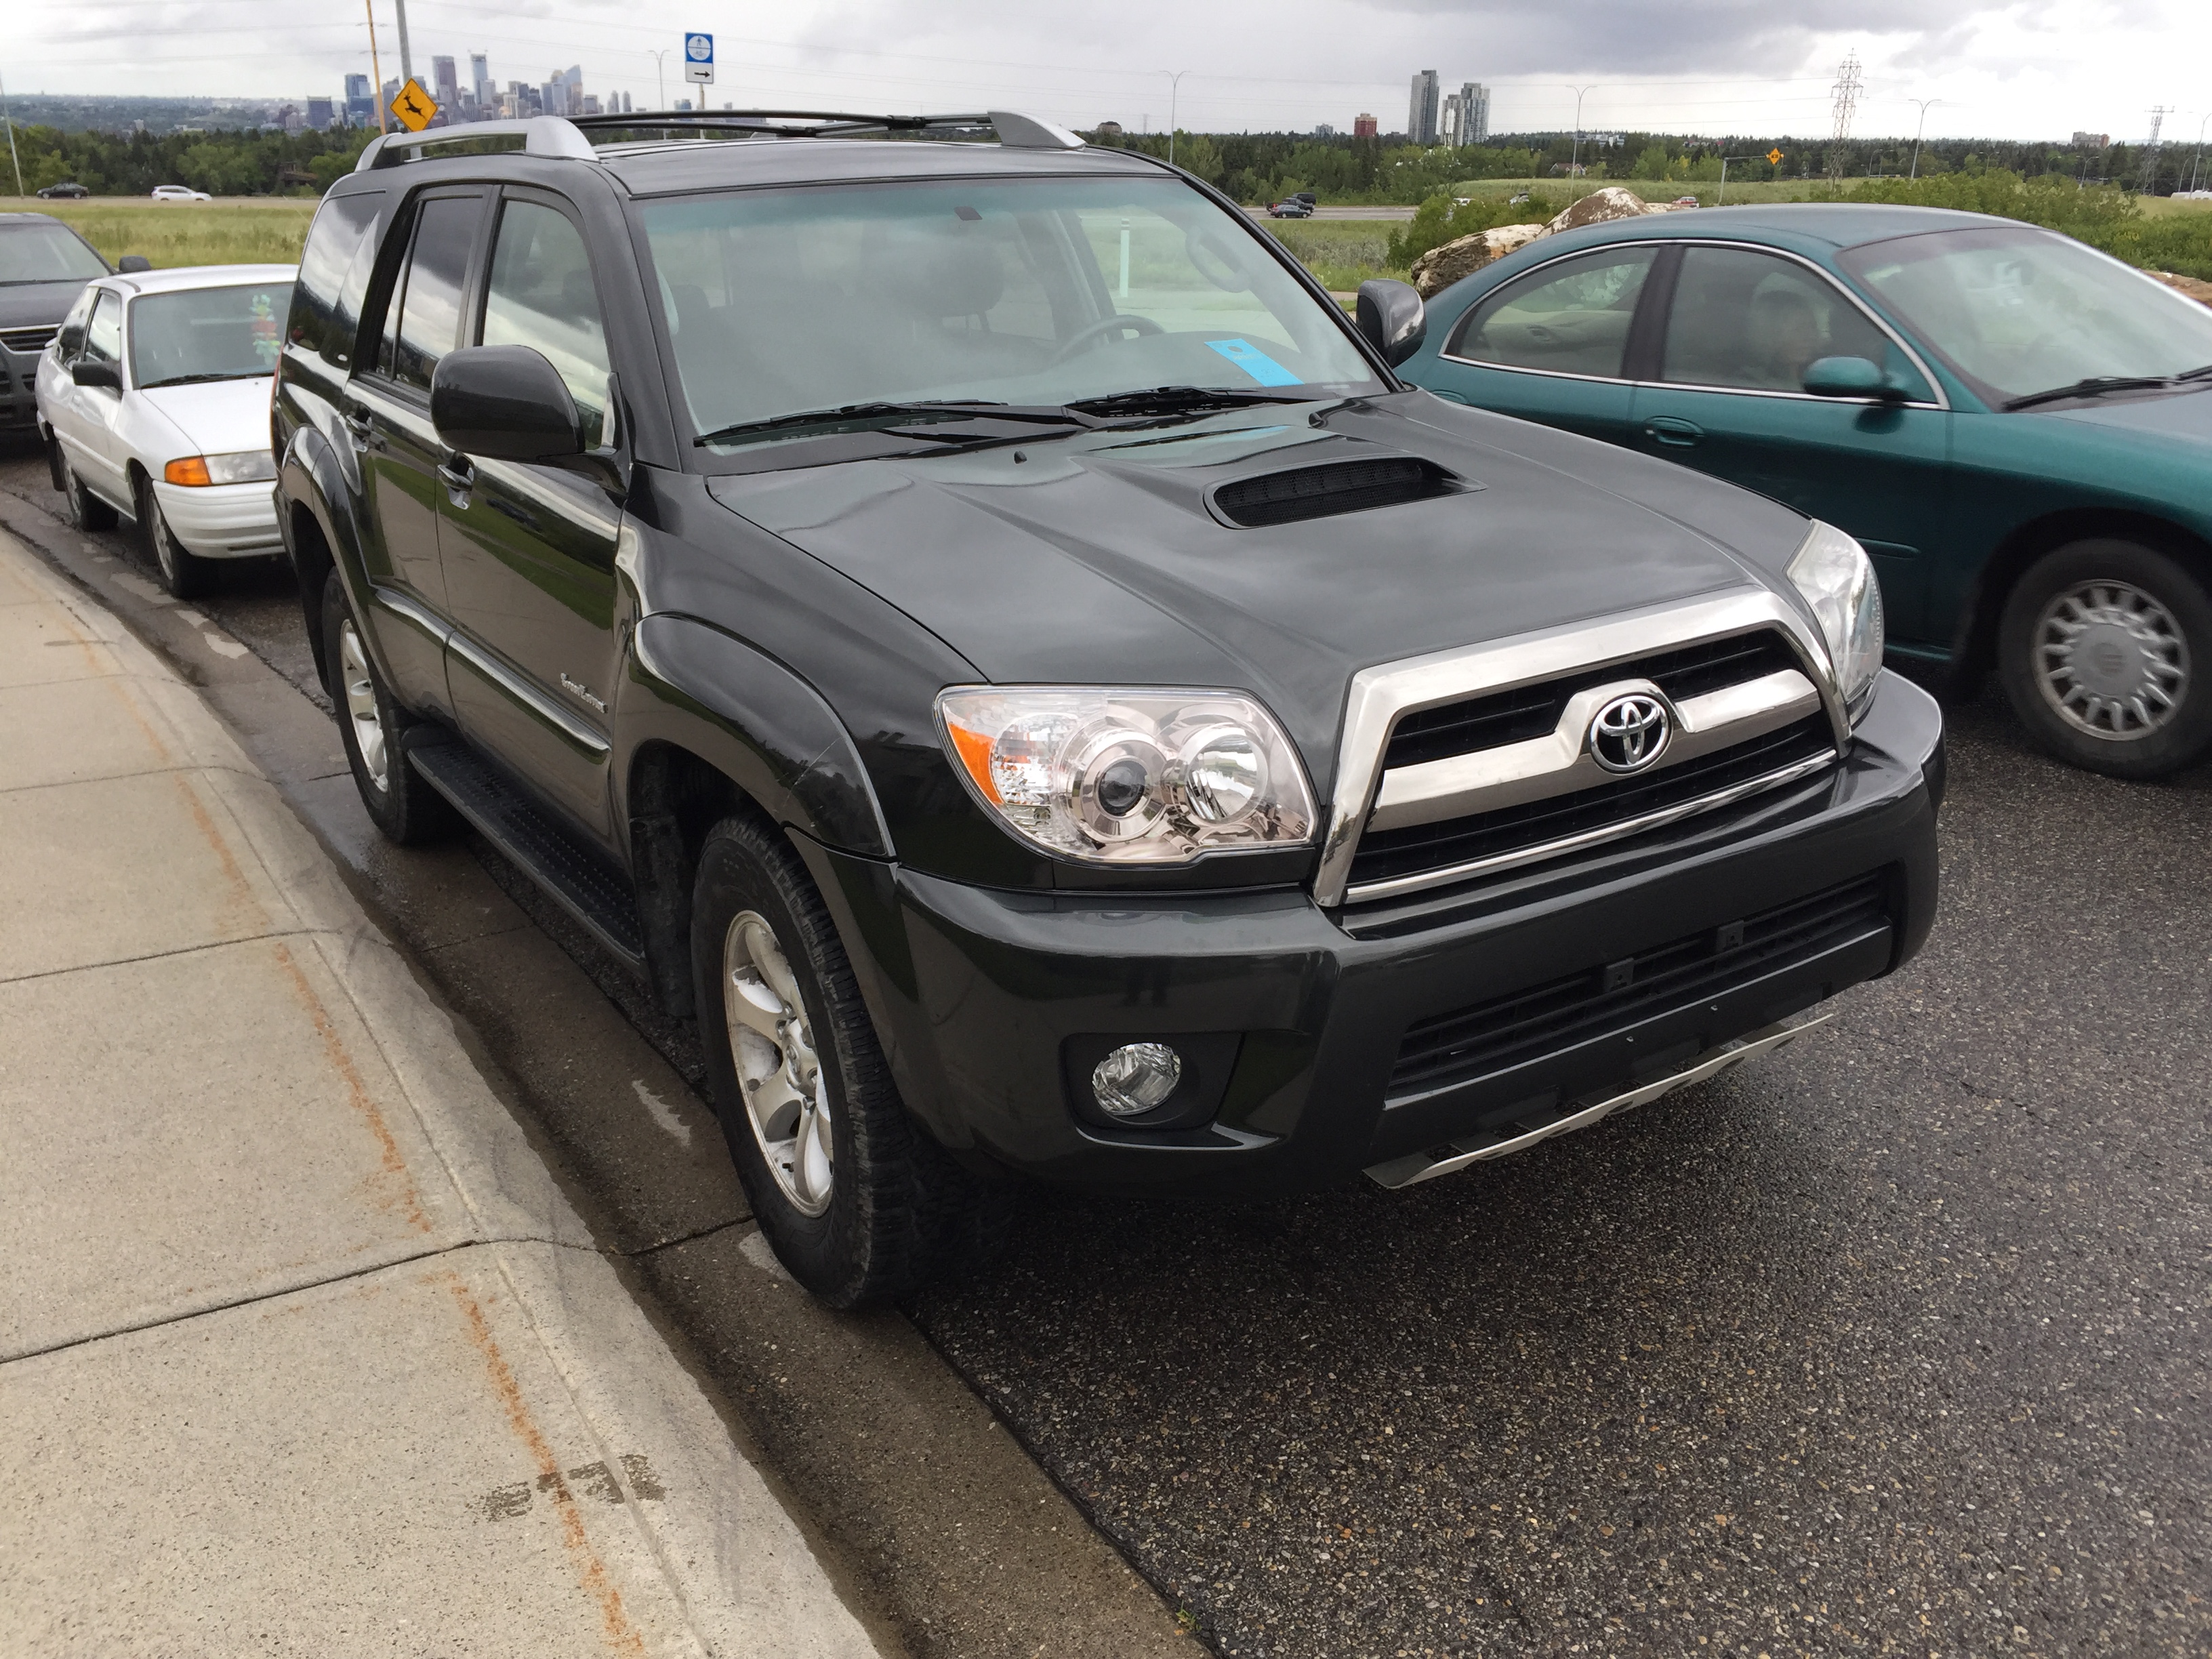
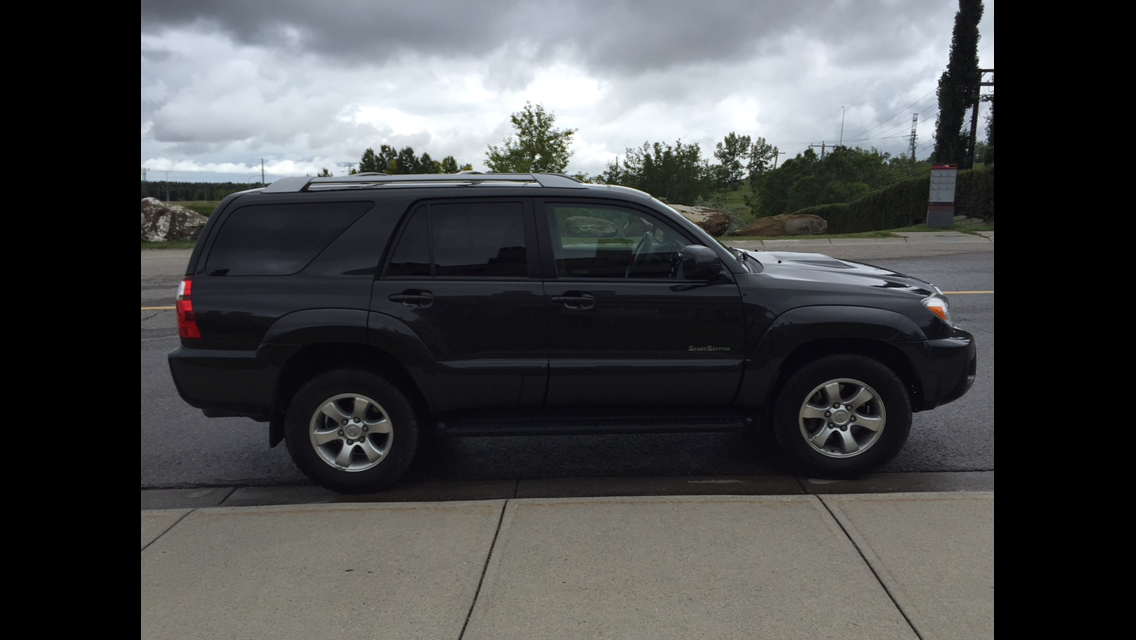
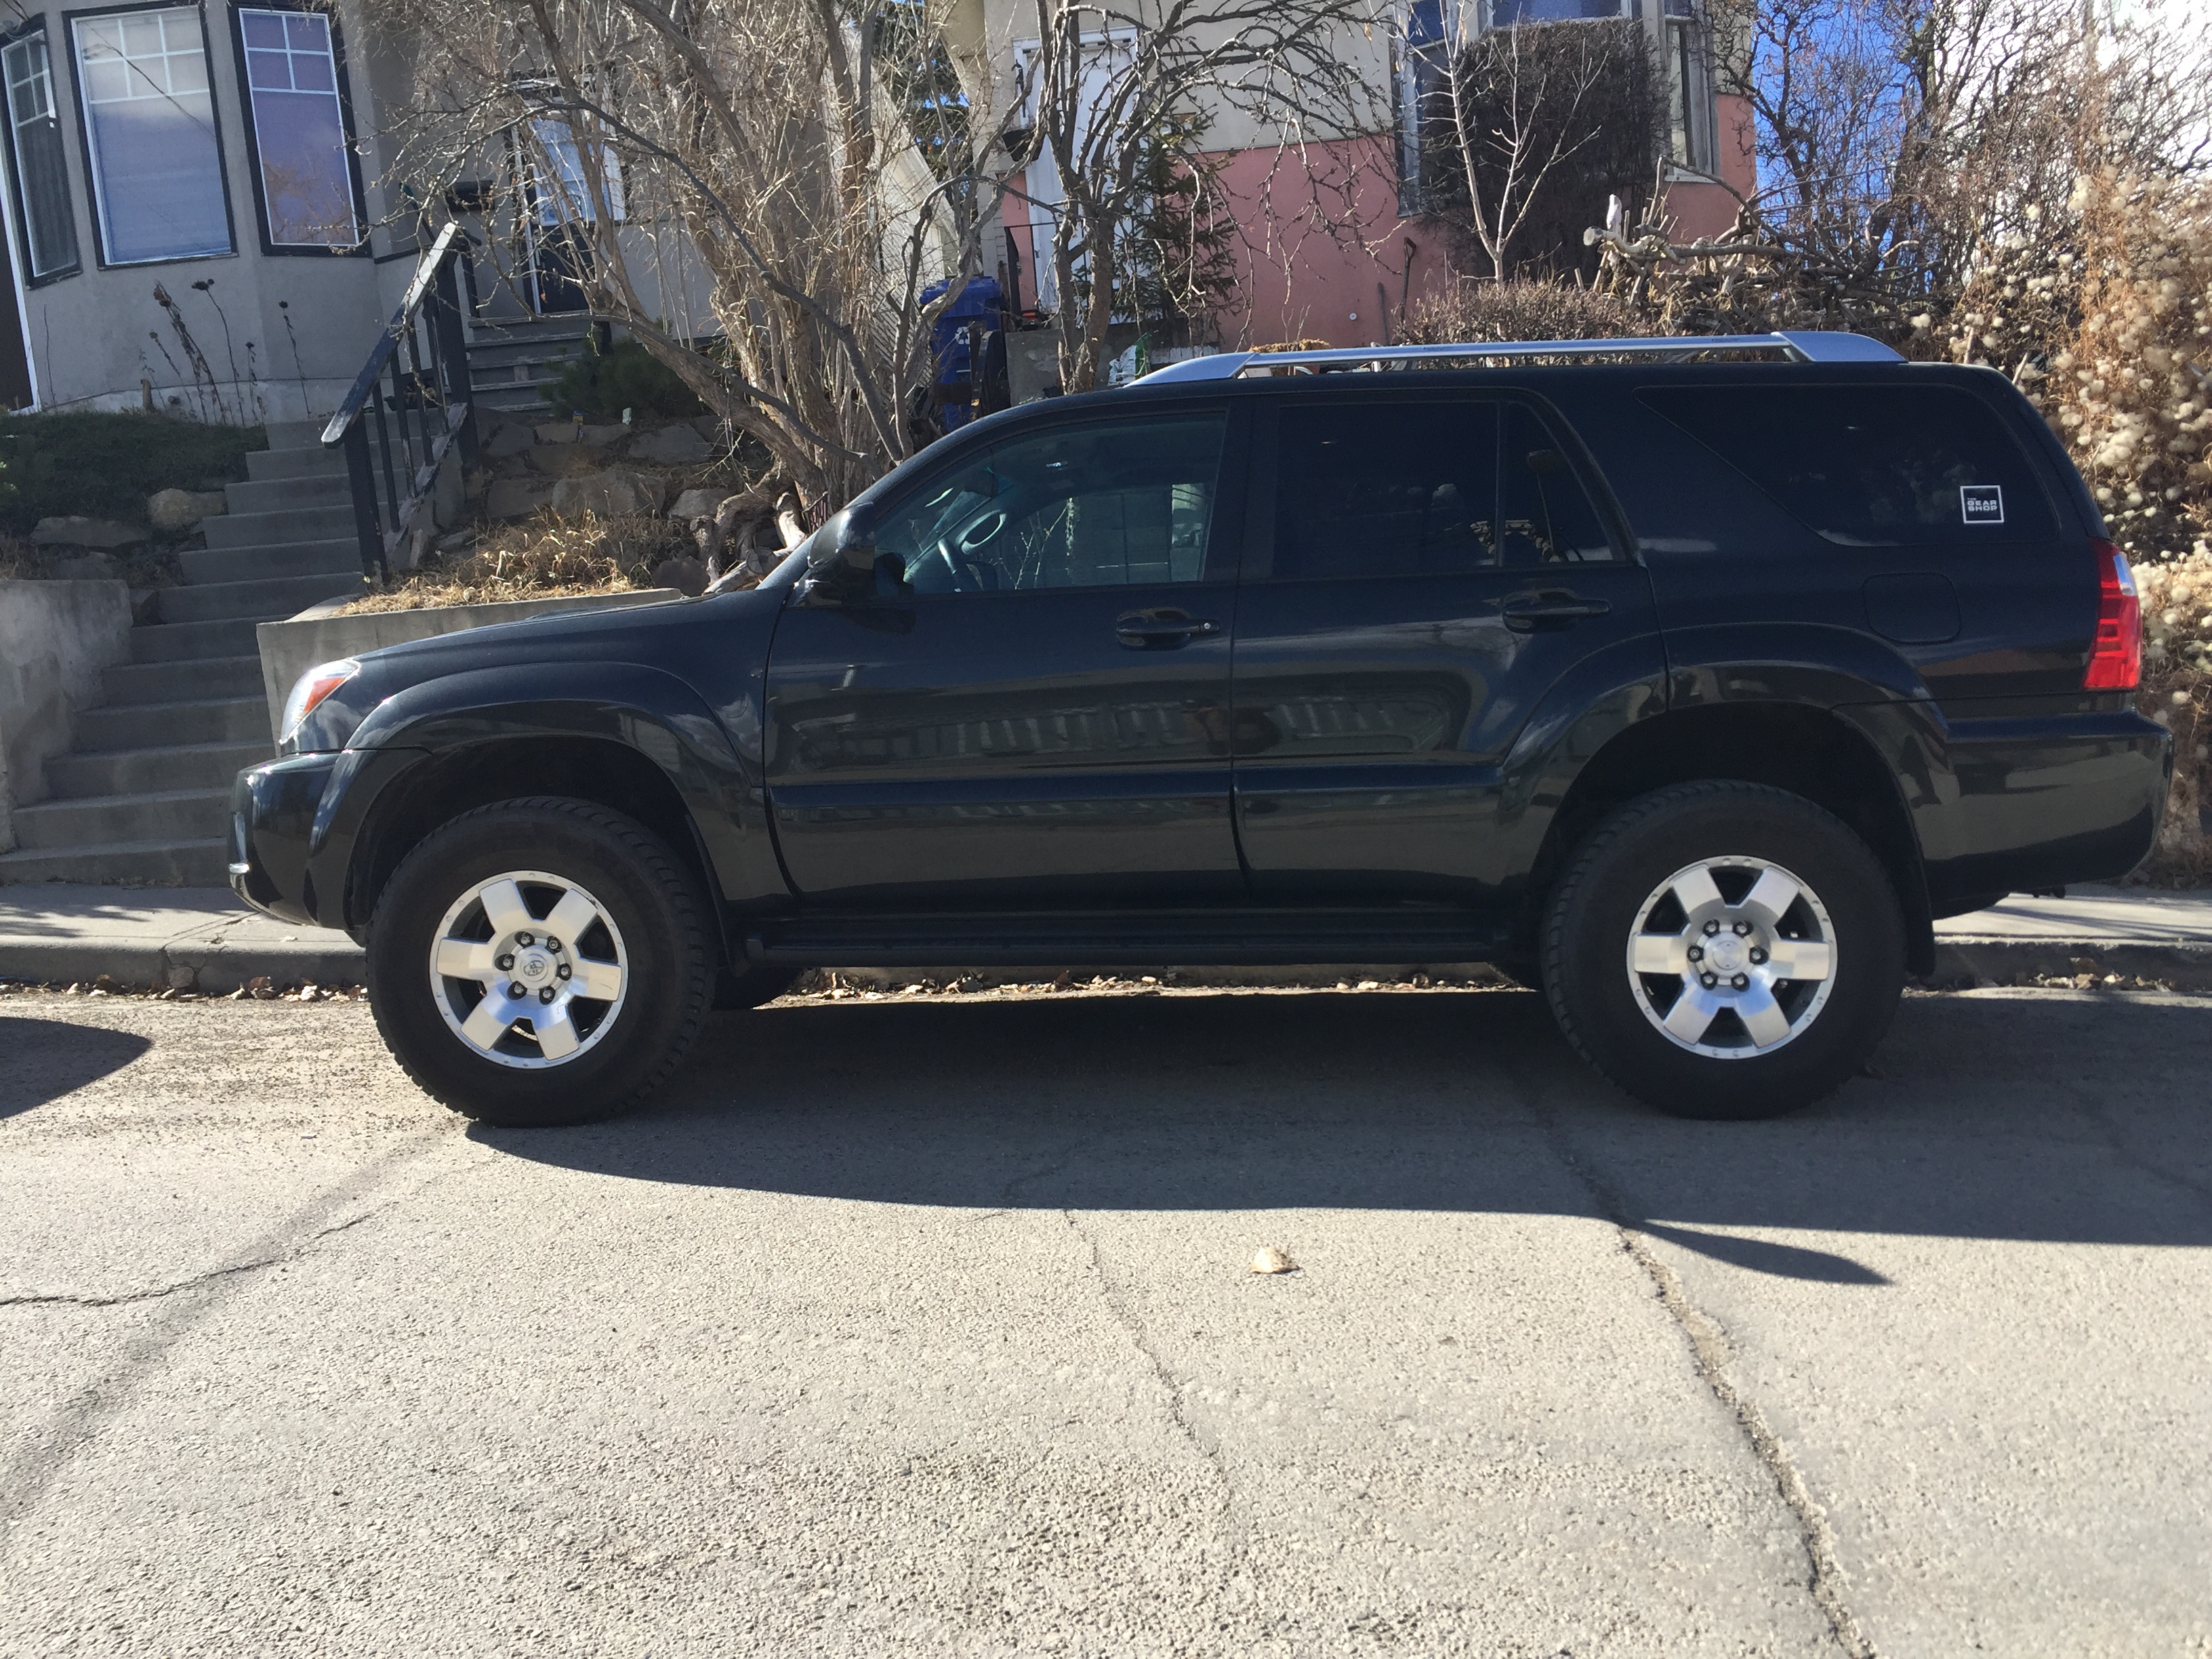
After wanting one of these trucks for years I finally got super lucky and found this one on Kijiji in July of 2016. It is a 2007 Toyota 4Runner V8 Sport Edition and when I purchased it it had 89,000km on it. Not bad for being a 9 year old vehicle! 7 months earlier it had been written off in an accident and the current owner had bought it at auction, fixed it up to keep but stated he needed the money for a down payment on a house. Lots of red flags went up on my end:
1) Has a rebuild title
2) Guy fixed it to only sell it immediately for a fairly low price (Had me thinking he found something really bad and wanted to dump it, ie. bent frame etc.)
3) No paper trail of vehicle as it was sold at auction so lots of unknowns there

The person selling the 4runner turned out to be an awesome guy and since I was the first to respond to the ad (luckily saw it posted 15 minutes after it was listed) he kept it for me and even put up with me getting it checked out by my mechanic. Well 6 days later I had the keys and a big smile on my face. My previous vehicle was a 2005 Subaru Outback. Great vehicle but it was gutless with its little 4 speed 4 cylinder. So stepping up to the V8 was a beautiful change.

Here is the vehicle the day I bought it. 100% stock:

85mGVb.jpg


85sEHx.png


I immediately began researching everything I could about this vehicle and any mods and upgrades I could do. And two years later I'm just as bad. I've got a giant list of things I want to do to this vehicle and slowly getting around to them. Been tackling the more inexpensive mods first but the little things are also quite big in my mind.

Lift Kit

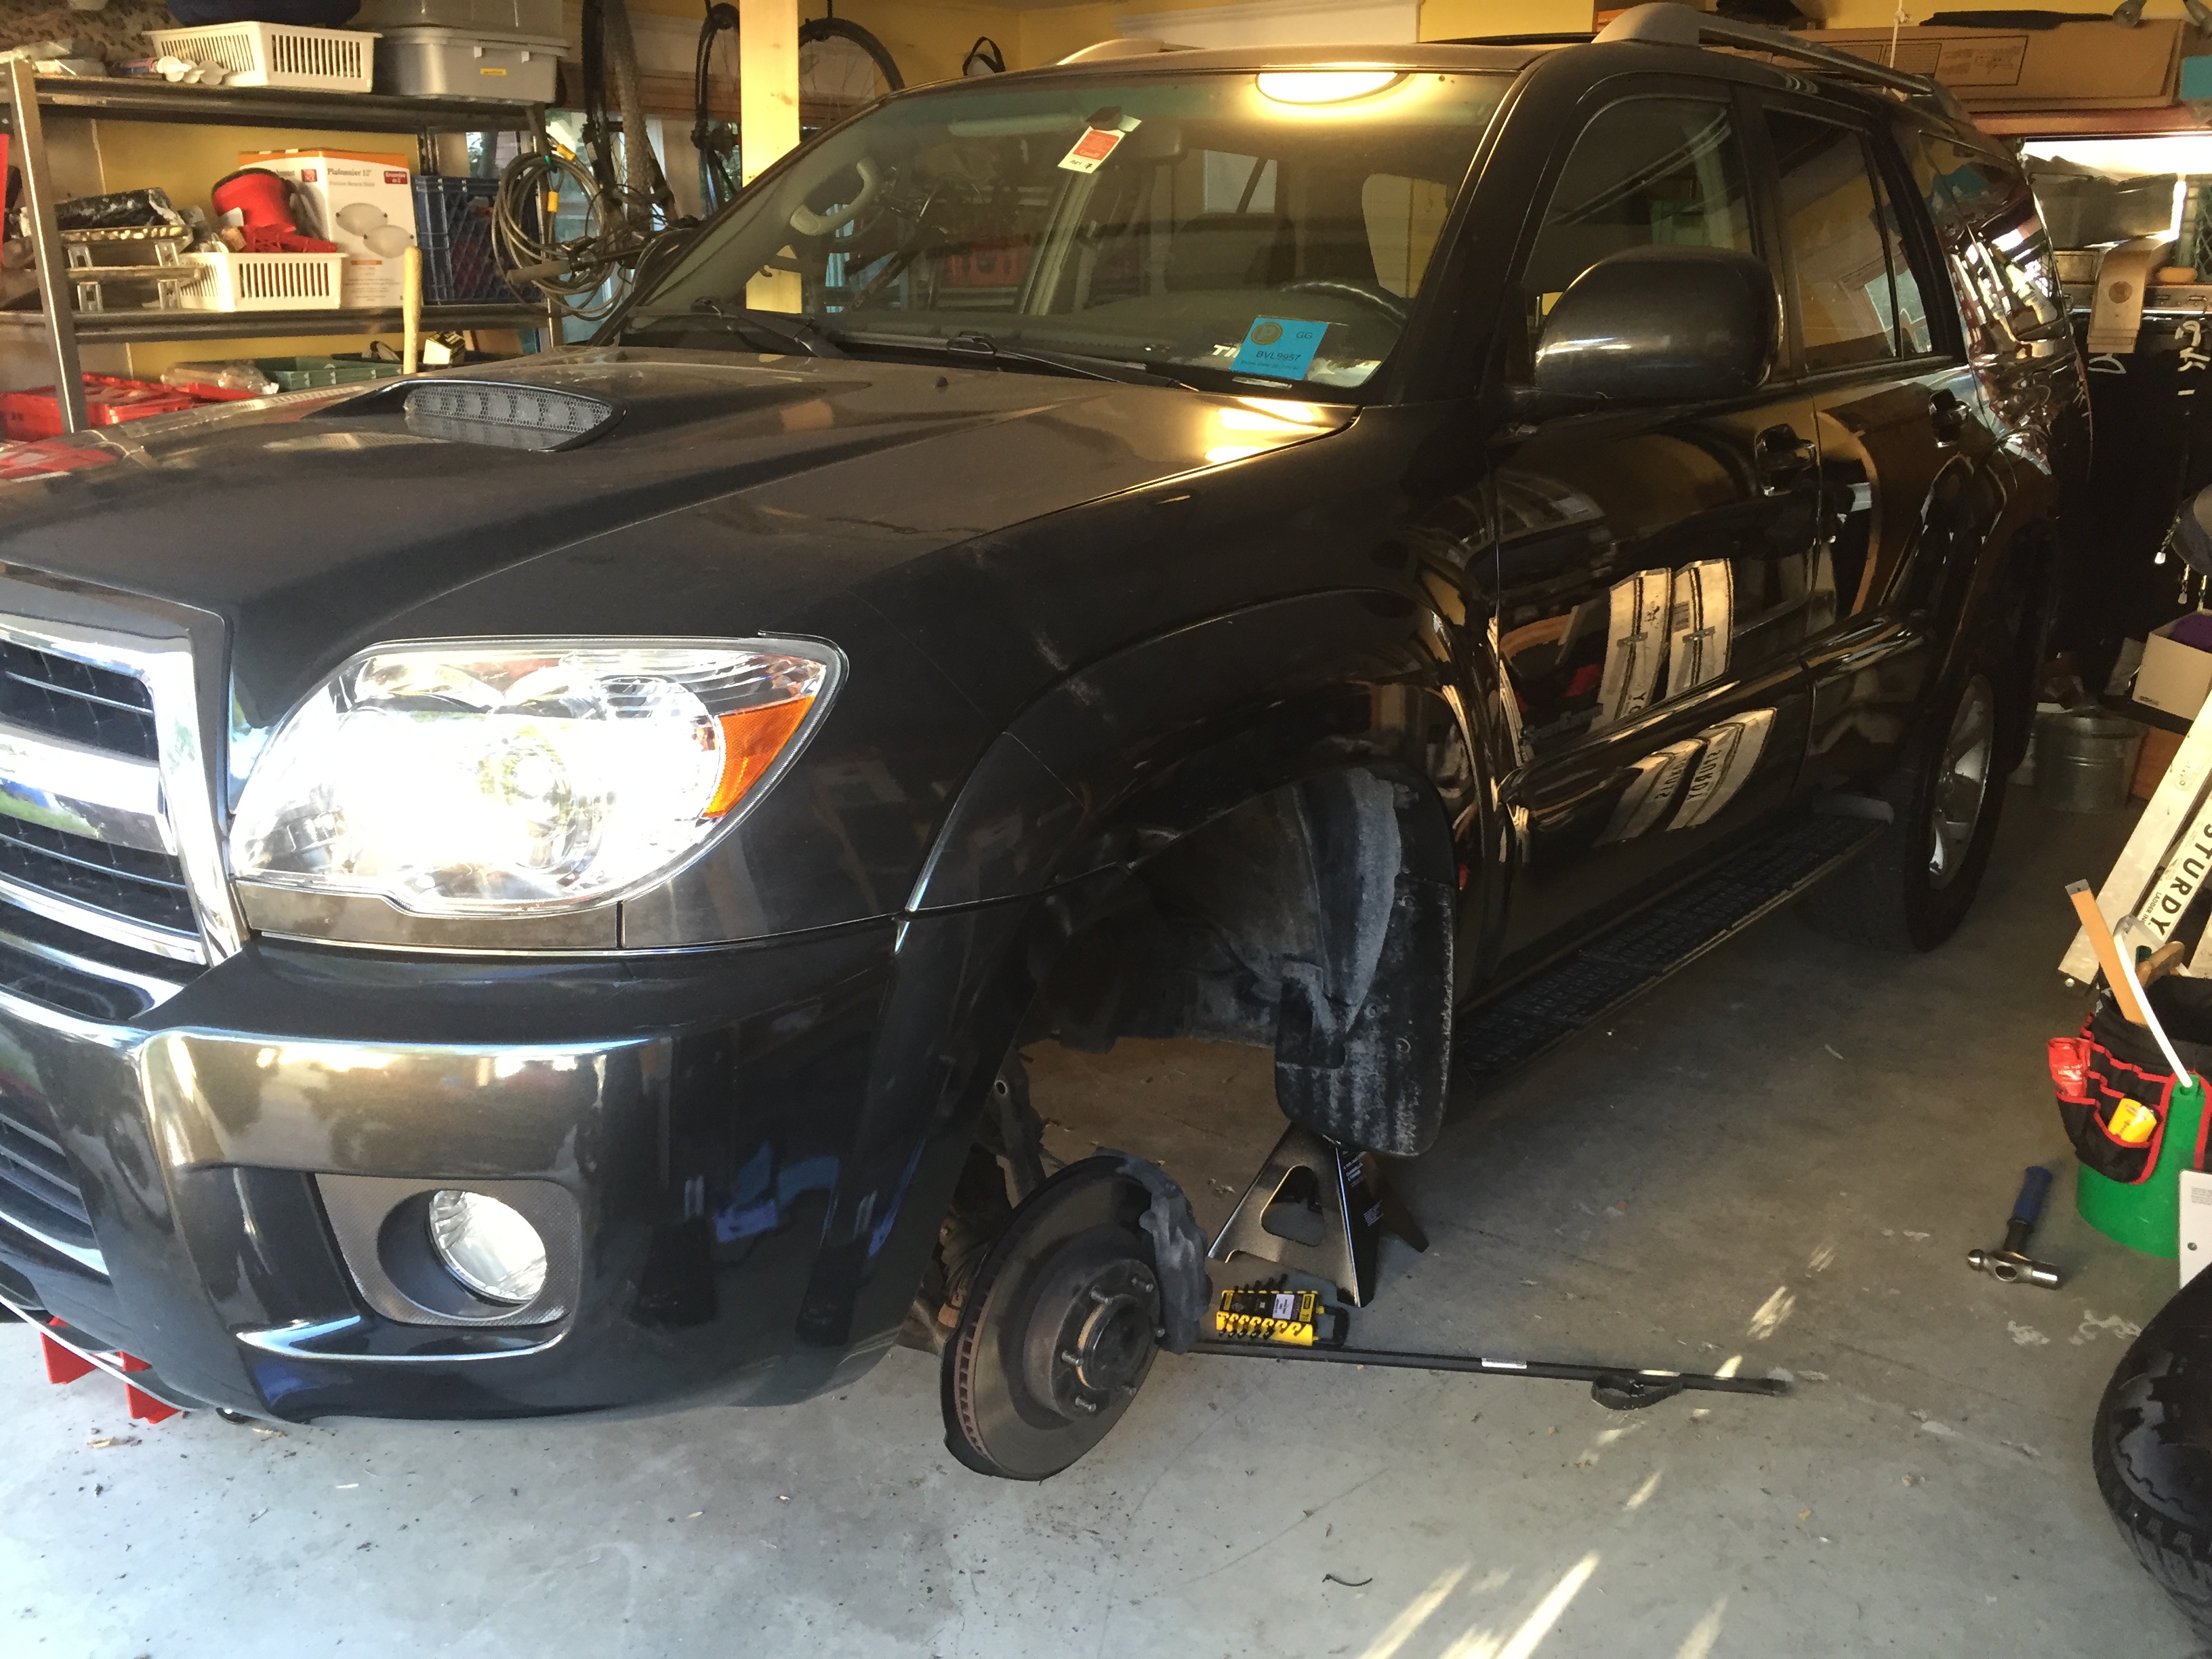
First mod I got around to doing on my vehicle was a lift. If money was no option I would have thrown $8k at it and been happy. But thats not the case and at the time the Daystar 2.5/1.5 Spacer Lift was an inexpensive way to achieve a lifted look without breaking the bank. I have never done any of my own work on previous vehicles but I was committed to learning on this one.
I decided to tackle the lift myself (don't even think I had changed the oil yet.)
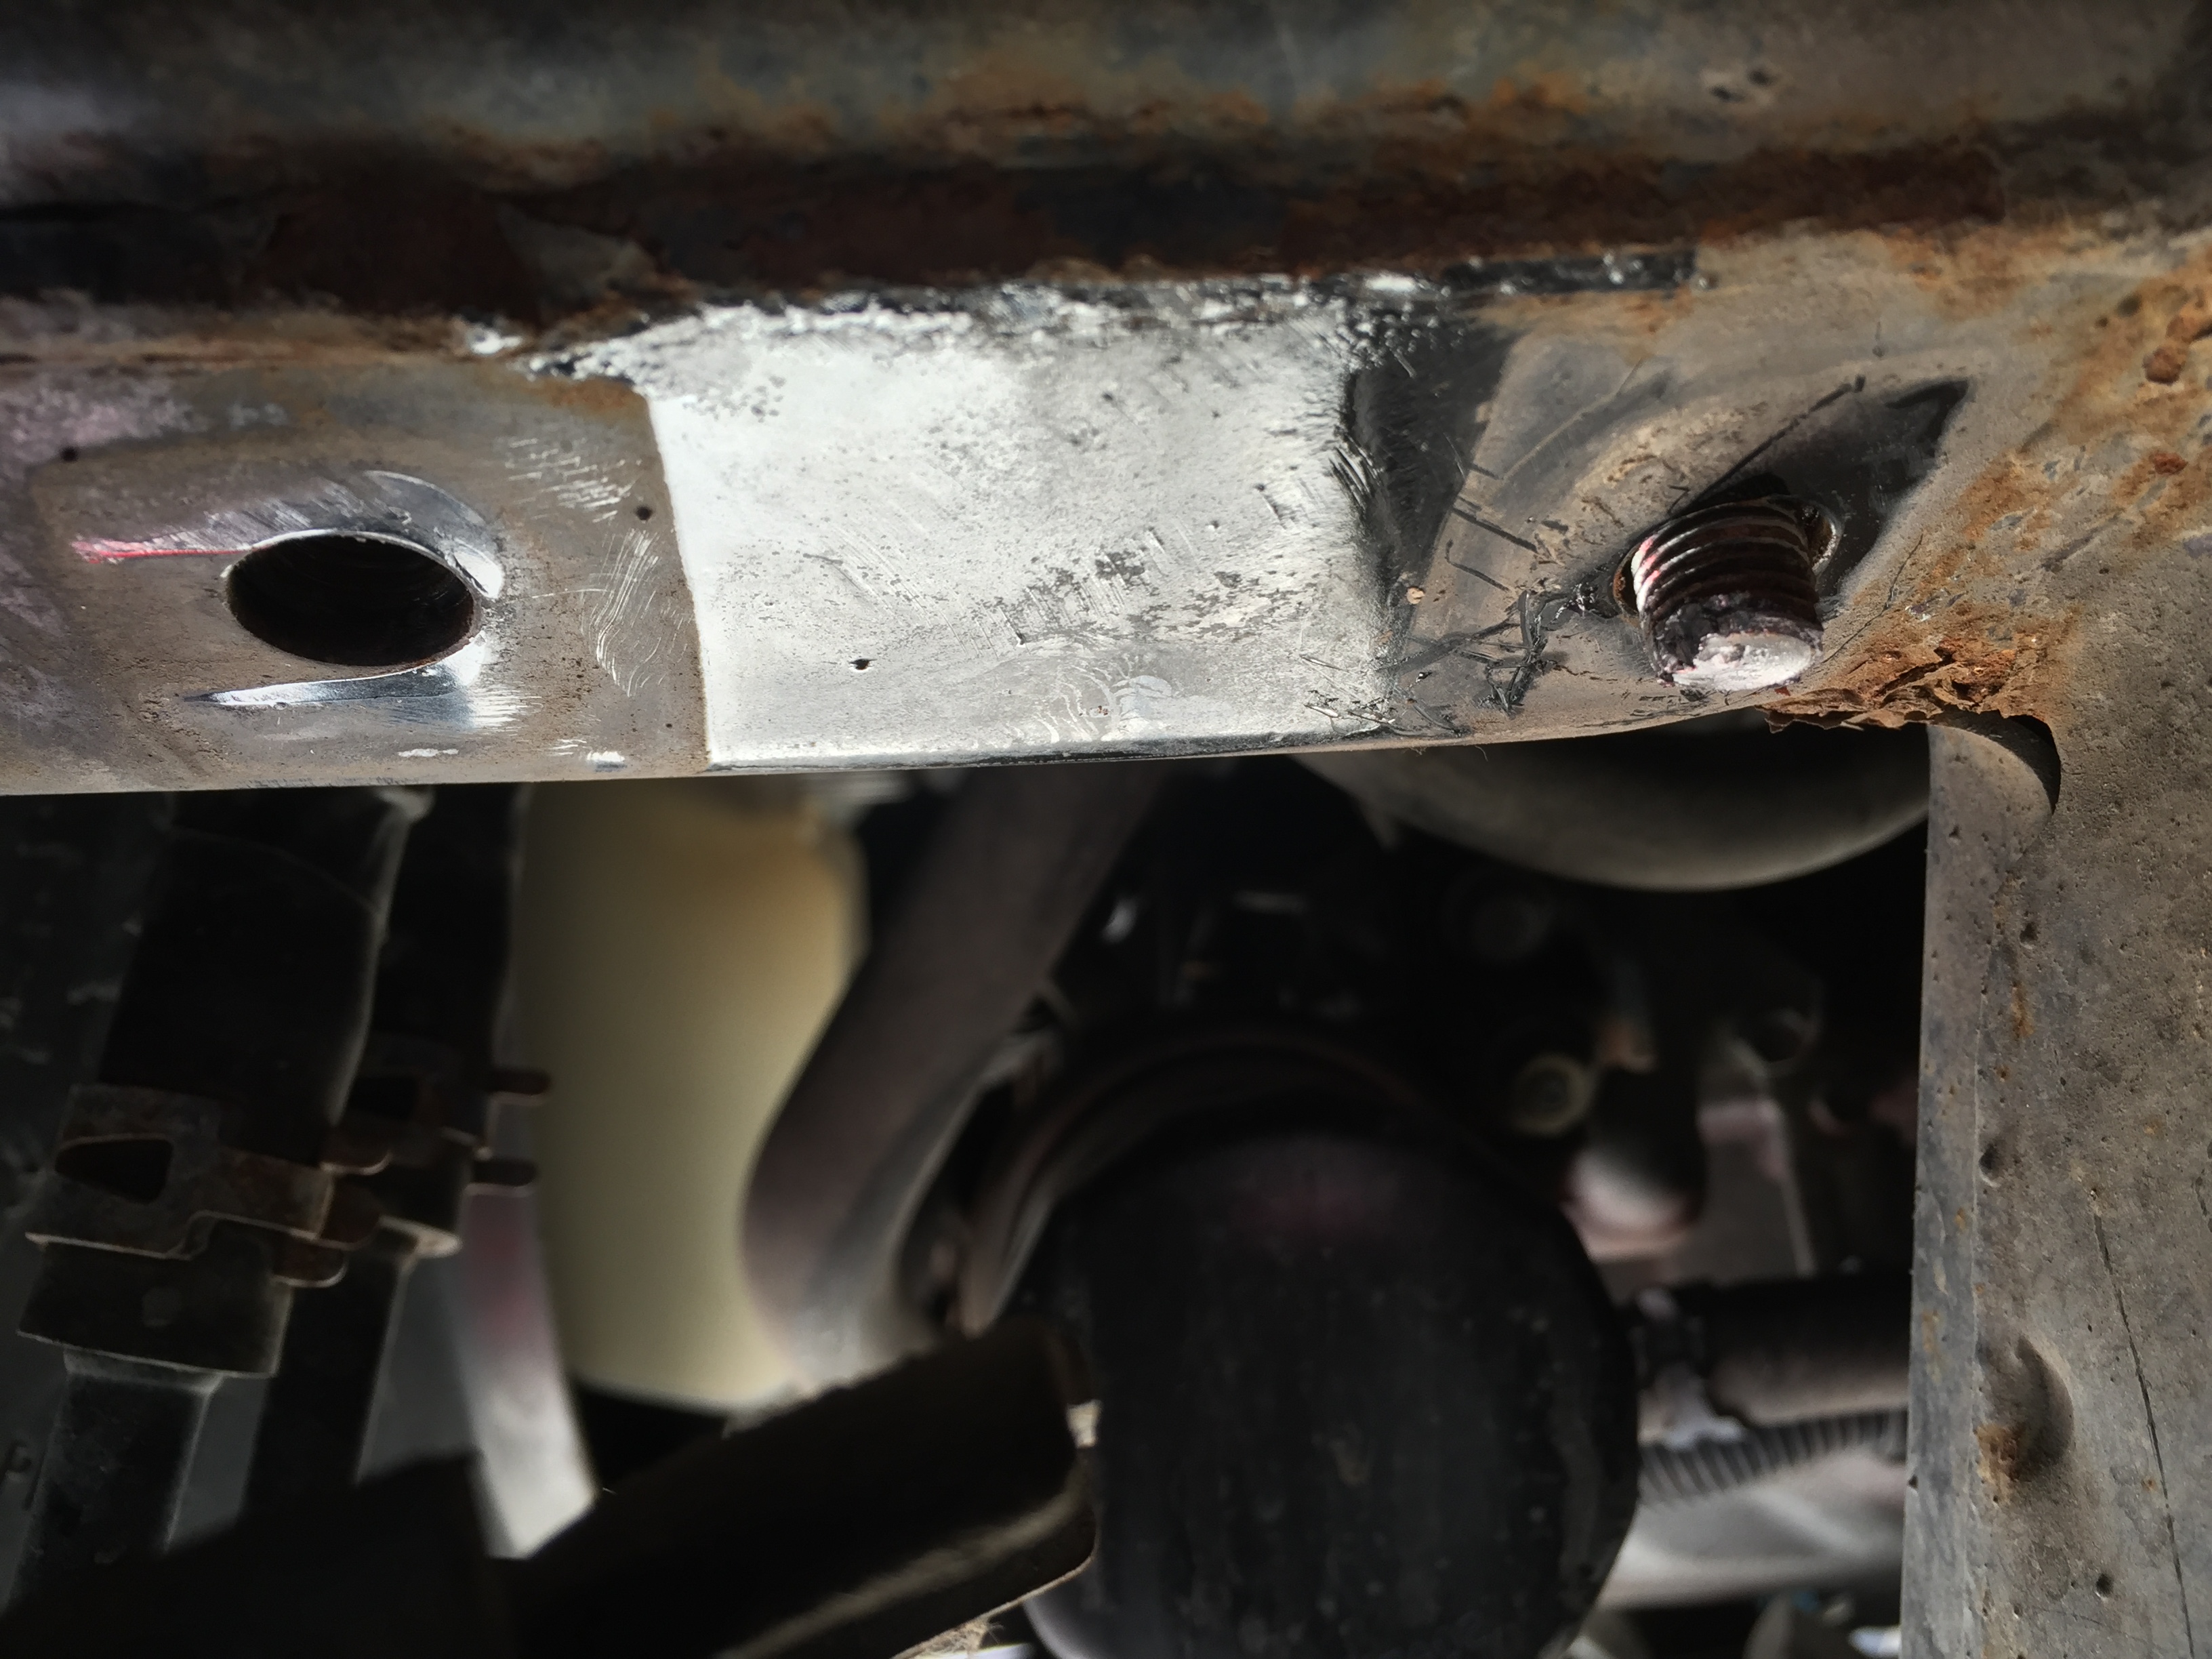
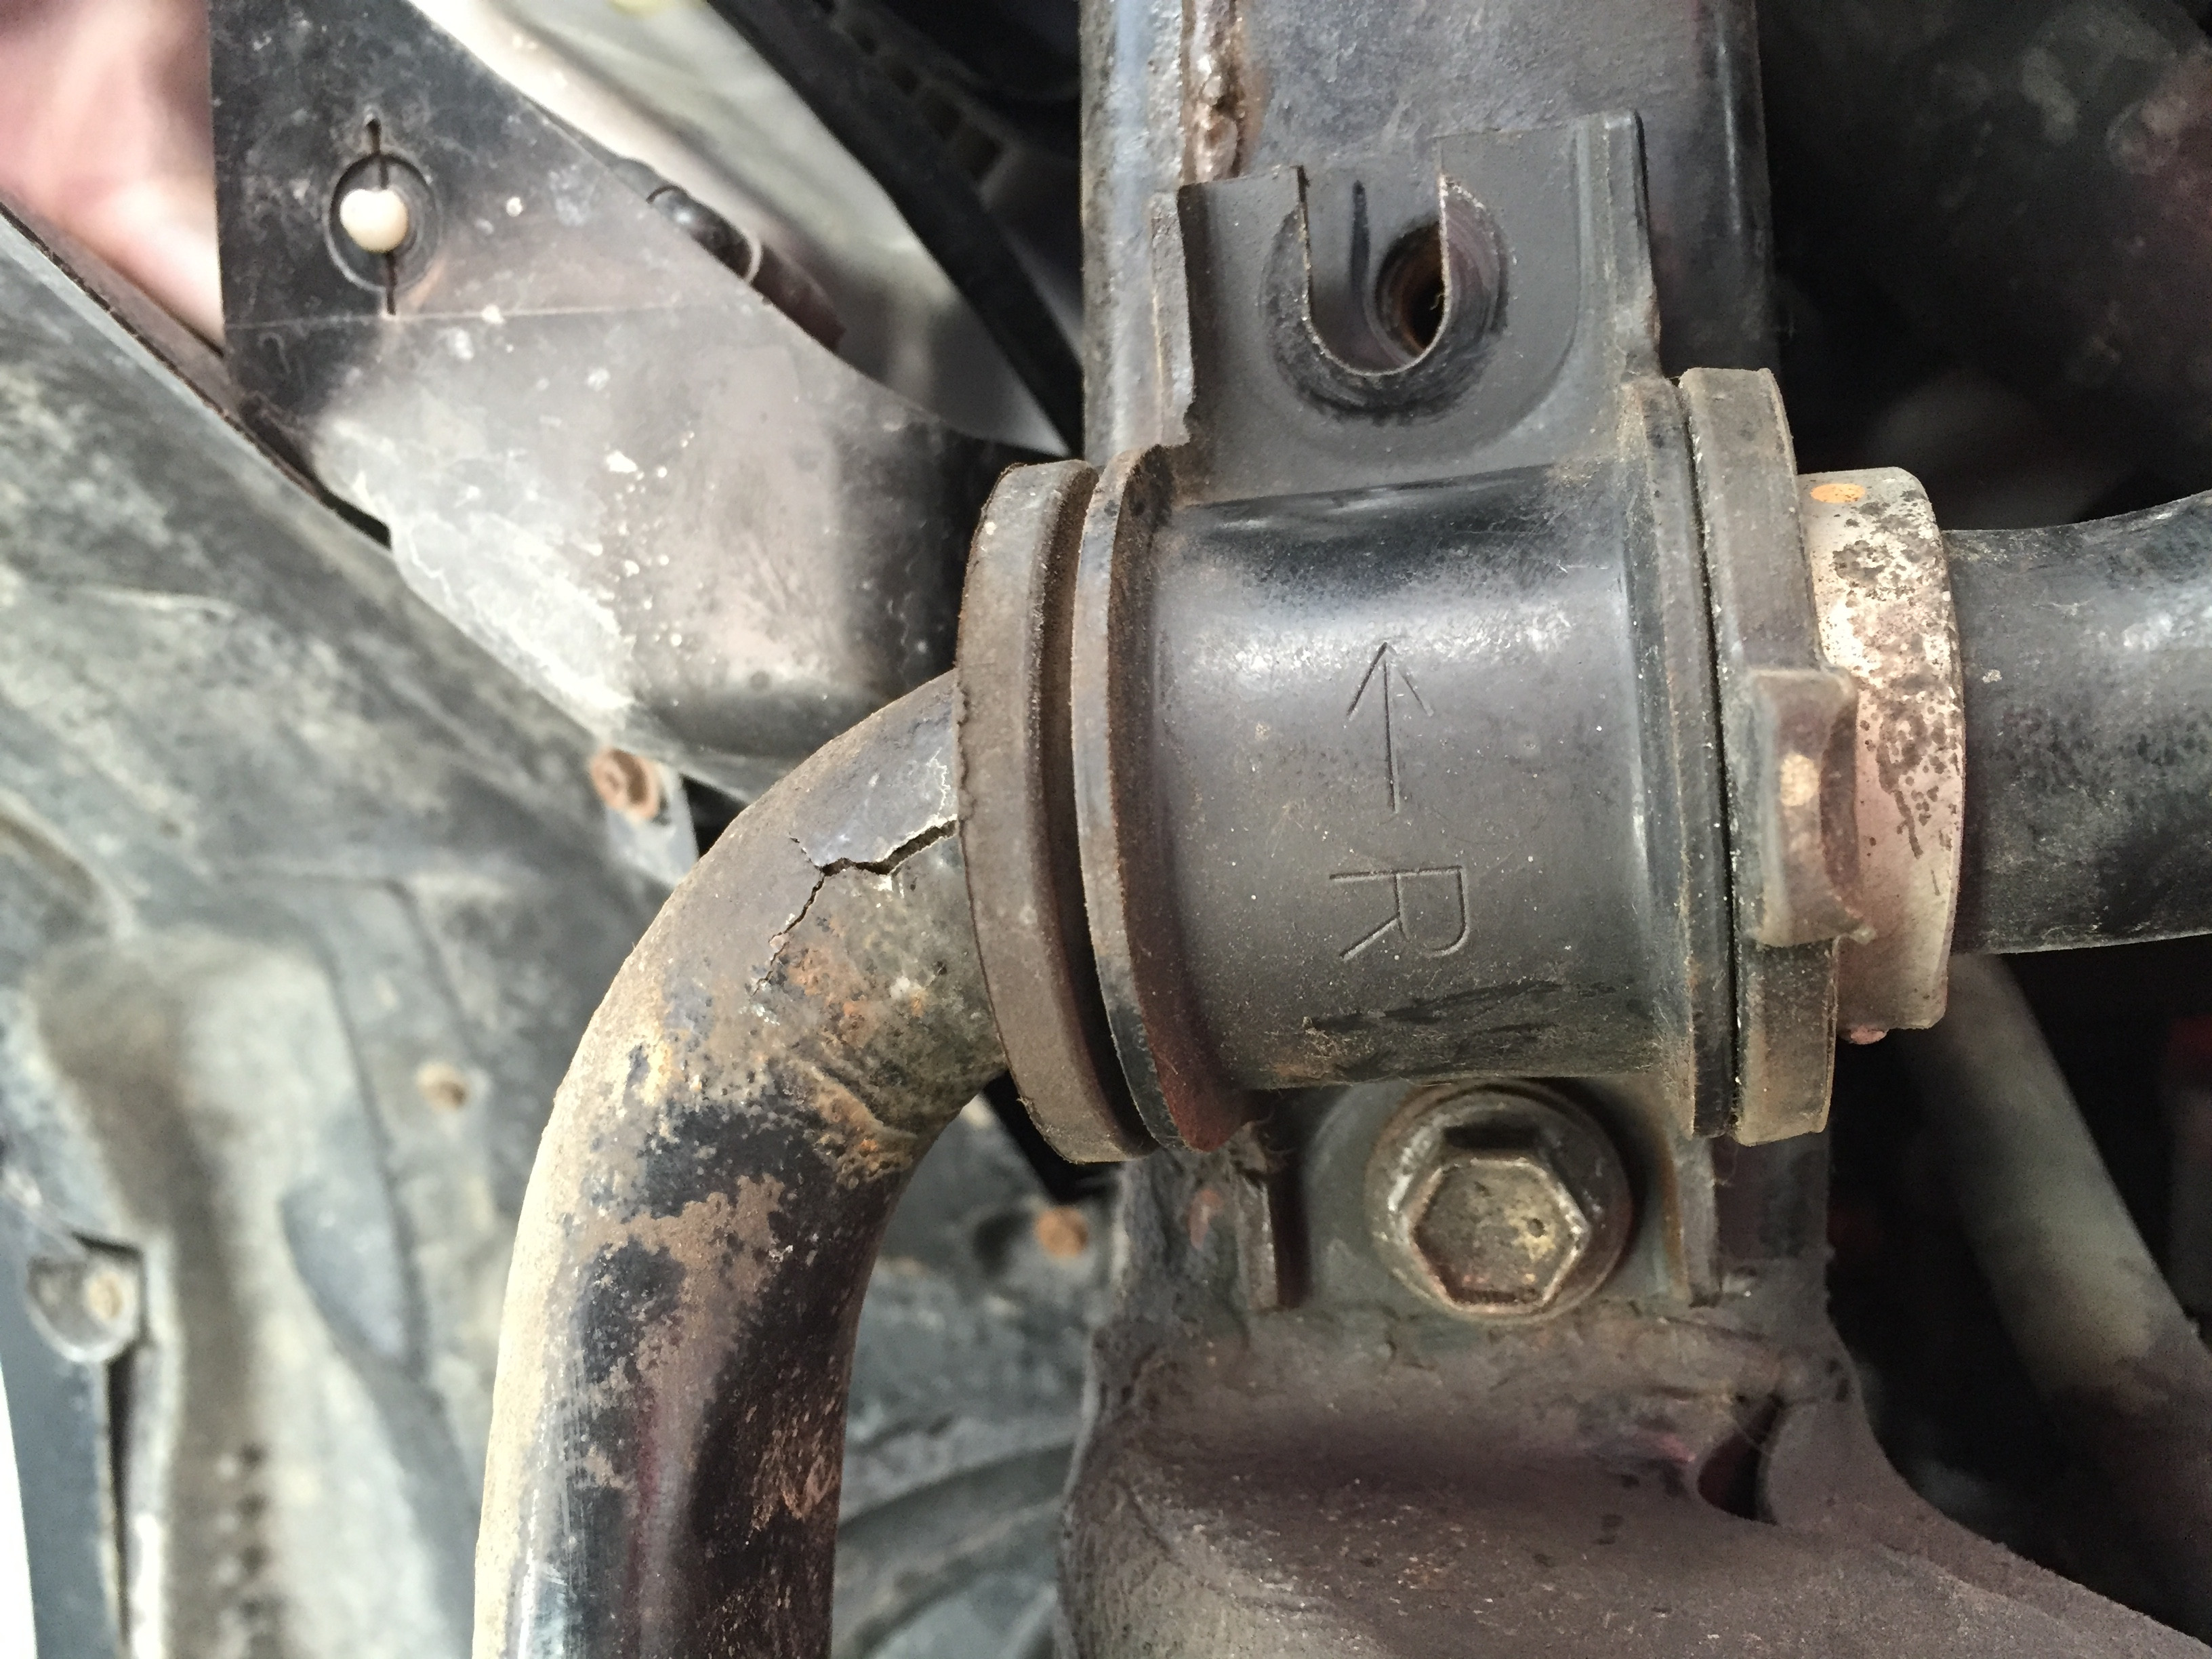
All in all it was successful and a learning experience. The only hiccup belonged to those dang front swaybar bushing bolts. I had one of the internal nuts on the passenger side break loose. And the actually sheered a bolt in half on the drivers side while trying to remove them.
I ended up cutting the passenger one out and hammering the drivers side nut/half bolt loose. I left the front sway bar off for a few weeks and went on a nice roadtrip to BC. Hardly even noticed much difference but I was paranoid of having to do a high speed maneuver and it not reacting how I would need.
I ended up fishing a new nut and lock washer into the frame and was able to apply enough down pressure to tighten a bolt on and secure the bushings again. Not looking forward to touching that bit again but I have found a solution involving a carriage bolt and a small bracket to prevent twisting. Might go ahead and install the relocation brackets so I don't have to fish around in their more than once.

Mid Install (Thanks to this forum I had a rough idea what I was doing. A few trips back and forth to the store and it was all buttoned up.)

85stva.jpg


Here is the bolt that sheered off for the swaybar bushing:

85sINA.jpg


And the other side where the welded nut broke loose. Unfortunately it was on the side of the bracket that did not have a cutout:

85sWX0.jpg


And the after shot! Much better!!

85s1Ge.jpg


85skXH.jpg


This simple lift gave me the stance I was after for an affordable price. Fairly easy to install as I did the LCA removal instead of doing the ball joint. Read enough saying I was going to require an alignment anyways so loosening the LCA Caster bolt was no issue.


PlastiDip


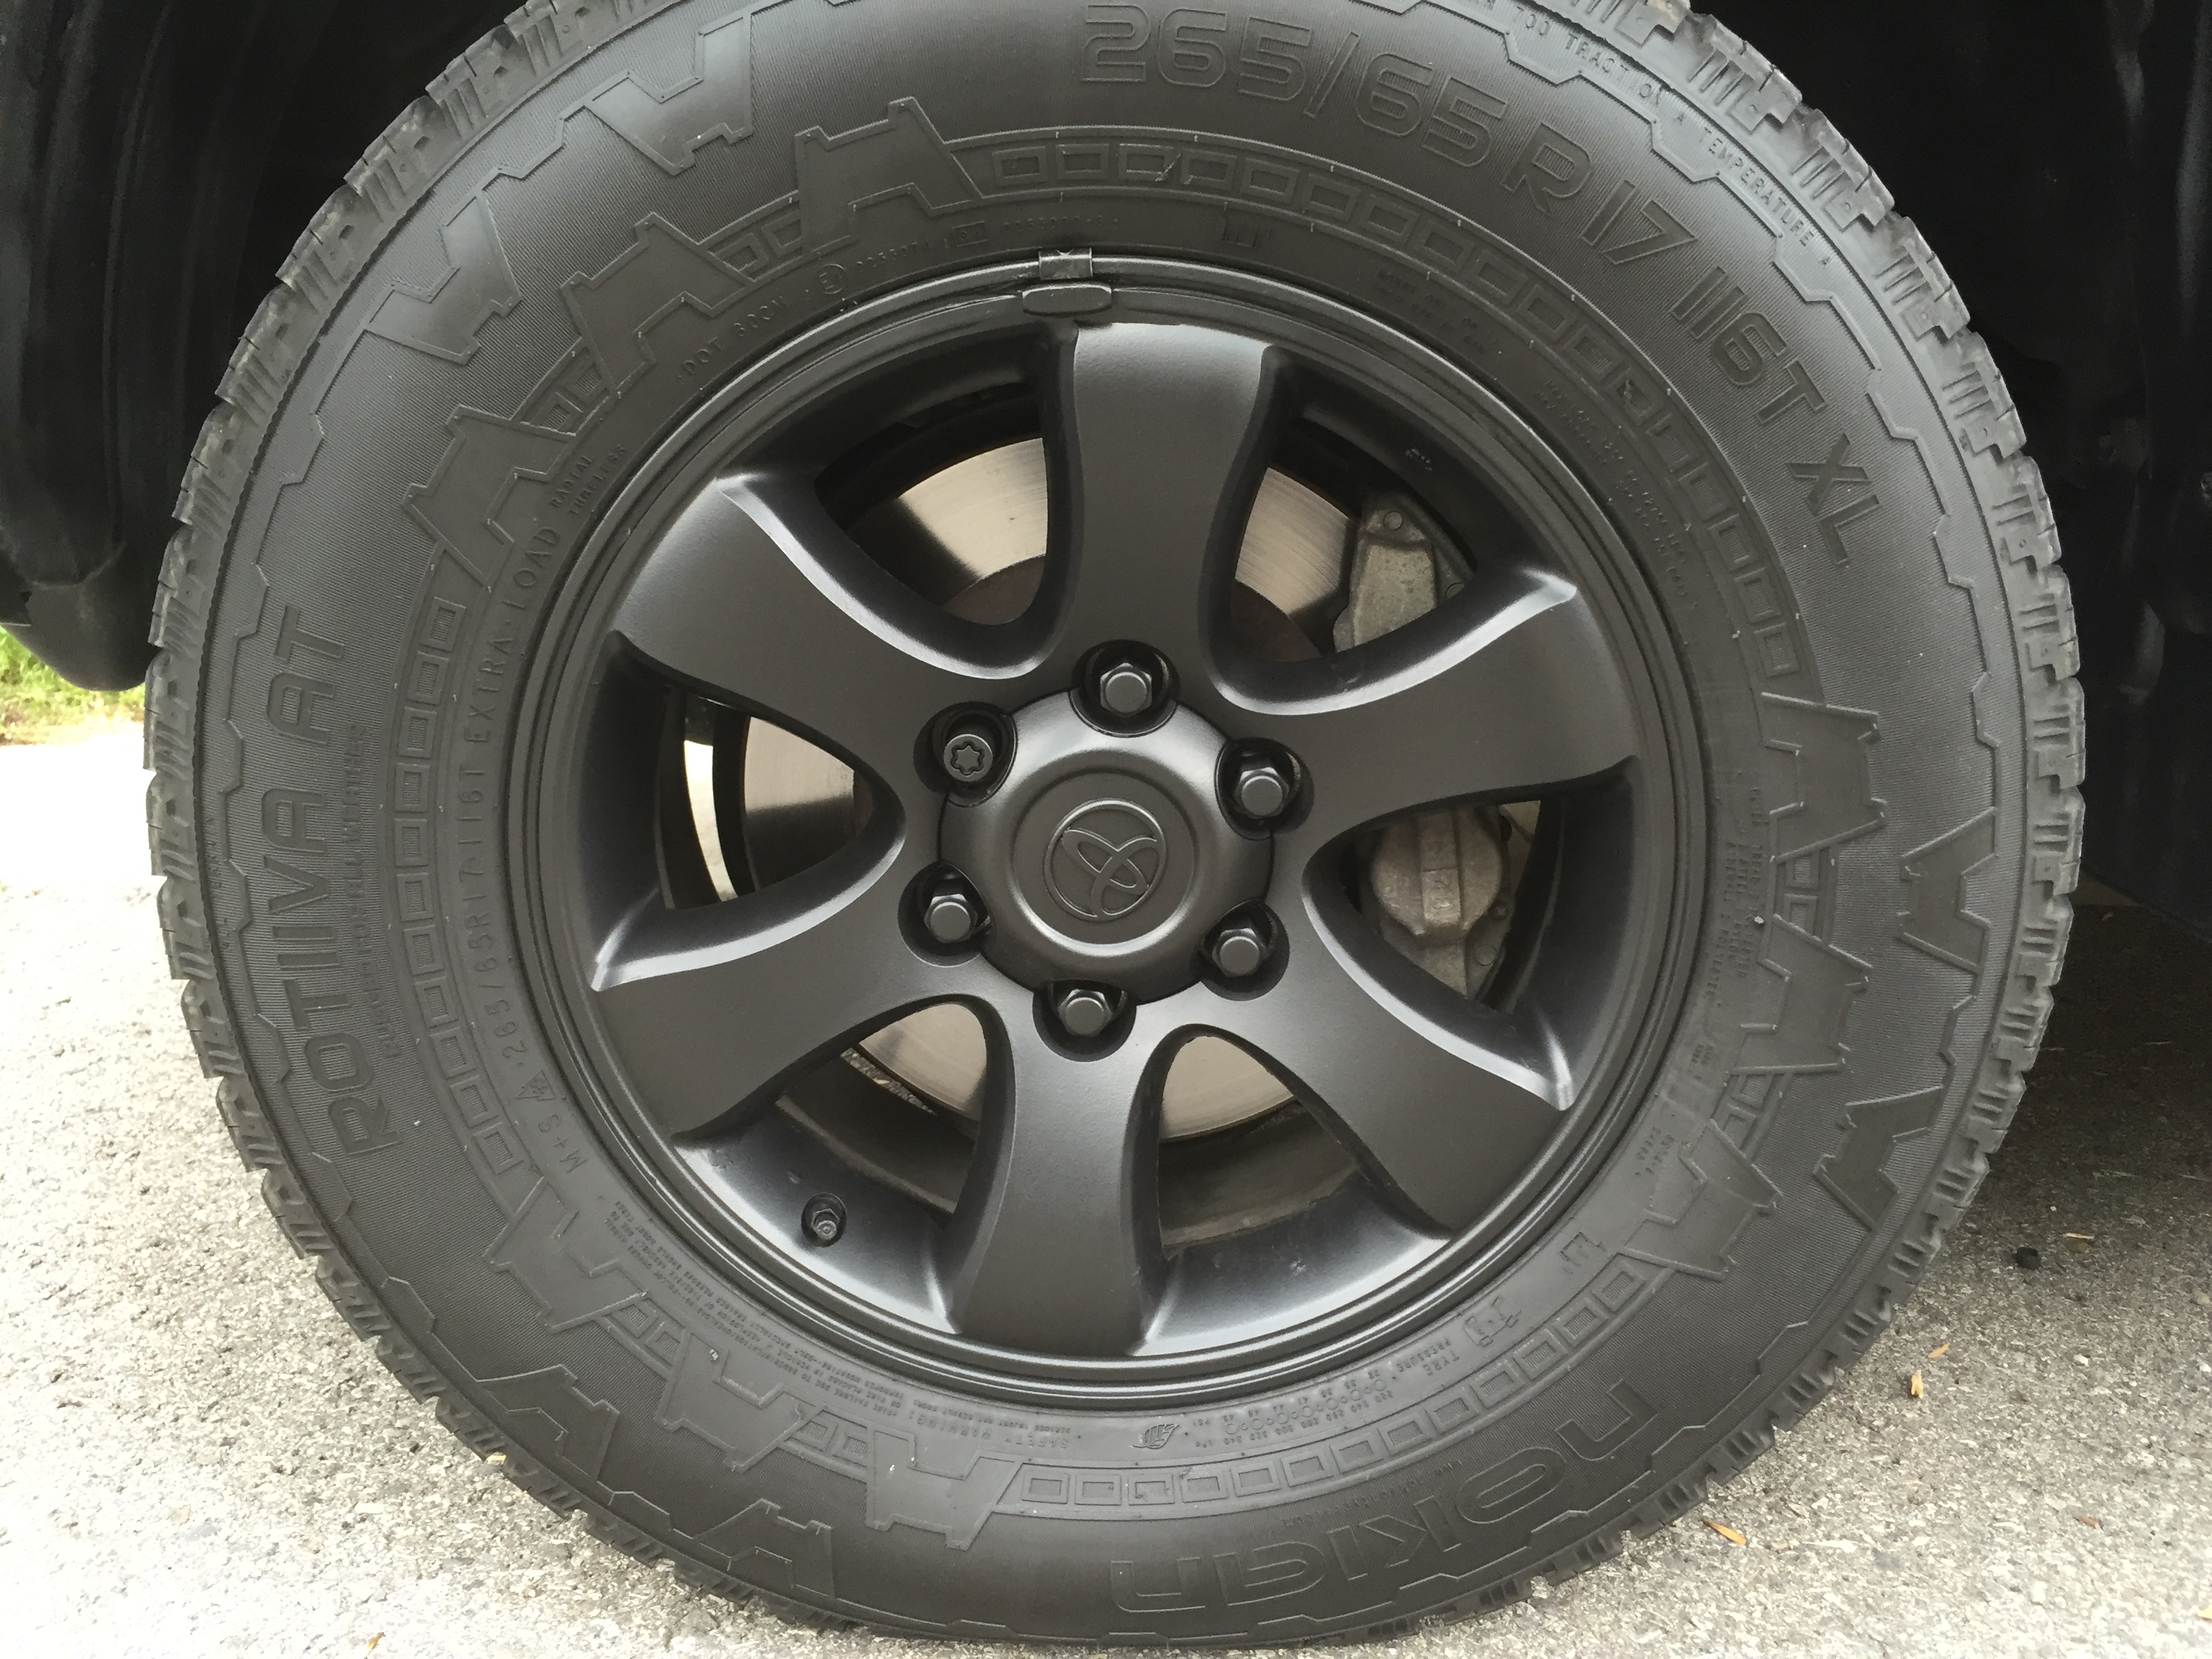
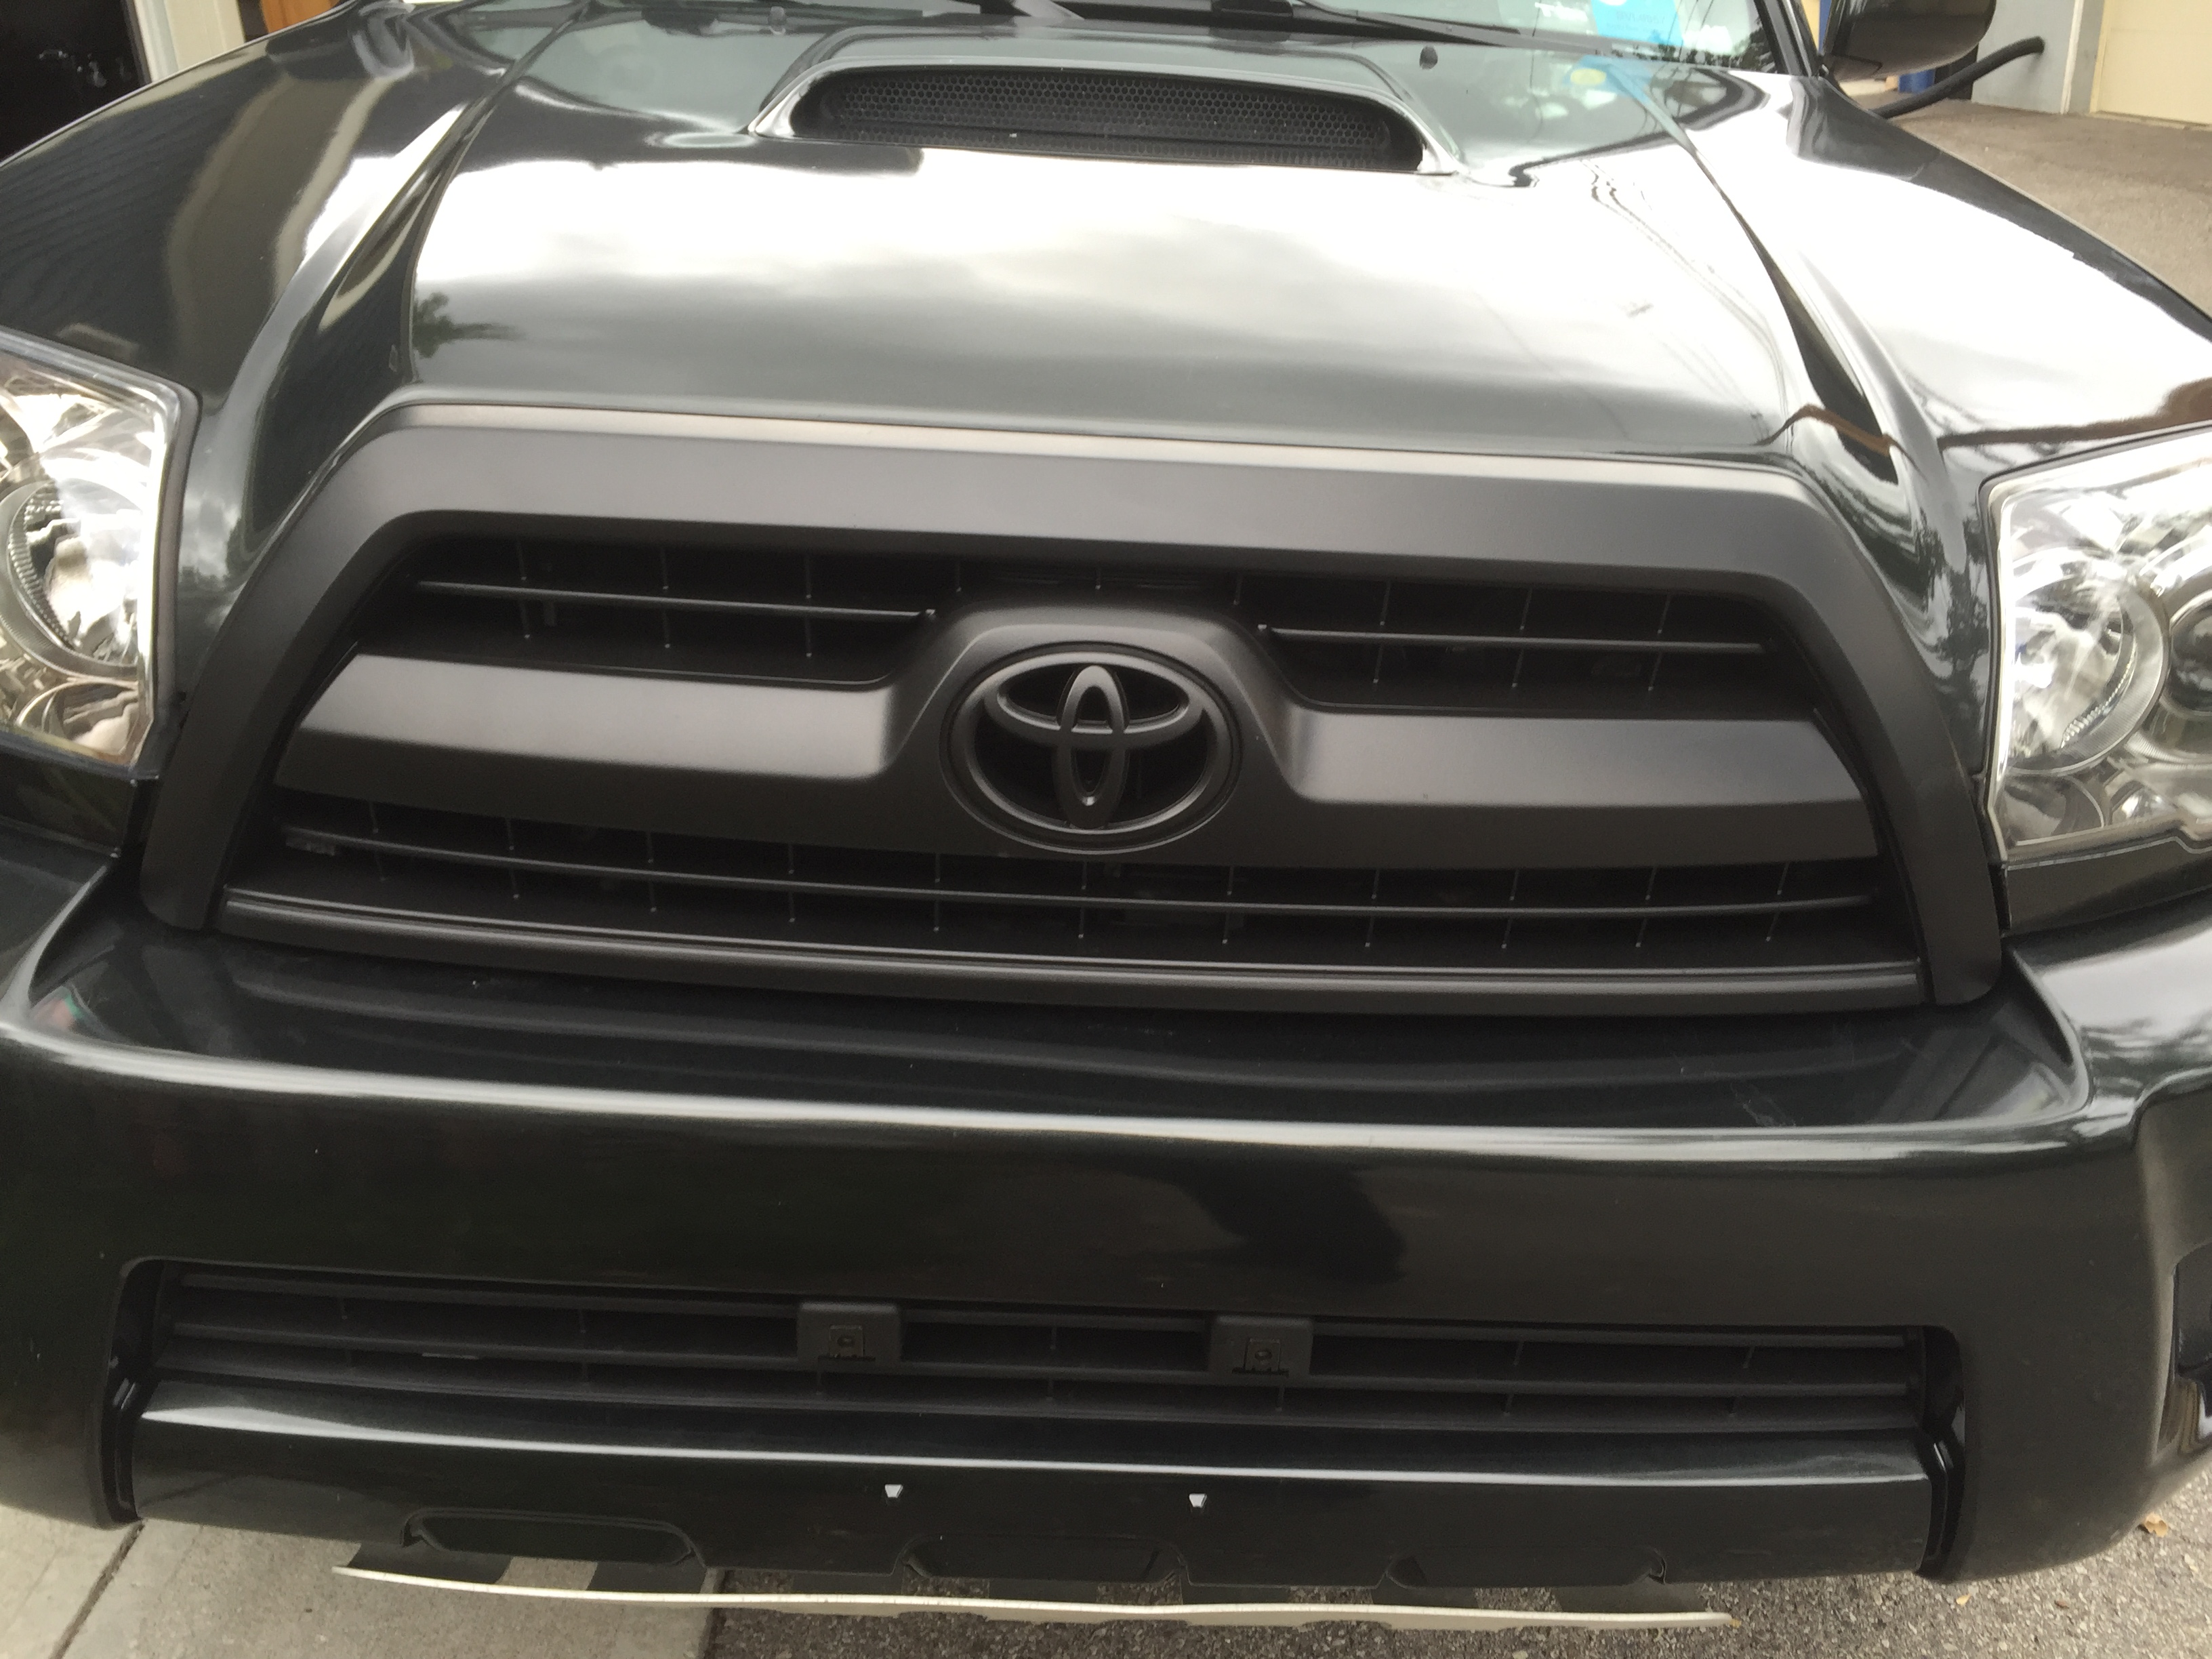
My next mod was plastidipping. Another inexpensive mod that made some noticeable changes for me. I did the Toyota wheels, Grille, Emblems and Rear Tailgate piece. Piece of cake and looked pretty good.

Wheels:

85ssko.jpg


Grille:

85s4b2.jpg


85sQNK.jpg


Running Board Delete

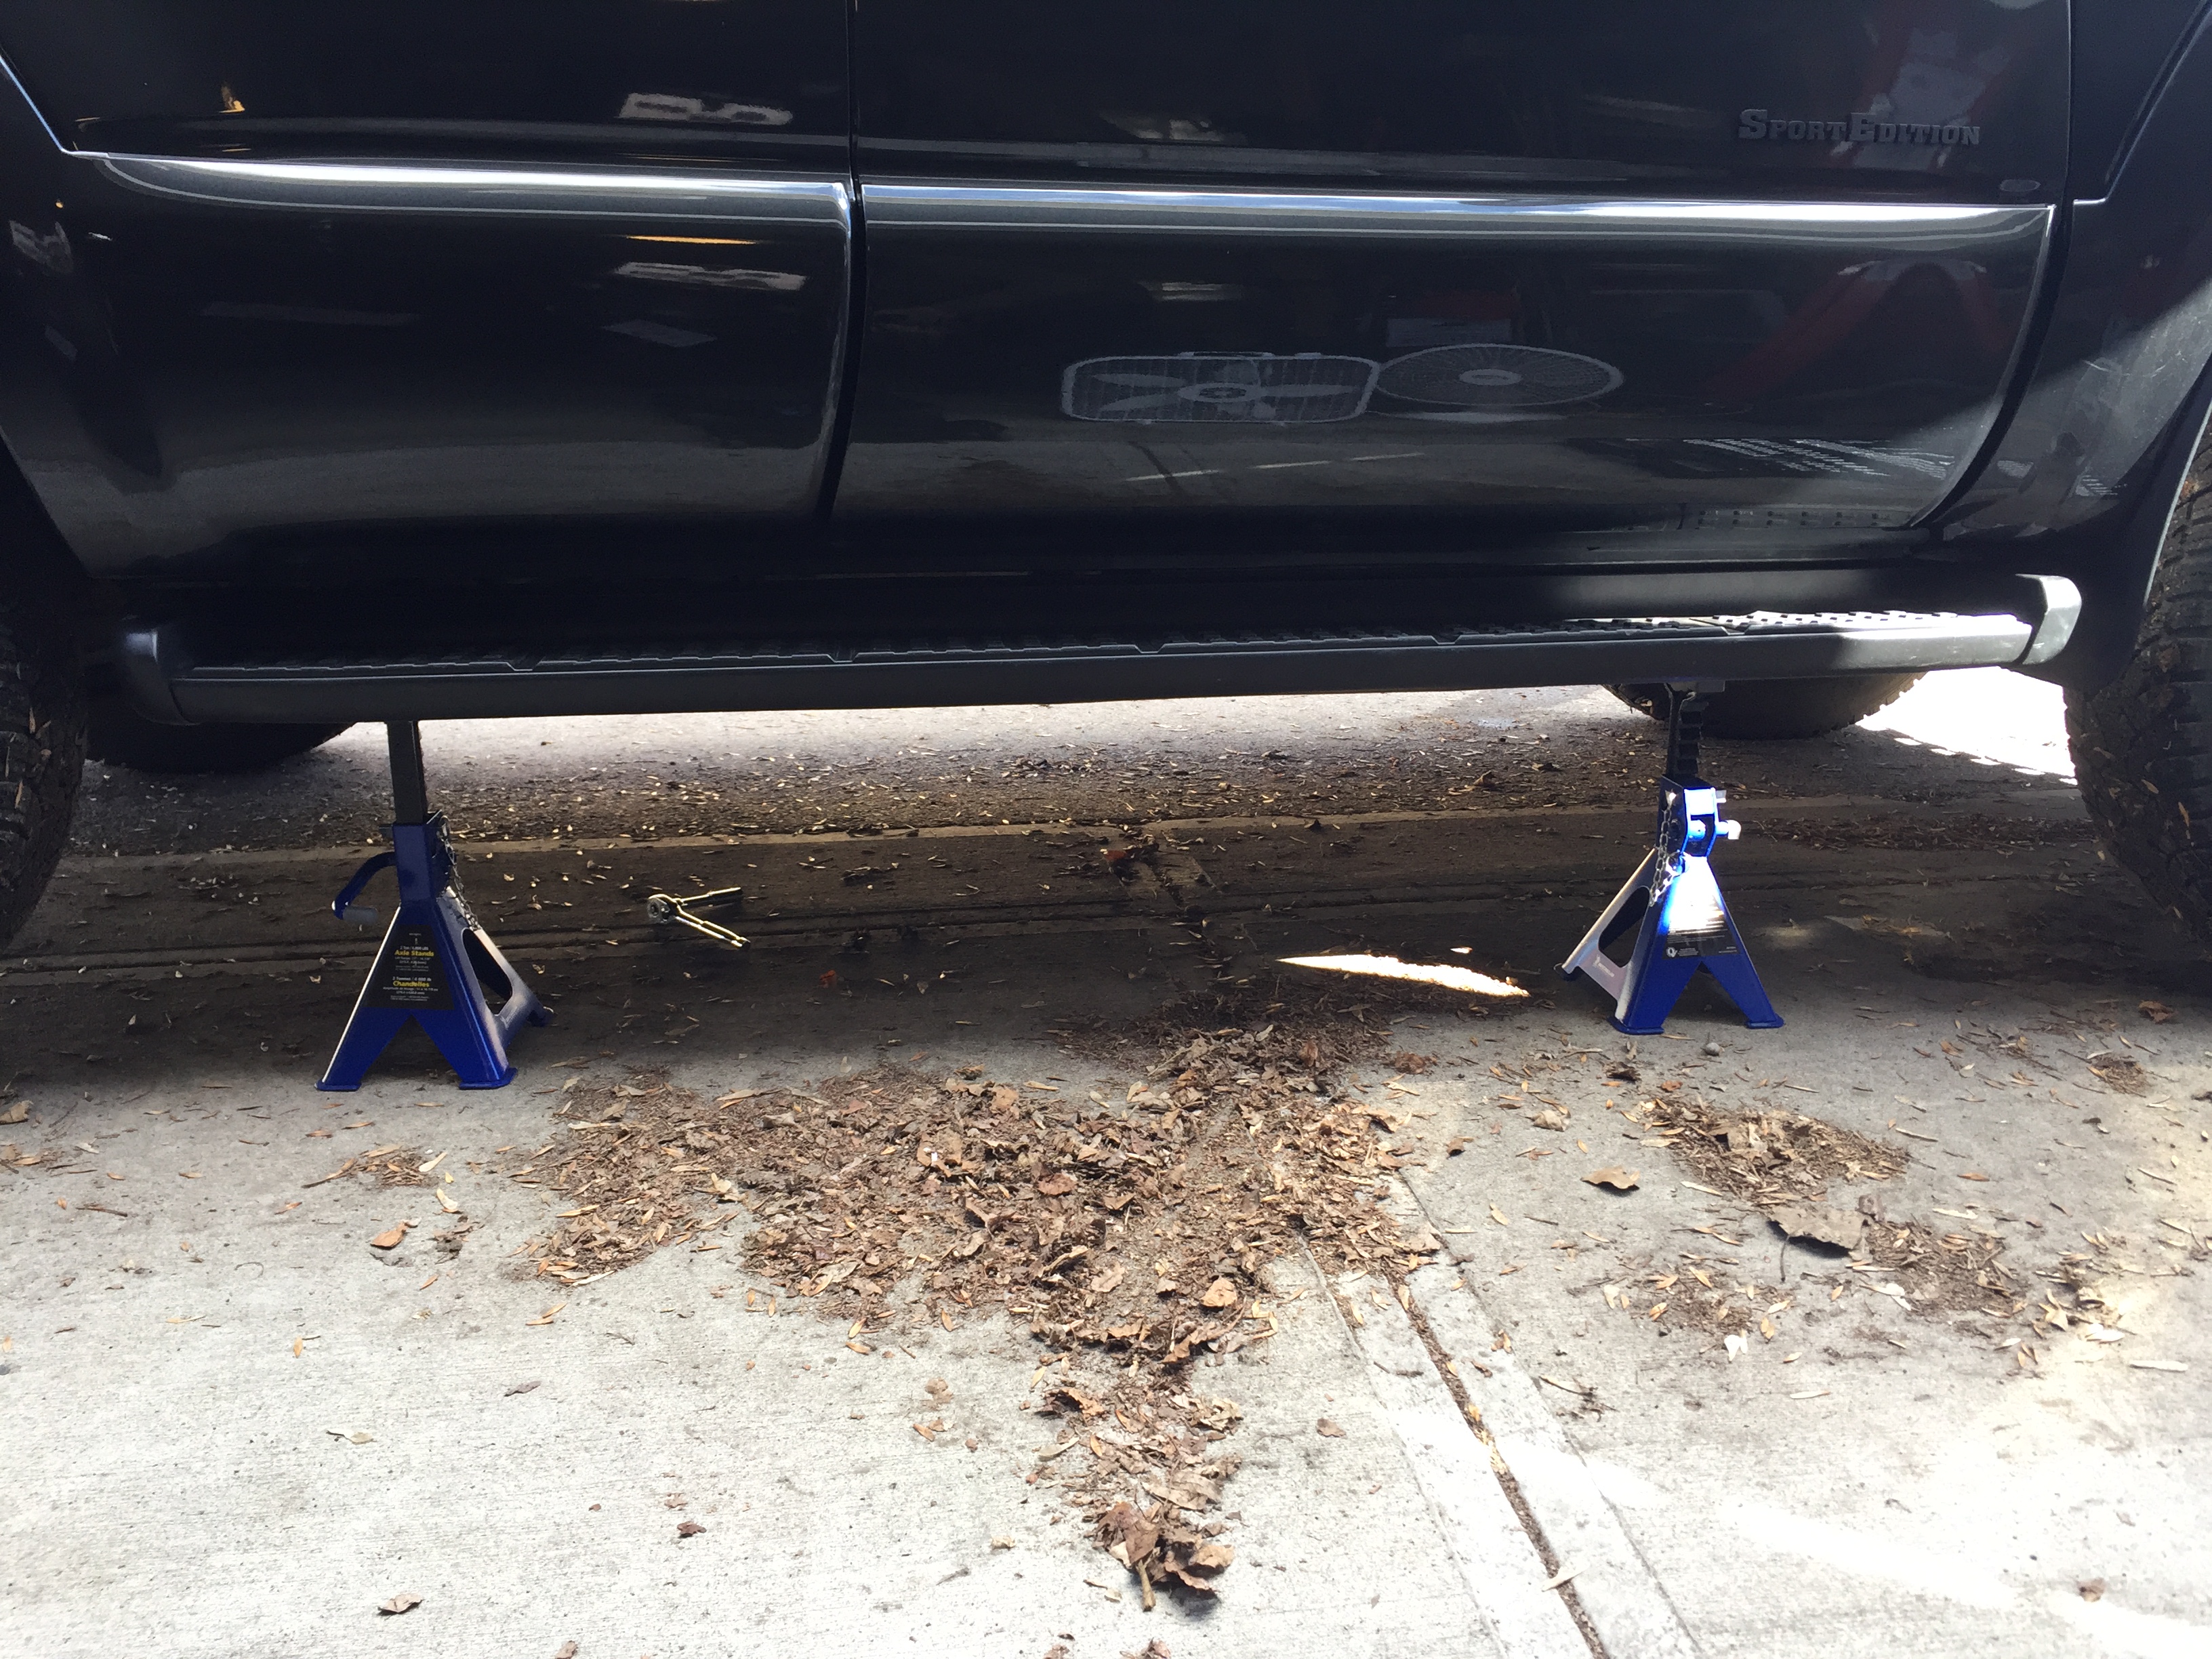
Next up was removing the factory running boards. One it gives the vehicle a slightly taller lifted look and two they just get my pants dirty getting in and out of the truck.

85B6Ck.jpg


Before:

85BZtD.jpg


After:

85Bzf5.jpg


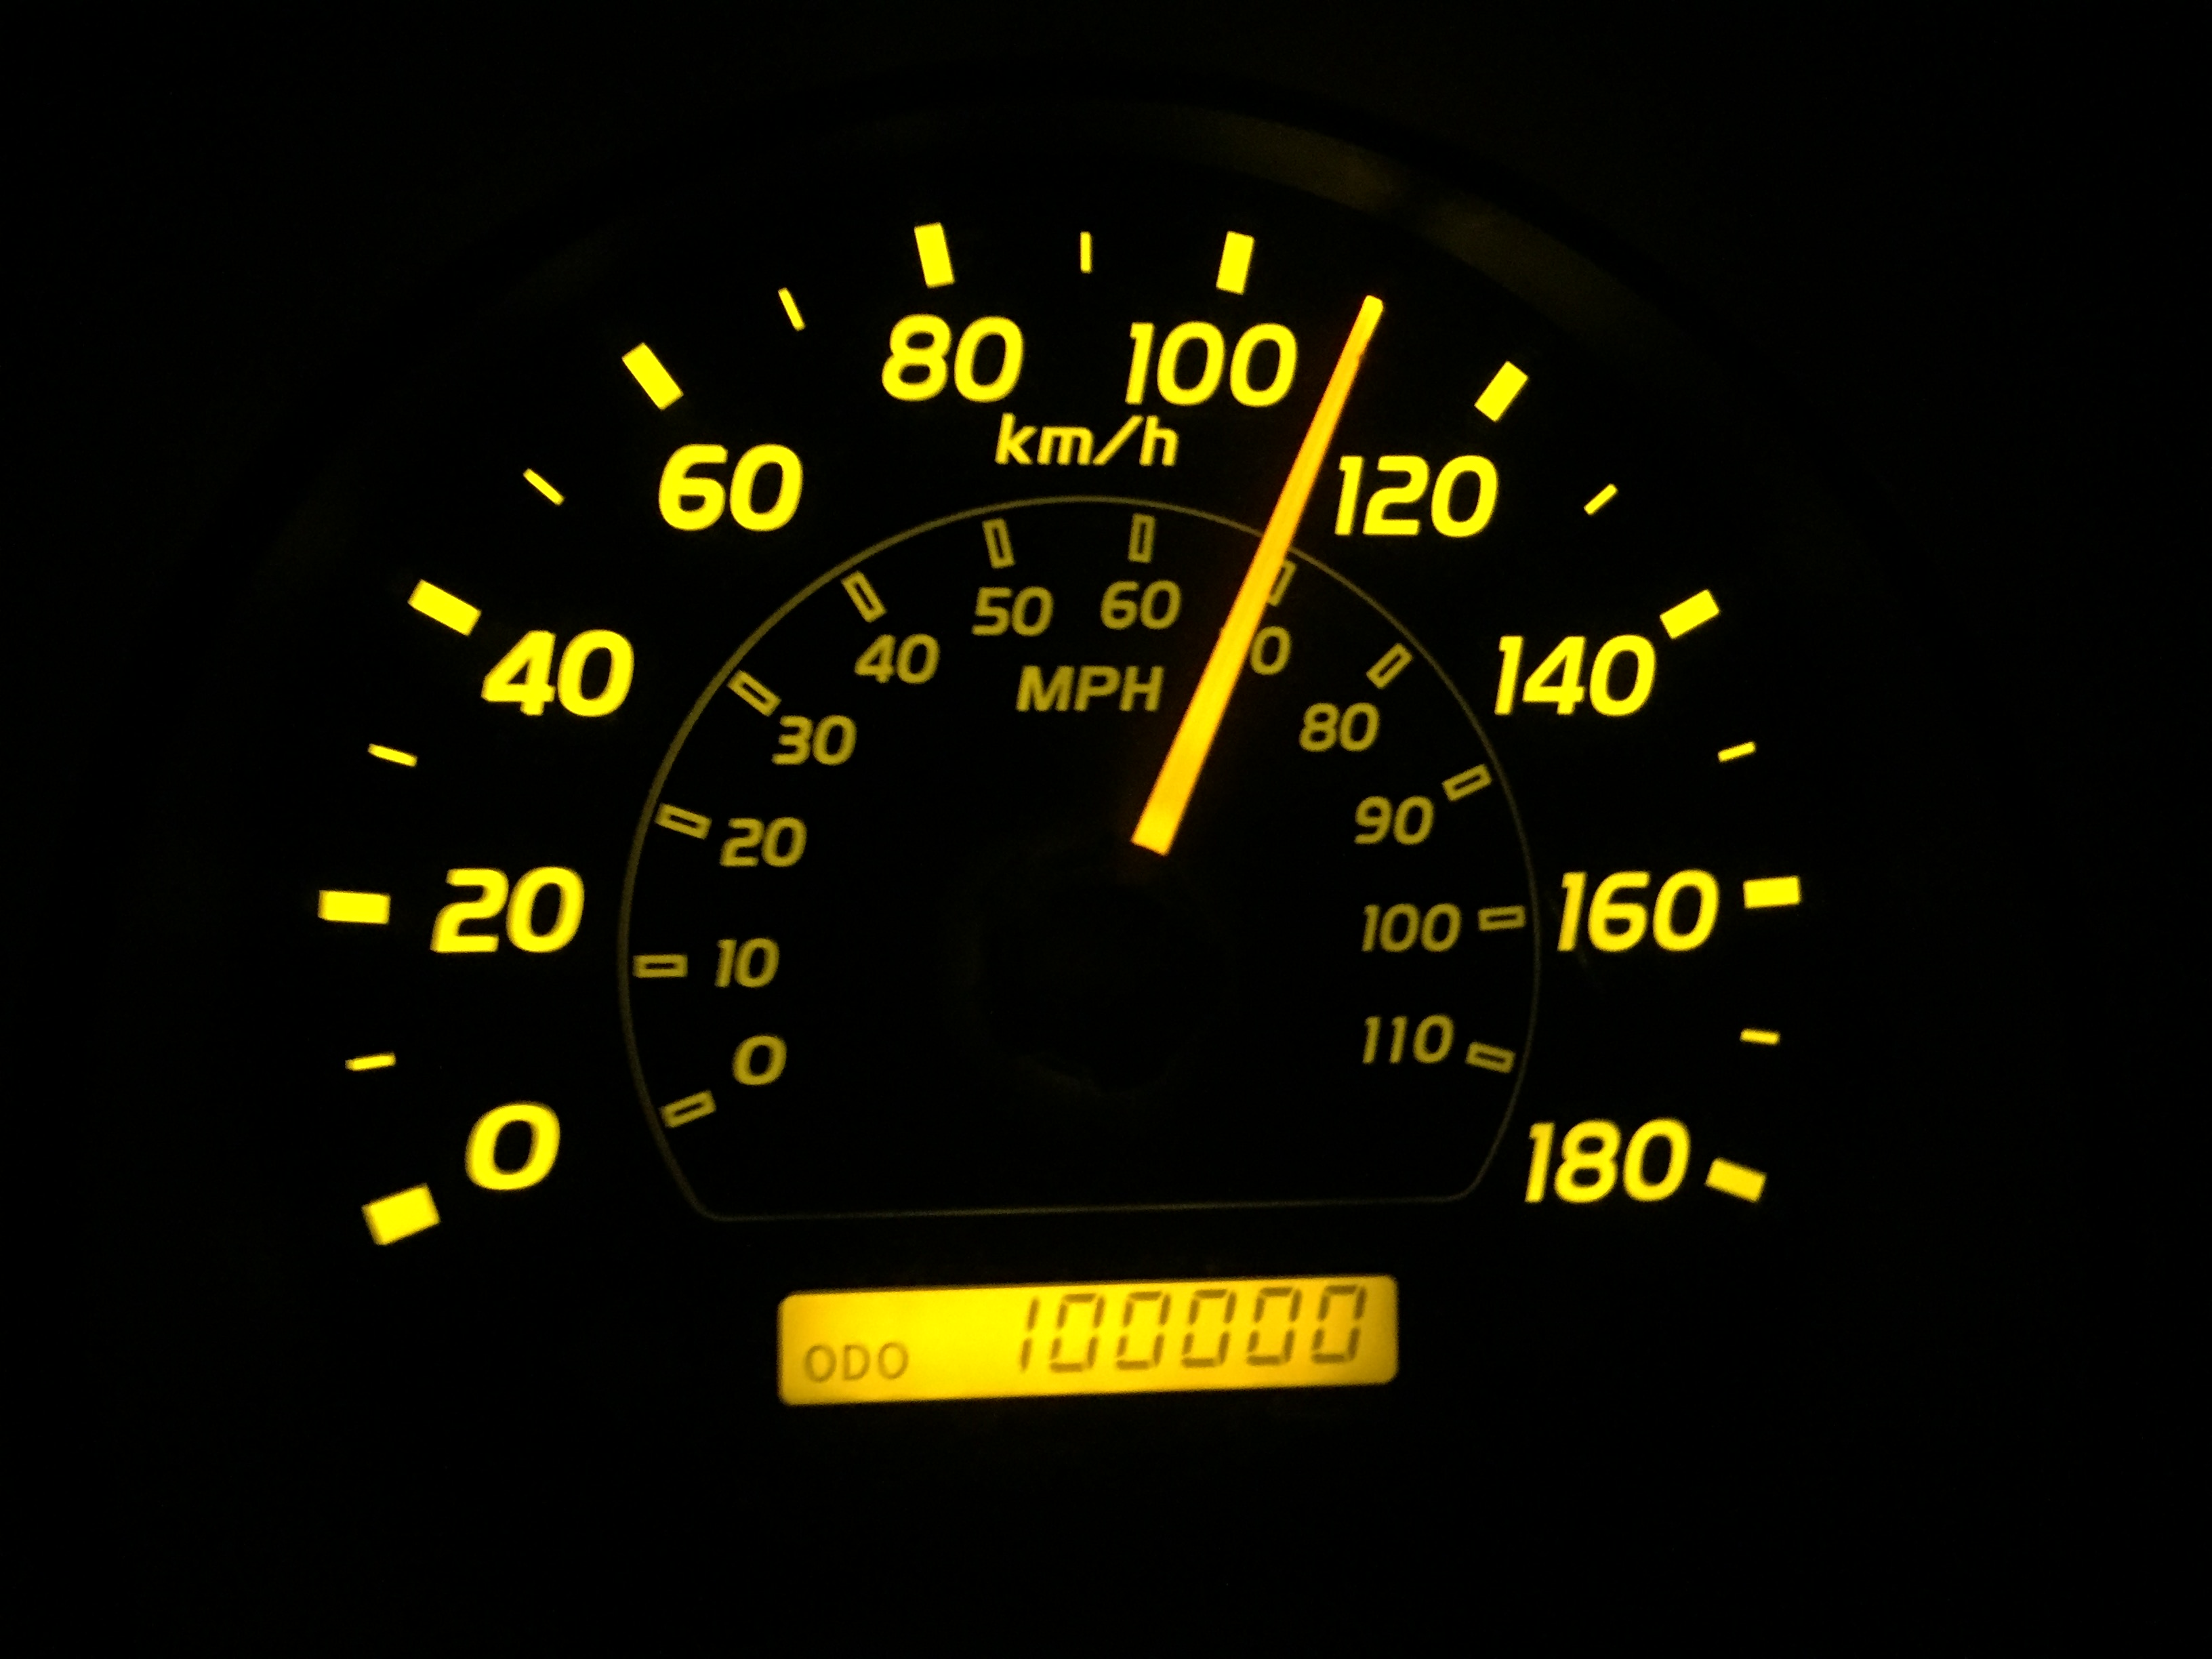
100,000km mark

Shortly after that I rolled over 100,000km. For my job I drive roughly 30,000km a year so it didn't take long to get those km up. And yes it hurts watching those km rise.

85qbz2.jpg


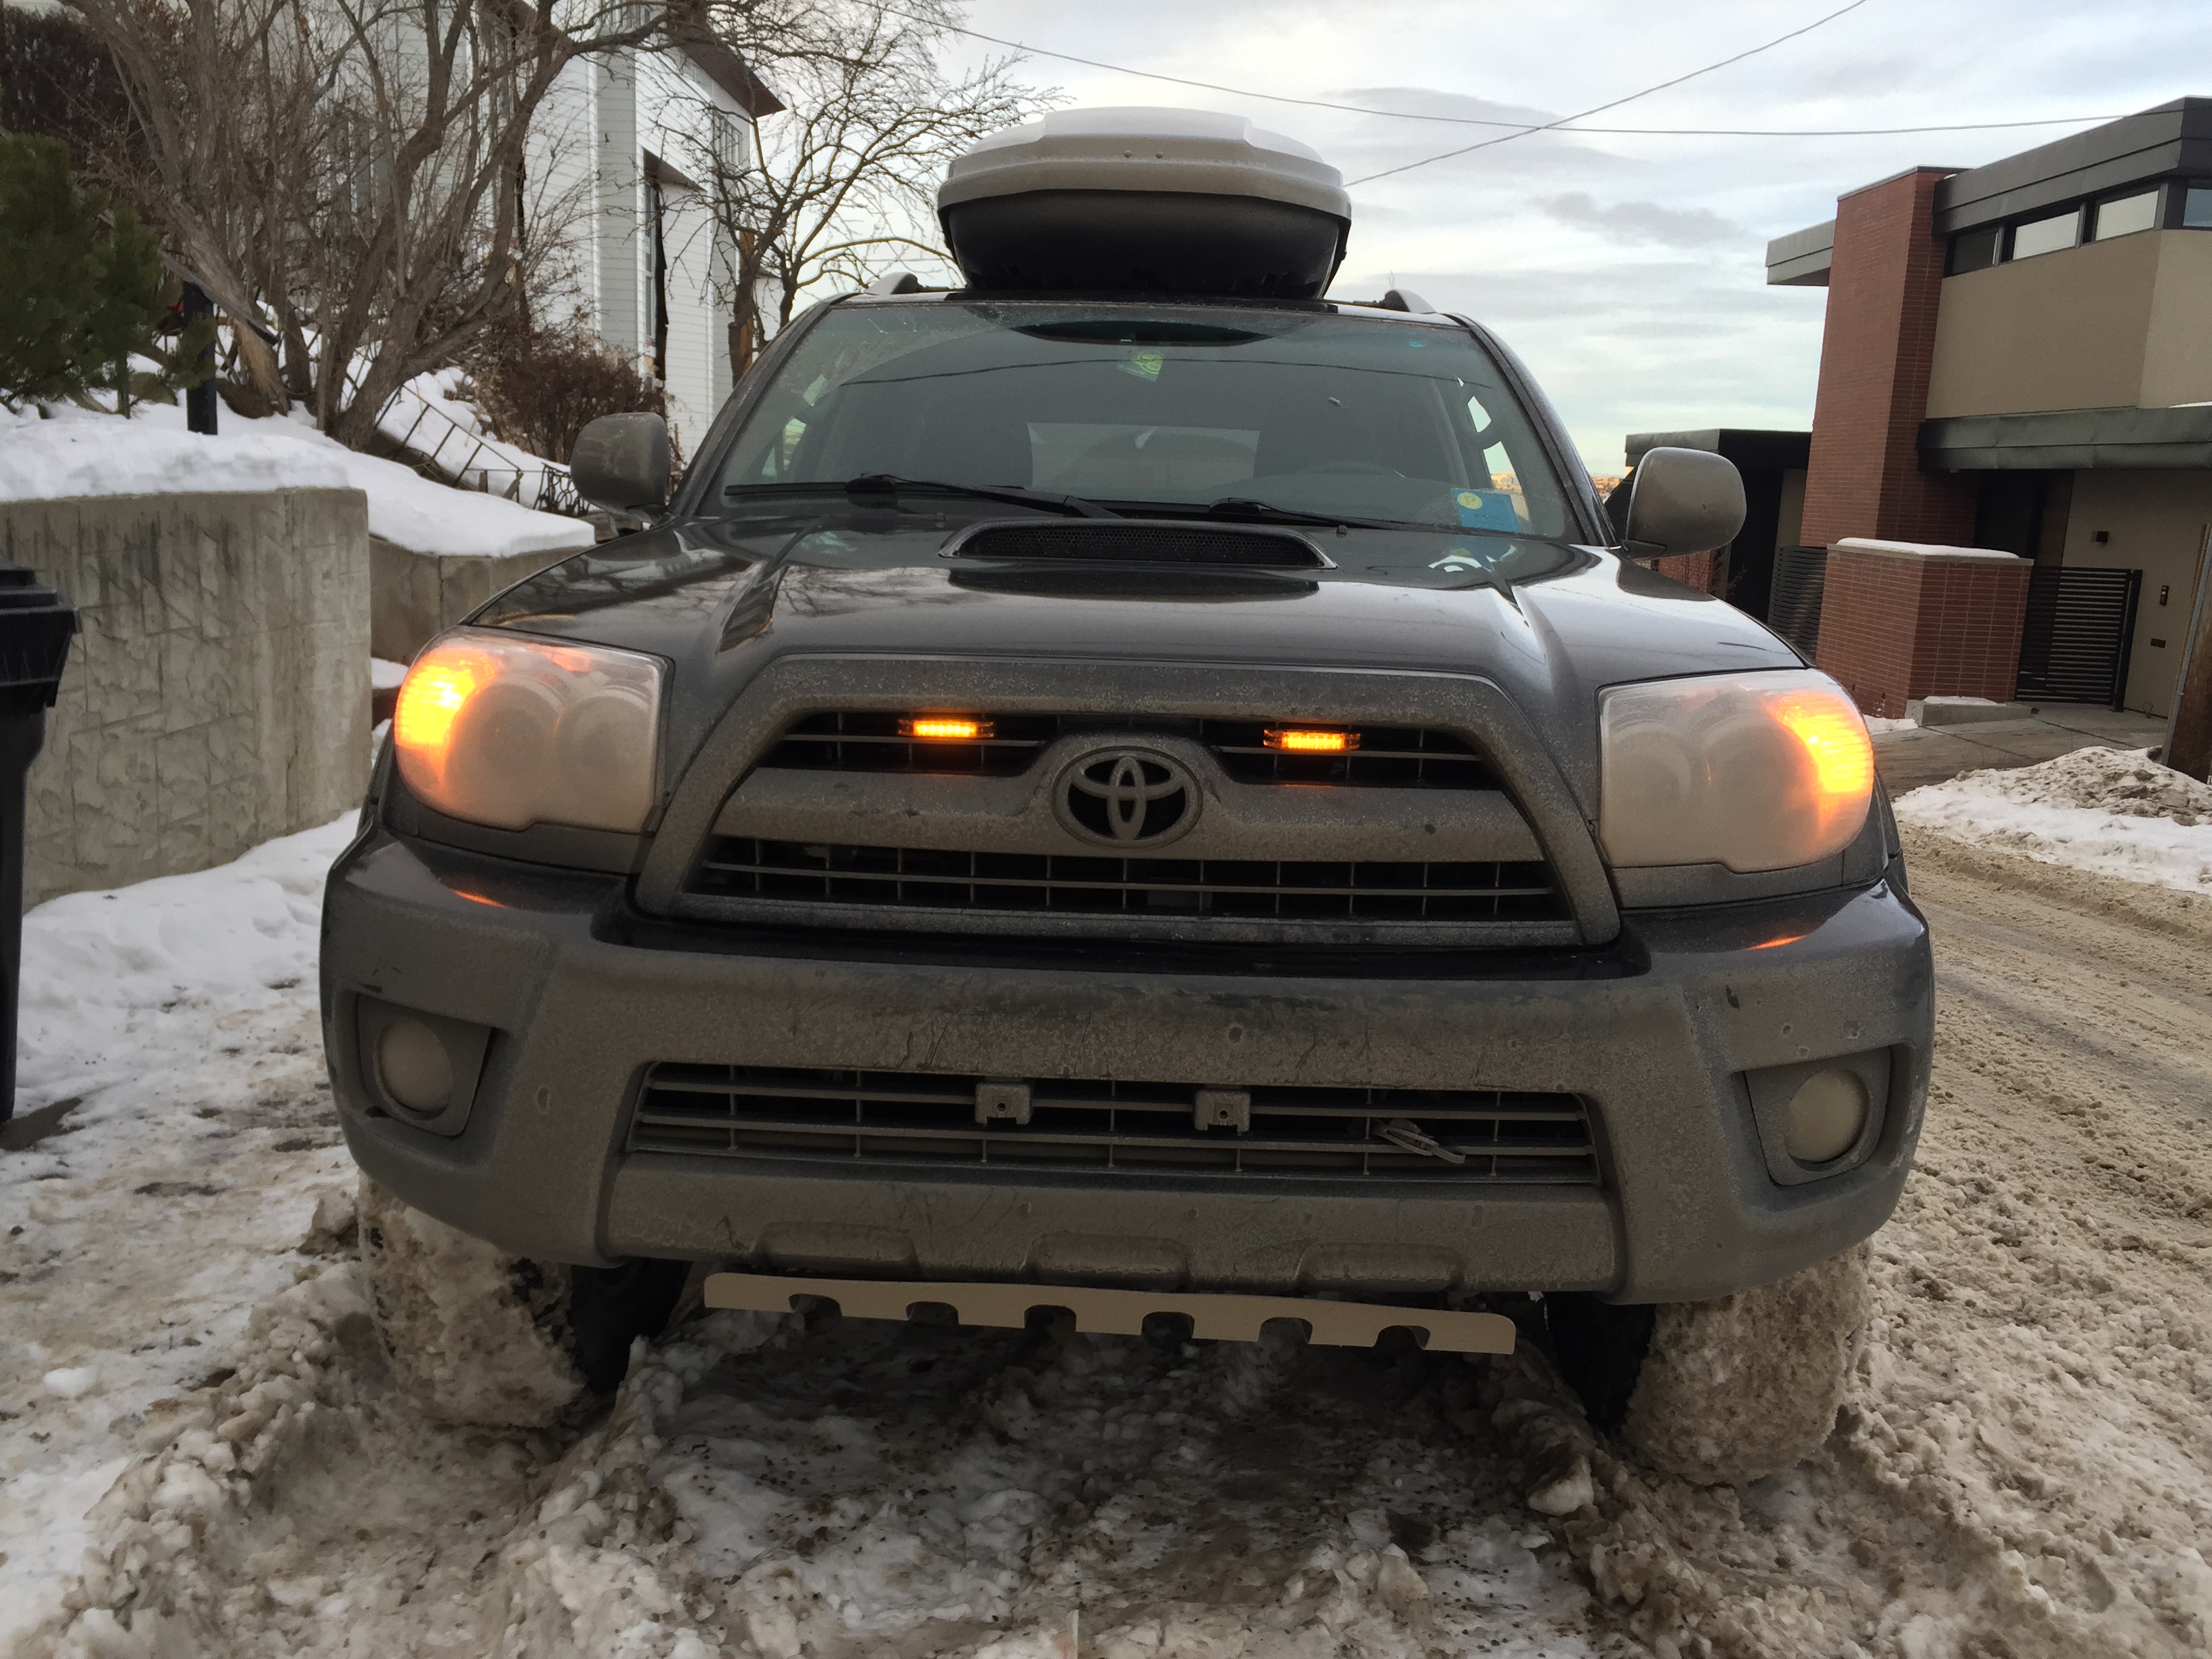
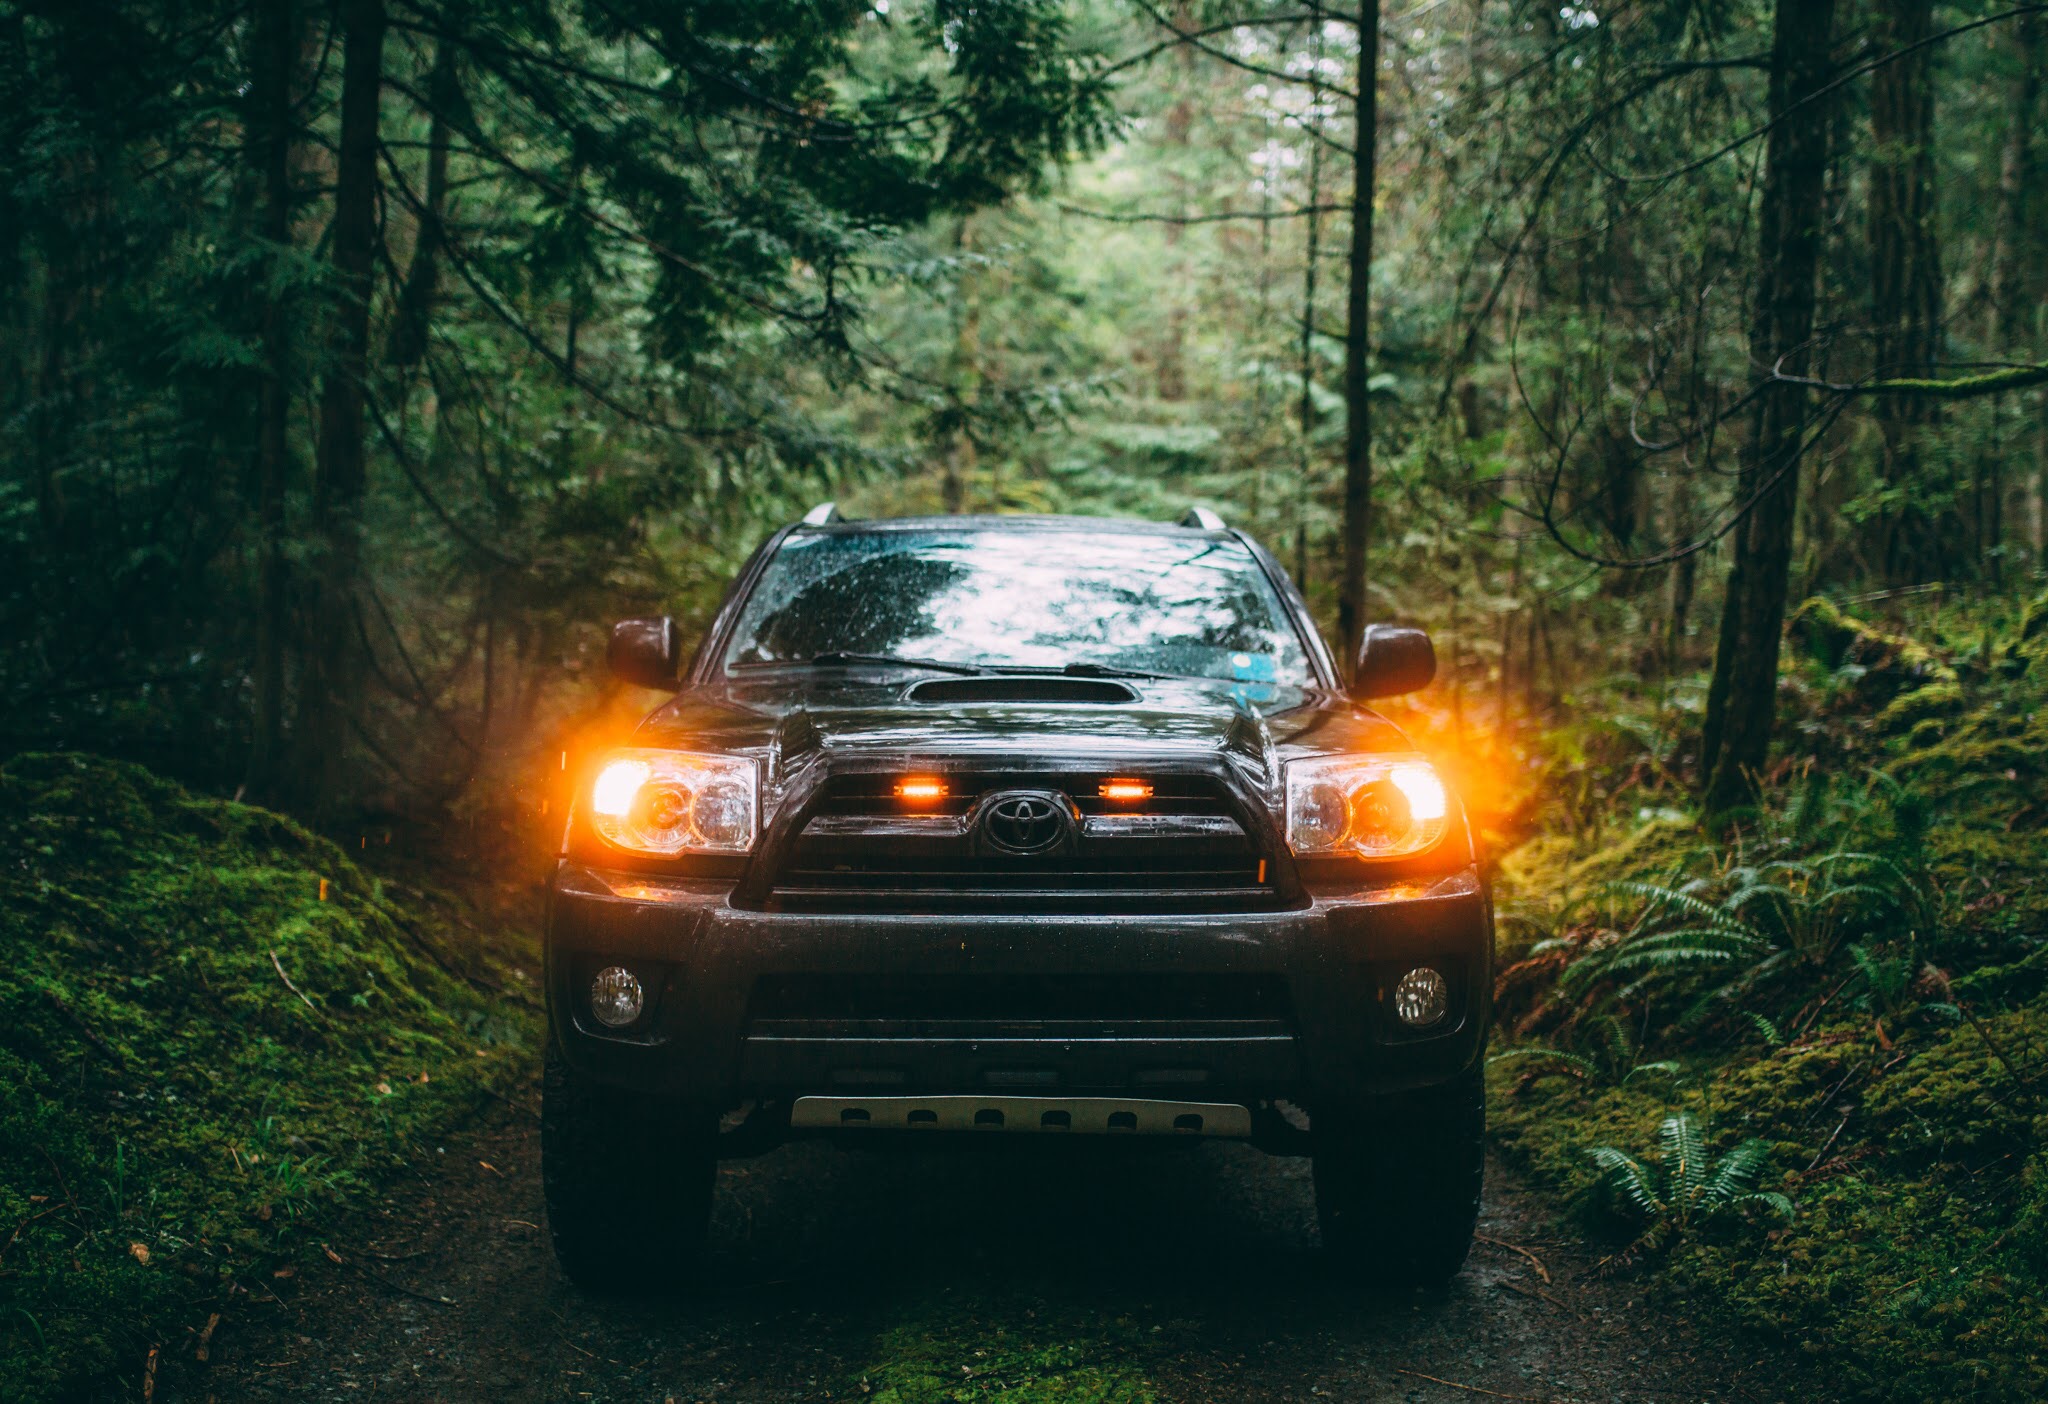
Amber Grille Lights

I decided to add some Amber Grille lights (Raptor Light Mod.) I purchased the led's on amazon and the instal was pretty easy. Wired them up with an add-a-circuit to come on with ignition. Apologies for the pictures. Winter here in Alberta is not nice to us:

85Bi6F.jpg


6Yp2Q.jpg


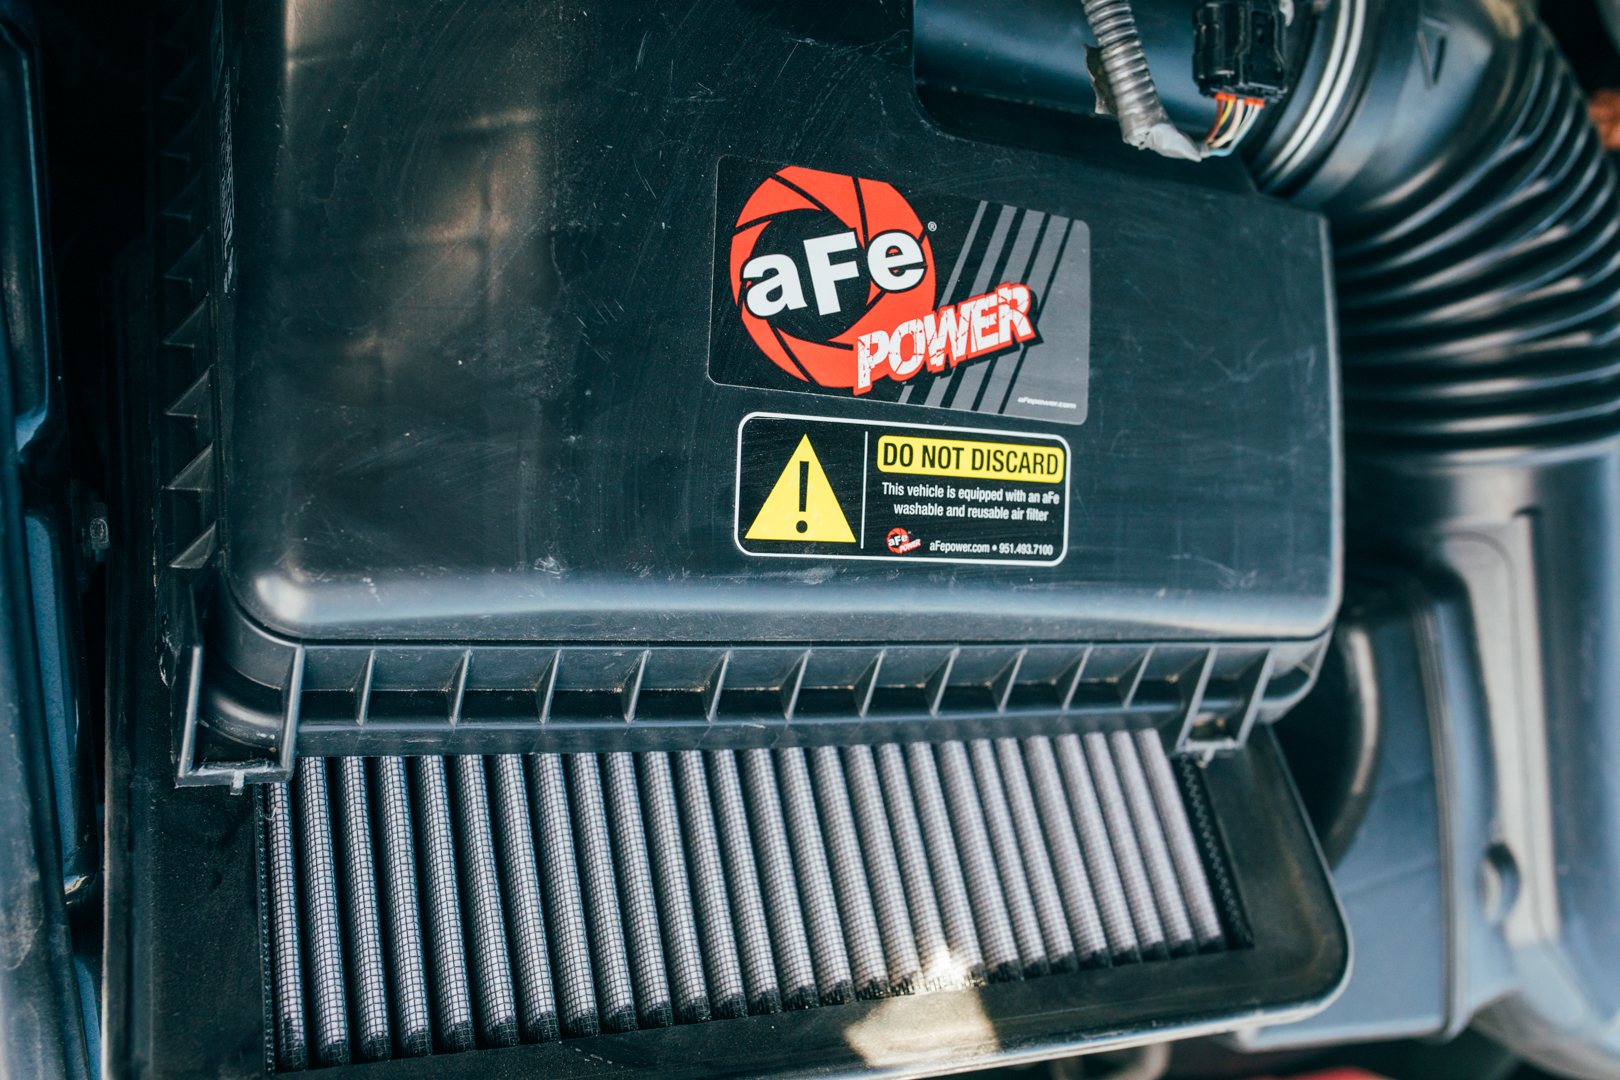
Air Filter

This forum lead me to the AFE Pro Dry S air filter for my truck. Easy to clean and reuse along with the HCF delete I must have quite a bit more HP...


85VprZ.jpg


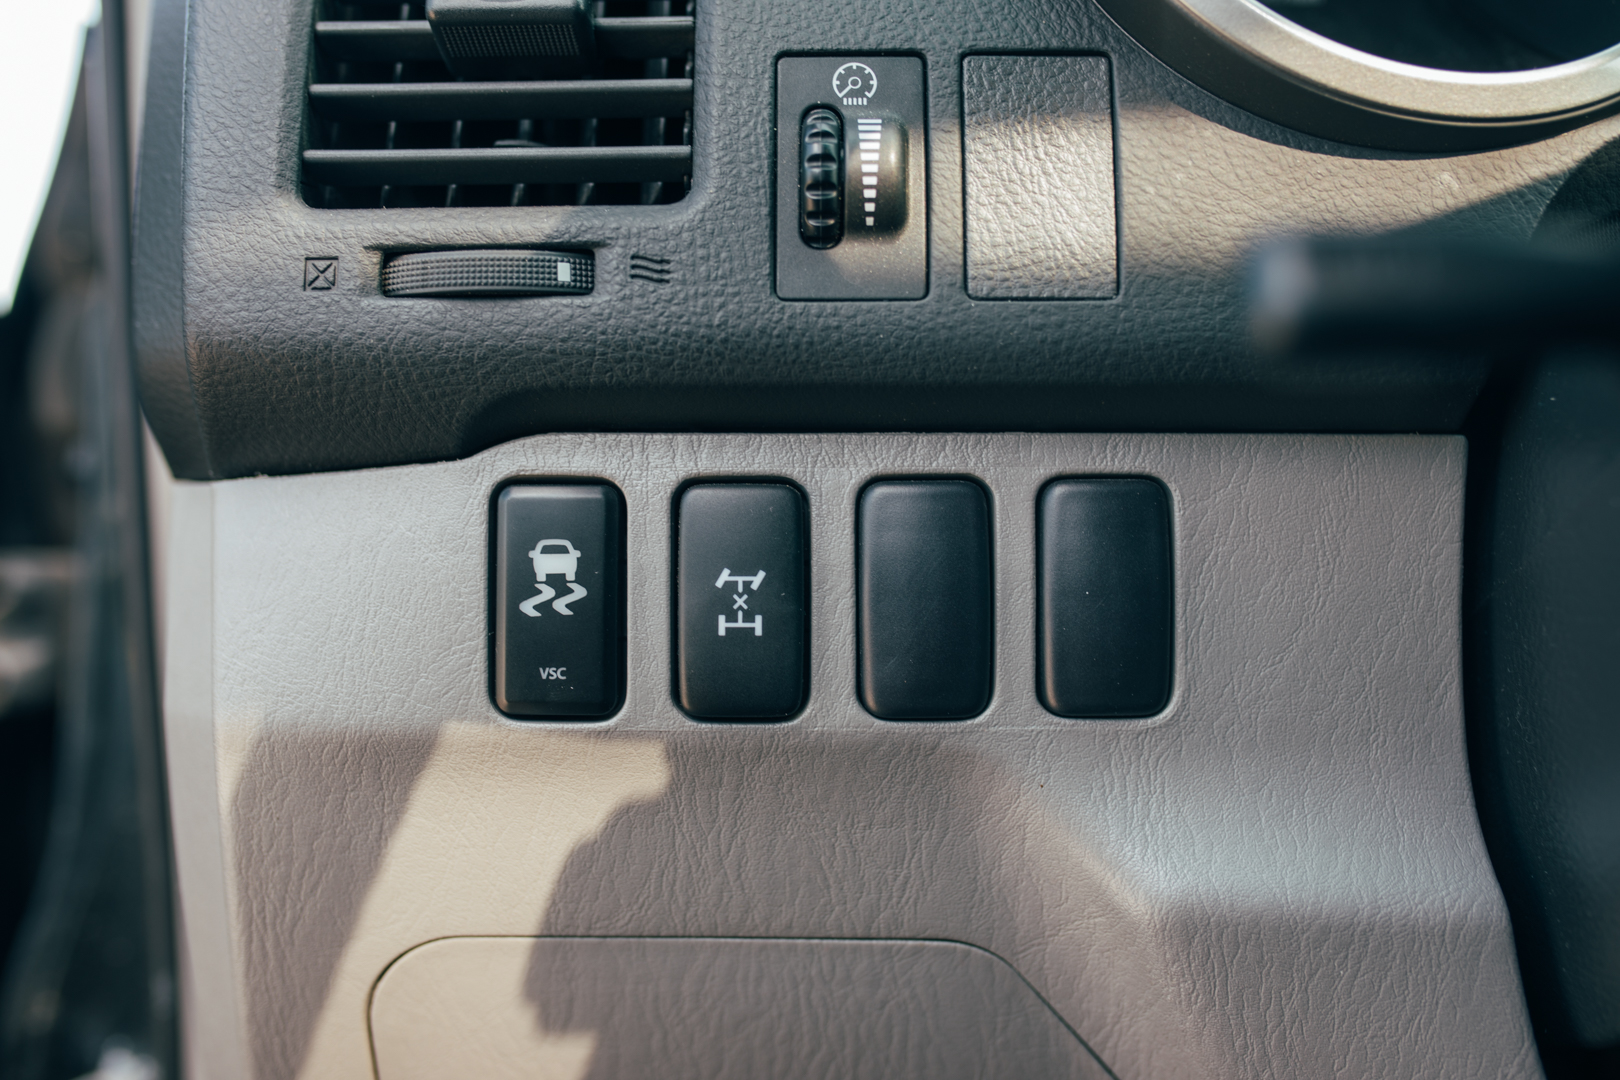
VSC Off Mod

I did the quick VSC Off Mod and put in a custom switch. This is perfect for winter driving when I don't want to lock my center diff. Only problem is because it is a push style switch it is sort of wired backwards. When it's pushed in the VSC is on (stock). If I click it out then the VSC disengages and the fun begins.

Not a big deal but it bothers me it's backwards. Maybe I'm just blanking but is there not anyway to rewire?


85Vwbq.jpg
 
Last edited:
Phone Holder & Power


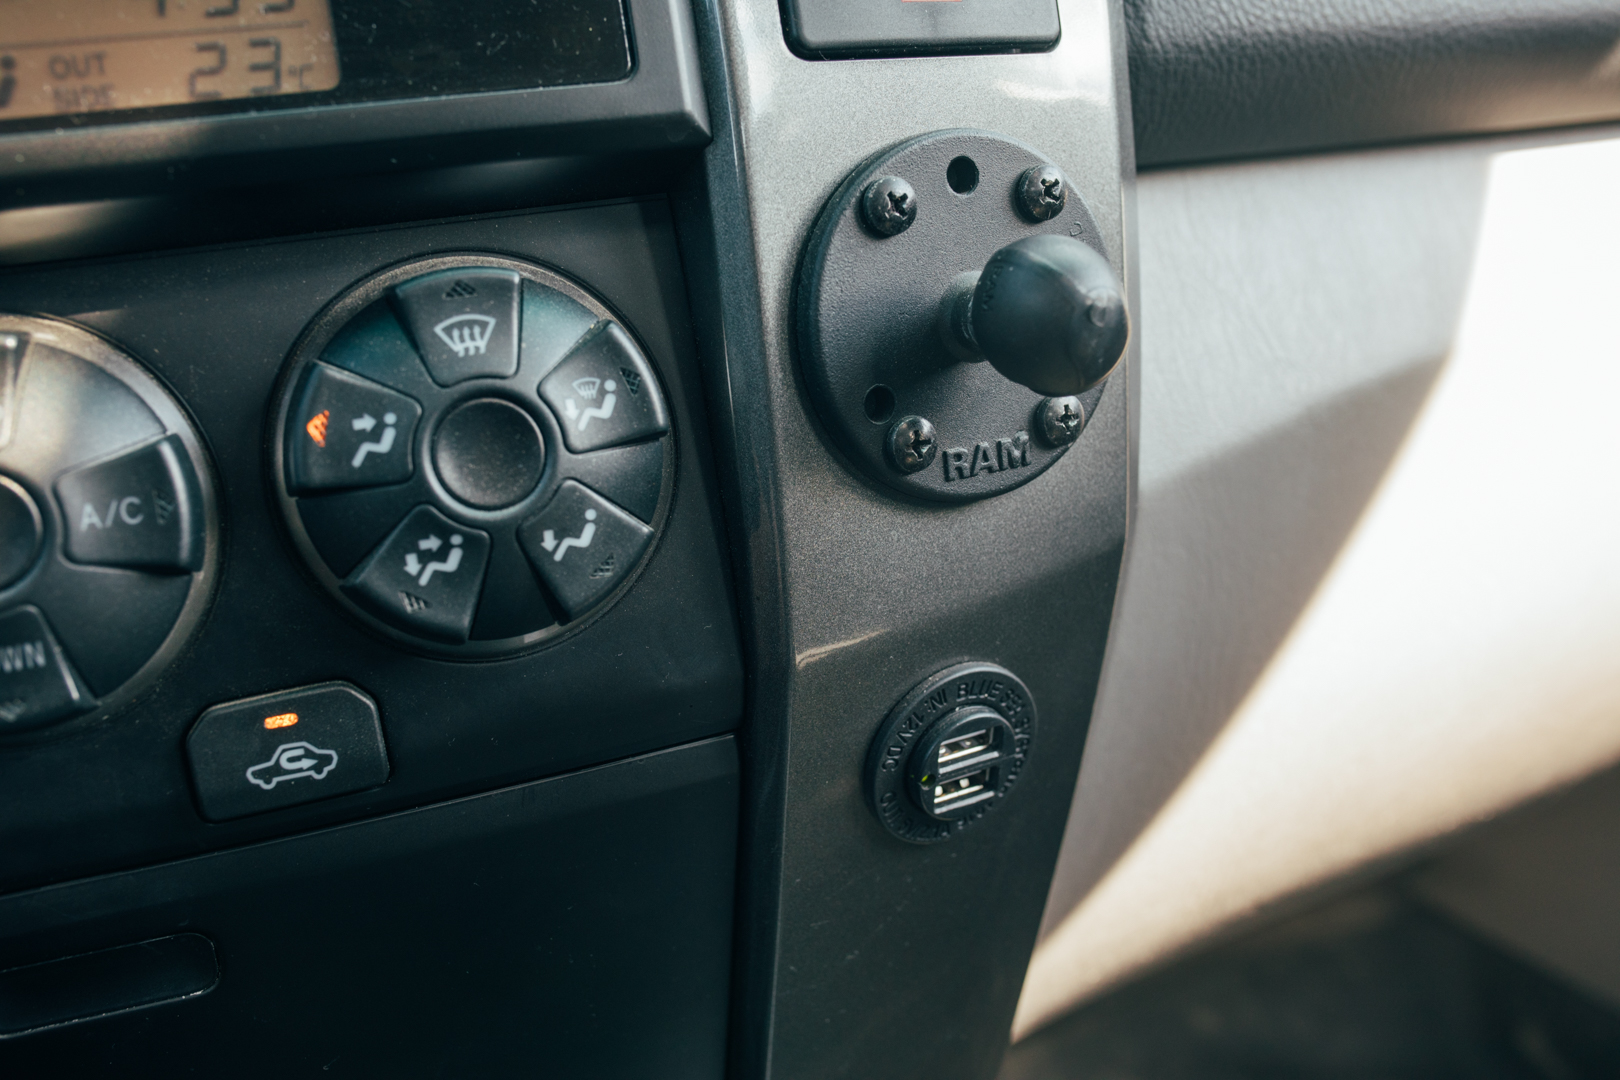
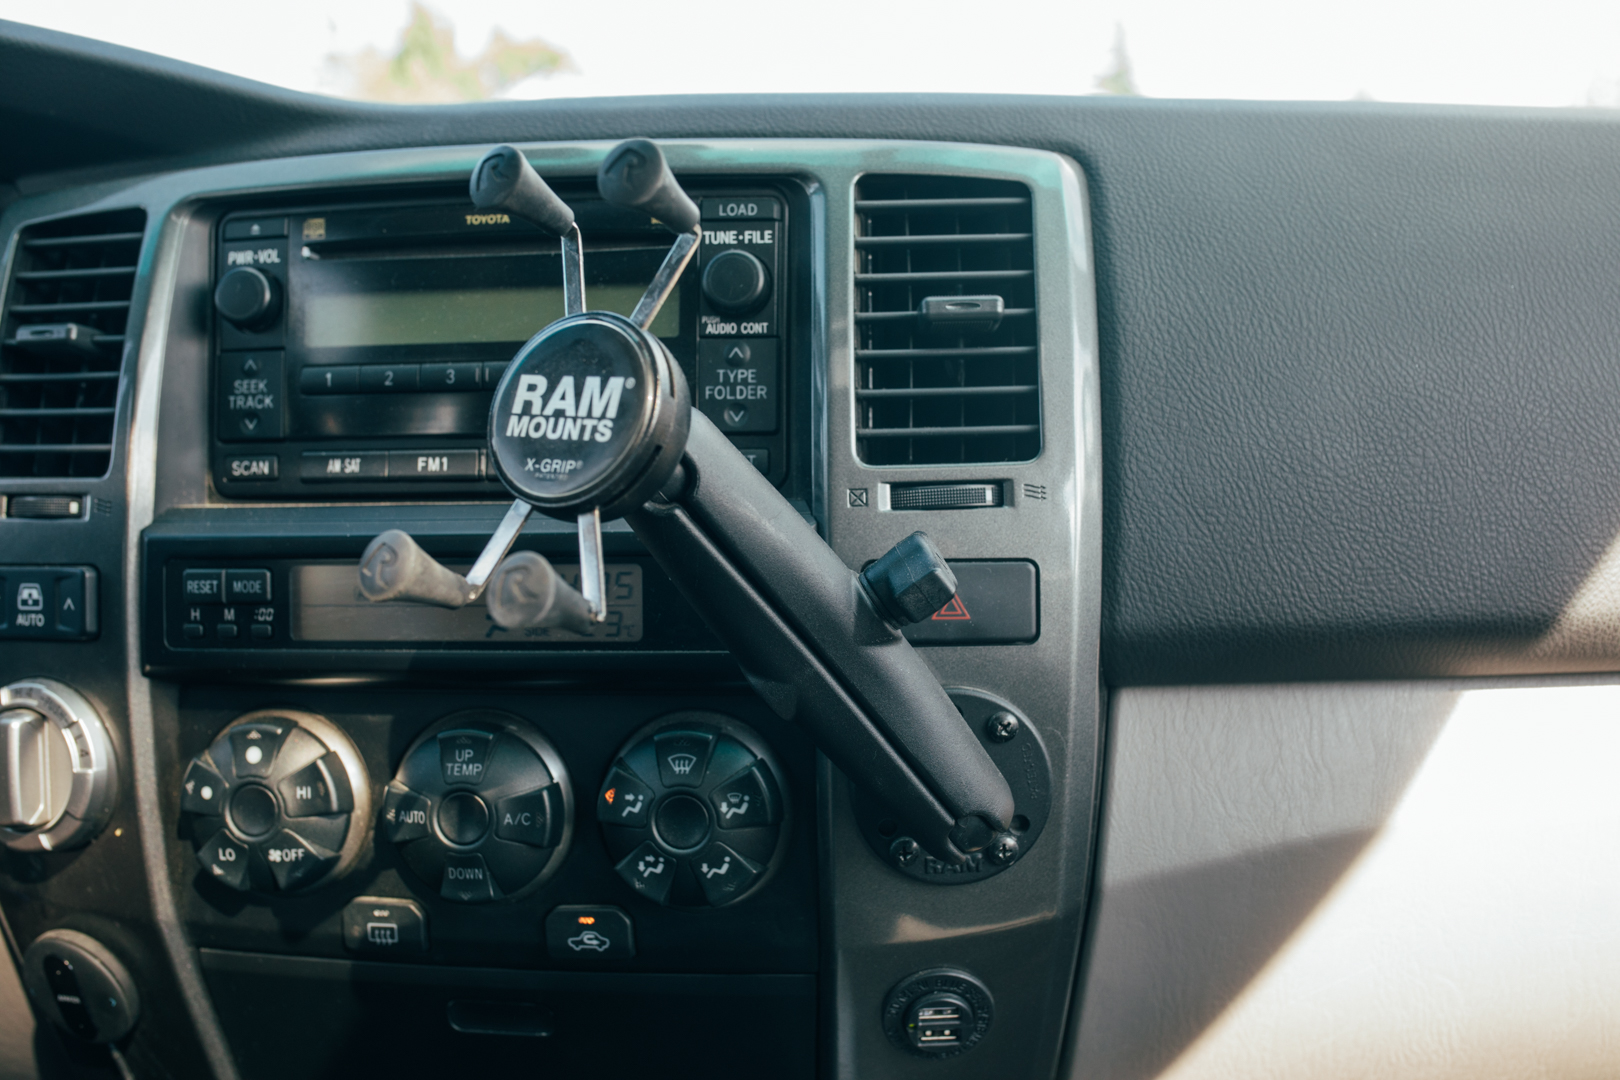
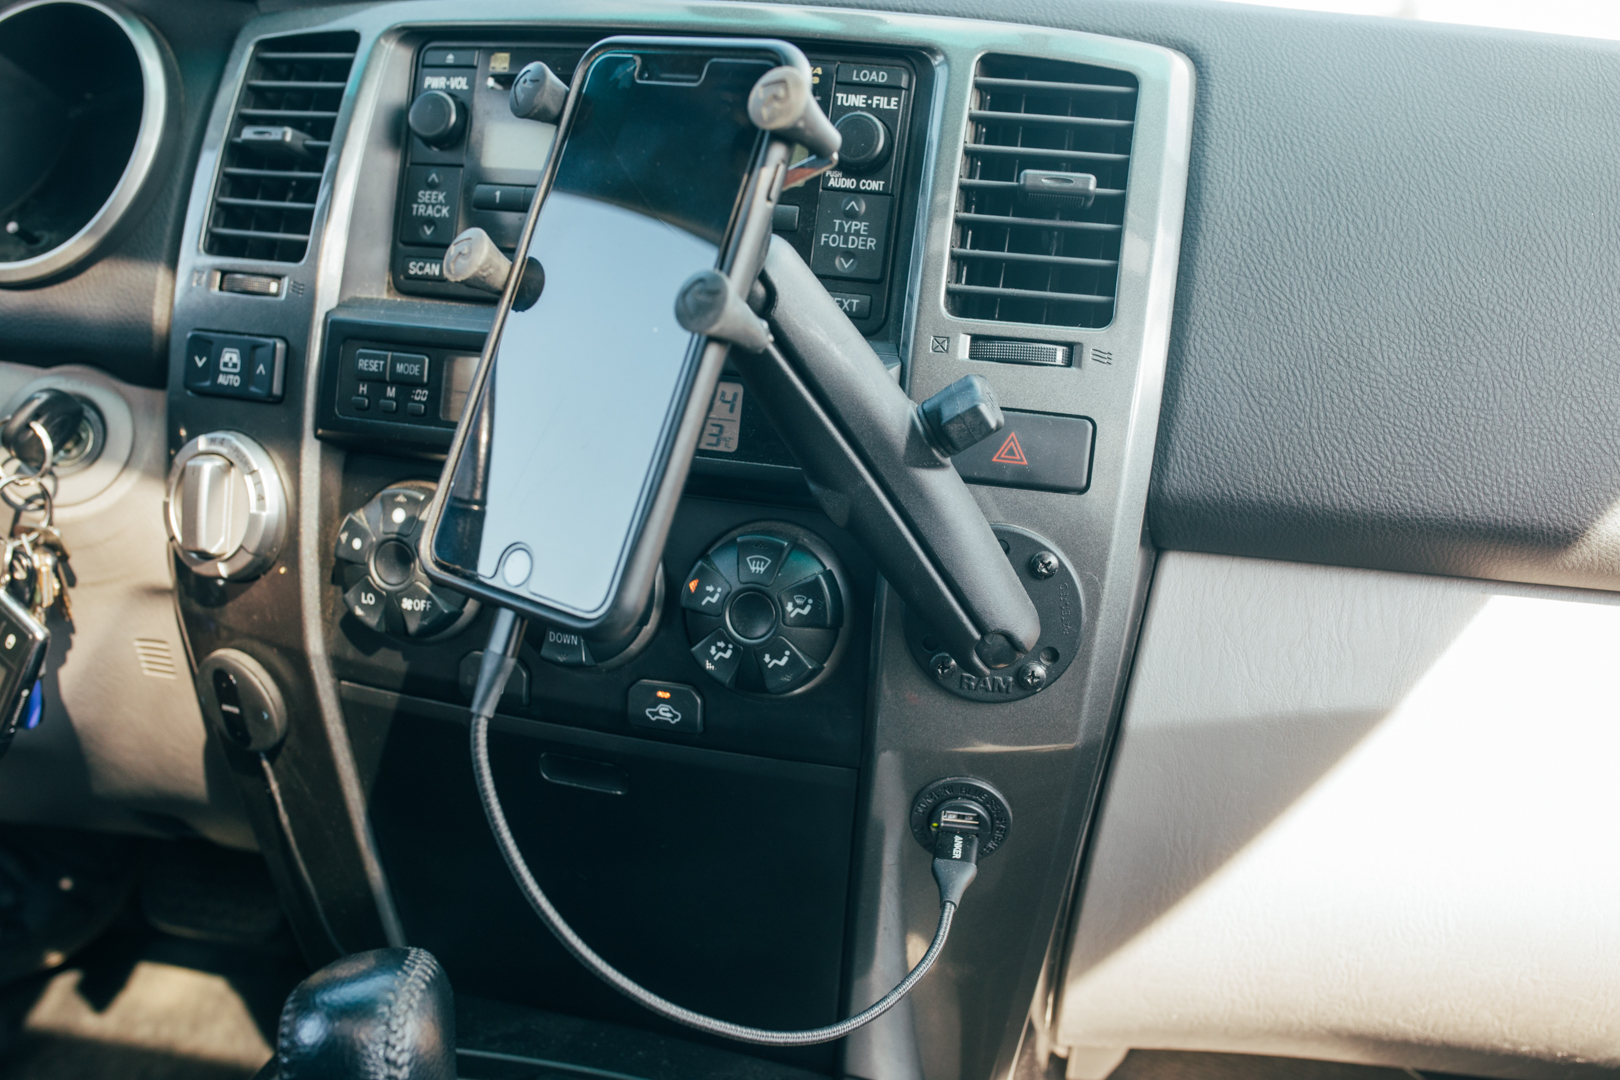
Up next was a proper phone holder. In all my vehicles I've tried everything out there including the vent clips and the cd changer bracket. They all suck. Eventually they work themselves loose or get pulled off accidentally. Saw a few members using the RamMount X-Grip and convinced myself I needed it. By far one of the best little mods on my truck. I think the RickRunner build was the first place I saw it.

I purchased the bits from a local store and modified the back support bracket to fit around the plastic moulding. I ended up buying the longer 6" Ram arm to bring my phone a little closer to me in the driver's seat. I also purchased the IPad holder so I can use detailed maps while travelling.

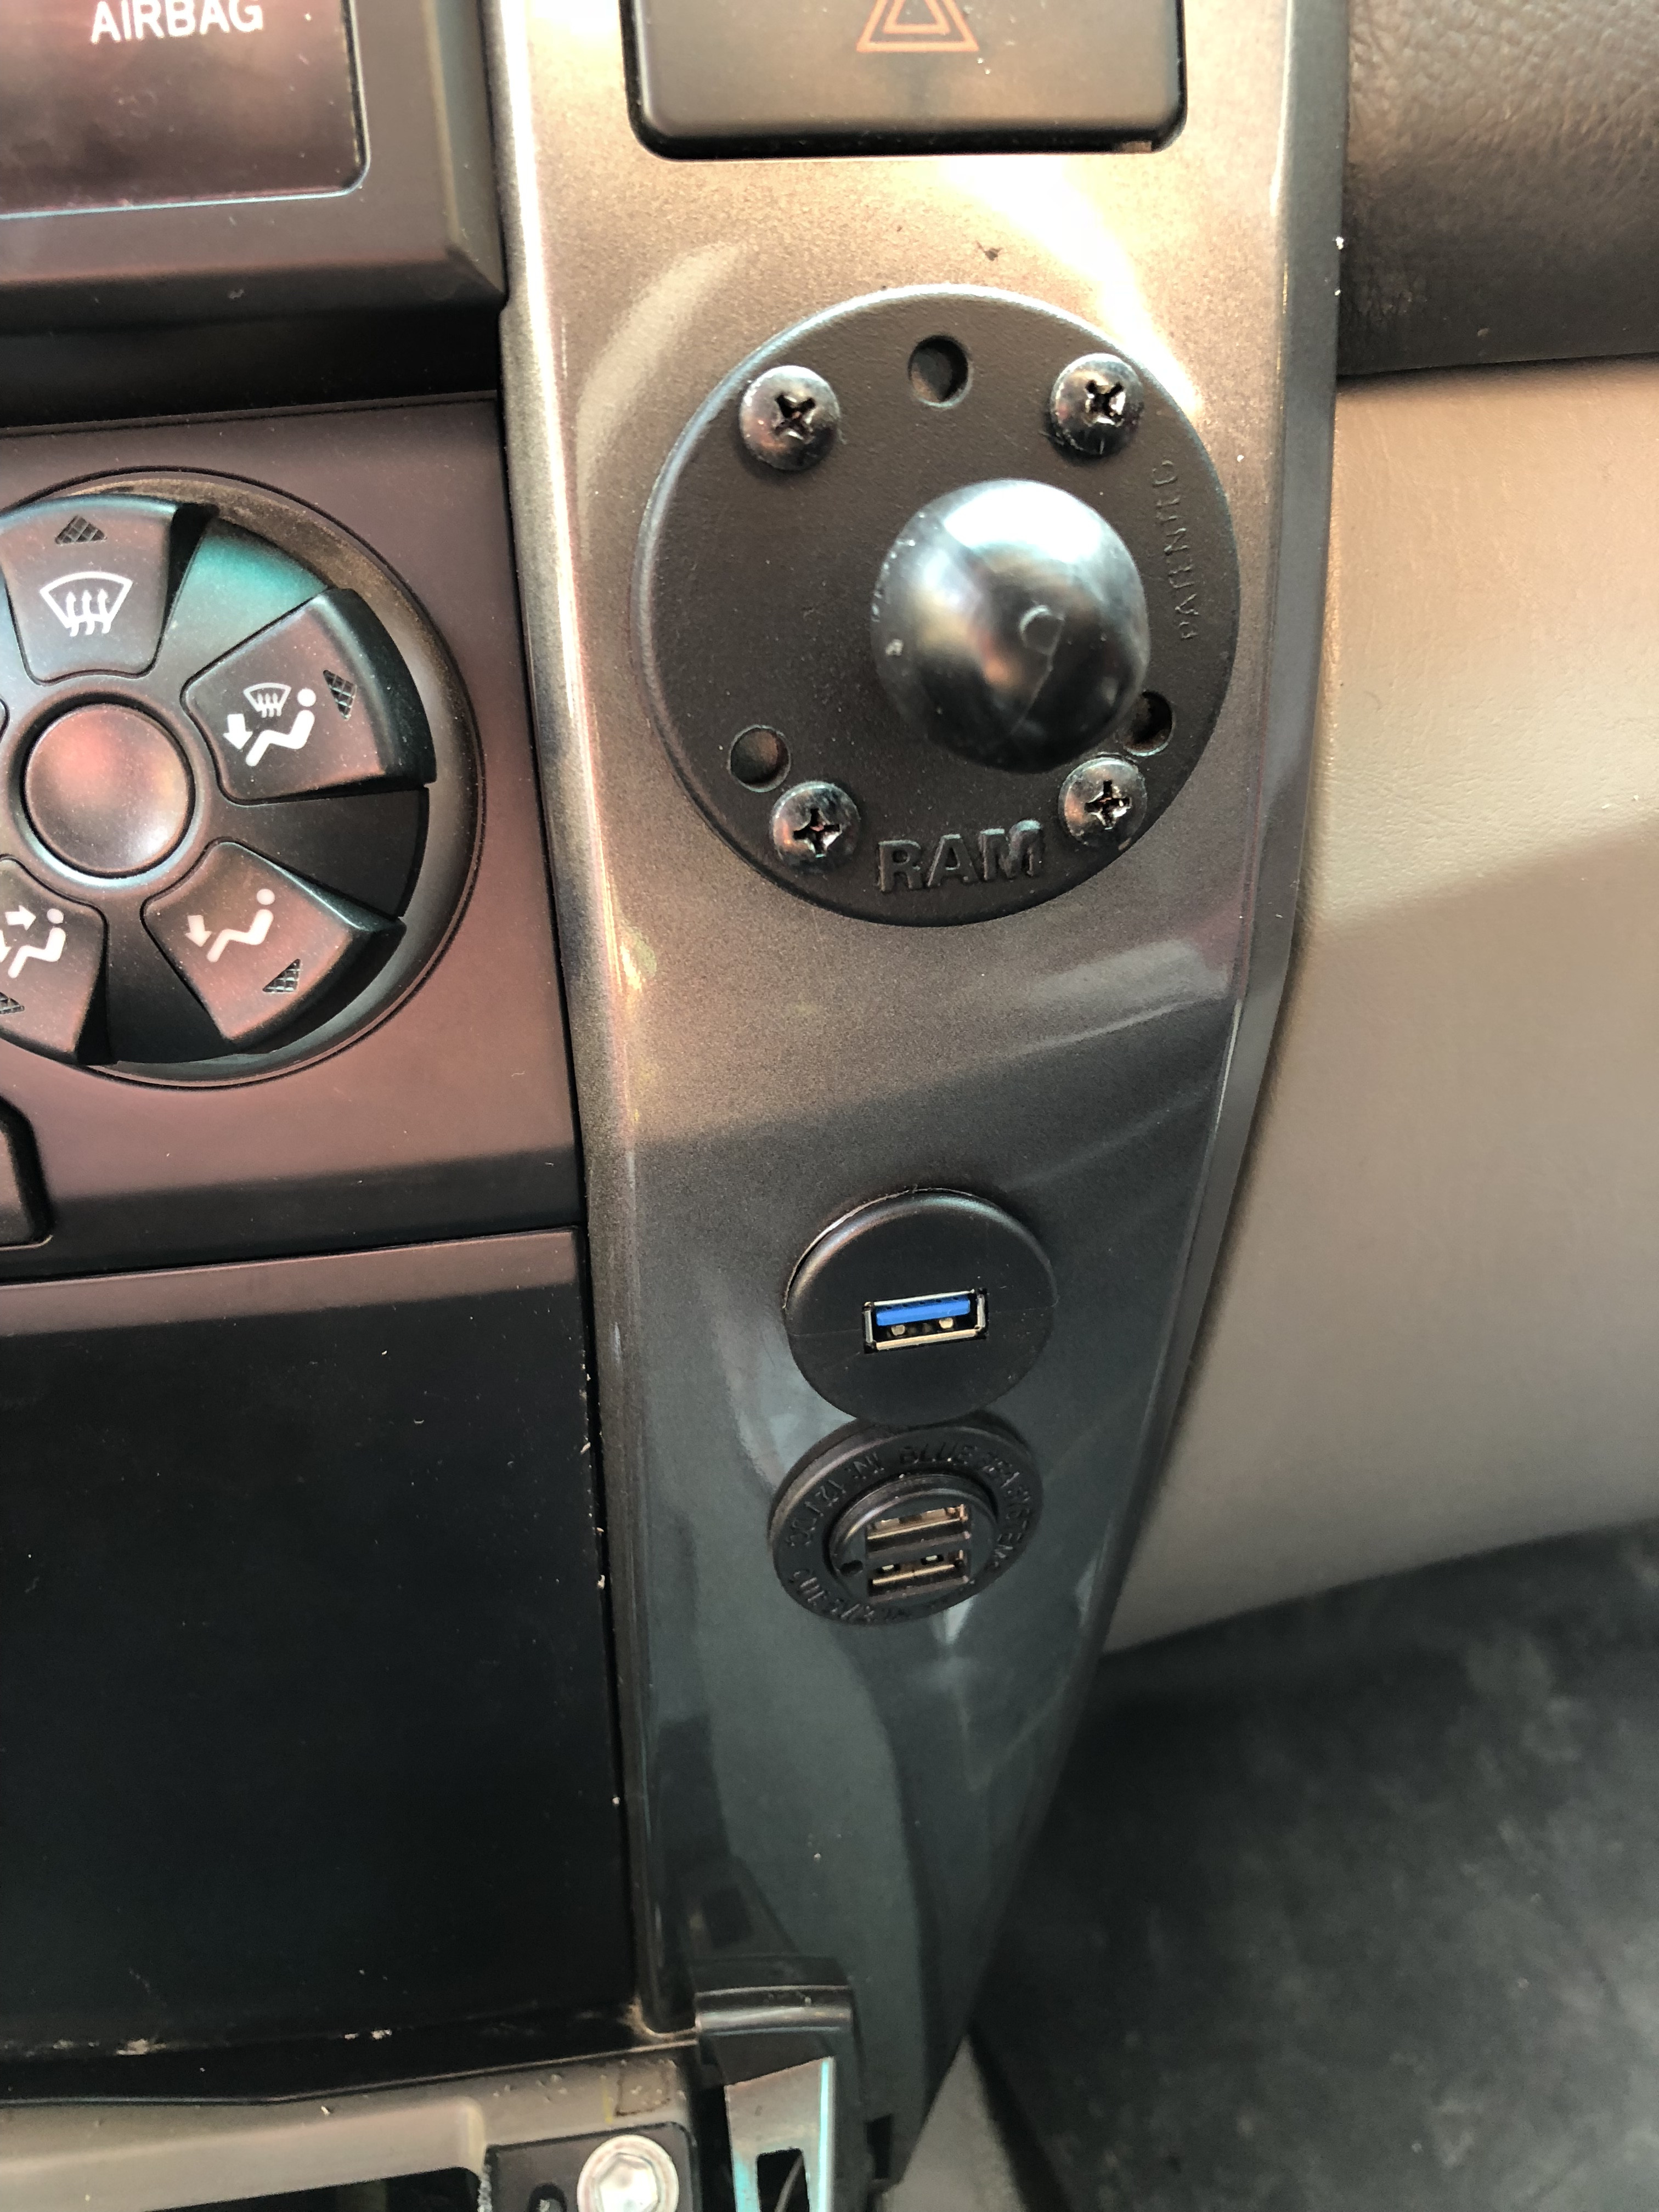
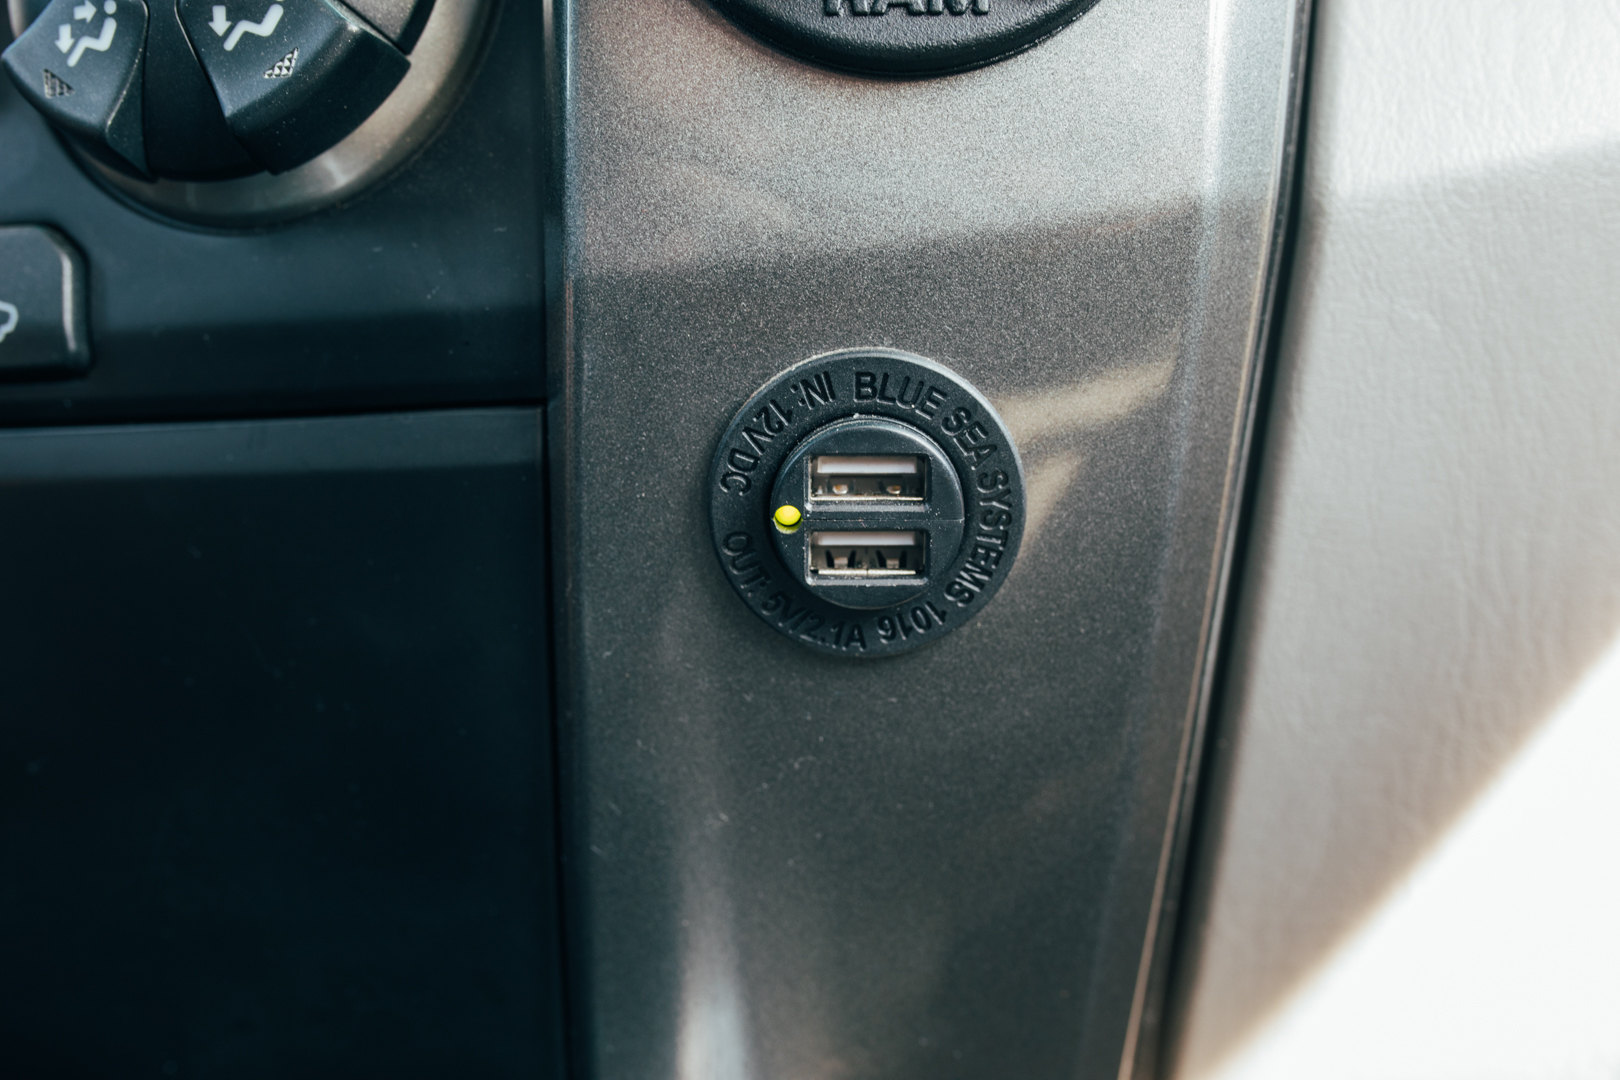
At the same time I installed a flush mount BlueSea dual USB outlet directly below the Ram Mount. Using a 12" USB cable it keeps my dash from becoming cluttered from cables. I'm a little OCD and like my stuff tidy if I can.

In the future when I install a Stereo Deck I would like to figure out how to wire a USB input for the stereo into this plug.


85s74C.jpg


85sON5.jpg


85mUH2.jpg


8598Mk.jpg


85Vhia.jpg


8592de.jpg


85VGPQ.jpg


Lighting


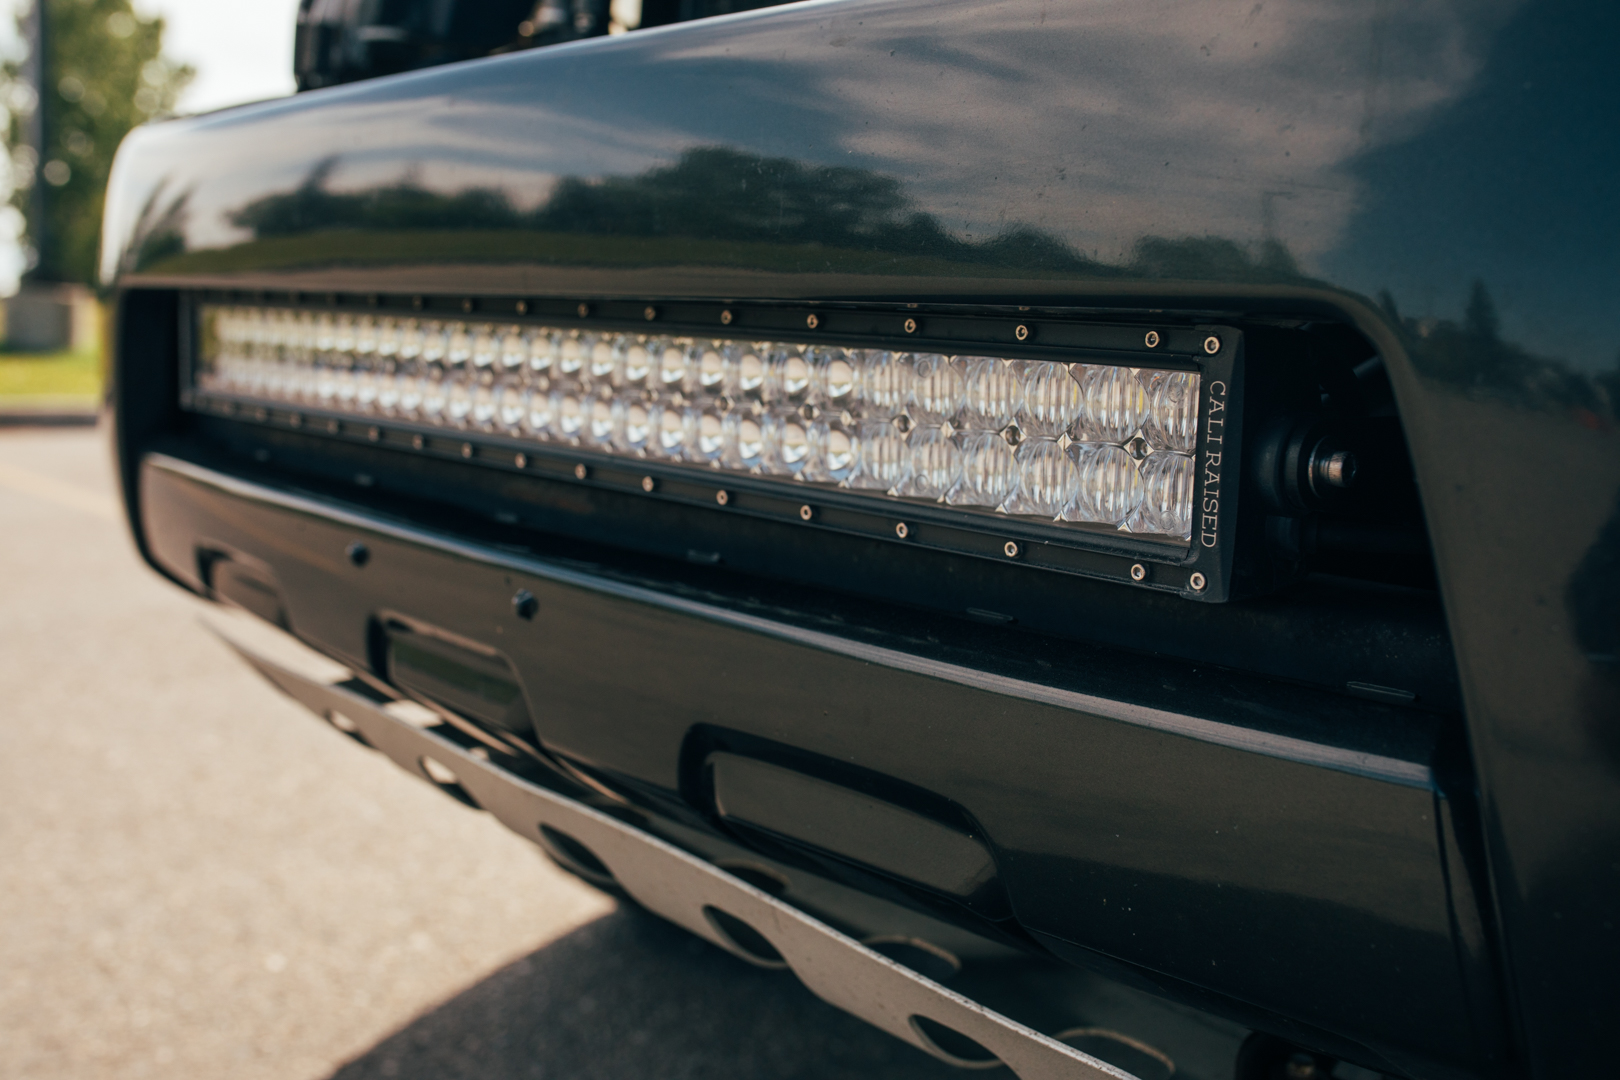
I drive a decent amount for work (in the film industry in Alberta) and thus drive a good amount in the dark and at sunrise and sunset on plenty of backroads in and around Calgary. I have seen plenty of wildlife and luckily have never hit one. Plenty of my co-workers have but I just consider myself lucky. Because of this driving I consider lighting to be one of the most important upgrades on a vehicle I could do. One of the very first things I did when I purchased my vehicle was but the best Sylvannia high beam bulbs I could find. And I decided to get some HID's for my low beams. One of the best purchases I've made. I have had them on for 2 years and have had zero issues. Besides night time I only drive with my amber DRL's on so it saves on the hours they are used. While I was pleased with the HID's I found i was wanting more light for the empty road sections. So my next logical step was a light bar. I purchased a cheap 32" lightbar off of Amazon but the color was very magenta and had no brackets. While doing research on custom making my brackets I came across the company CaliRaised. The prices were extremely competitive and reviews showed the quality was good. Plus they had bumper flush mount brackets which is exactly what I was after.

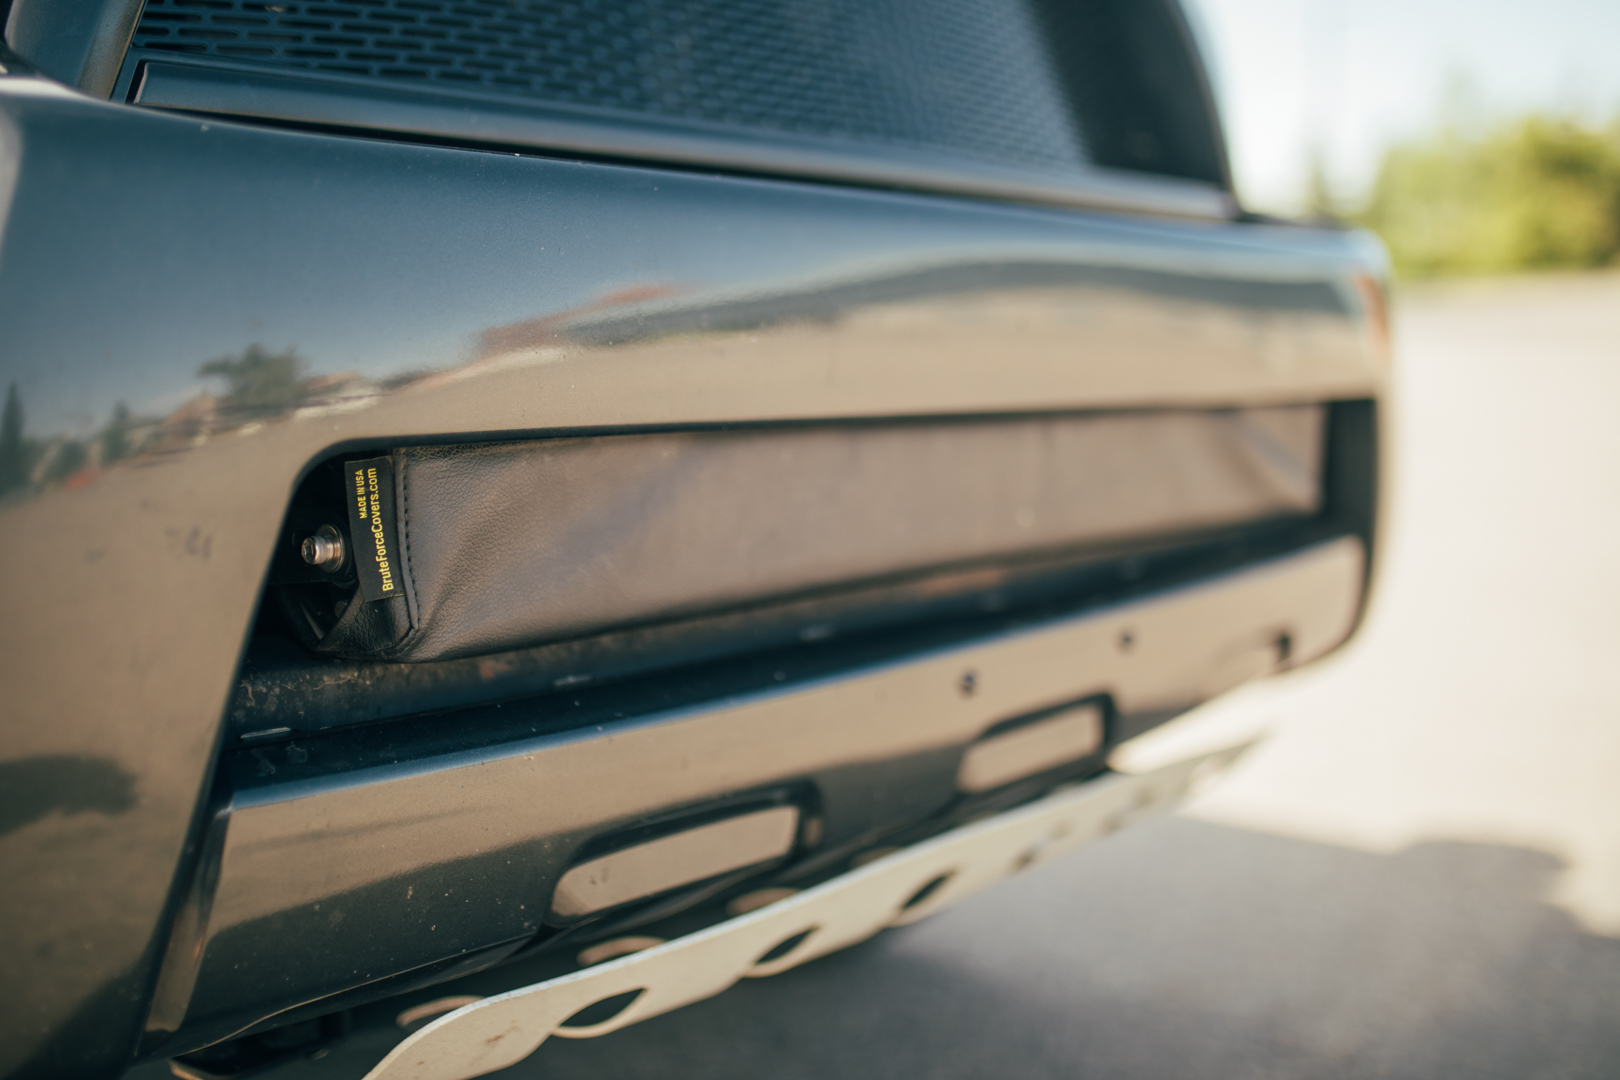
I purchased a 32" Dual Row Flood/Spot 5D light bar with flush mount brackets and one of their lightbar covers (attaches with magnets.) Seemed like the cleanest cover for the lightbar I had seen. Where I love you can get a ticket for having uncovered offroad lights. However in Alberta there are plenty of lifted oil rig trucks that I think you would need to give a cop a reason to pull you over. But better safe then sorry so I thought I'd give it a try.

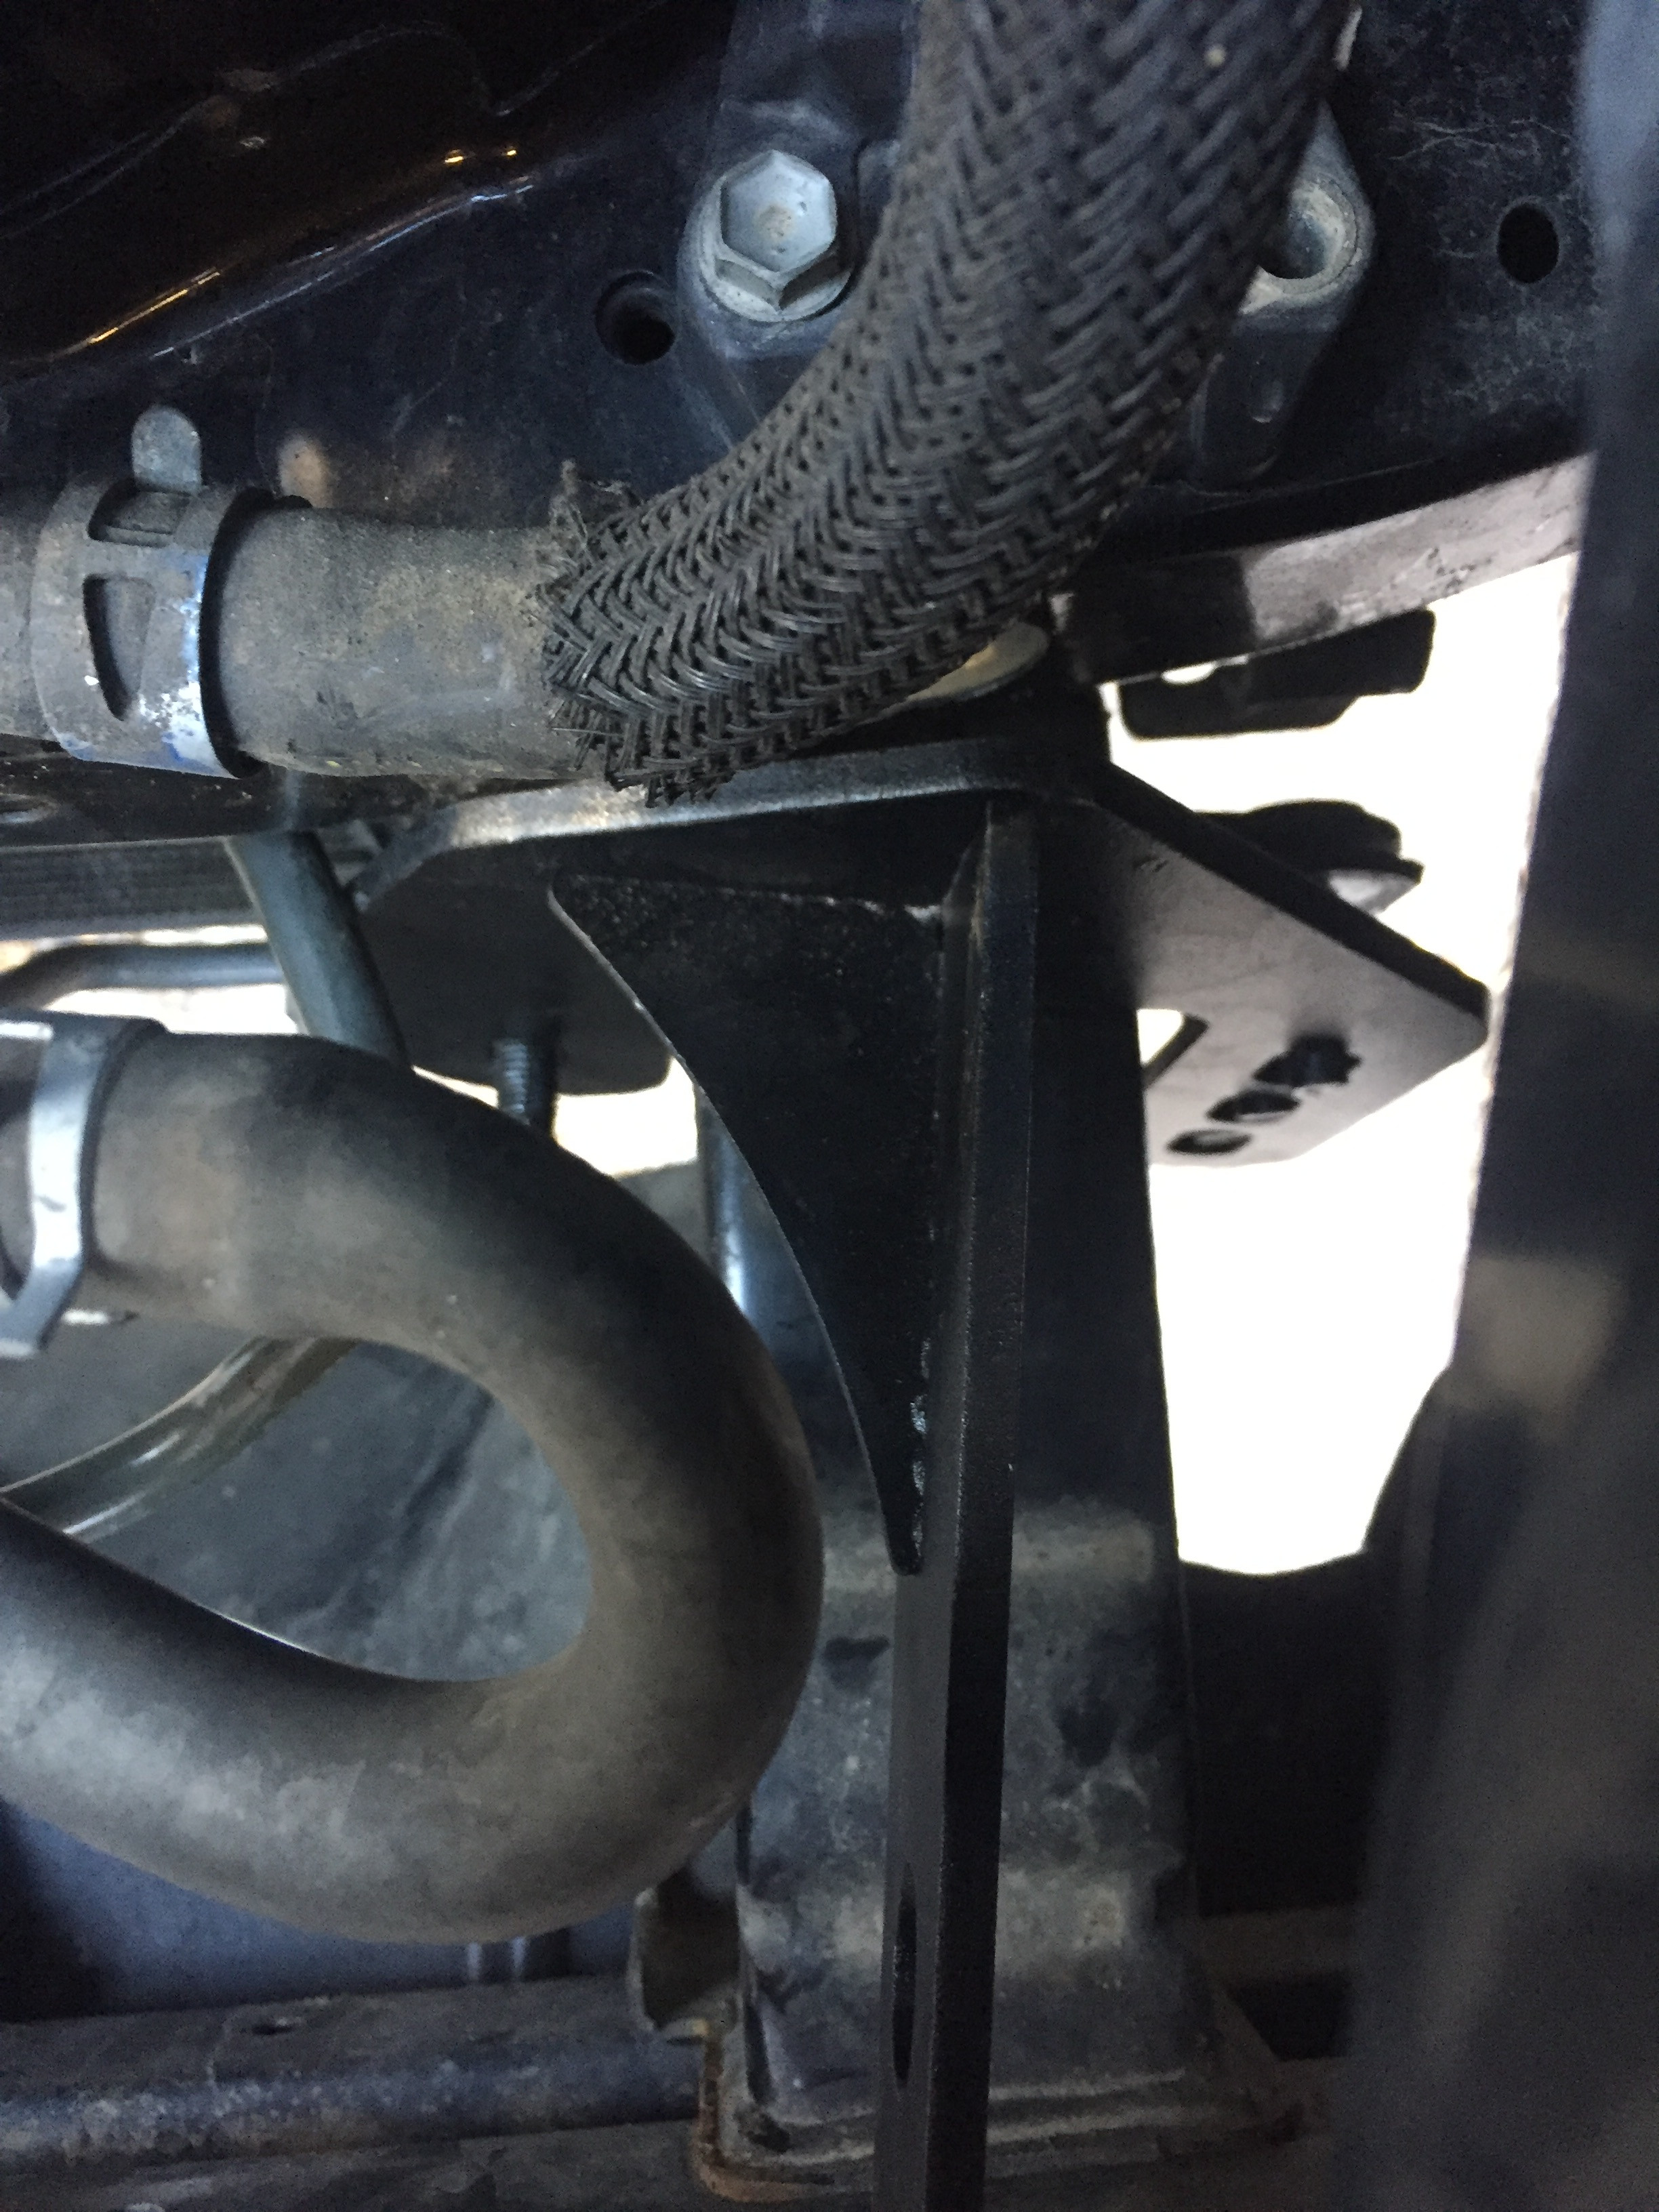
ThebLightbar came and the quality was excellent (compared to the Amazon bar.) I had one small issue installing the bracket as there was a metal tube running close to where the bracket would mount. I ended up needed to grind off a bit of the bracket so the tube wouldn't rub and wear through.

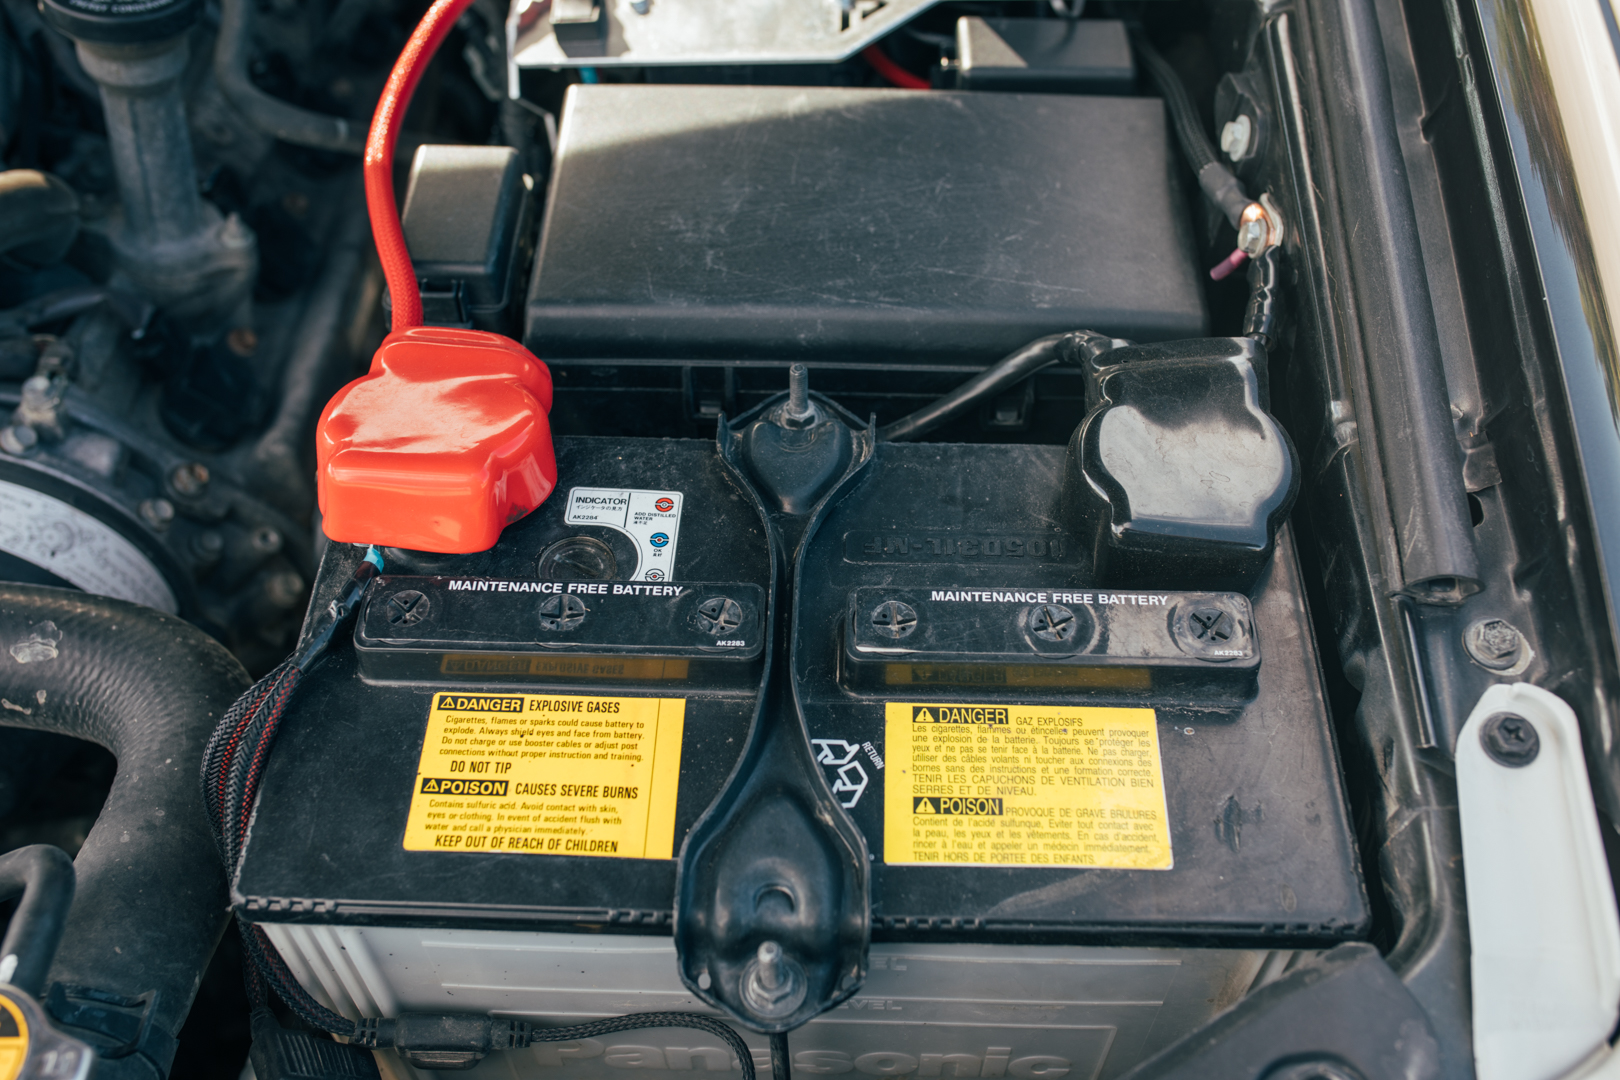
Besides that minor hiccup the bar installed nicely. The one thing I did not like about the wiring harness was having a big coil of cable to try and hide somewhere. Ended up zip tying it to the front of my battery, out of the way but still bothered me. Started me thinking about some electrical management. But that comes later.


85V73P.jpg


85m6uT.jpg


85B5xx.jpg


Light Bar Cover


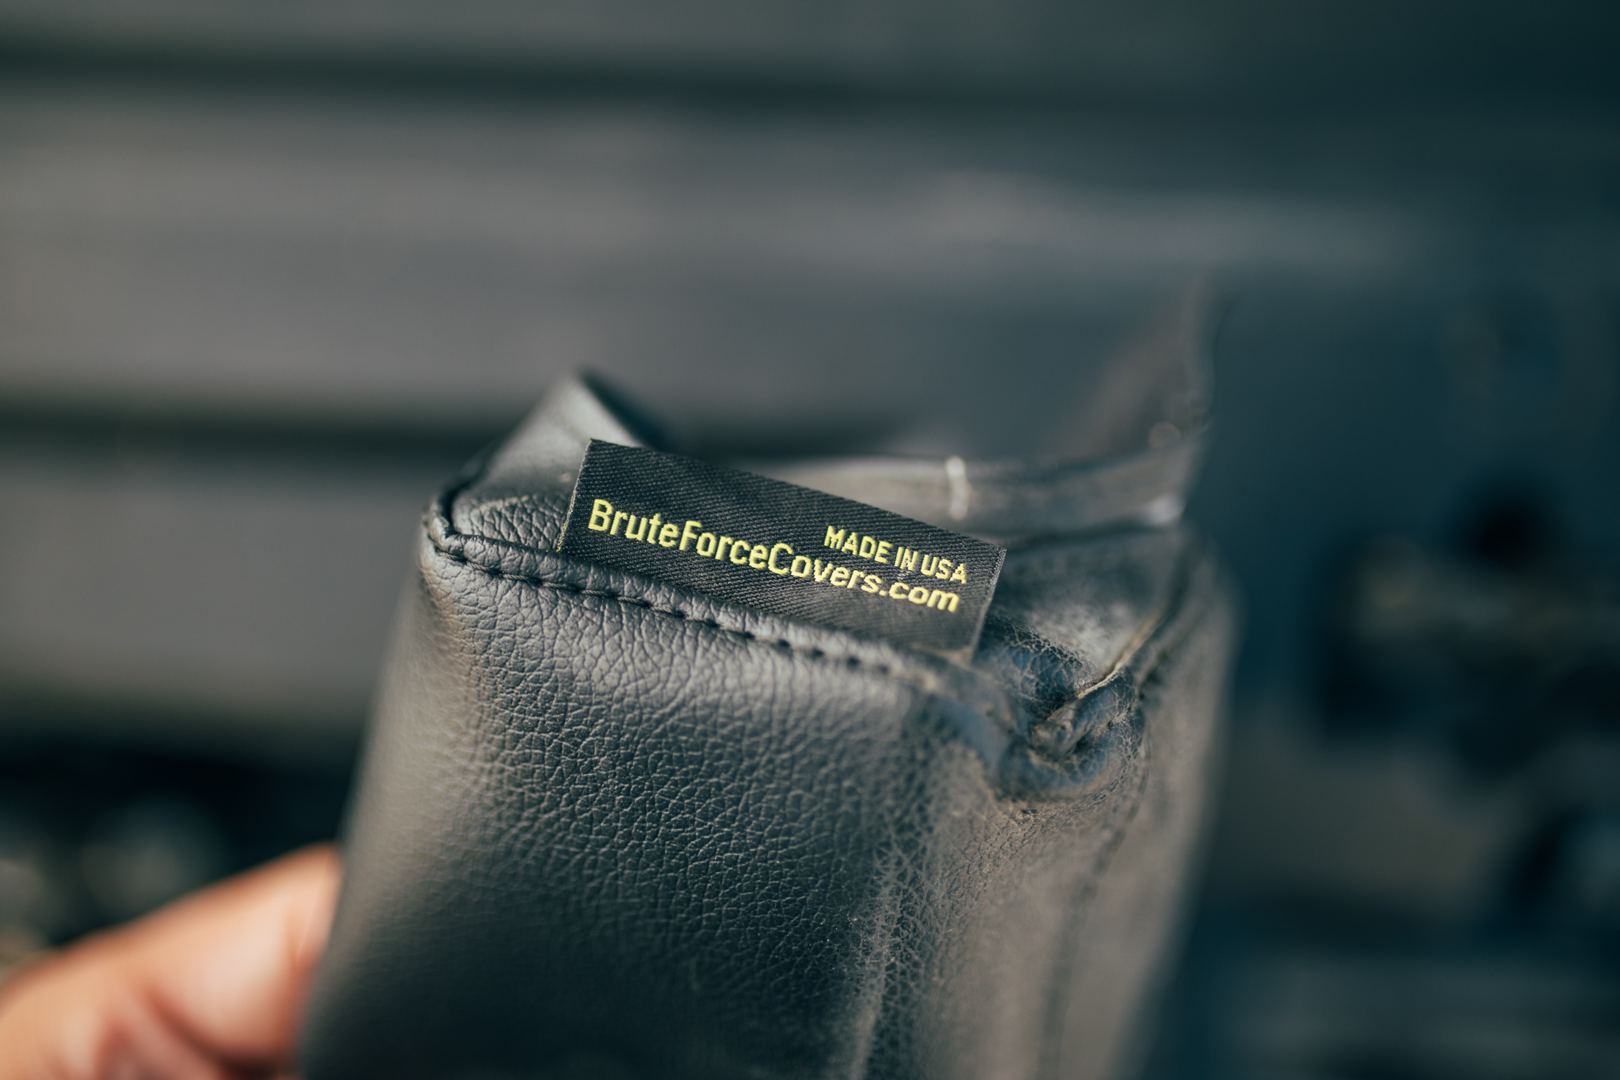
Initially I liked the lightbar cover that I purchased from CaliRaised but that didn't last long. A few weeks later I left a campground parking lot and somewhere between the lot and home the glue had heated up and all the magnets glued onto the lightbar had fallen off along with the cover. I used the glue that was supplied with the cover assuming it was strong enough. I'm assuming as my truck was parked with the lightbar facing the morning sun it had warmed up and softened the glue enough to slip off during the drive. I was a little annoyed the cover fell off as it was not exactly cheap with shipping and duty up to Canada. But live and learn. I ended up finding a company that sold custom leather covers for lightbars and ordered one of these. It wasn't cheap but it also won't fall off and is cheaper than a ticket.


85VX60.jpg


85VblD.jpg
 
Last edited:
Wheels 2.0


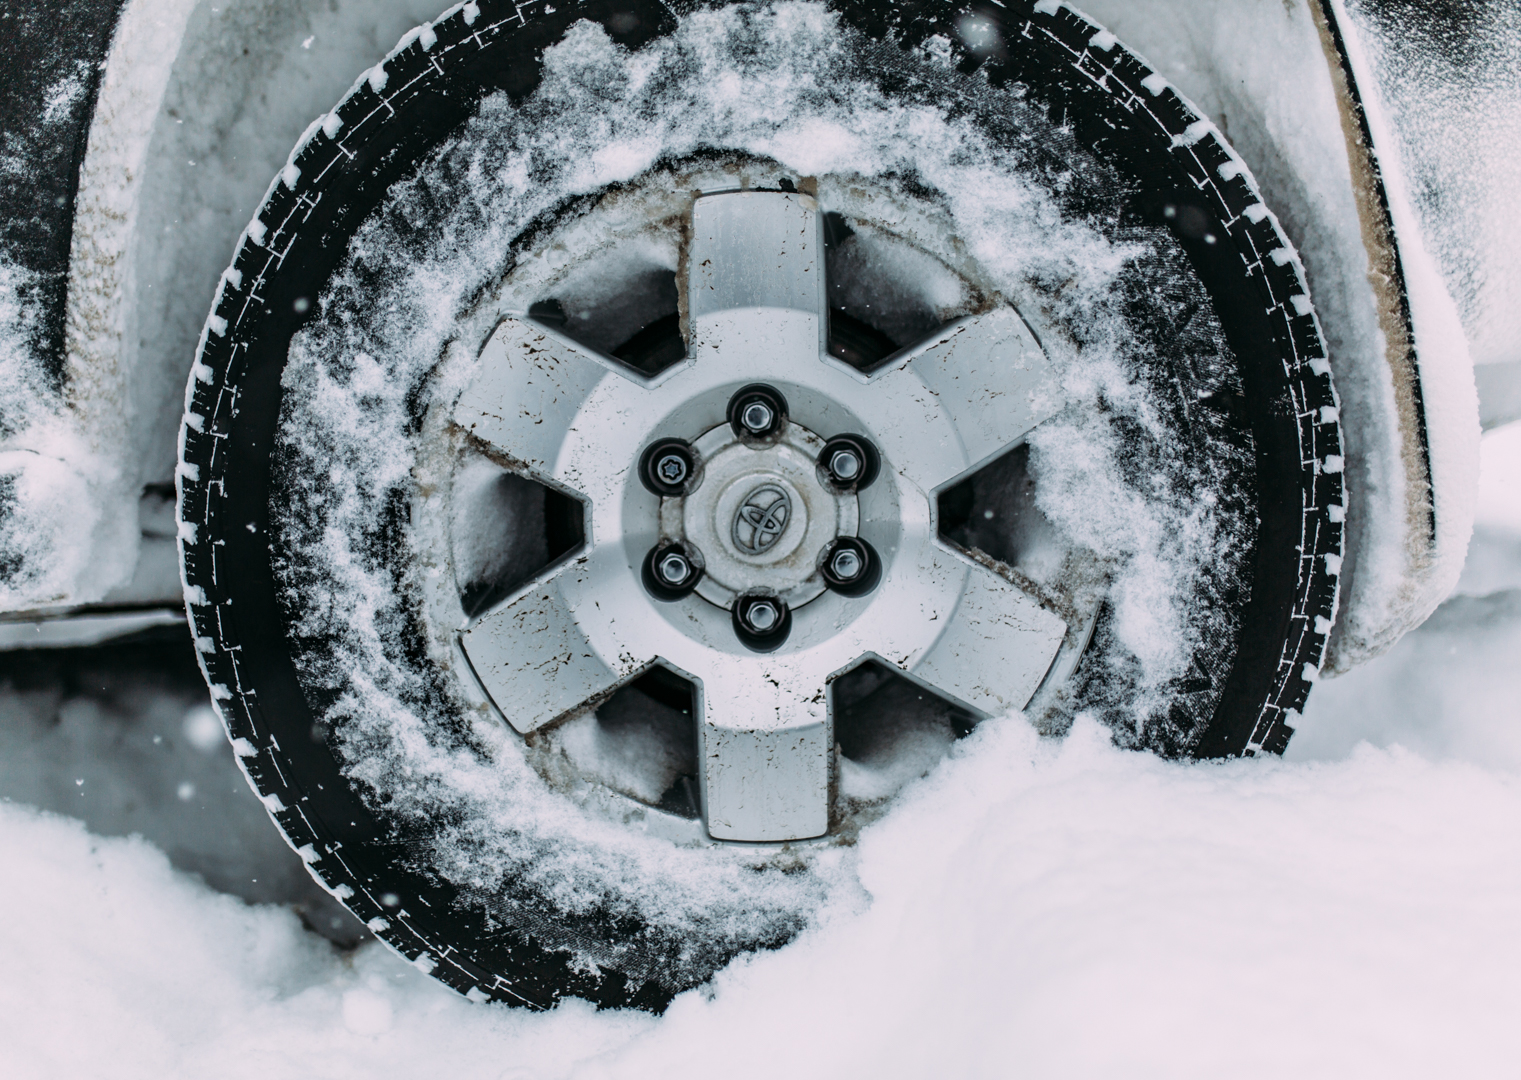
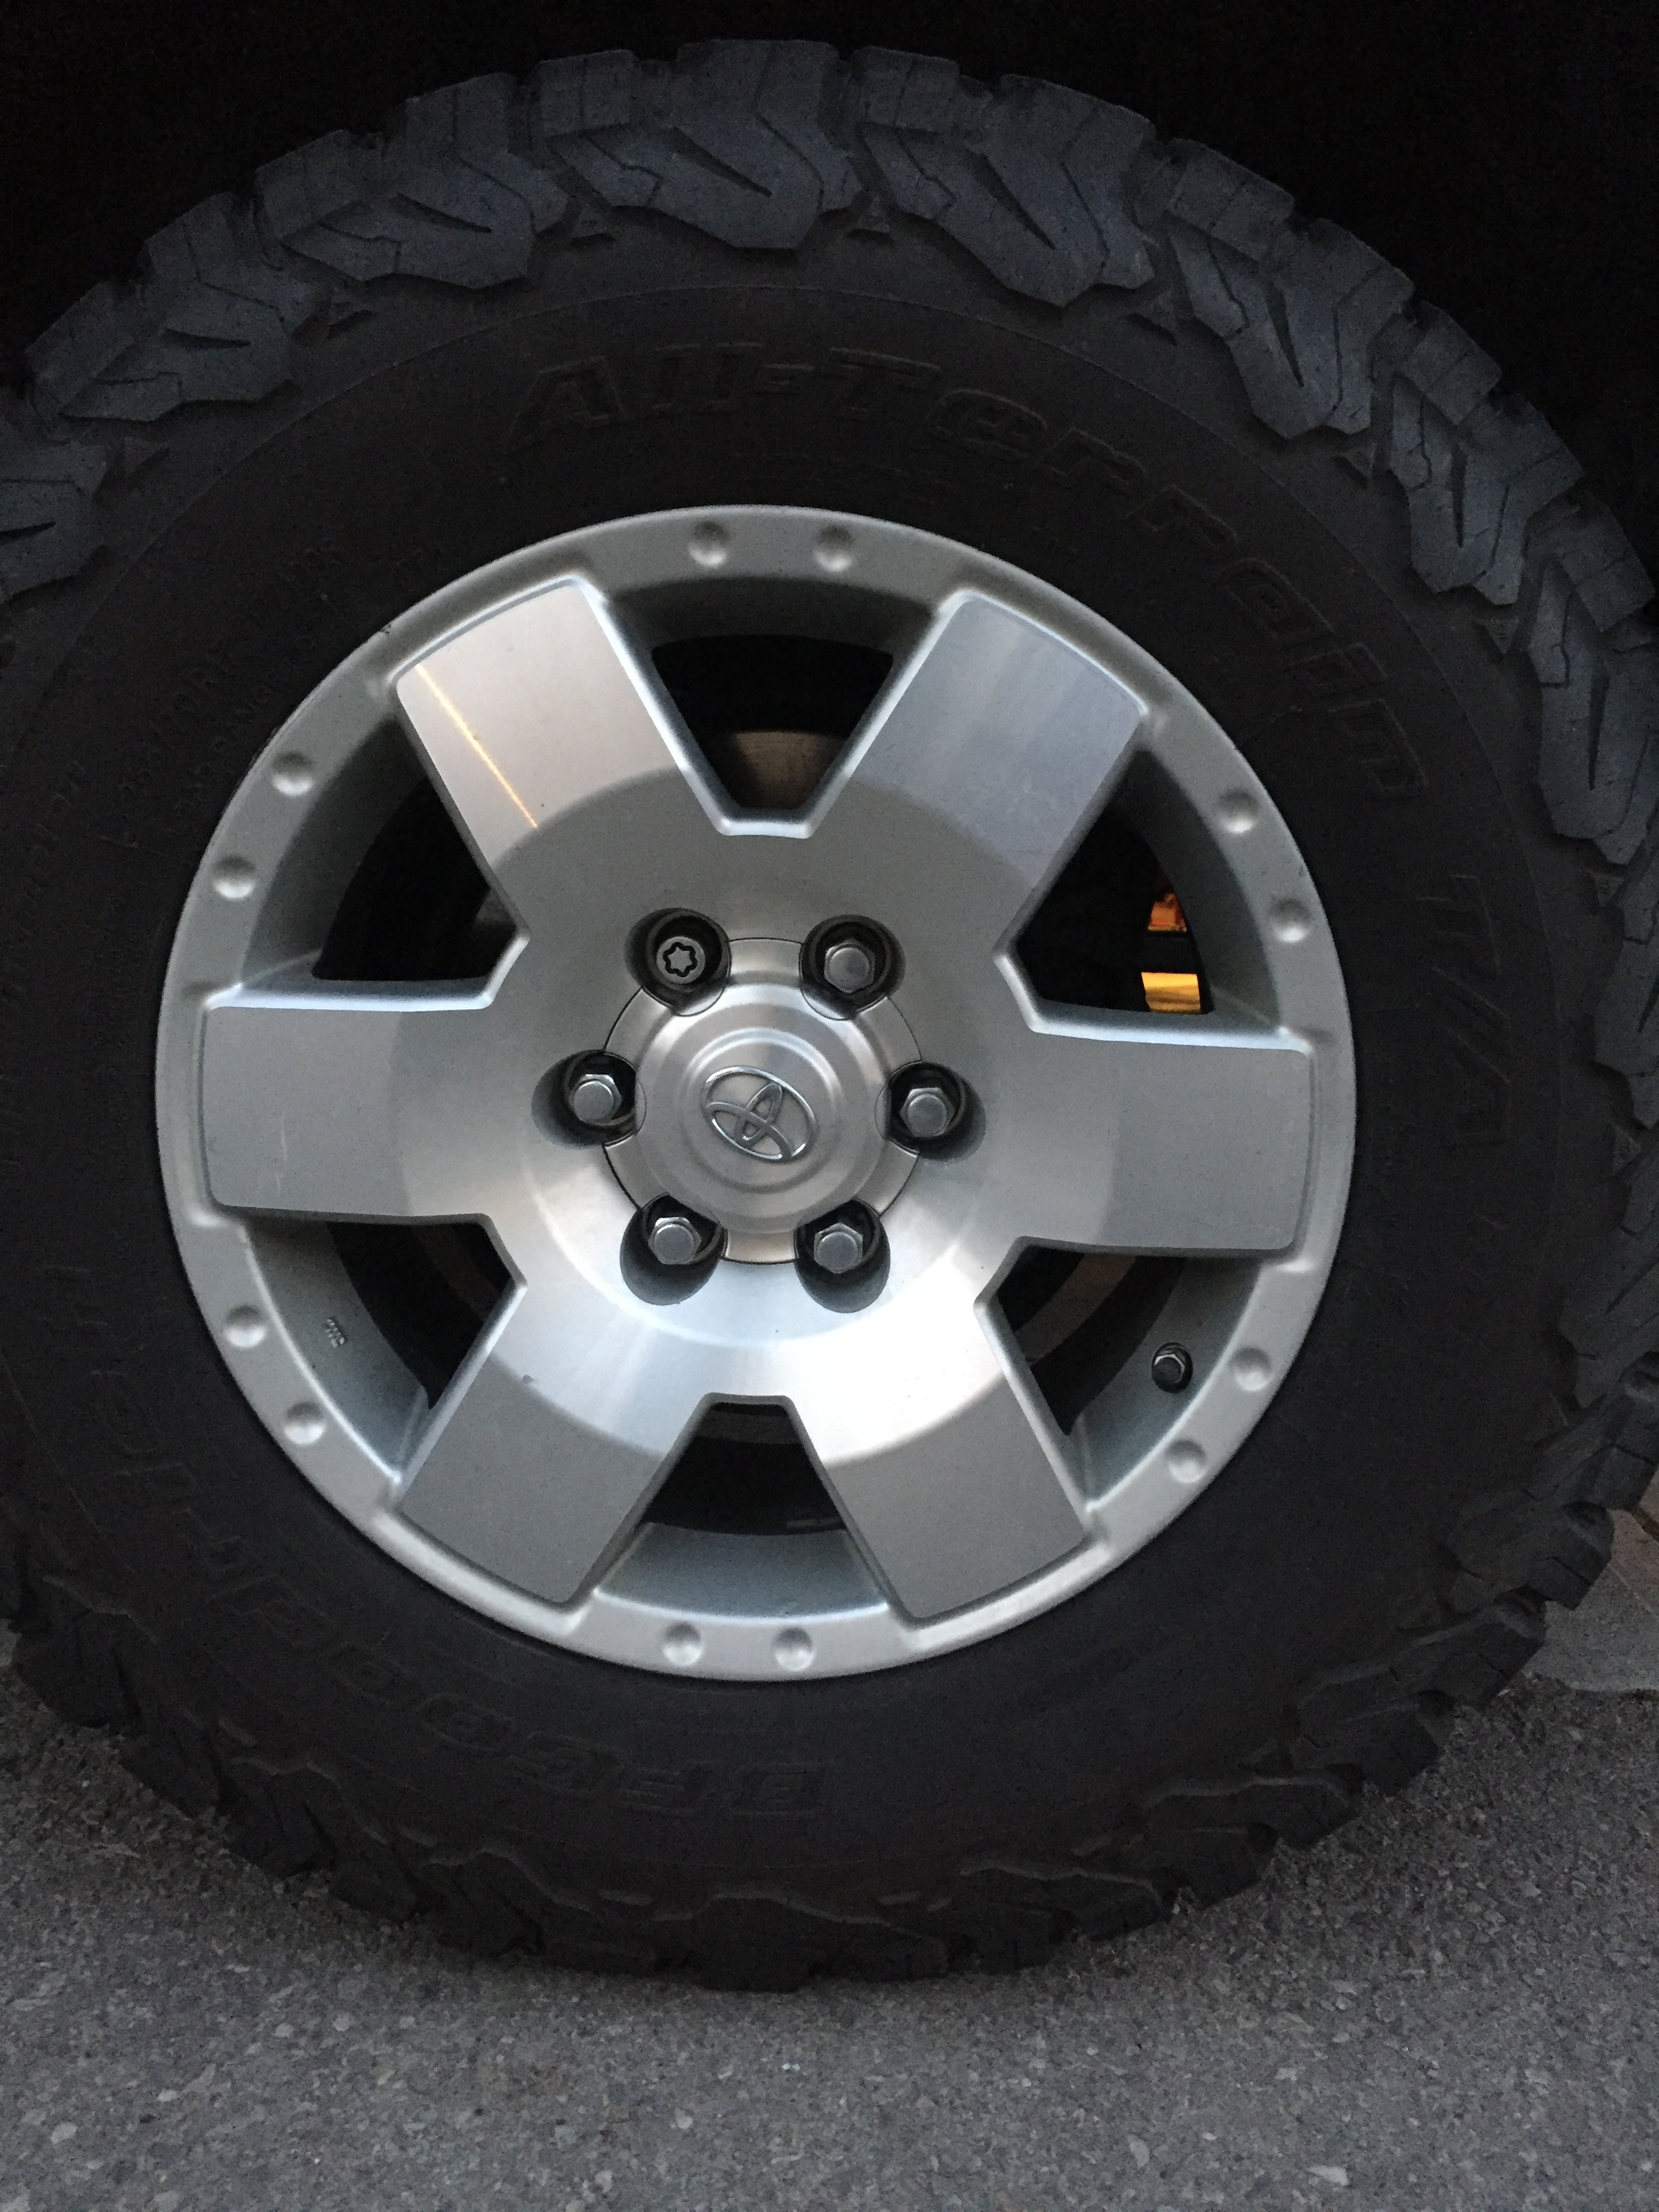
The plastidip on my wheels was holding up fairly well. Better than I expected but it still wasn't perfect. And I was not a big fan of the stock rims. I got lucky and found a set of 5 spoke FJ wheels and studded winter tires on Kijiji and picked them up just in time for the snow.


85qeak.jpg


85qDPZ.jpg


85qSLe.jpg


85qz9a.jpg


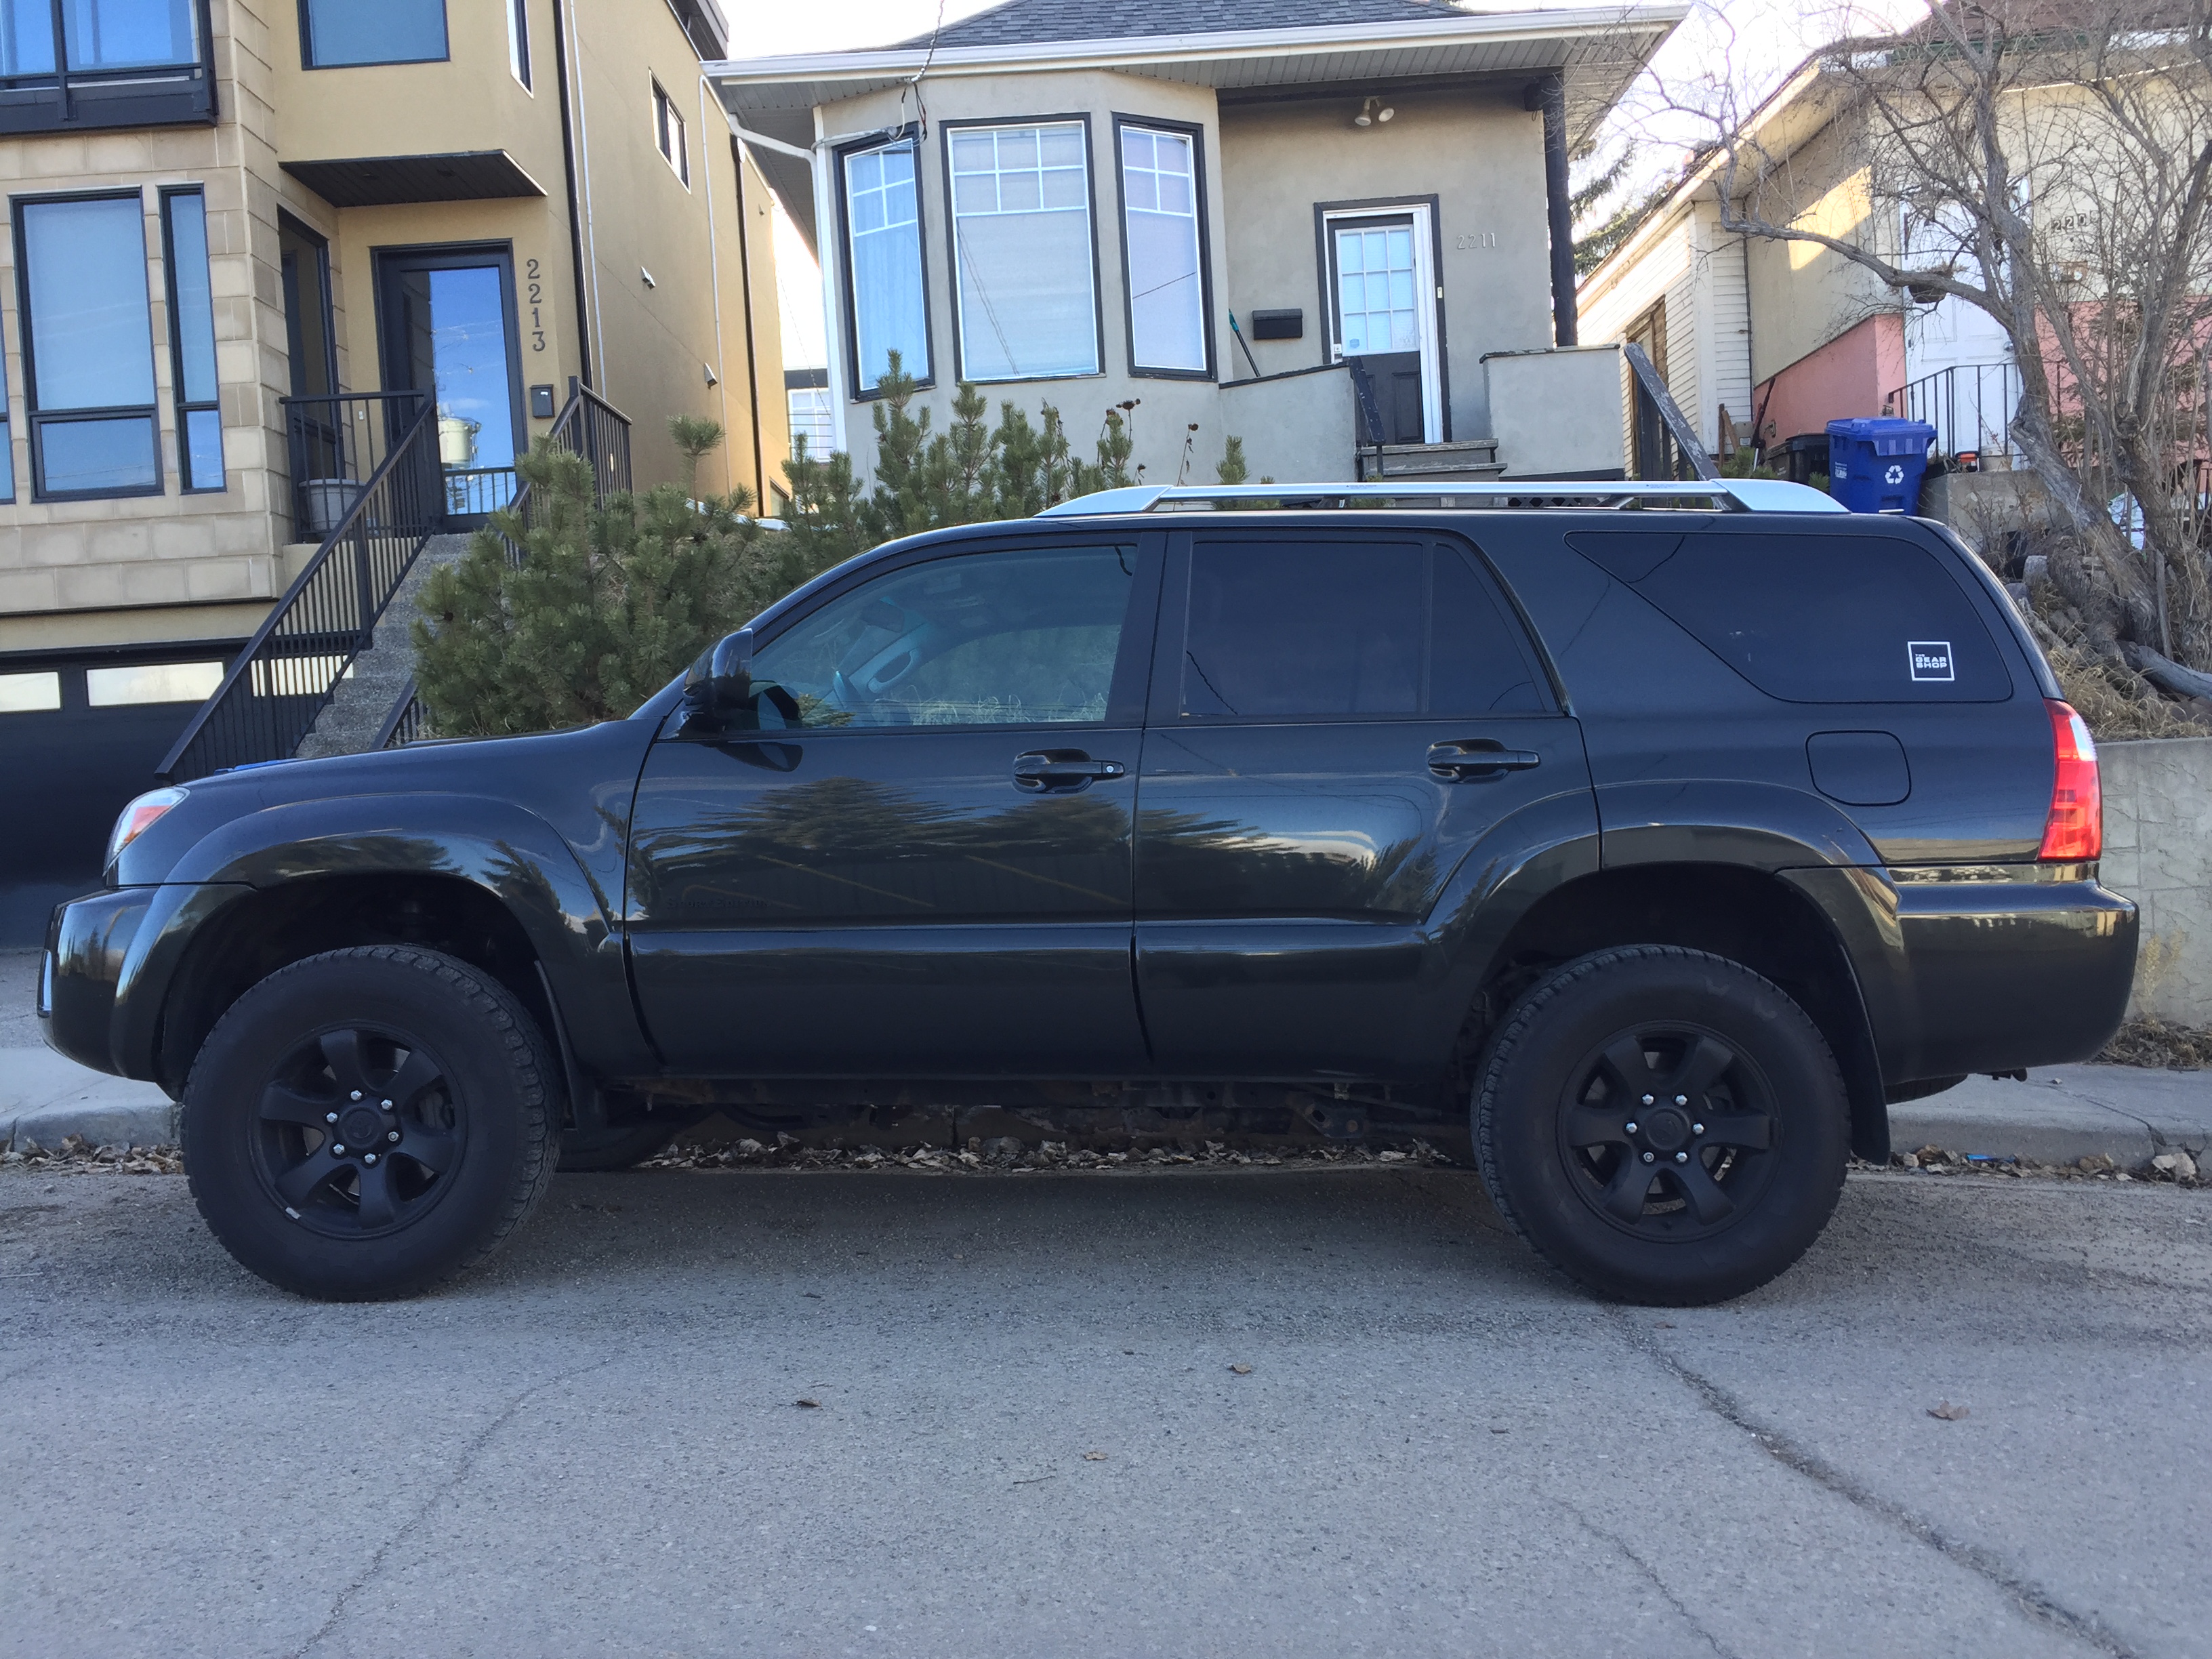
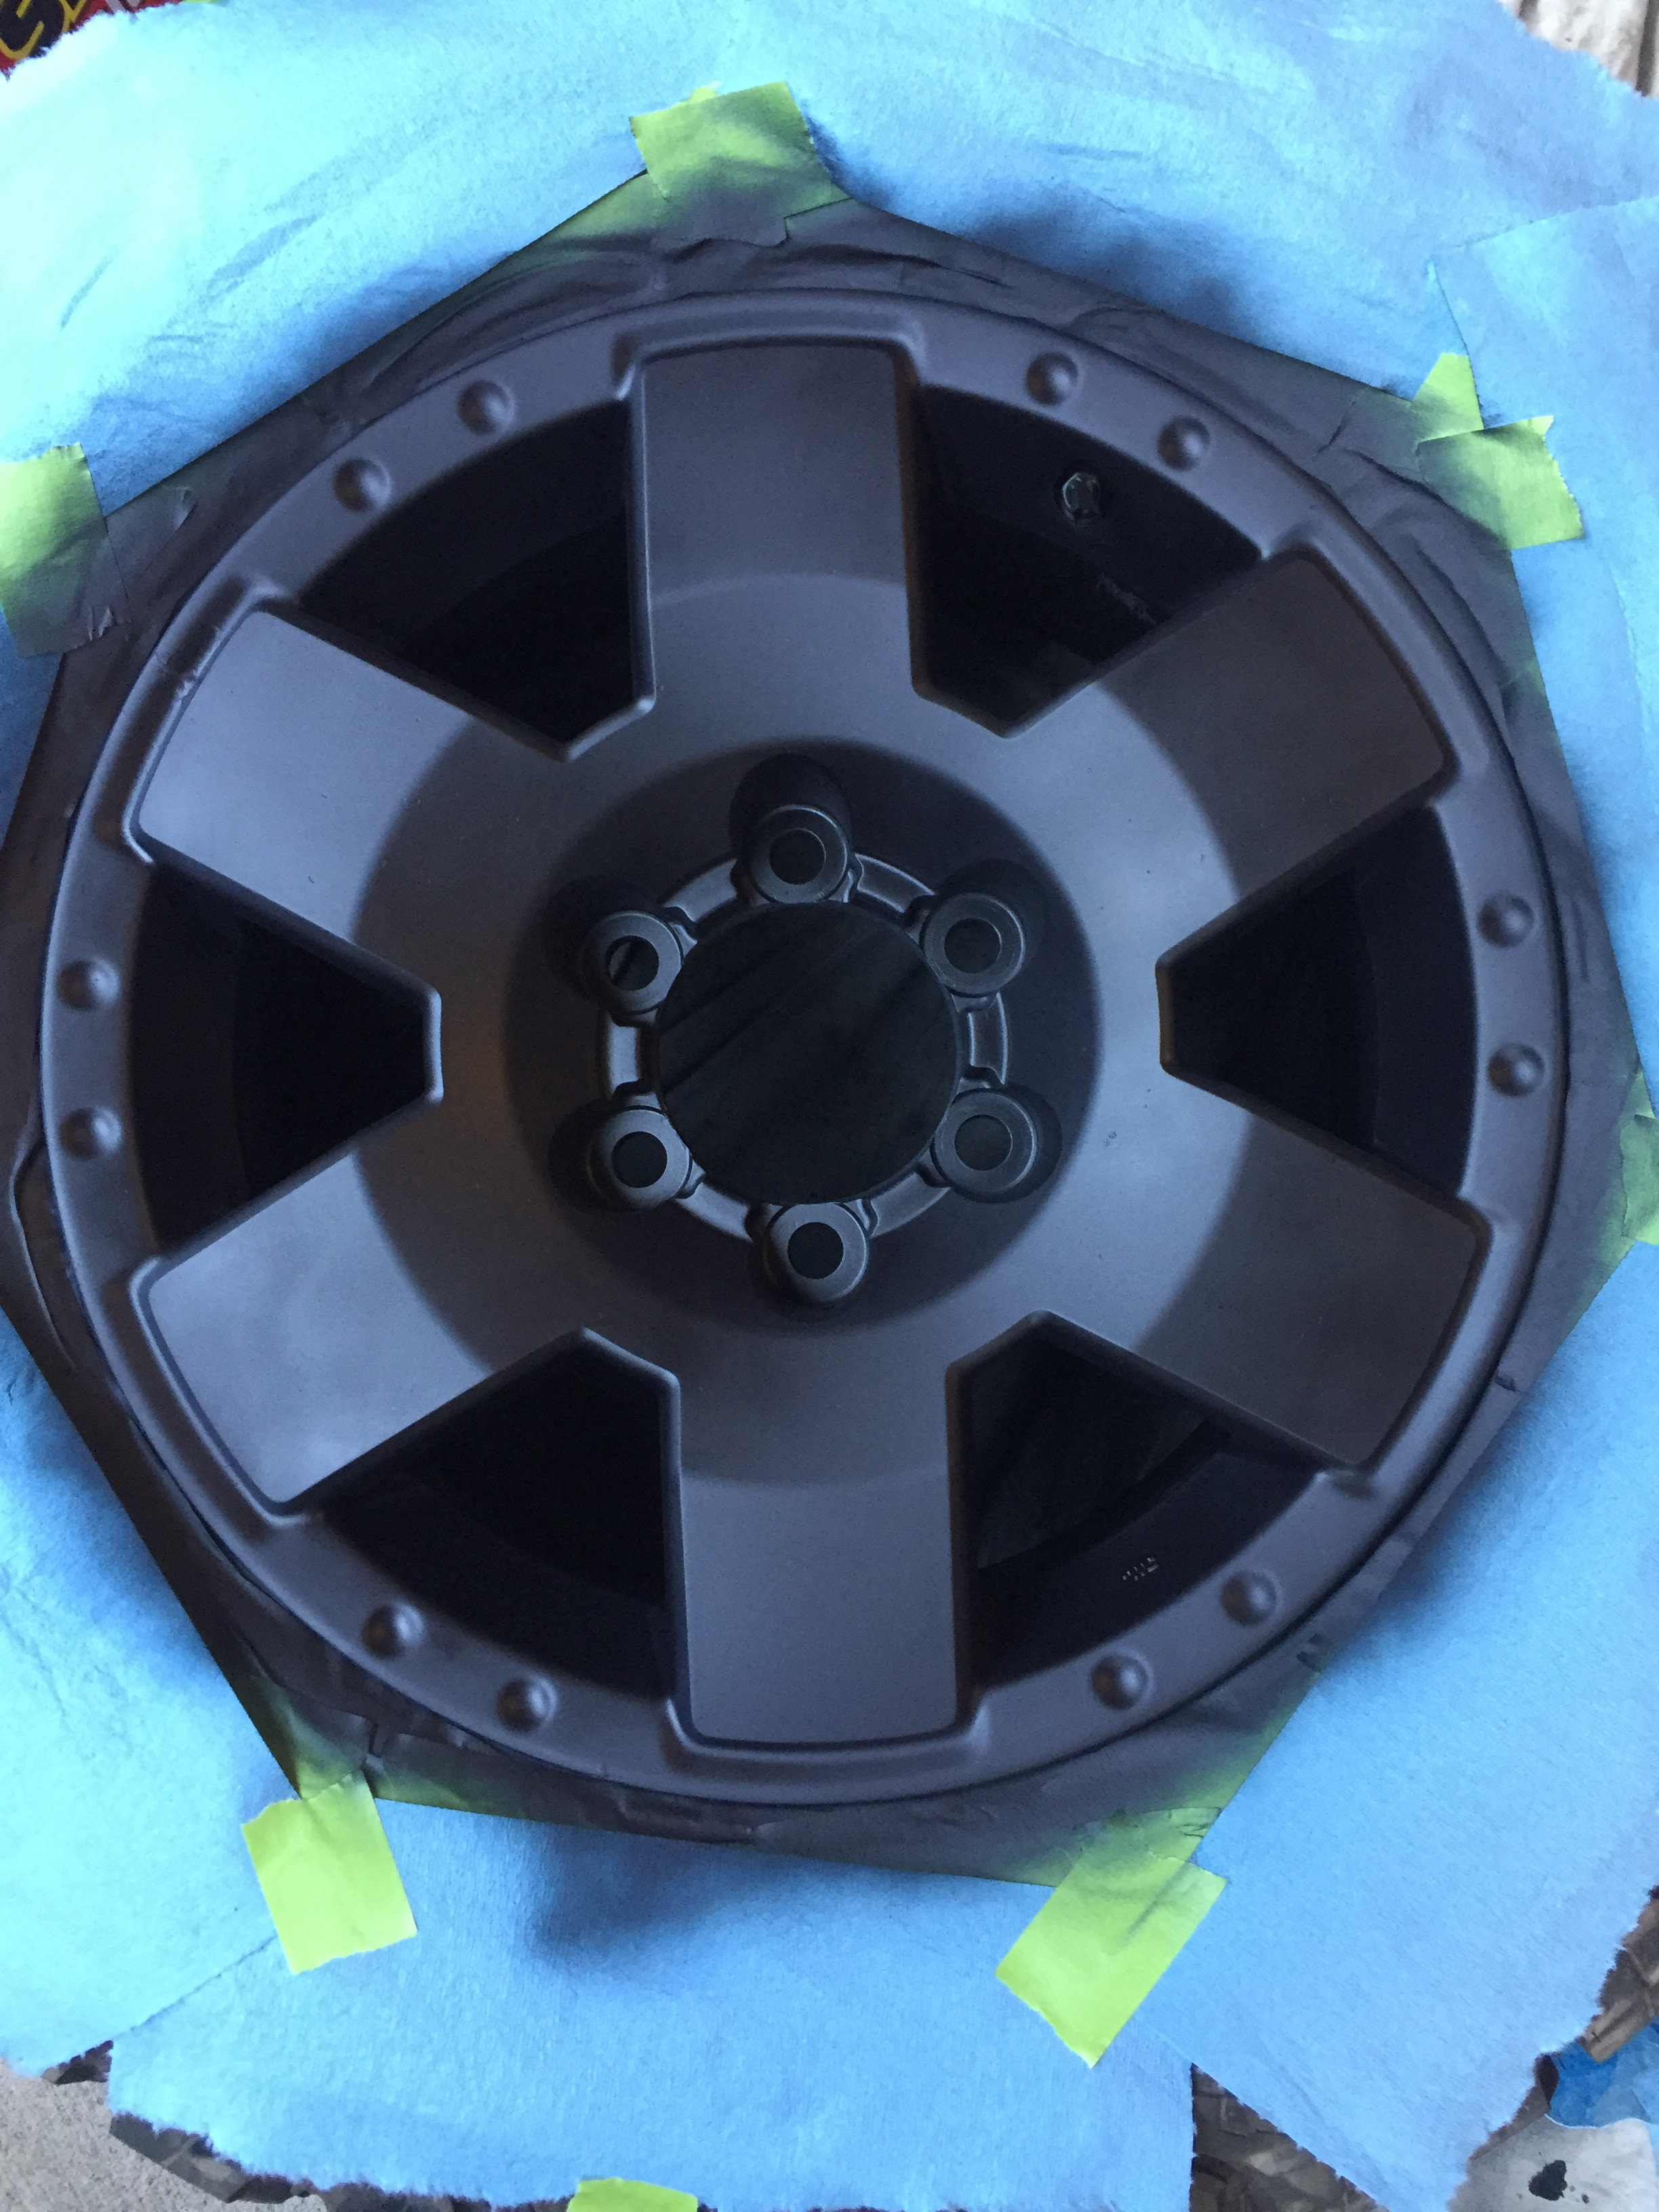
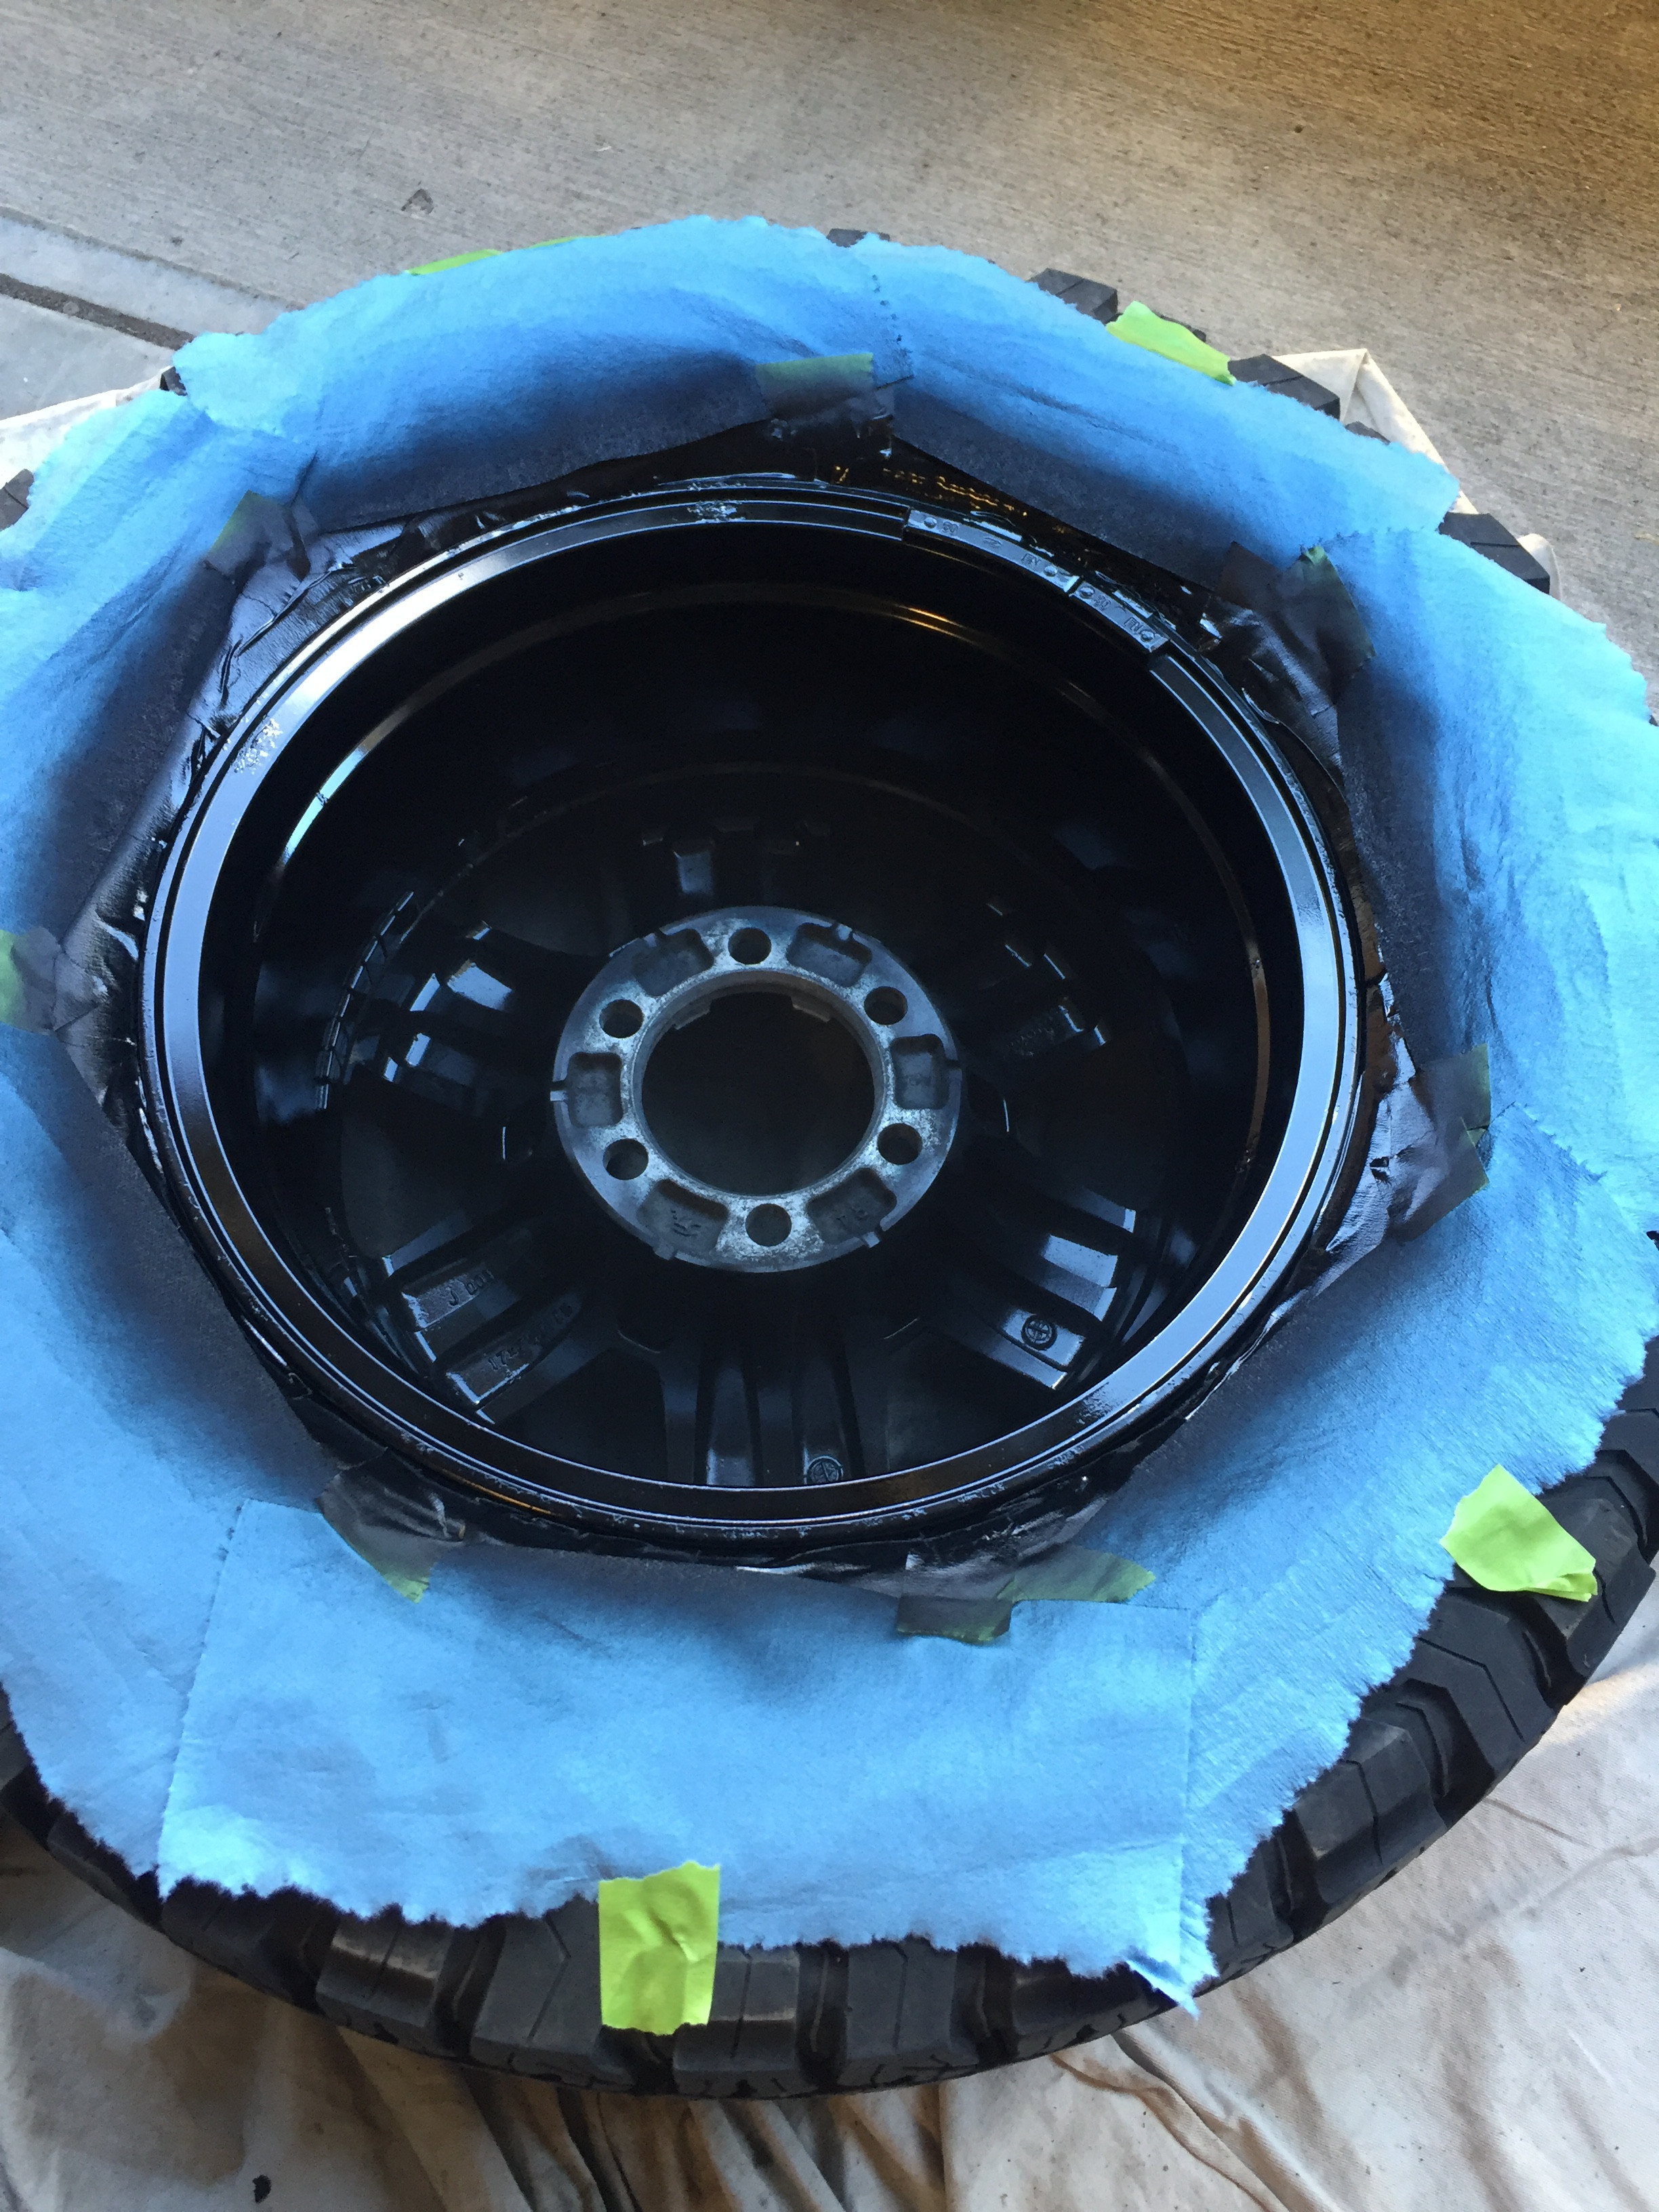
Once spring came around I decided to spray paint my wheel Satin Black. Using a few different guides as references I sanded, primed and rattlecanned all 5 wheels black. I painted them while the tires were still mounted.

Pretty happy how they turned out and they have not worn at all in the last year and a half. I decided not to clear coat them as I didn't want them too glossy. The DupliColor satin black came out exactly as I was hoping it would. Wrapped them in a set of used B.F. Goodrich KO2's I found on Kijiji for cheap.


Before:


85meOH.jpg


85mKuM.jpg


85mqT3.jpg


After:


85ml5k.jpg


85mnc1.jpg


85mYDZ.jpg


85mDVm.jpg


CV Boots


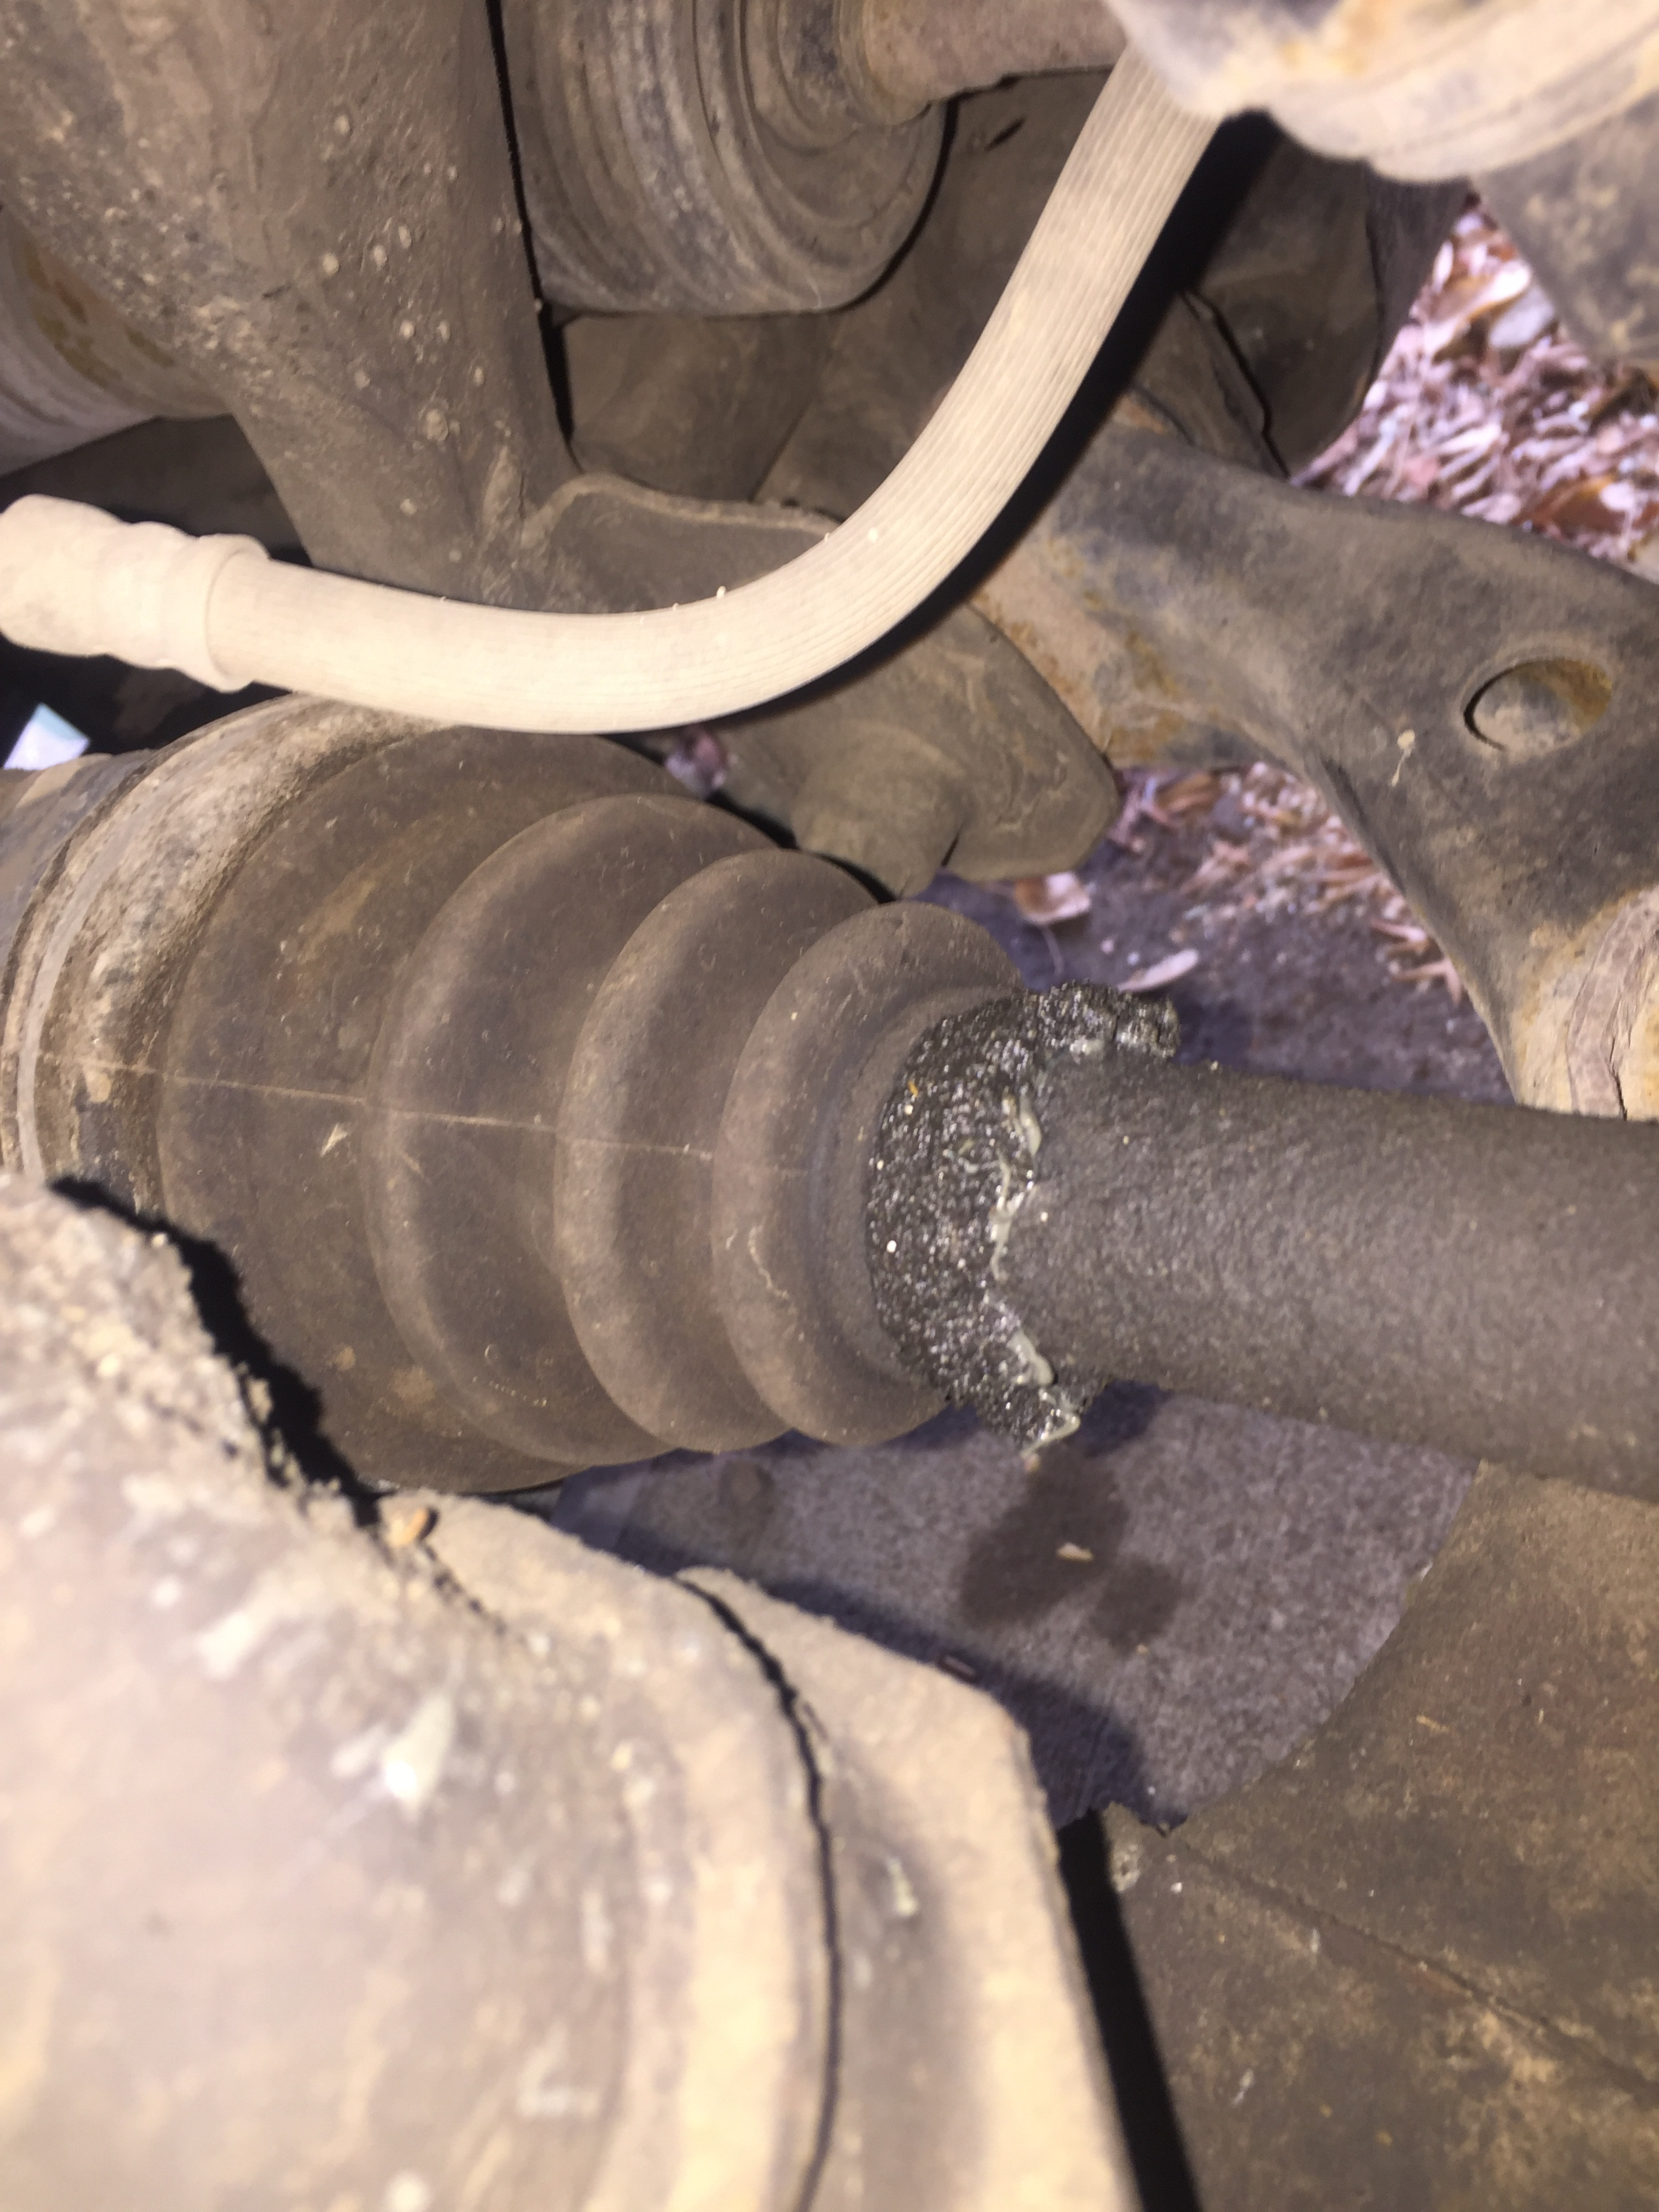
Also noticed my inner CV Boots are leaking a bit. Trying to decide if I can rebuild them on my own or pay someone $$ to do it...


85mccv.jpg


Yellow Fog Light Filter


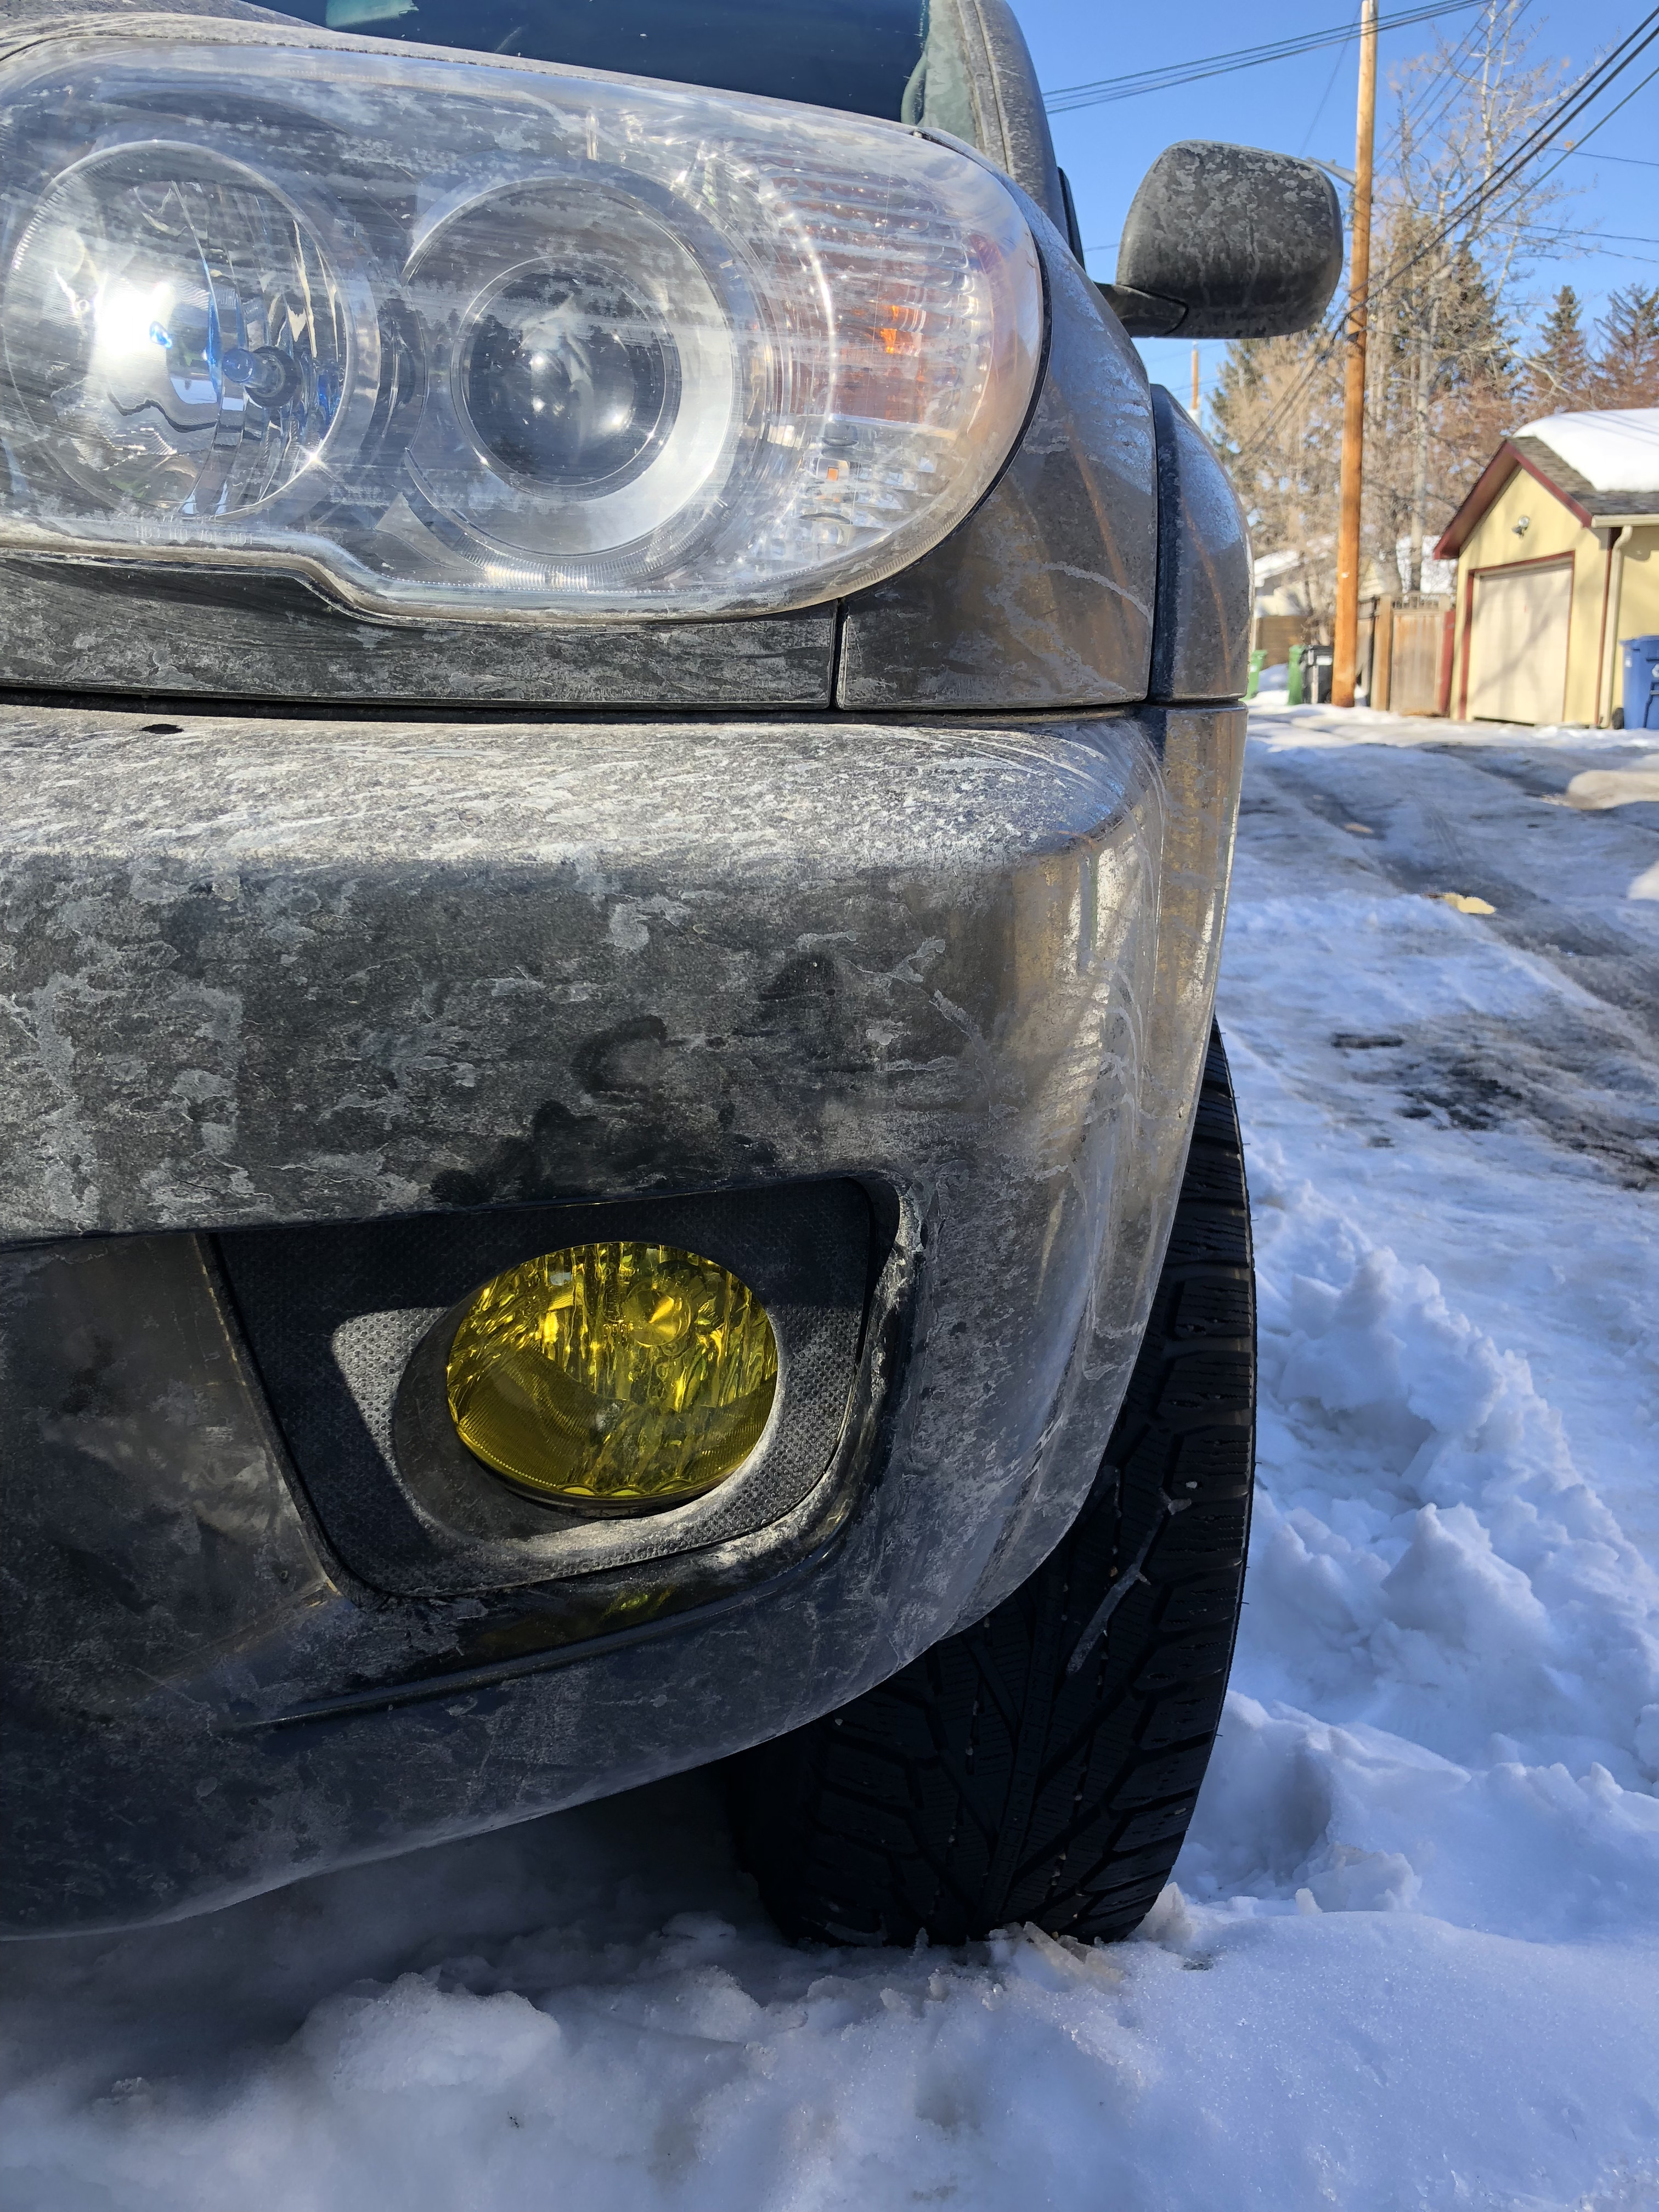
More so for appearance than anything I decided to add some Lamin-X Yellow fog light covers. Easy enough install. Just pop the cover, clean and apply.


853uxo.jpg


853NR9.jpg


853fFv.jpg


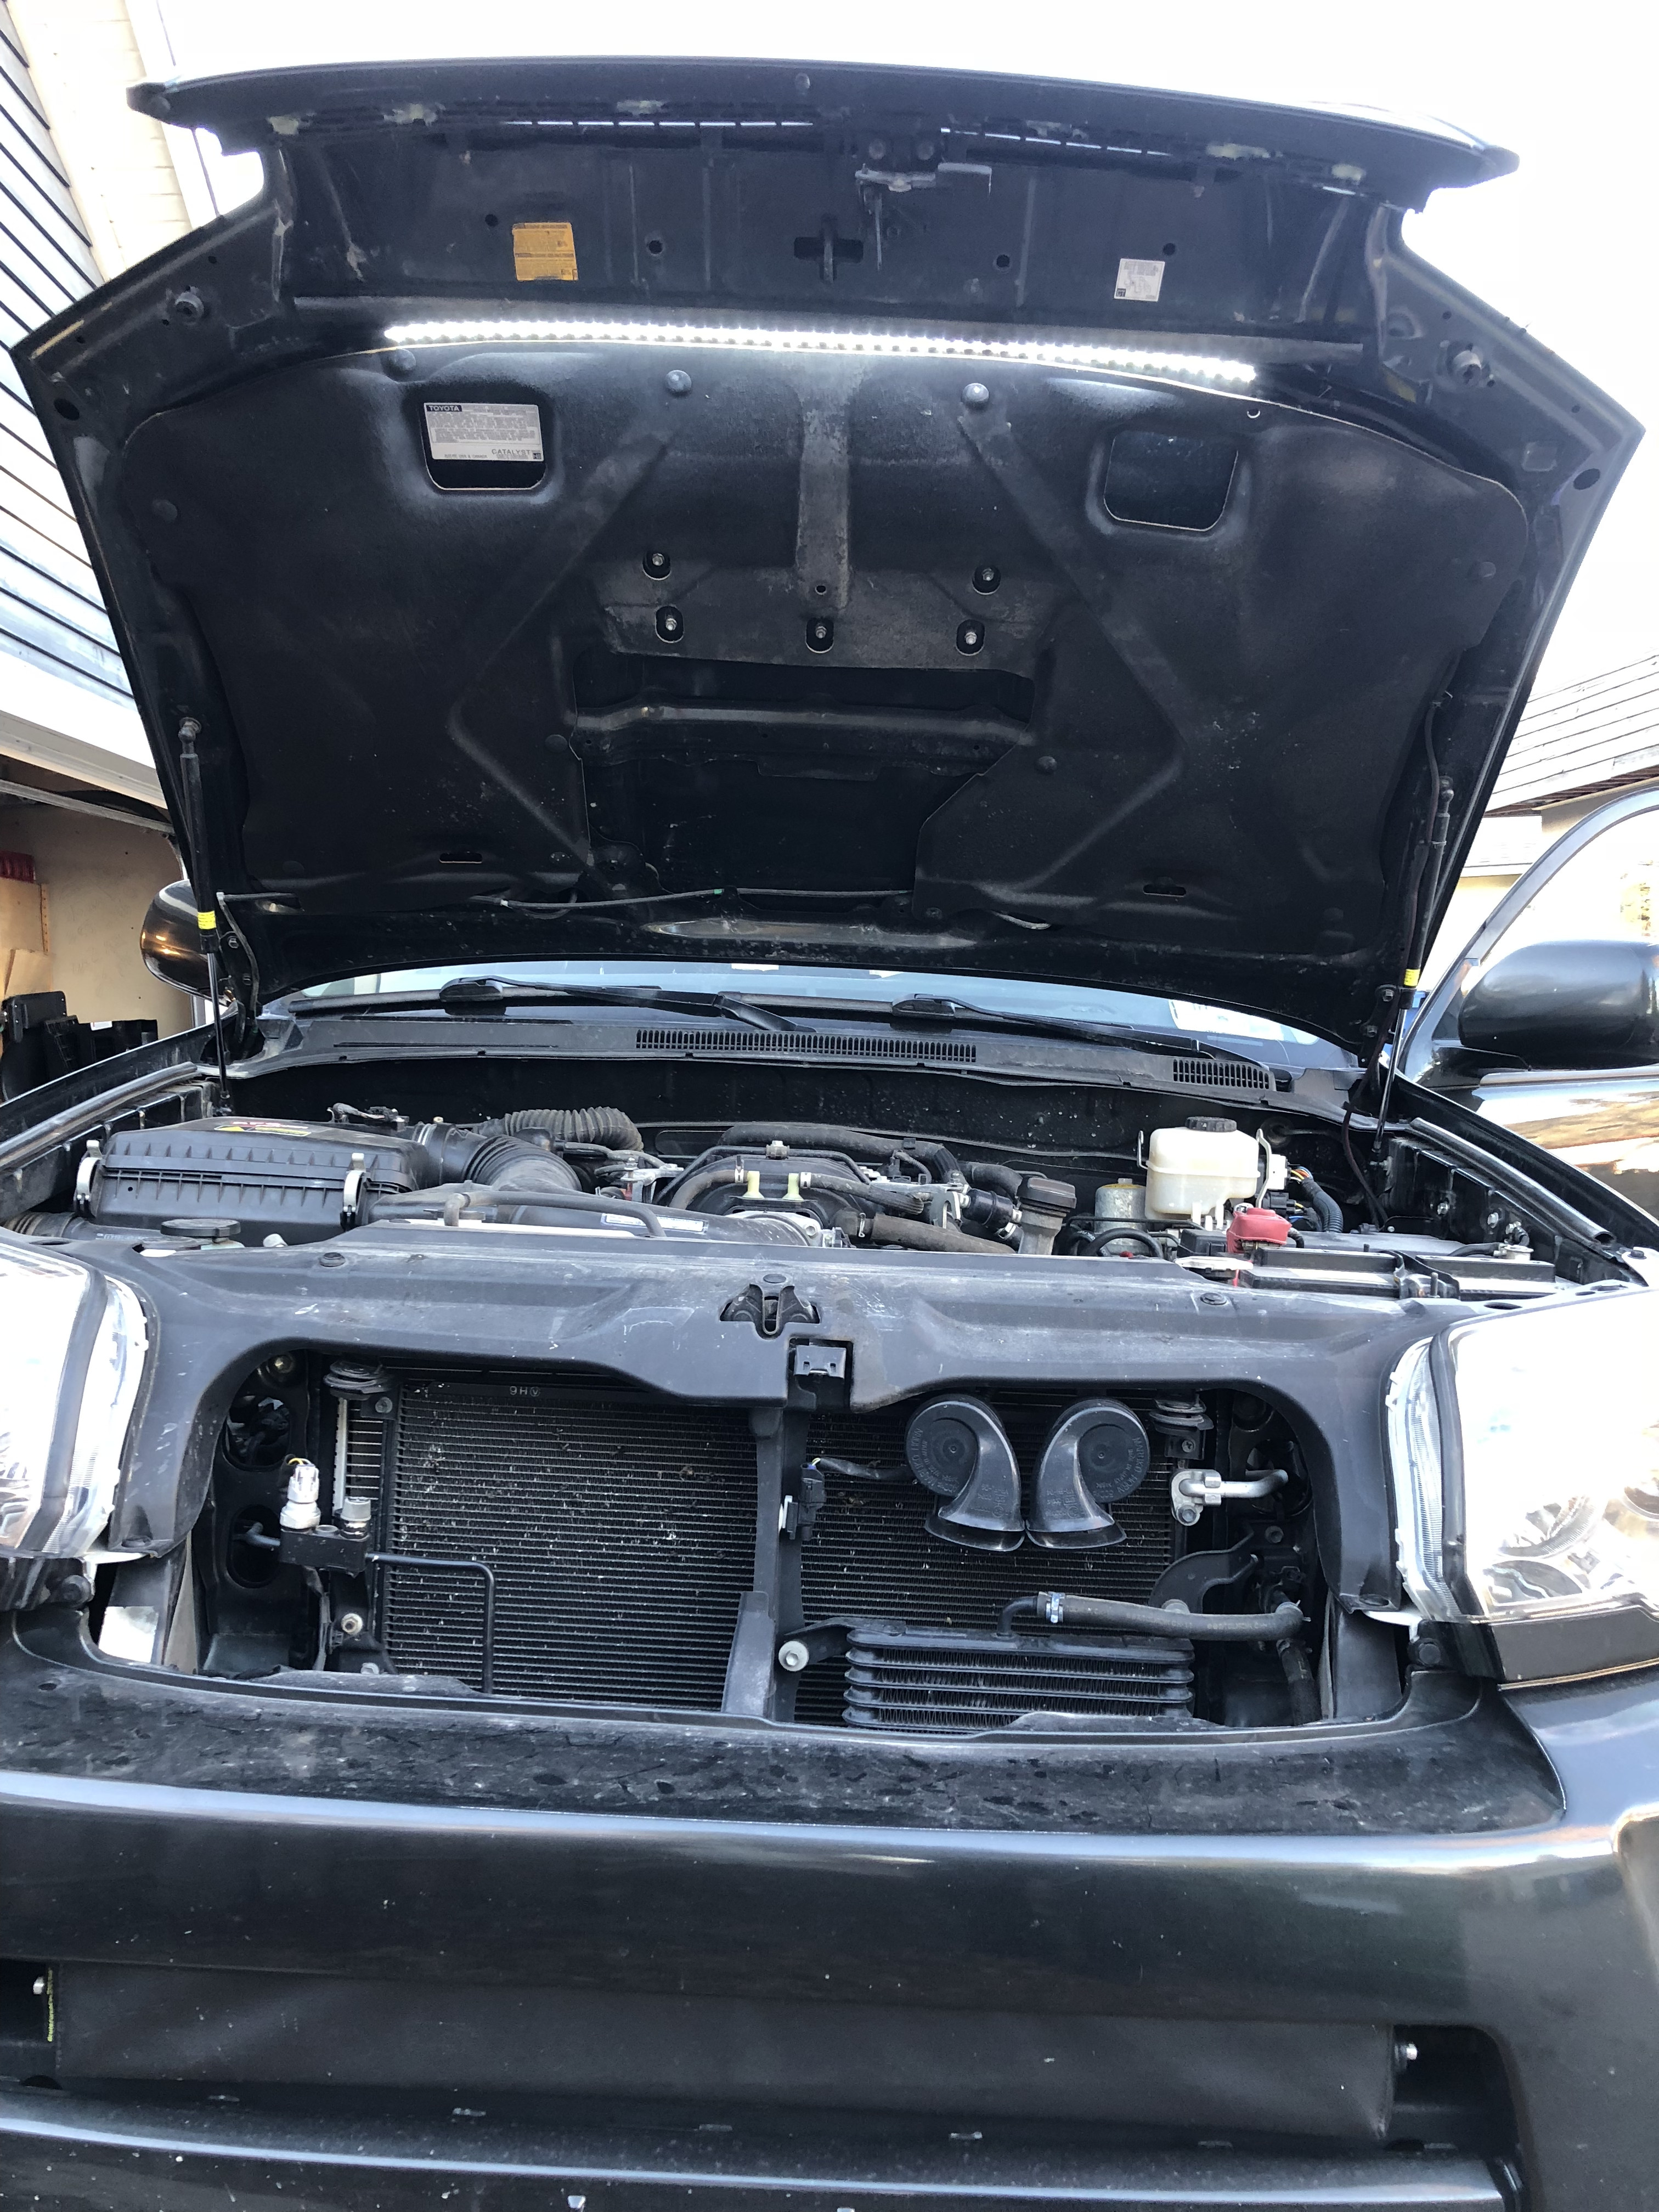
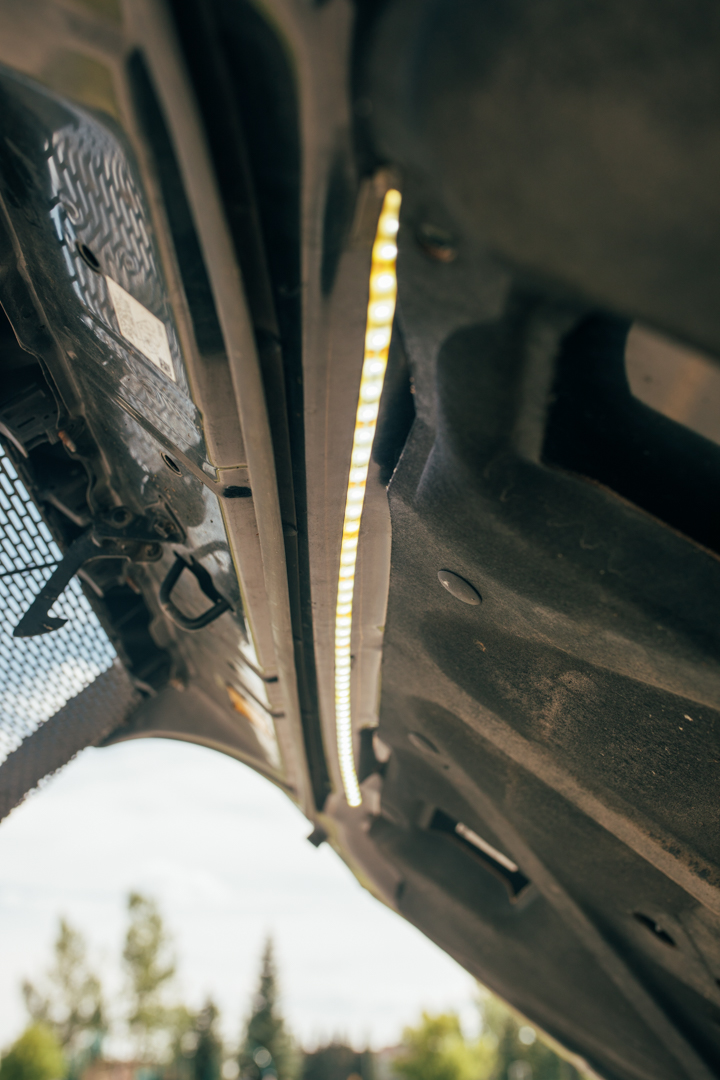
Engine Bay LED Work Light


Tired of using my phone as my flashlight while looking in my engine bay I found a great tutorial for a LED hood work light. A few items from Amazon and a stealing the wire for my amber grill lights I had a work light for cheap.


85KWX9.jpg


85VQDa.jpg


Maintenance


Because my vehicle had no paper trail when I bought it I decided to do some preventative maintenance.

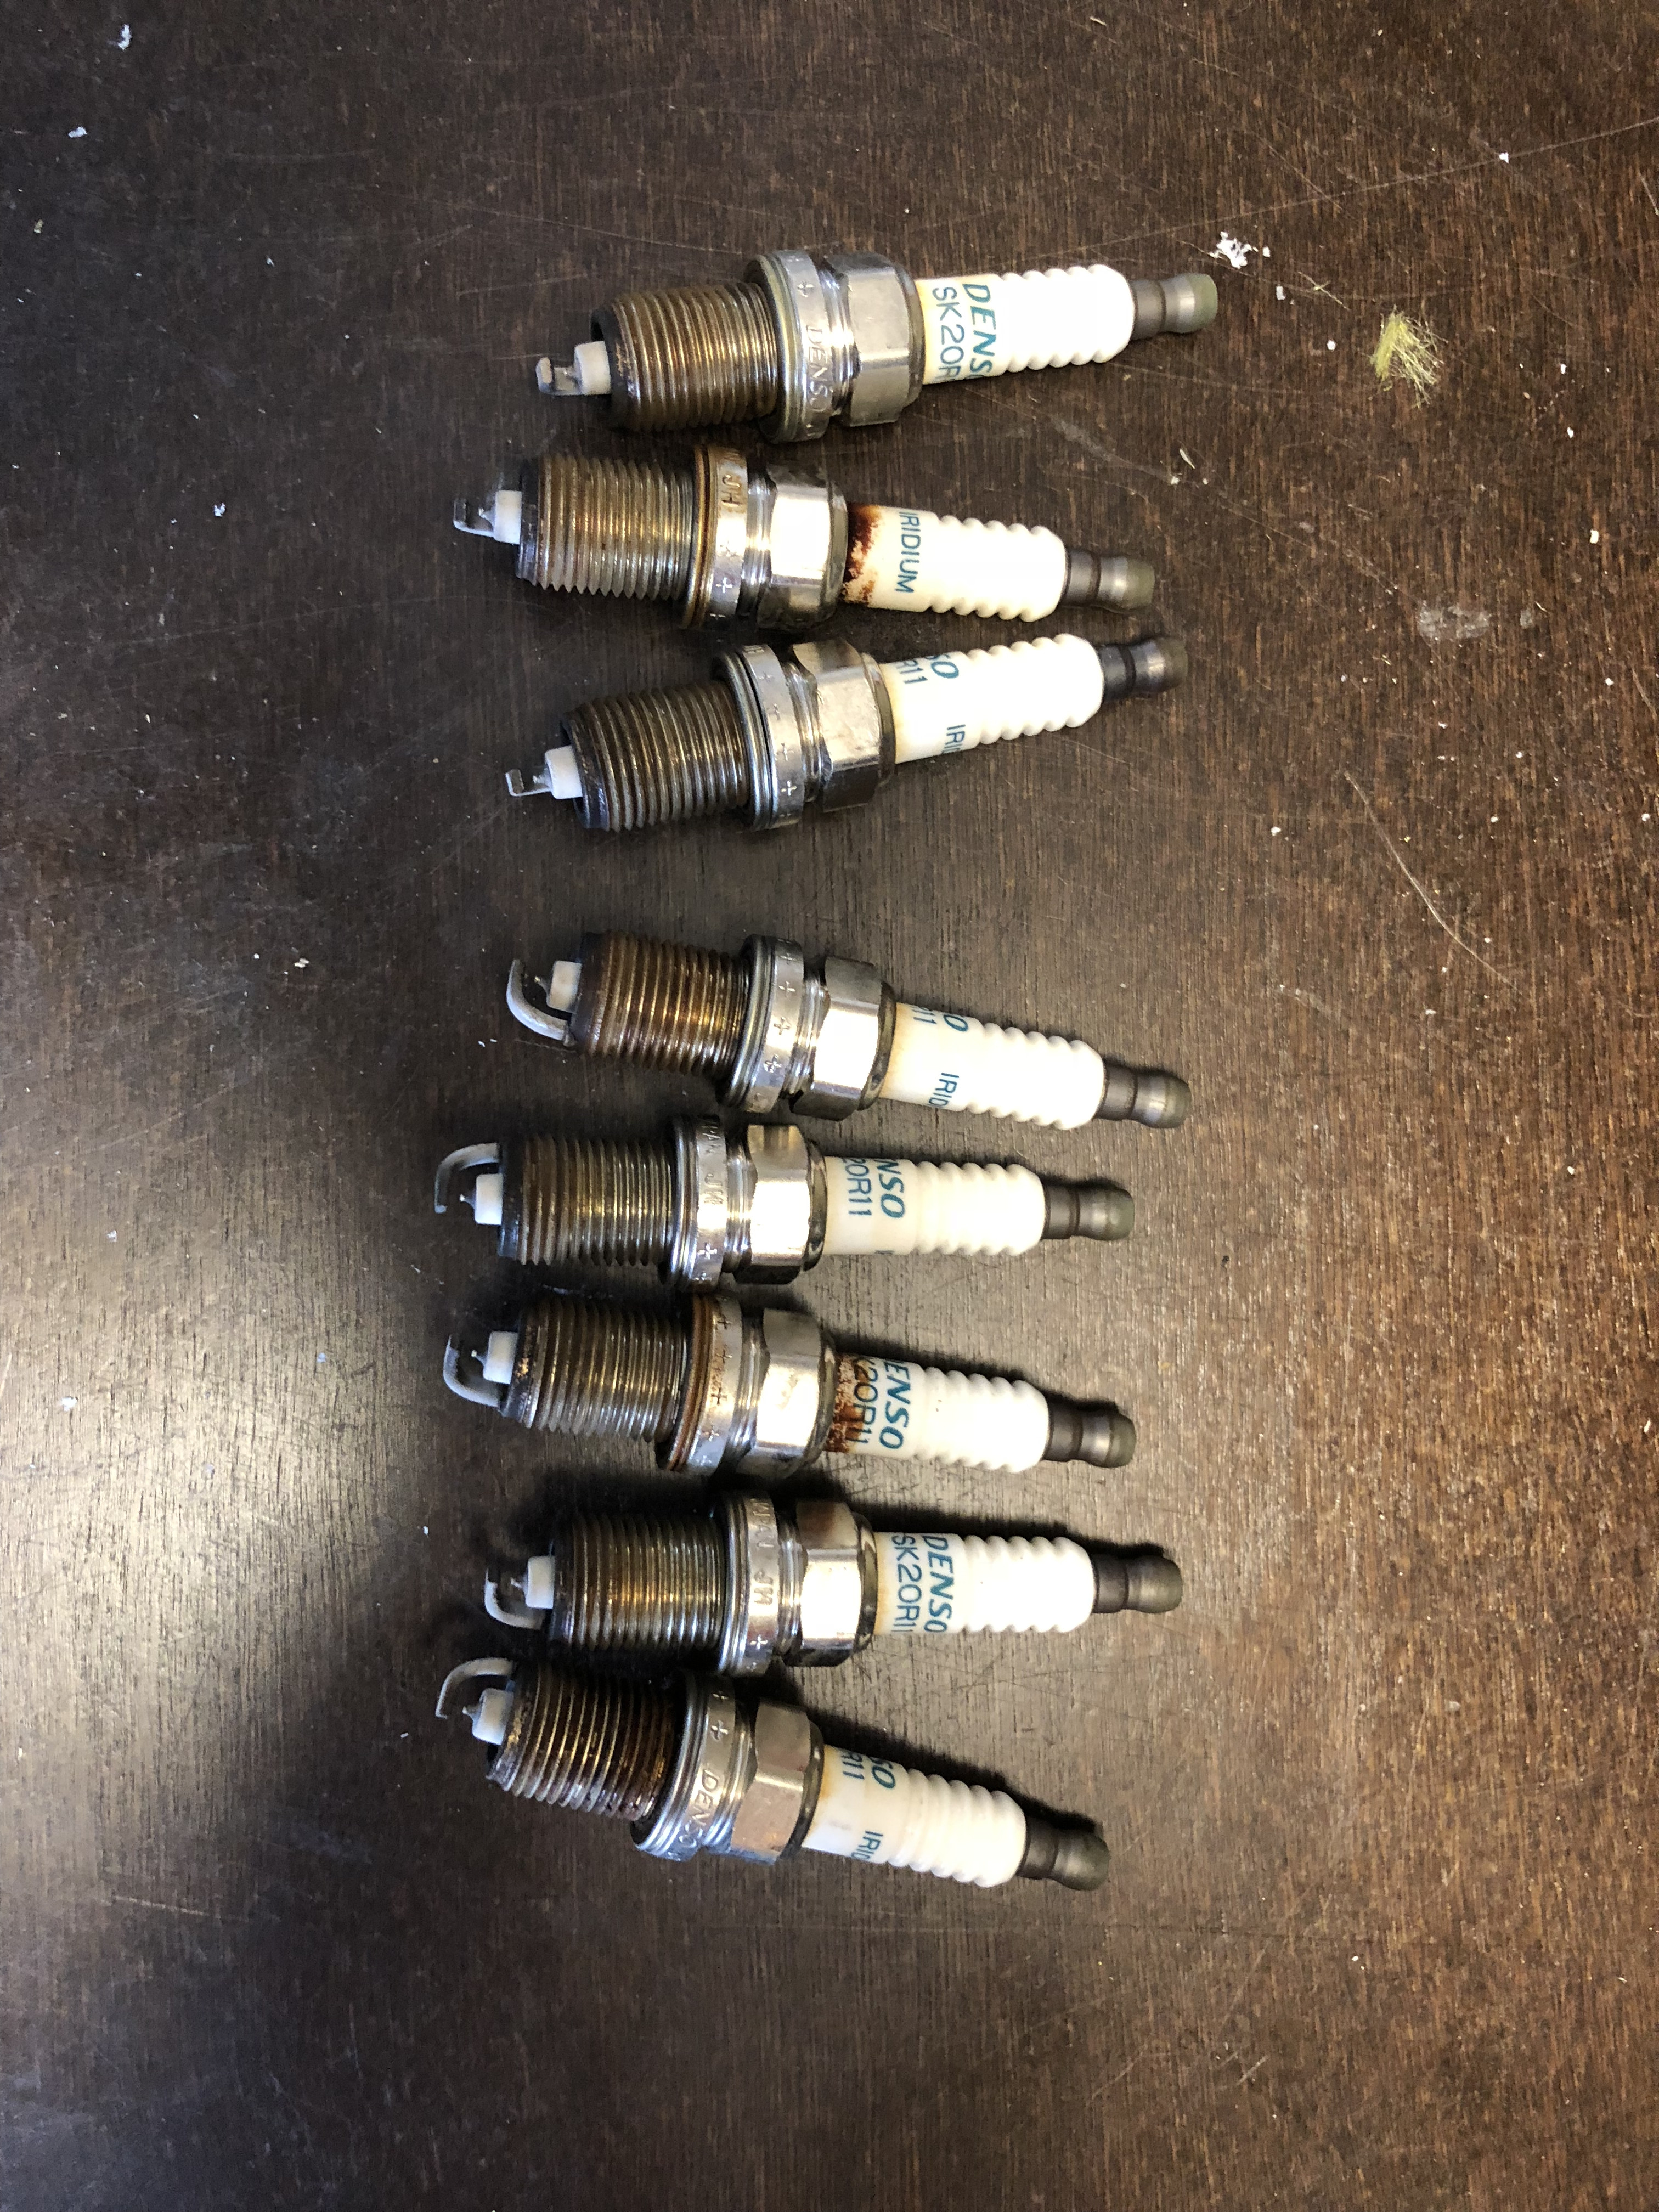
I sourced a local supplier and ordered Amsoil Severe Gear Oil and replaced the Front Diff, Rear Diff and Transfer case. This was fairly easy, only pain was the cheap bottle pump I bought broke after the first 5 so it required a bit more work getting the rest in. All the plugs came loose with a breaker bar on them and made sure to loosen to fill before I emptied the diff. All new washers and filled to the top. I also changed all my spark plugs out for some NGK Iridium plugs.
I have added a Fumoto Valve for easier oil changes as well. This thing makes an easy thing even easier (less oil on me.)

I always have the dream of documenting all my maintenance as best I can but I usually get so covered in oil and pissed off that it becomes the last thing on my mind. So apologies for no photos, you'll just have to use your imagination.


Not completely sure what the plugs should look like but some of them appear to be ready to change. Doesn't hurt anyways.


854Hnb.jpg
 
Last edited:
Electrical Management System


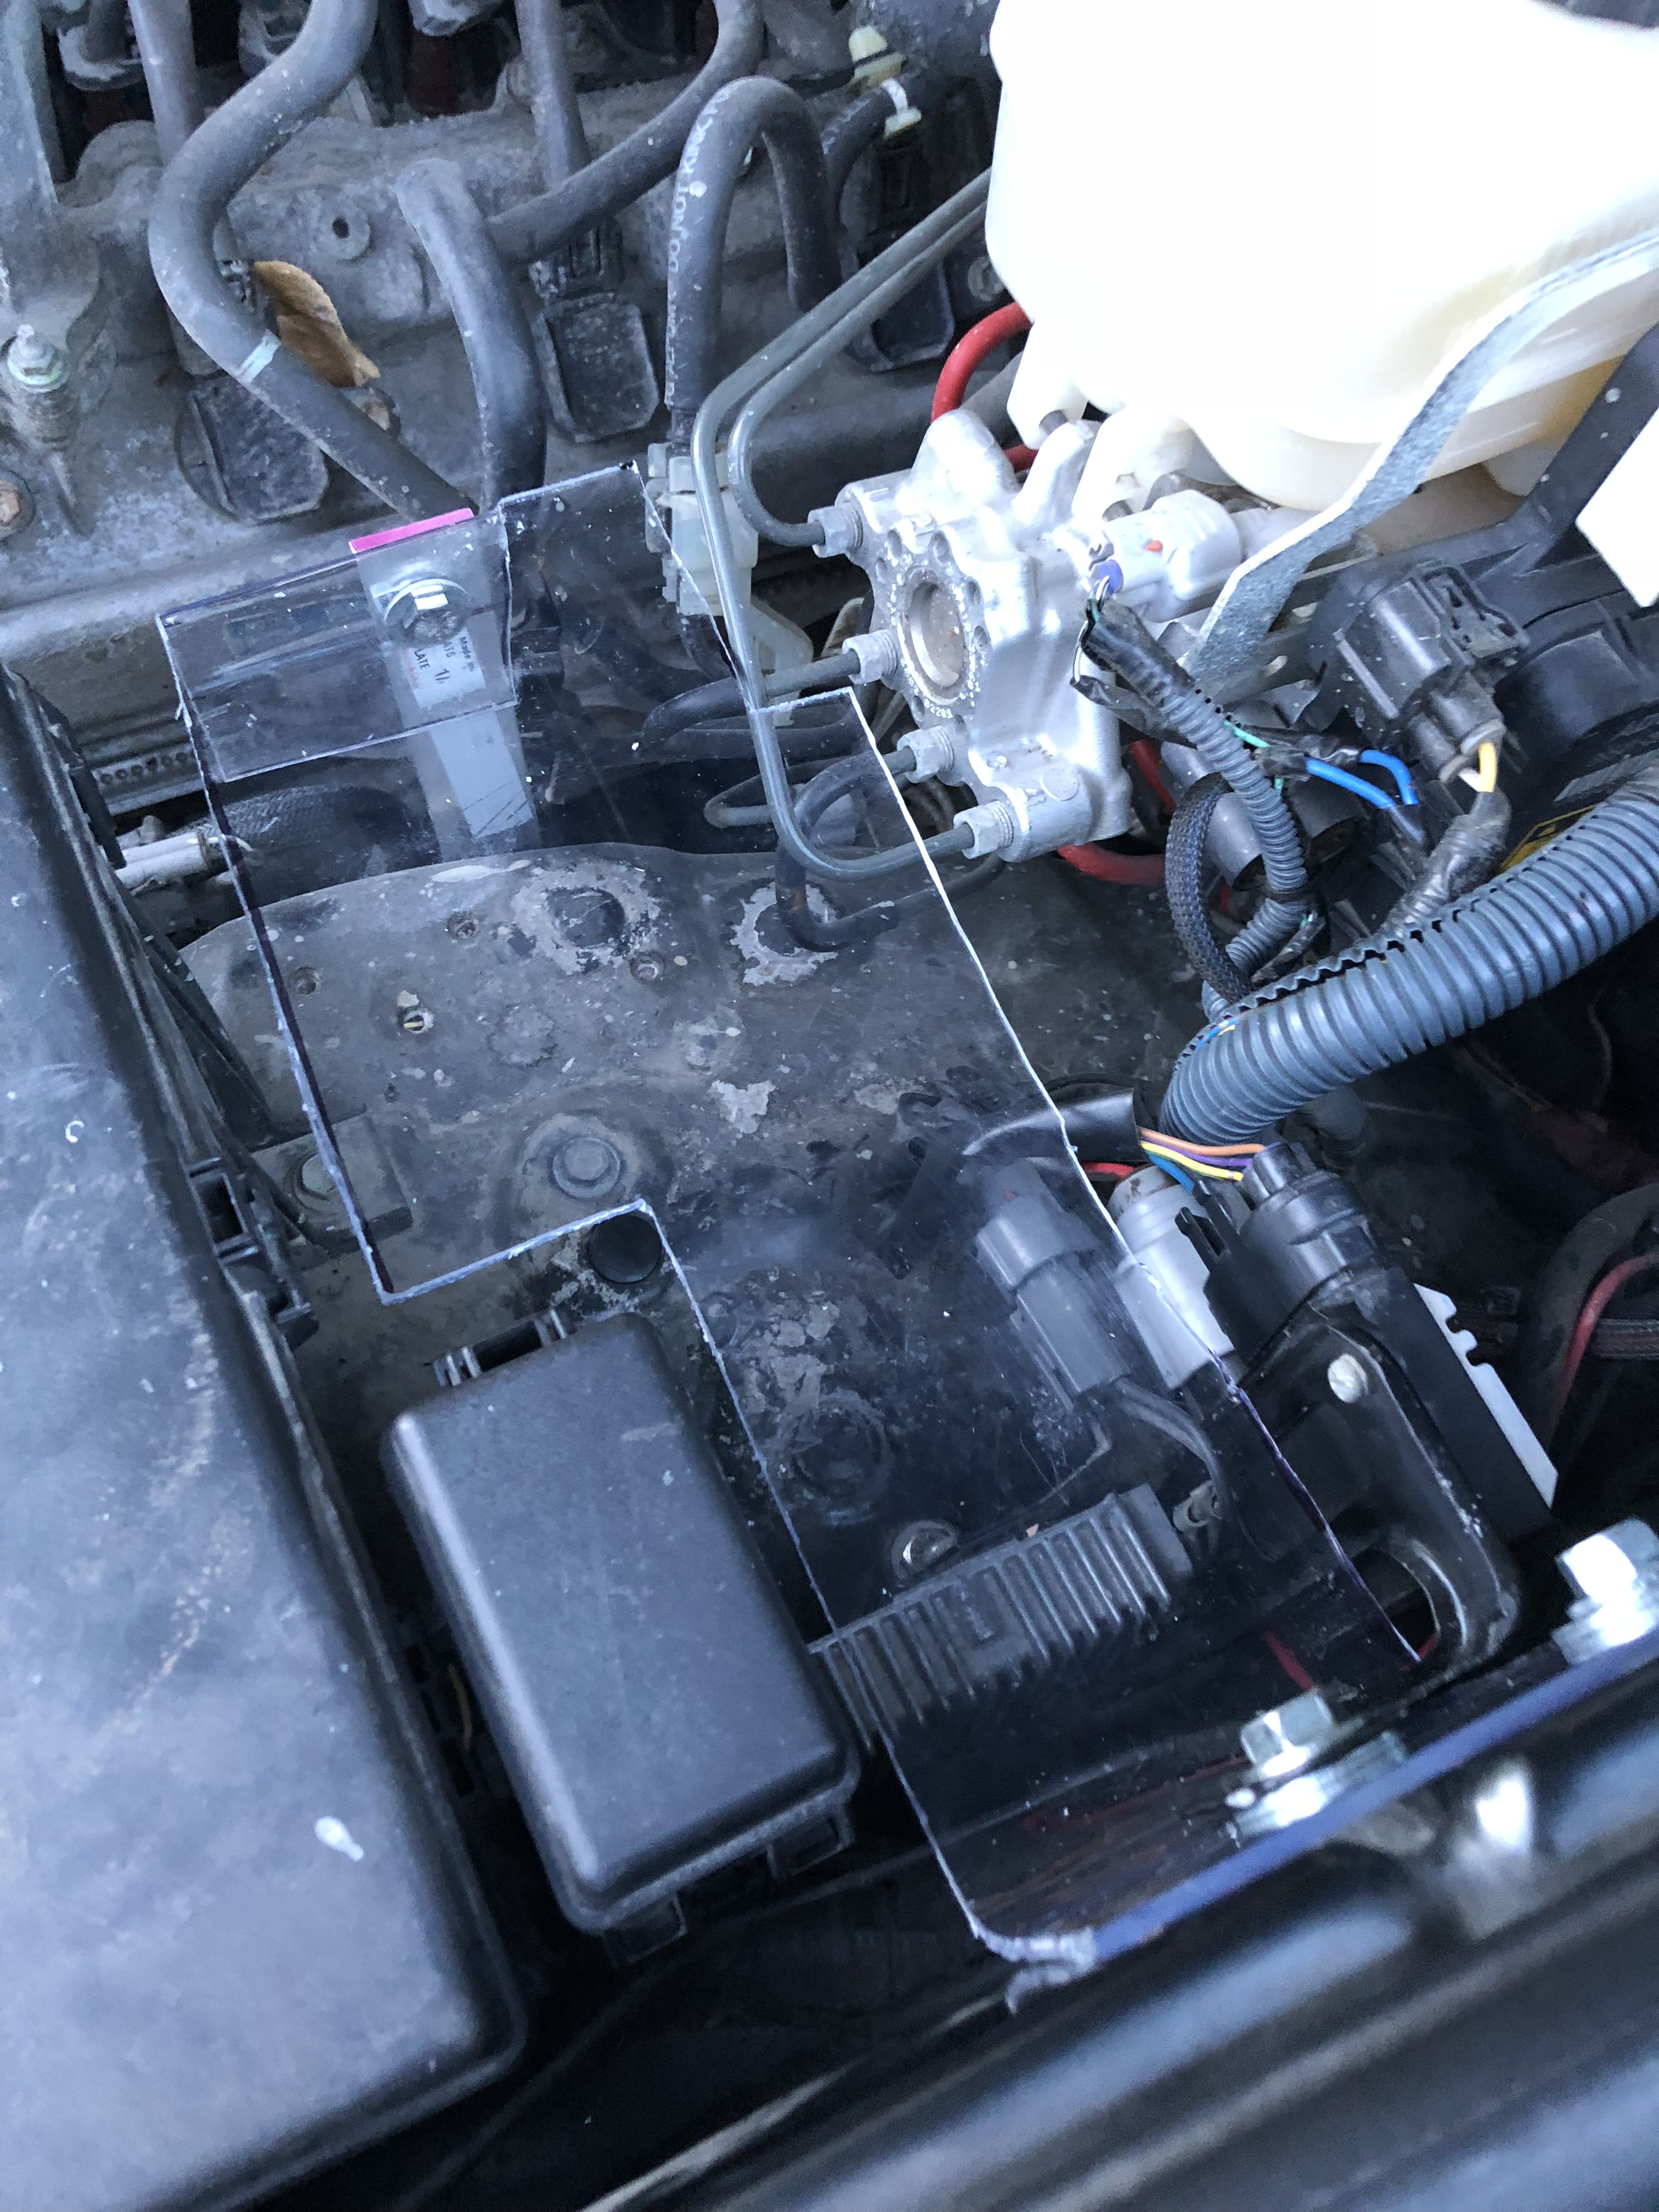
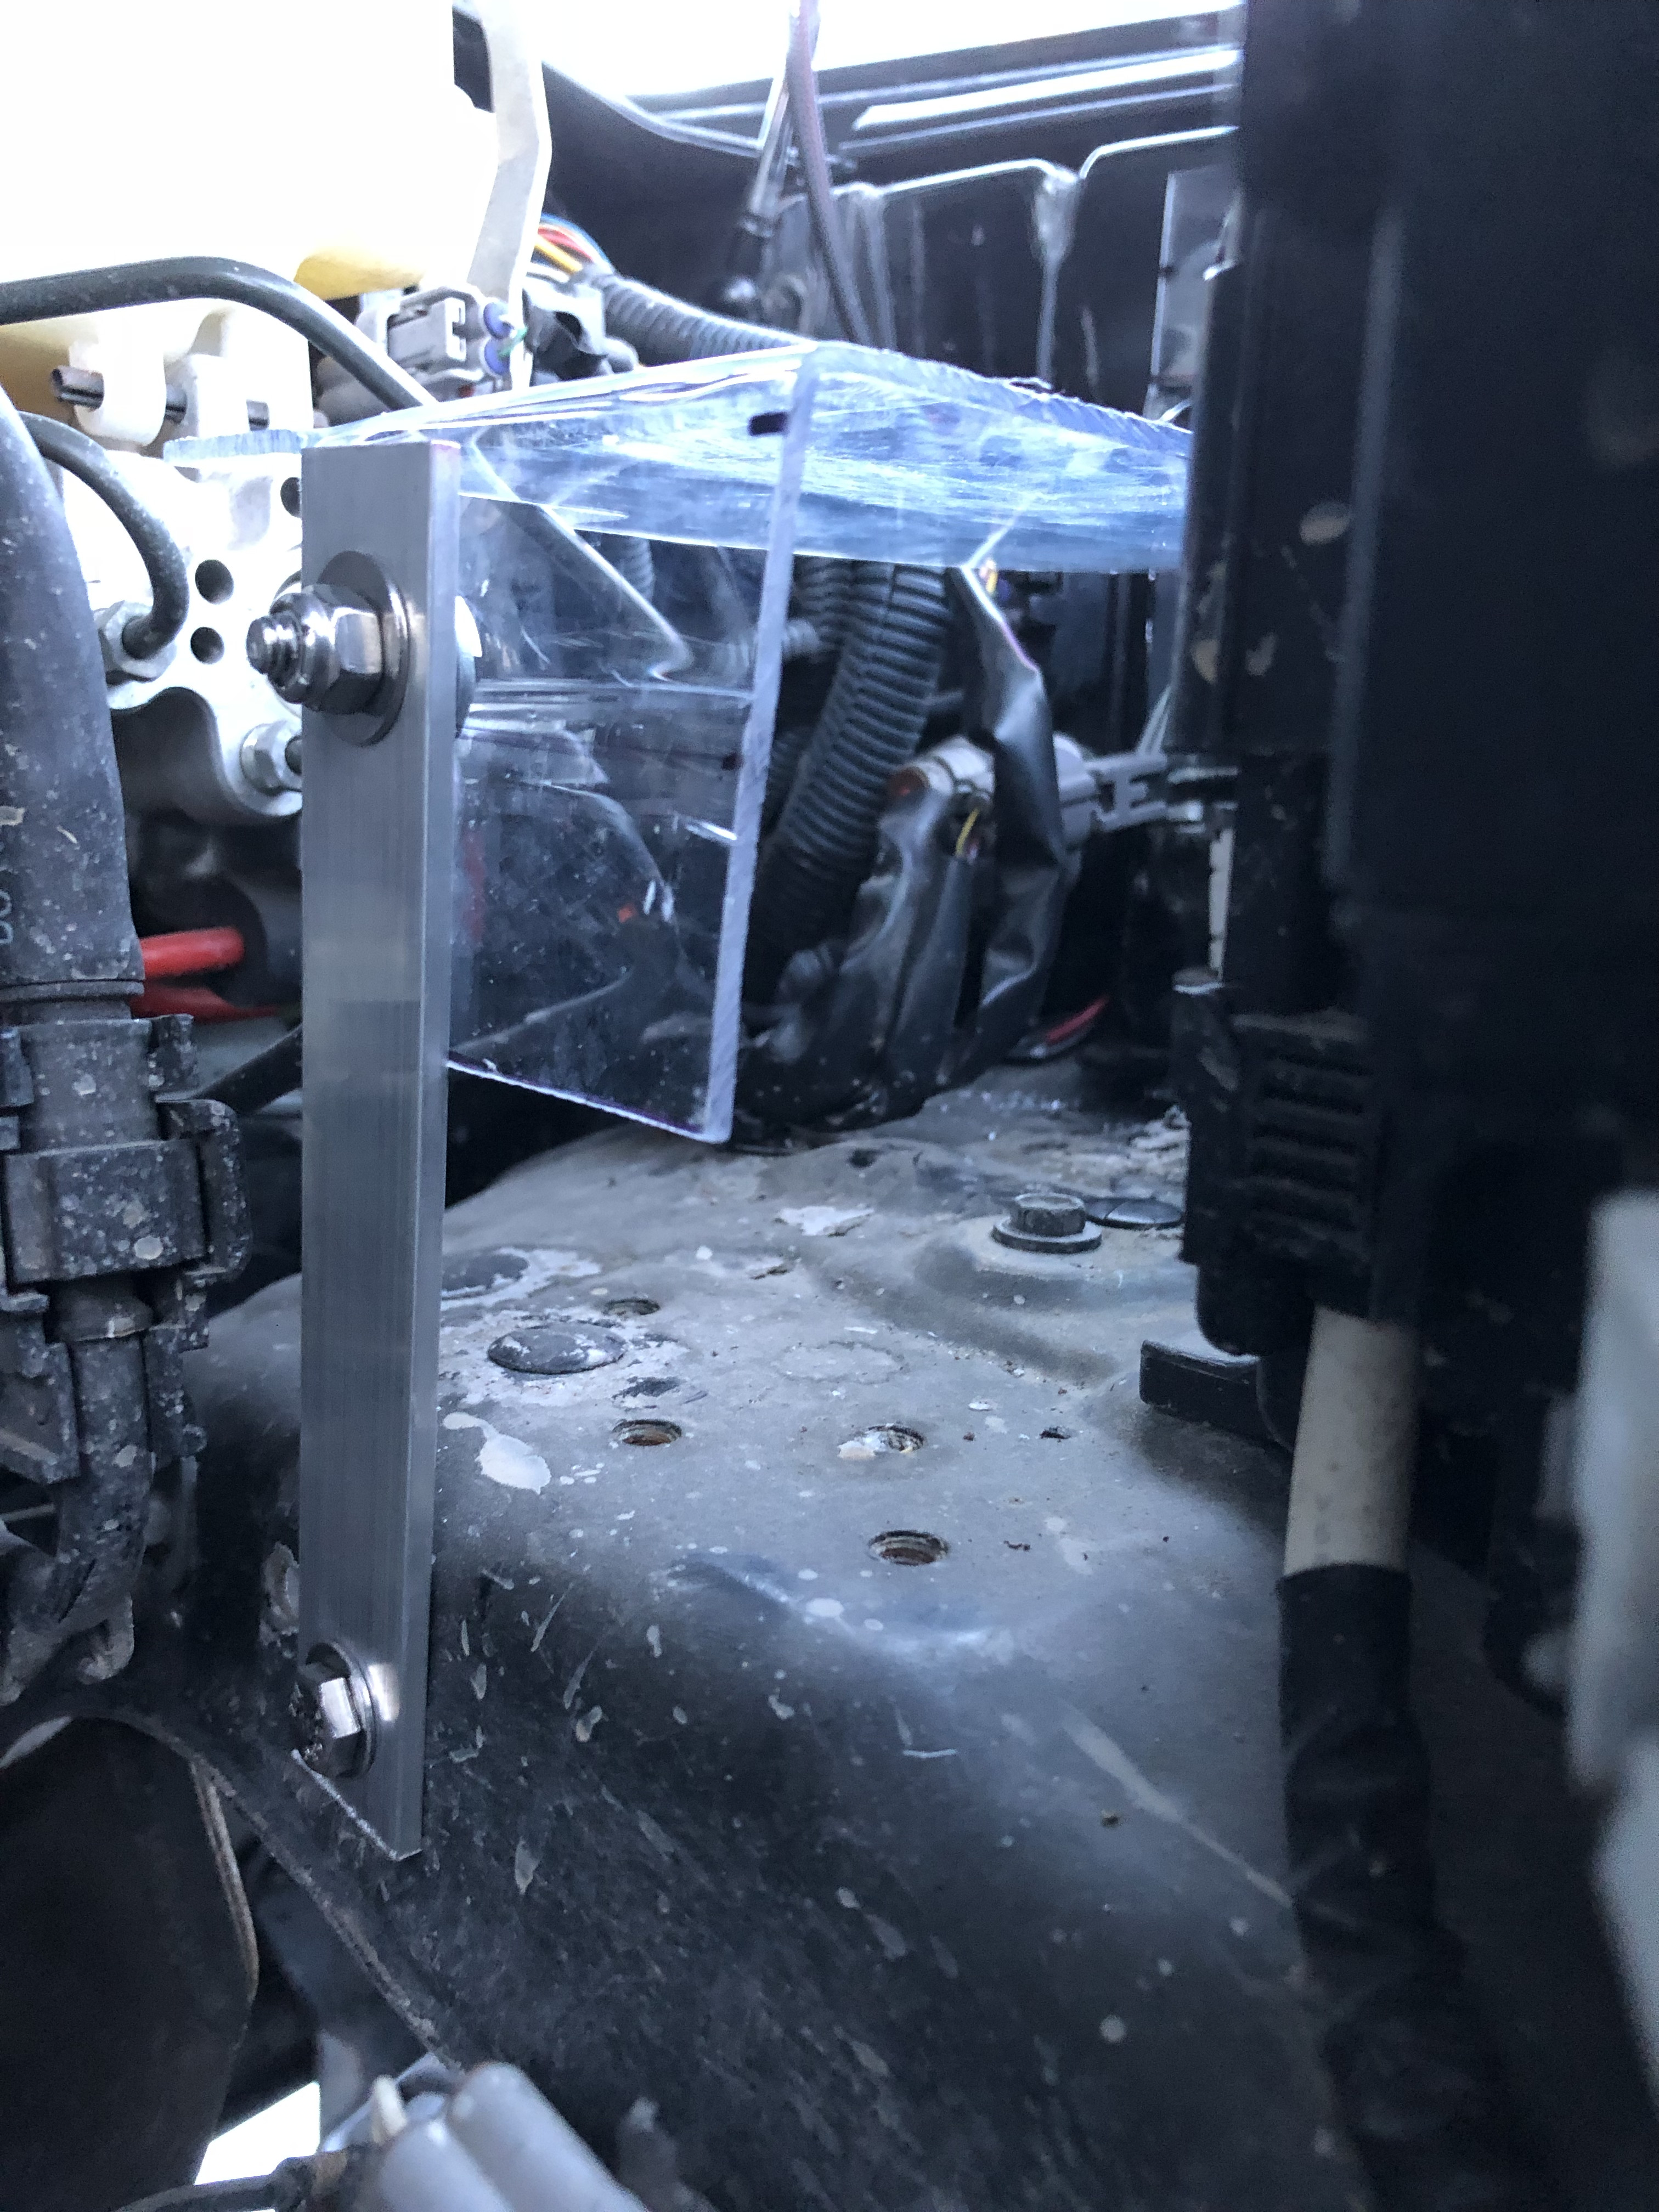
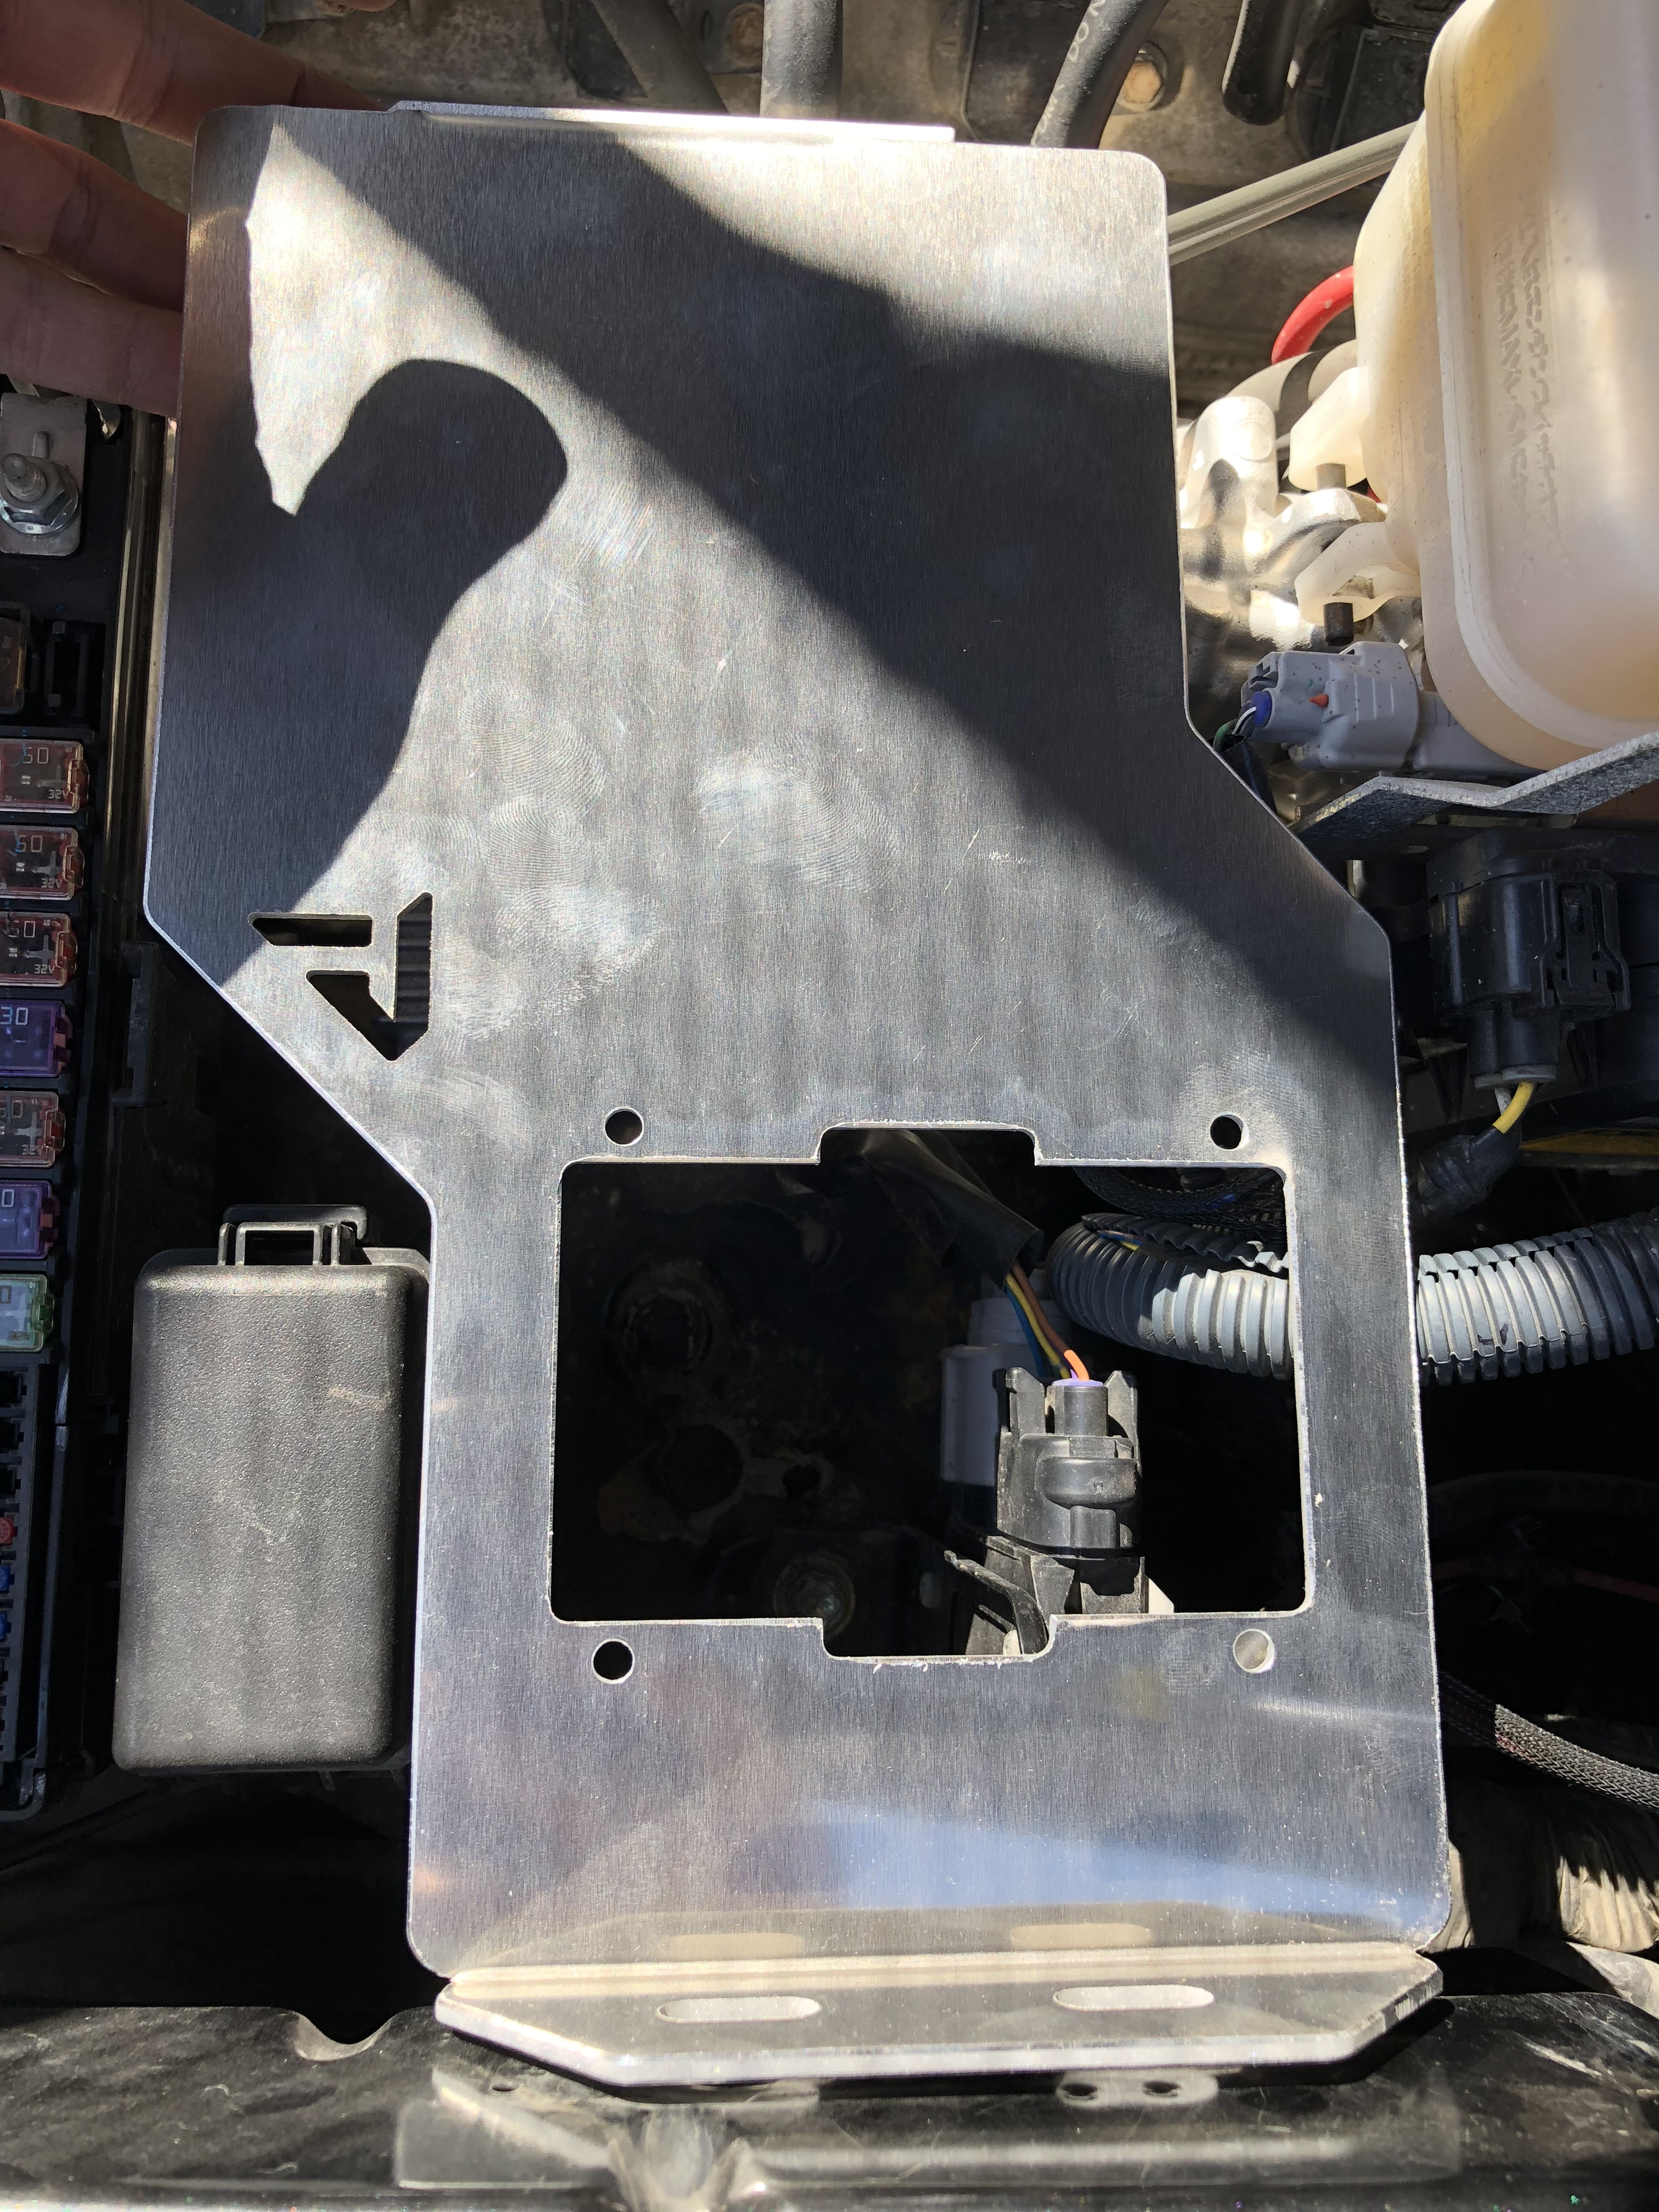
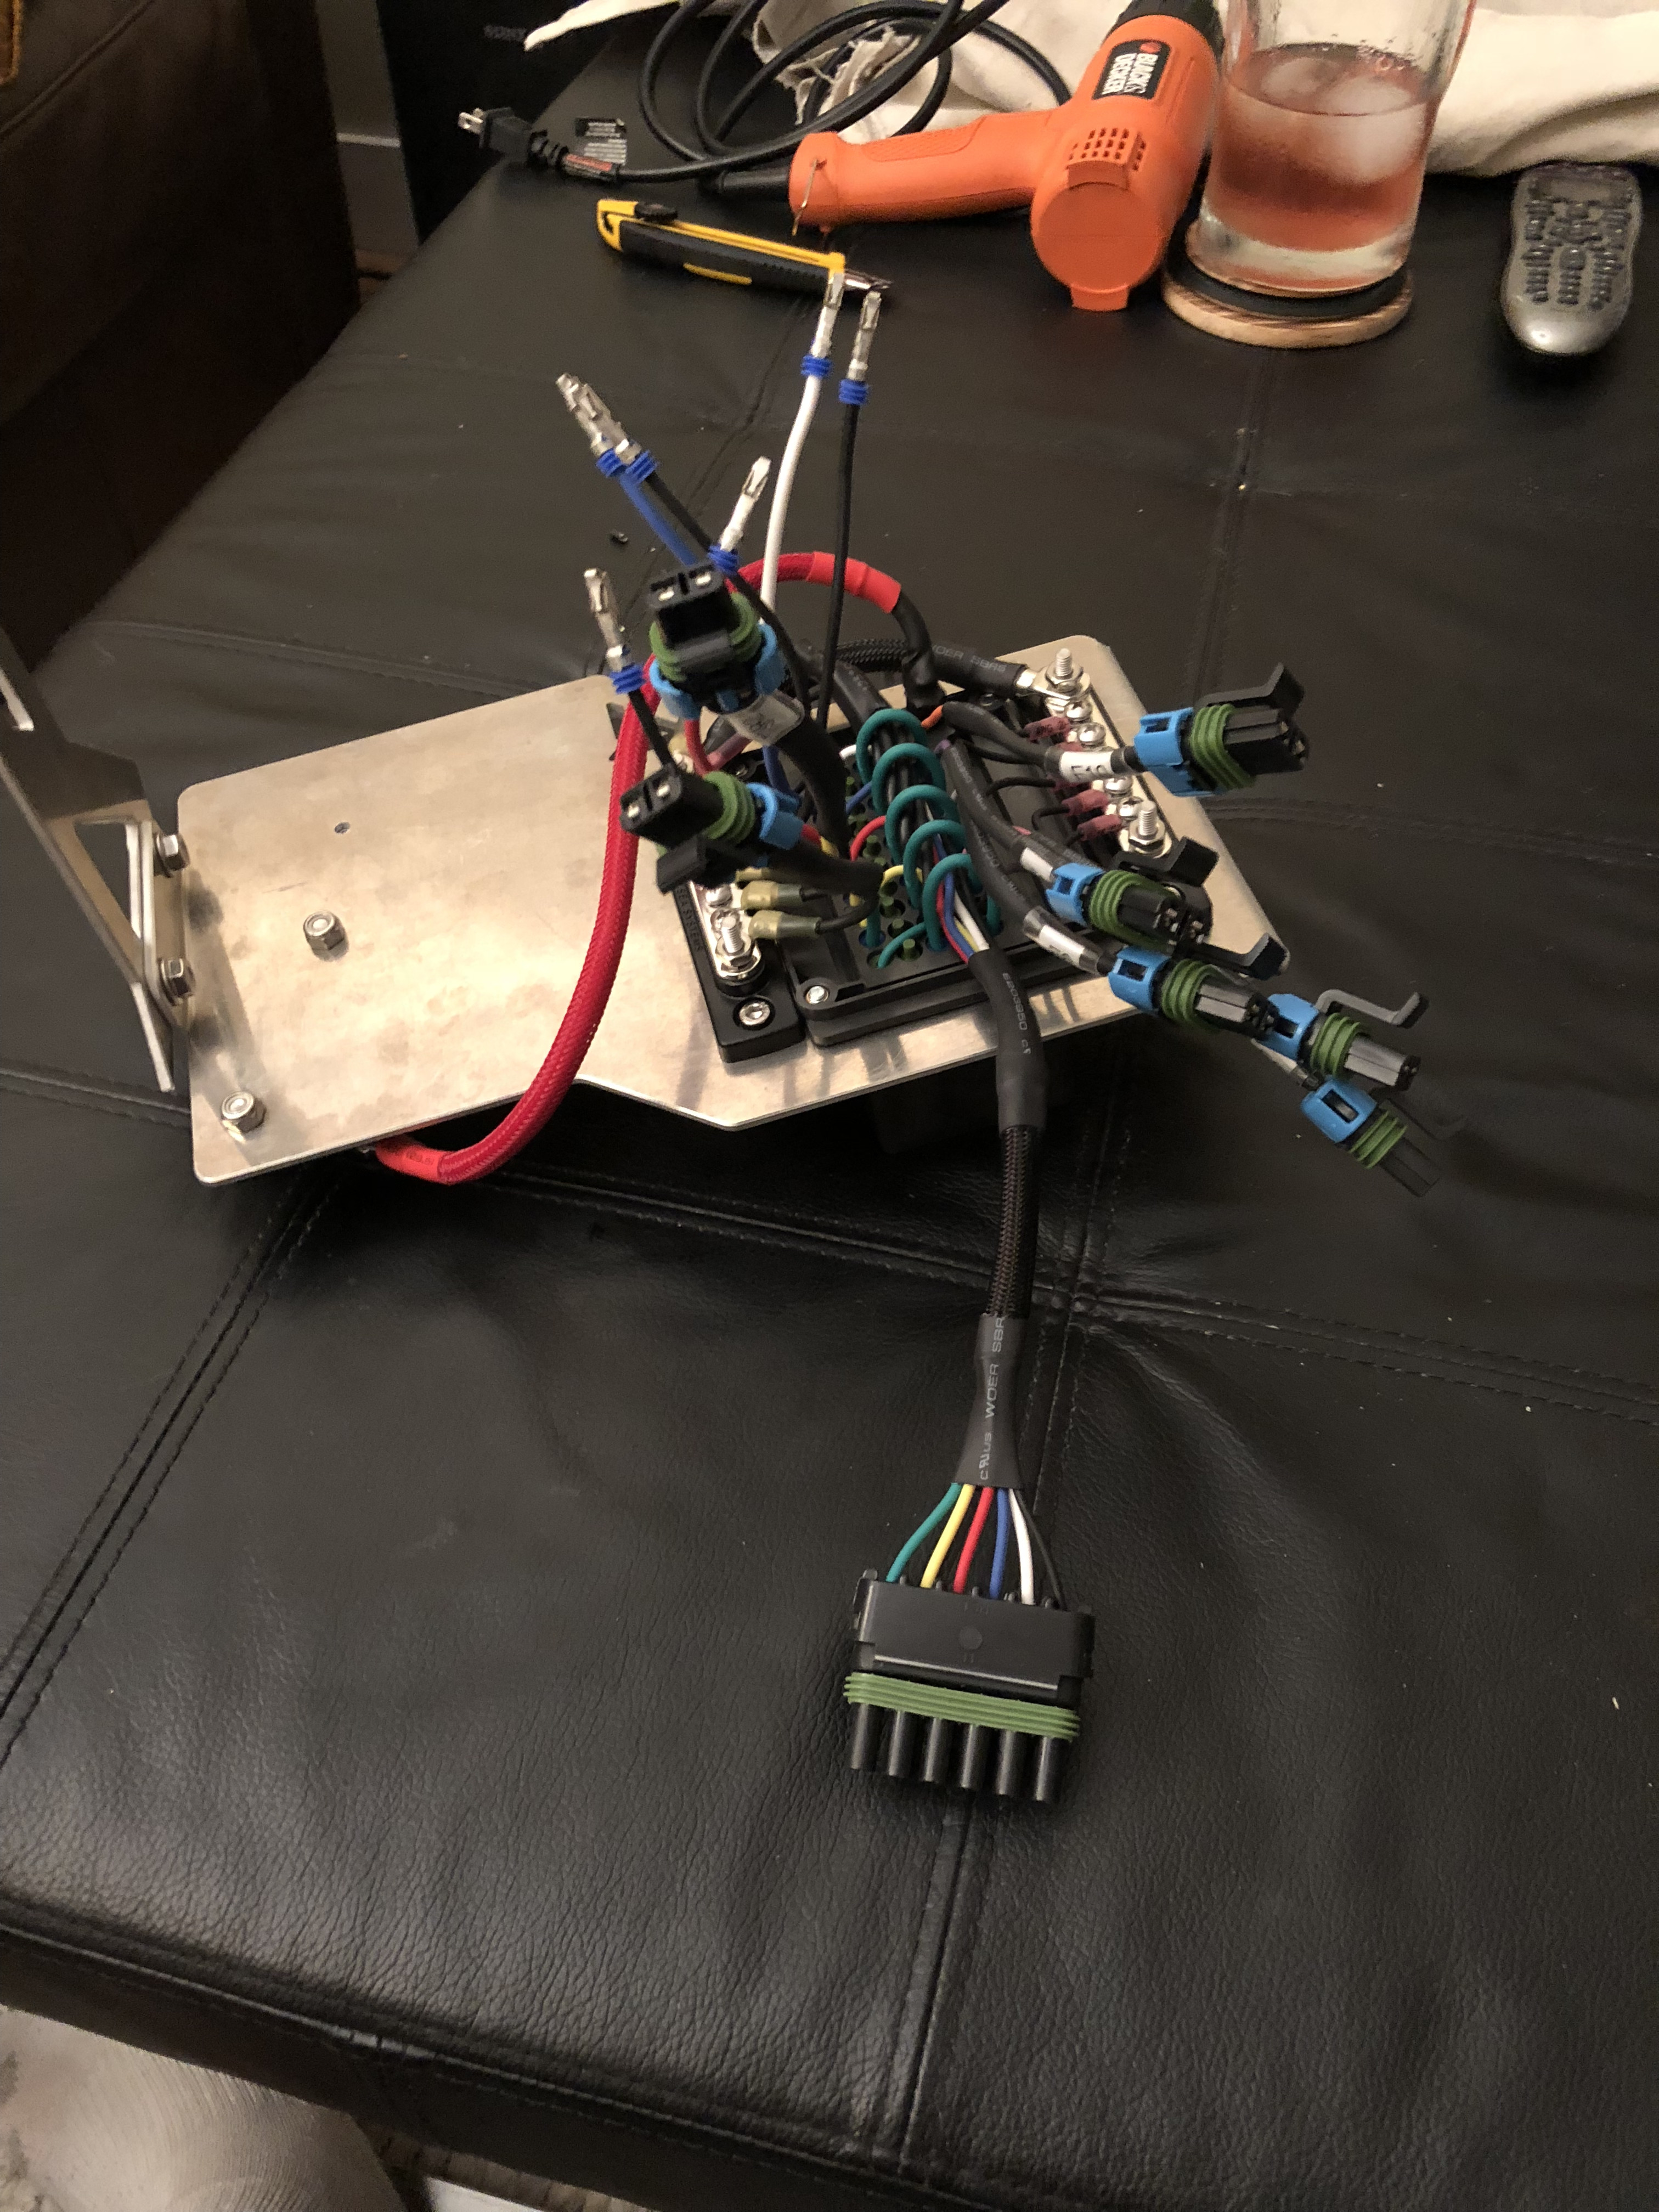
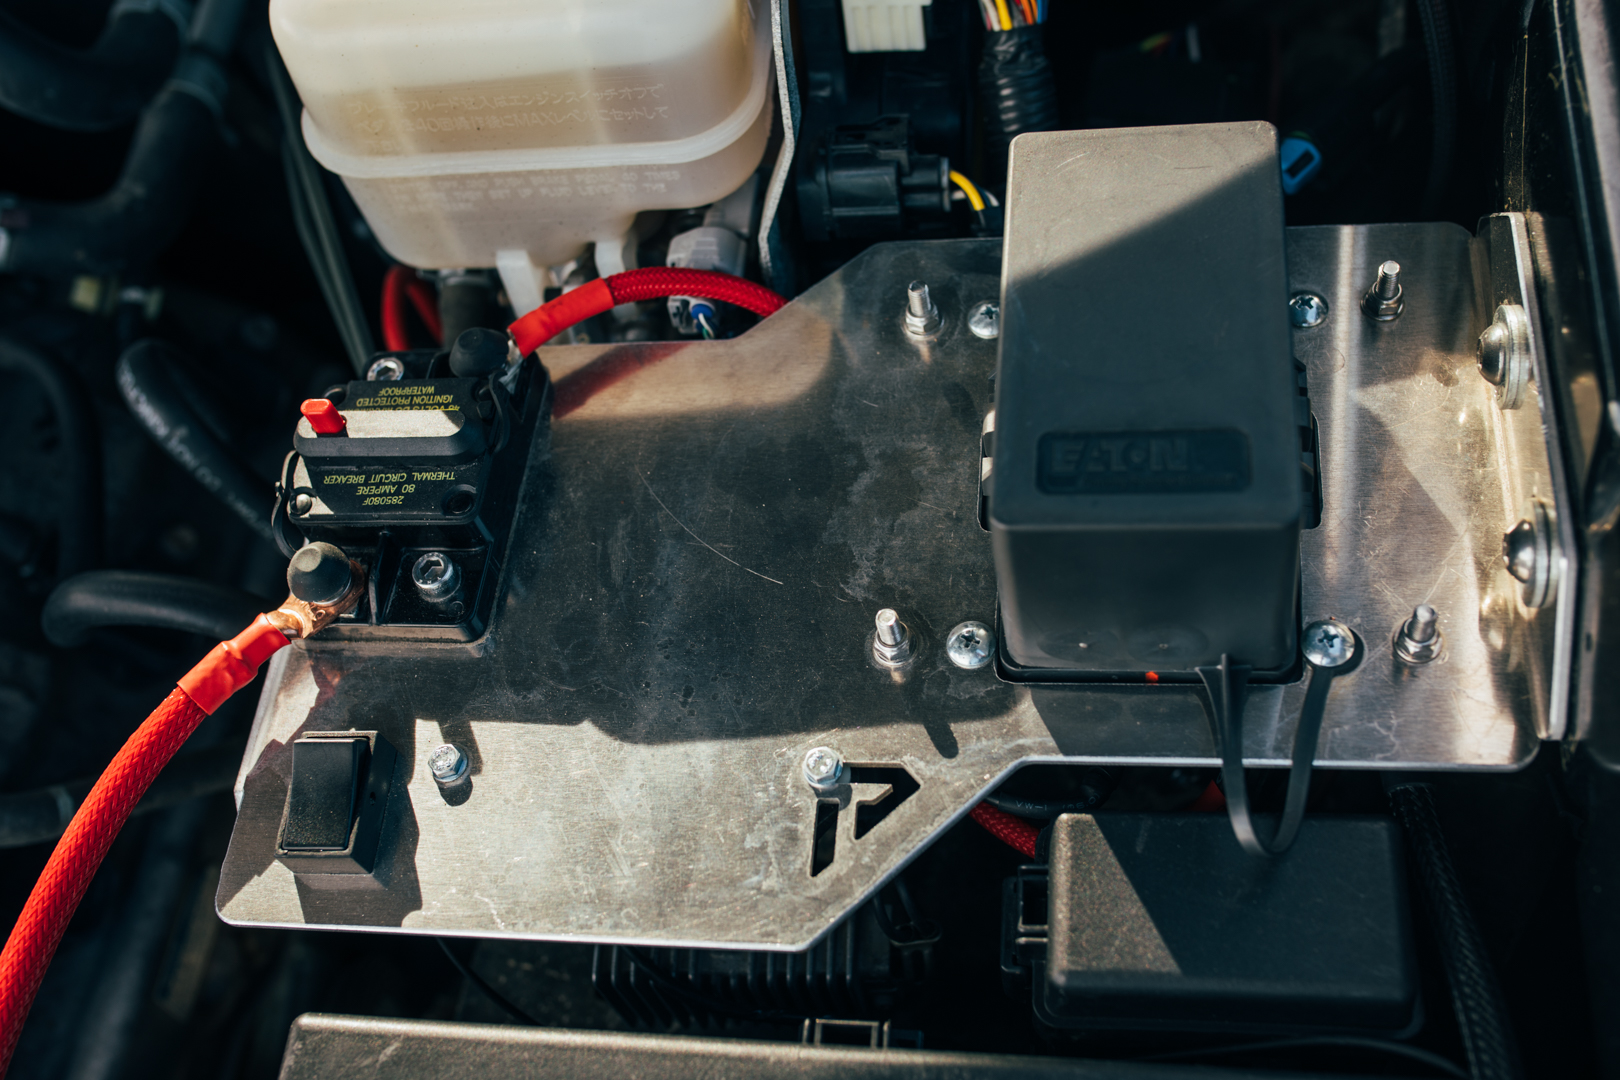
I did a fair amount of research on electrical management and came across the Bussman RTMR Fuse Box and found a prebuilt one on Ebay. Fairly inexpensive and ordered one. Then began designing a tray for it to mount on. Began with some lexan from home Depot.


853dfD.jpg


853sYM.jpg


After spending too much on parts and lexan I abandoned the failing project and just decided to order a tray from PowerTrays with the cutout for the Bussmann.


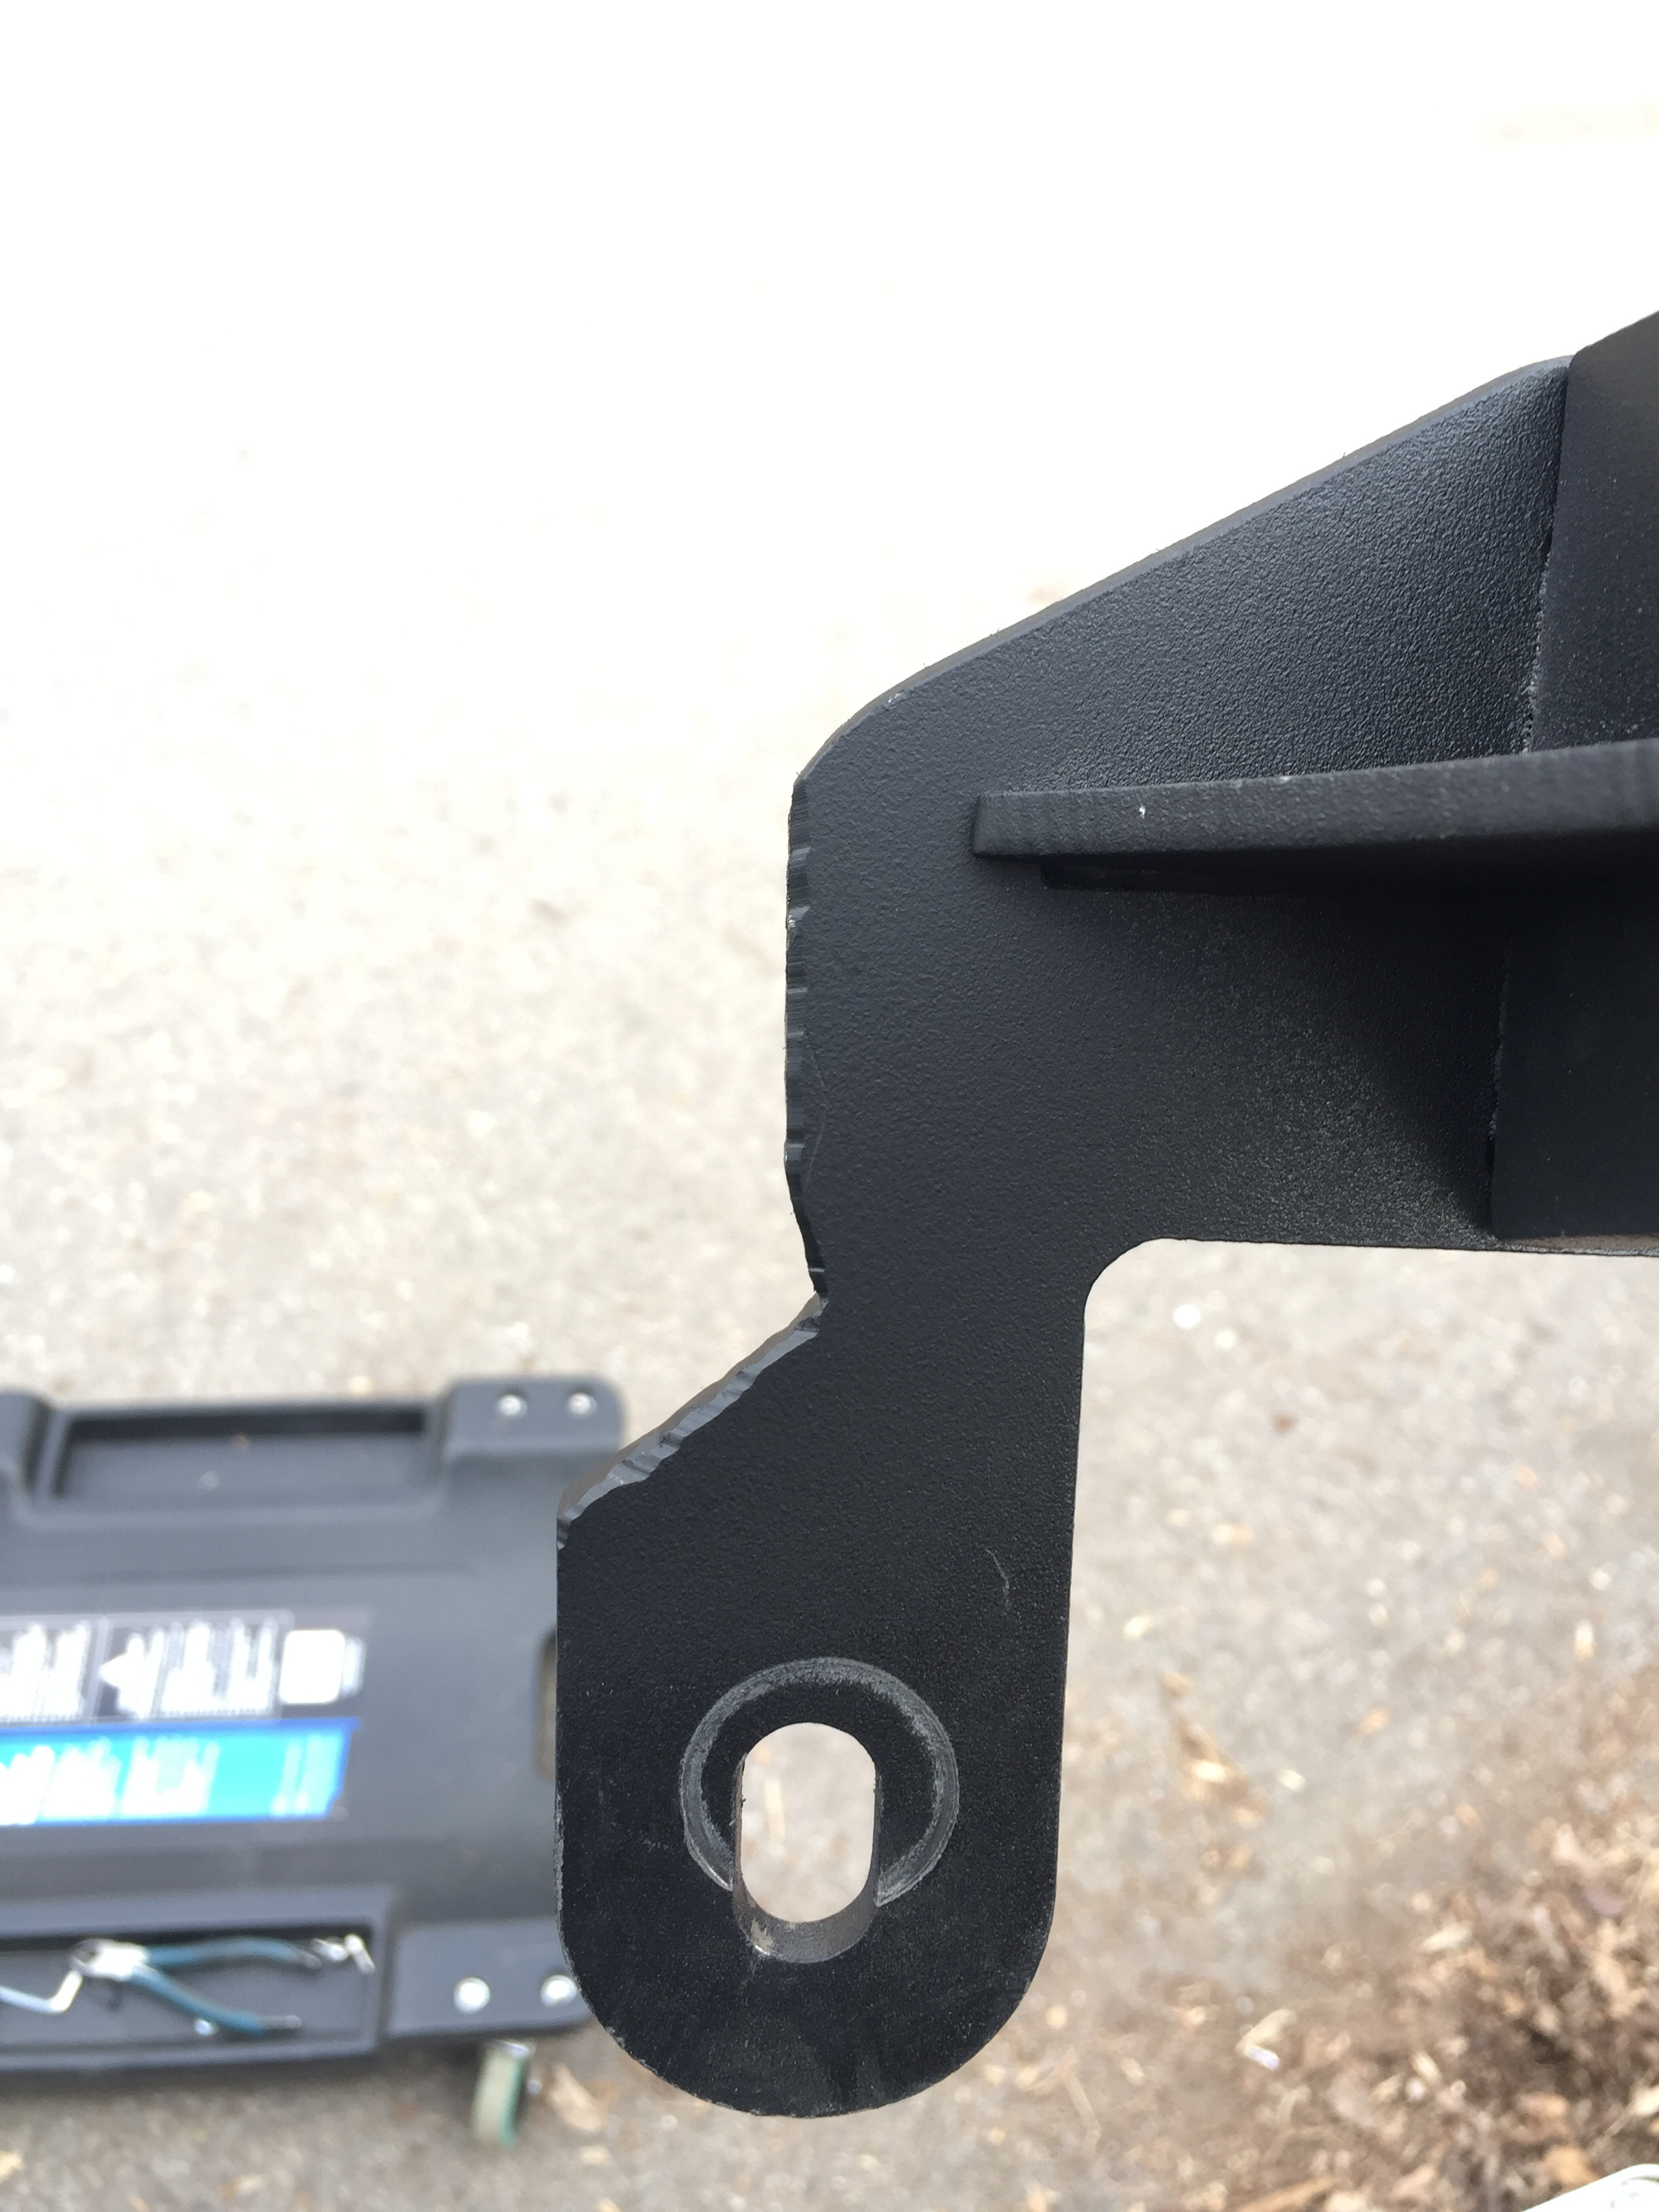
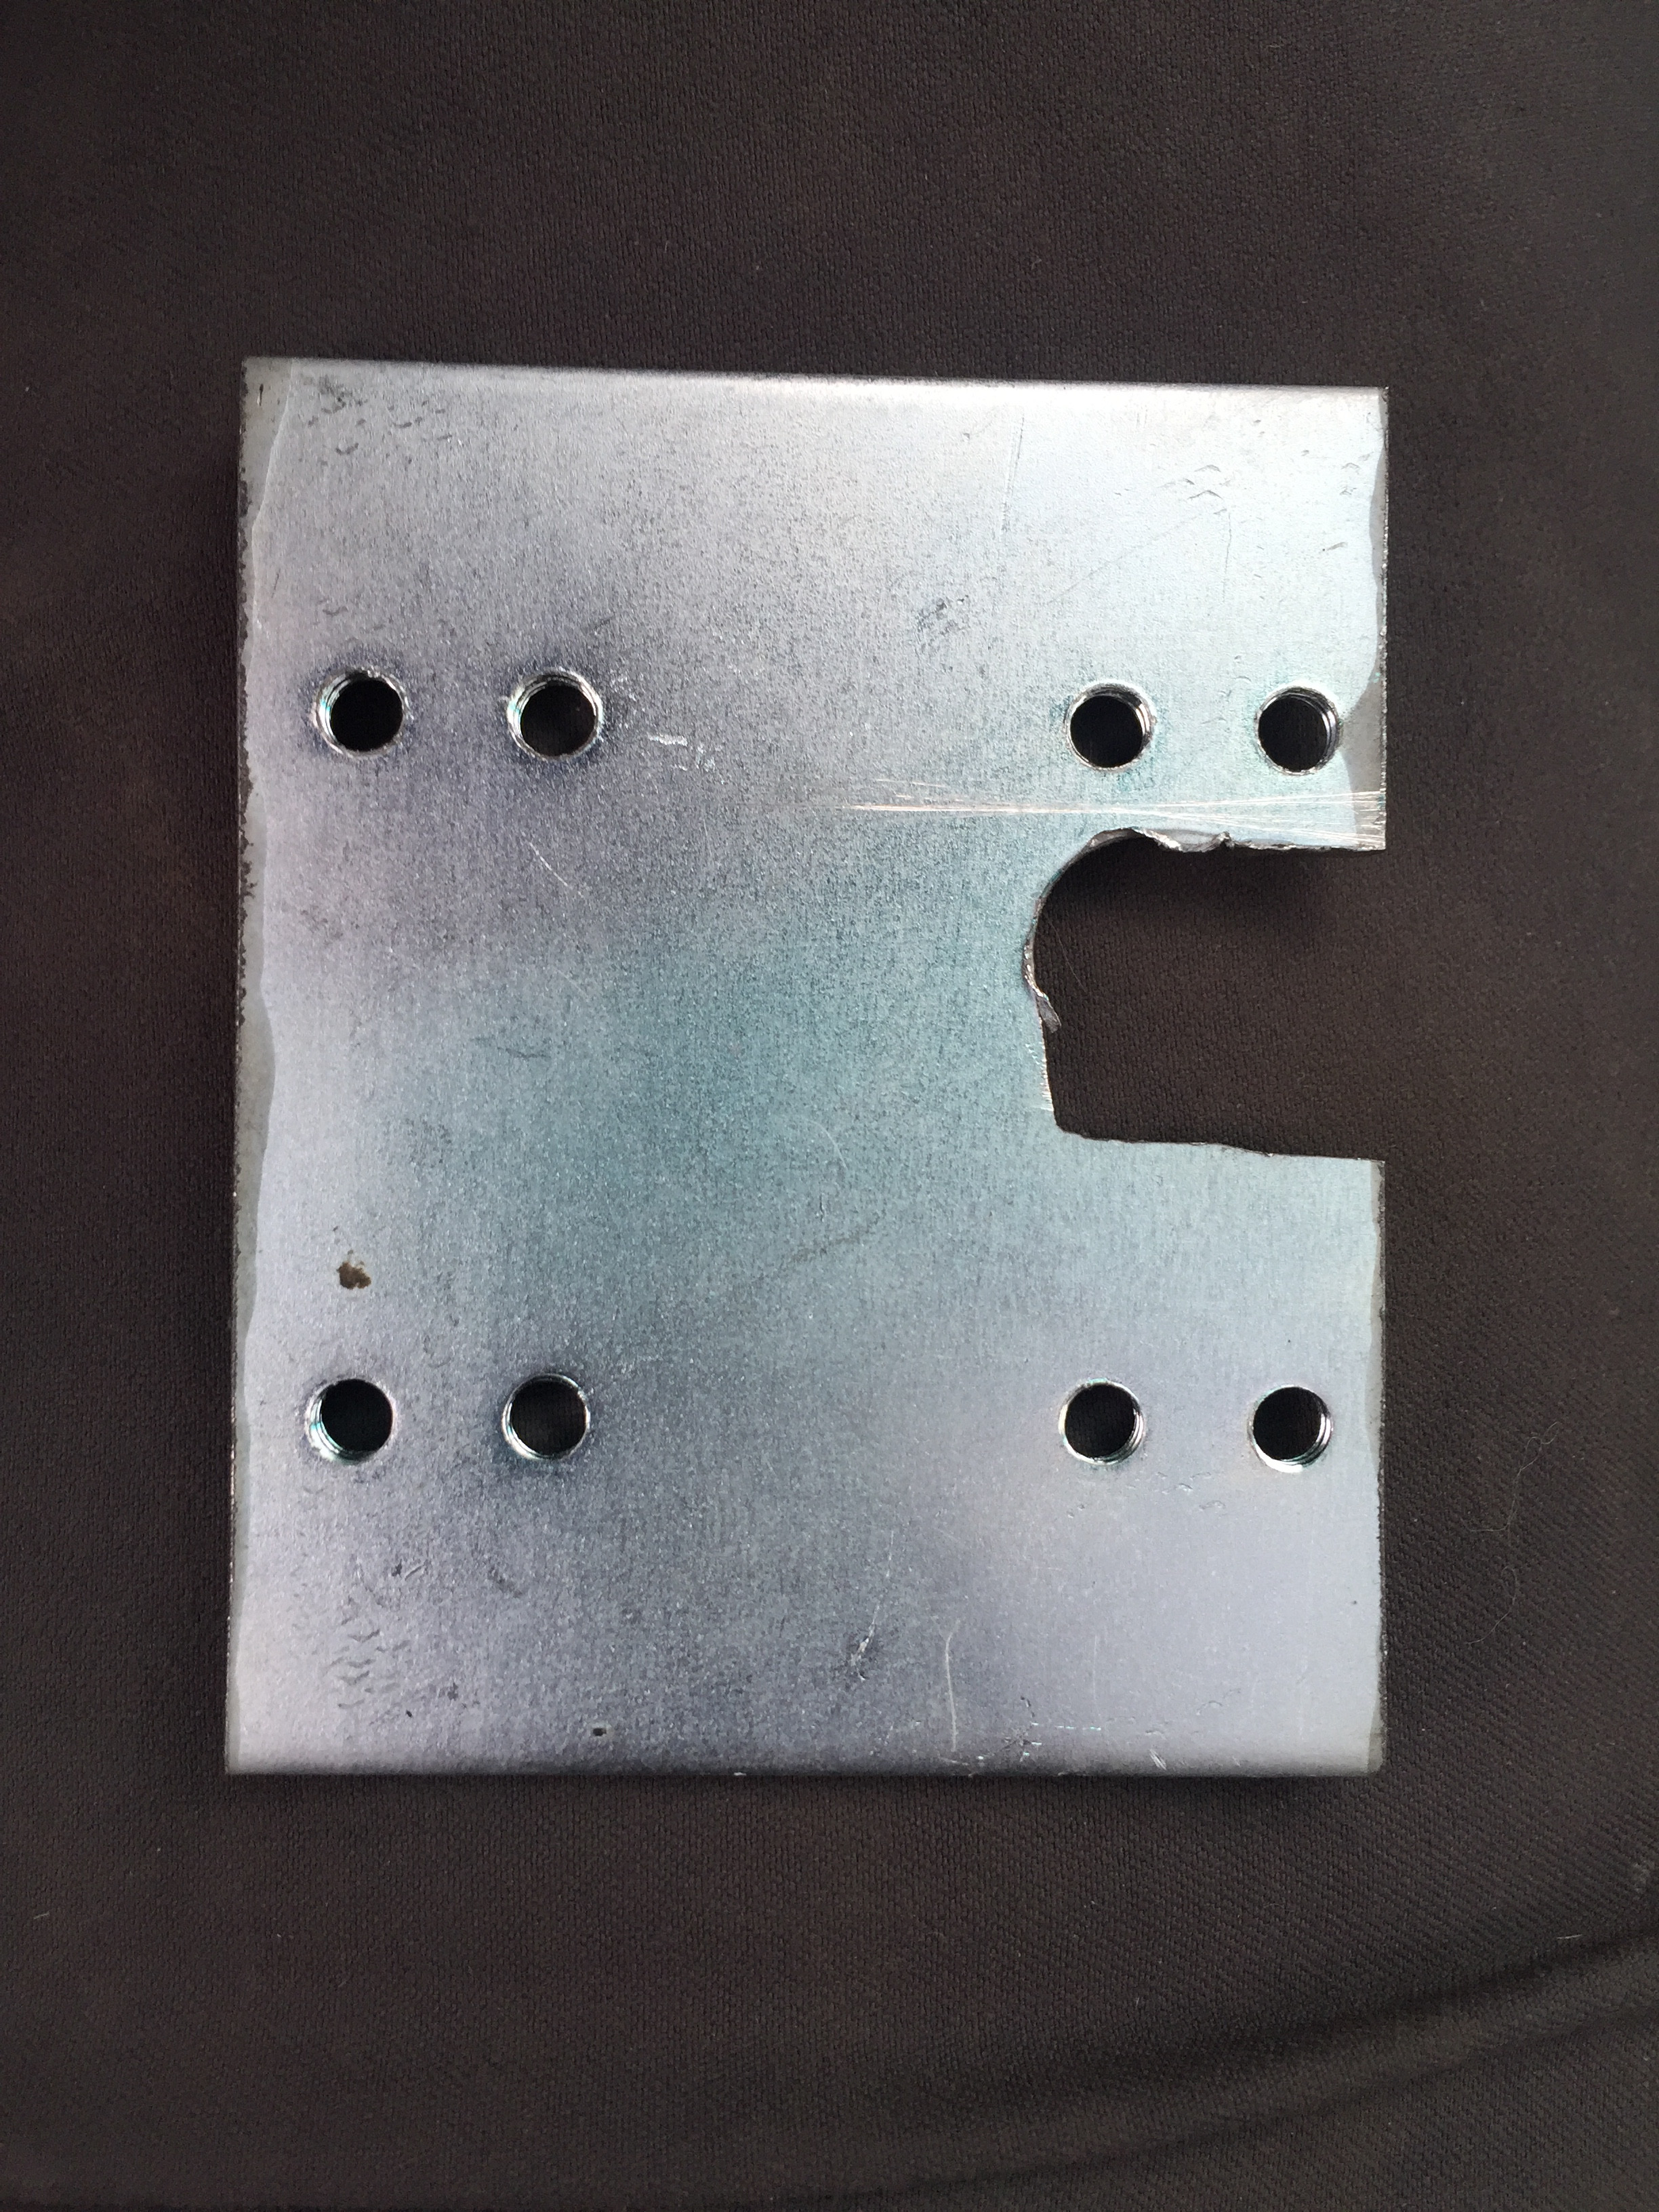
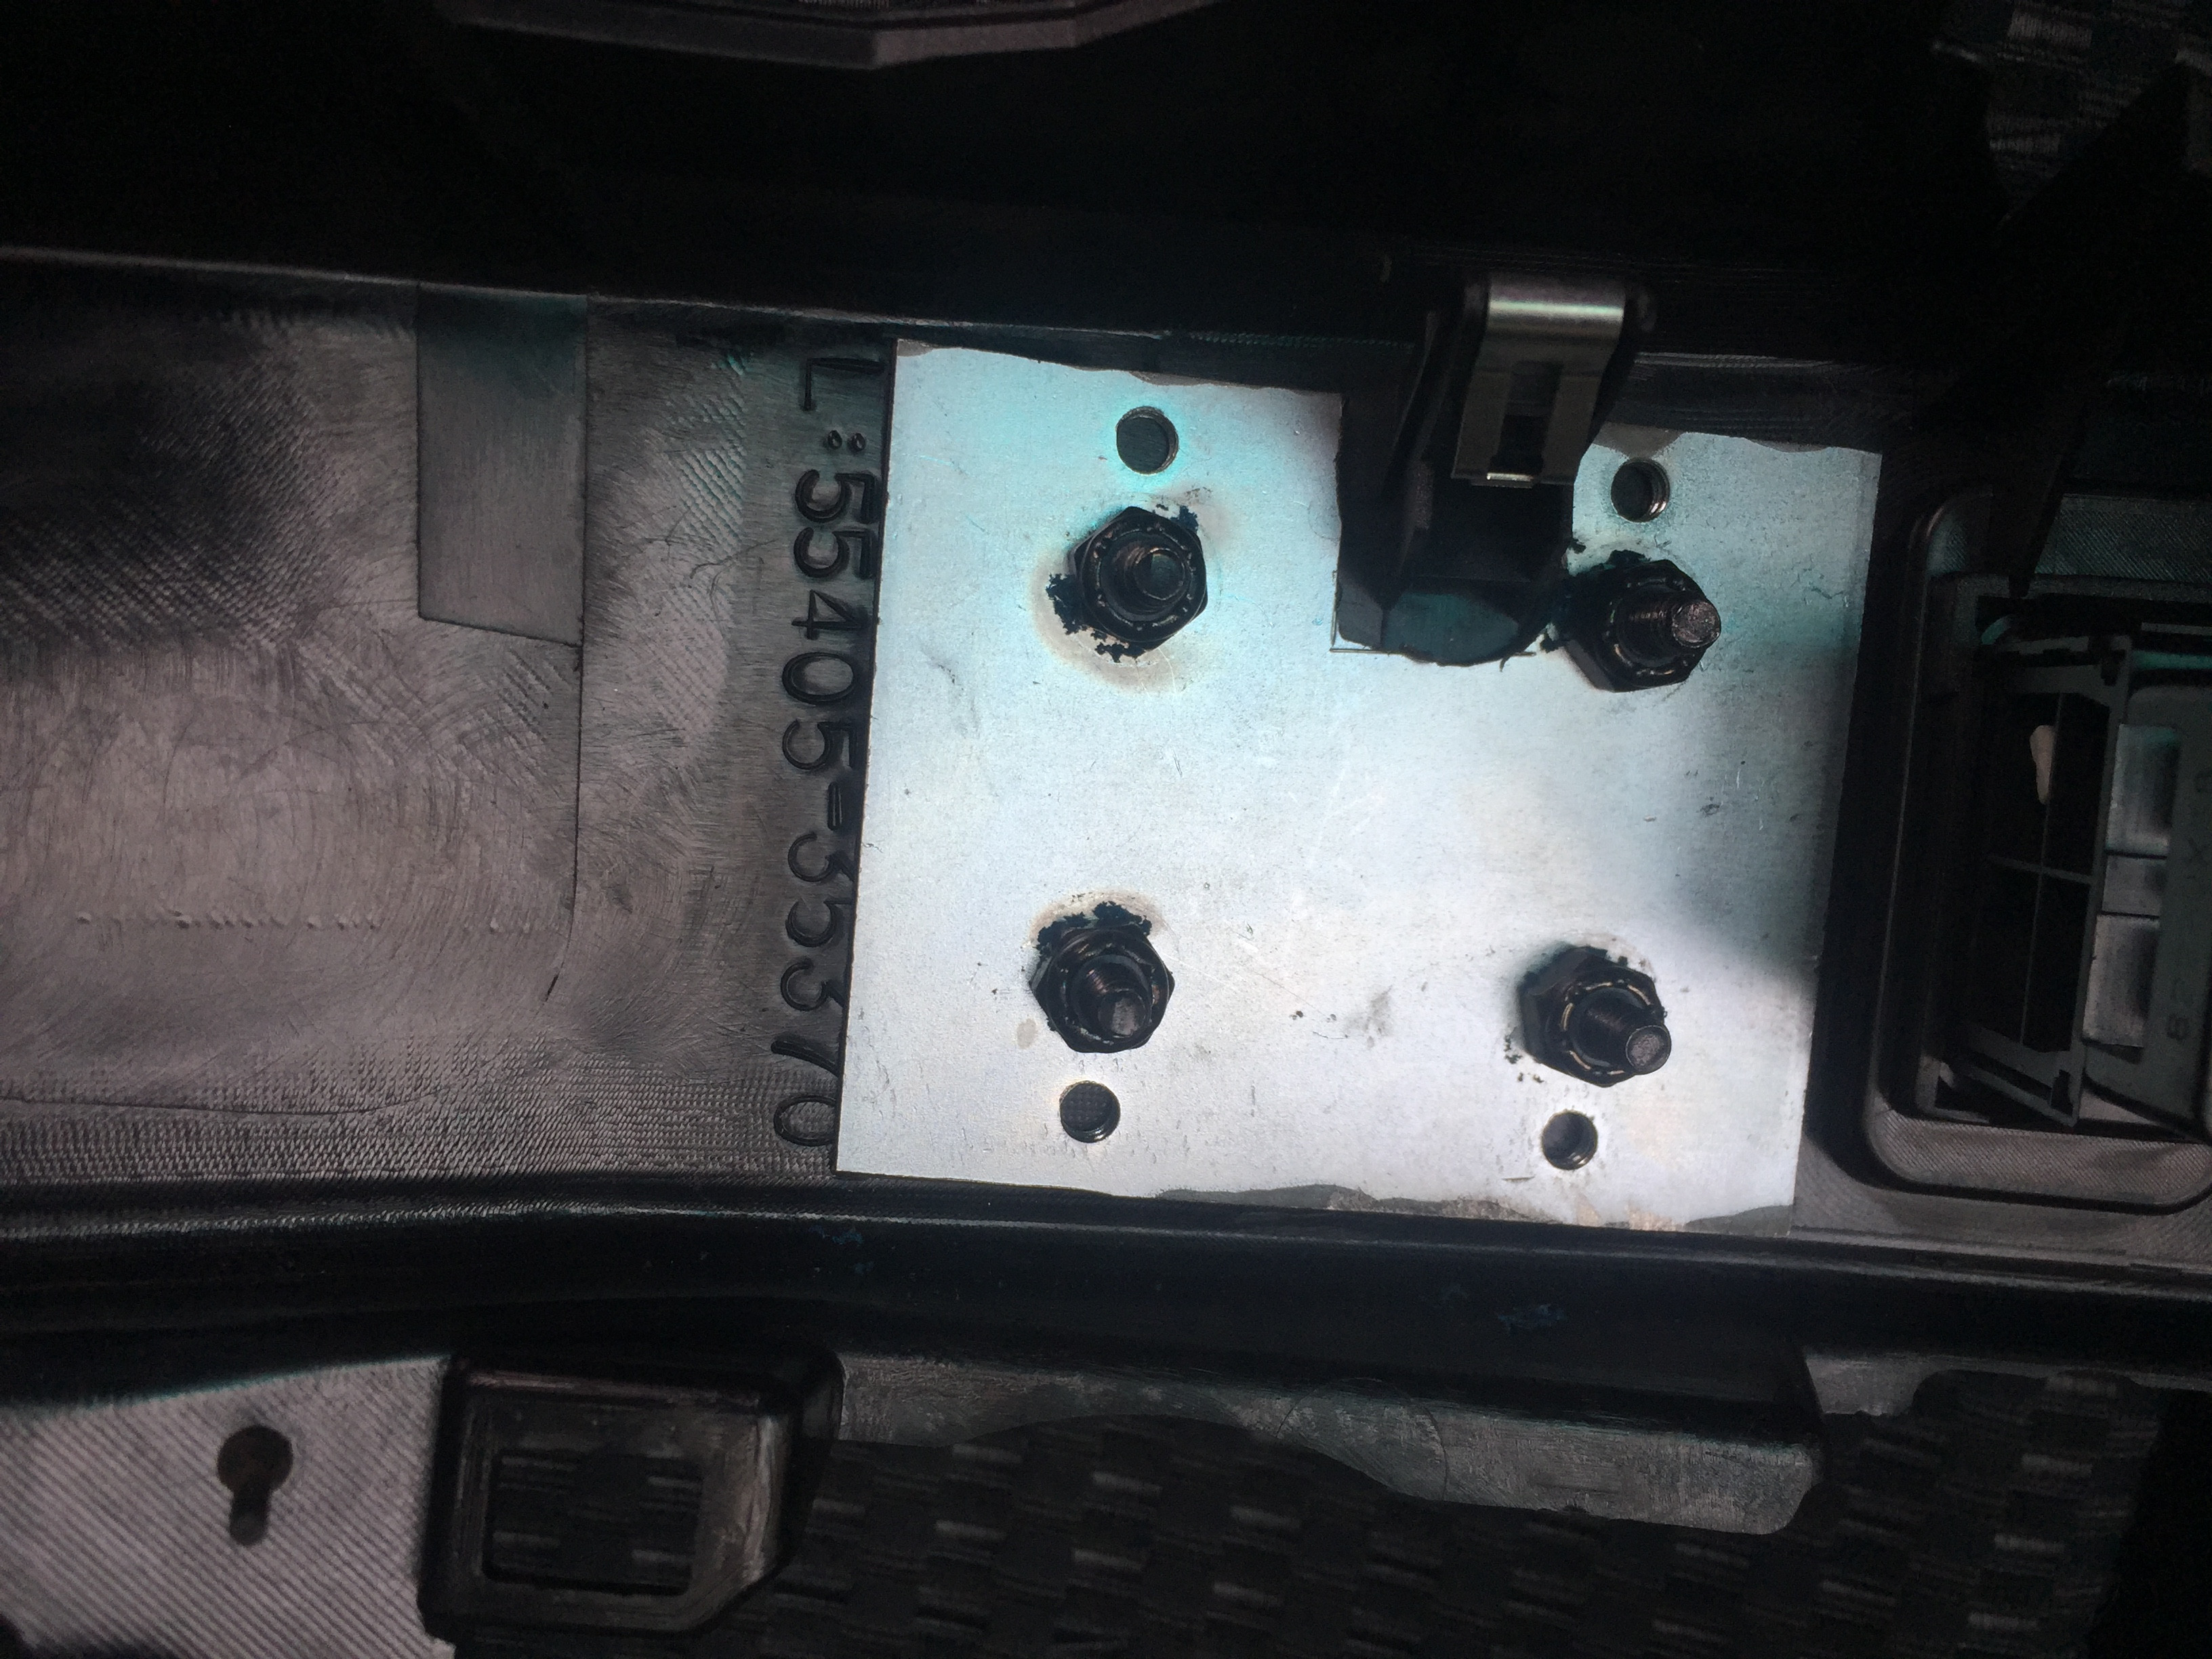
A few weeks later I received the bracket and I had a fitment issue. I think the later year 4th gens had a different bracket or additional unit as it had to be removed for this bracket to fit. PowerTray must have developed this tray using an 03 or maybe 04 V8 as a model and they had not discovered this issue. They offered a full refund but I liked the tray and was determined to make it work (really didn't want to go back to designing my own.)

I was able to mount the unit to the underside of the tray and out of the way of everything else.


Here is the bracket in question:


854ccx.jpg


854bgH.jpg


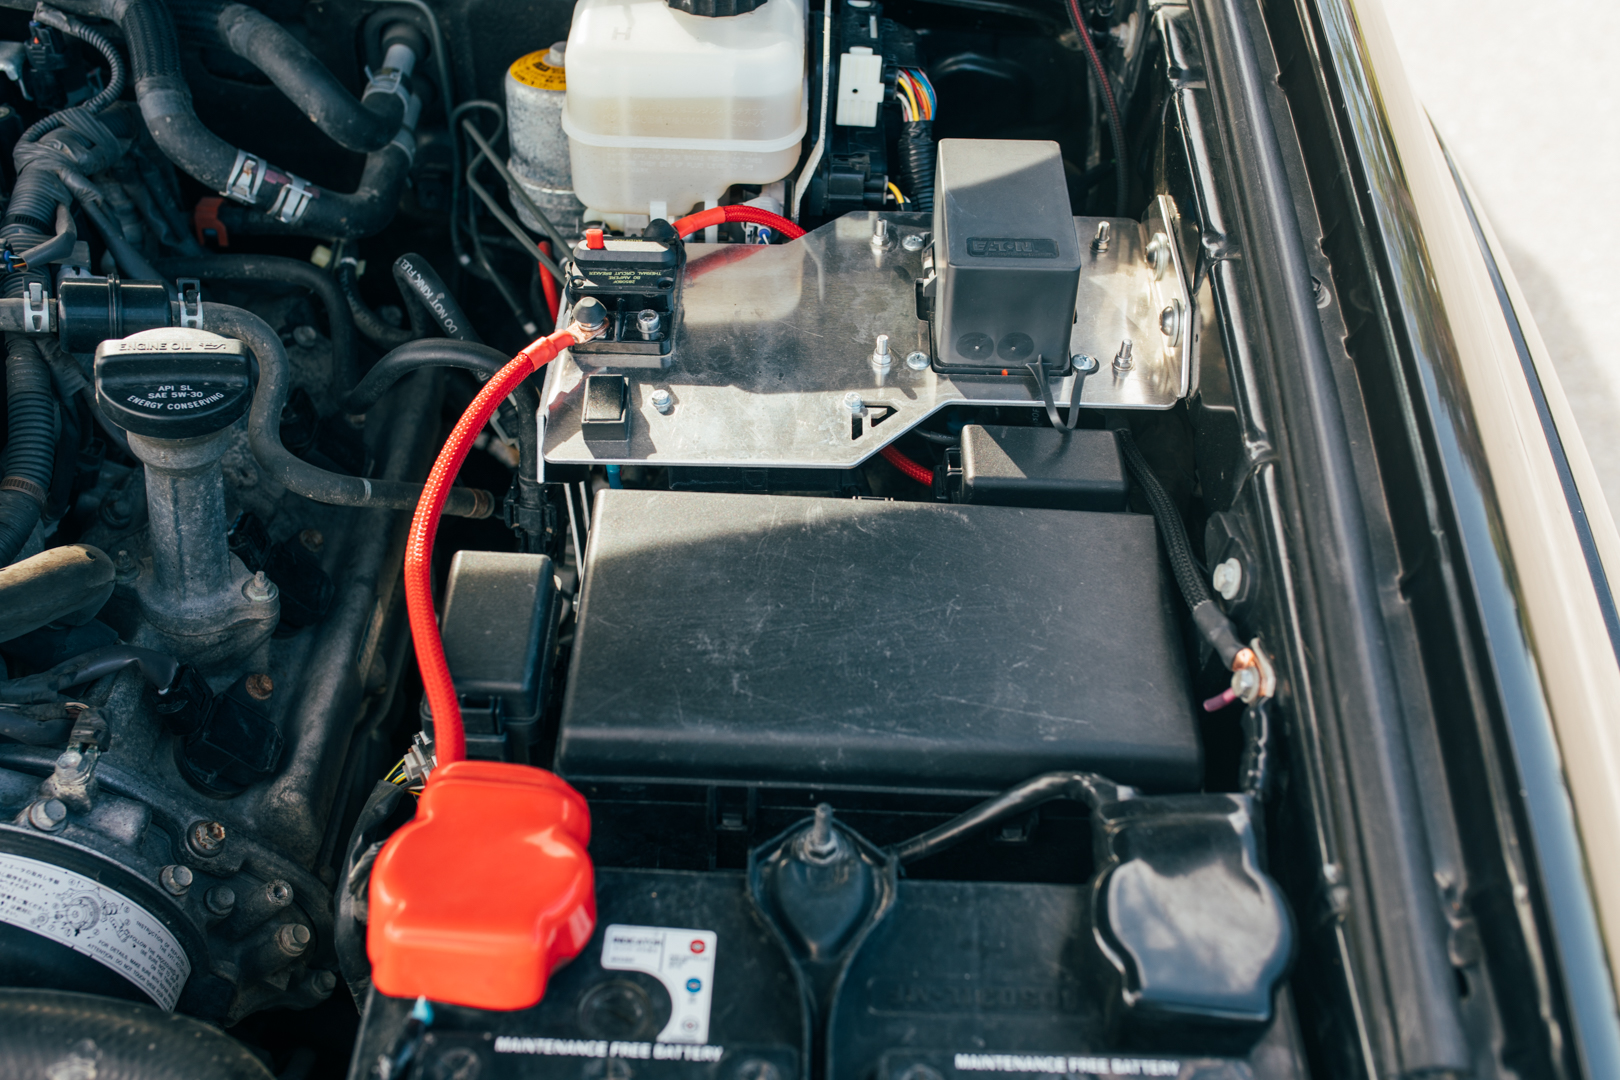
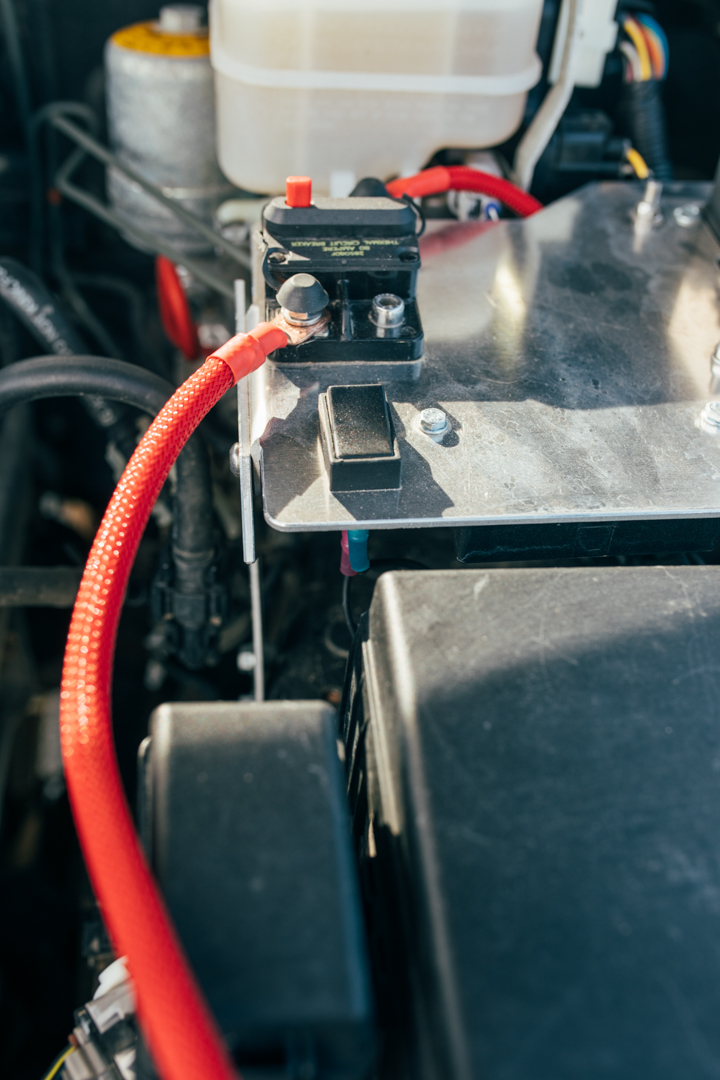
I don't have a great picture of the unit mounted to the underside but here is the finished product:


85K9iq.jpg


85VCgM.jpg


85VJ3Q.jpg


85Vqvx.jpg


85V3Hc.jpg


85VBGH.jpg


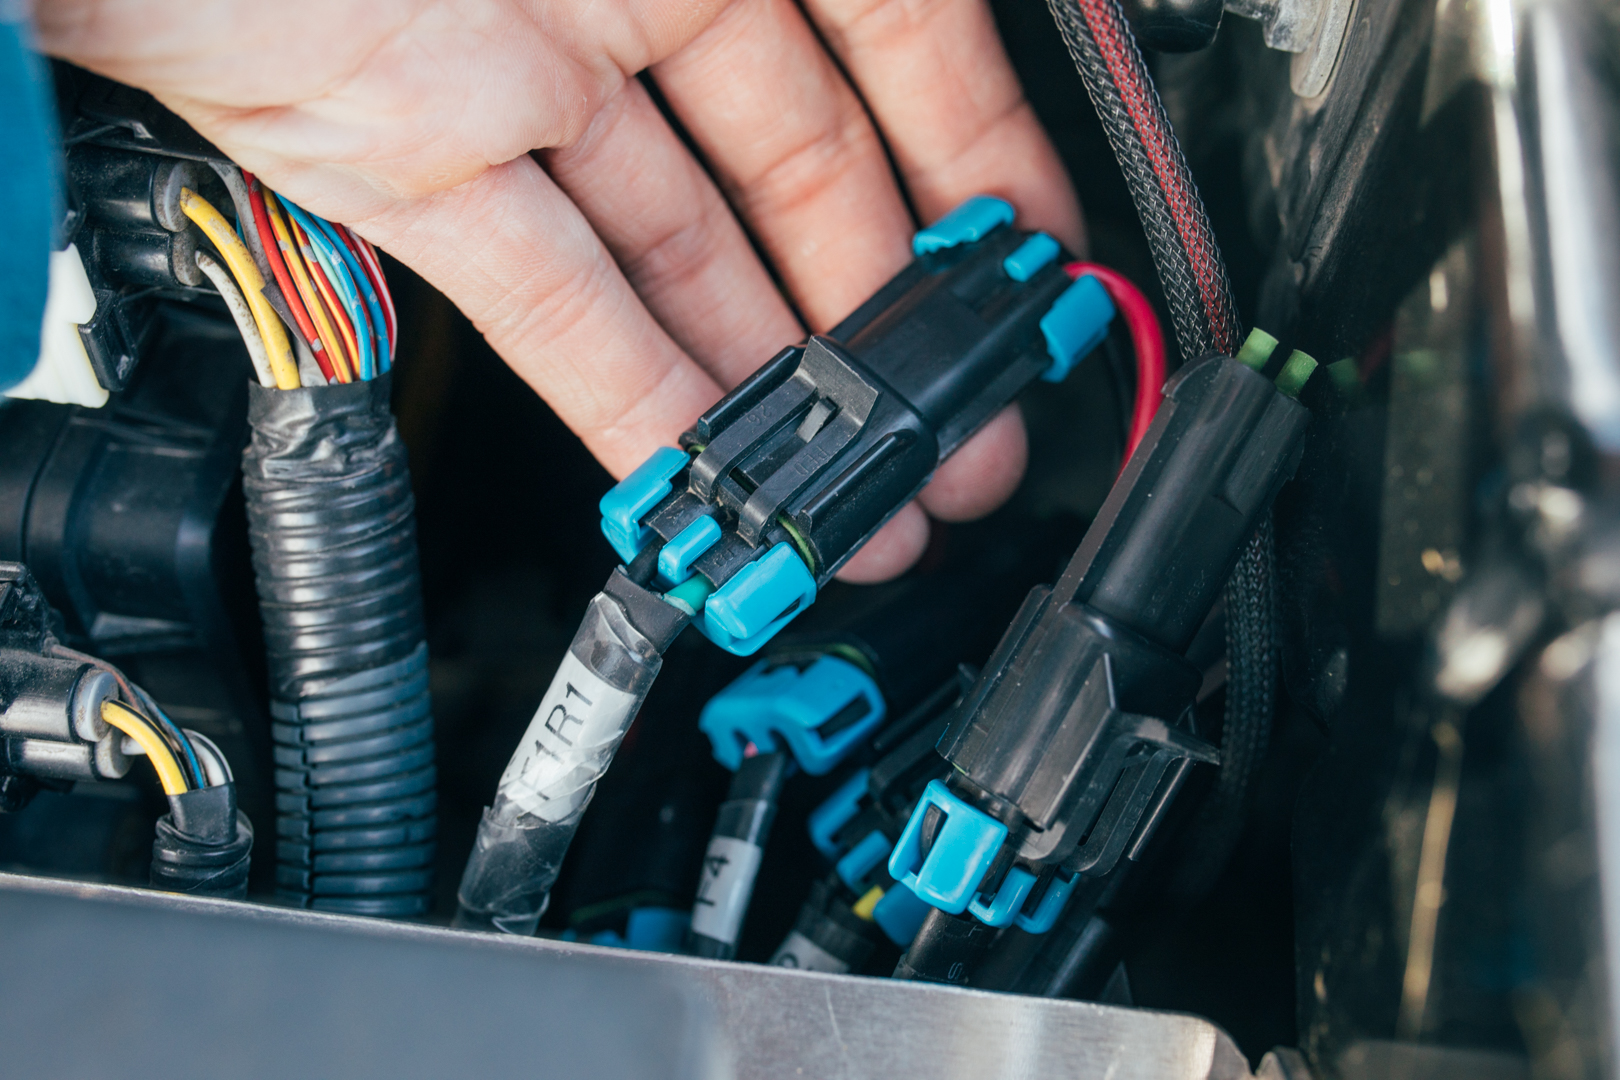
I decided to spend the extra money and make this thing even better by using Metri-Pack 280 connectors. These are waterproof high amperage connectors perfect for this setup. Possibly overkill but again this makes me happy.

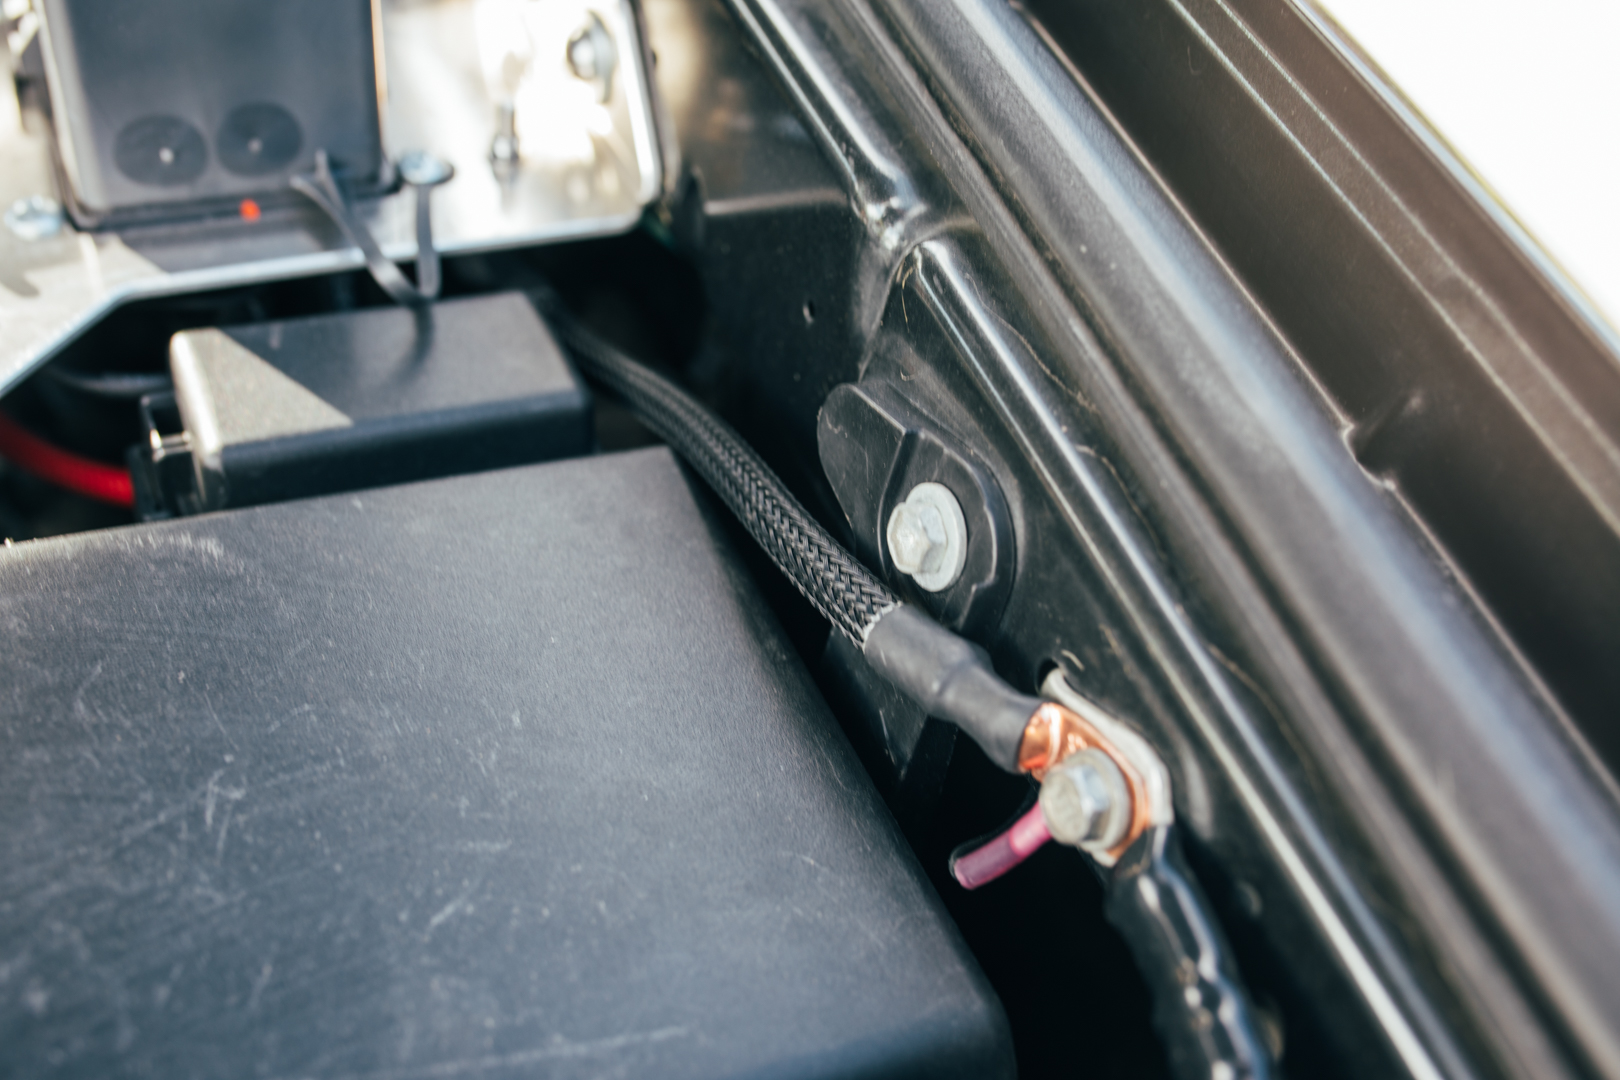
I used a Blue Sea 80am circuit breaker and made all my own cables using 6awg welding cable and braided loom.

The black switch installed in the bottom left corner is for the hood led work light and he switch is on the negative line. I think this is the best I could set this unit up but it still has a few drawbacks. Again I followed the Bodenzord tutorial and I've got to say this is probably the best walkthrough I'll ever see.


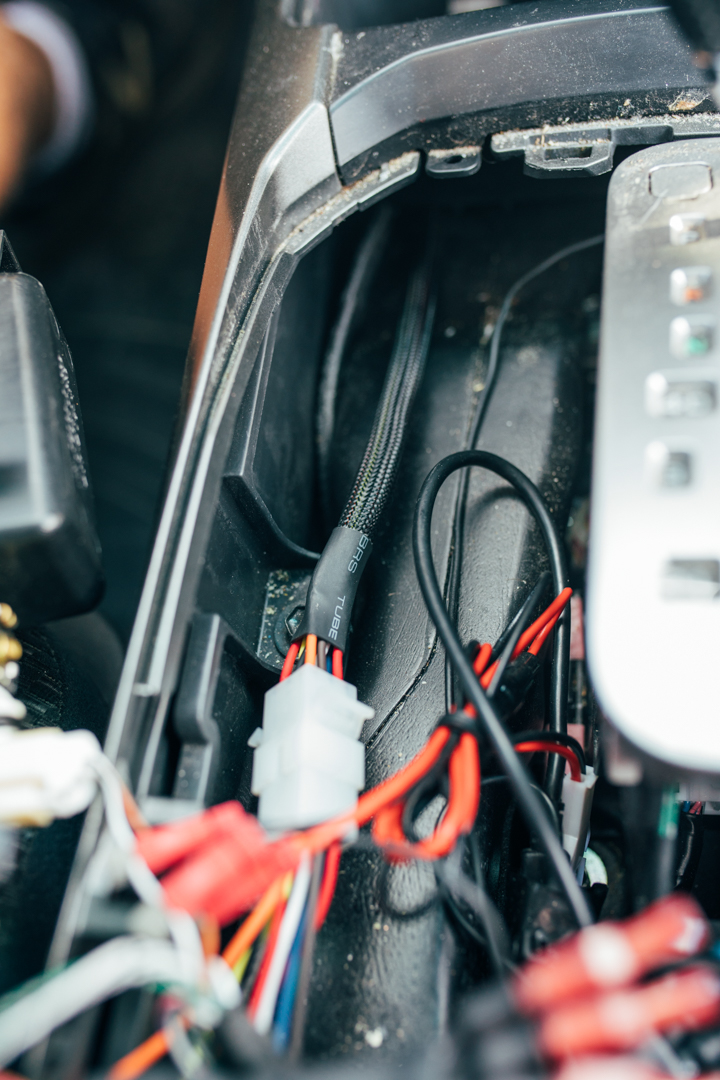
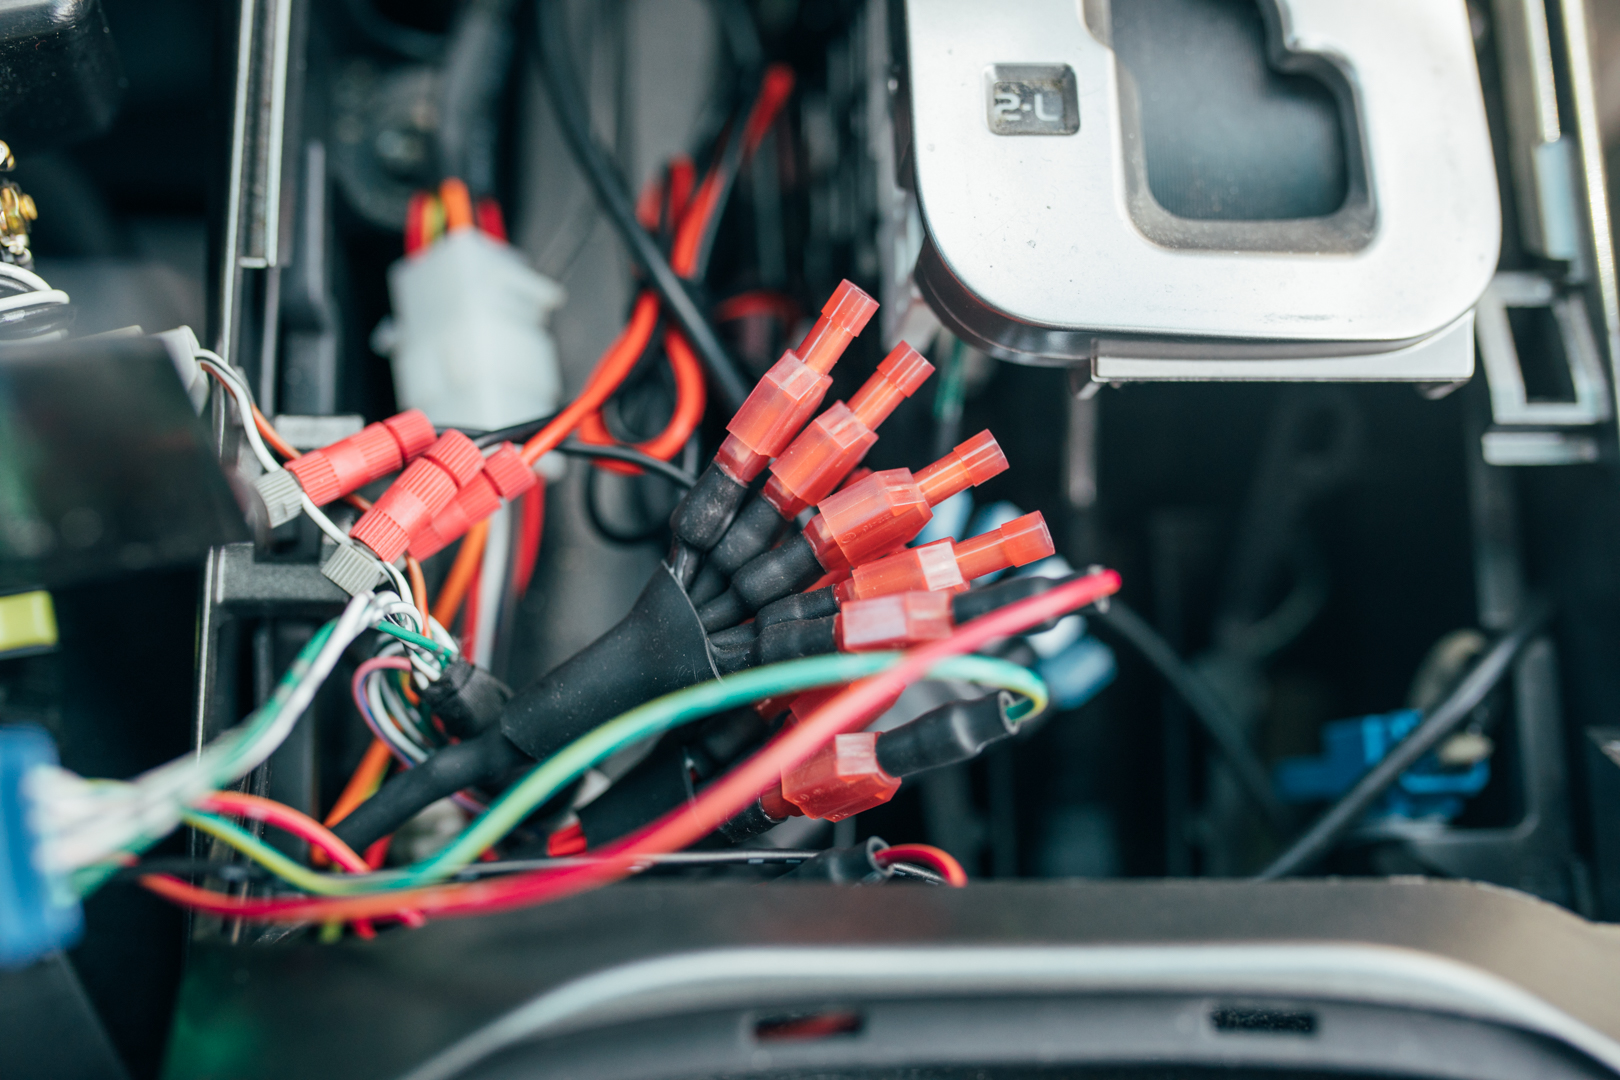
Following this tutorial I ran a switch harness up to my center console area and have quick connectors ready for 5 switches.

The switches are powered off of an add-a-circuit ignition tap so they are only ignition on activated.

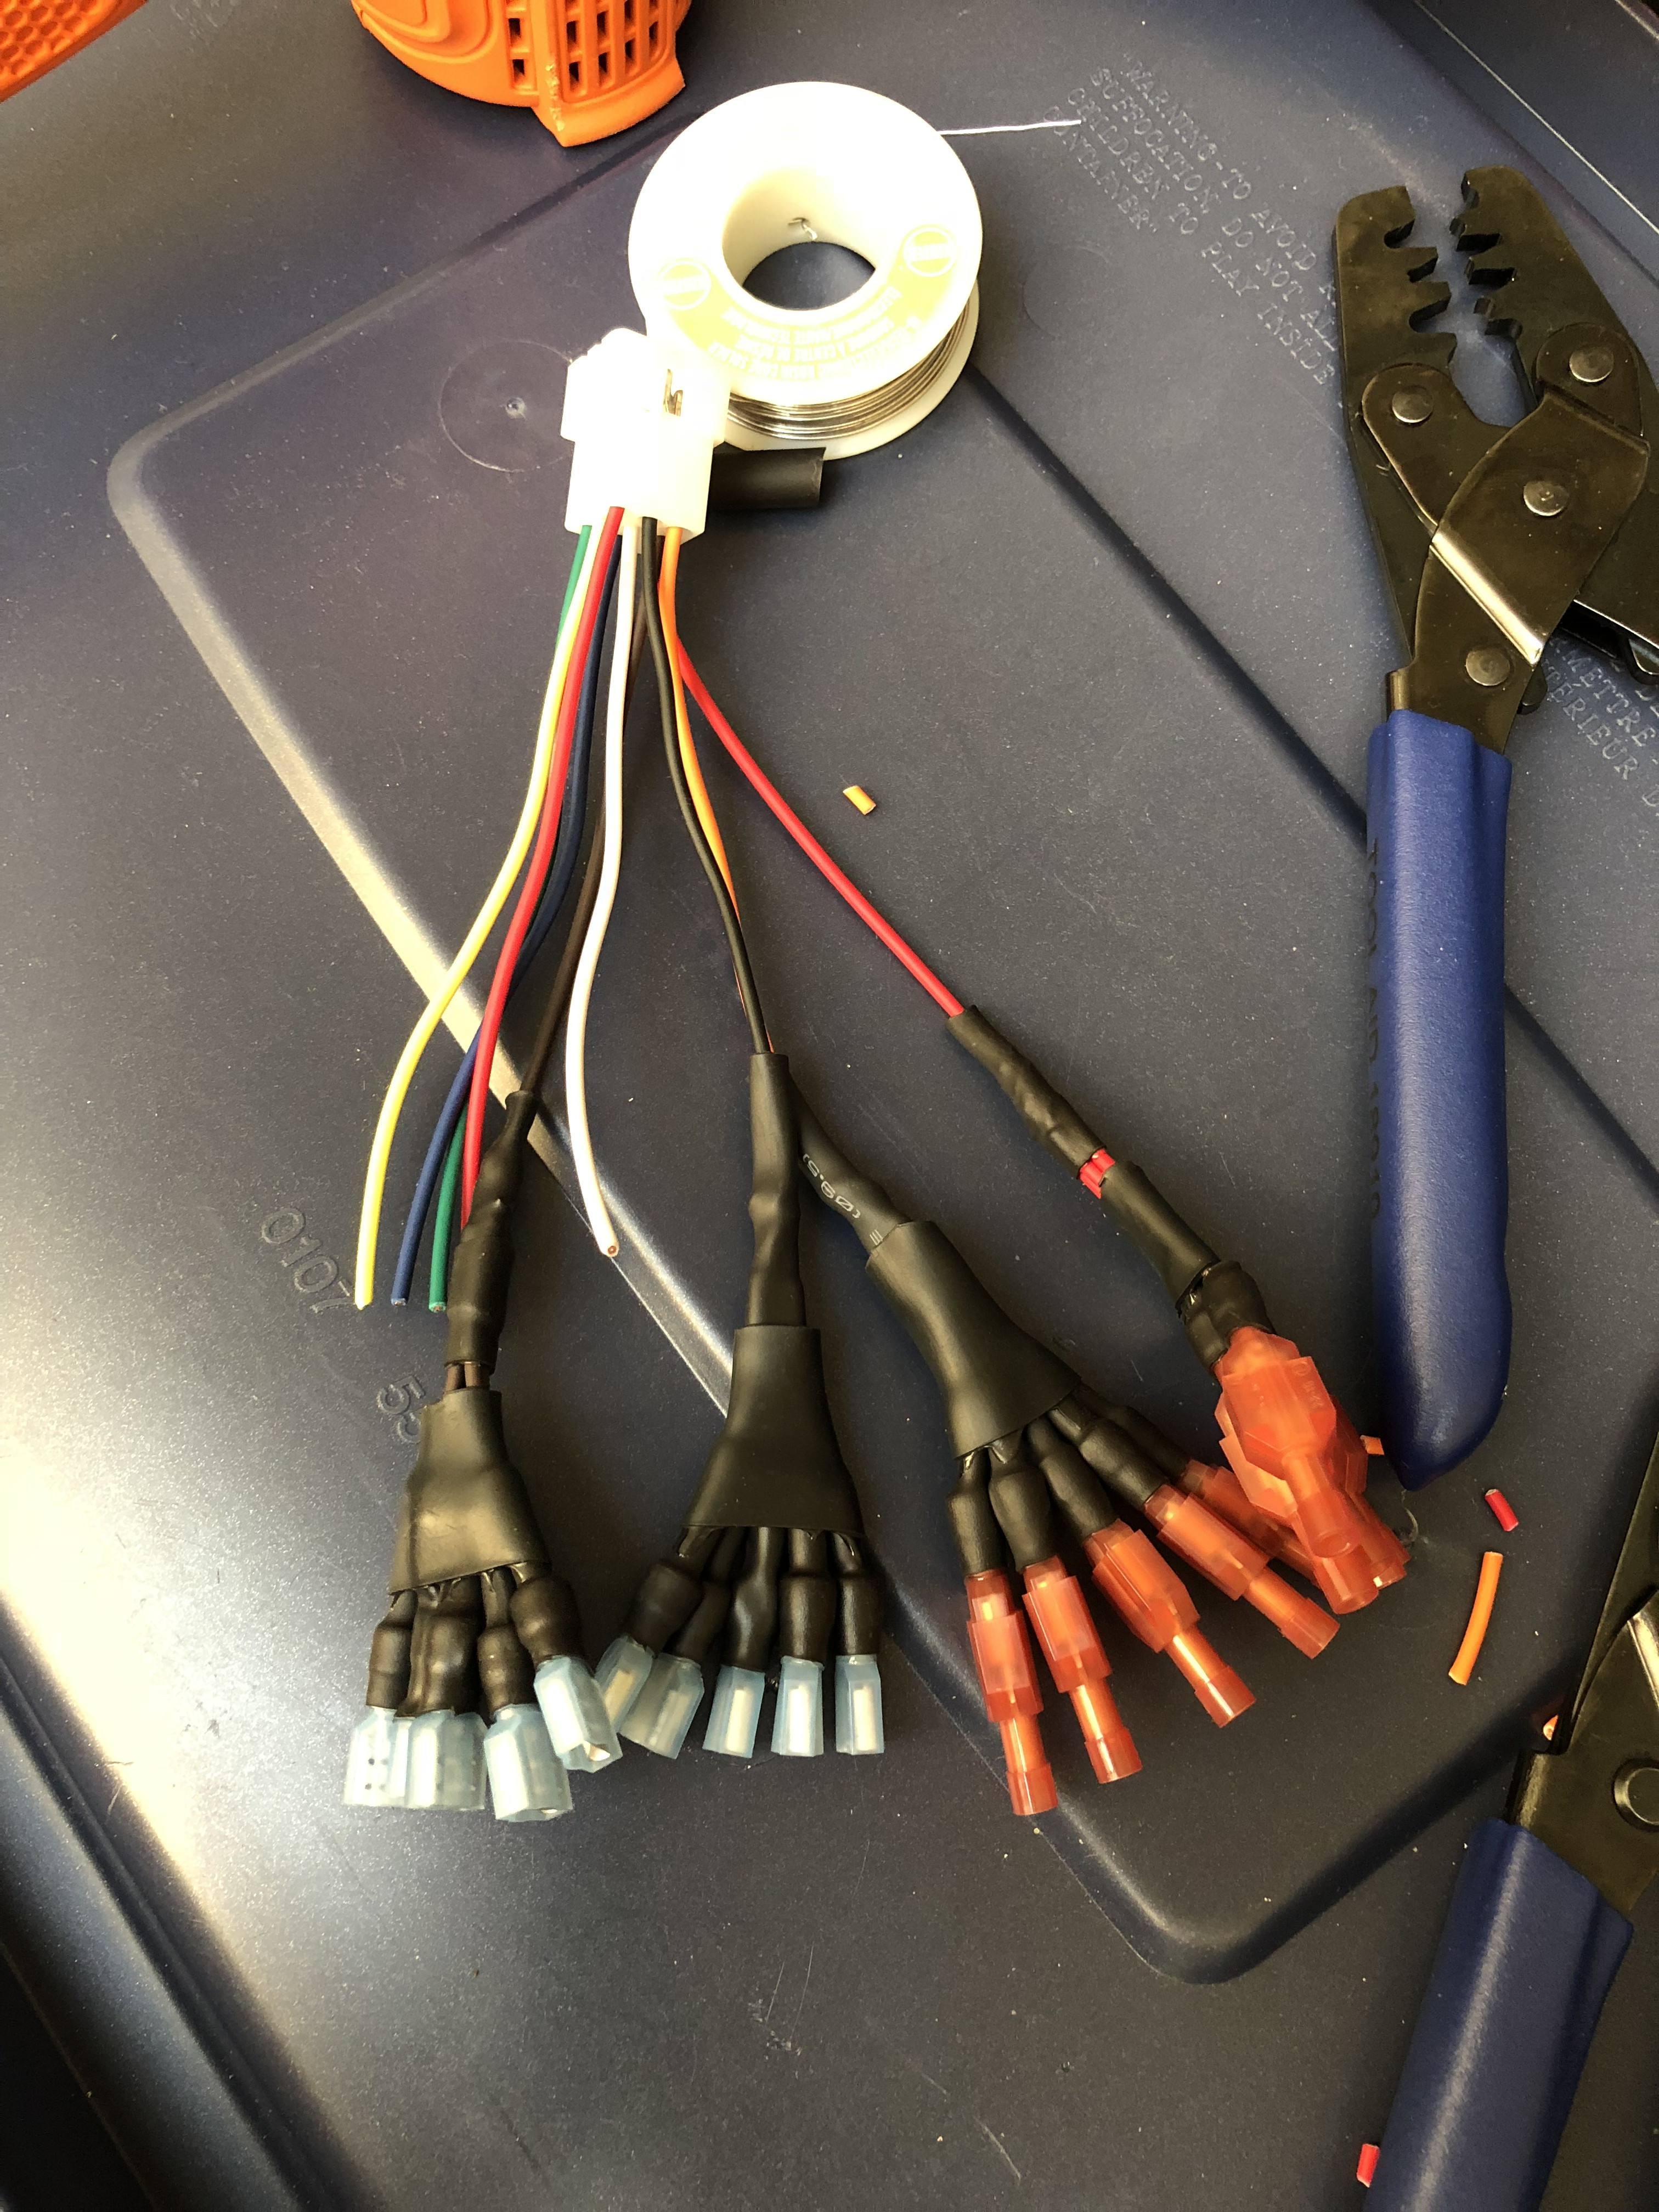
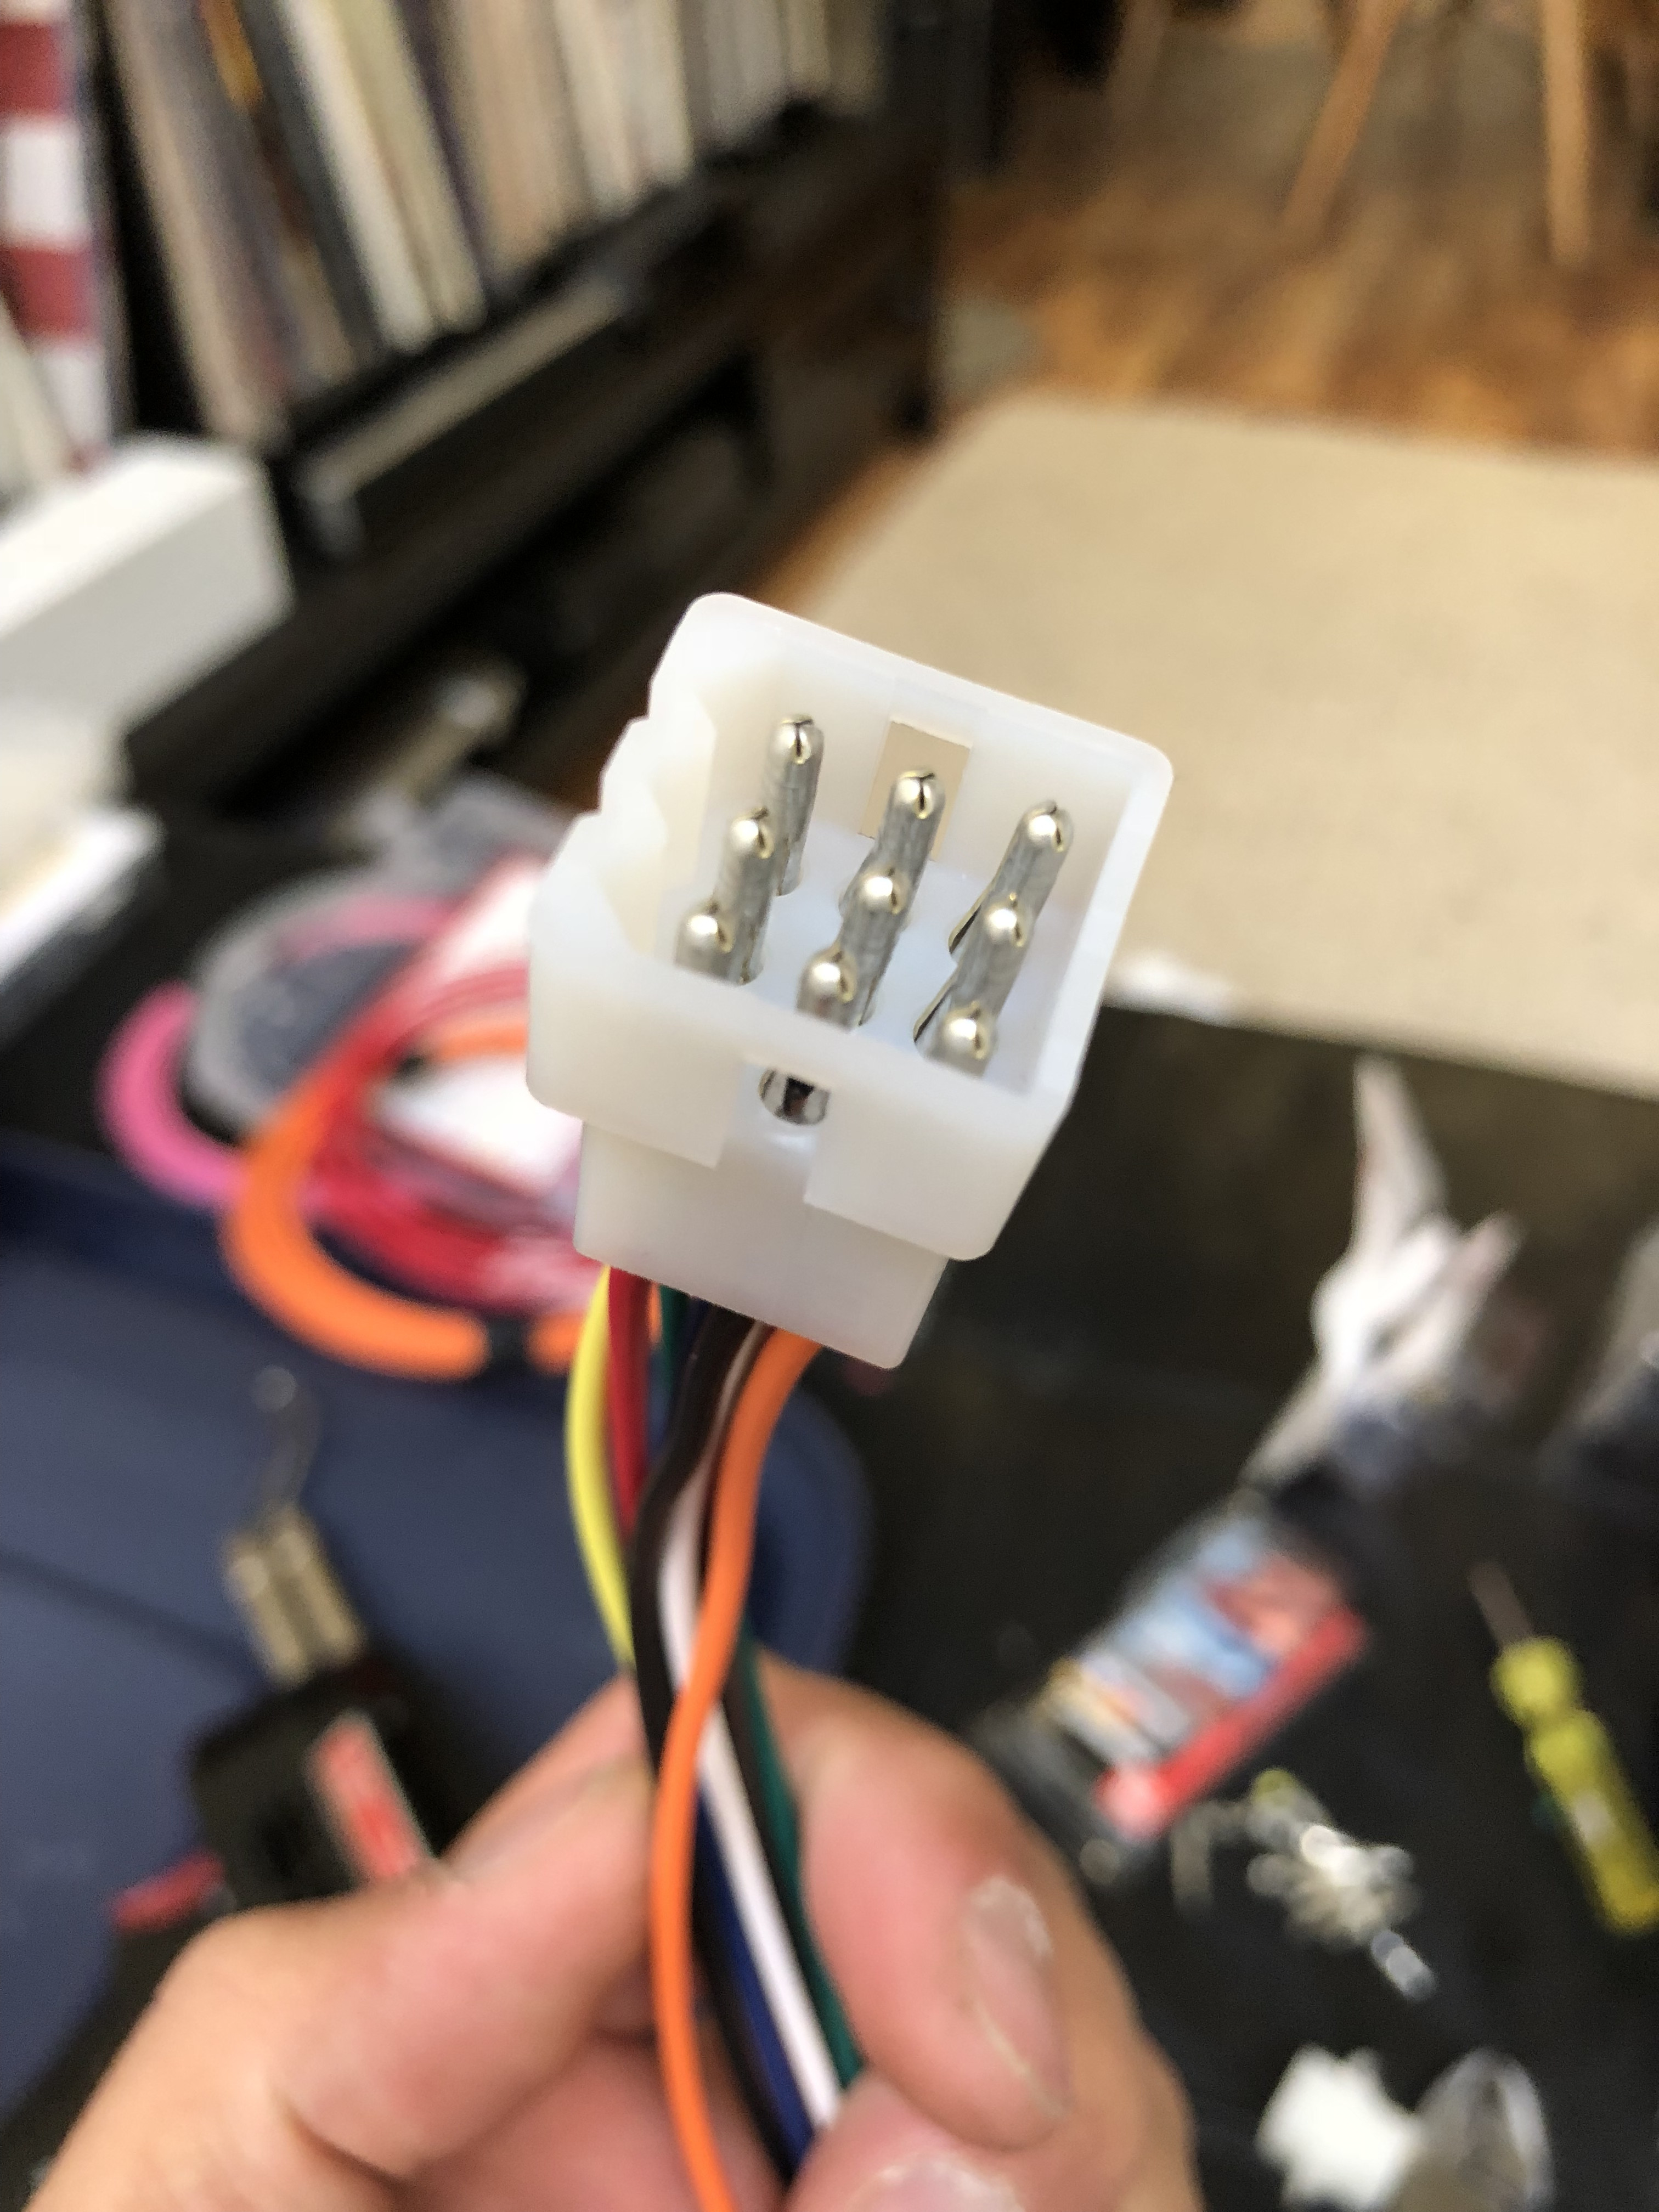
For any lights I want to turn on without the vehicle running I will just run one more always on 12v source. In the tutorial he created a switch bank that had male terminals so he could clearly jump from one to the next. I am using CH4X4 factory style push switches so I went with a less clean deisgn and used custom quick connect splays. I think it'll work. Anyone have any better suggestions?


Switch harness run under center console:

859zfM.jpg


Custom quick connect splays:

859e0Q.jpg


85KX6b.jpg


85KUhT.jpg


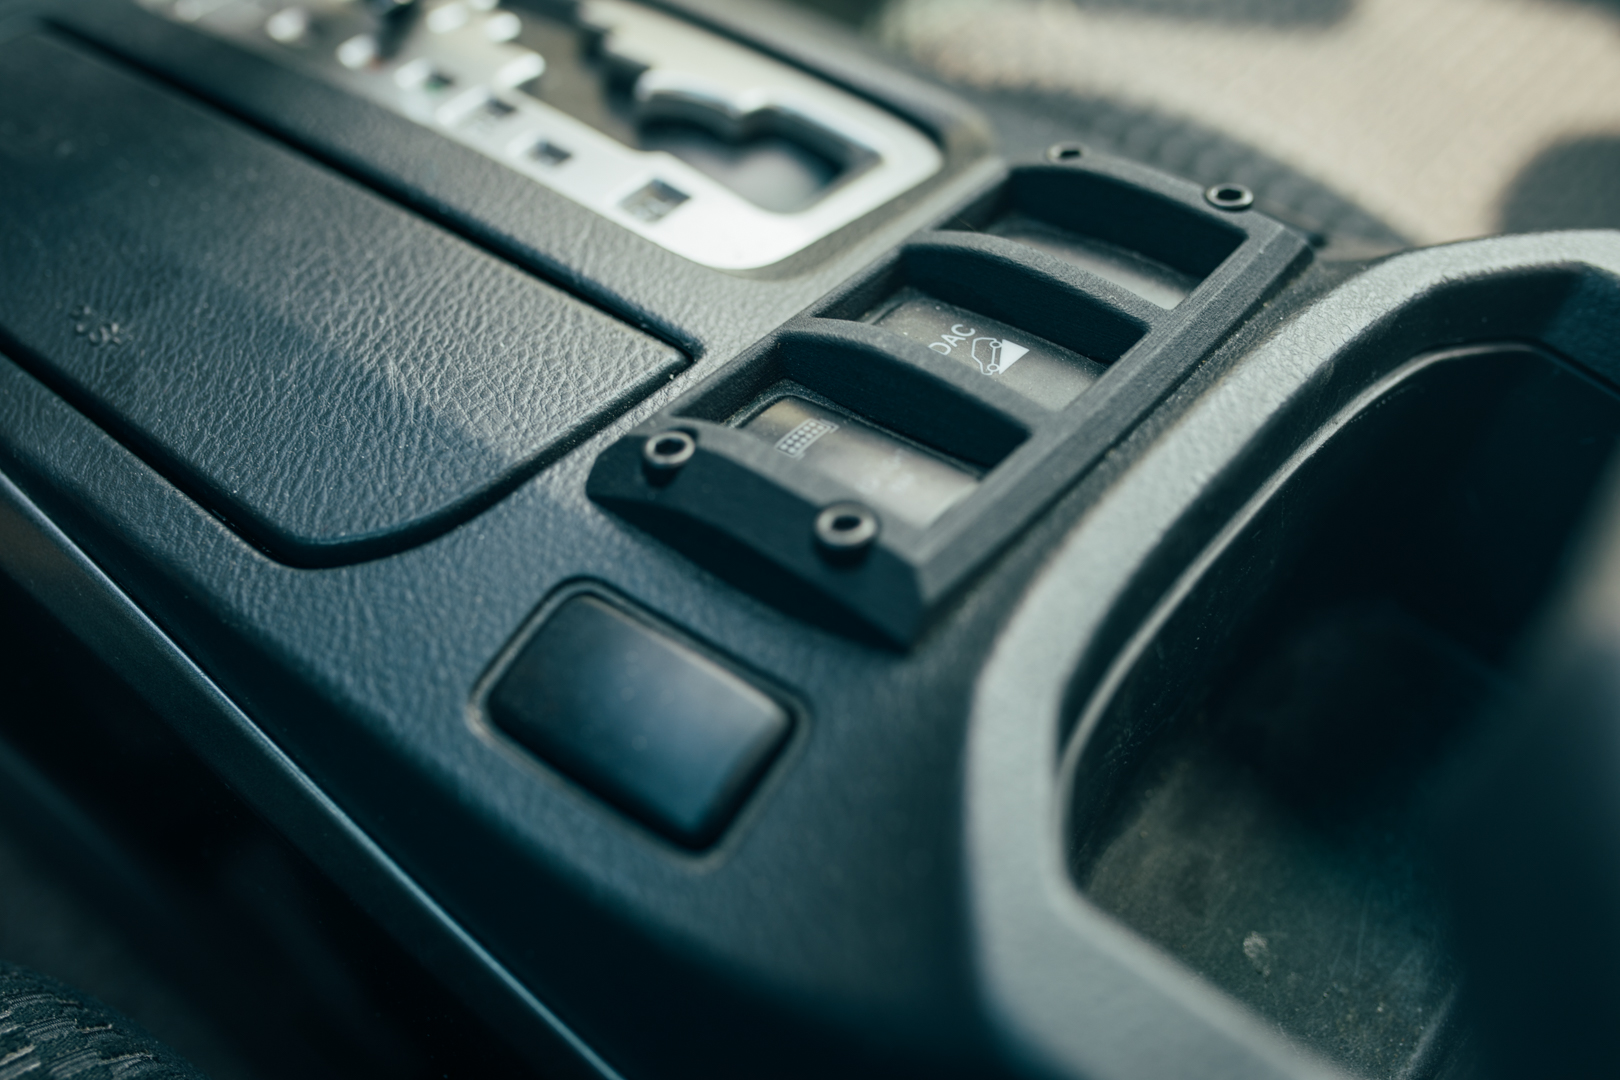
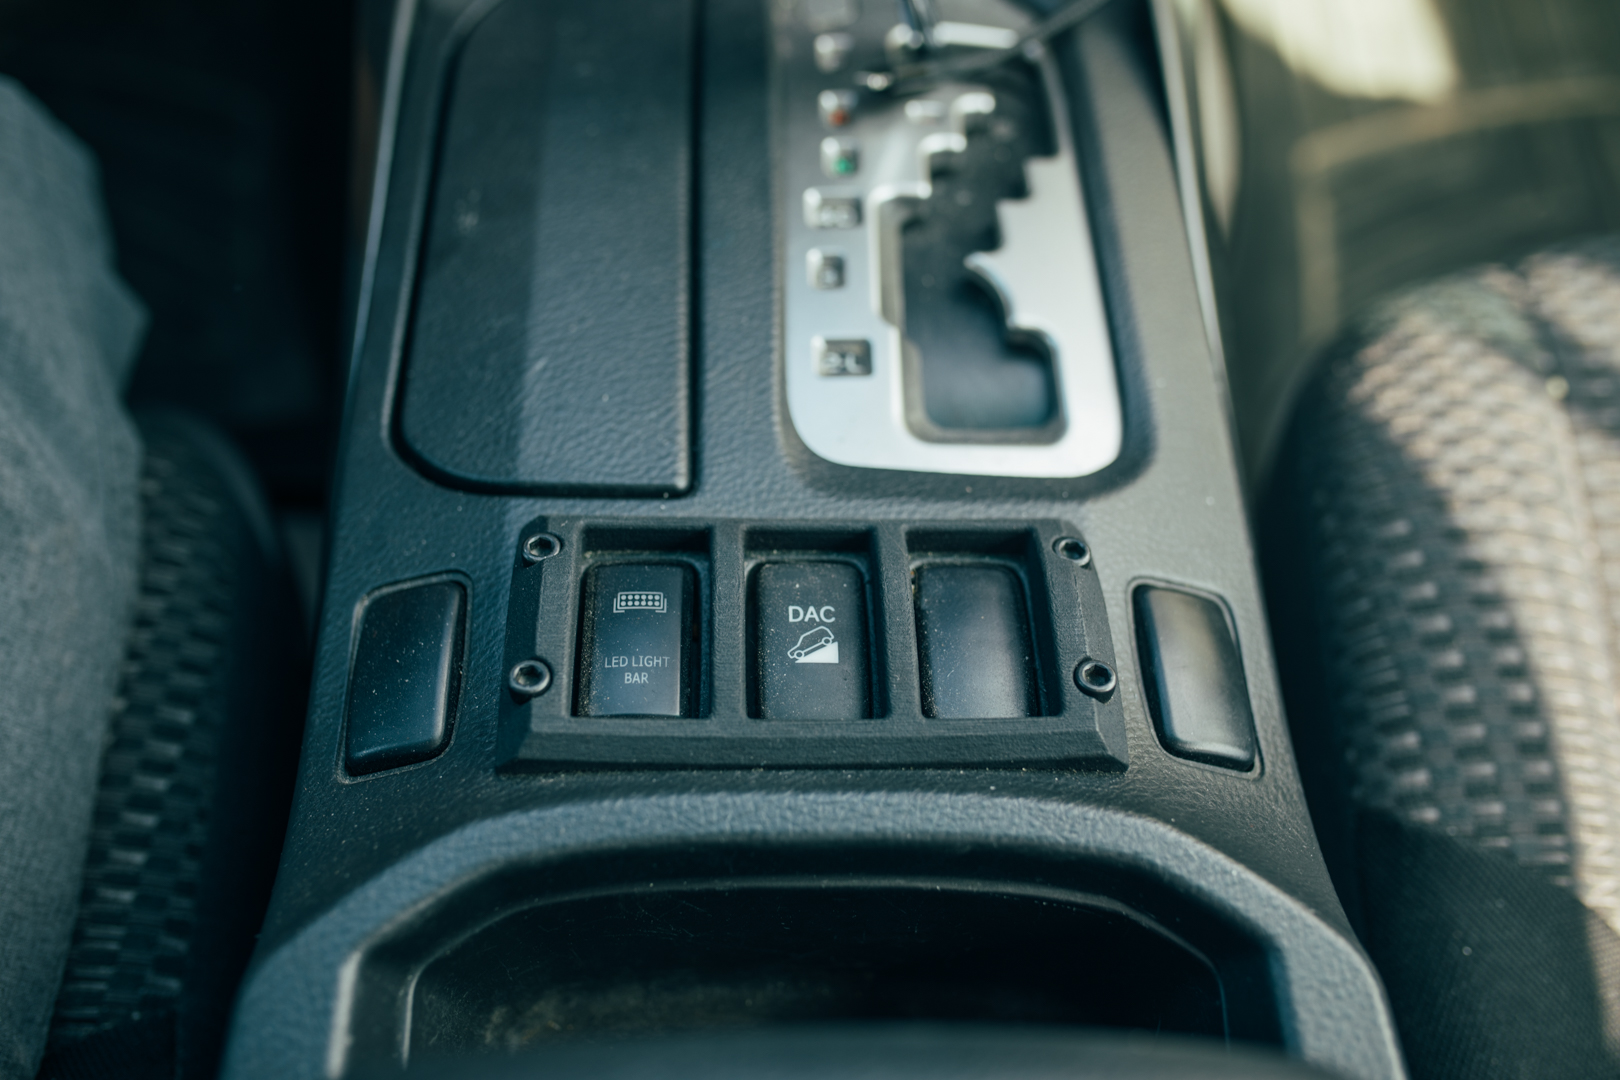
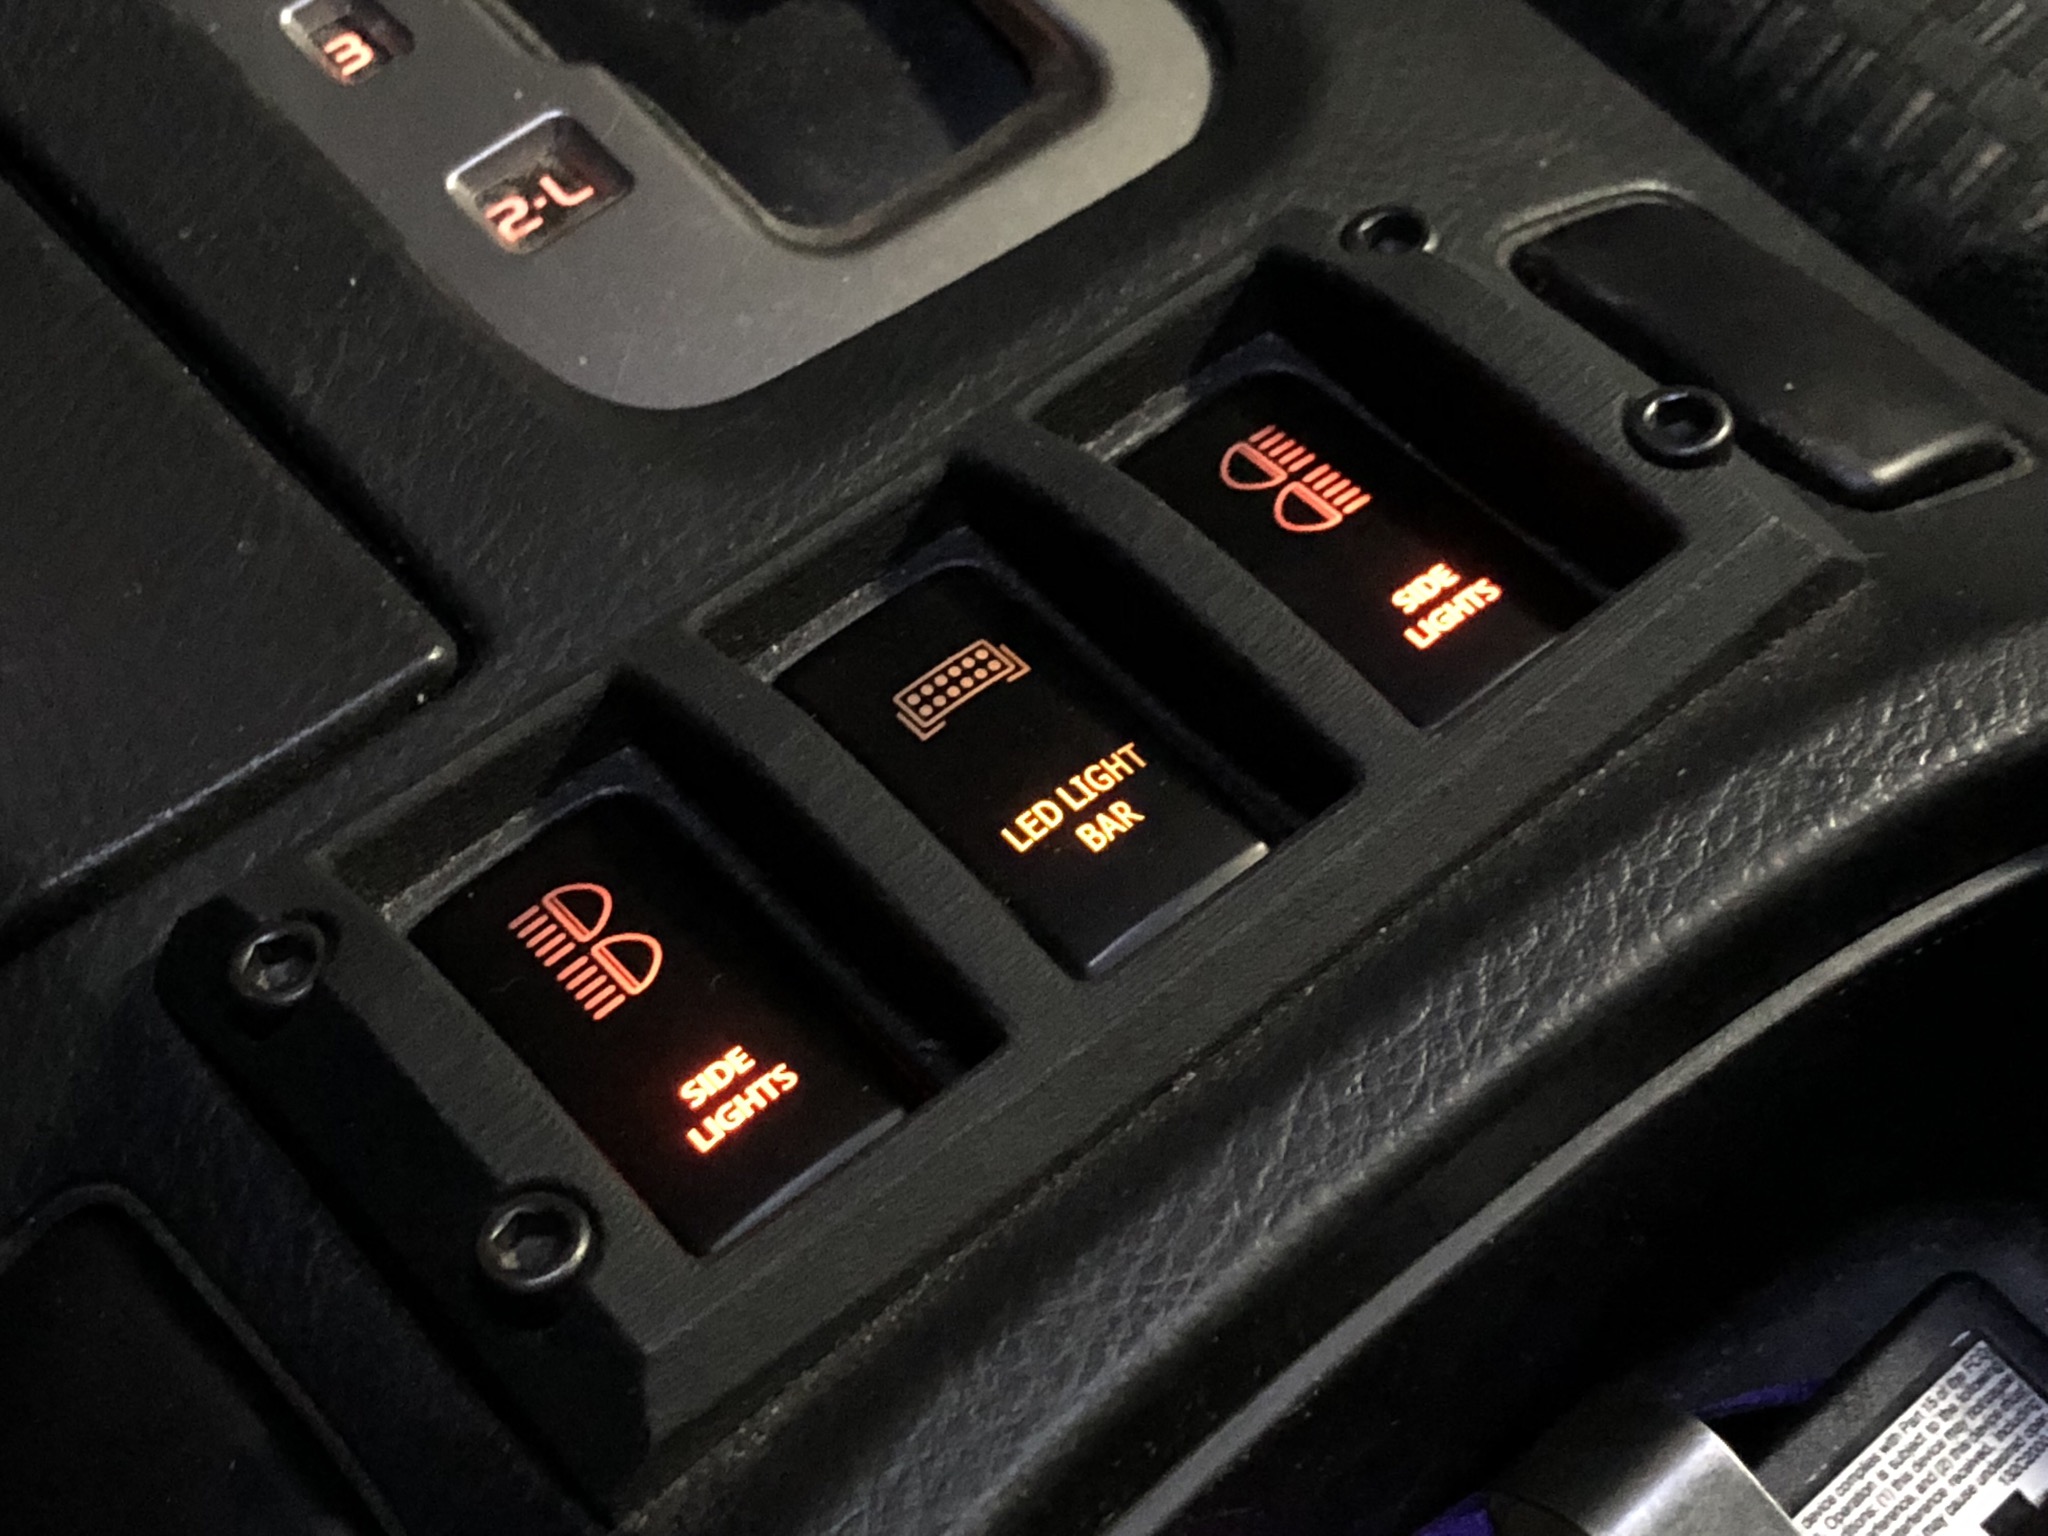
I plan on running all 5 switches to this center console area. Currently I only have my lightbar wired but eventually I plan to have another rooftop mounted LED bar, two side LED's, and rear backup lights. I will relocate my DAC switch up to the left of my steering wheel.

I have seen many people create custom switch brackets in the sunglass holder, in the center storage tray and to the left of the steering wheel. To me I like to be able to have my hand sitting comfortably next to the switch so I can kill it instantly if I see a set of headlights. I imagine it would be uncomfortable to keep you hand raised to the roof while driving. Just my personal preference.

I found a 3D printed switch bezel that protects the center 3 switches from being accidentally bumped. Pretty neat little addition. My stock vehicle only came with 3 switch spots so I purchased a center piece from a limited (with seat warmers) off of eBay. This gave me a total of 5 switch spots in my center console.


85V54M.jpg


85VytA.jpg


Military Style Battery Terminals


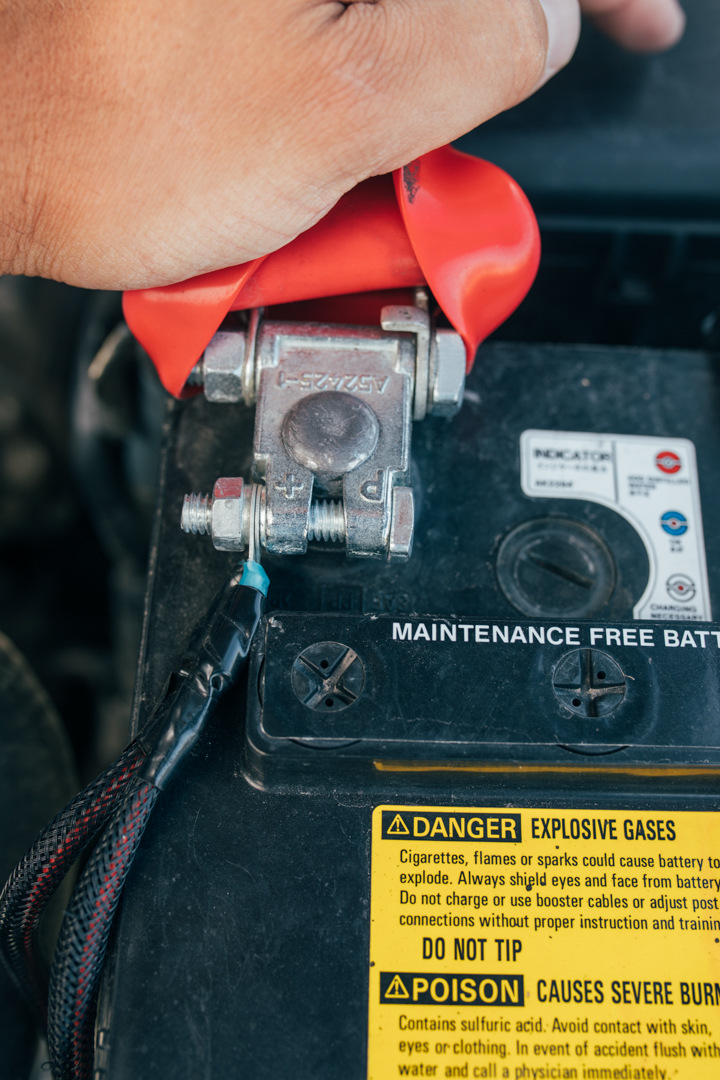
While I was finishing the electrical management system I put some new Military Style Battery Terminals on. These are part of cleaning up the electrical system and making it easier to add things in the future. These terminals make it much easier to attach accessories onto if needed. I was able to stretch my stock positive battery lead into the terminal but the negative I was required to cut the lead off and crimp on a new lug. I was able to crimp a new lug into the negative jumper to the frame with just enough flex available.


85VEHq.jpg


85VkXA.jpg


Extra Goodies


Reading this forum near everyday I created a decent list of all the little mods I could do to make this truck exactly how I want it.


I did the Map Light Mod so when the front doors open there is actually some light in the front seat area. However I have found a problem with this. While camping in my 4runner I usually turn off all of the interior lights. Only problem is I can't turn off those map lights now. If I open the door or unlock the vehicle those lights turn on. If I click them they remain on. Not a huge thing but annoying if I'm trying to keep it dark inside. Thinking about adding a little switch in line somewhere so I can kill them if I desire.


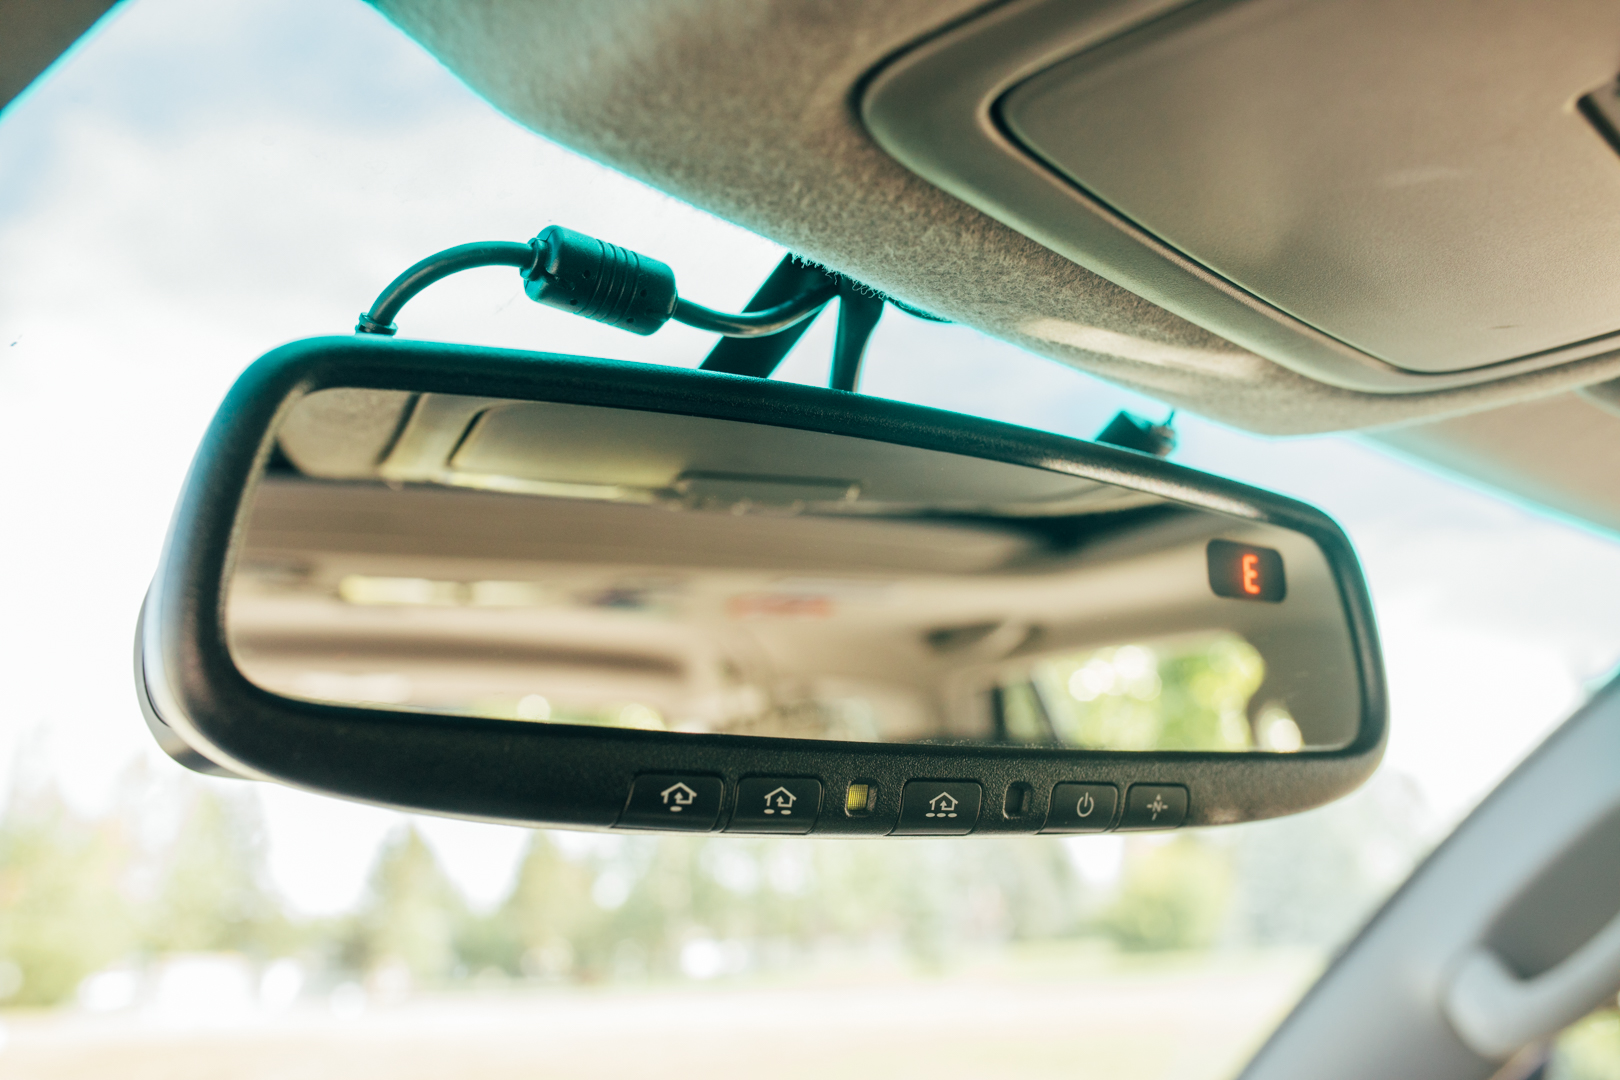
I purchased an Auto-Dimming Compass mirror off of eBay. Install was pretty straight forward and didn't take long. I've never had much luck with the common wire splicers. My preference is using Posi-Taps. Always a solid connection but I had run out of them so that a loose connection was giving me a problem.


859Aax.jpg


From my previous vehicle I took the AutoVox Dashcam that I had on it. Fairly inexpensive insurance item that can save you or someone else a world of hurt.


859i6H.jpg
 
Last edited:
Audio


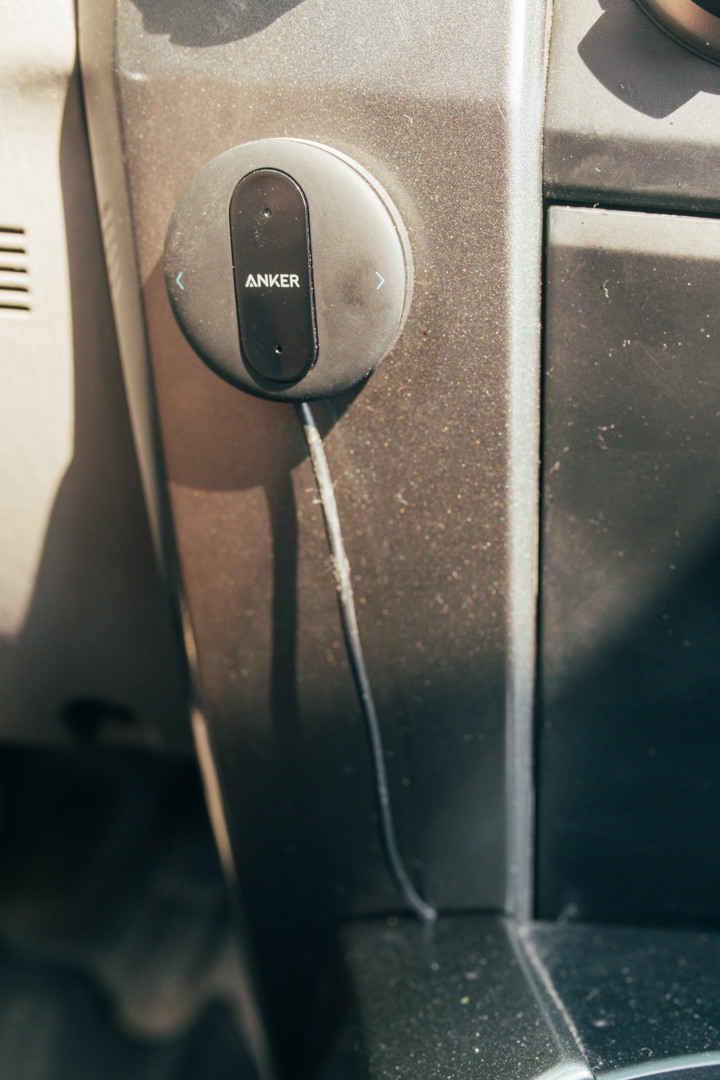
My stock 4runner stereo has no Bluetooth but at least it's got an aux jack. I recently upgraded to an Iphone 8 Plus (I know, baaaaaa) and the removal of the aux input is a real PITA. So instead of carrying that silly dongle around I purchased an Anker Soundsync Bluetooth module that plugs directly into the aux jack and let's me connect and control via Bluetooth. I was also picking up a bit of a buzzing feedback when my phone was being powered while using the aux plug (definitely before ingot the soundsync) so I purchased a Ground Loop Isolator which just goes between your device and the aux plug. Buzzing gone. Not sure if it is still there with the Bluetooth adapter but it's been on and no problems since.


859jz1.jpg


Wheels 3.0


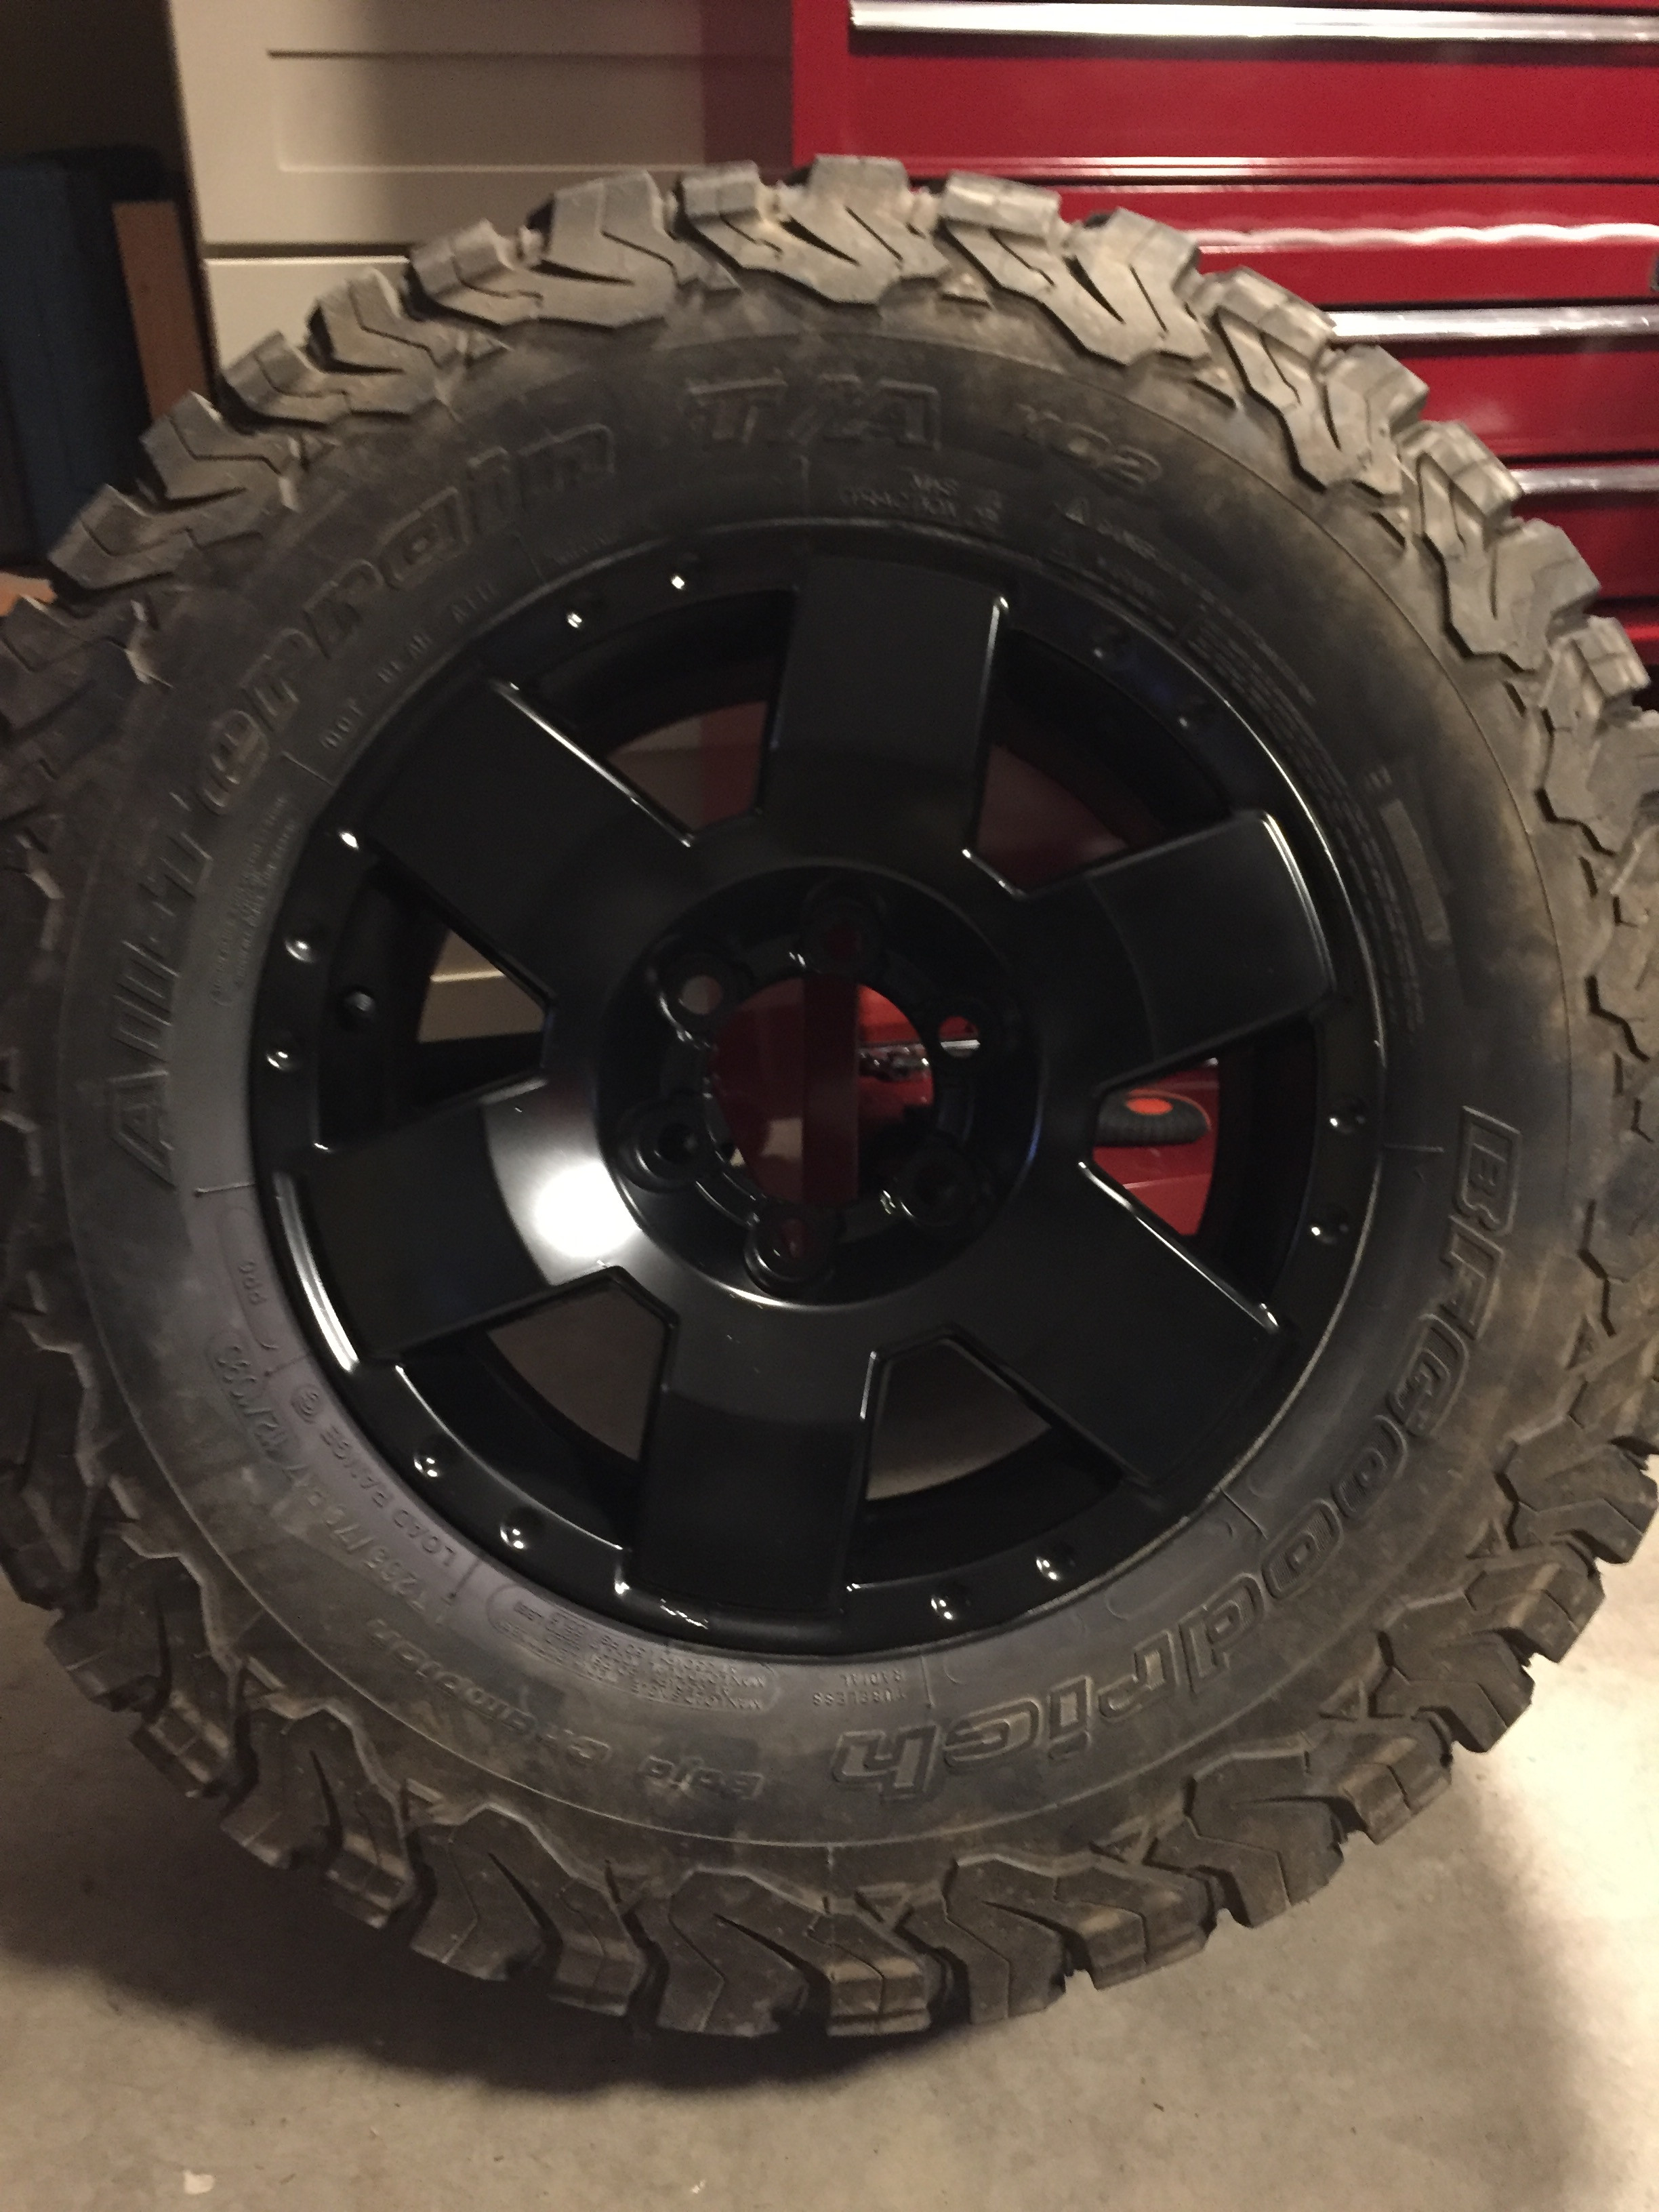
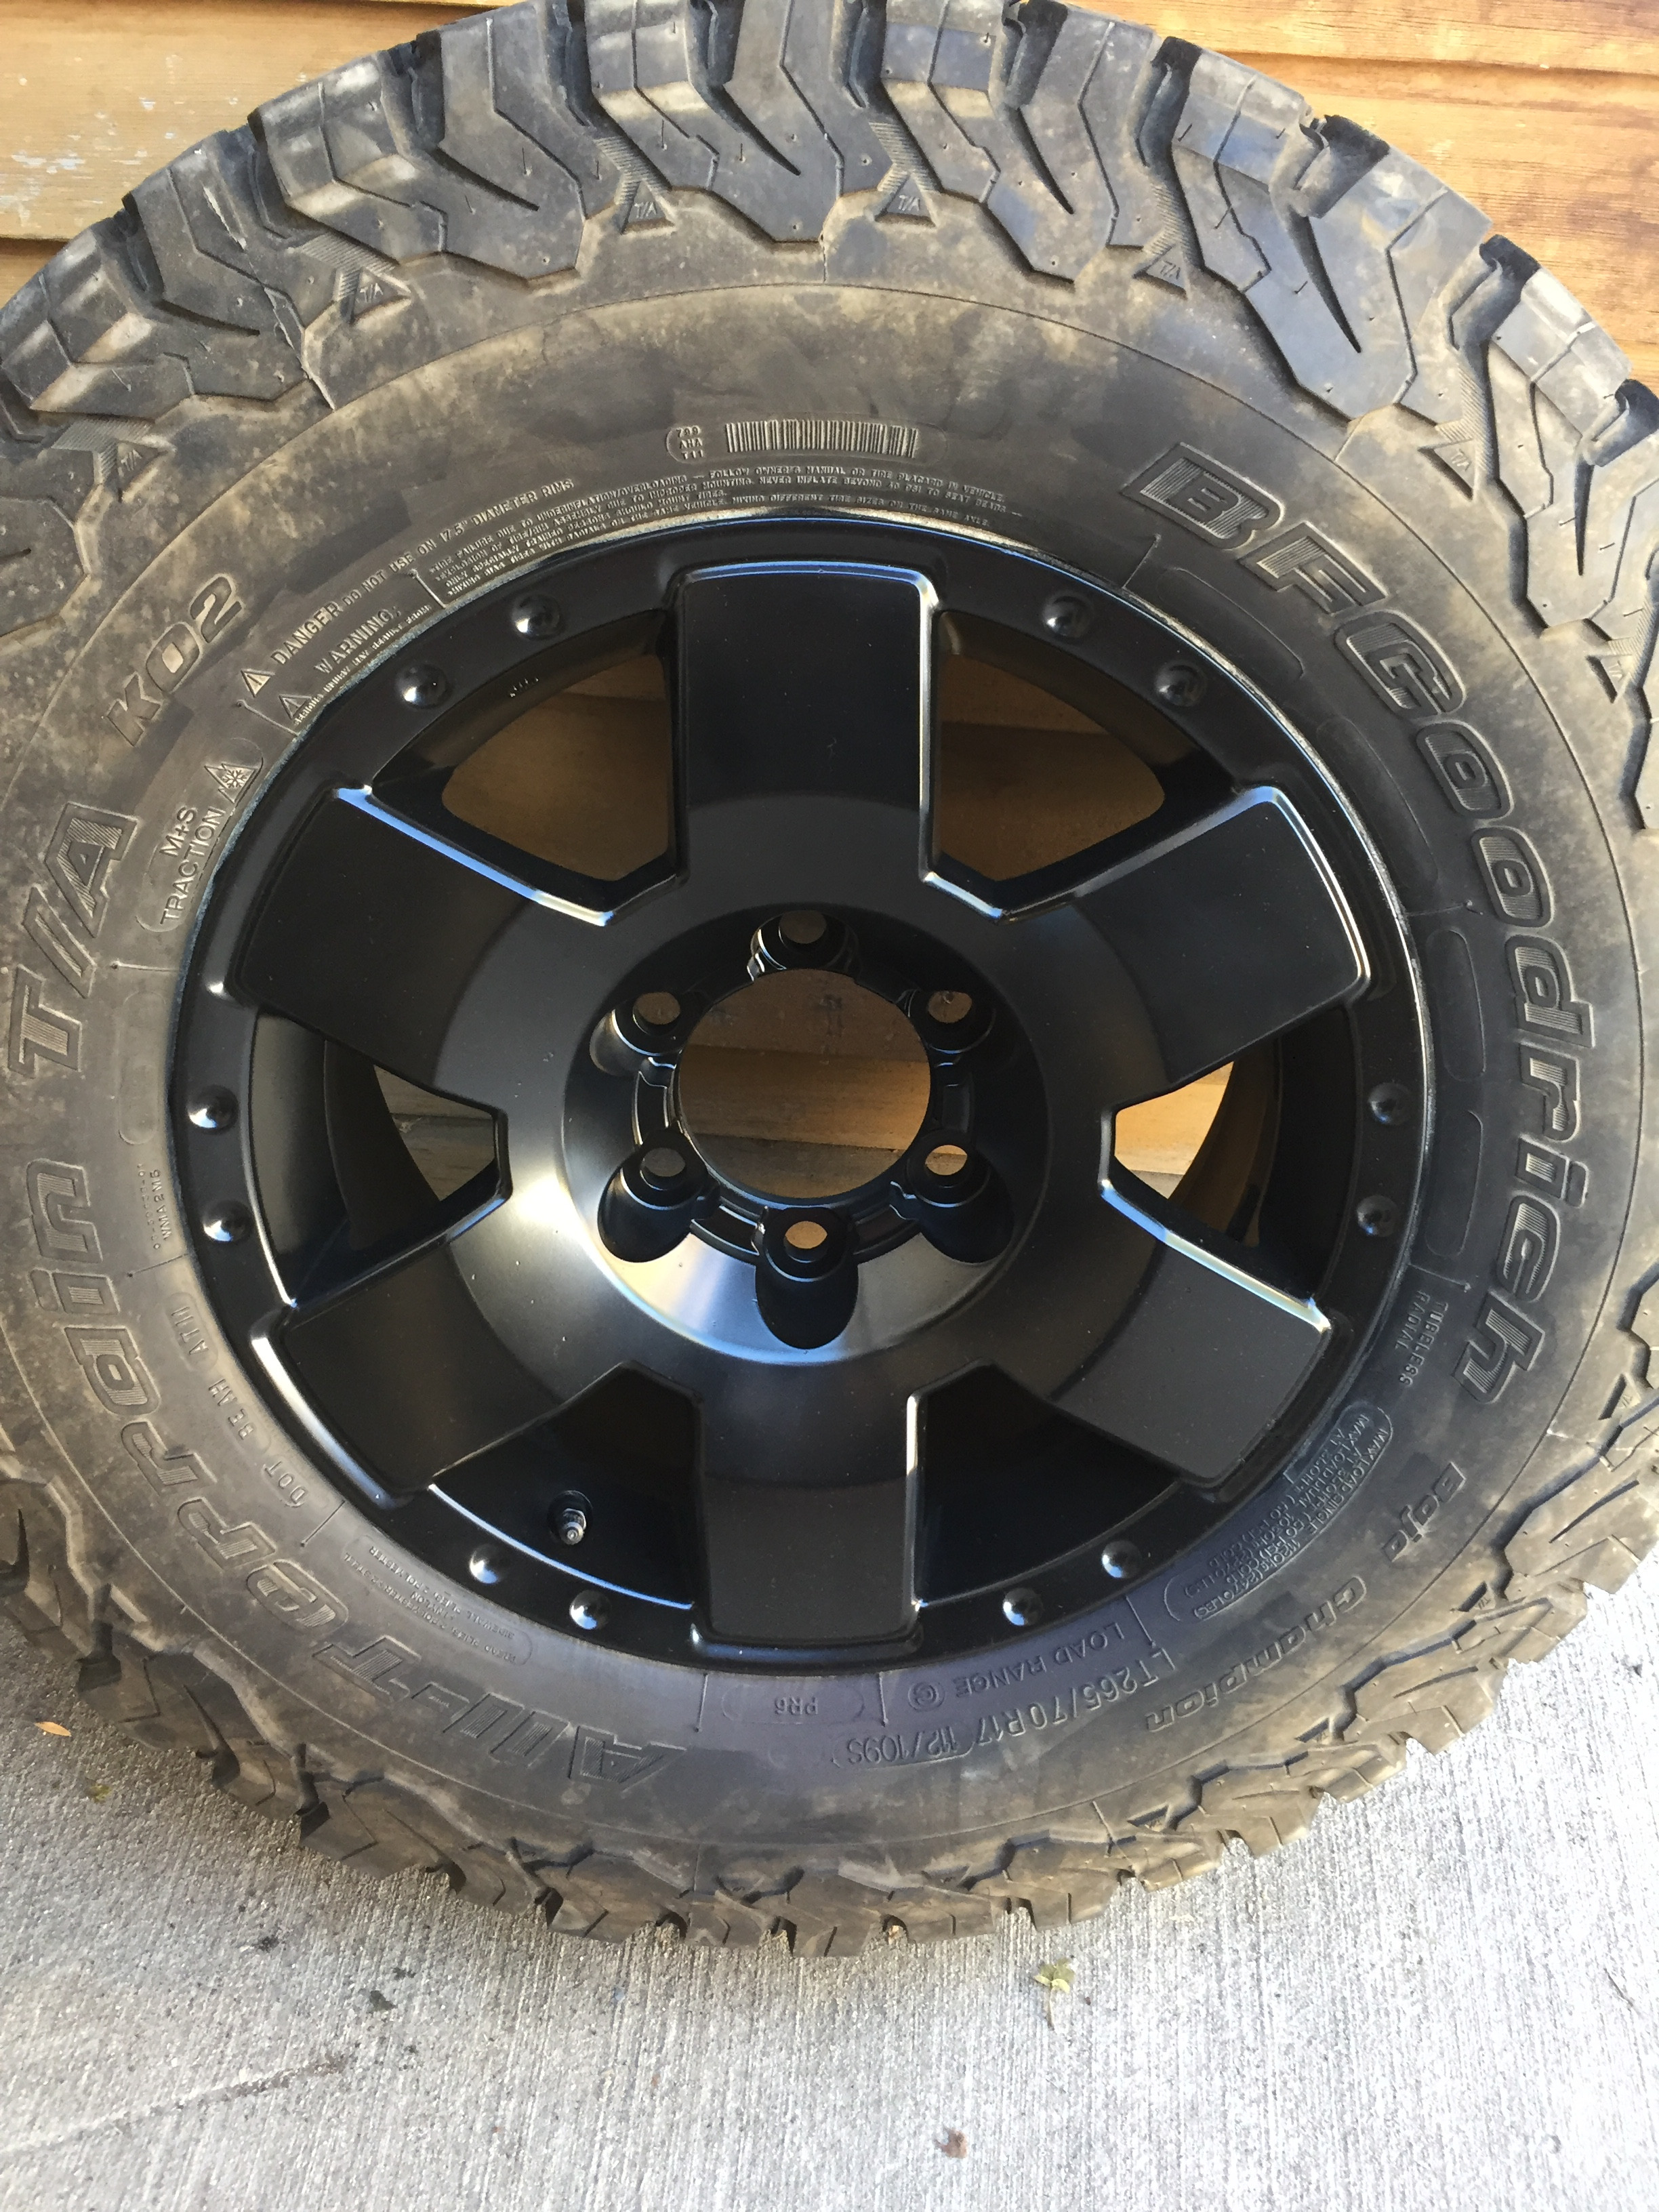
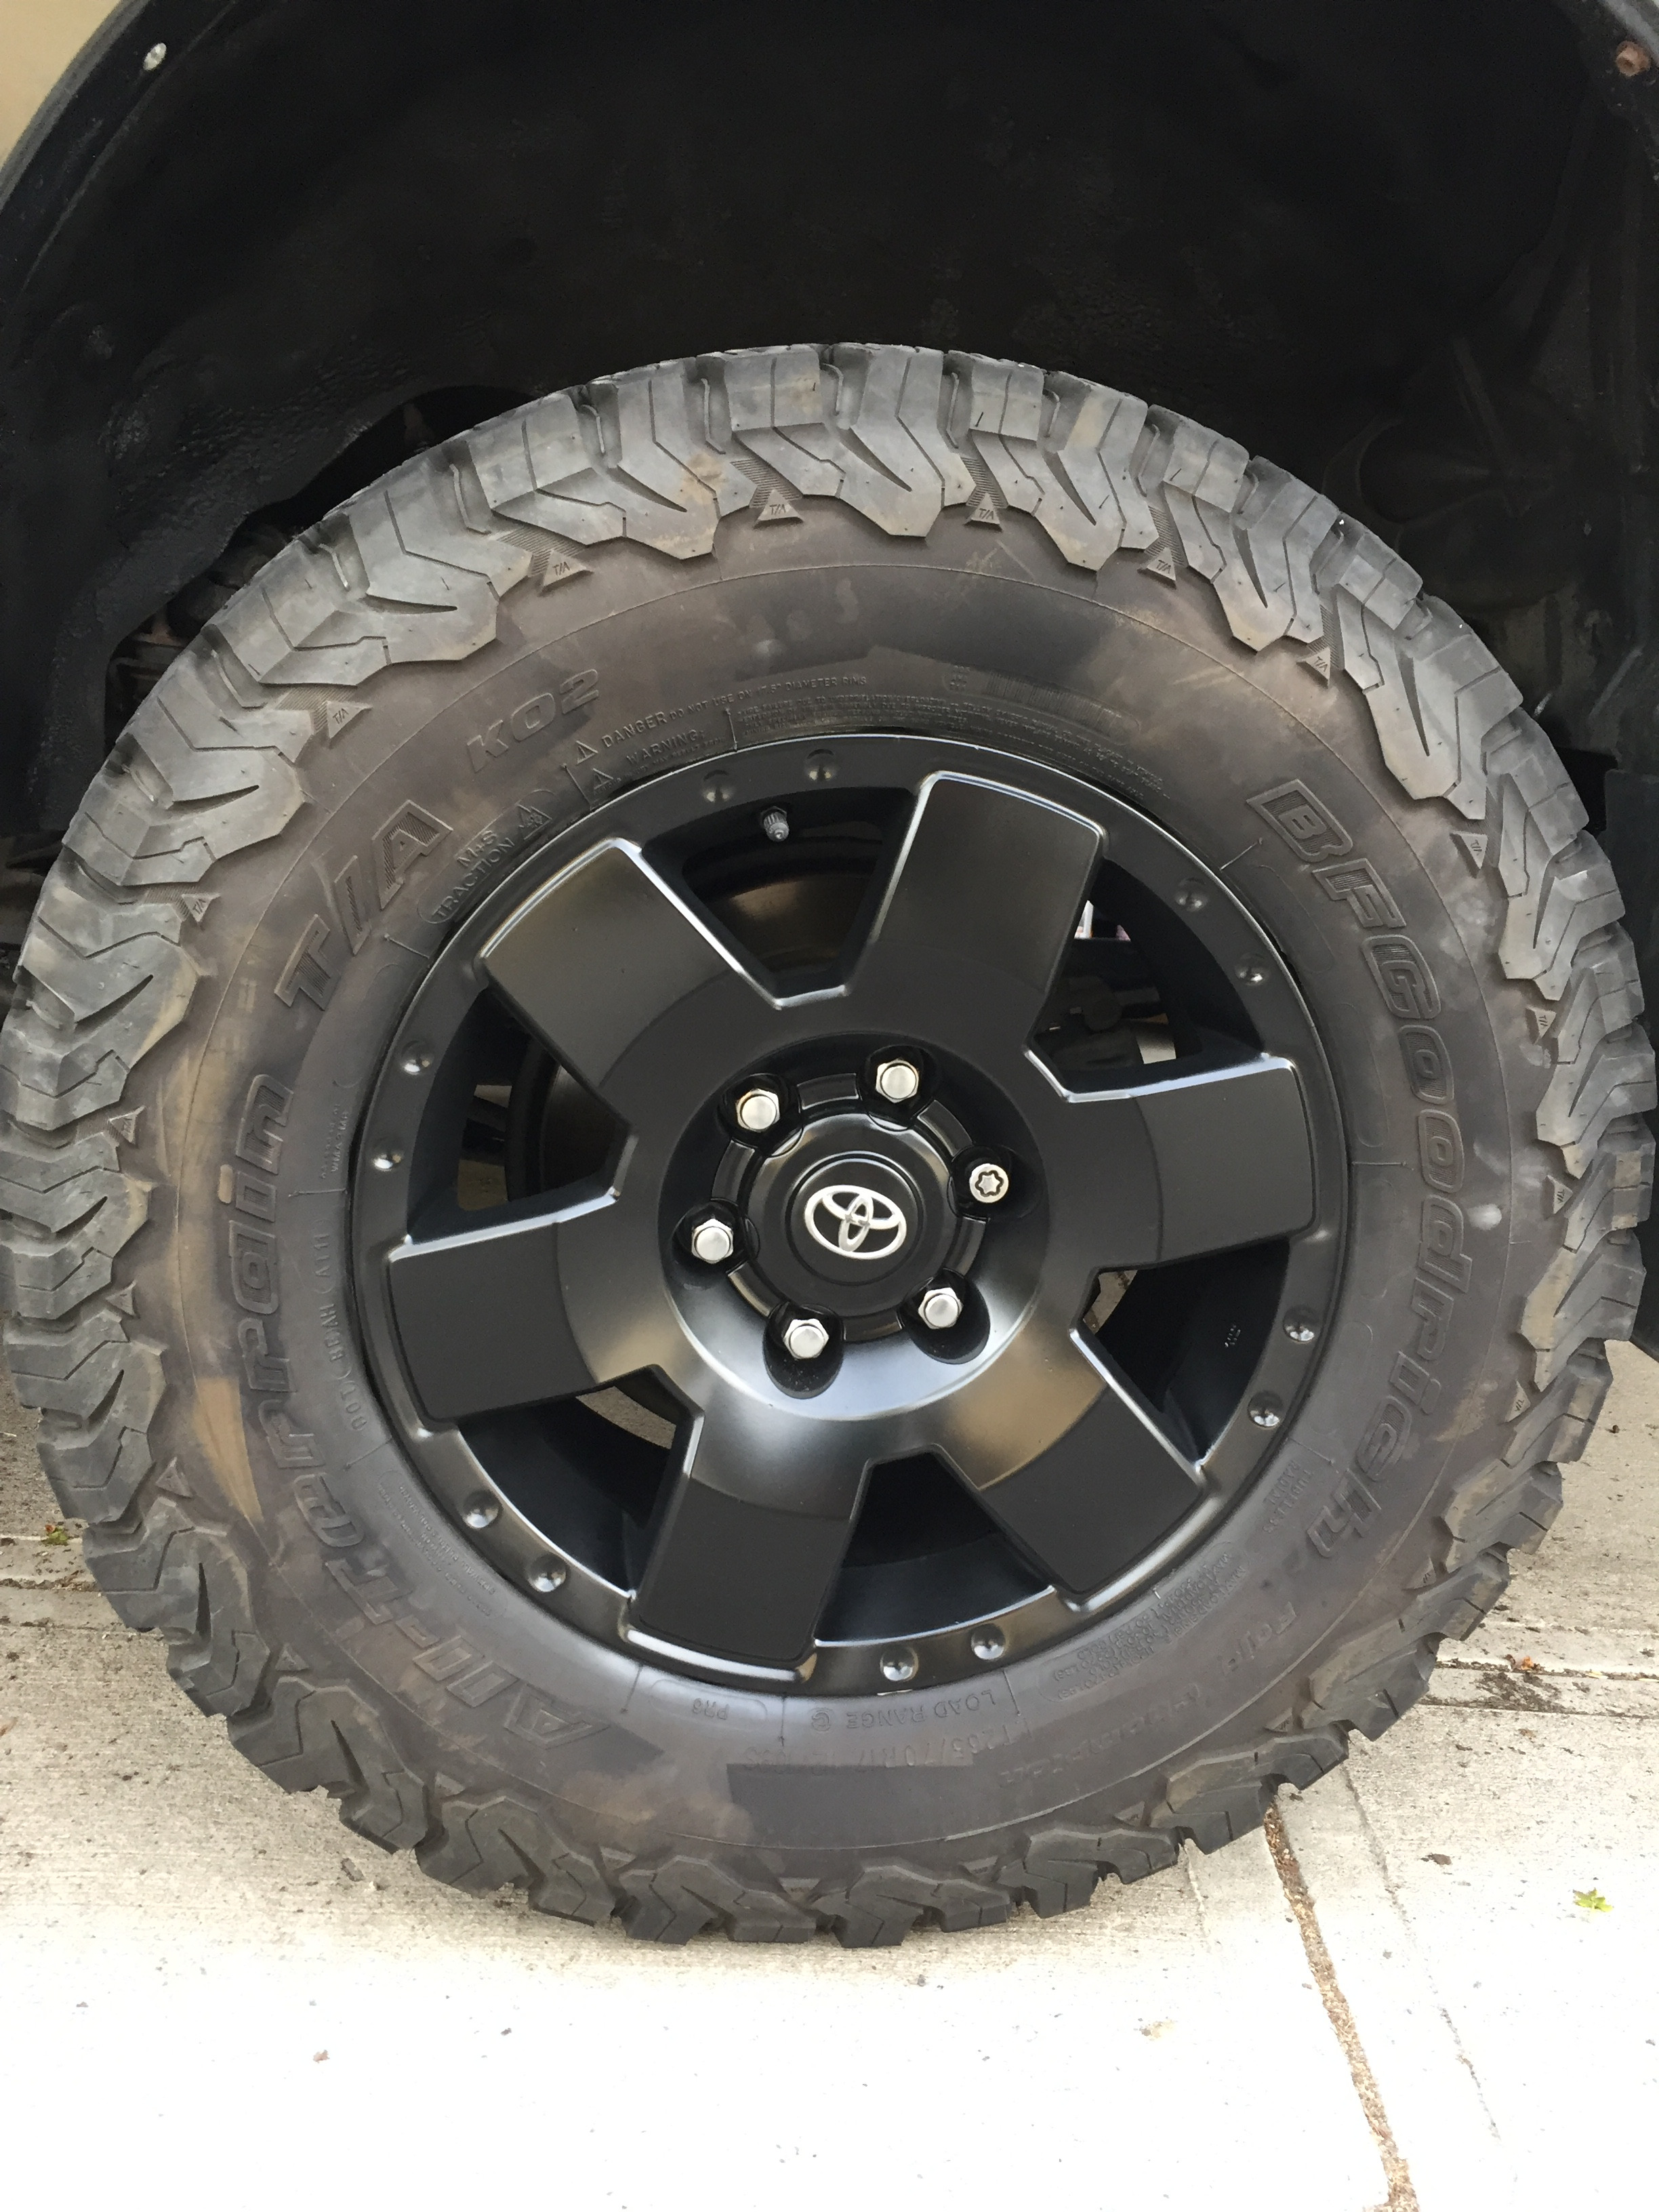
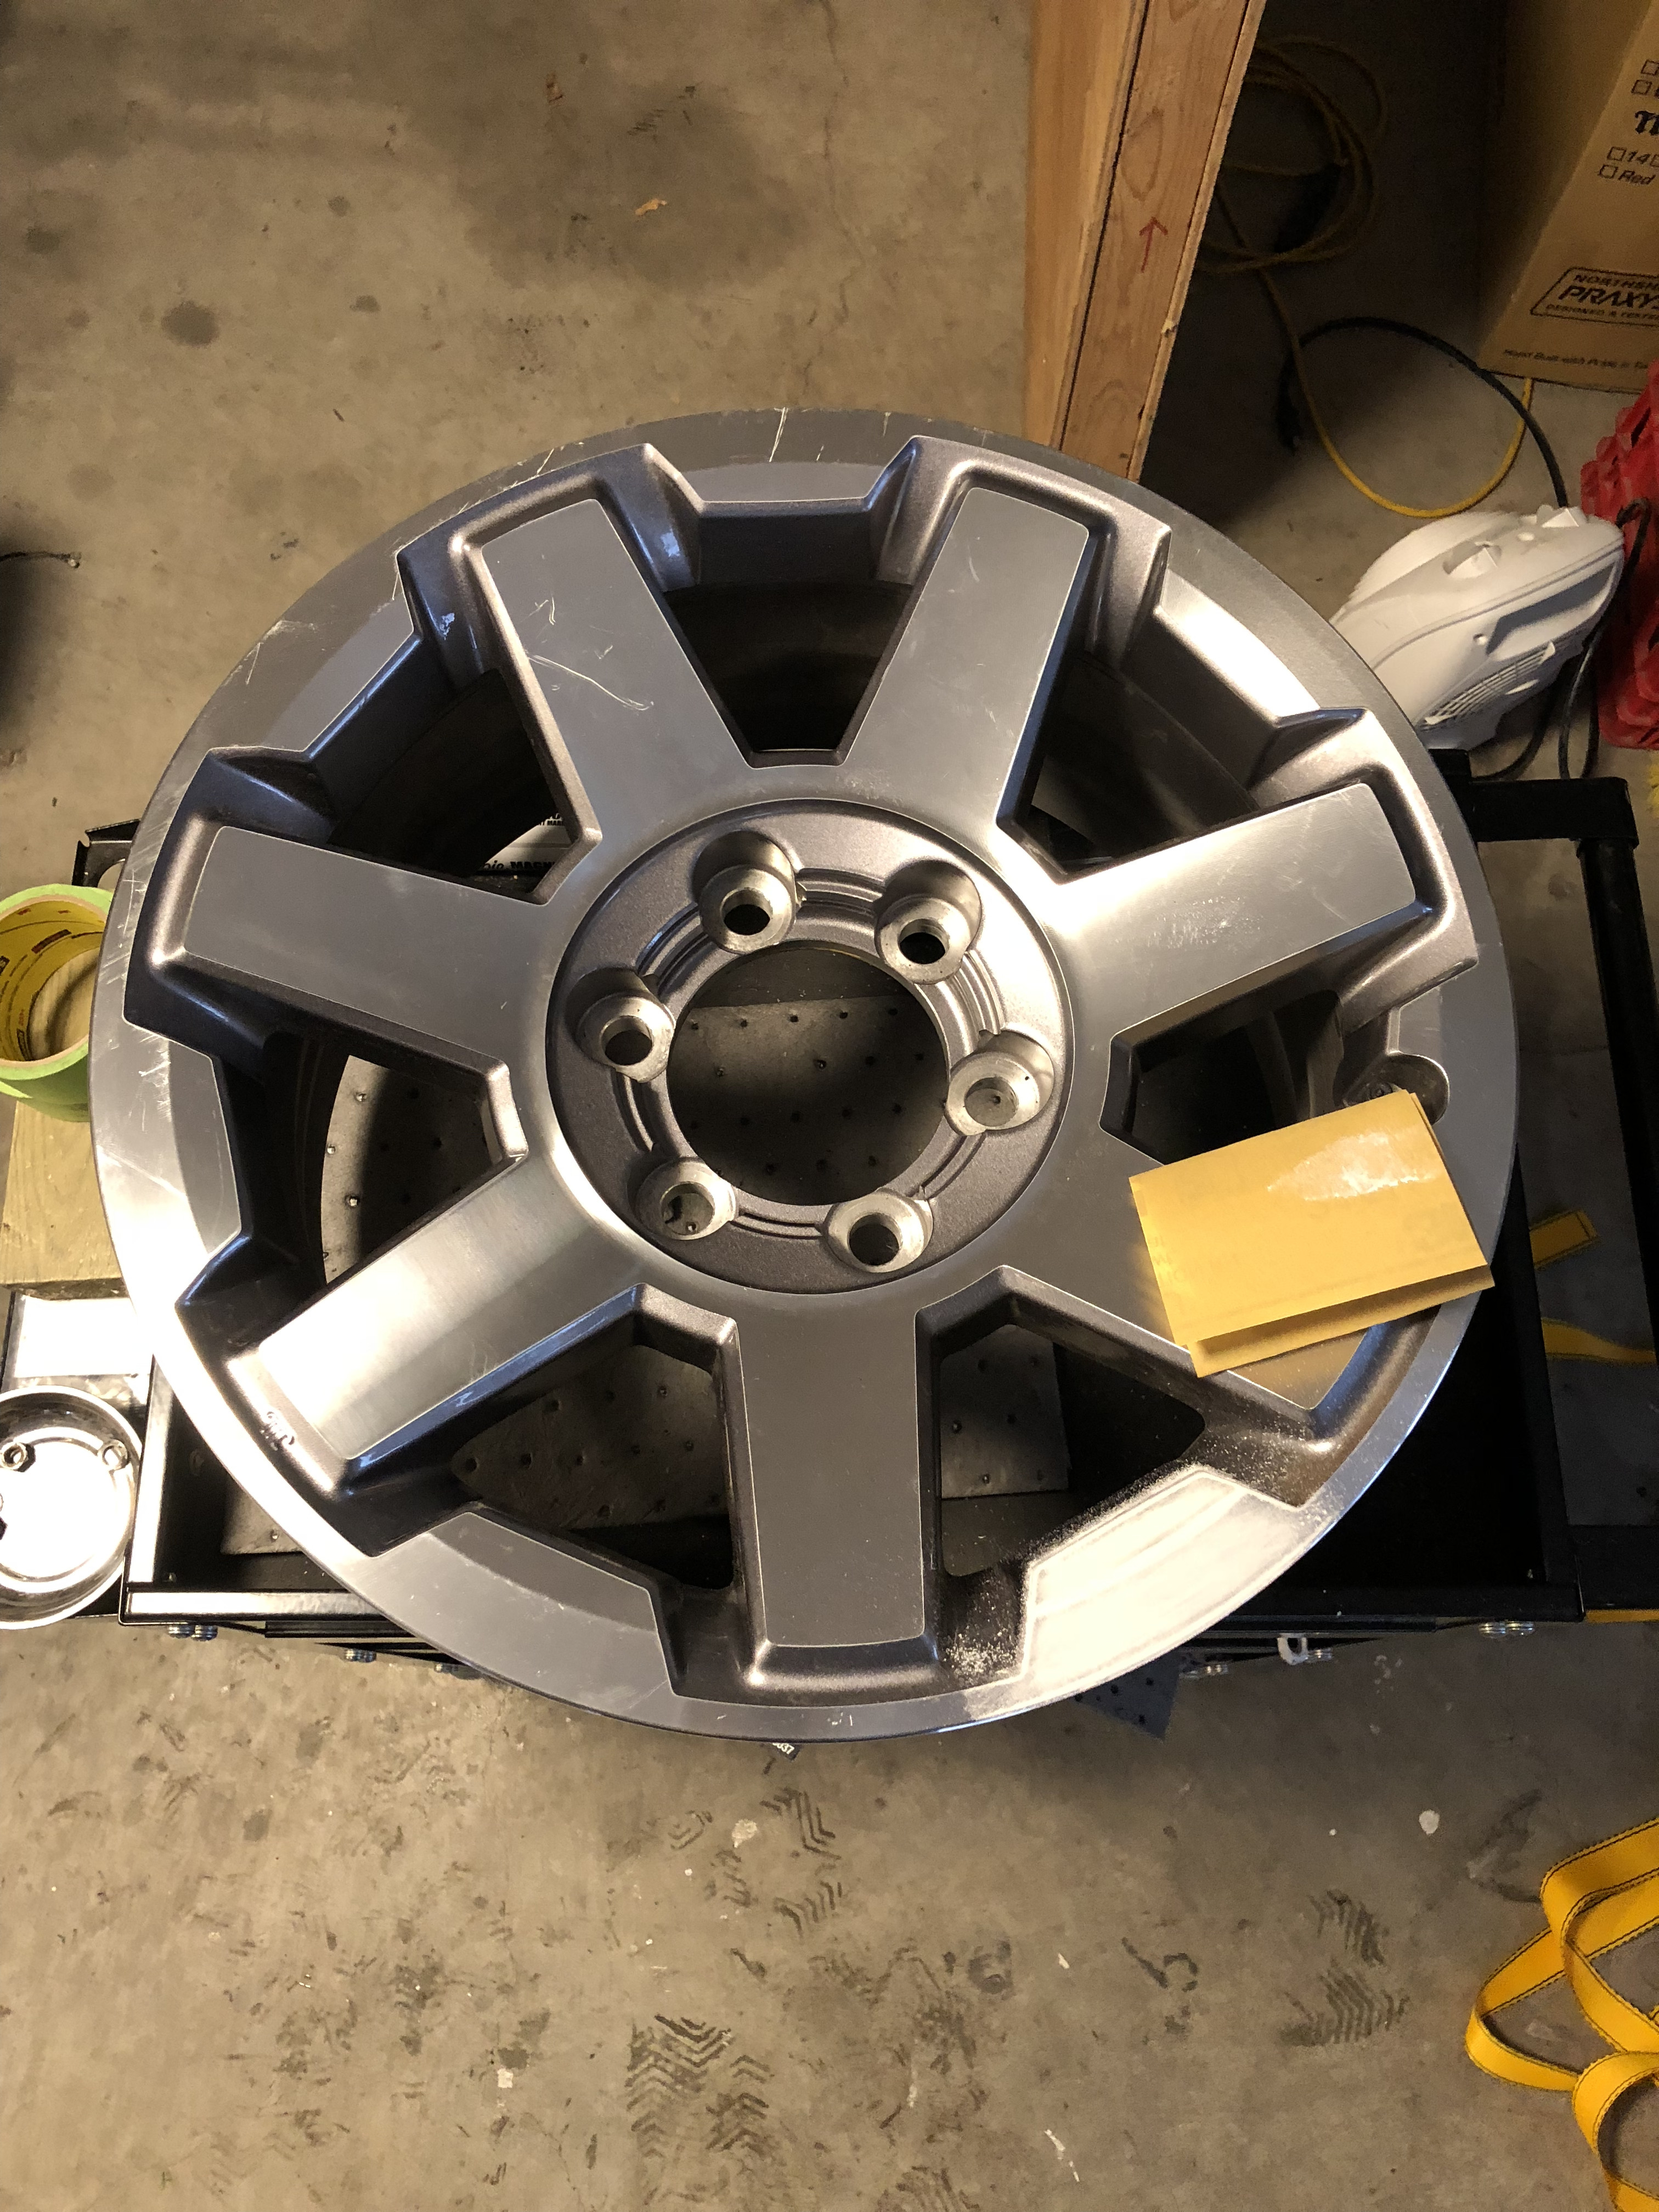
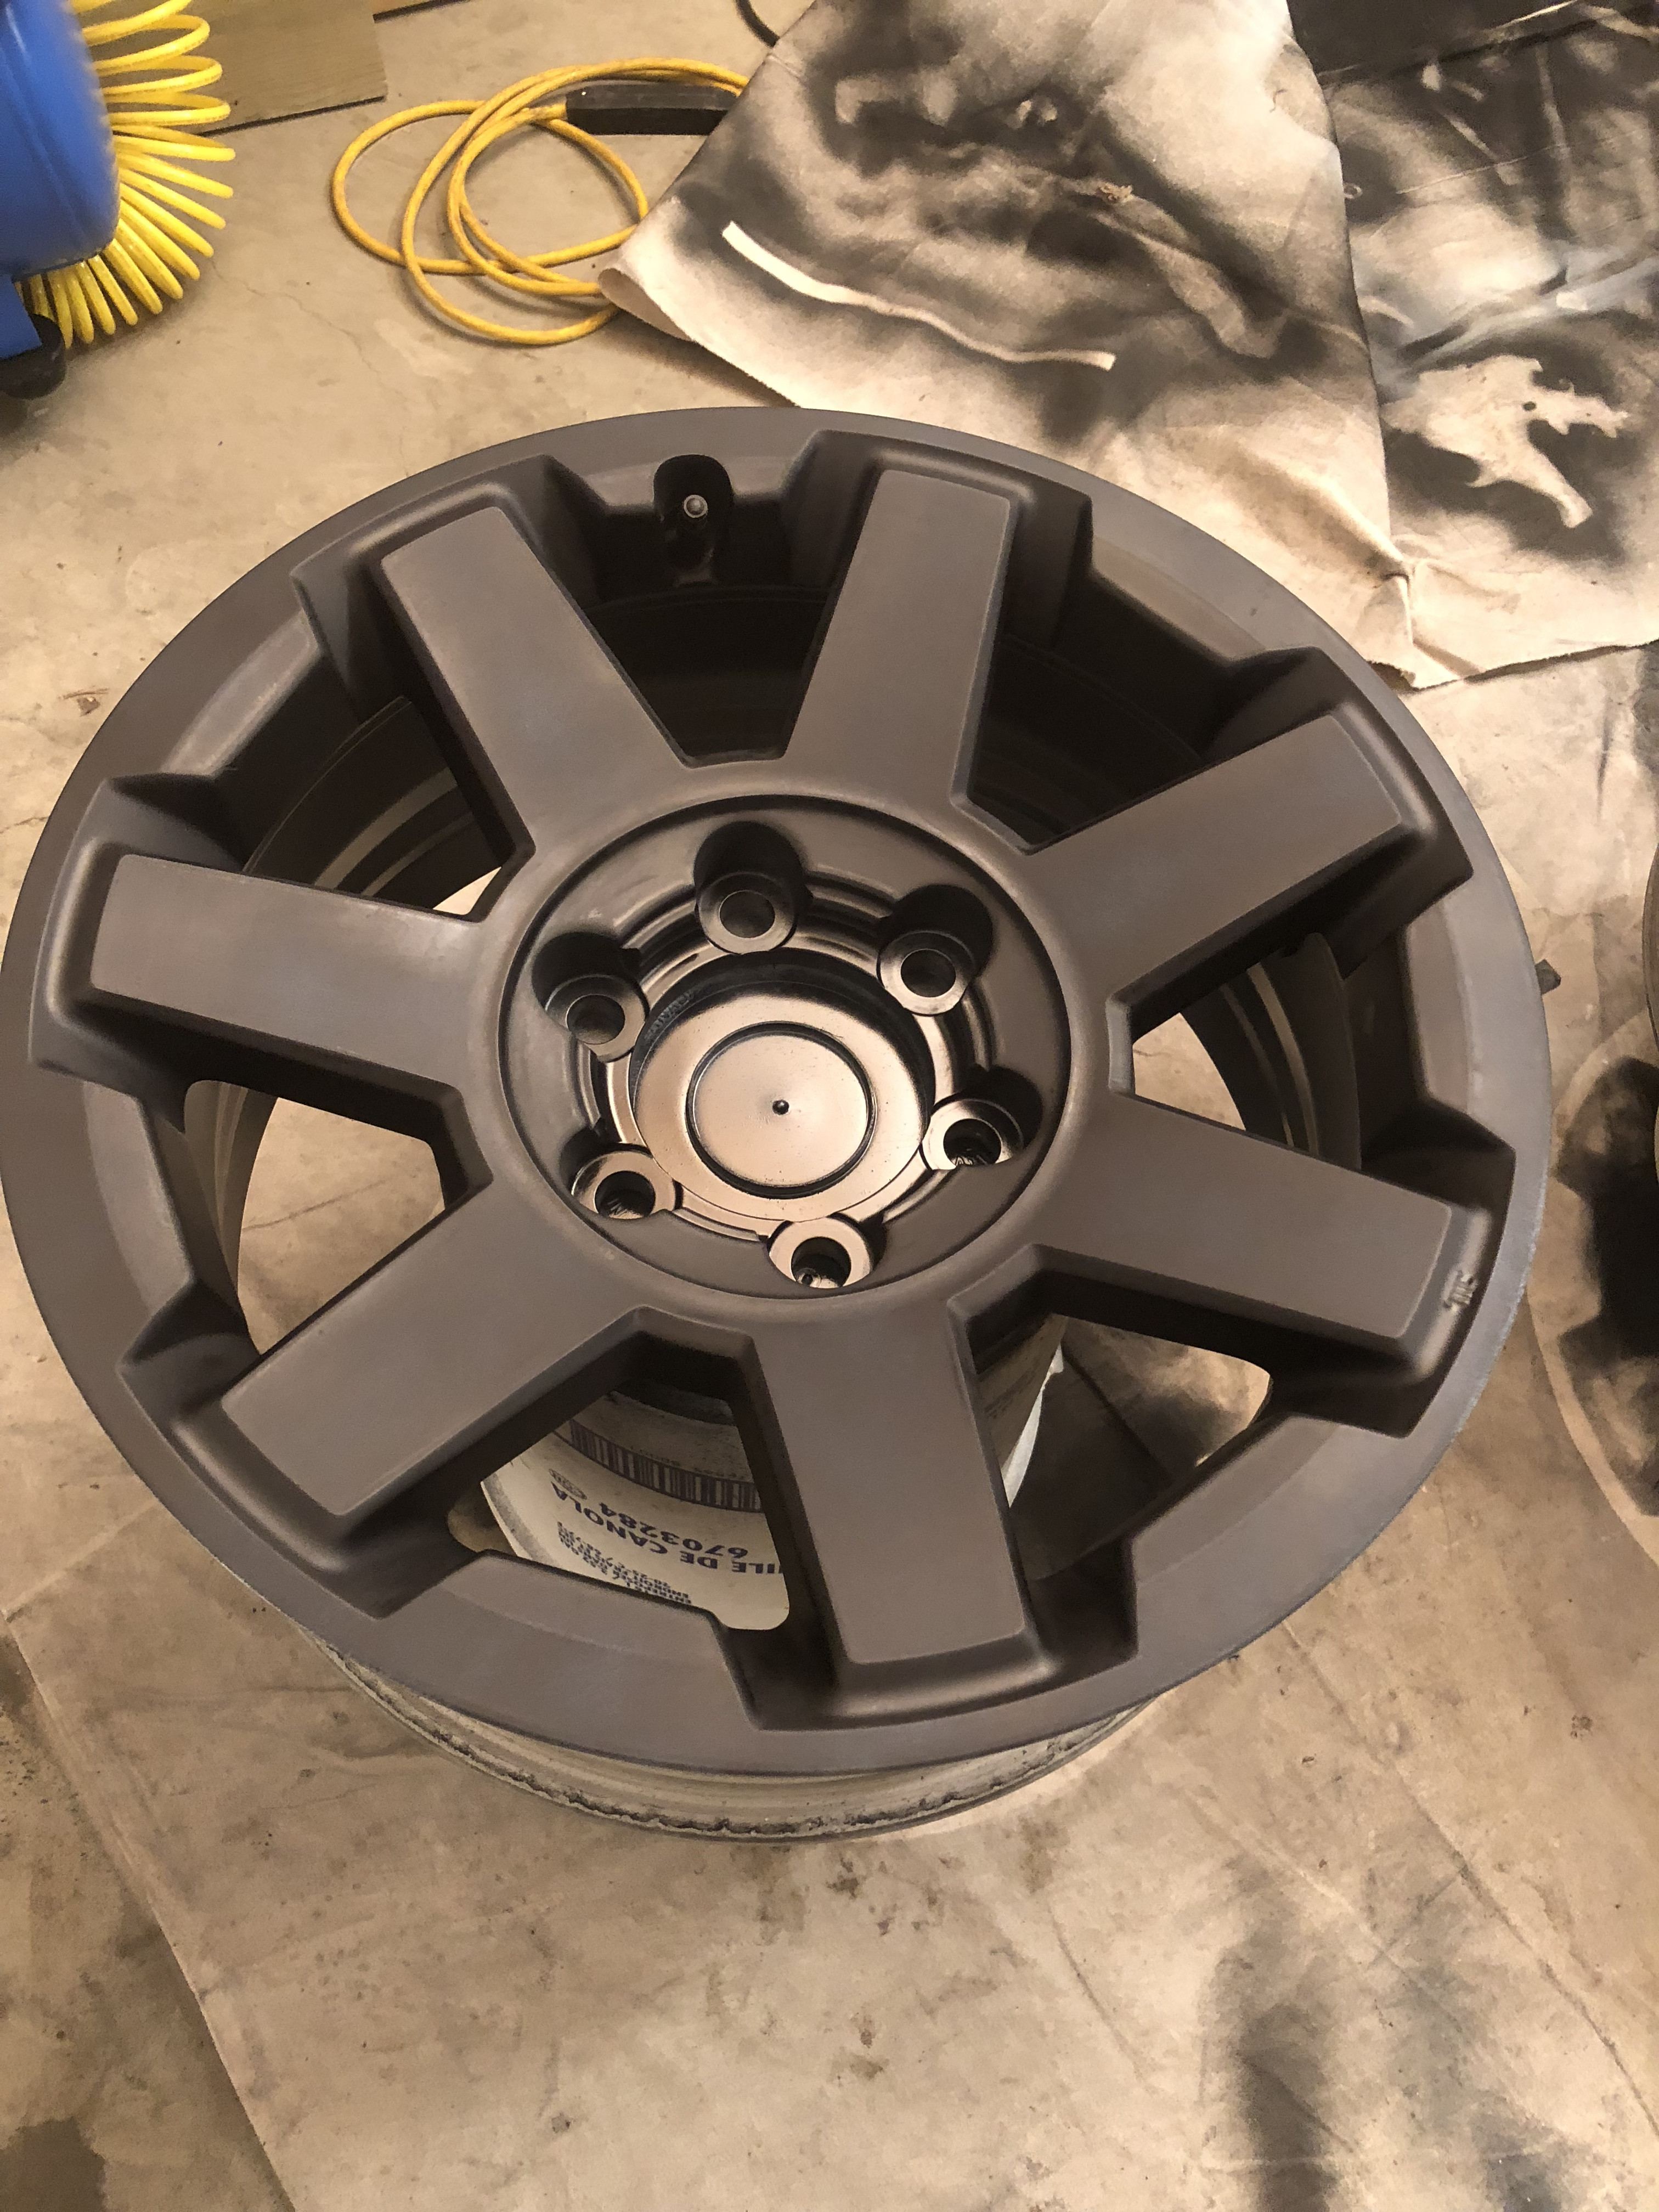
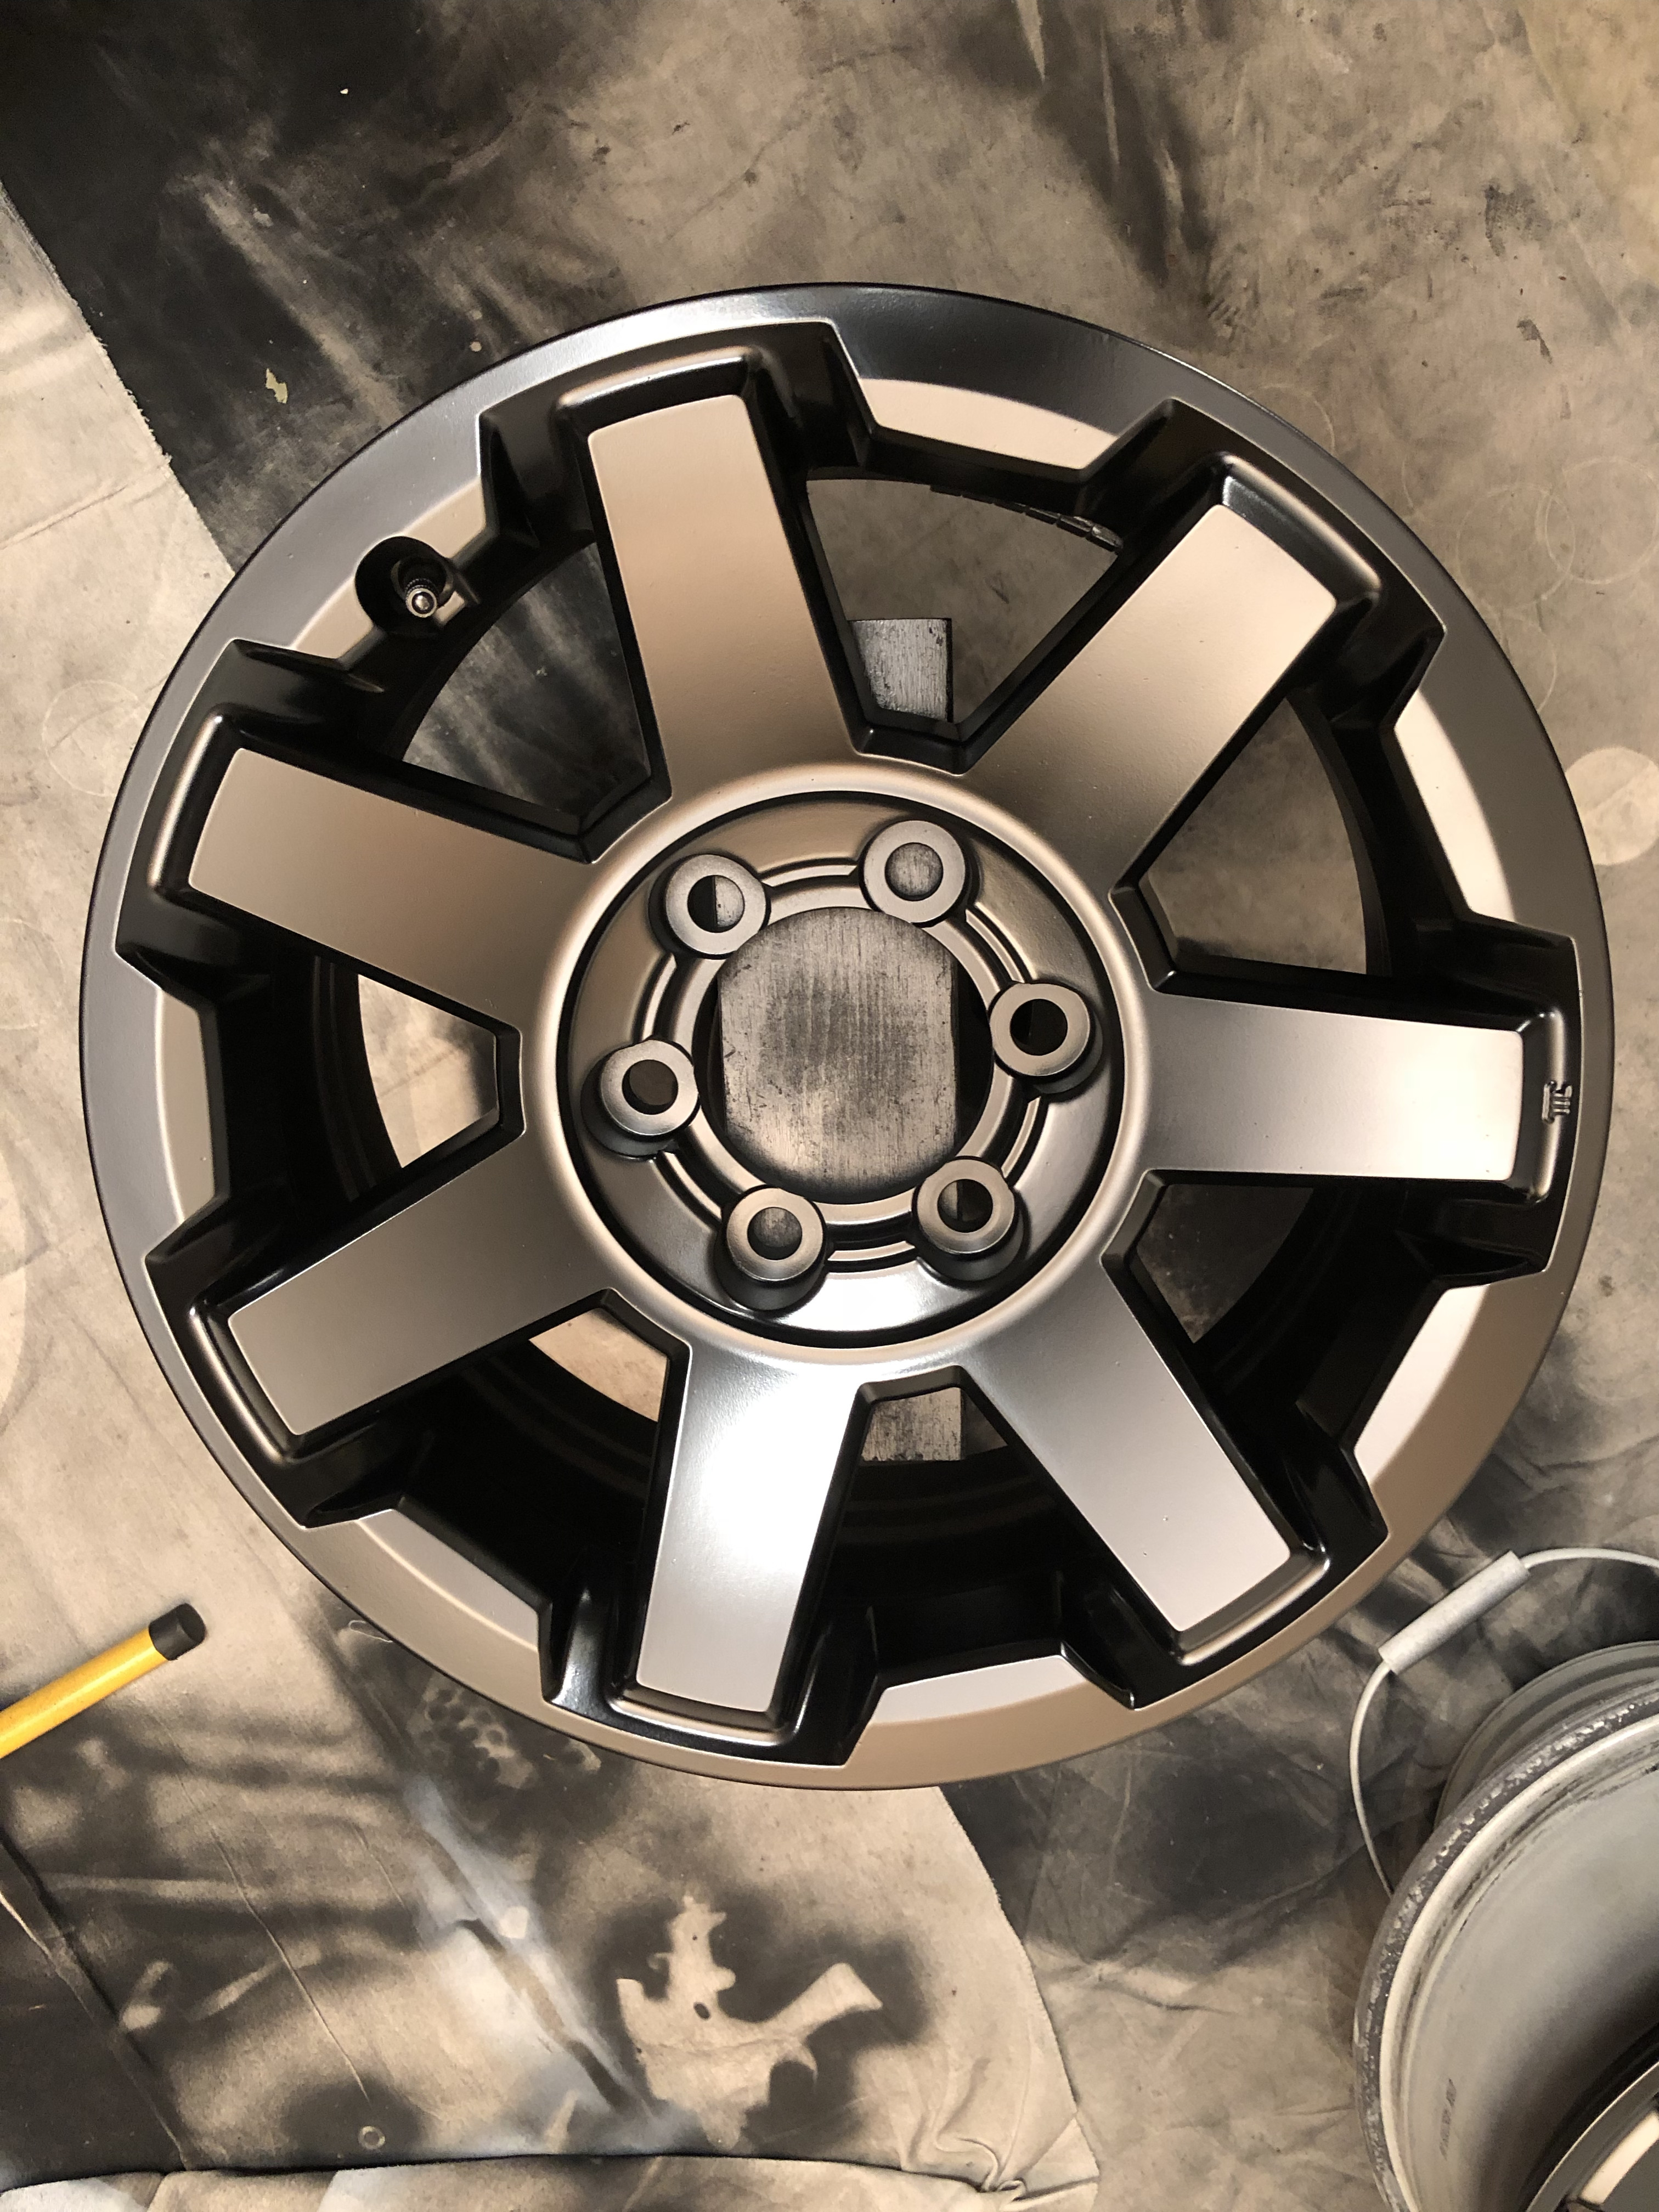
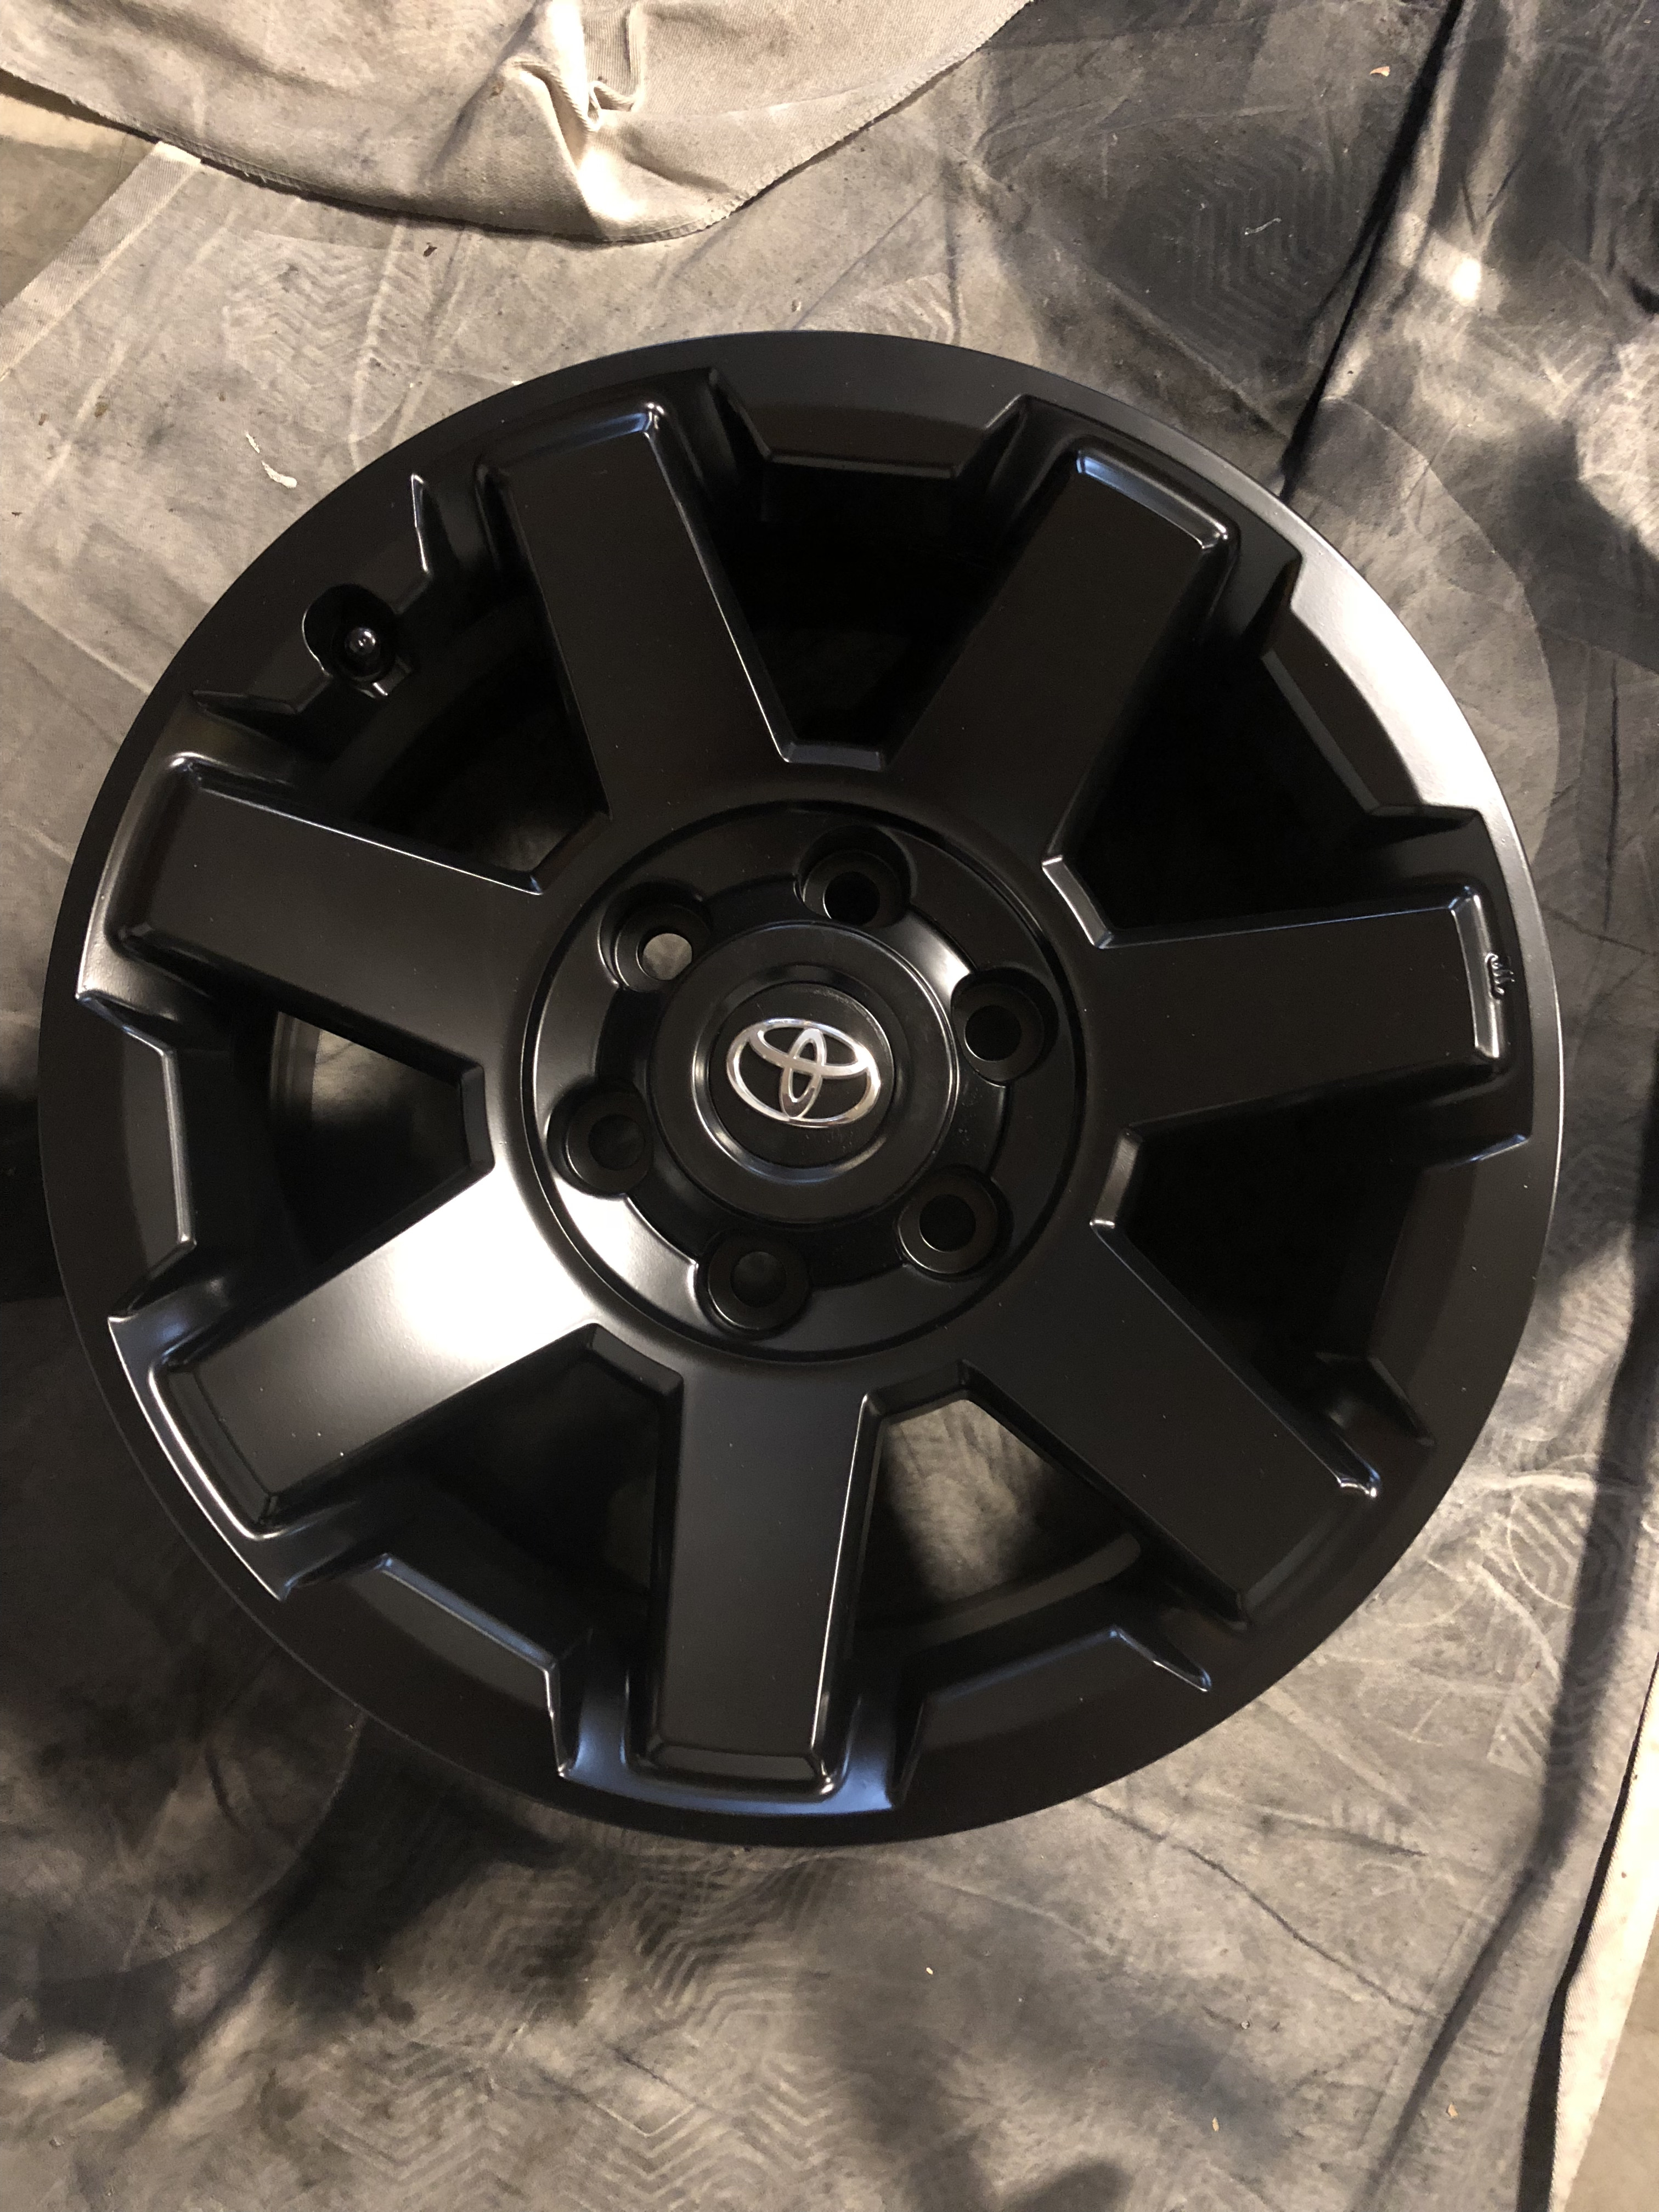
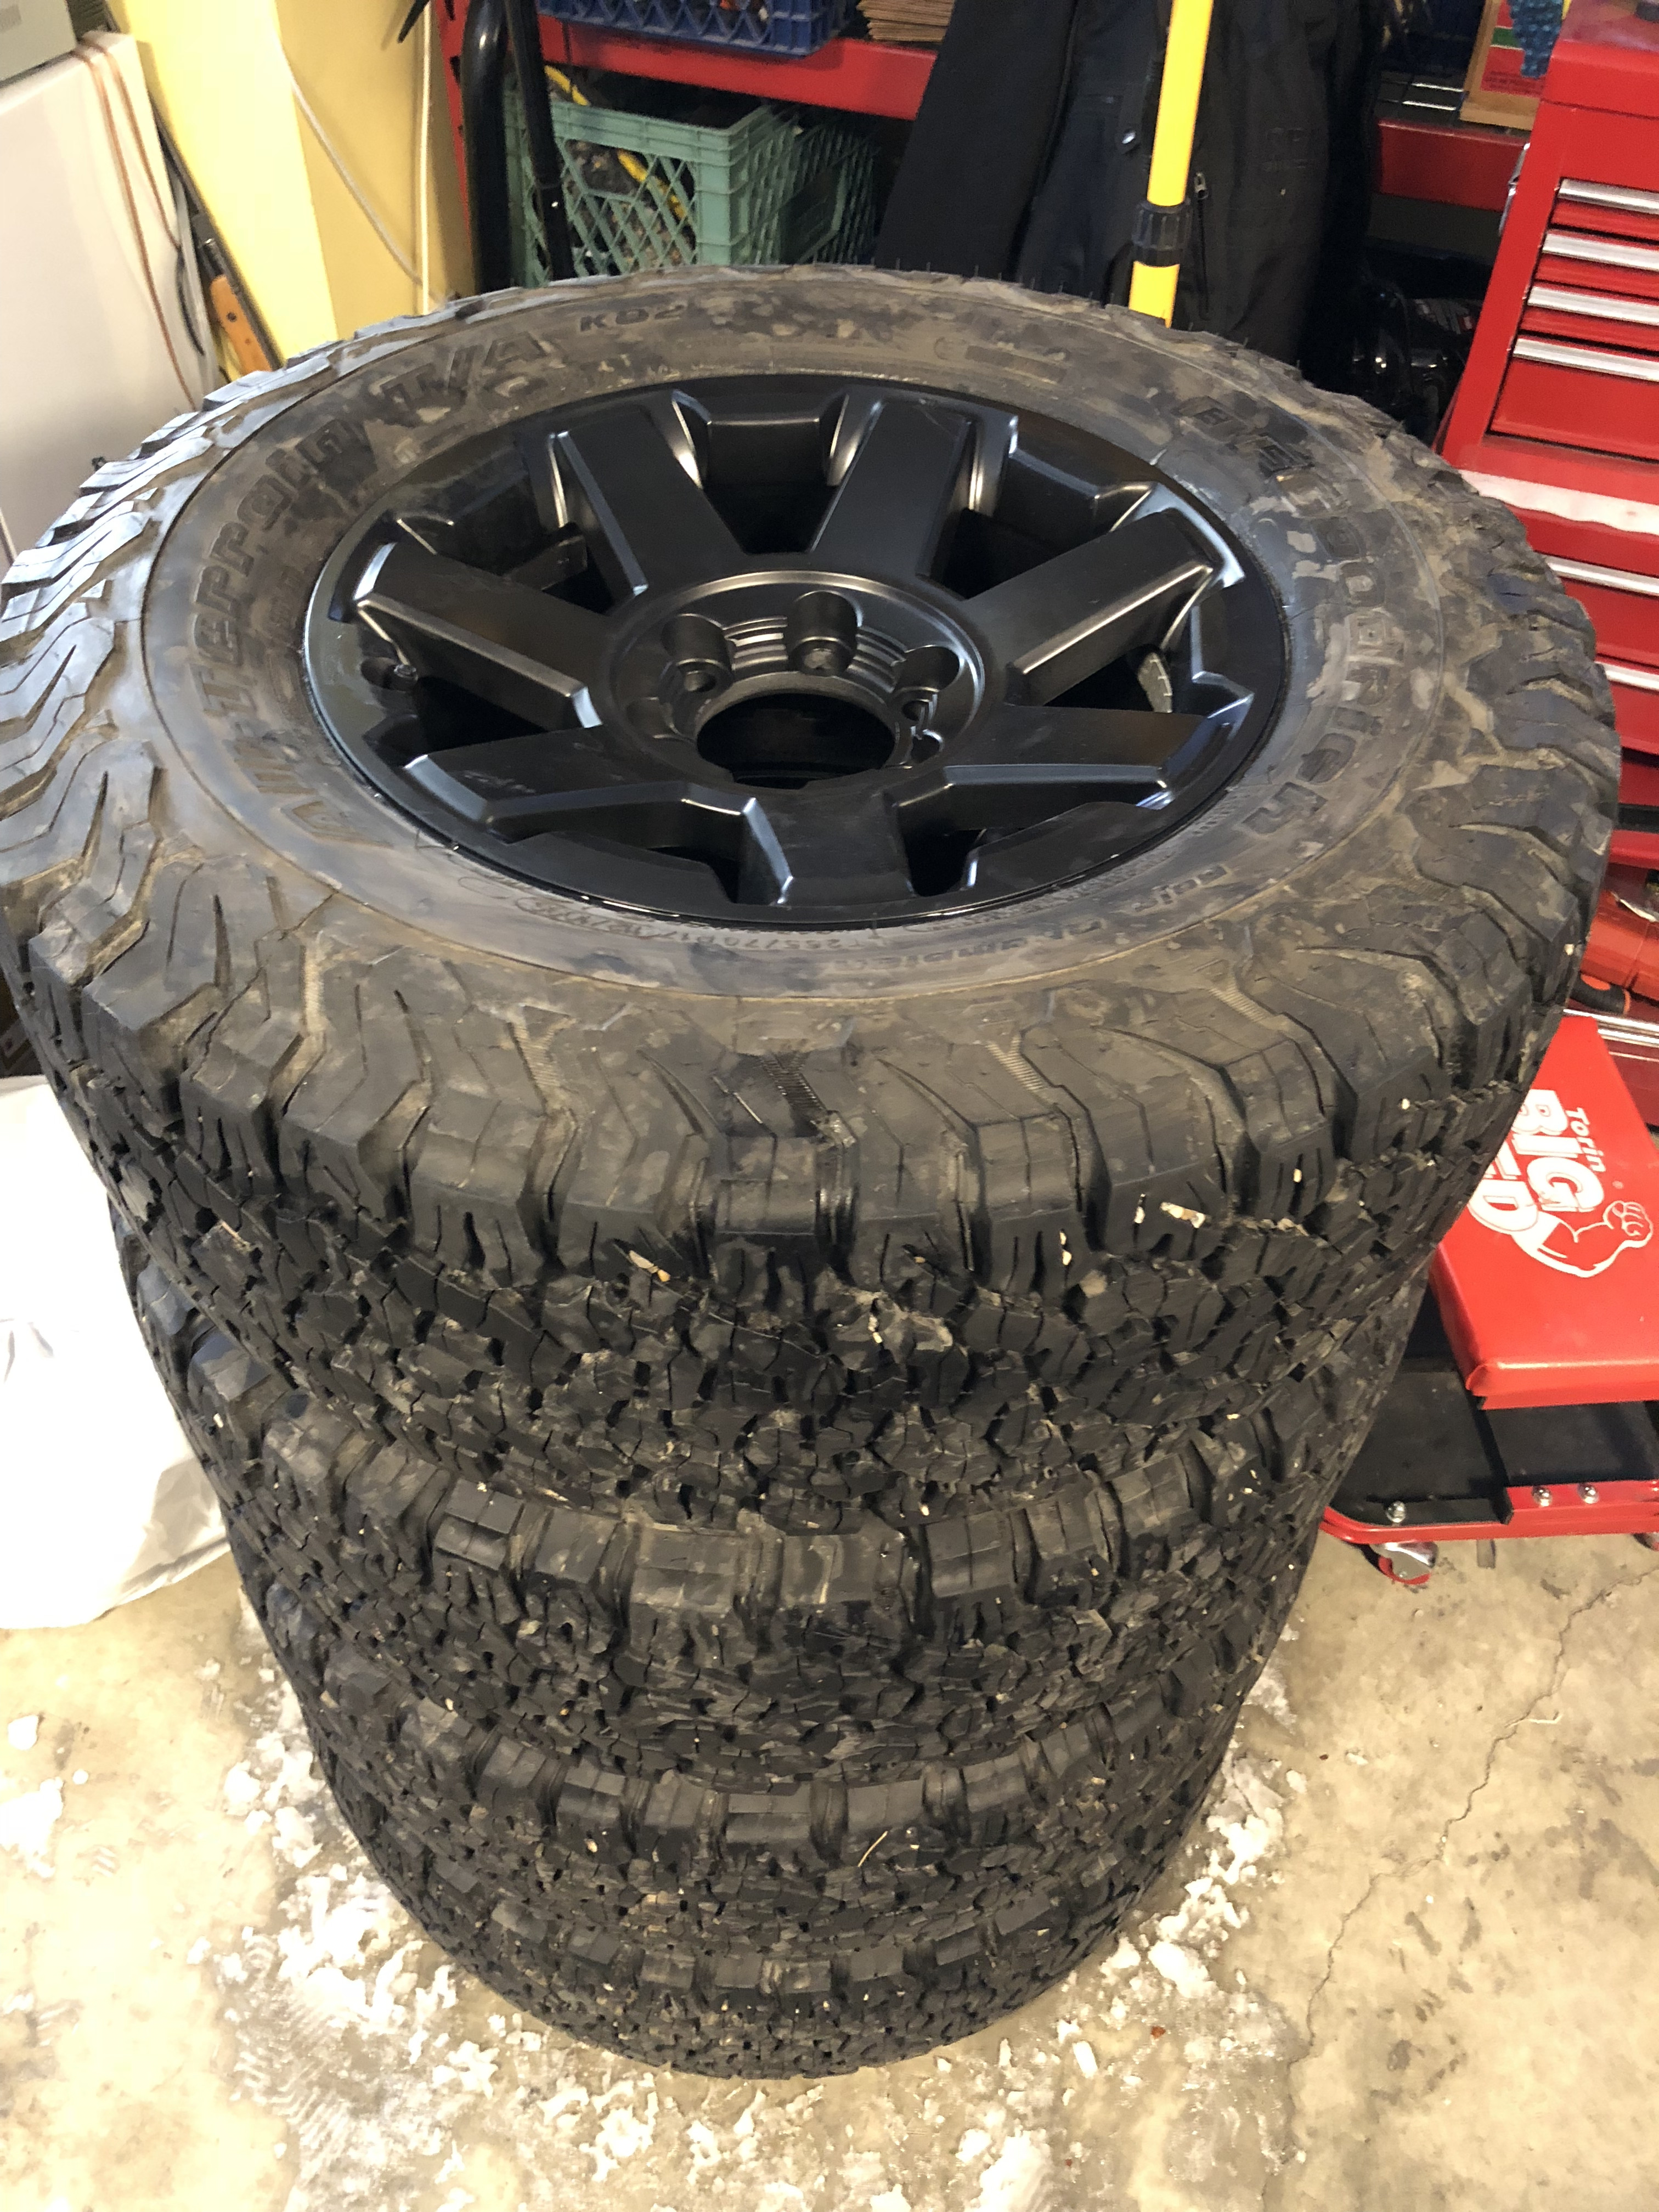
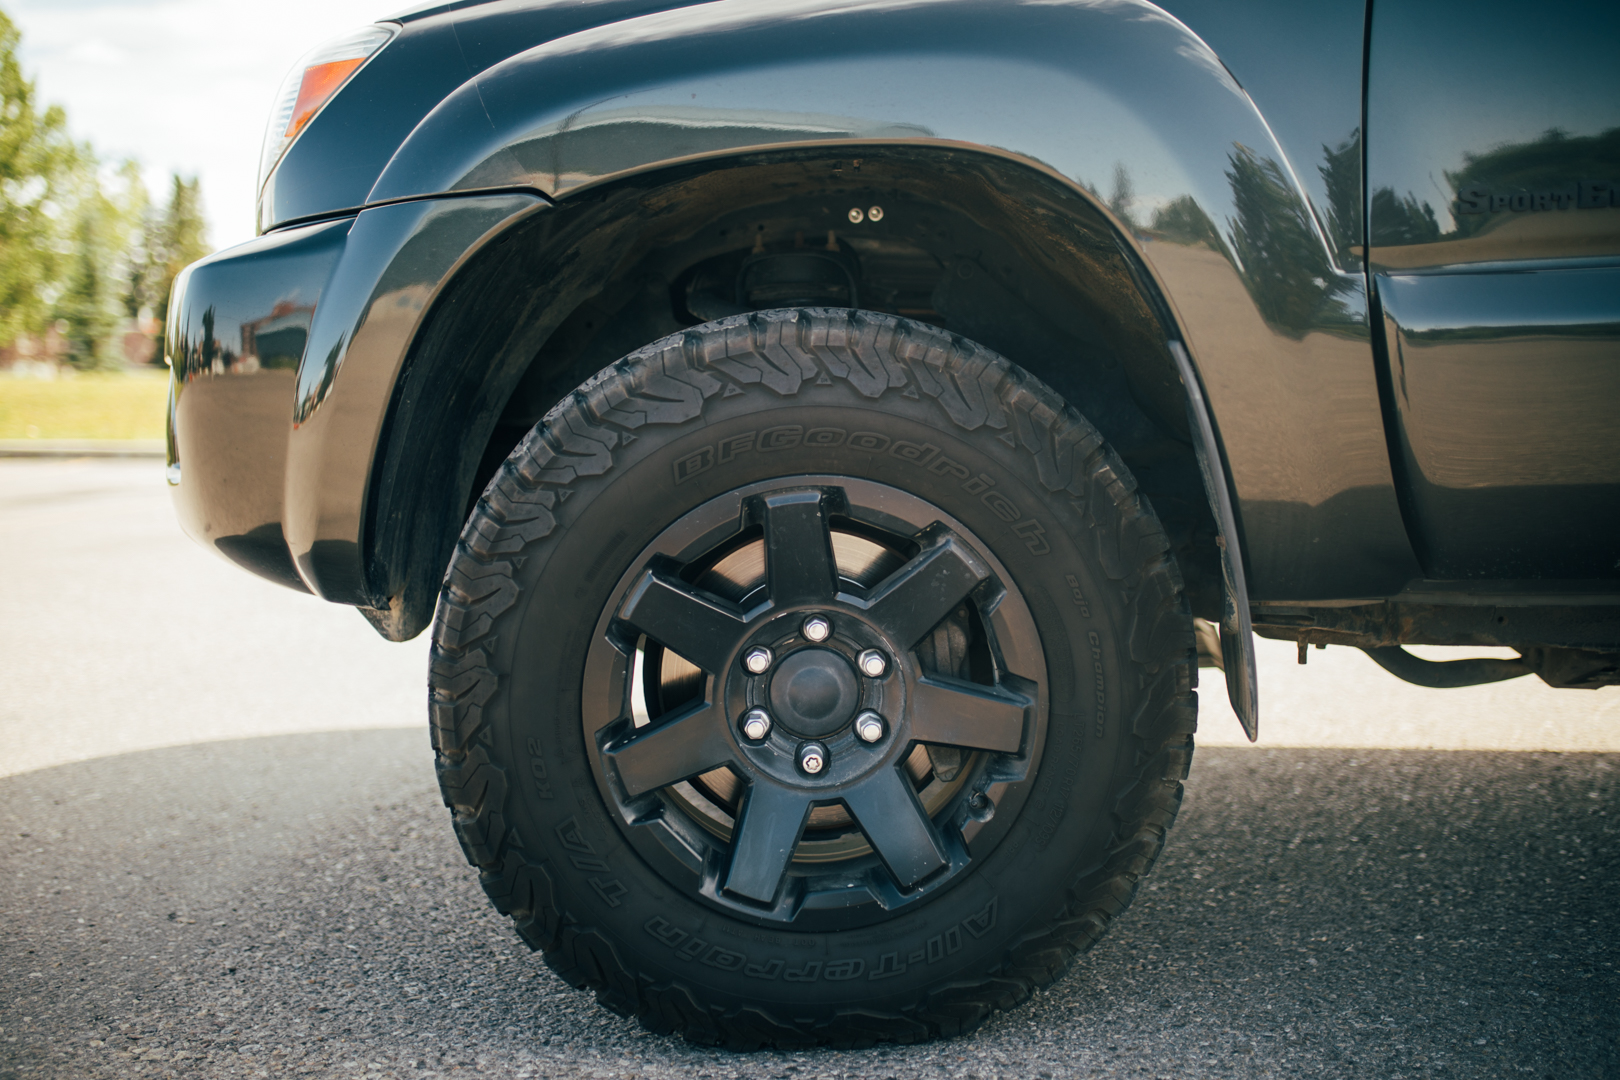
I was lucky enough to find a set of 5 Trail Edition wheels which are my favourite stock Toyota wheel out there. Before I got the tires mounted inside the same process as before and sanded, primed and painted the rims Satin Black. I swore this would be the last time I did this. Sanding those things was brutal! But it was worth it. Love the look of these wheels and I painted the center of my hubs black and went without center caps on the wheels. I kept the silver lug nuts.

I mounted my KO2's on these rims as my summer set and transferred my FJ wheels to my winters and wrapped them in Nokian Hakkapelliita R2's (amazing winter tire.)


85sDPq.jpg


85sPjA.jpg


85s5K1.jpg


853Z12.jpg


8531j5.jpg


853Rqz.jpg


853Xoz.jpg


85Vea2.jpg


Storage


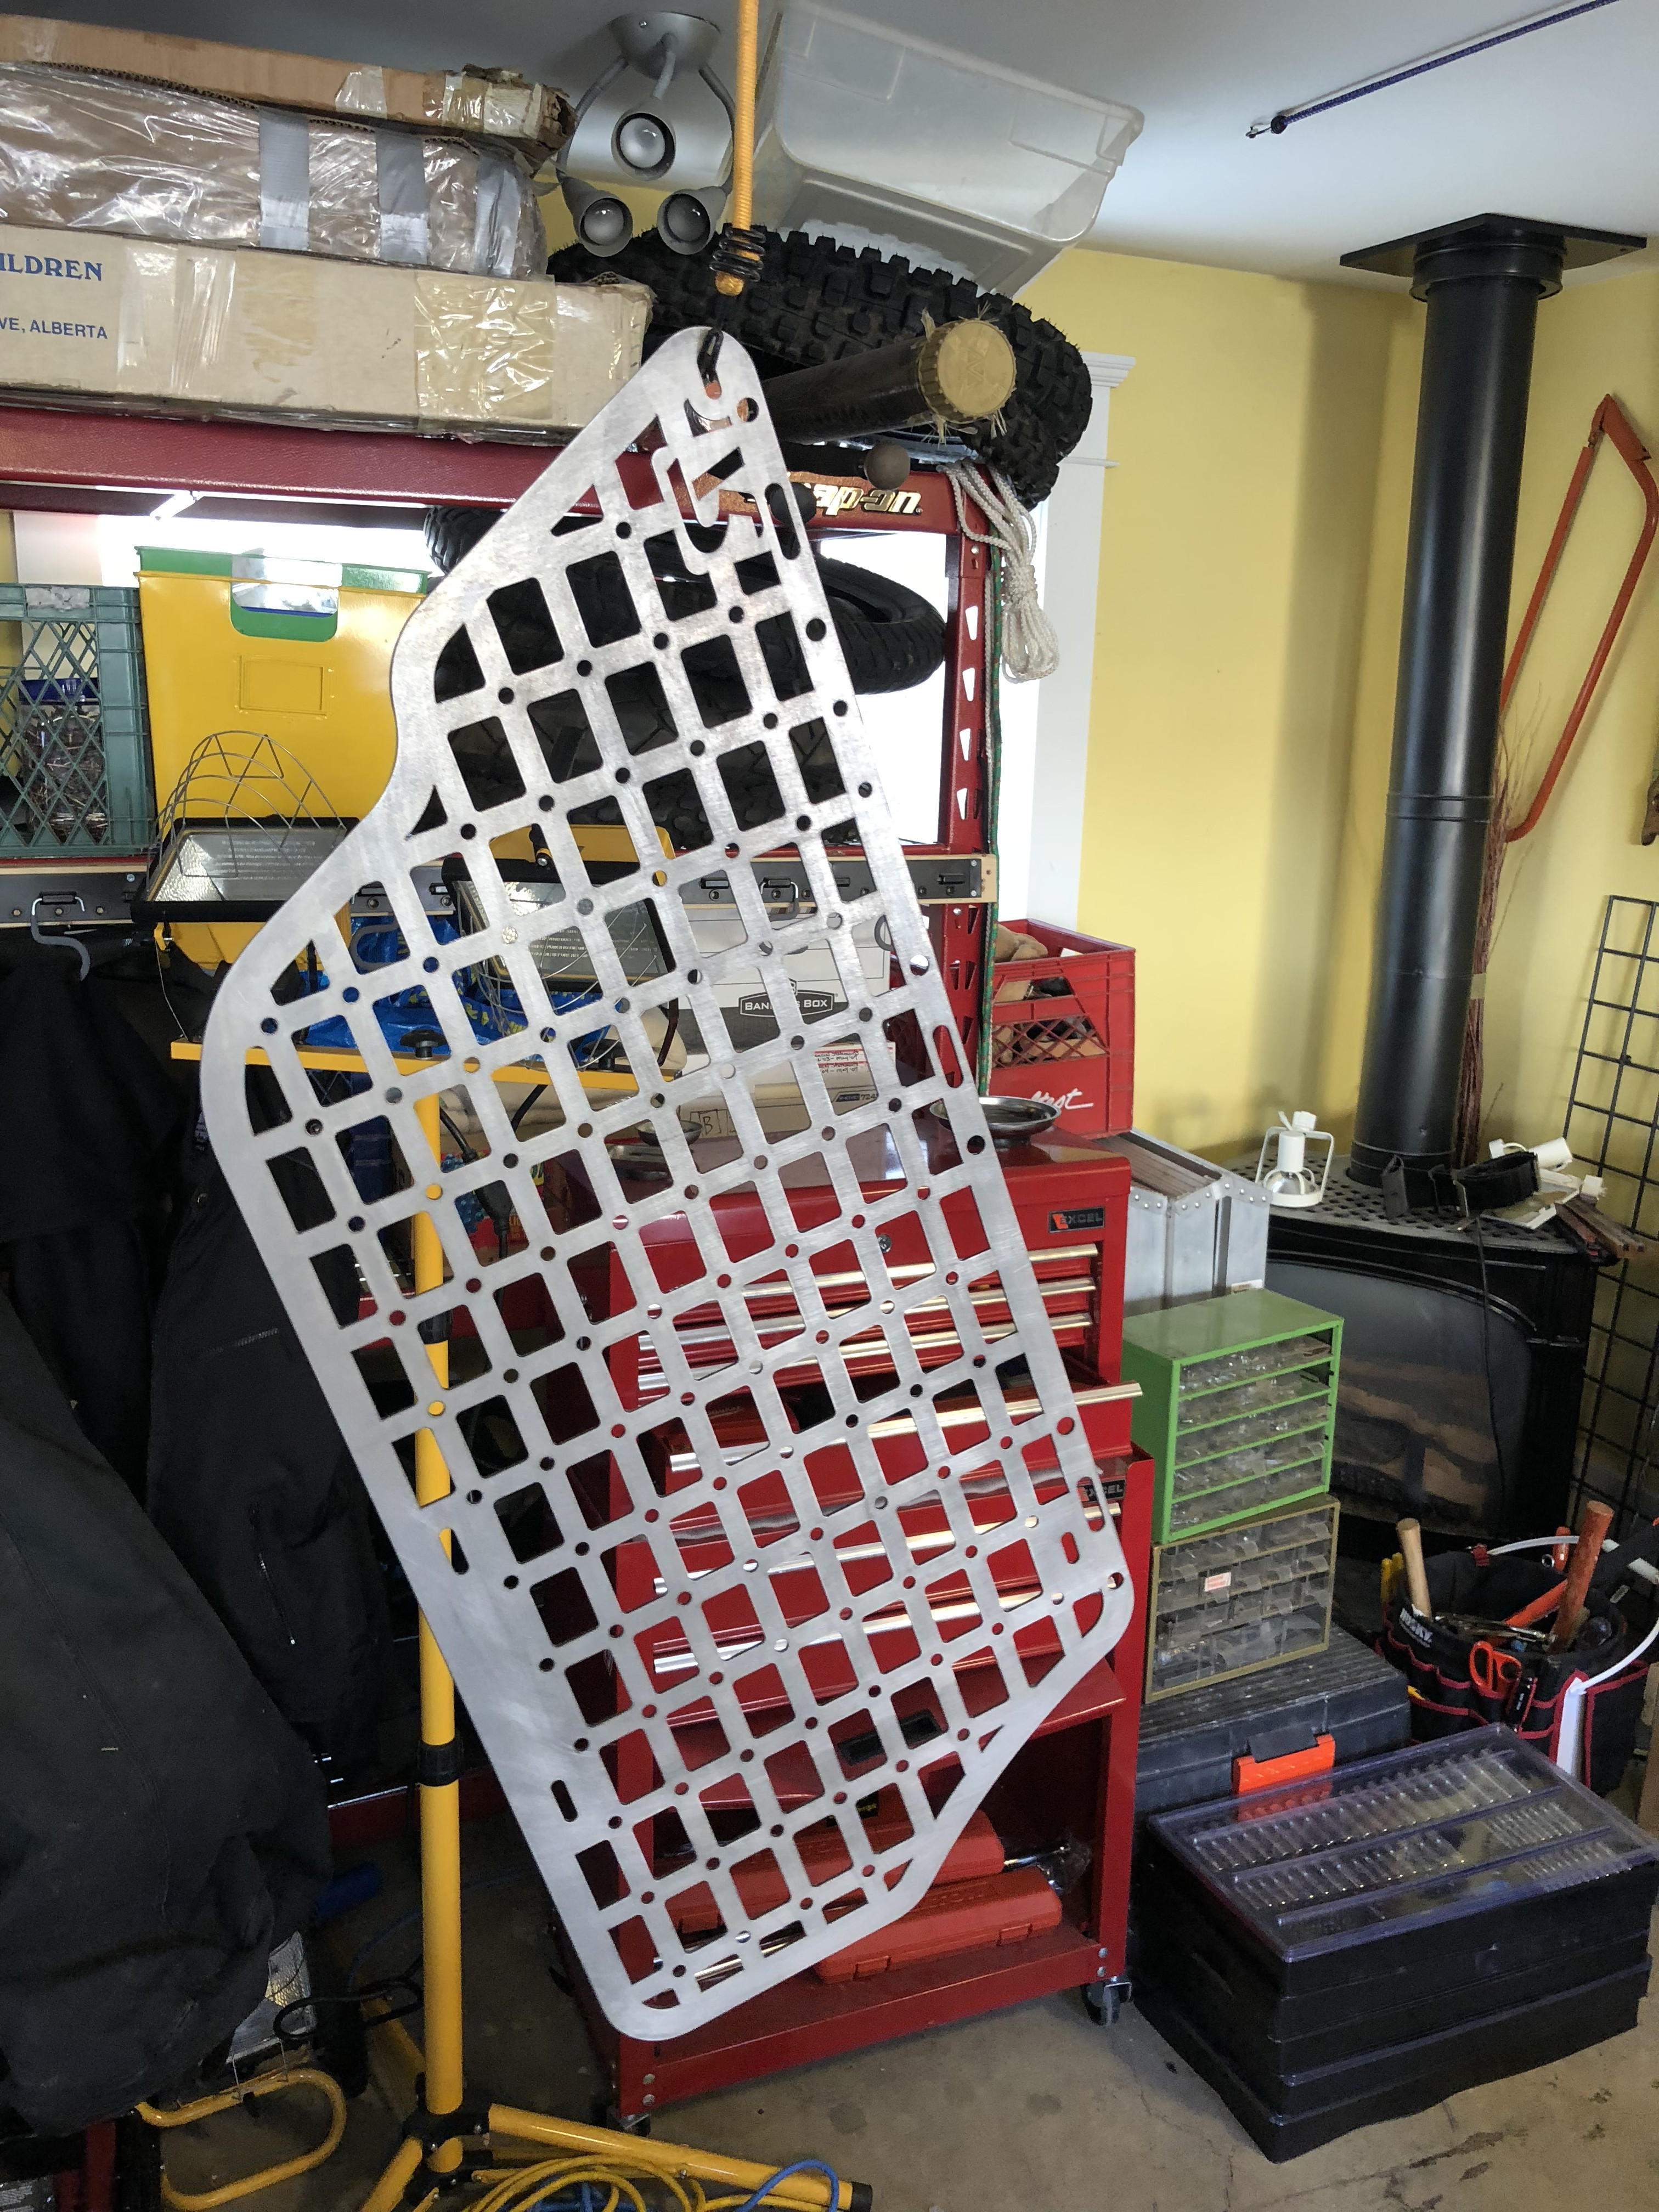
I had my eye on some of the Molle Window Panels that were coming out. A few different companies were making them and I was toying with the idea of getting a single drivers side. Then I happened upon the Raho Grouo Buy on this site ended buying a set in bare metal. It was a pretty good price and pushed me over the edge to order originally i only wanted the driver's side so I could keep my passenger side clear for visibility. I ended up installing both and loved them. Honestly it doesn't feel like there is a blind spot there. My mirrors are set wide enough and I can still see though the grate.

When they arrived I decided to rattlecan them myself instead of getting them powder coated. Price was the main factor and I felt confident after doing a few sets of wheels.

I was too eager not to put them in so I immediately painted them then installed them questionably early. Smelled like paint a little bit but that fades quickly (or I just became used to it.)

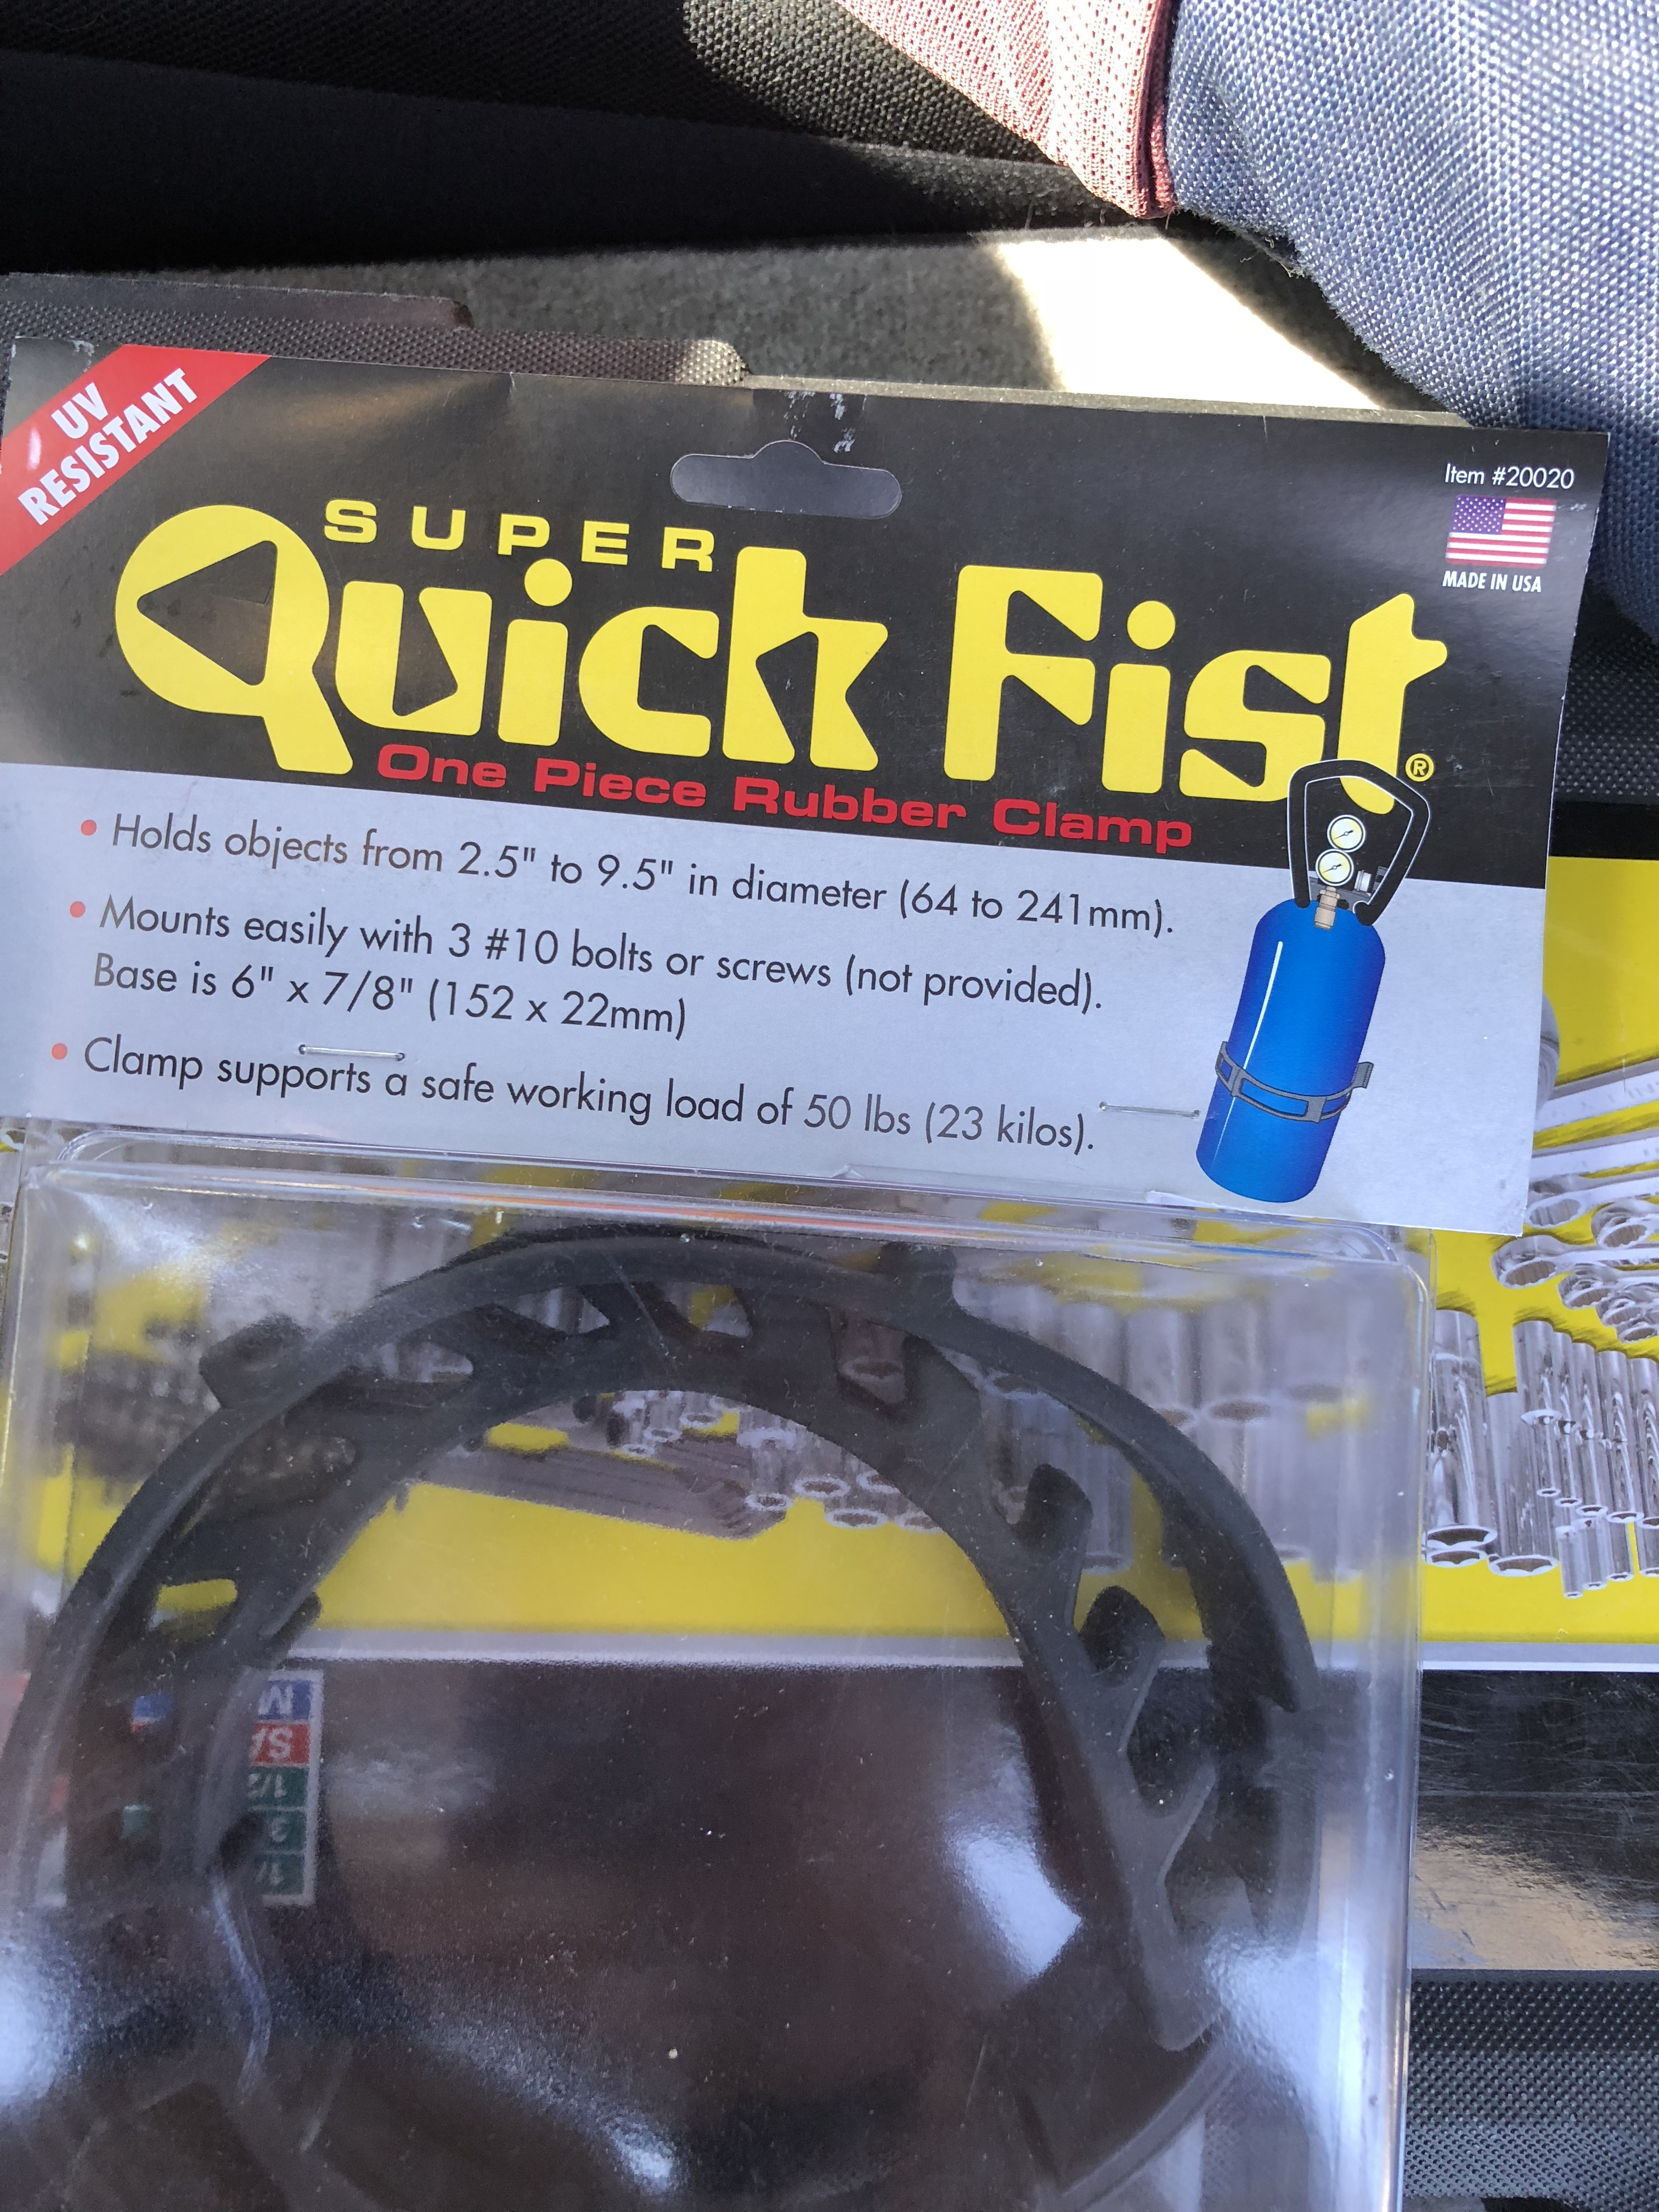
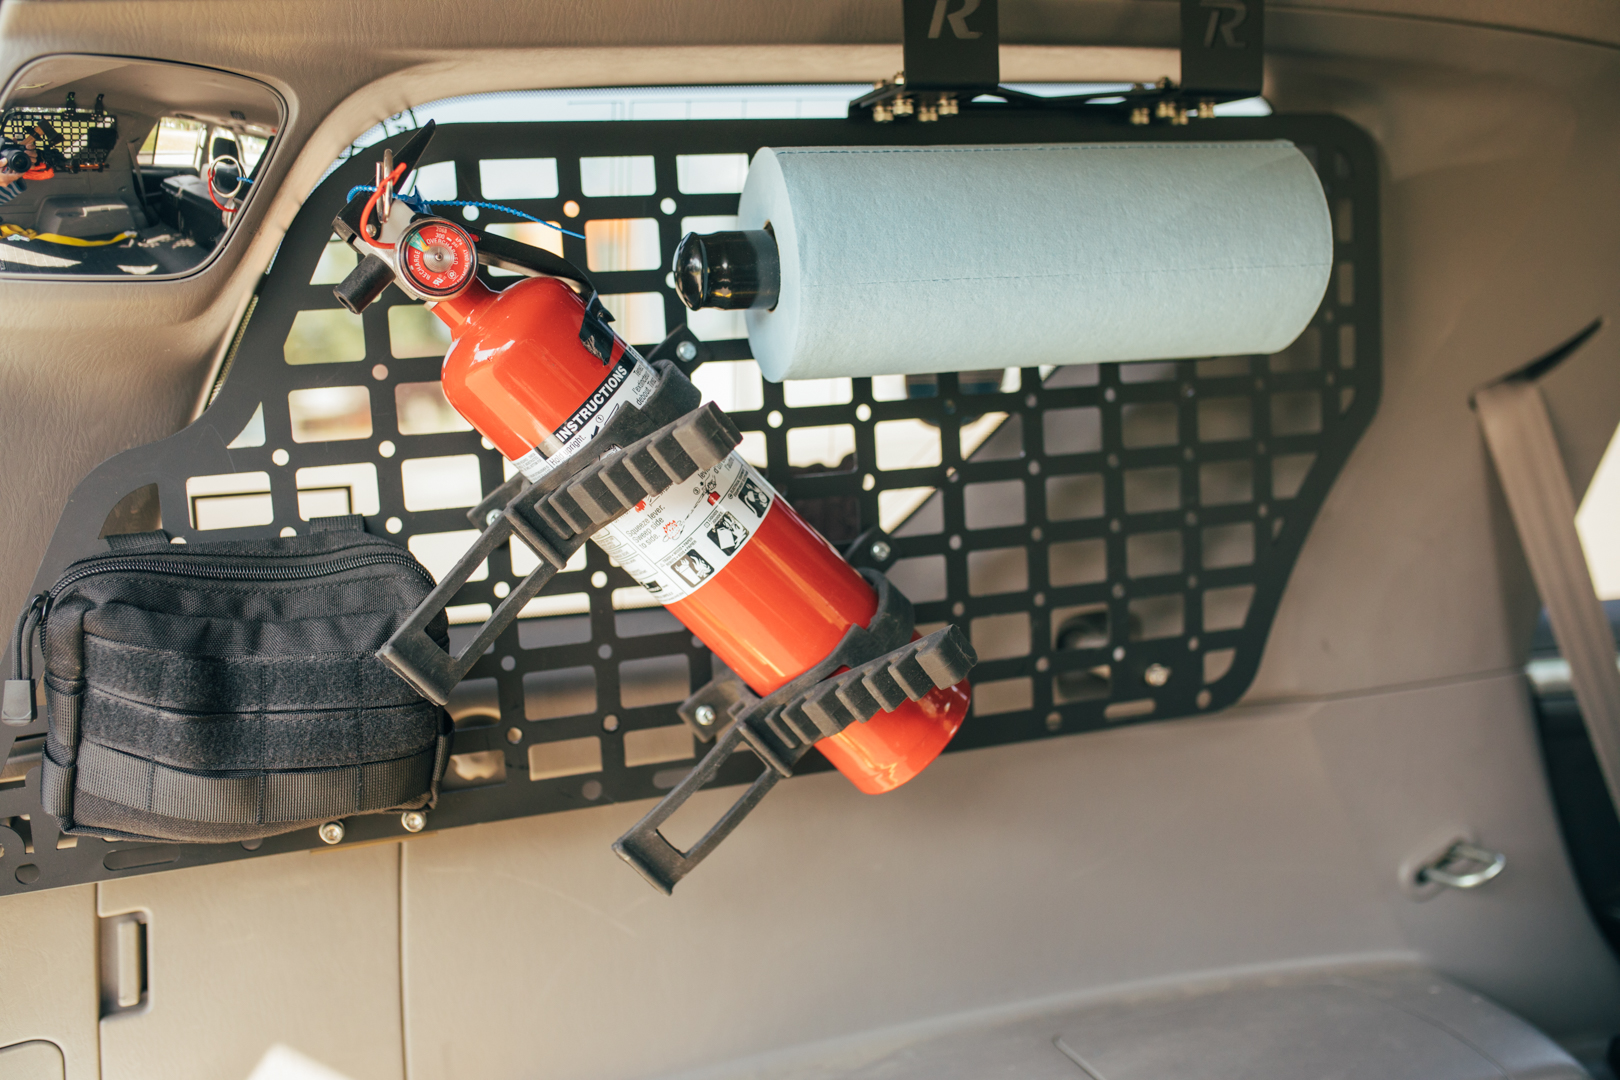
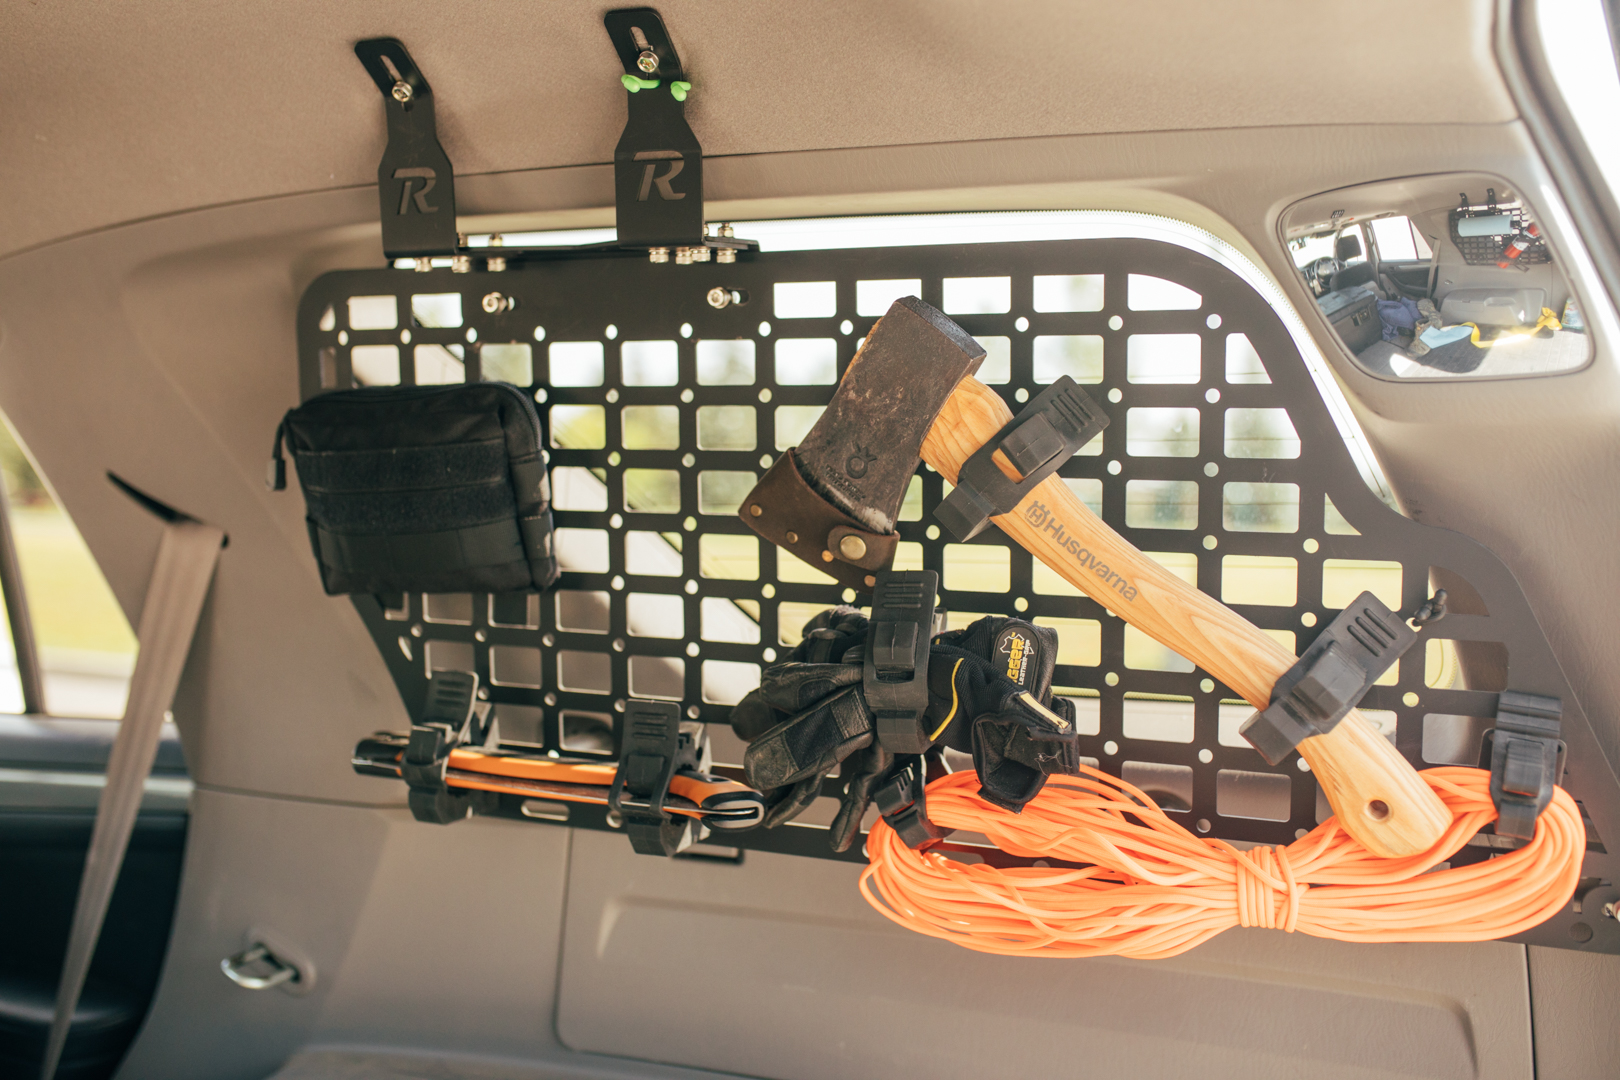
I largely wanted these panels so certain items were readily available in a hurry. Fire extinguisher, paper towels, gloves etc. Again probably overkill but I'm digging it and that's the point right? I have toyed around with how they are set up and feel like this is the best with what I have mounted. I still find they flex and bounce around quite a bit when I'm driving down a fire road and hit some washboards. I'm thinking of maybe attaching a long aluminum bracket (maybe 1" x 24") across the back of it to maybe brace it a little better. Everything is tight but with the weight of the items on the racks they do move quite a bit. But they are sturdy and not going anywhere. I chose to use QuickFists for most of the accessories as they are extremely versatile and sturdy. There are a few Molle pouches attached as well that hold items like tire pressure gauge, 12v tester, Noco Battery Booster. I plan on attaching a good first aid kit to here as well.

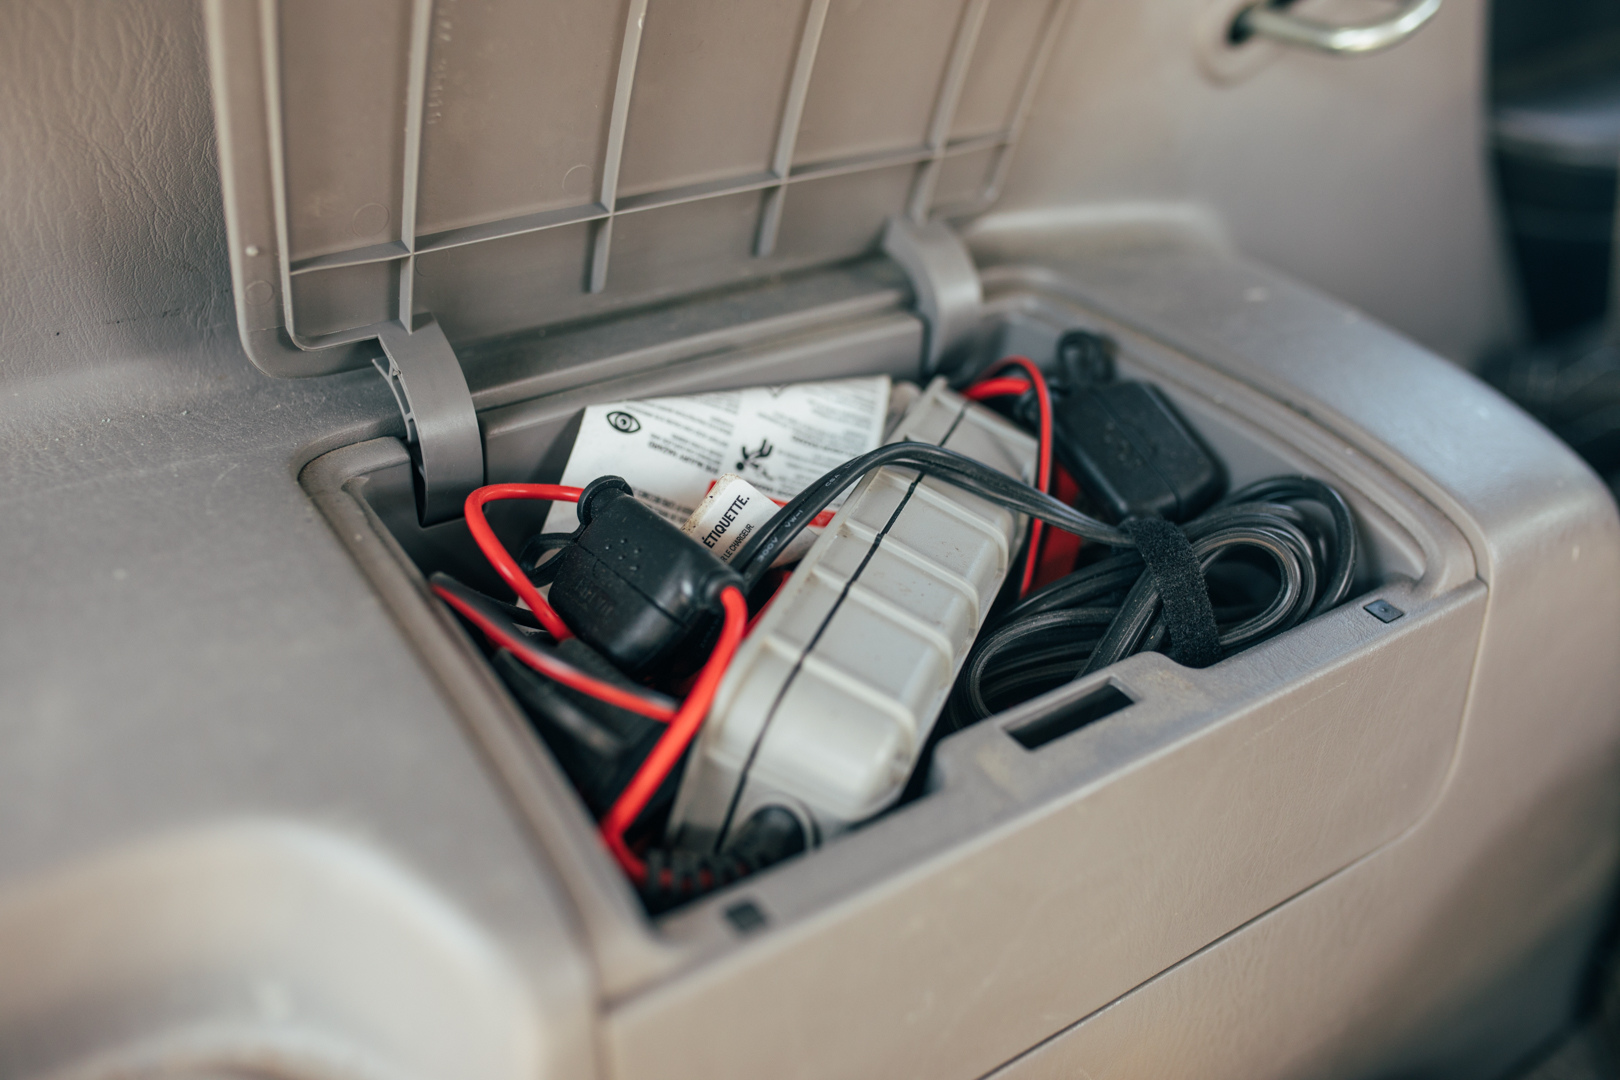
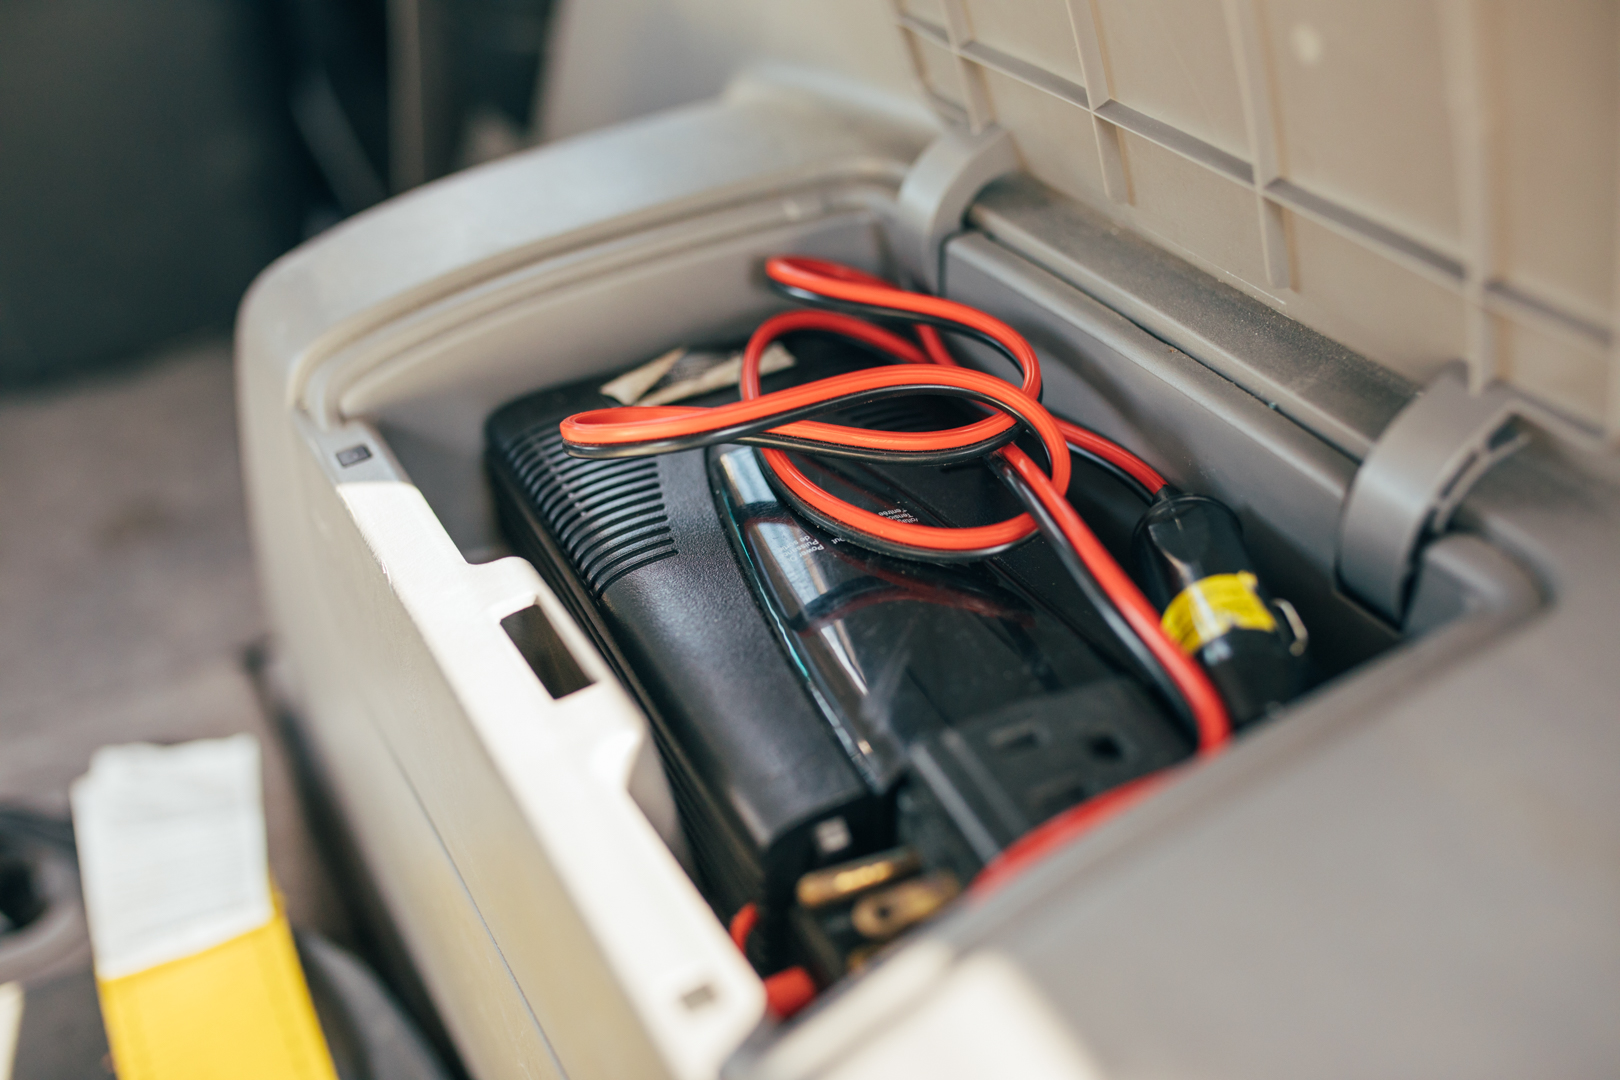
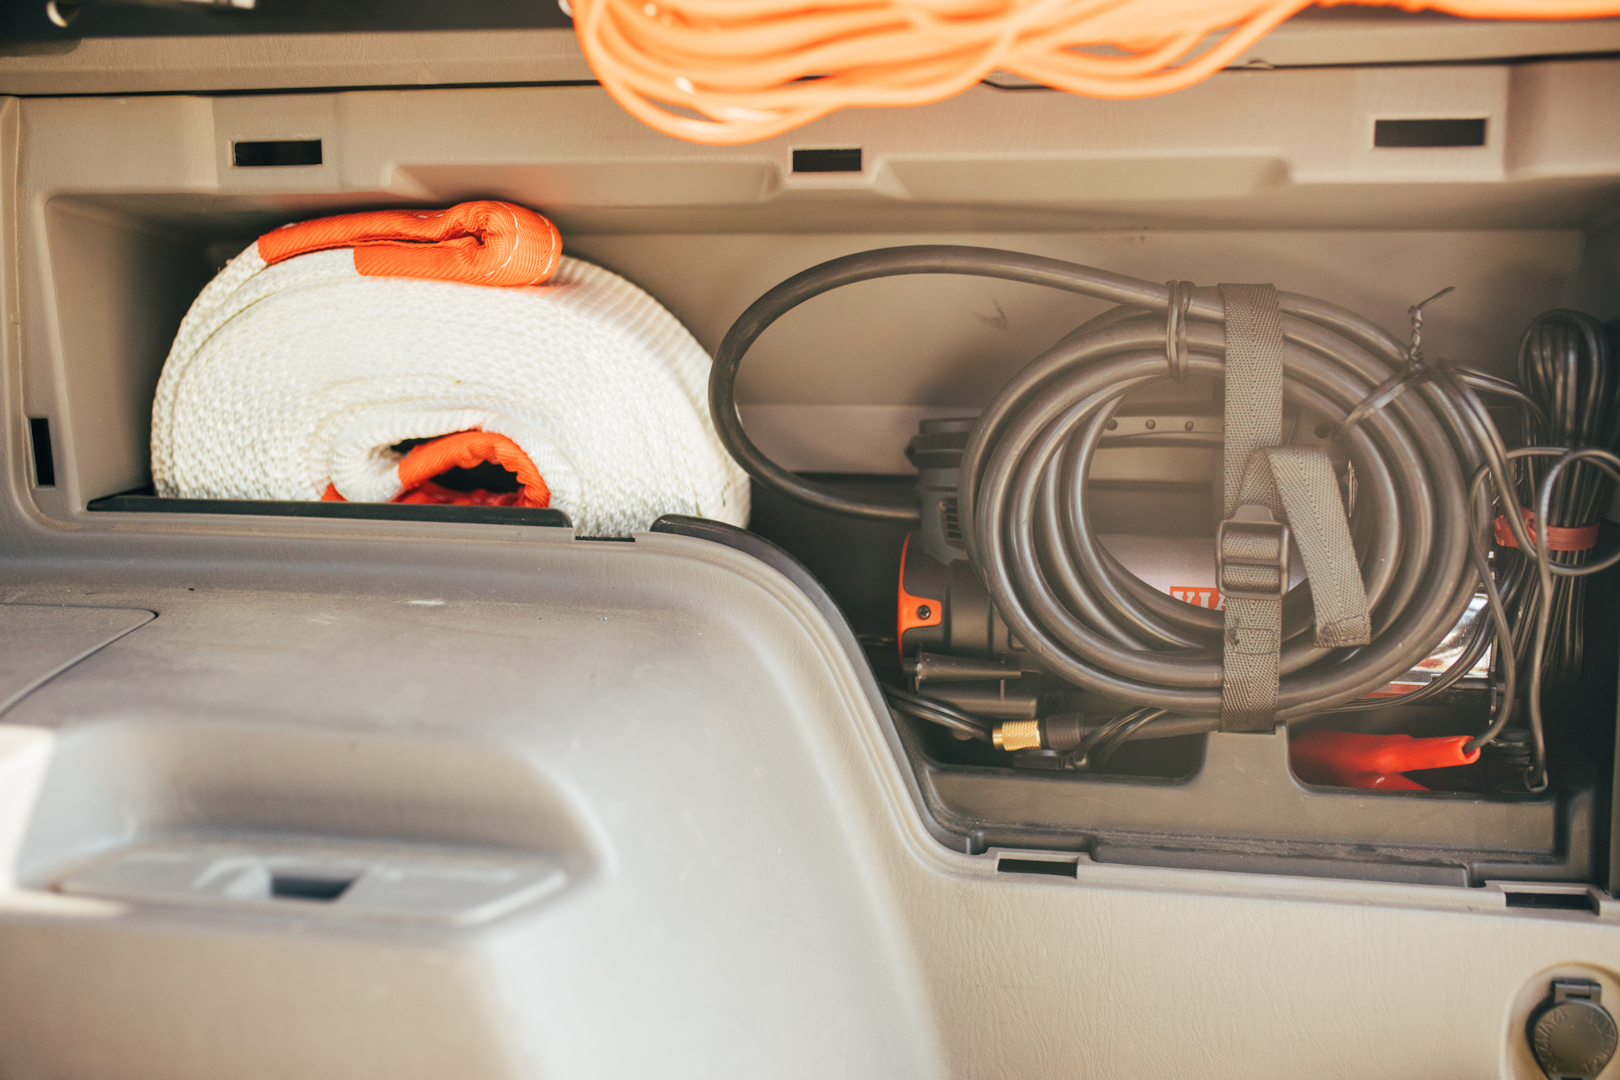
Also got some more goodies stashed away in the stock hiding spots. Trickle Charger, Tow Strap, Air Compressor & Inverter.


854avP.jpg


85KAHo.jpg


85K8ki.jpg


85KINC.jpg


85KgW5.jpg


859Vt5.jpg


8599Kz.jpg


859Czv.jpg


8596C2.jpg


859Eh9.jpg


859TMo.jpg
 
Last edited:
Storage Continued

Blue Ridge Overland sells these great Molle Visor Organisers. Nice to have a few items right within reach. Pens, Knife, SeatBelt Cutter/Window Punch, Leatherman. Probably a bit overkill but I prefer it to digging around the center storage bin.

Even with the tray and dividers I added from Ebay. Everything has a place.


859gKZ.jpg


8590bc.jpg


859ZtK.jpg


Satoshi Grille


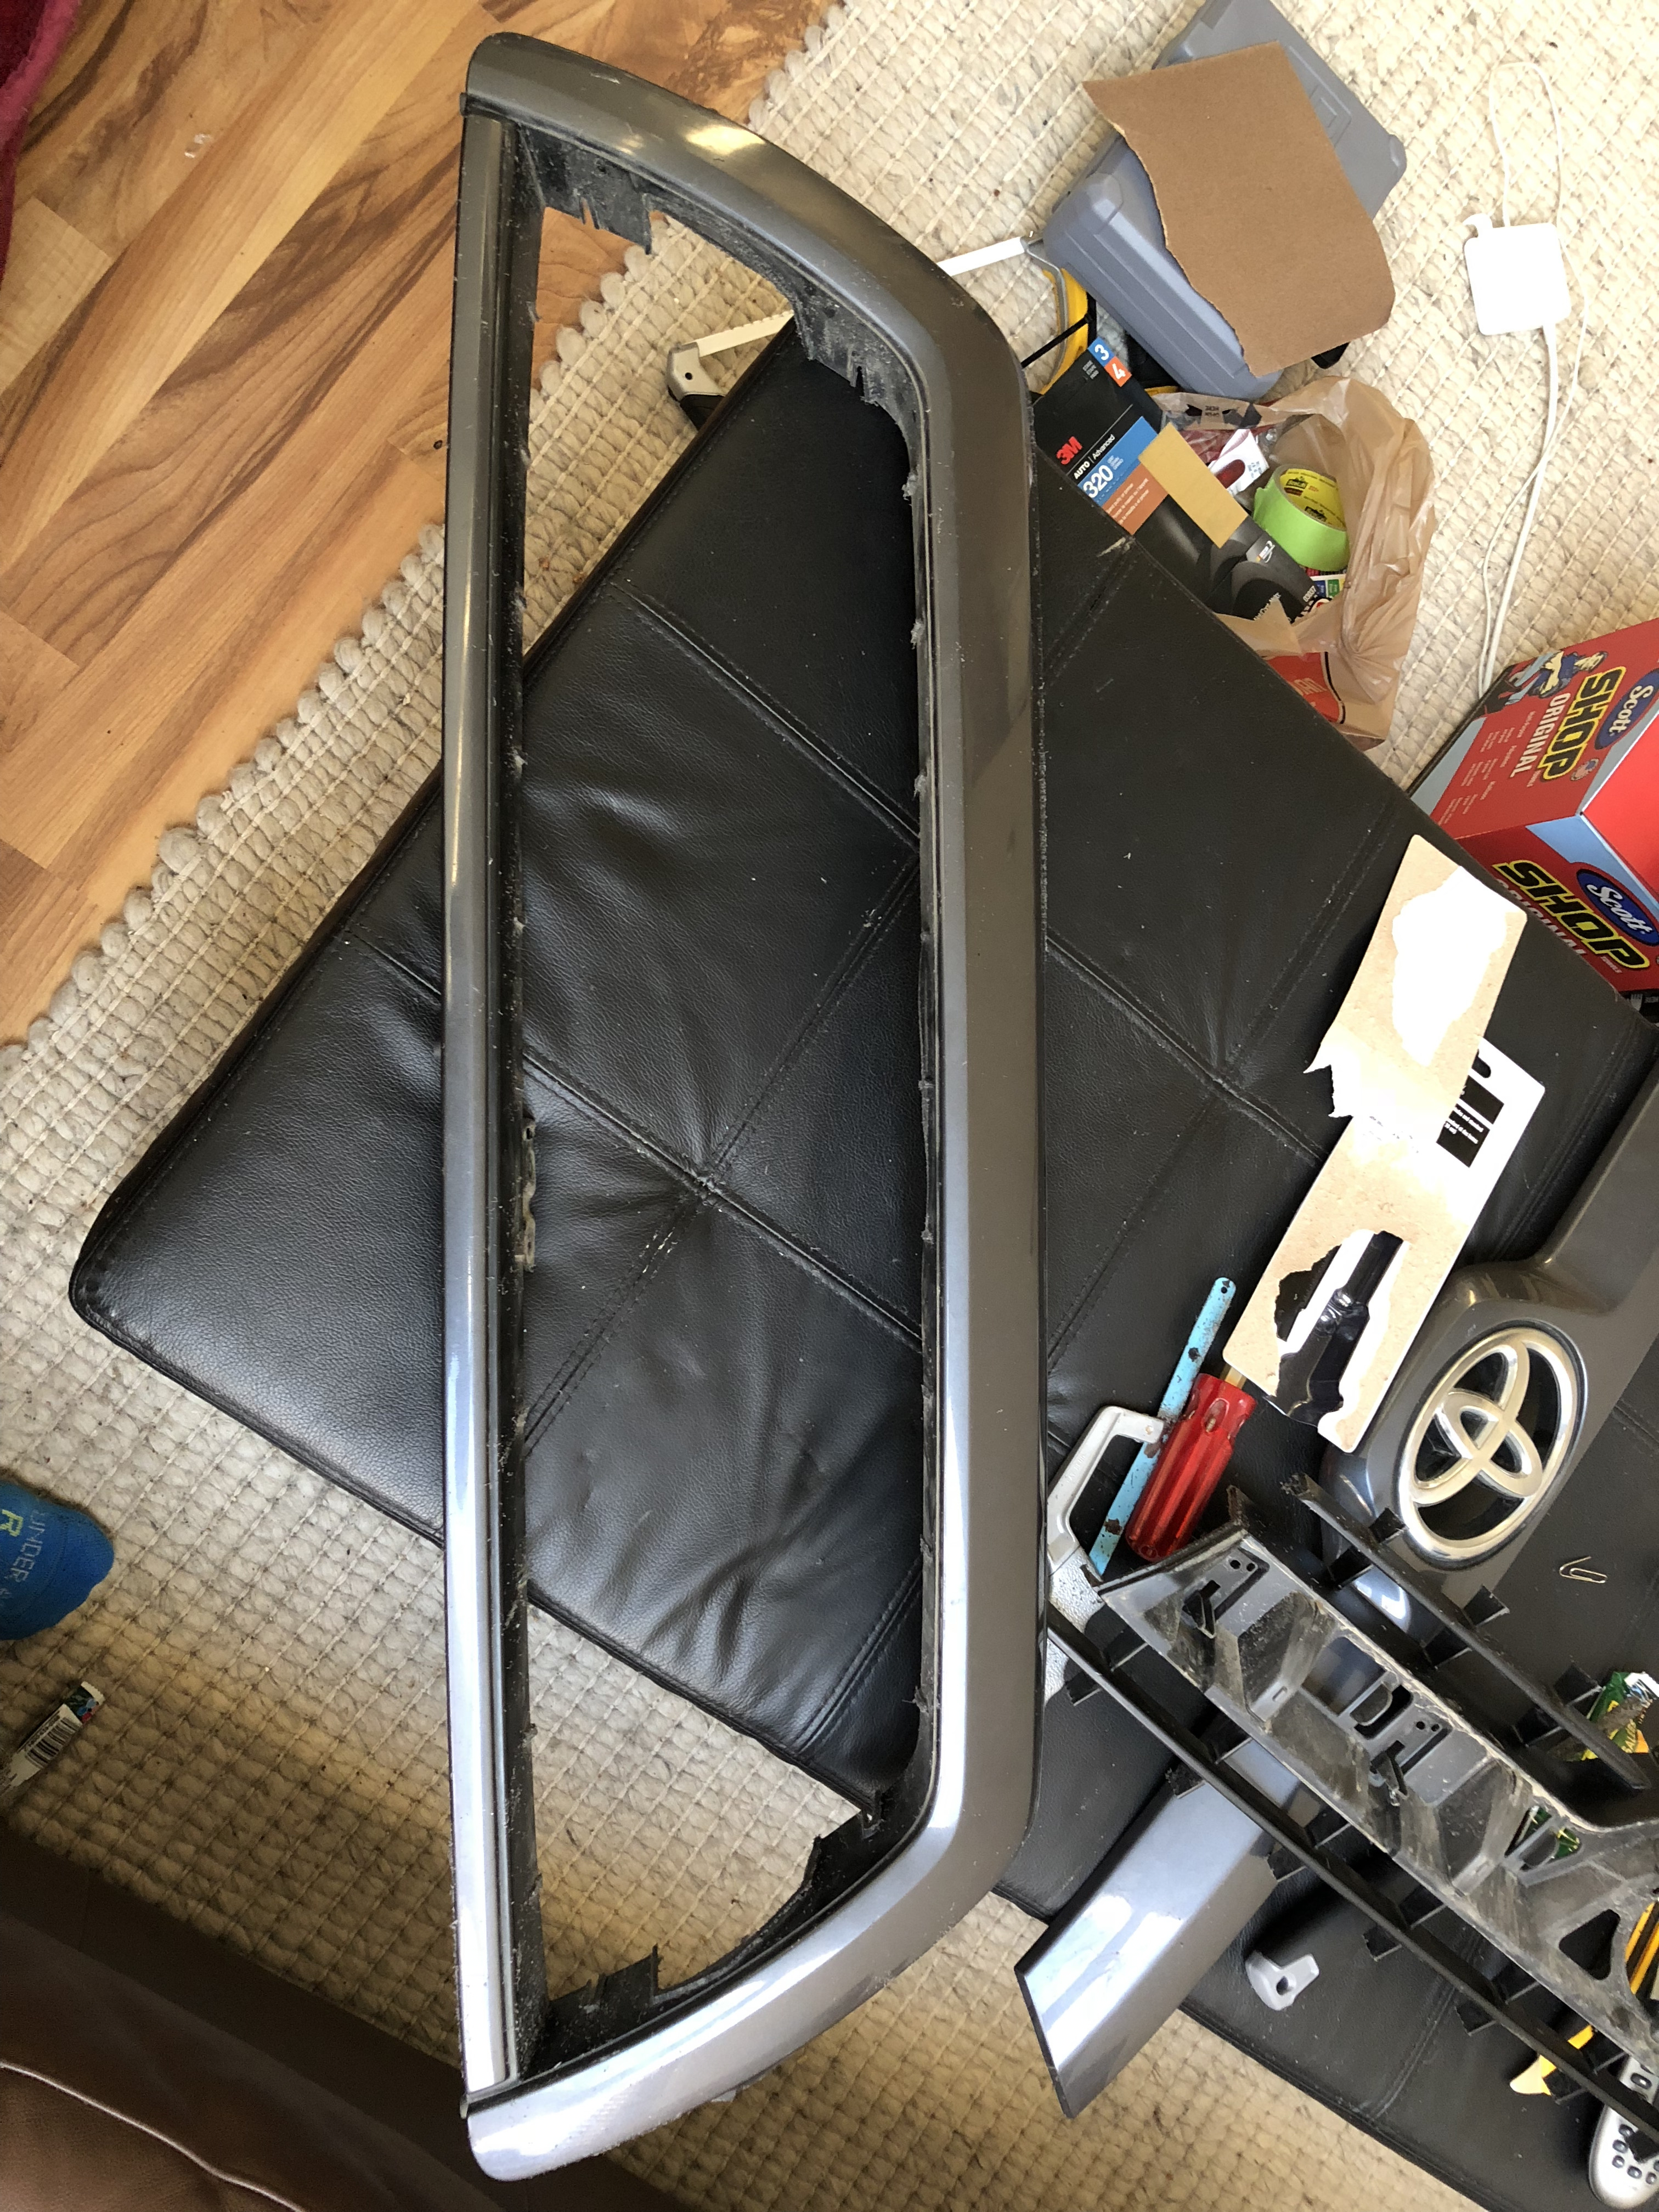
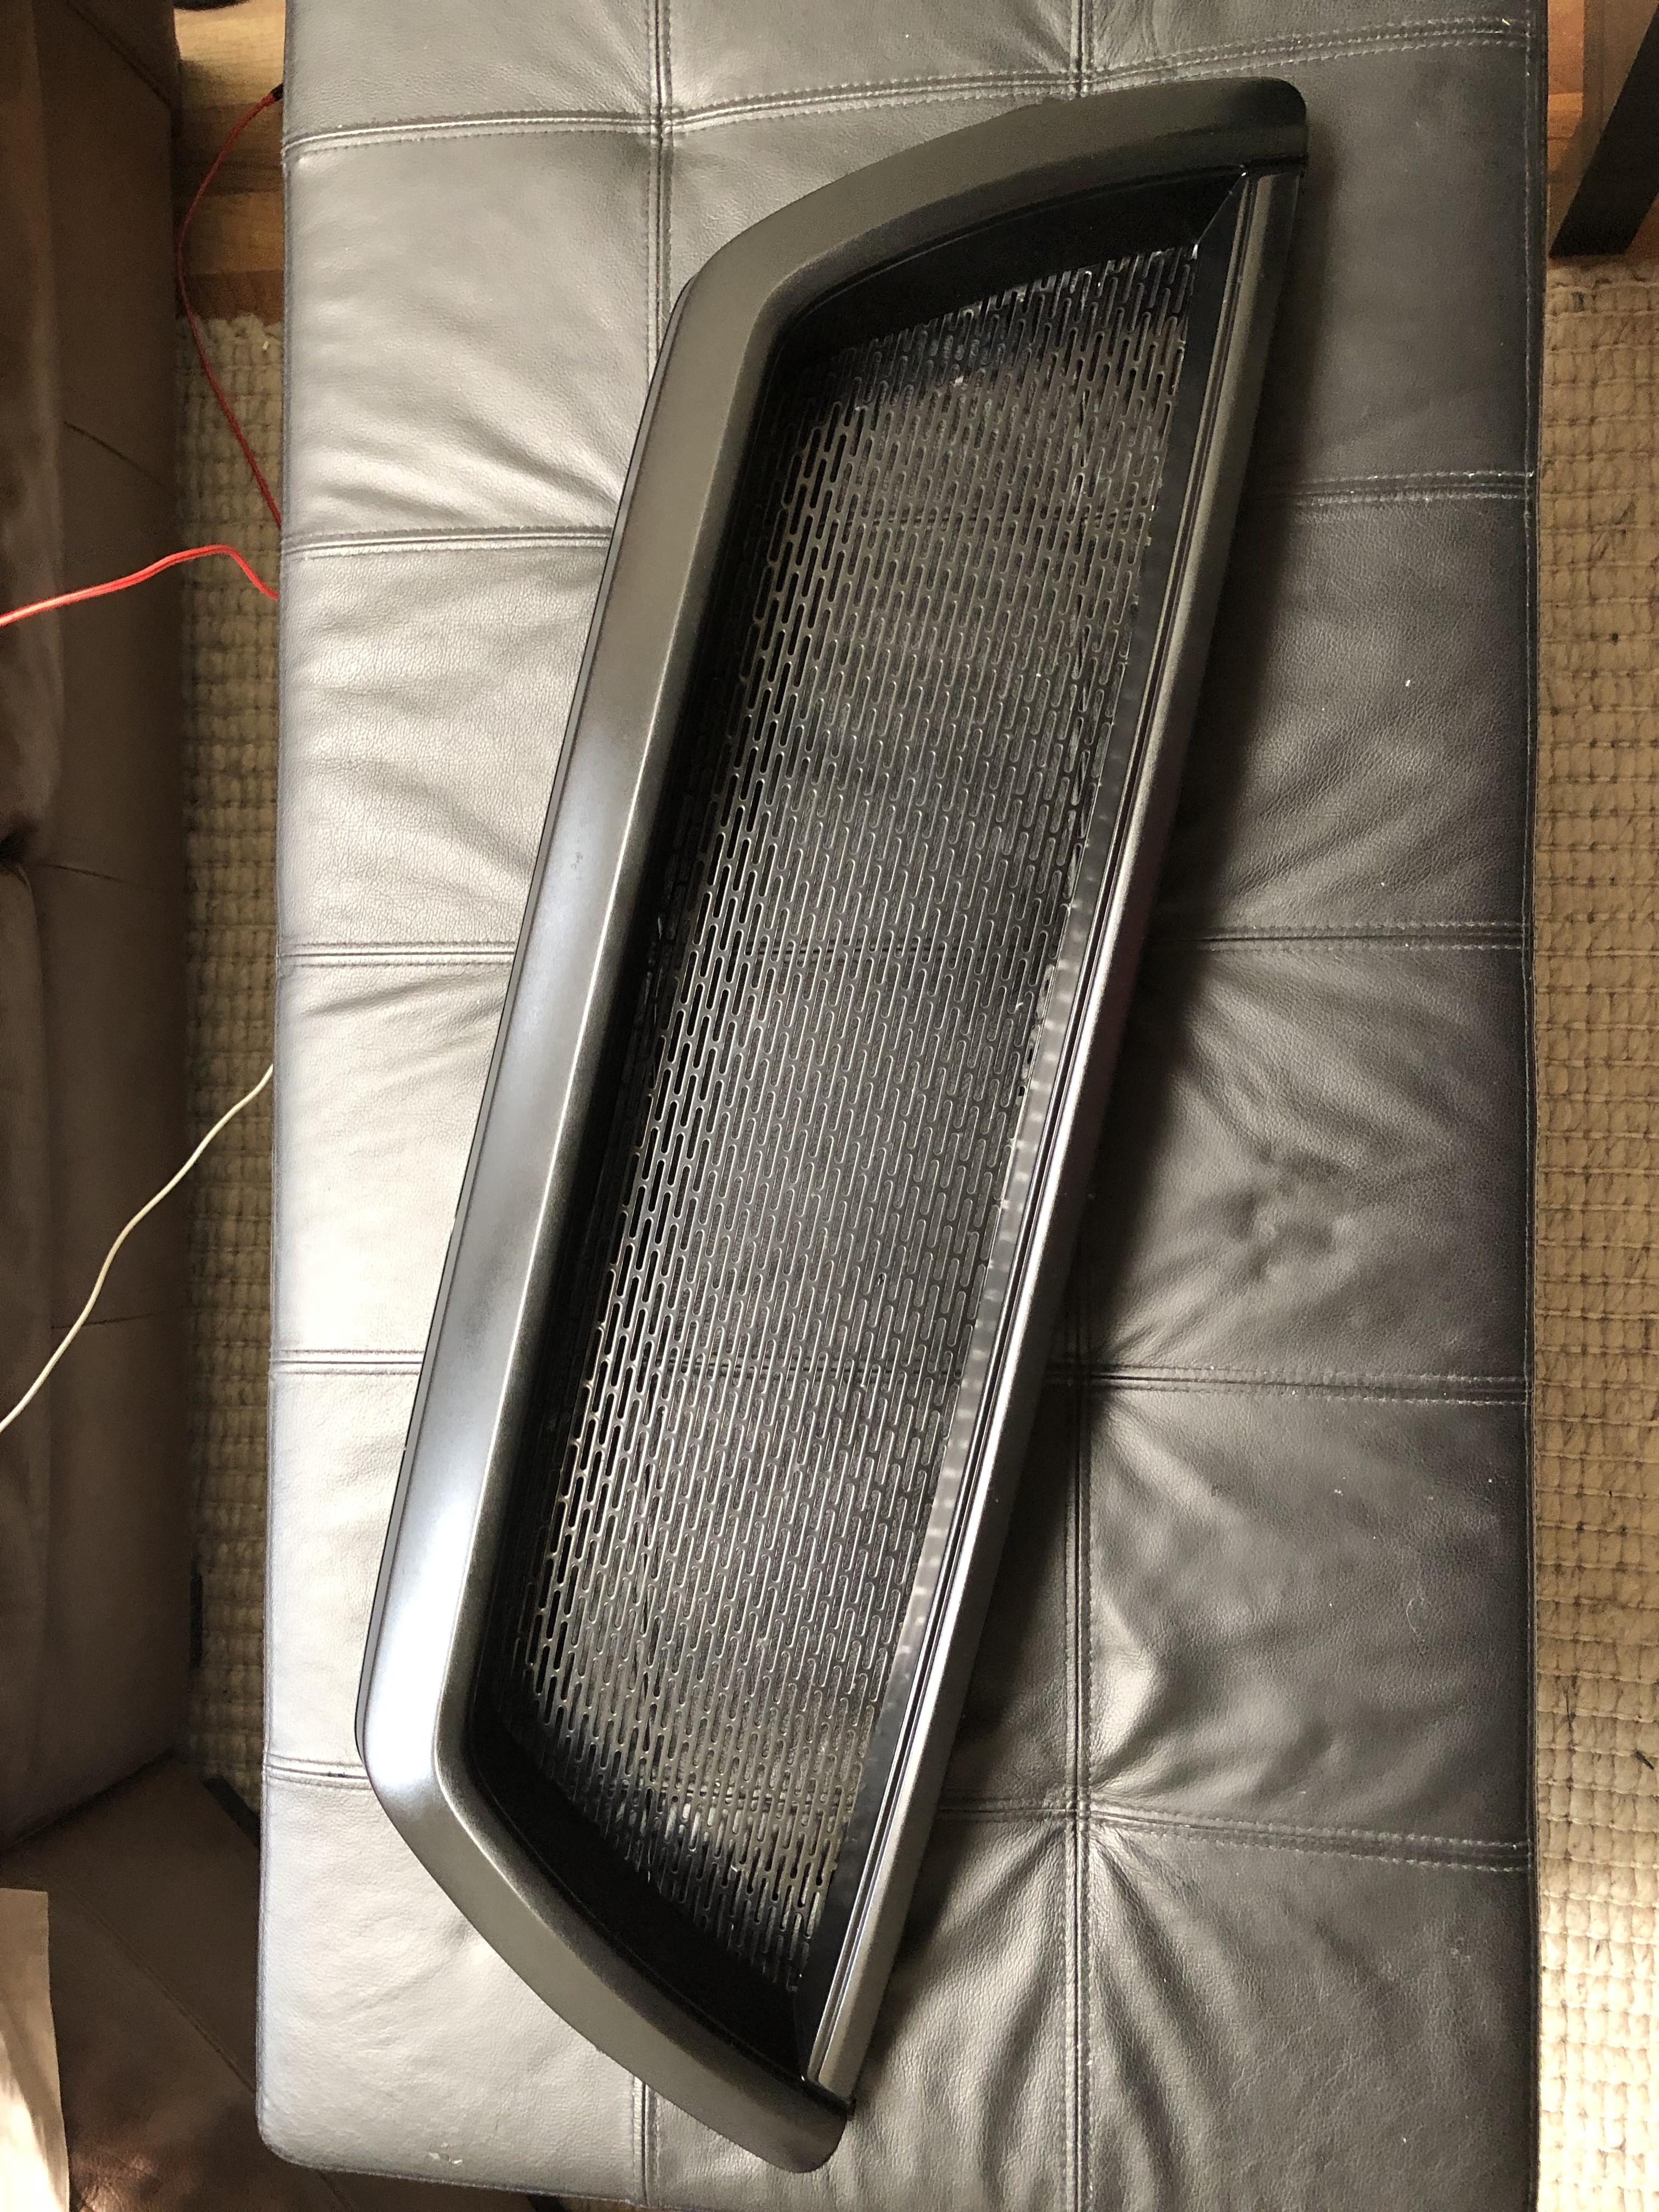
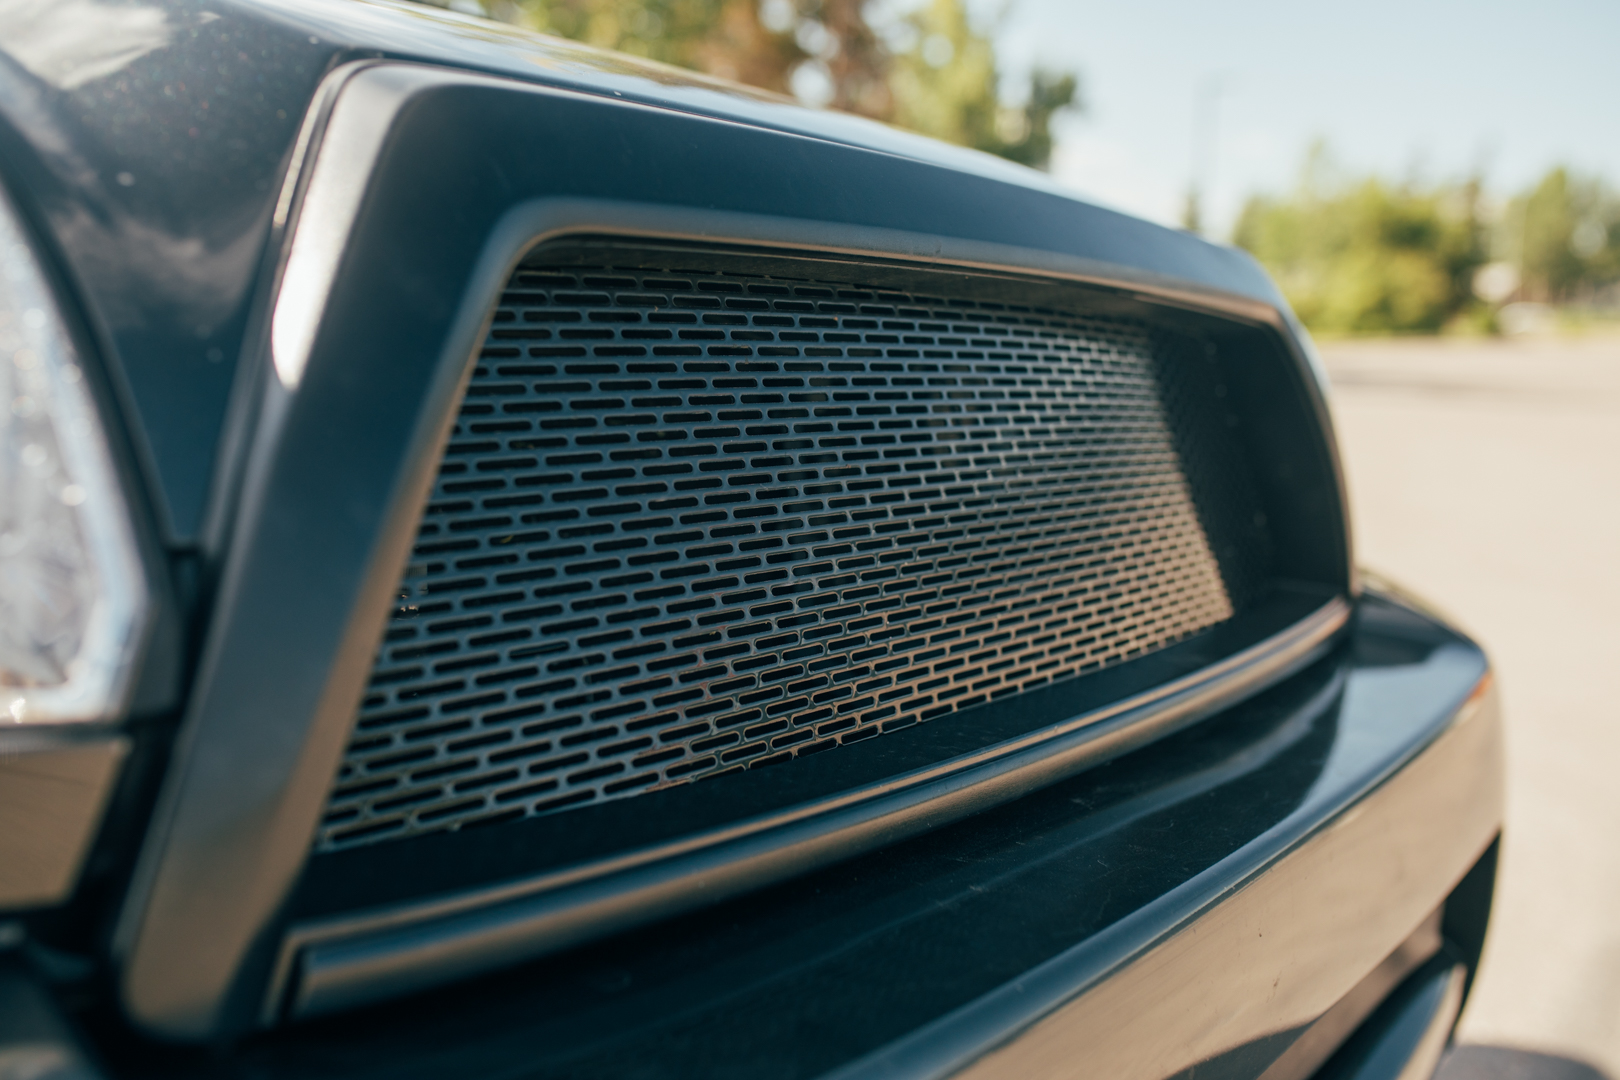
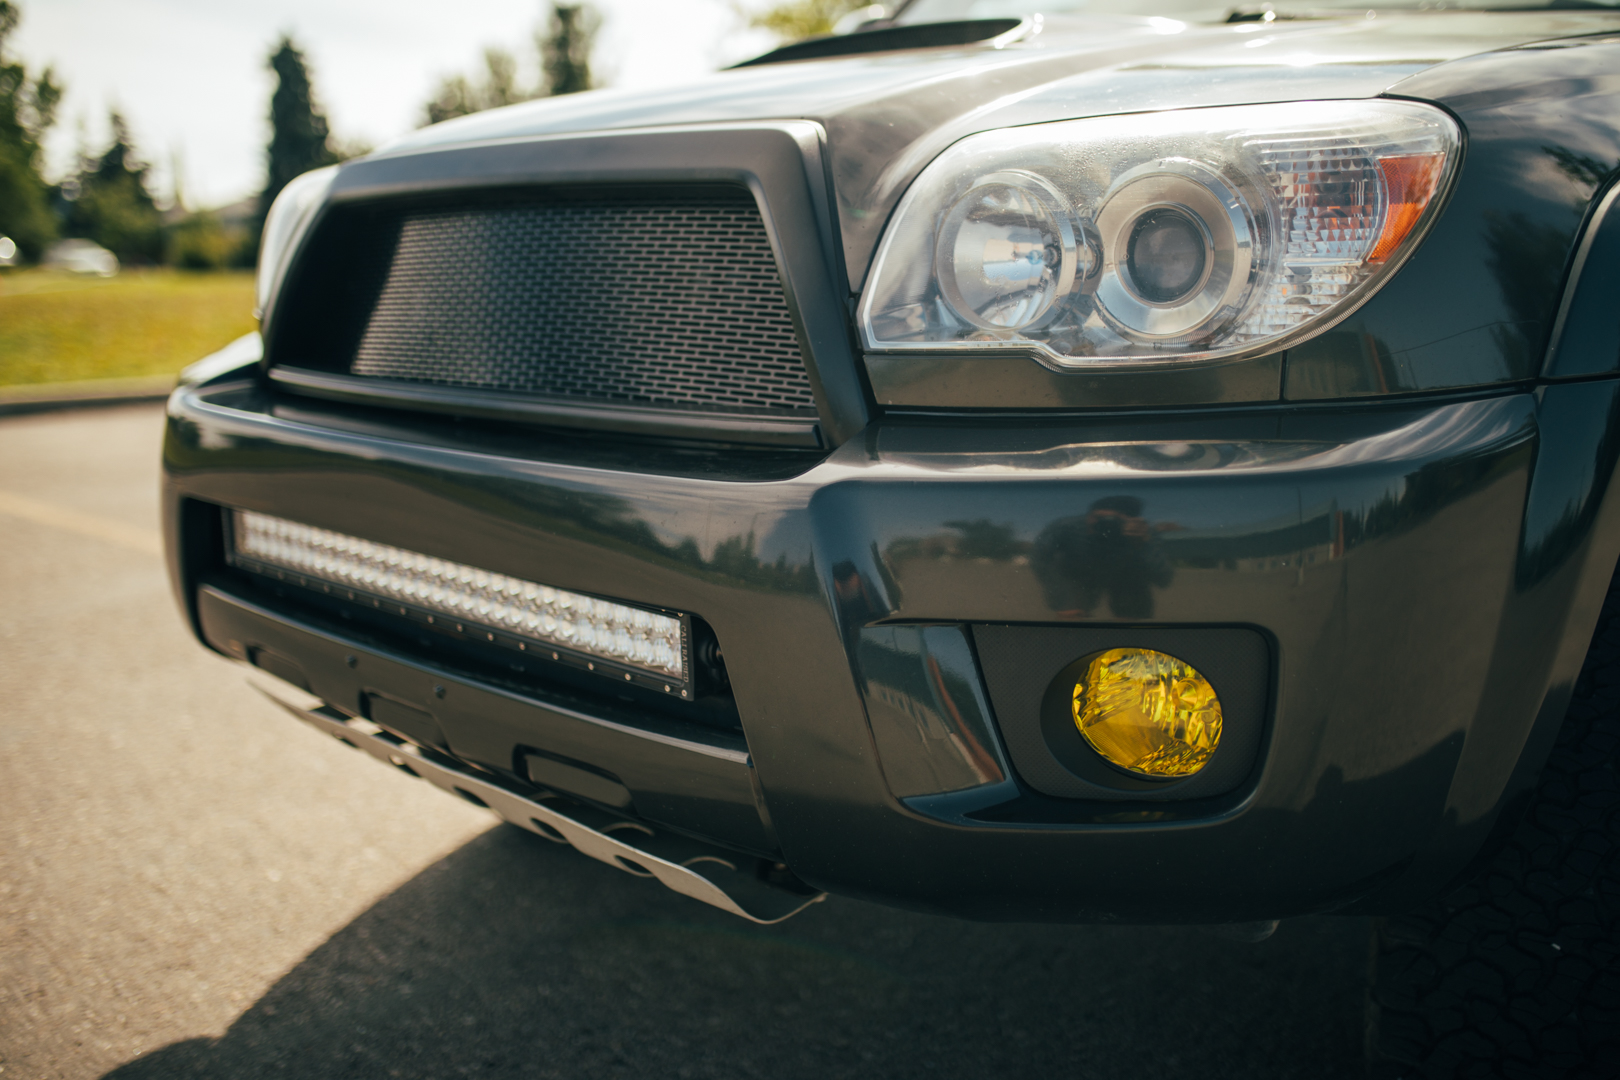
I have always loved the Satoshi Grilles on these trucks. Especially the deep grille. I found the company customcargrills and decided to purchase two sets of the grille mesh prebent. I heard that this was one of the biggest pains.

I ordered two because I bought a second grill to do this mod to then when I installed that one I would complete the second one and then sell it to cover my initial costs.

It took me a long time to finish the first one and I was sick of it. The YouTube video for this grill kit is straightforward and simple. Yet in Canada I had a hard time finding the same plastic repair that they used. I went through plenty of different brands and types and none were doing a very good job. I bought a similar style to the one in the video but didn't purchase the applicator gun...

I made do with what I had and finally got this thing done. It's not my finest work but unless you get real close it's hard to tell there is anything wrong. Just some areas that are not as smooth as I would have liked. But overall this grill is sexy and completely changed the appearance of the front of this truck.


Whenever I get around to completing the second grill it's going to go much smoother as I have the applicator gun and the right plastic repair stuff. Should be a breeze... Right?


Spare grille I picked up:


853h73.jpg


8542U0.jpg


And flash forward to the end as taking photos was the last thing on my mind...


85KFMz.jpg


8597wD.jpg


85VSL9.jpg


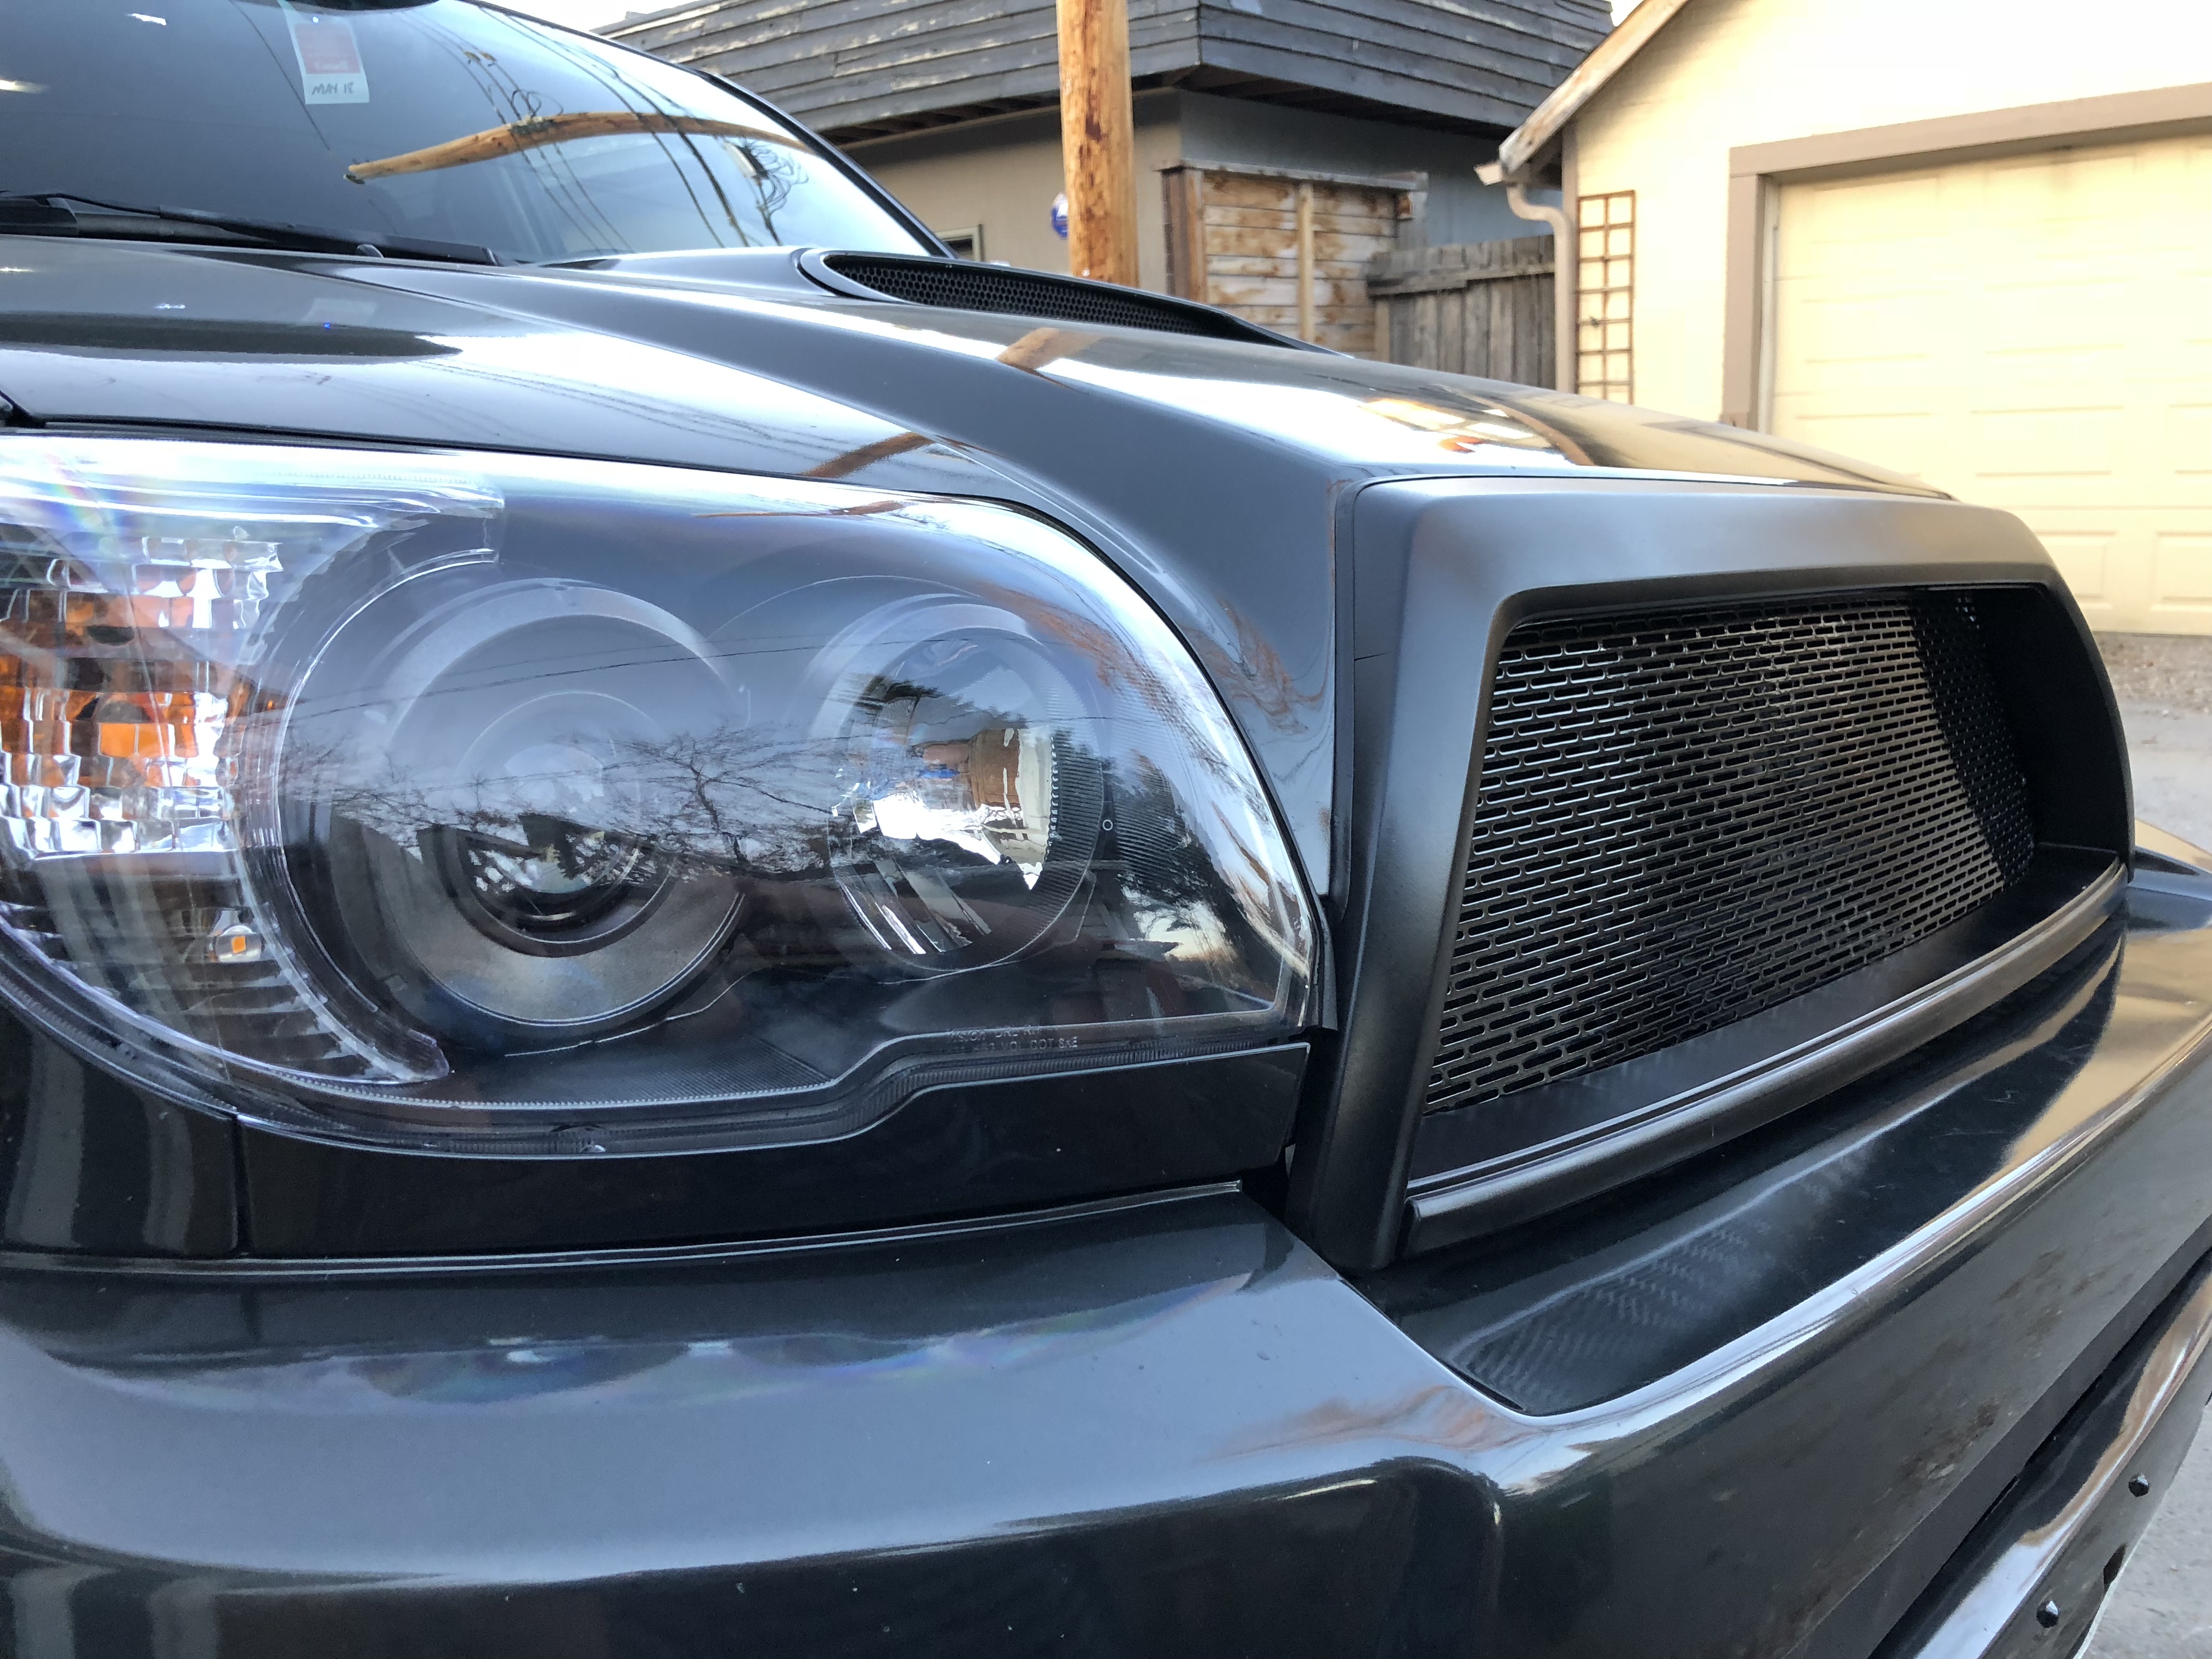
Blackout Headlights


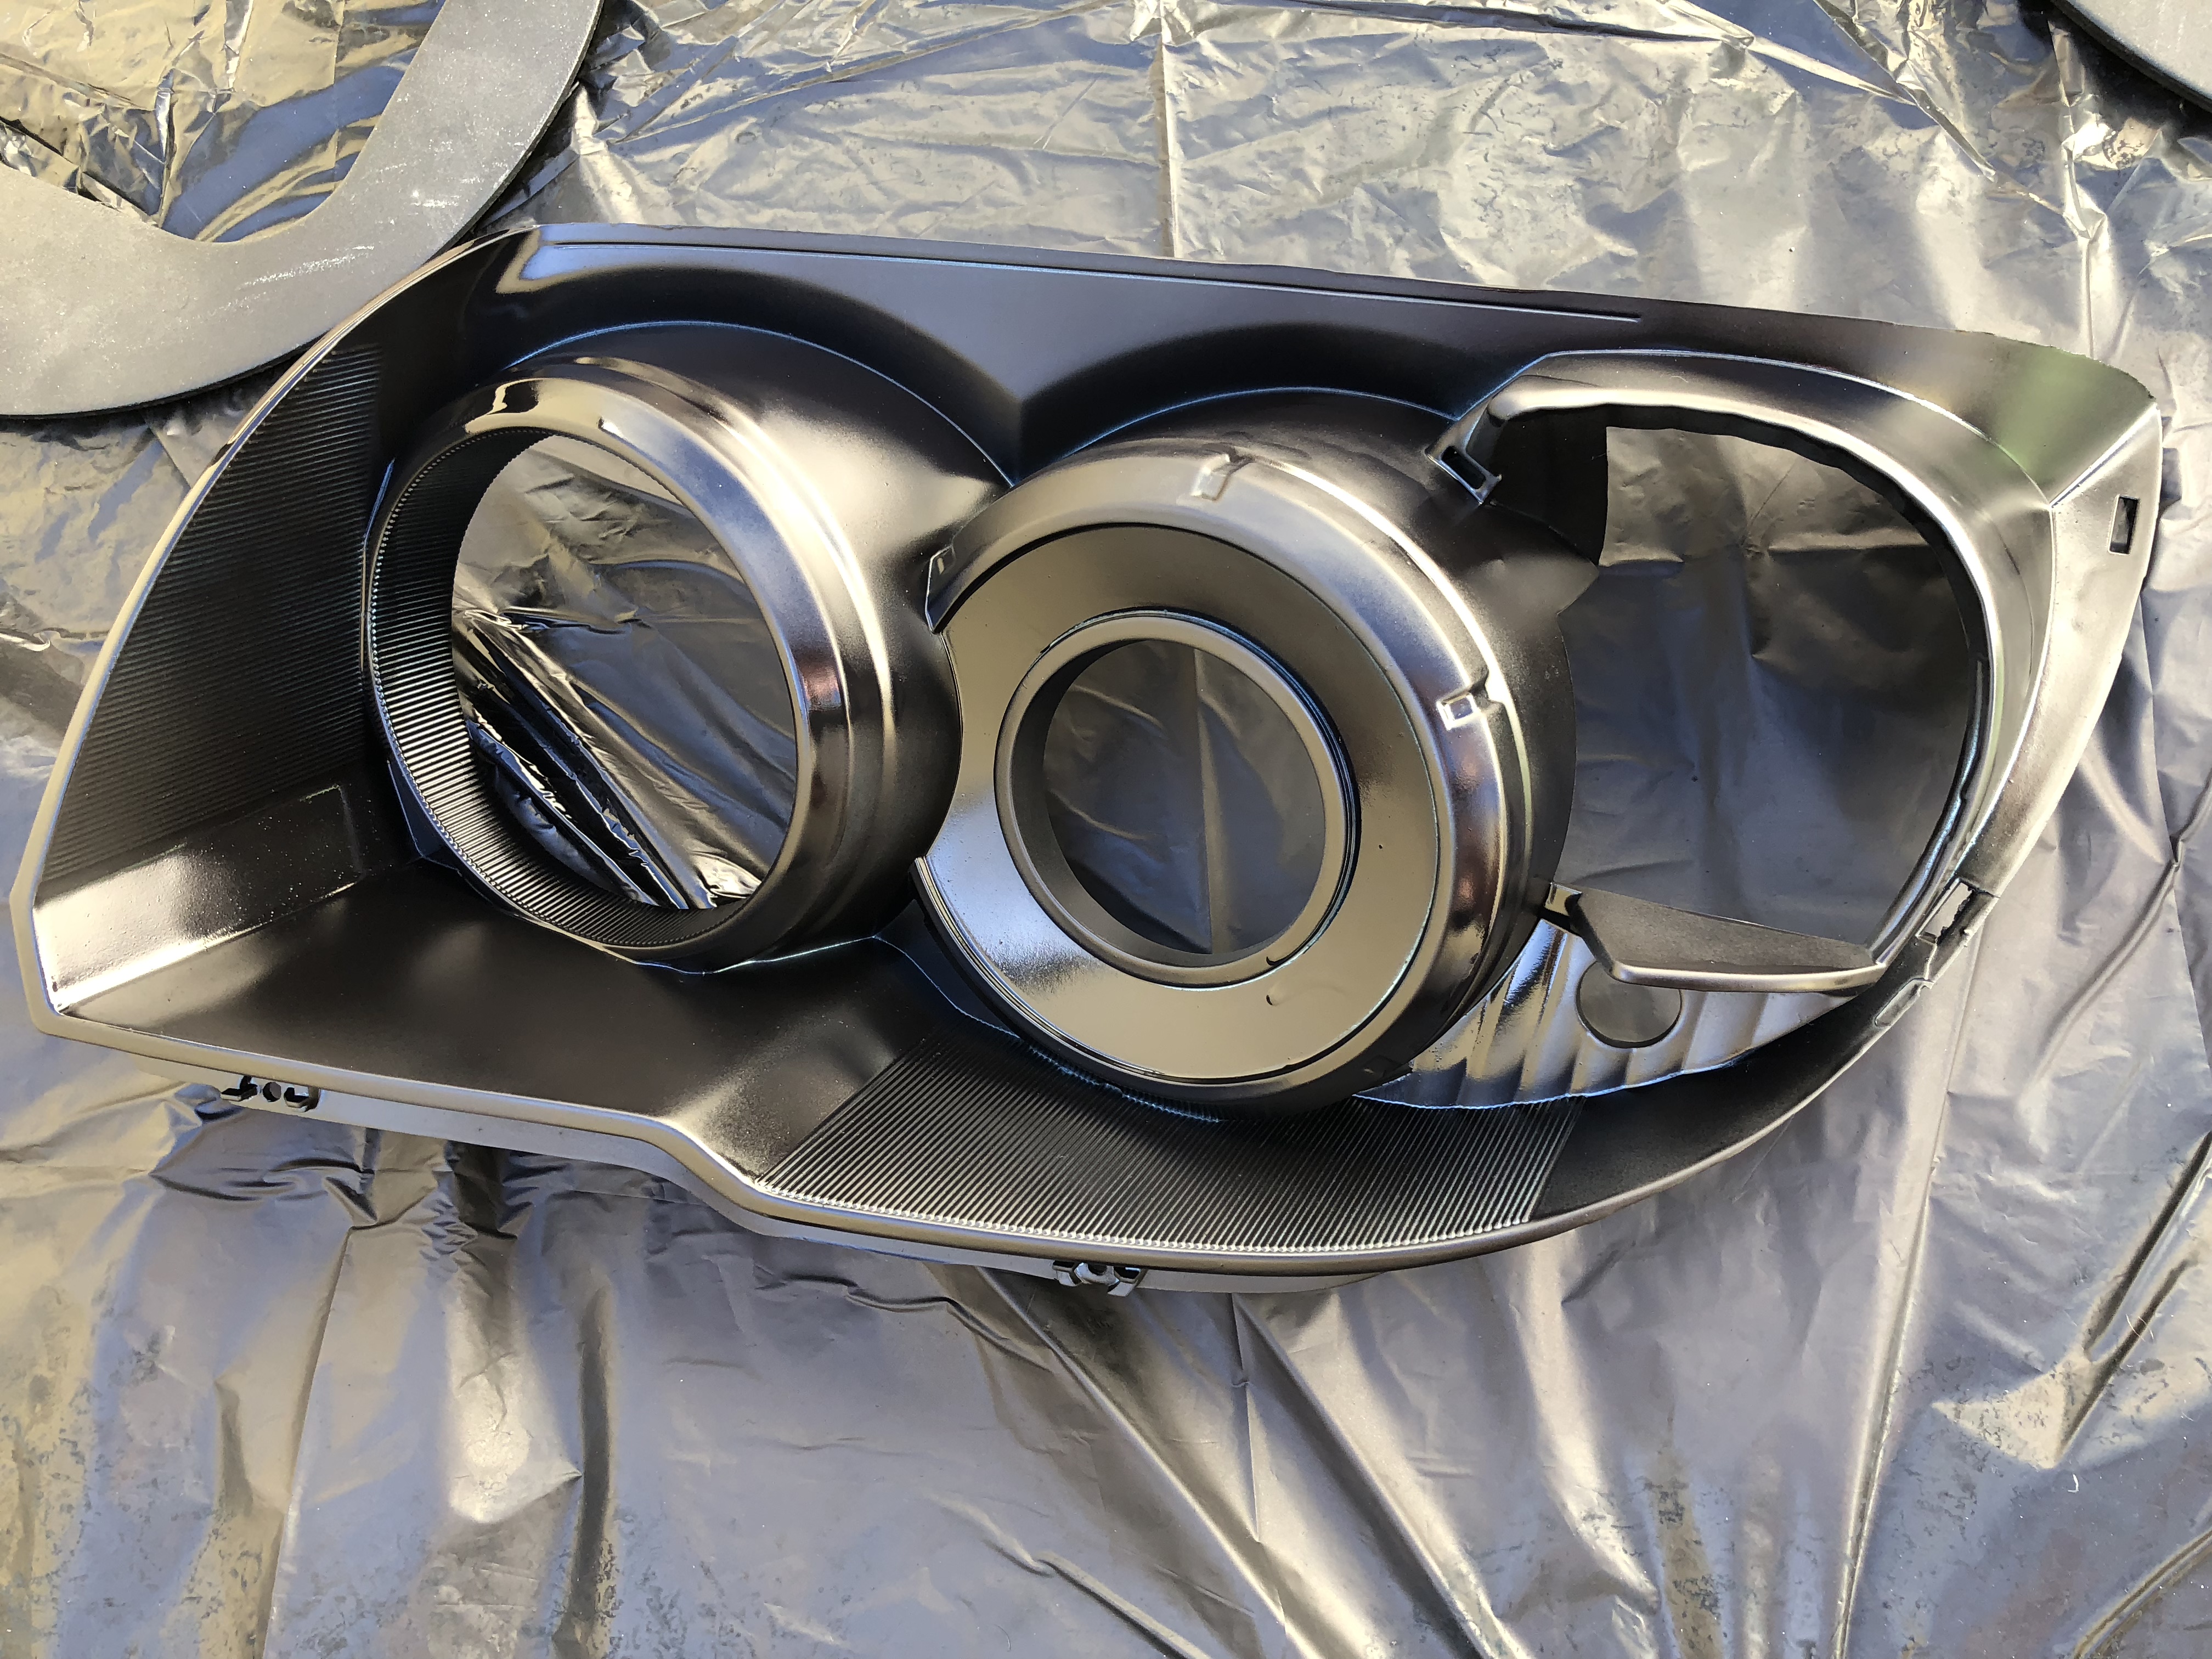
I purchased a set of headlights off of Ebay with the plan to black them out and not be in a rush to get it back together.

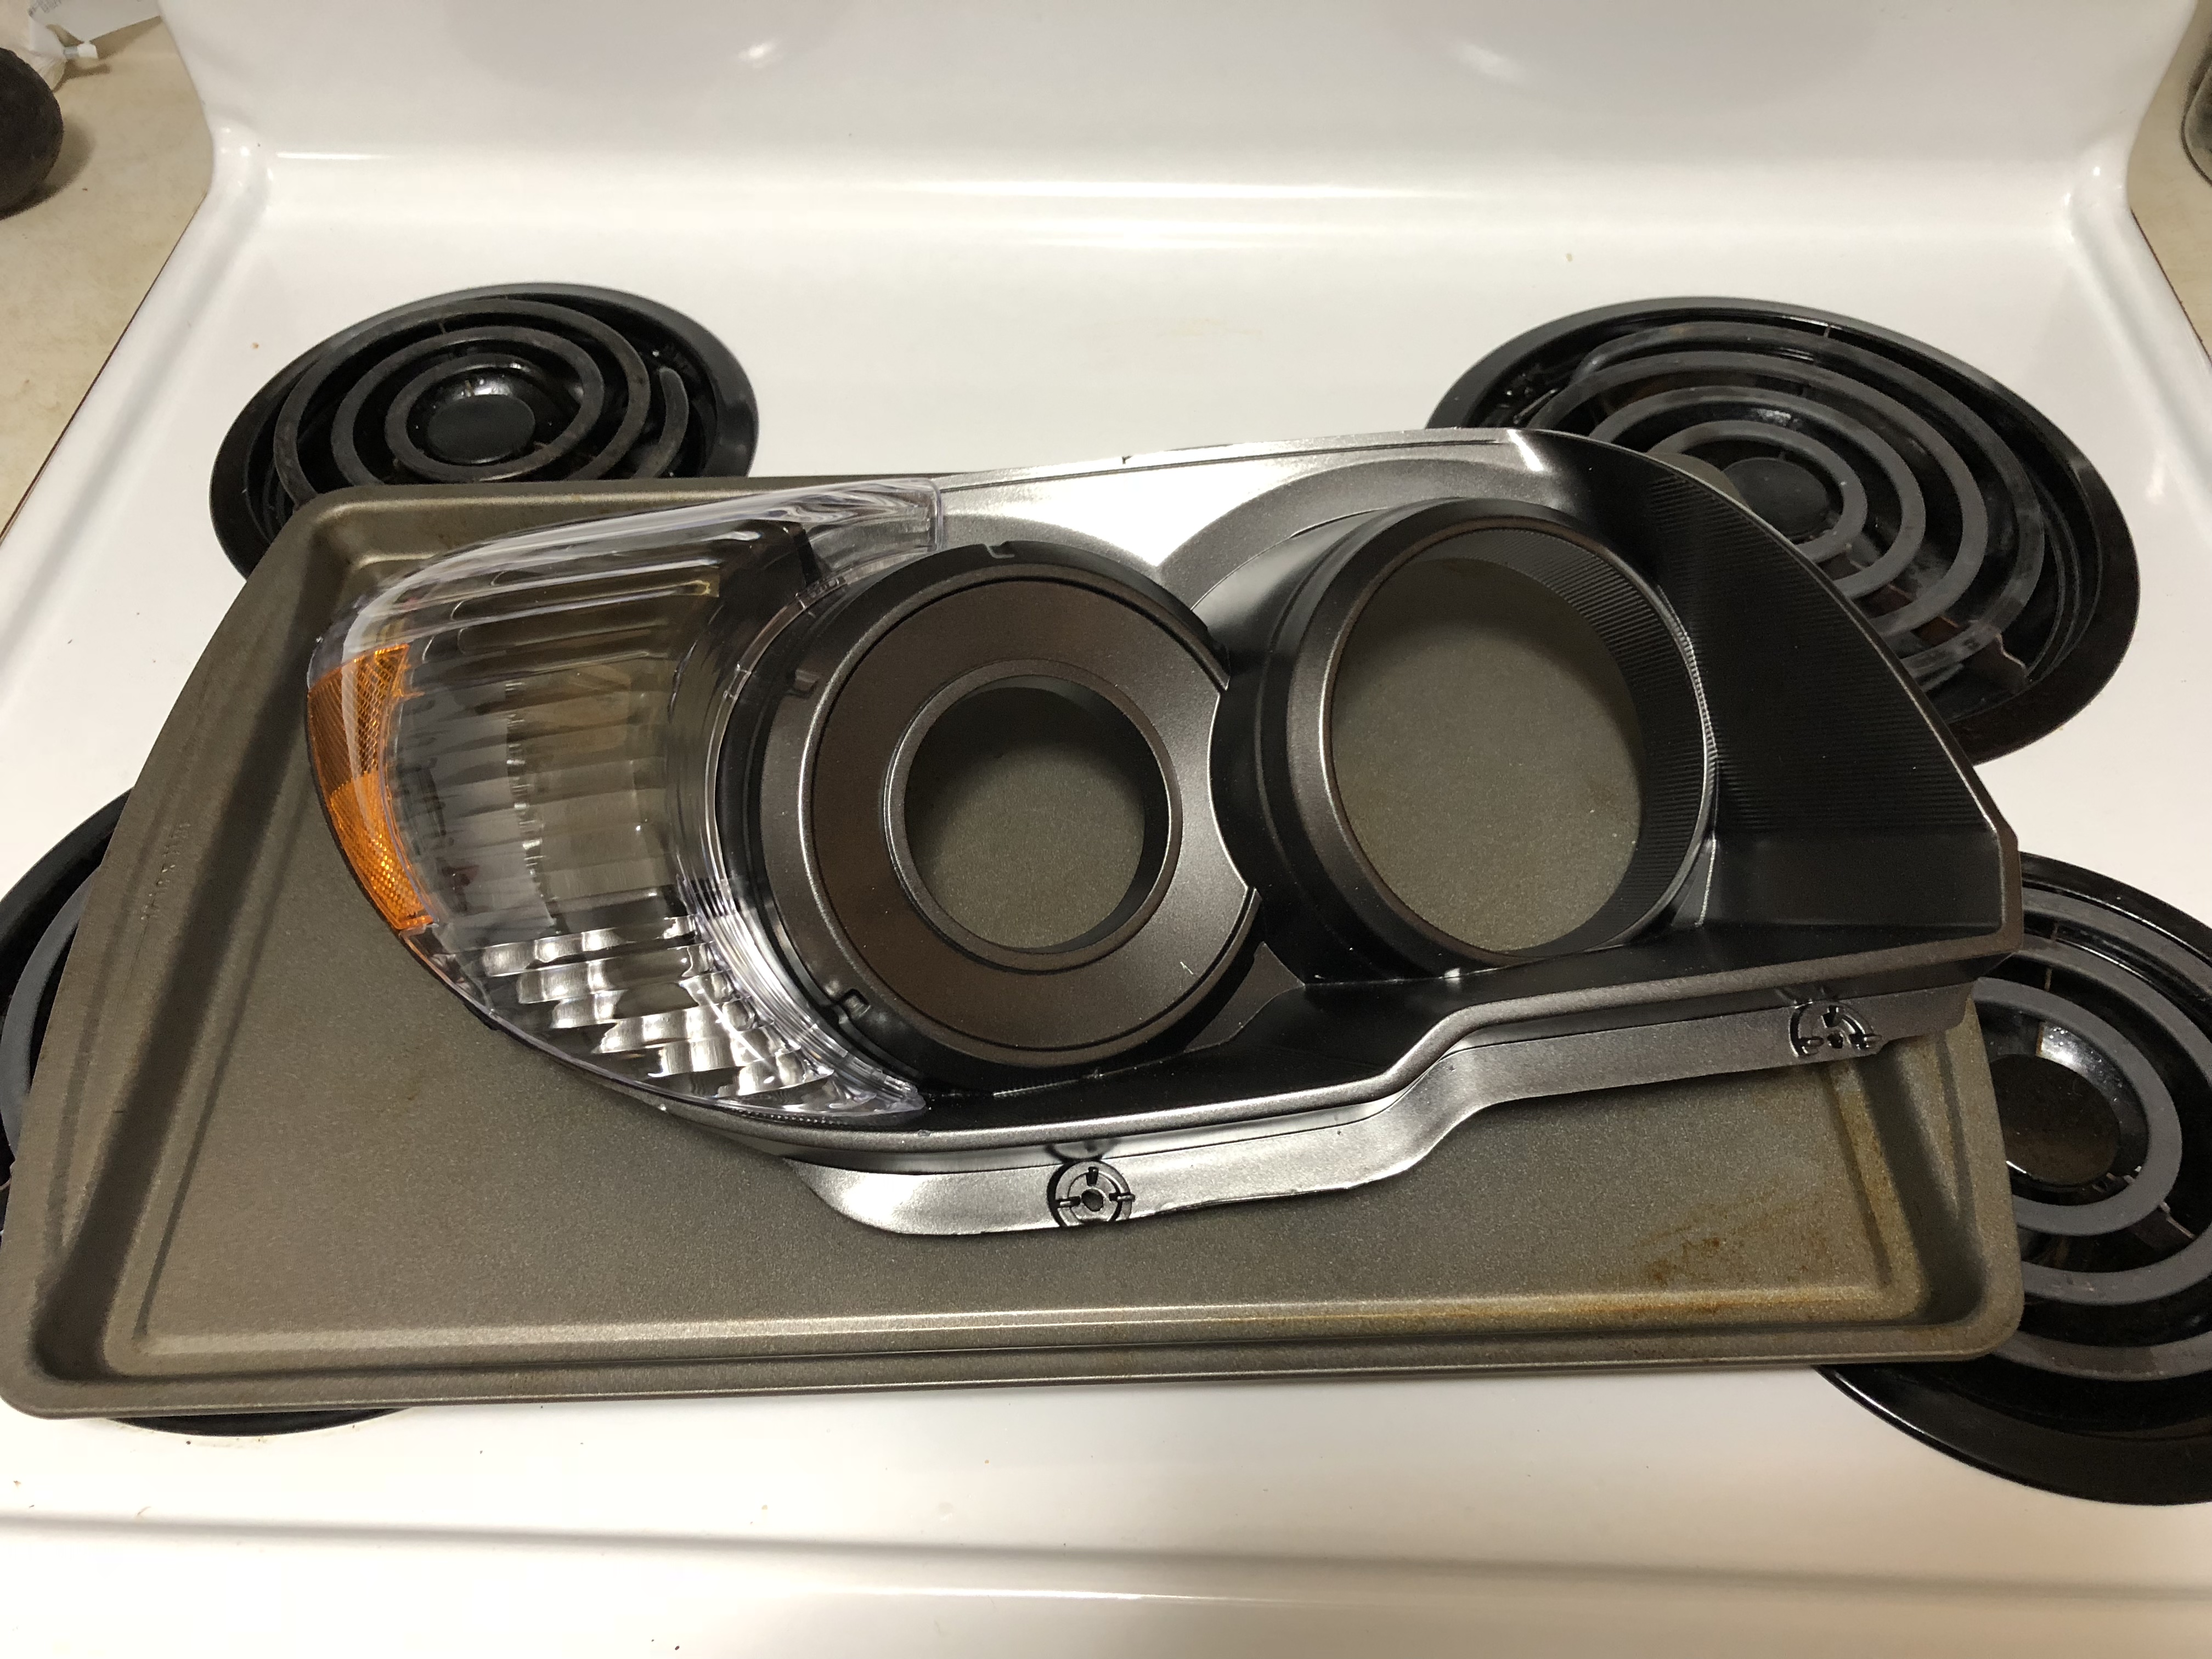
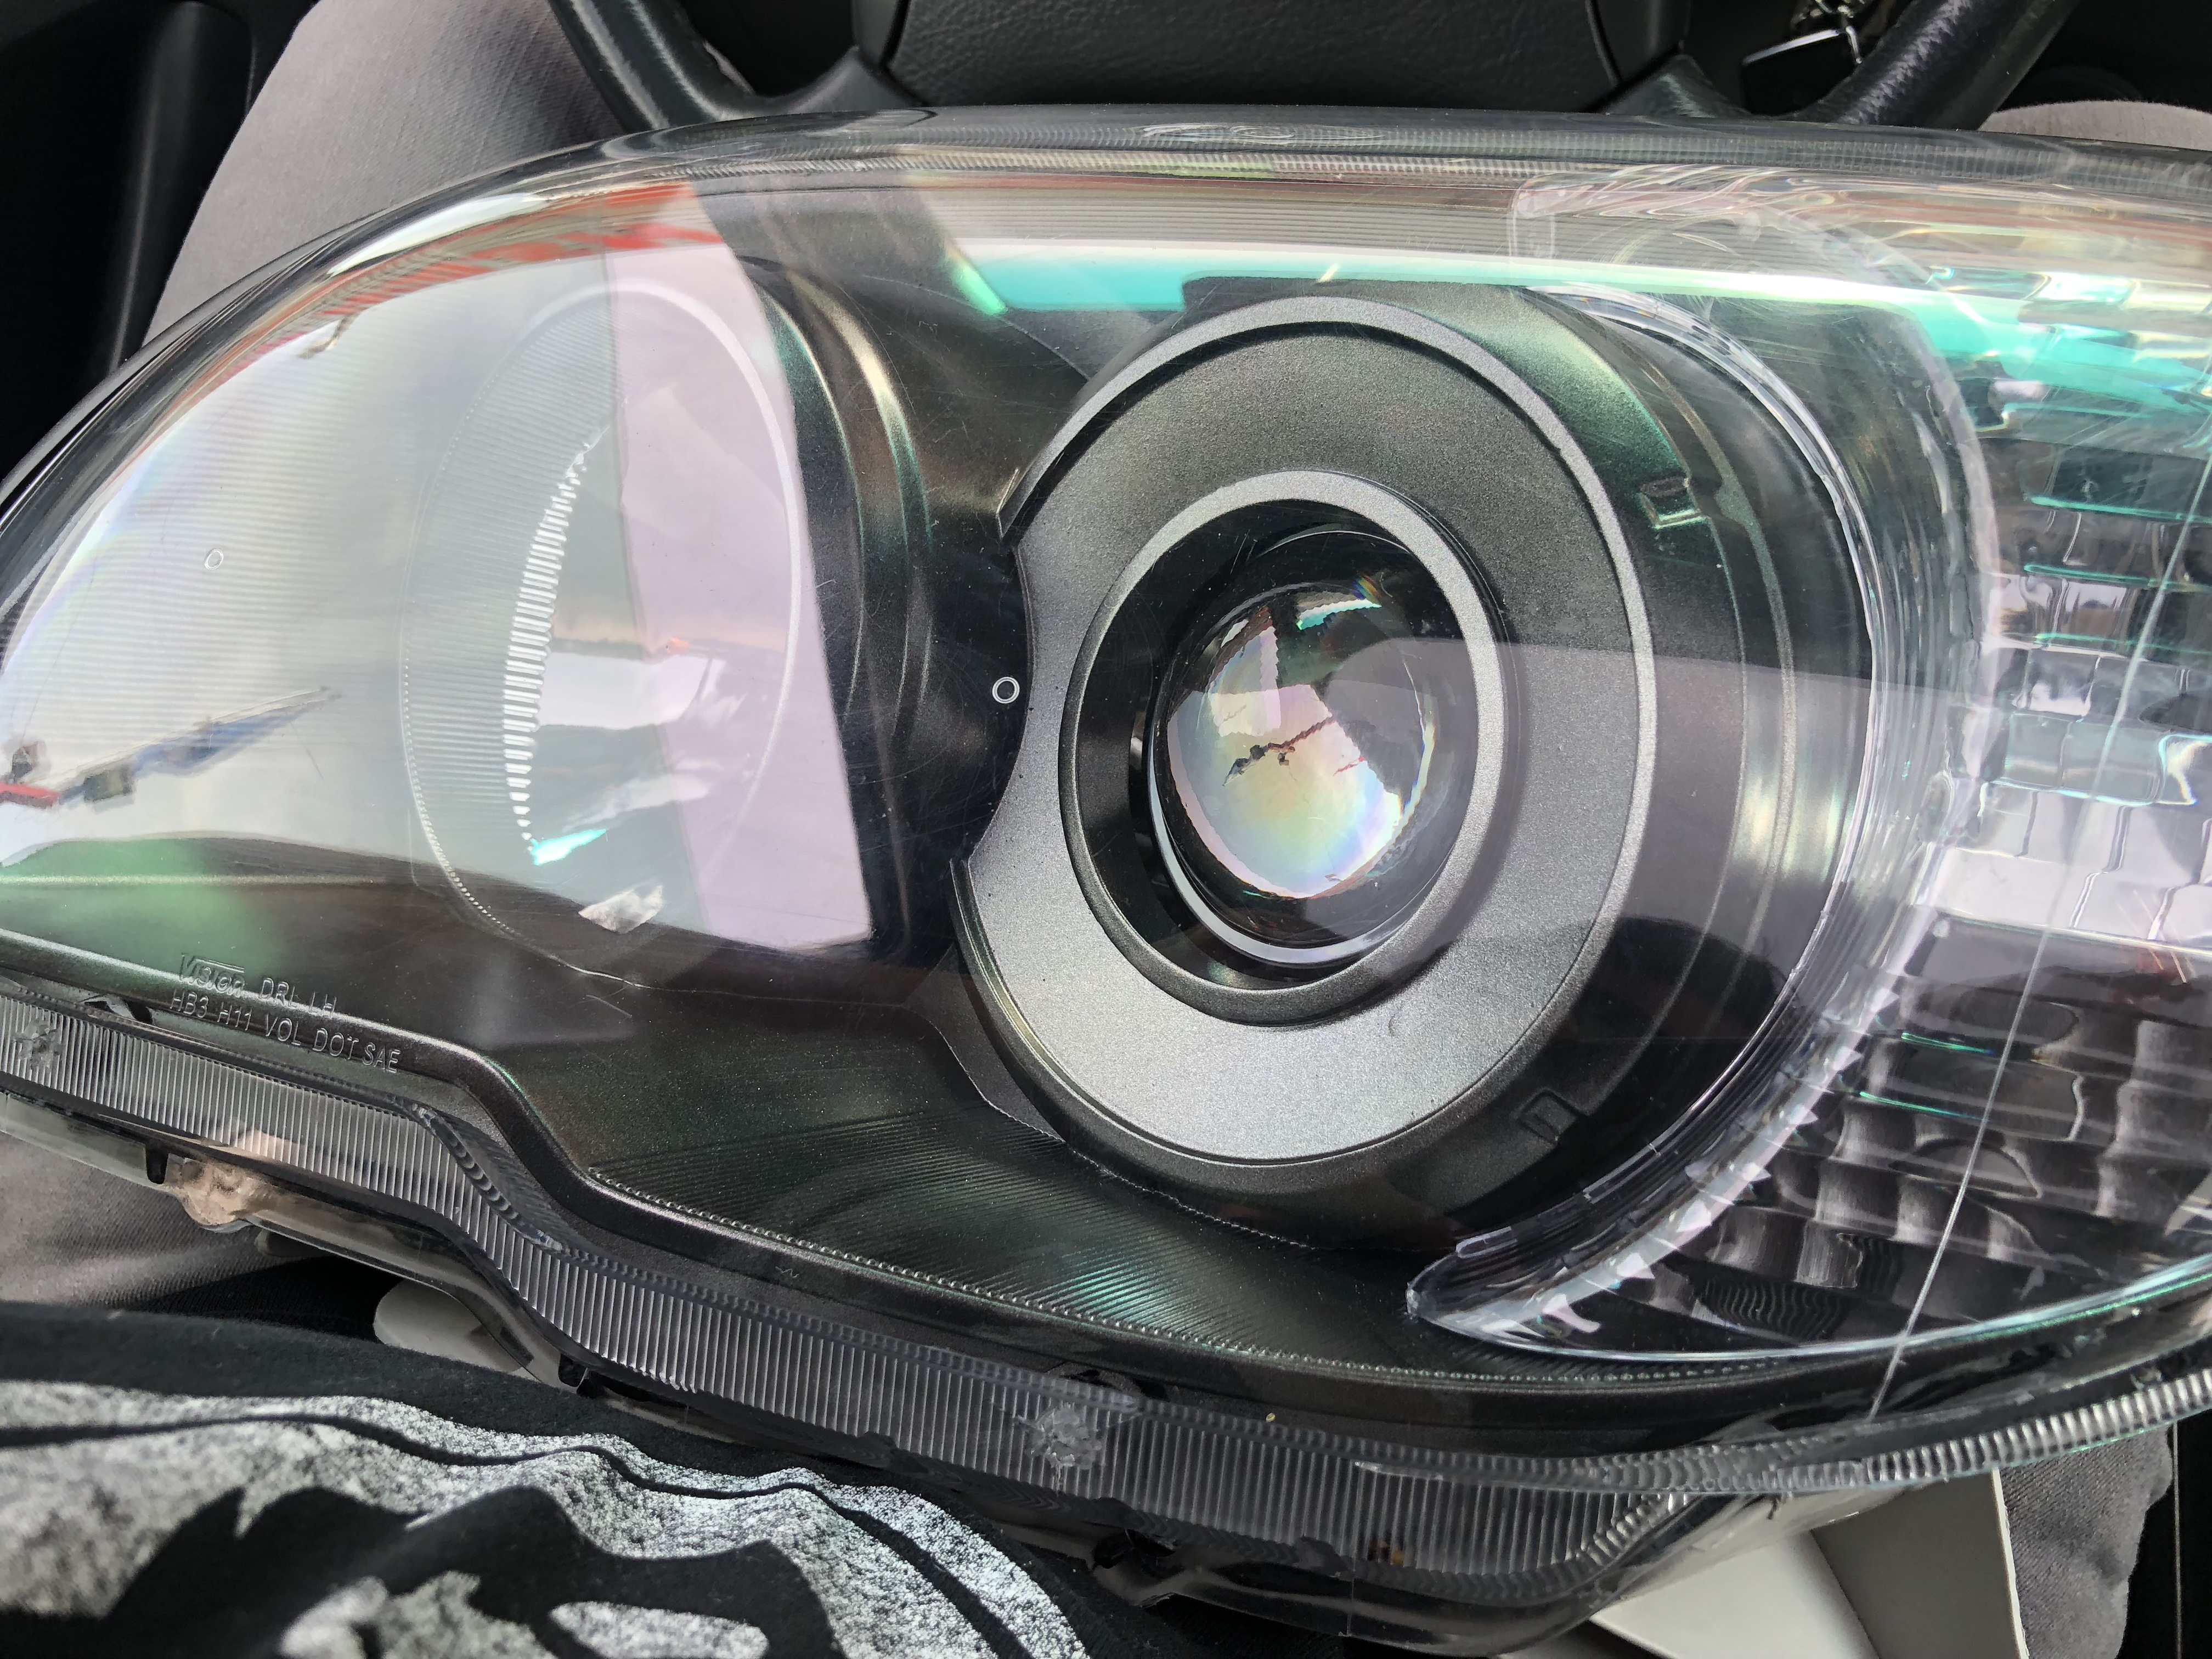
Baking them and separating was simple enough. Only had to break one tab to get the faceplate off to paint. Painted them a Shadow Mica instead of black and then rebaked and resealed with some black silicone sealant.

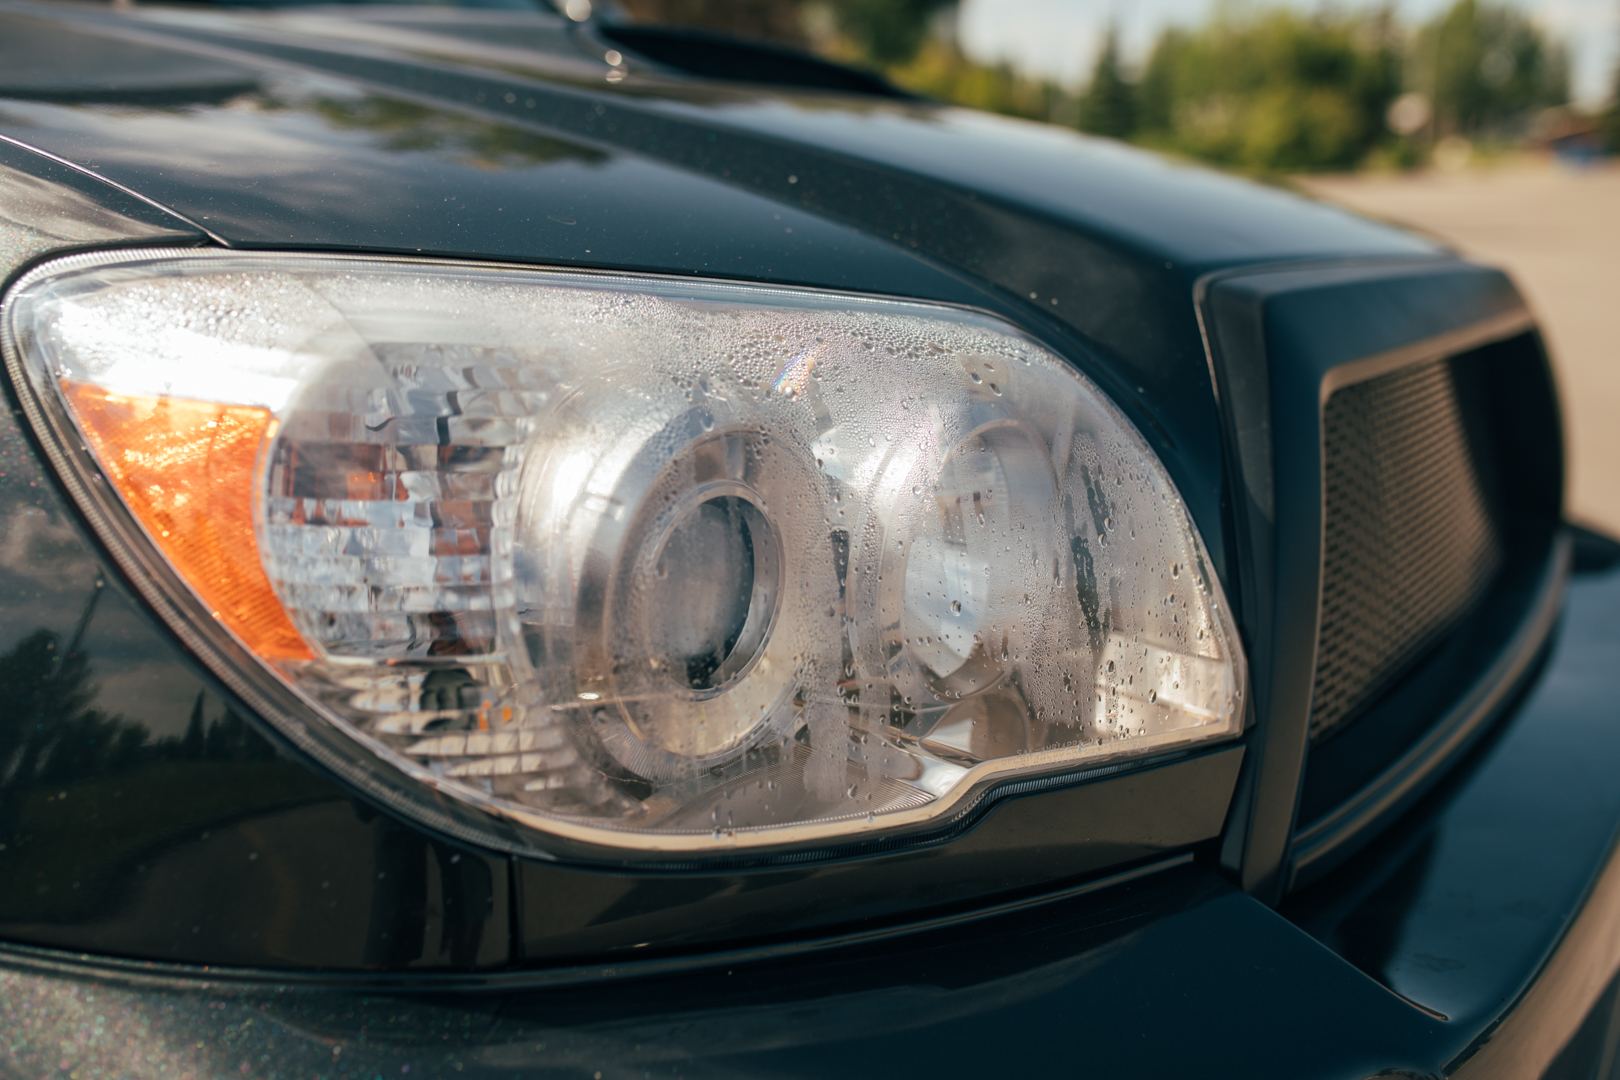
First day I tried them out it rained... And they leaked... Ughhh

Well I ordered fresh headlight butyl from Morimoto and am planning on resealing them when I get some time. But i do like the look. It's subtle but may as well fully black it out right??


854Zea.jpg


8OCeO5.jpg


8OCLgT.jpg


8OCMsb.jpg


8OCuWr.jpg


8OCbgM.jpg


8OCxDa.jpg


My stock headlights that seemed to have been fine for the 10 years this truck operated all of a sudden both got moisture in them within a week. The passenger side one is really bad (you will probably notice in most of the photos.) The drivers side is pretty bad too but it depends on time. Looks like i’ll need to remake and seal these ones too. Blackout or just stay stock?


859pS0.jpg


Rust


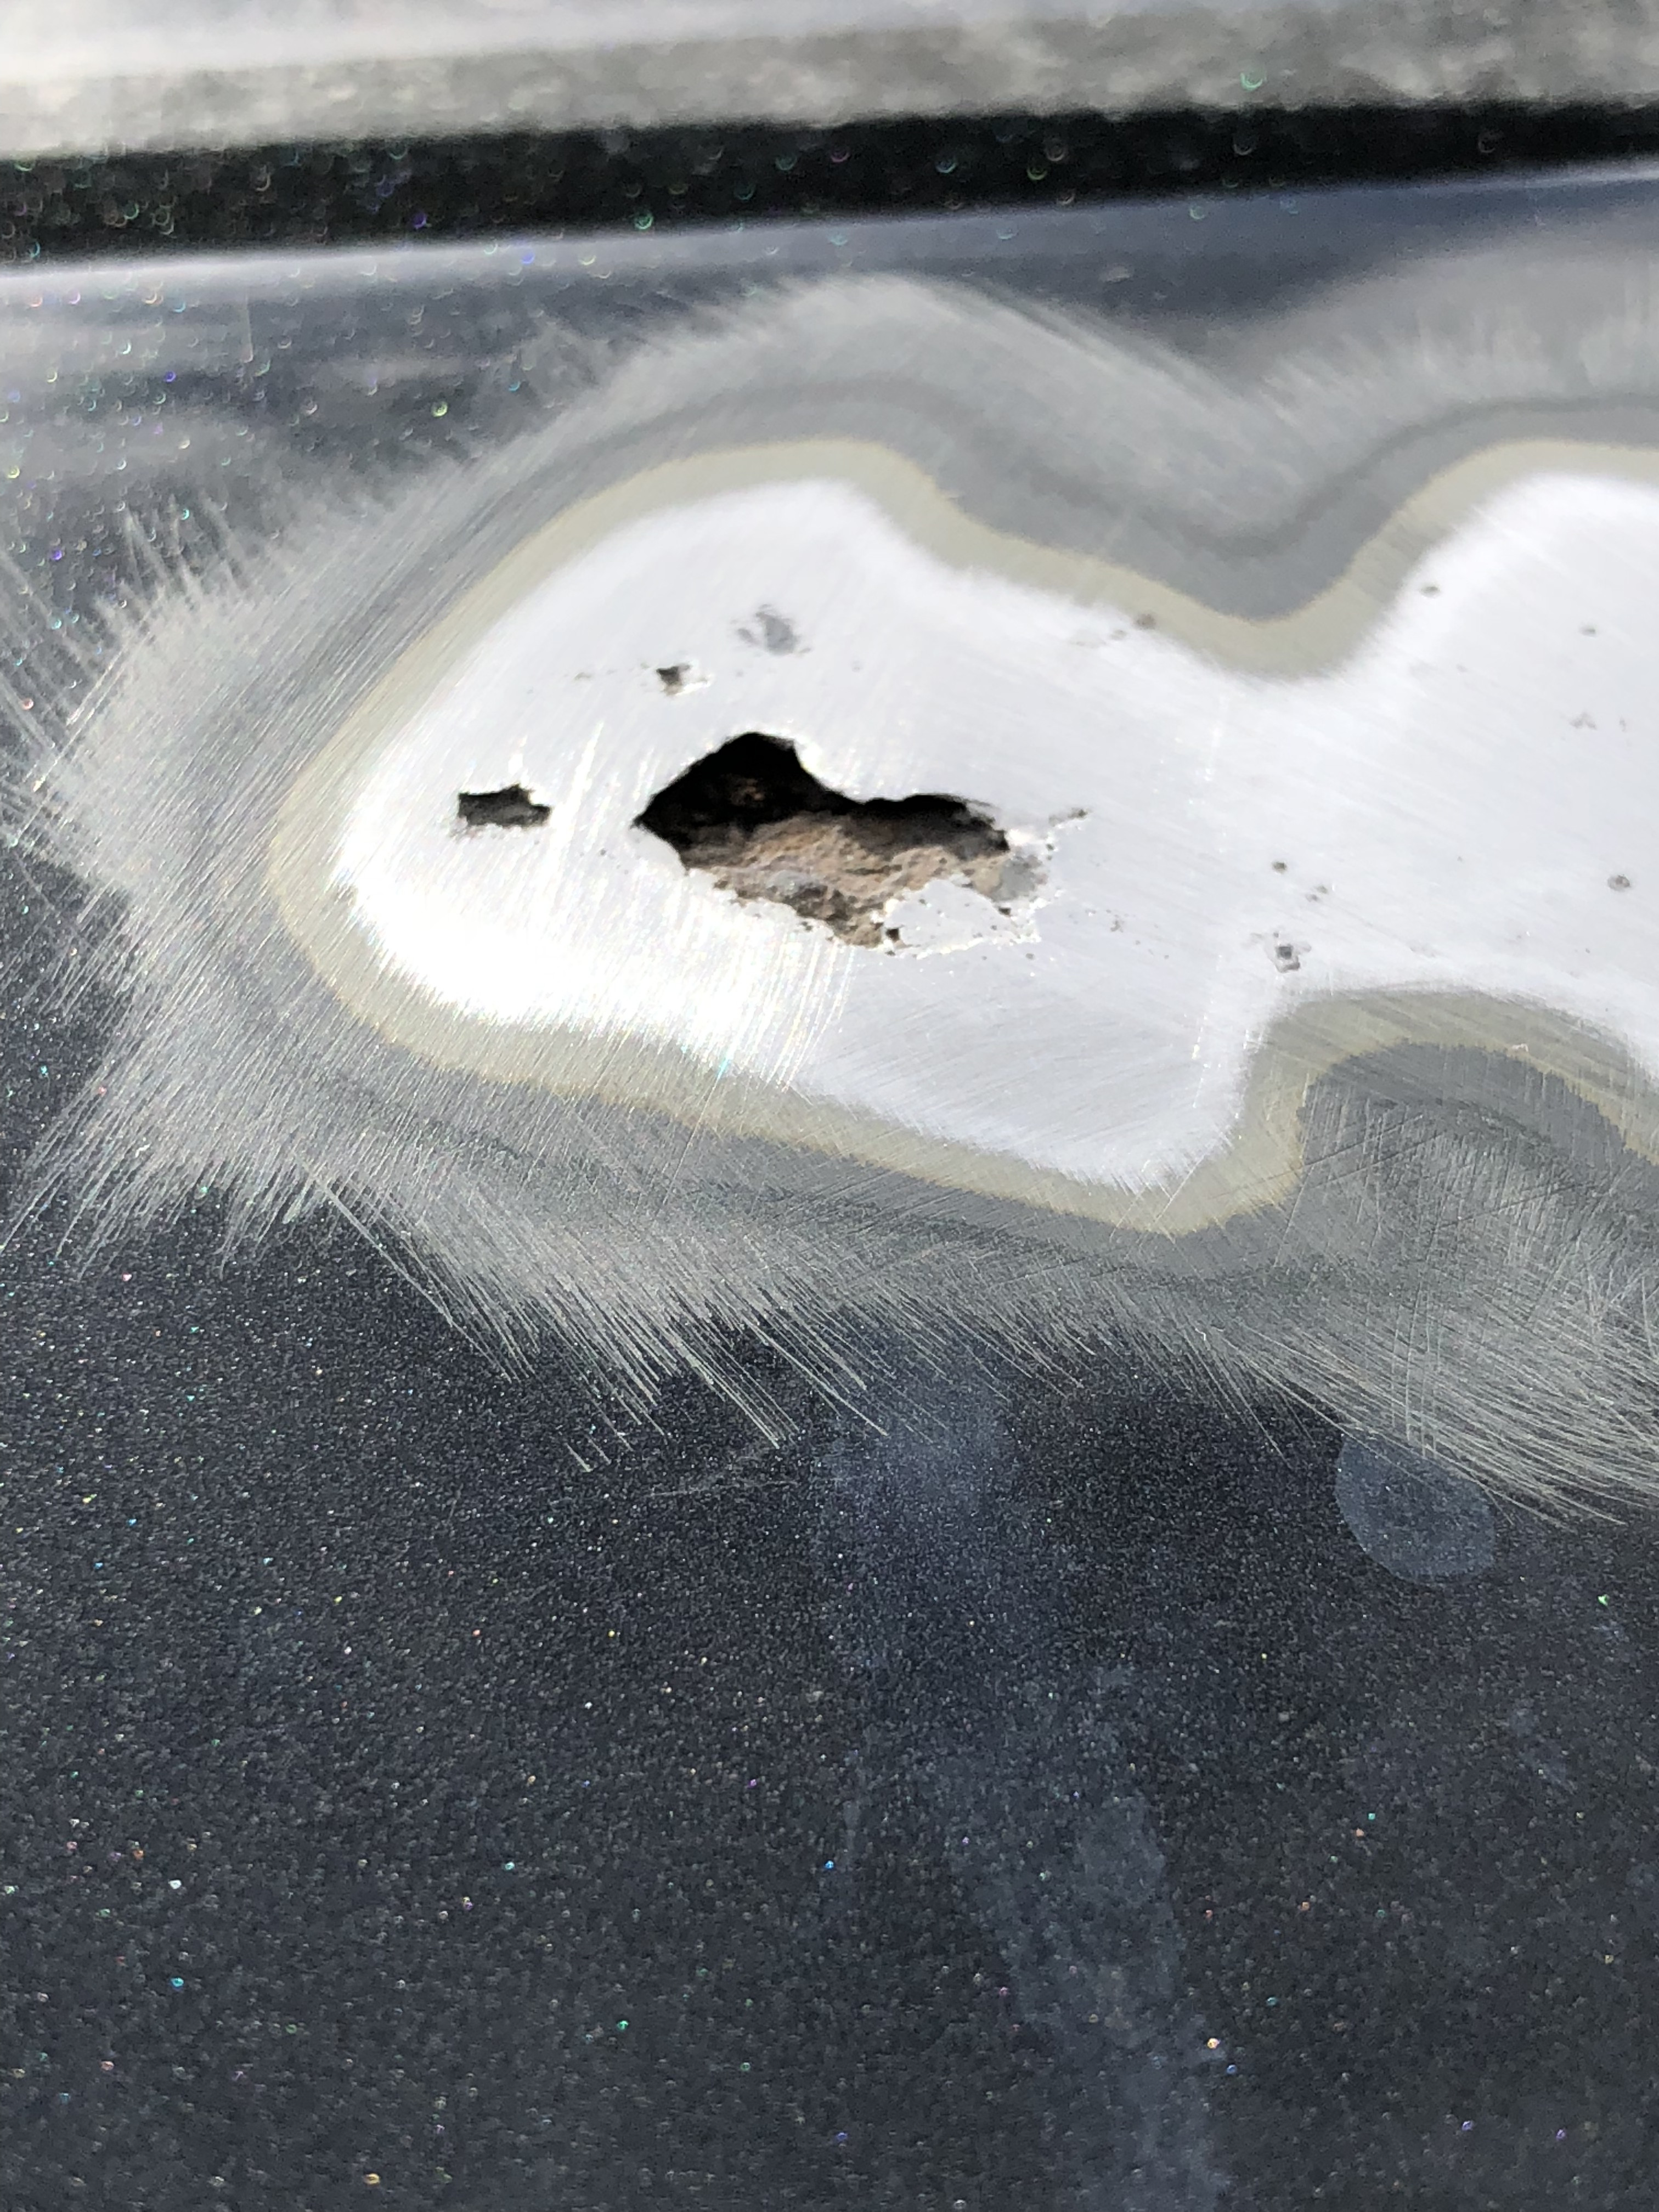
I've seen enough on this forum to know these vehicles are prone to rust. Now if only this rust wasn't because of my stupidity...

I was working in my garage one day and opened my rear hatch and it hitch the garage door metal handle and put two small scratches on the tailgate below the license plate.


Fast forward a year and a half. I noticed some small bubbling rust in those two spots. Thinking crap but I can just sand a bit off and repaint and all good. Boy was I wrong. I started sanding and it only revealed more of the problem. Turns out a good section of the tailgate is rusting away, probably due to those small scratches.

I sanded, prepped and painted and plan on finding a welder/bodywork person that can hopefully cut out the rusted section and weld on a new piece. Fingers crossed.

What are my other options?


85Kot9.jpg


85KPjC.jpg


4Runner Family


Partly convinced my girlfriend to get a 4runner. She ended up getting a 2006 4Runner V8 Sport Edition Black. Pretty much the exact same vehicle as mine... Pretty cute eh?

Hers has 210,000km and came with a few goodies. Bilstein 5100 lift, subwoofer, aftermarket wheels with 275/70r17 nokians. Aftermarket stereo deck and weathermen floor mats.

But her vehicle is another story that I'll get into later on.


85KtLT.jpg
 
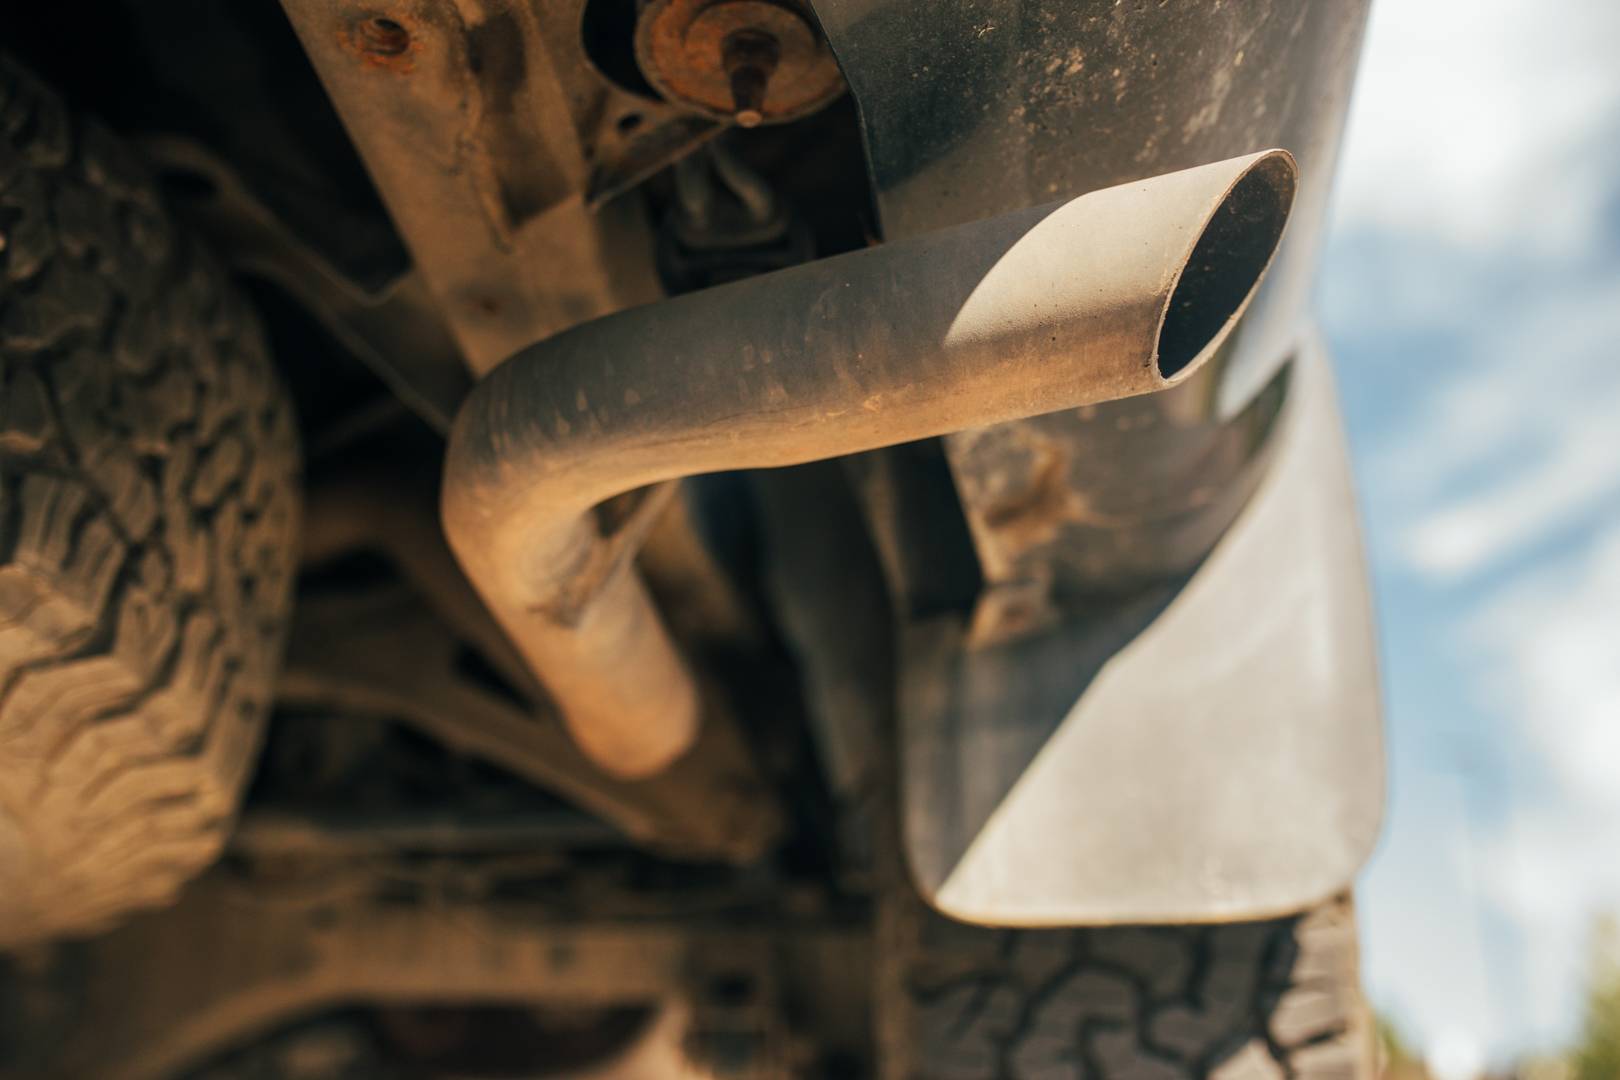
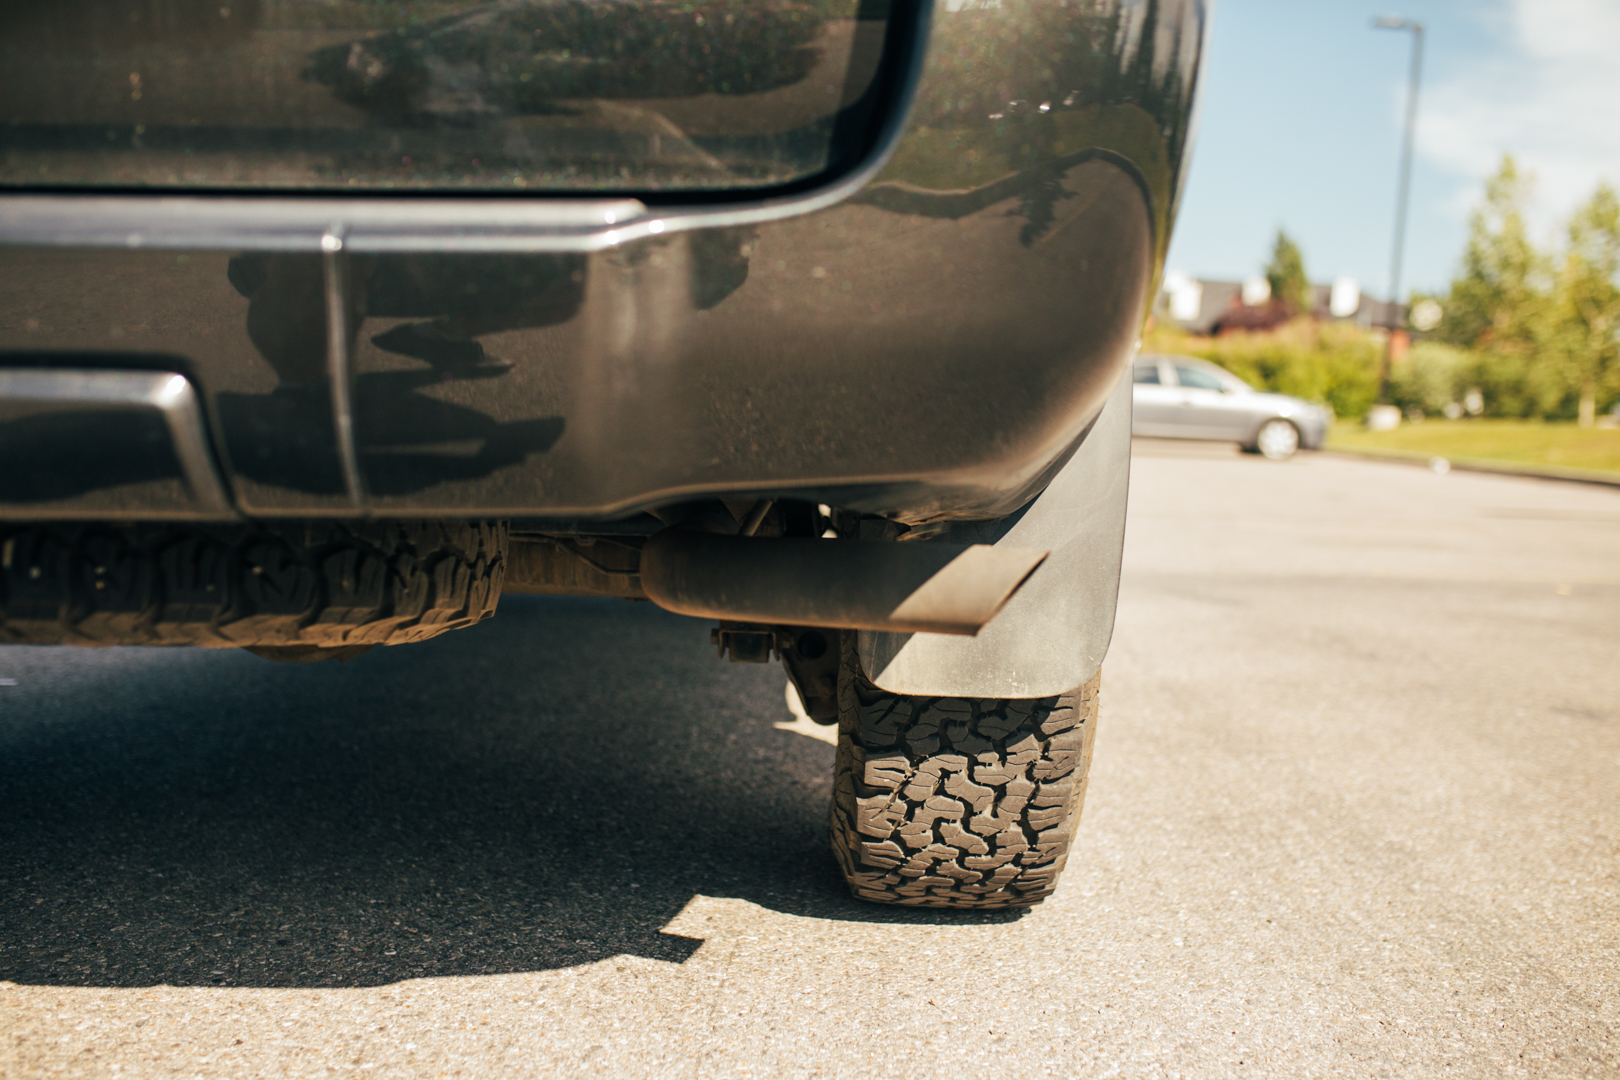
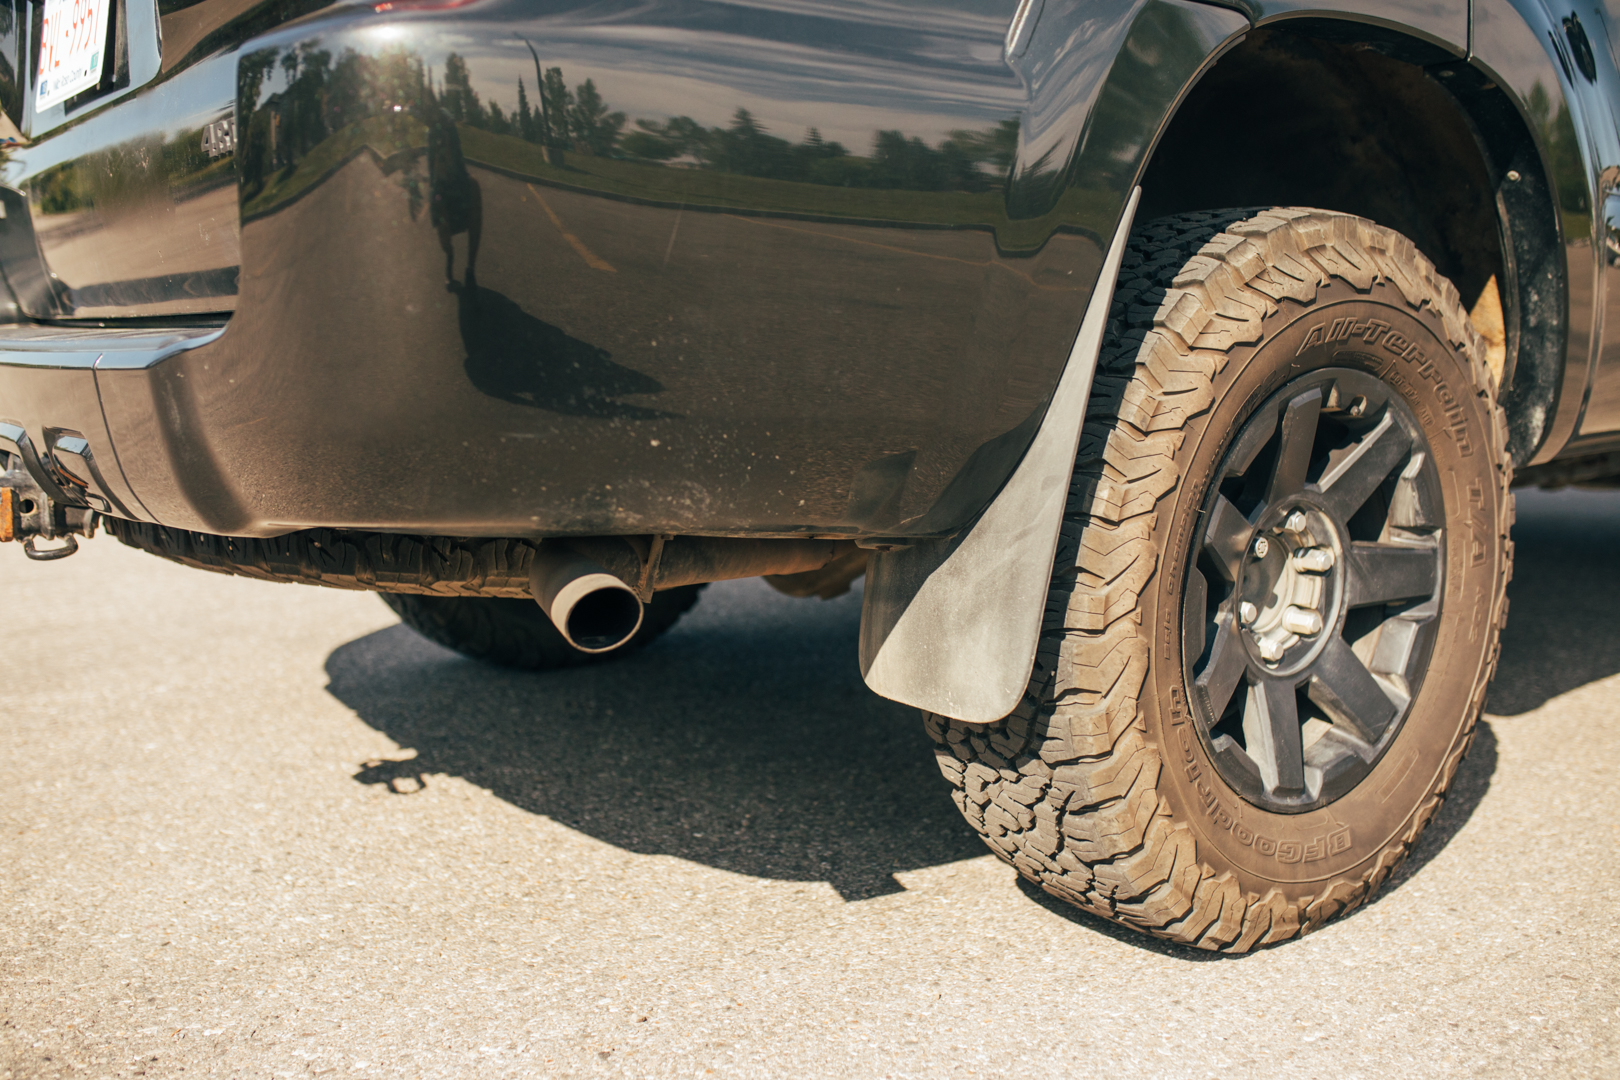
Routing Exhaust out the side


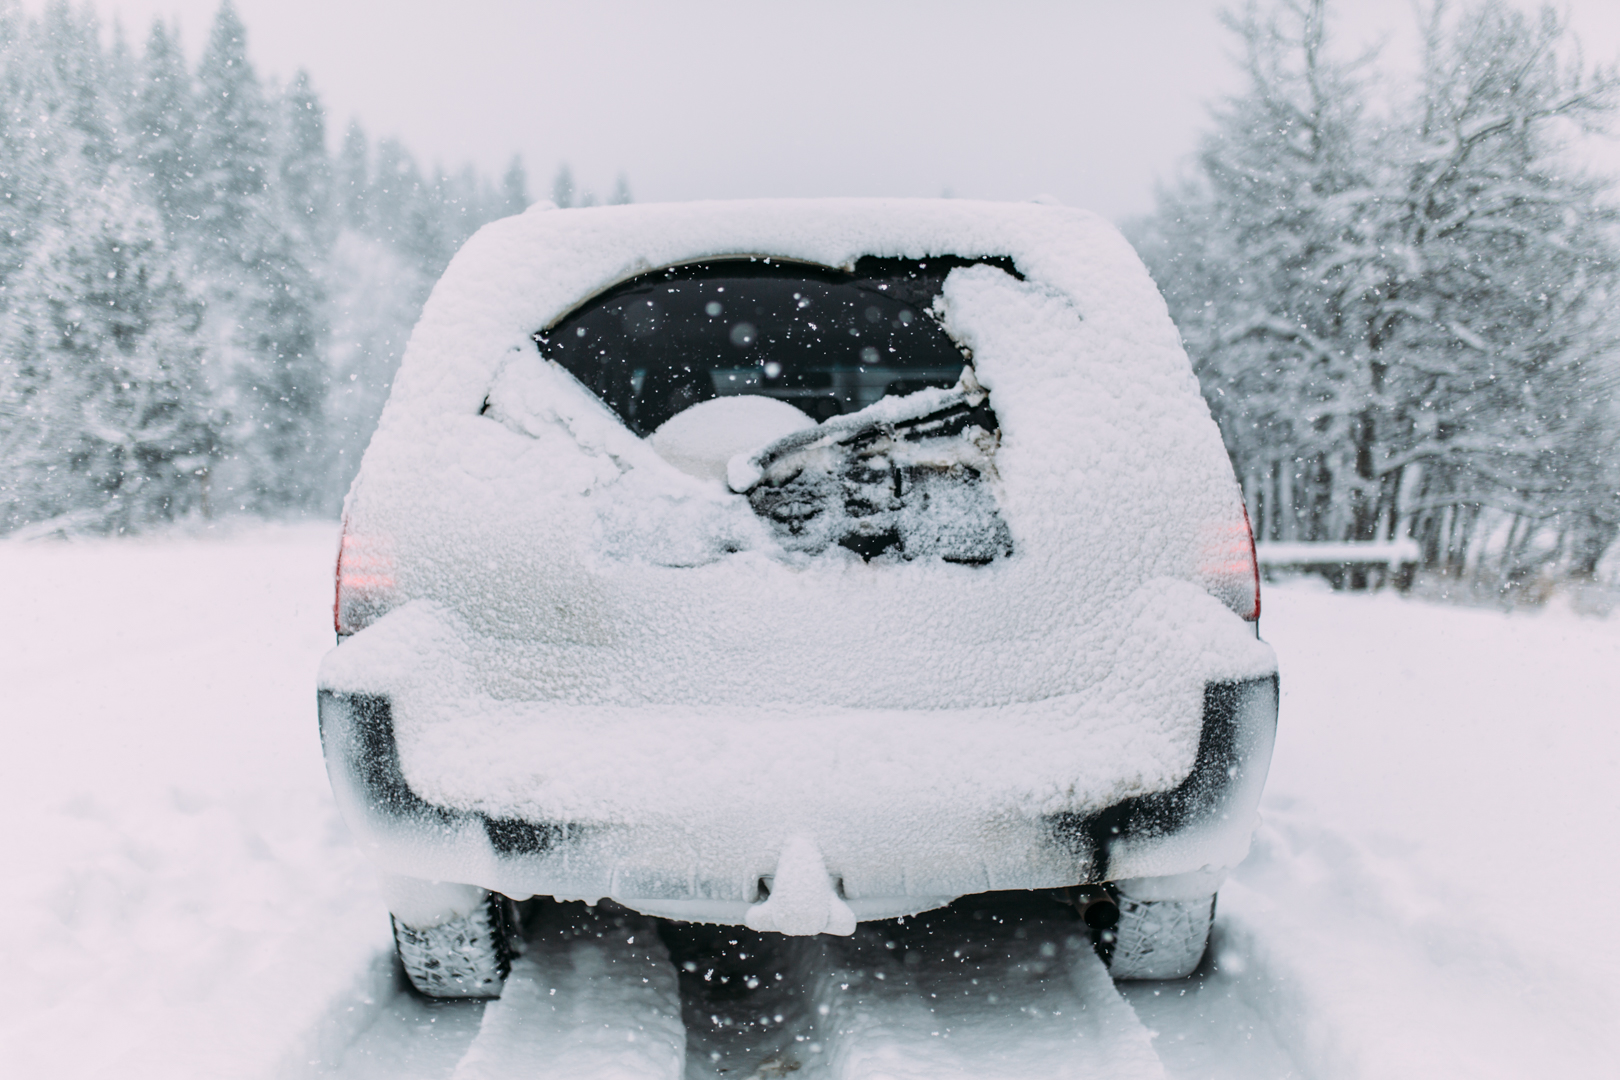
As many of you know with the rear window down often you can get that exhaust stench in the cab. It gets sucked in through the back window and usually ends up with your girlfriend blaming a fart on you. So I'm told...

I took my truck to an exhaust shop in town and had him chop off my resonator and route it out the side behind the rear tire. I dropped the 4runner off and showed him a picture of what I wanted. In hindsight I would have been more clear and had him route the exhaust a little closer to the tire but I think this will do. This helped with the exhaust smell quite a bit. Occasionally I'll get a small whiff but it's much better than before.


859Bjb.jpg


859sYr.jpg


859mq7.jpg


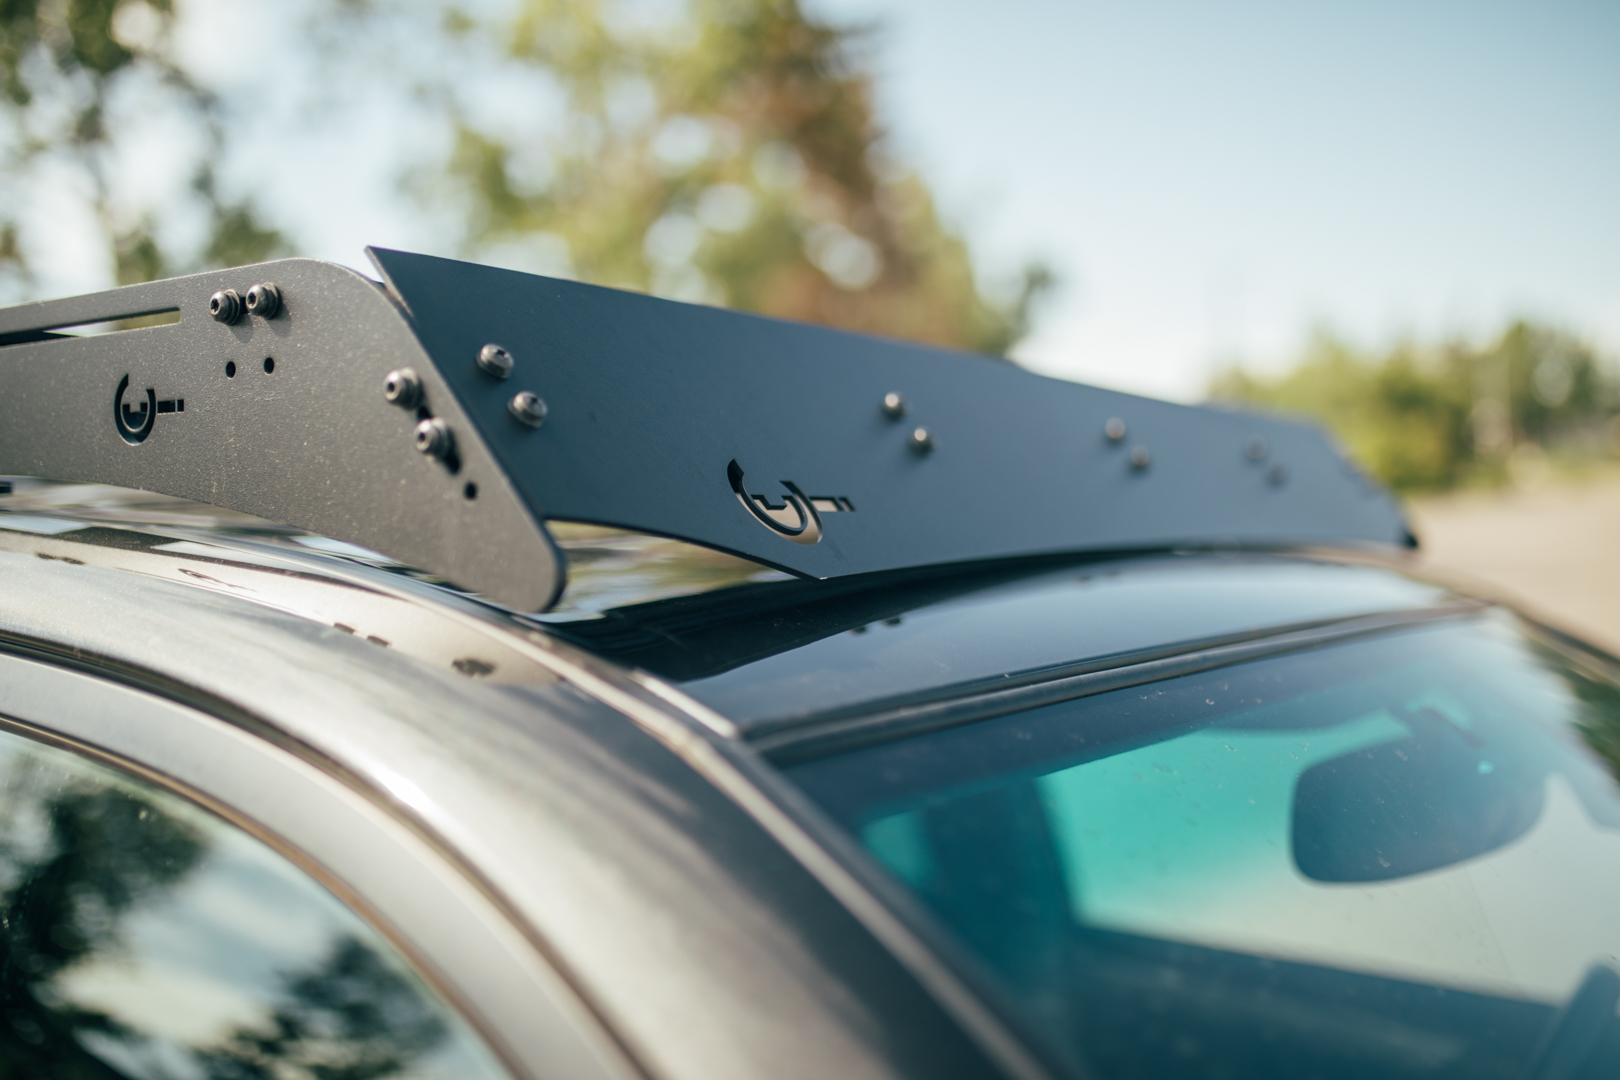
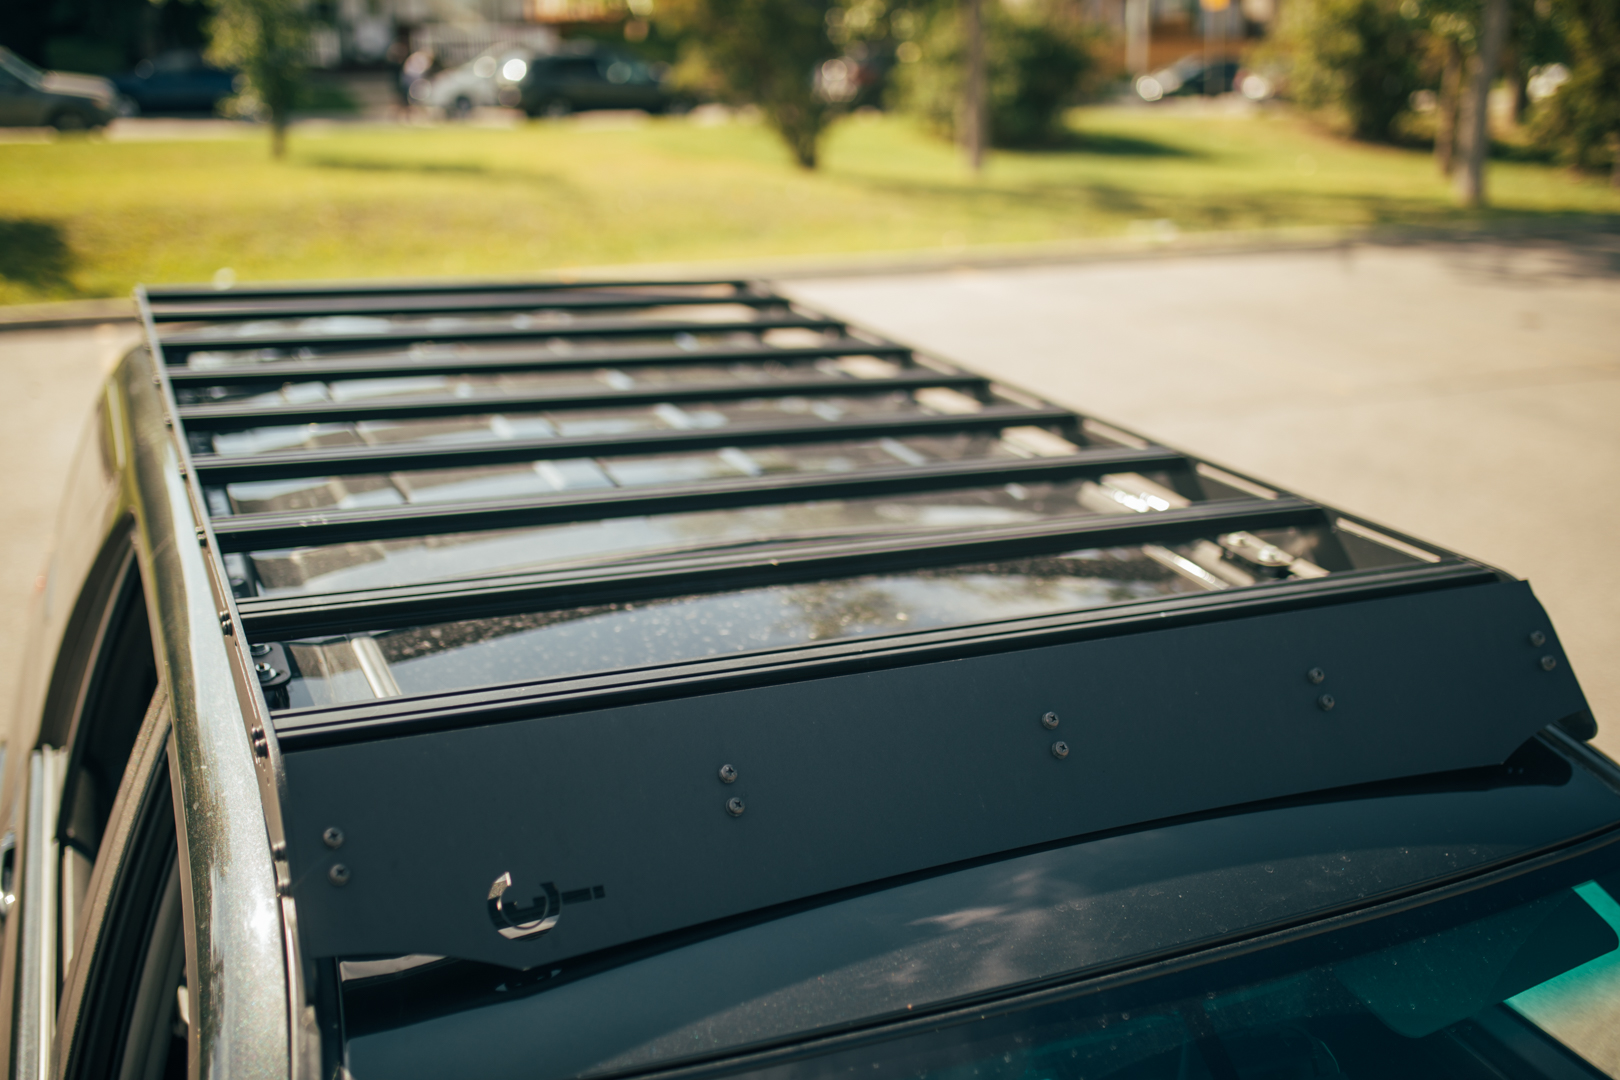
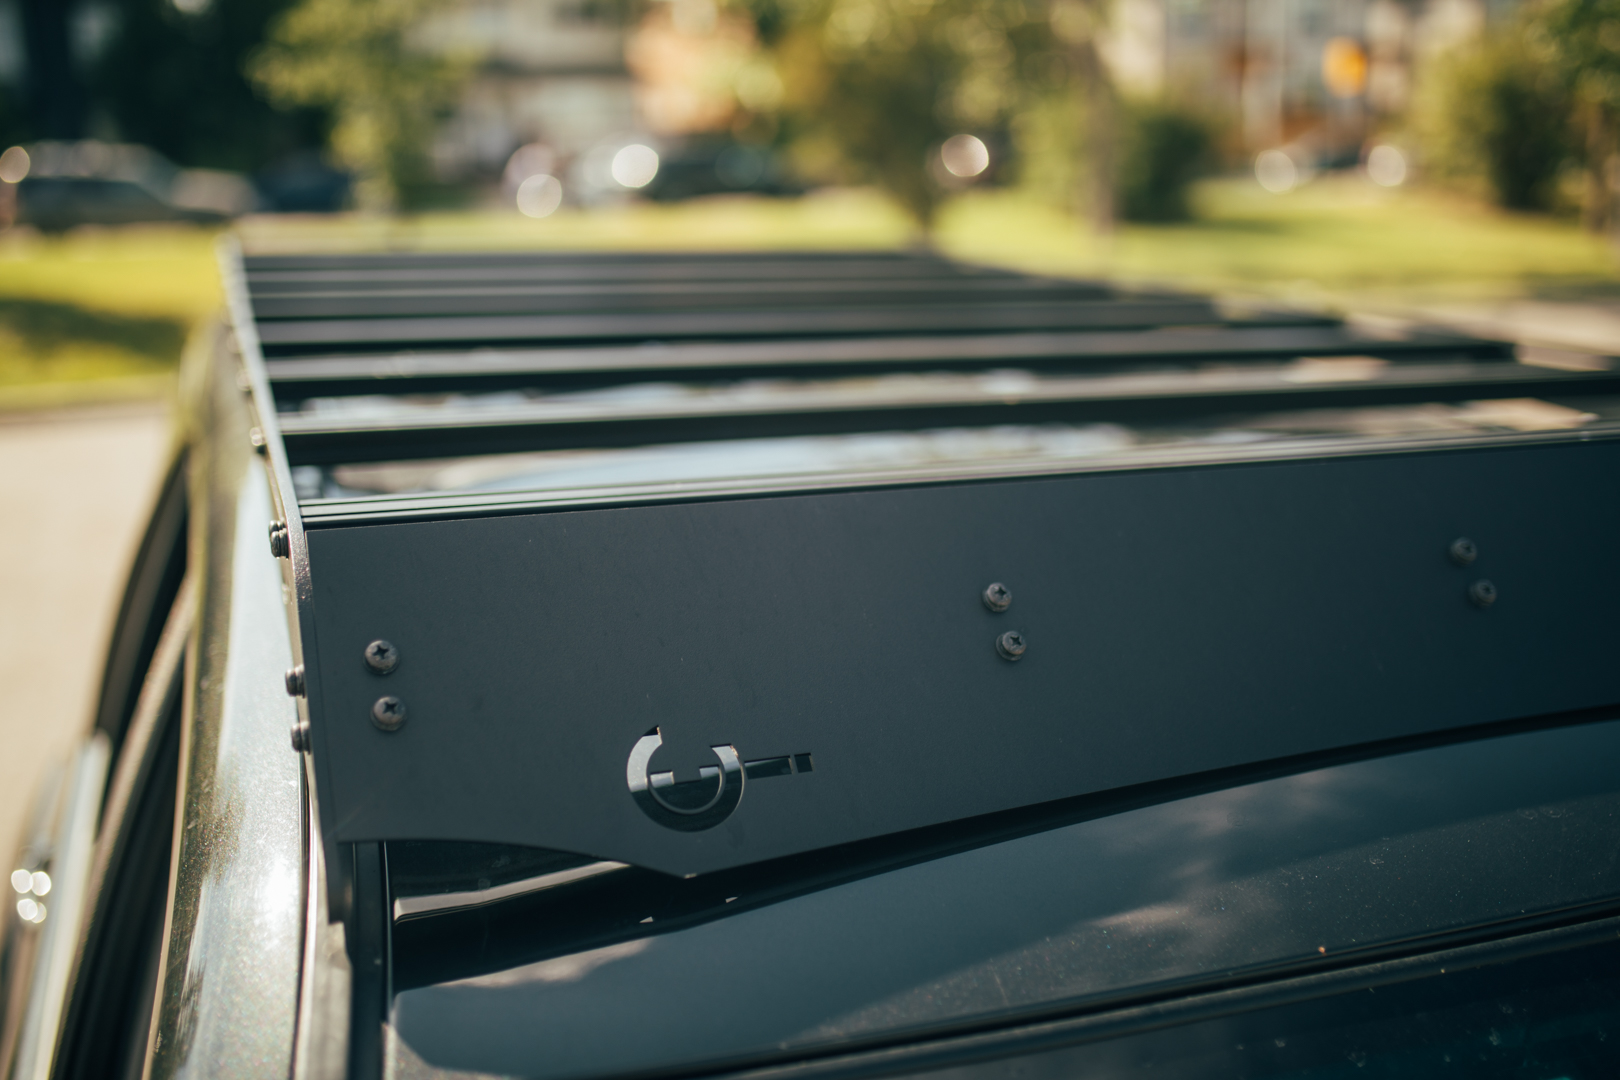
Prinsu Designs Roof Rack


I have been planning on getting a roof rack since the day I got my 4runner. I plan on getting a RTT at some point but also love the idea of being able to cleanly mount items up top. Originally I had been set on a Gobi Stealth. For the longest time it was the only roof rack for the 4th gen that I actually liked. When i first saw the Prinsu rack I was not completely sold on it. Something just didn’t click for me so it was put on the back burner. The more I researched and looked at racks the more I started to see the appeal of the Prinsu. I am still a fan of the Gobi rack but after hearing a fair amount of stuff regarding wait times and prices I decided that was not a practical choice for me at this time.

Along comes Kijiji again. There was a 4runner with a Prinsu Rack for sale for about a month. I had inquired about purchasing the rack separately from the truck as I genuinely thought he could get more for the rack by itself and I also wanted it. Haha

He wasn’t having it and I gave up on that idea. But a week ago the same rack popped up for sale by itself. I reached out and went and picked the rack up. I was racing a storm coming in and the last bolt went on as the rain came. The rack is in excellent condition and fits like a charm. Already making plans for its part of the build.


85Vfdr.jpg


85VMX5.jpg


85VFLF.jpg


85Vlii.jpg


8593hF.jpg


859KC3.jpg


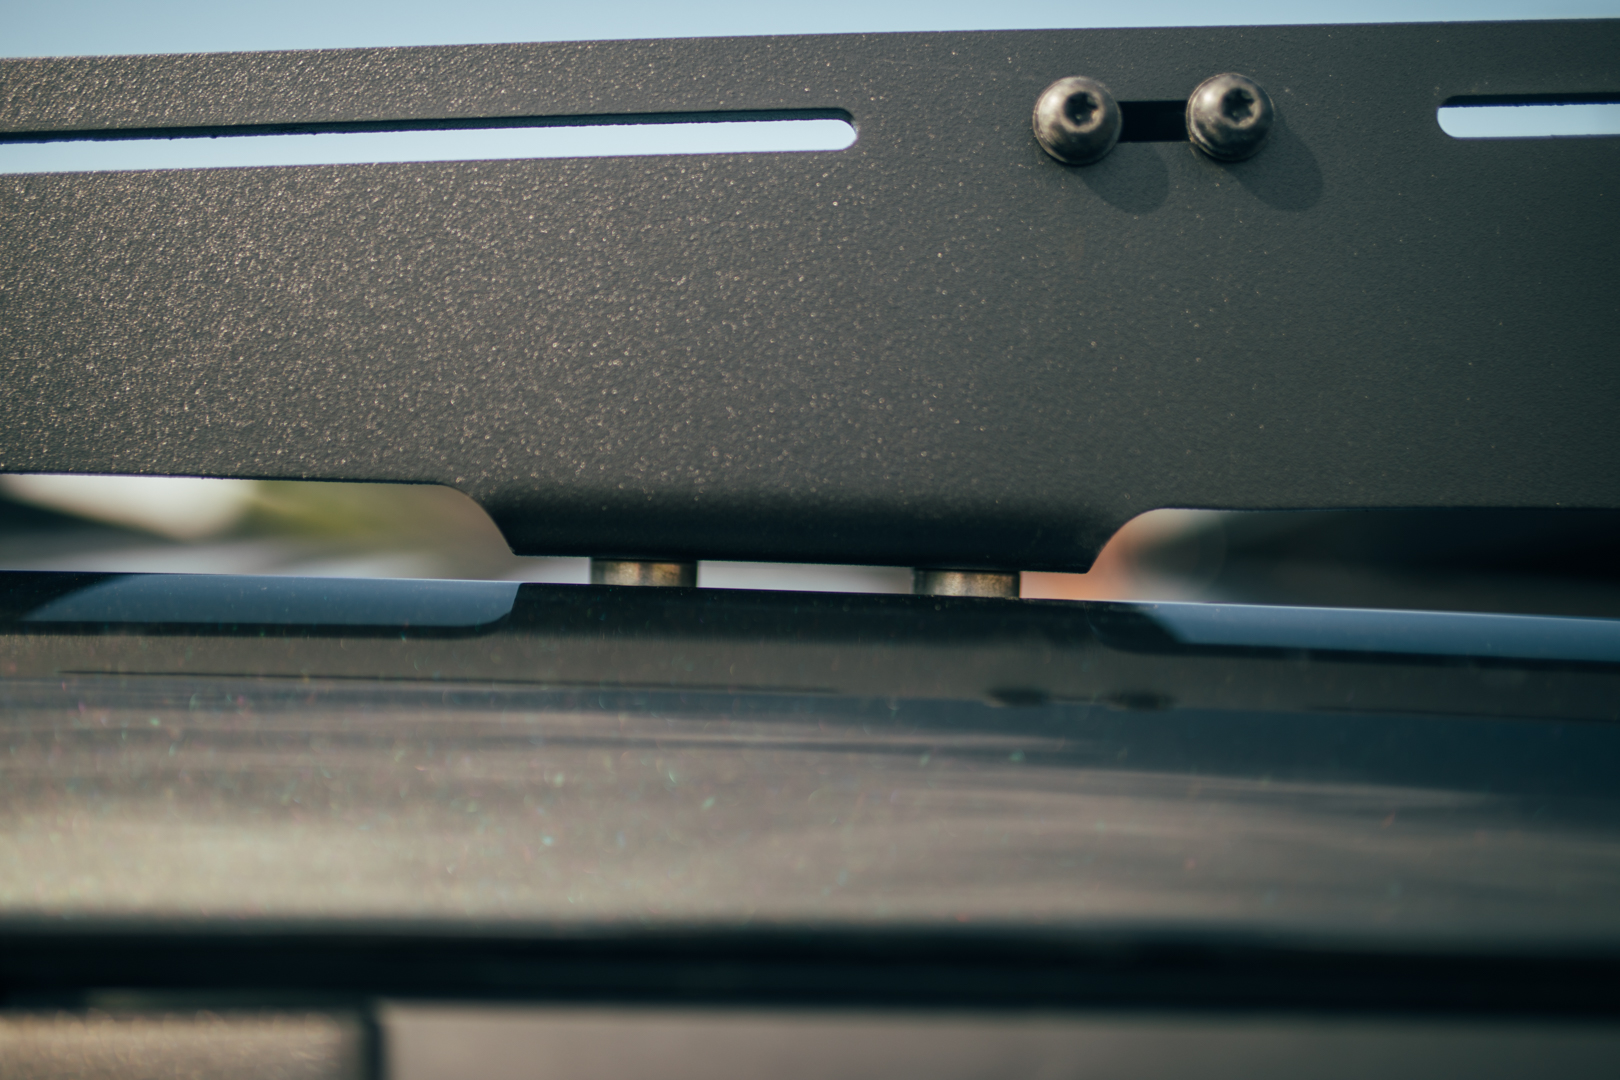
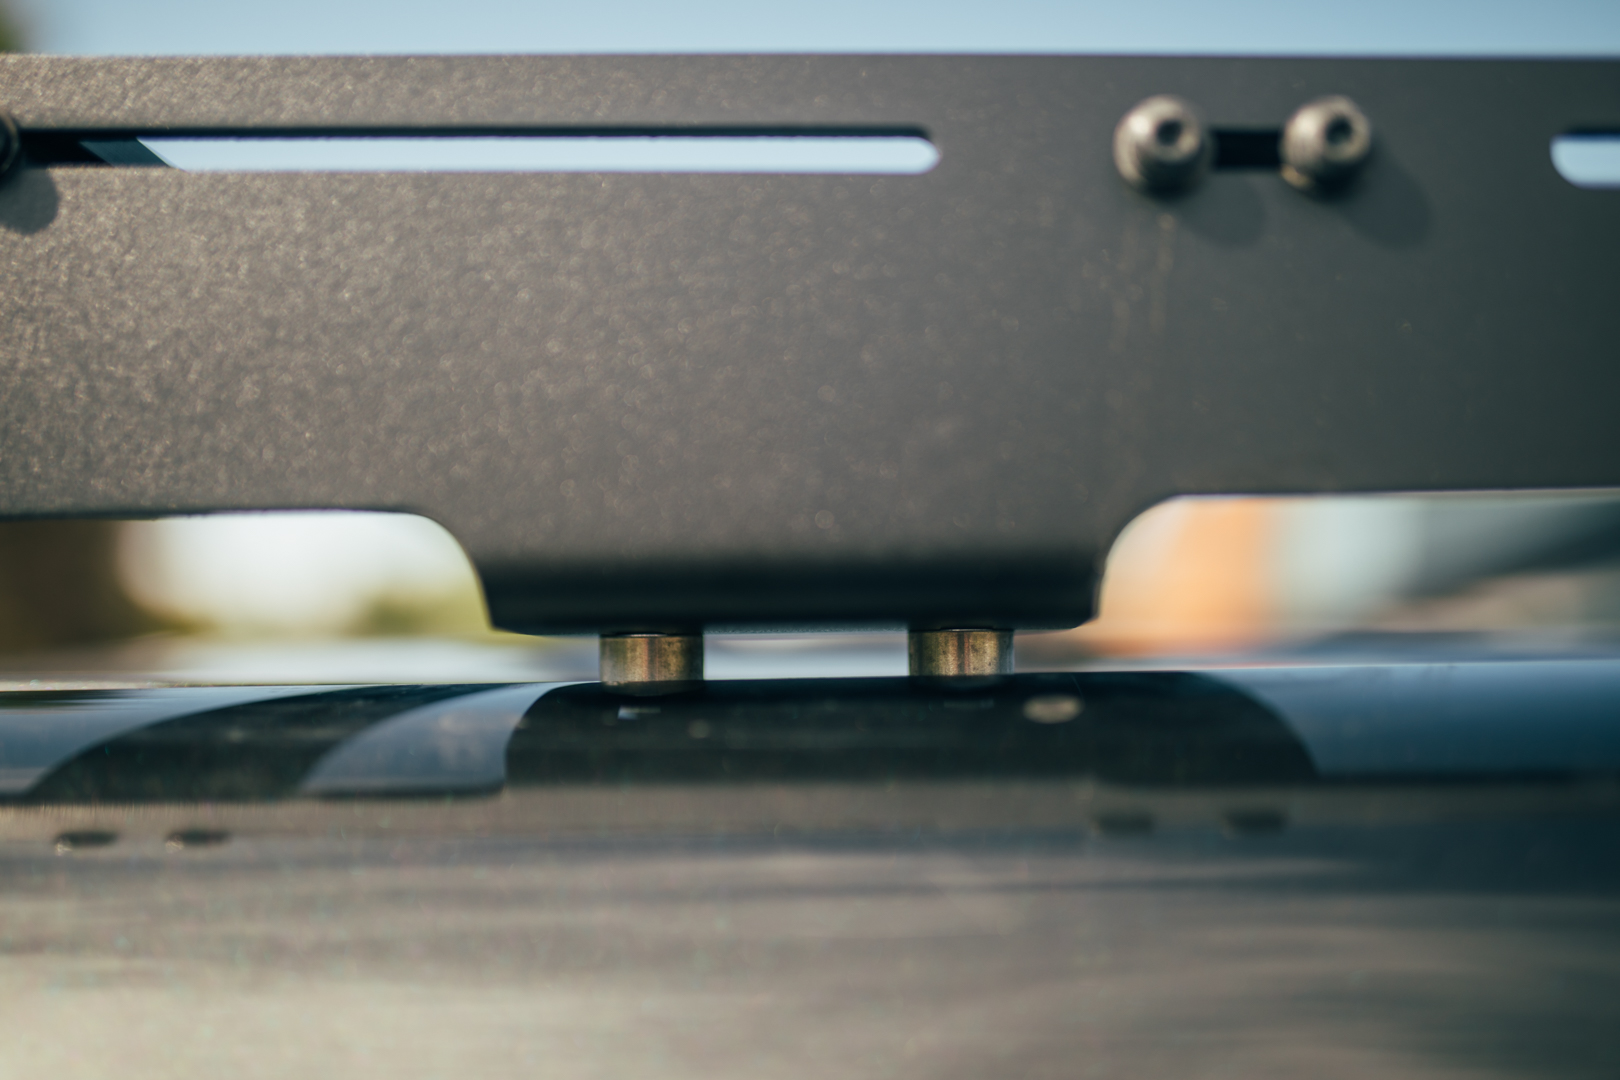
The front windscreen does seem to sit a little high and protrudes from the top of the side rail. Its not an issue at all just some of the little things. The spacers on the side seem to be a little big, I think I can snug the roof rack down to the roofline a bit more. Yes I know that will only make my front windscreen problem worse but i’ll figure something out there. I believe the spacers are 1” so I have ordered 7/8” spacers for the front and 3/4” for the rear. Hopefully this lowers it enough while also not lowering the front too much as the rear is coming down more. But we will see once they gets here.

Front:

85Vu4T.jpg


Rear:

85VDNb.jpg


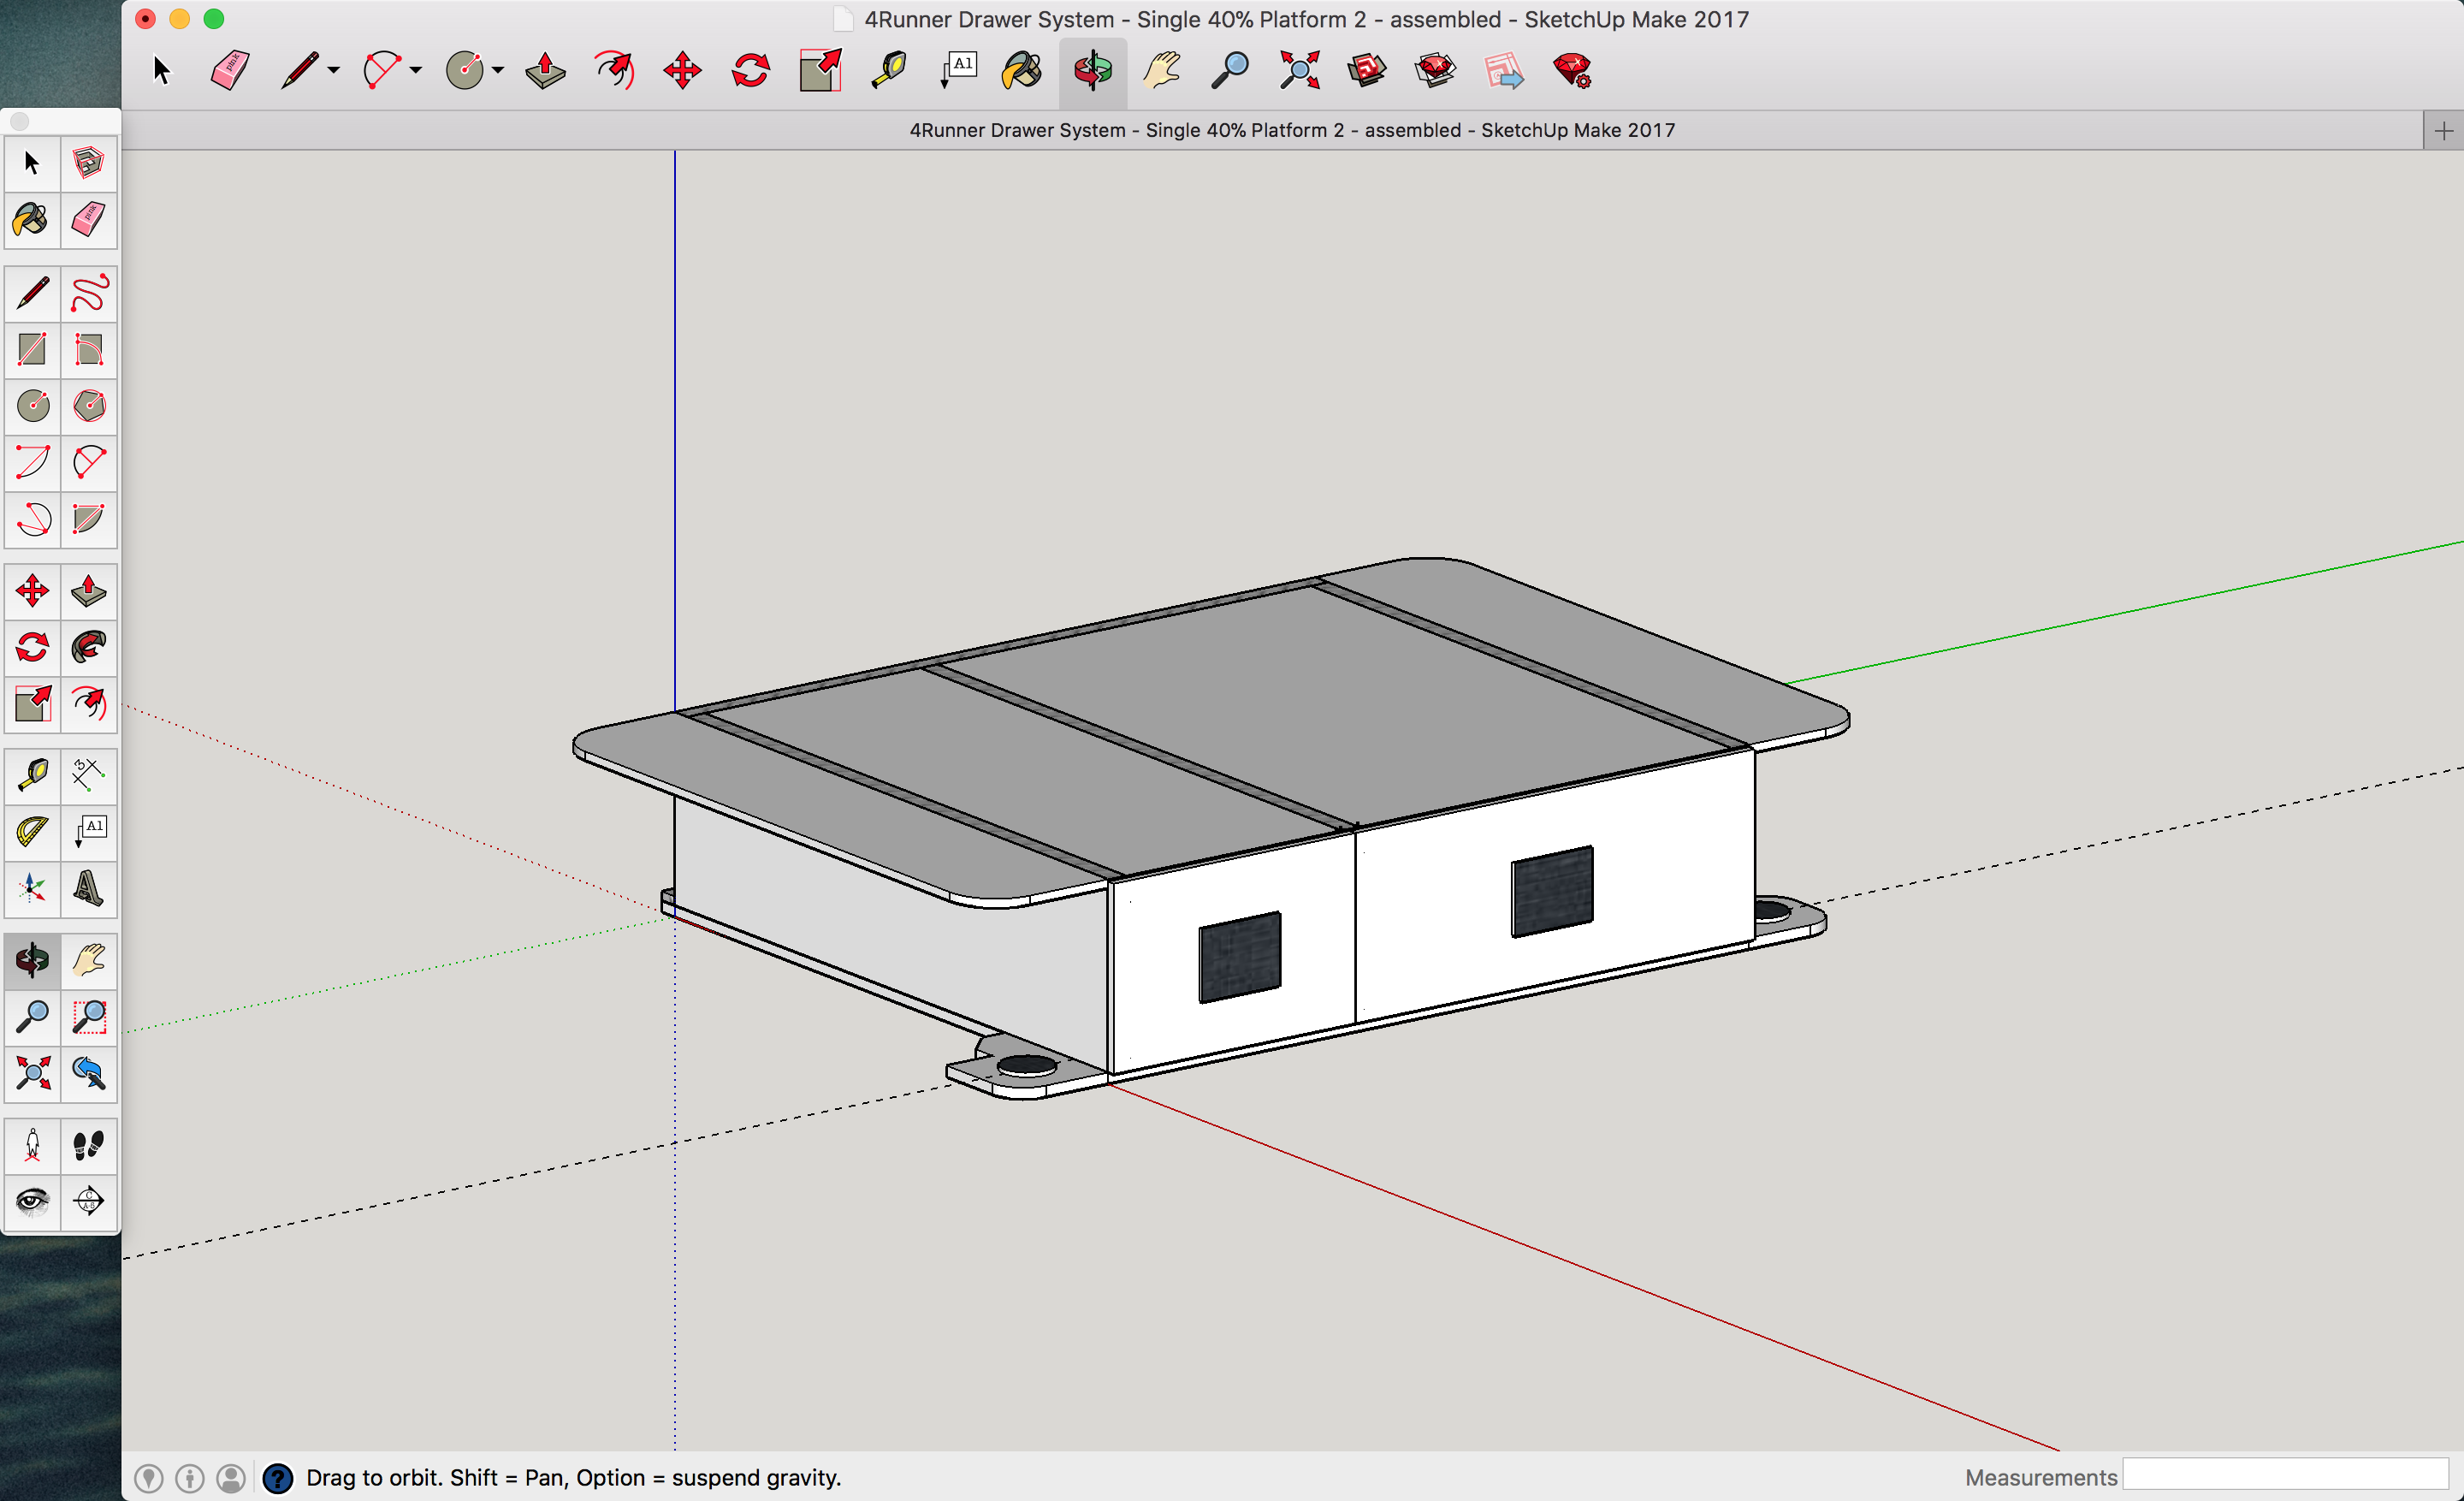
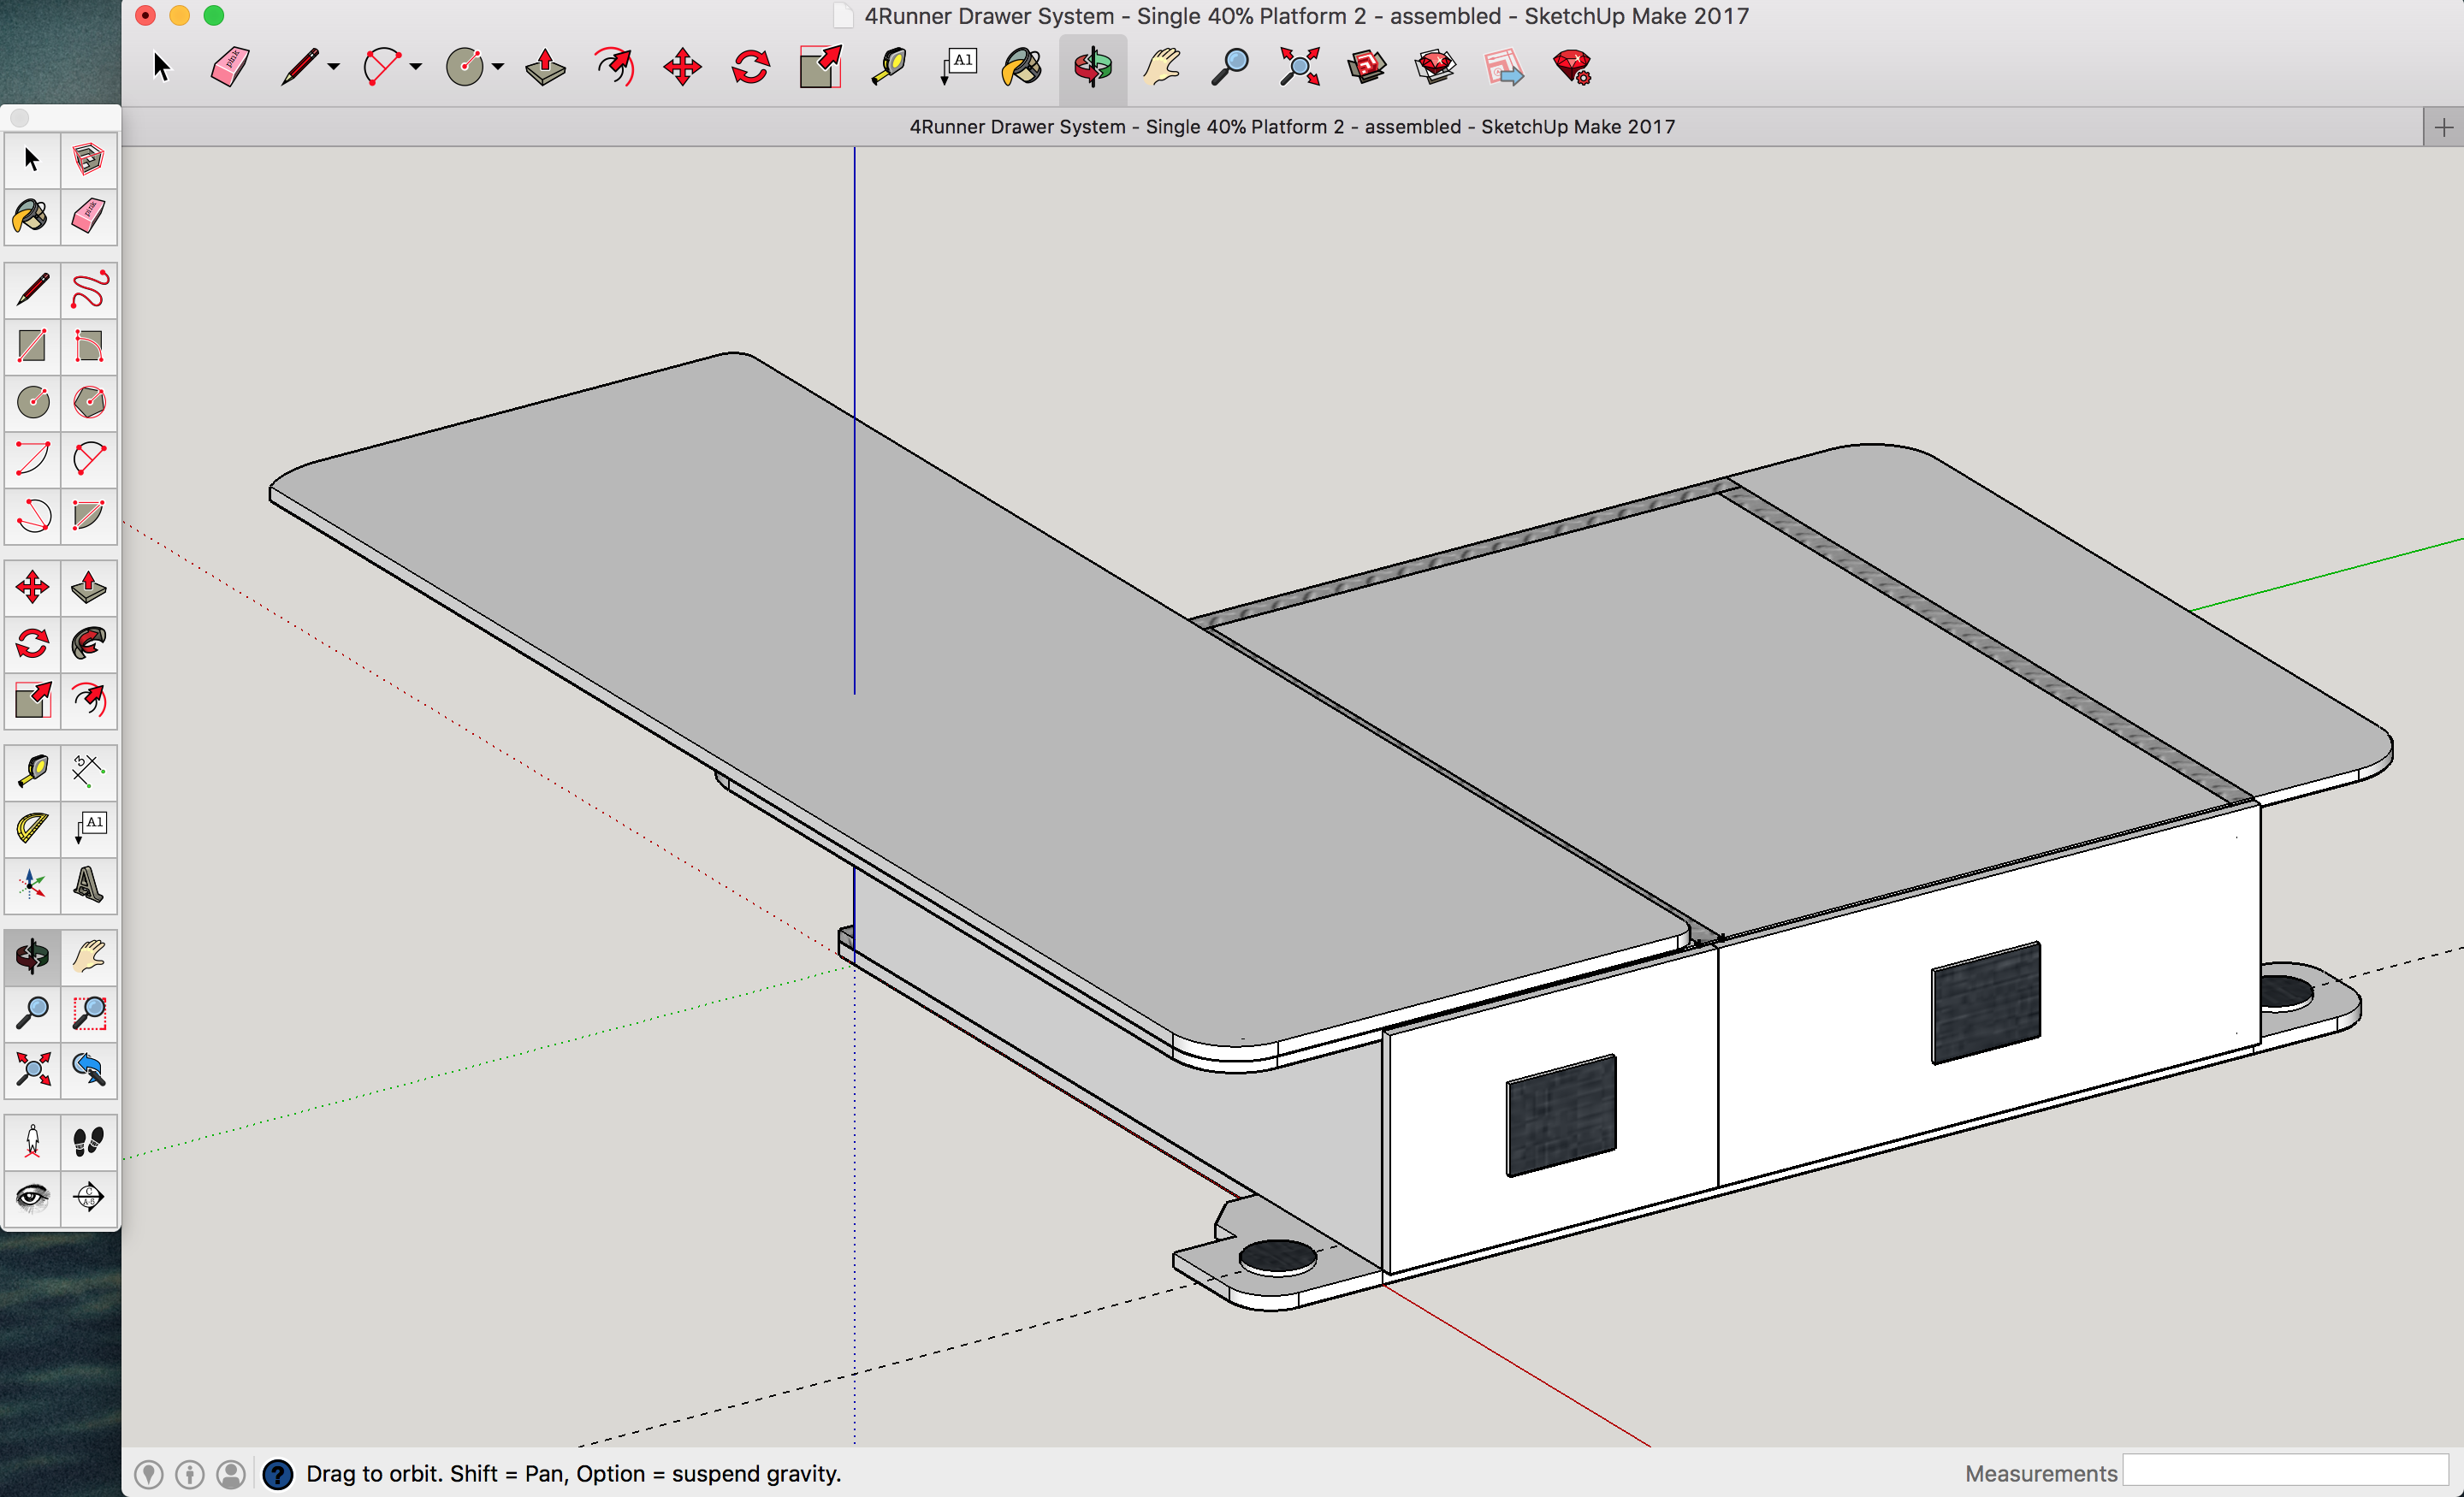
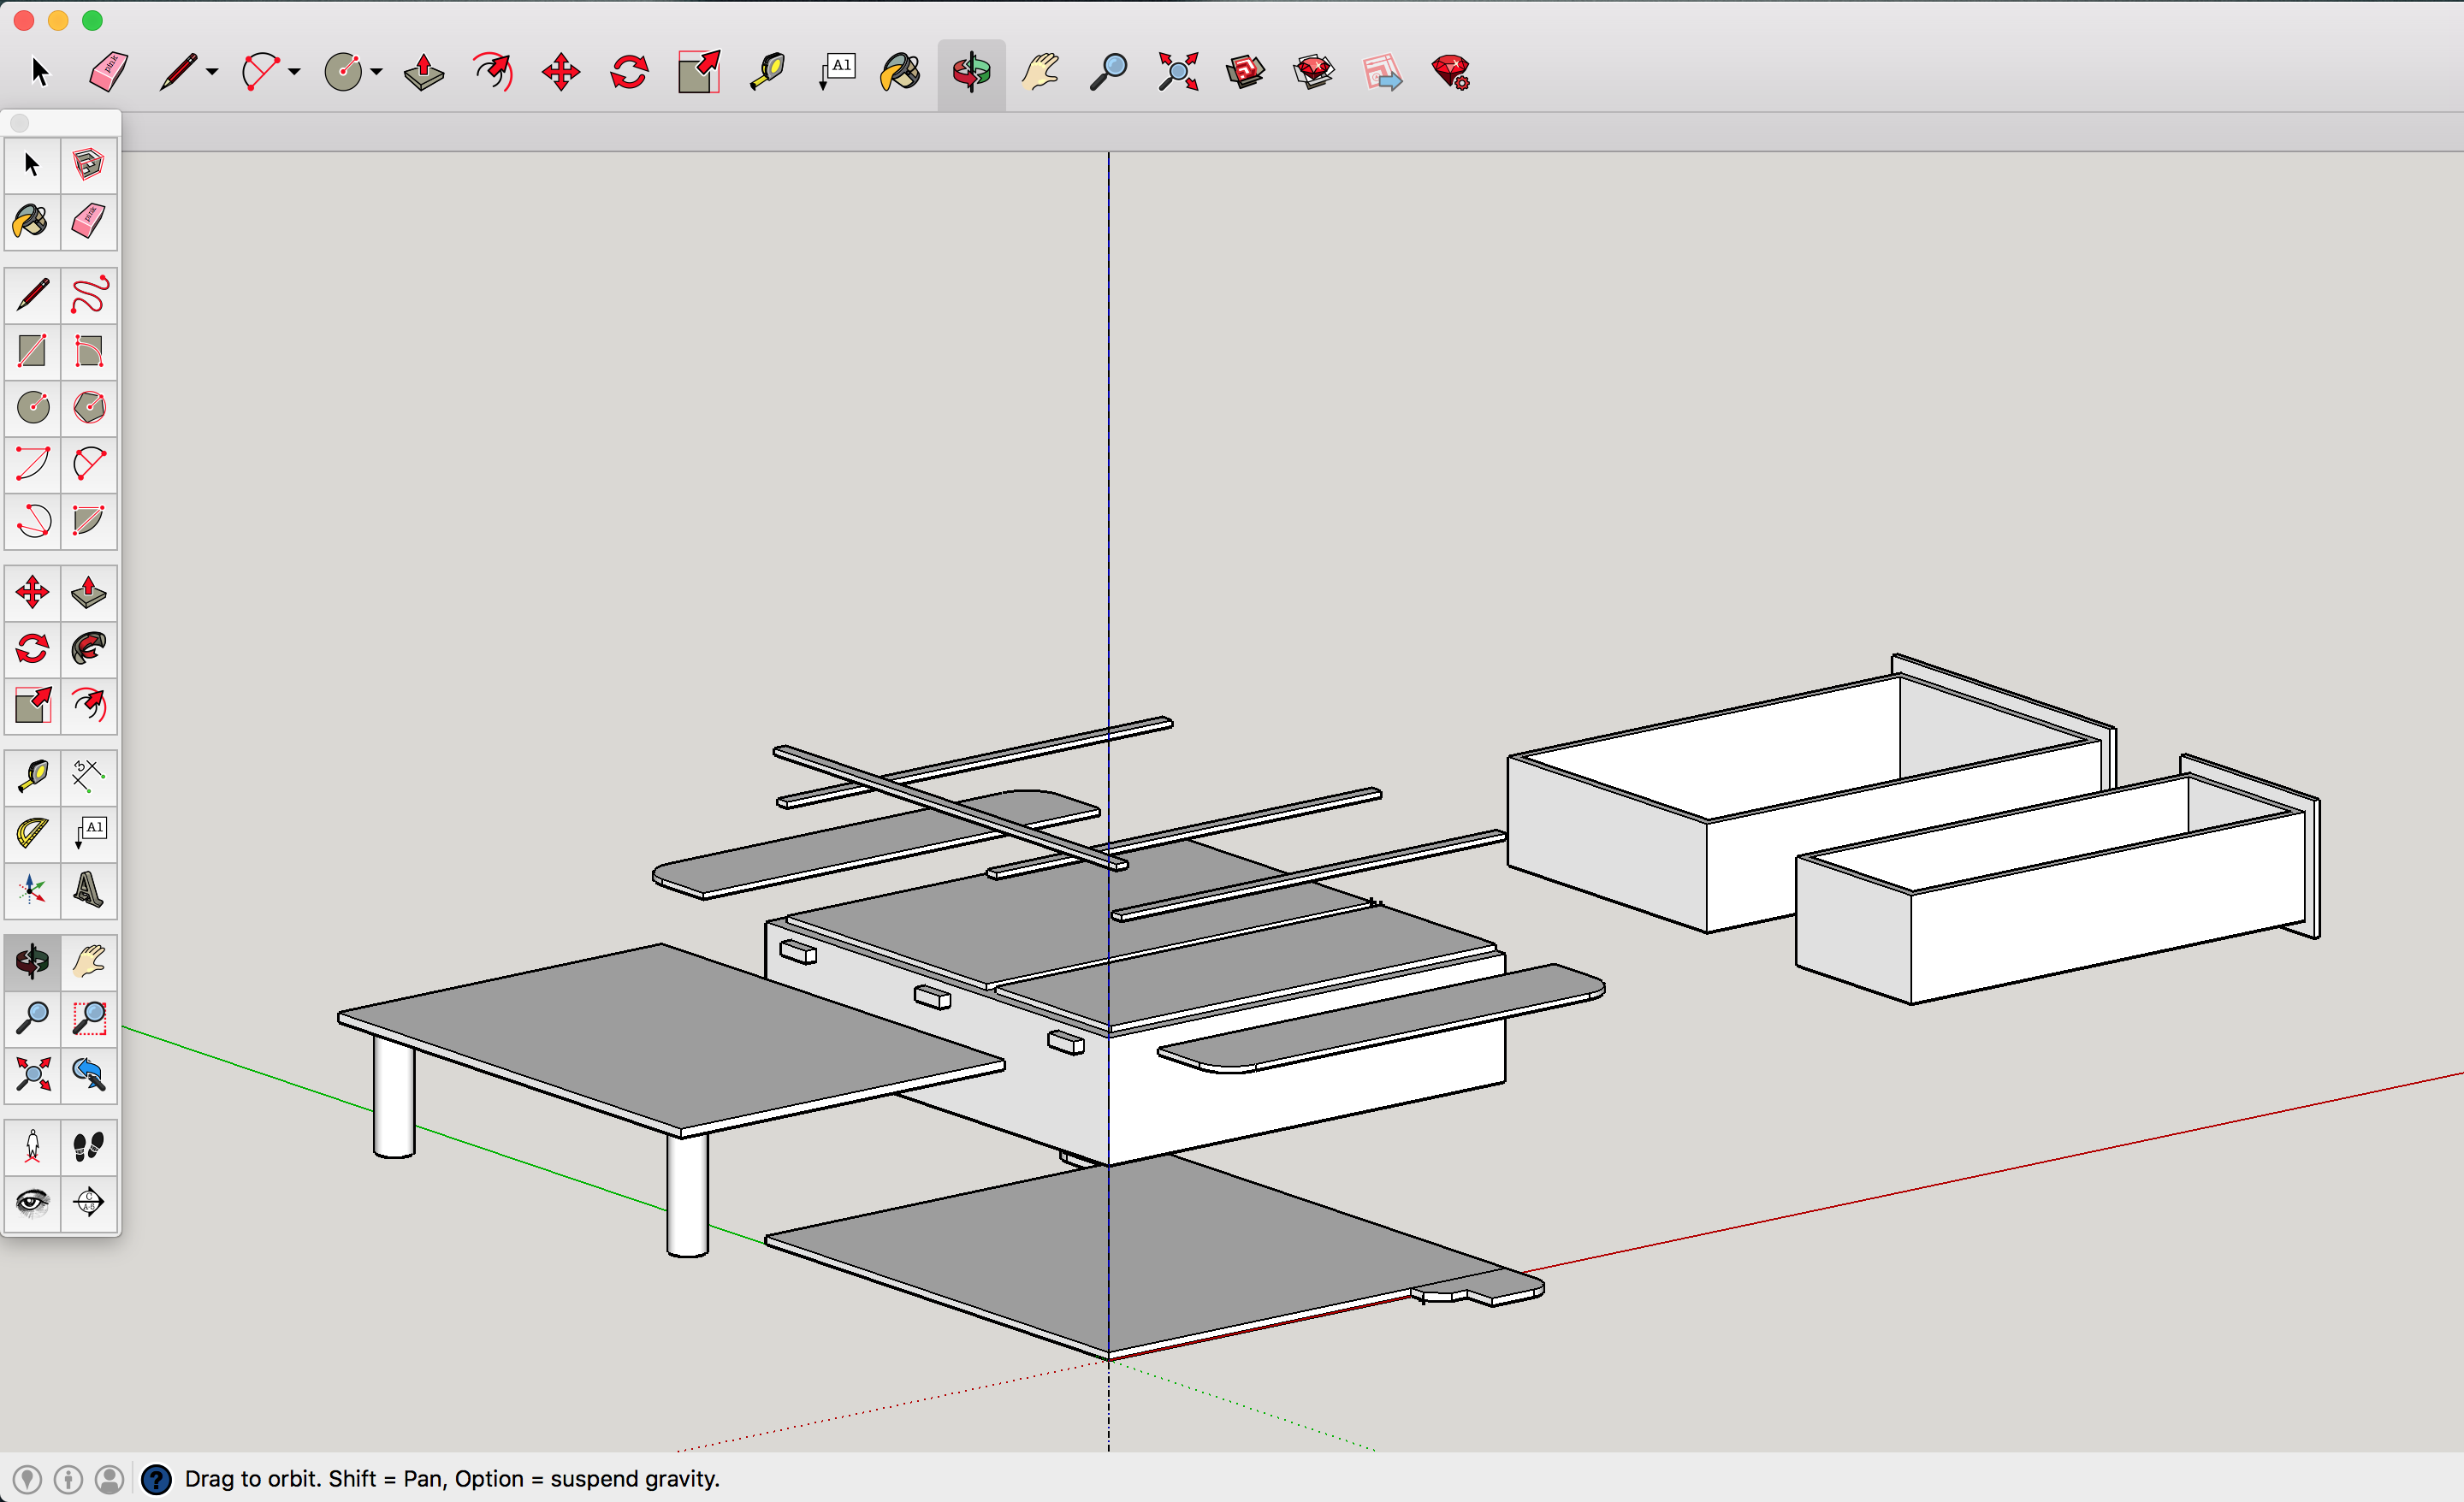
Cargo Drawer/Sleeping Platform System


I do plan on eventually getting a RTT but I plan on using these drawers during that time anyways. So the sleeping platform portion is potentially temporary. This is a rough design i’ve done taking bits and pieces from lots of members here and their designs.


4Wc9Q.png


4Wxkk.png


4Wh3c.png
 
Storage Continued

Blue Ridge Overland sells these great Molle Visor Organisers. Nice to have a few items right within reach. Pens, Knife, SeatBelt Cutter/Window Punch, Leatherman. Probably a bit overkill but I prefer it to digging around the center storage bin.

Even with the tray and dividers I added from Ebay. Everything has a place.

This is a pretty sweet build! I was kind of in the same boat where I did mods but didn't start my build thread til about a year later. Doing the satoshi grill is definitely on my to do list. Btw the shadow mica headlights look great! the oem ones may have moisture due to a bad seal or those rubber boots on the back of the headlight are failing. (trust me I know because thats what happened with my aftermarket ones) maybe you could reseal them and make some money off of them?
 
Really good stuff. My new 4Runner is a Shadow Mica like yours and I have a lot of the same mods planned for my rig, so it's really cool to your build thread! Helps me visualize what I want mine to look like.
 
Initially when I saw your thread I was expecting a white truck lol. Great build so far though. Thanks for the ideas on the console storage organization. I'll be adding that to my build whenever I get around to it. I have too big of a back log right now lol.
 
I just picked up an ‘08 Limited V8,and your build is providing me with too much inspiration haha. Definitely planning on getting a set of trail wheels, but trying to decide on lift options. I have RAS in the rear, so may just do front spacers to maintain XREAS for the time being. What are your feelings on the XREAS +spacer combo? Are you still running stock front springs? Also, I’m up in Calgary right now for a wedding, if I had more time I would have loved to see your truck!


Sent from my iPad using Tapatalk
 
I just picked up an ‘08 Limited V8,and your build is providing me with too much inspiration haha. Definitely planning on getting a set of trail wheels, but trying to decide on lift options. I have RAS in the rear, so may just do front spacers to maintain XREAS for the time being. What are your feelings on the XREAS +spacer combo? Are you still running stock front springs? Also, I’m up in Calgary right now for a wedding, if I had more time I would have loved to see your truck!


Sent from my iPad using Tapatalk

I just got an 06' Sport Edition v8. What did you pay? I paid 19k for 55k miles.
 
This is a pretty sweet build! I was kind of in the same boat where I did mods but didn't start my build thread til about a year later. Doing the satoshi grill is definitely on my to do list. Btw the shadow mica headlights look great! the oem ones may have moisture due to a bad seal or those rubber boots on the back of the headlight are failing. (trust me I know because thats what happened with my aftermarket ones) maybe you could reseal them and make some money off of them?

Thank you Johns06yota!
The satoshi grill is probably one of my favourites. I love the simple look. I have toyed with the idea of adding some lettering on it but I think I like the clean look best. I might add a black V8 emblem in the corner one of these days.
I’m back and forth over the painted headlights. I’m glad I did not go completely black. But my truck is already almost completely blacked out that I’m worried the headlights will be too much (if I haven’t overdone it yet.) Plus maybe it’s just in my head but I feel like I get more/better light output out of the stock ones. Maybe better projector quality (wouldn’t be surprised.) actually yesterday I baked my Orem ones and rescaled them with some Morimoto headlight butyl. Added 3 silica packs to each housing and ran a piece of electrical tape around the entire seam. So hopefully that does it or you’re right, the bulb gaskets may be the issue.


All on a rebuild title. You're a braver man than me.

Haha, well I plan on driving this vehicle for a long time so resale value is not my highest concern.


Really good stuff. My new 4Runner is a Shadow Mica like yours and I have a lot of the same mods planned for my rig, so it's really cool to your build thread! Helps me visualize what I want mine to look like.

Thanks mannydantyla! Glad I could help. This colour really grows on me. It’s really unique and seems to change colours in all different light. It’s a nice touch over just black I think. However I’ve still always wanted a white one... vinyl wrap?


Does the roof rack interfere with the sun roof at all?

If you mean in function no I think it just clears it. When I tilt the sunroof up it seems to stop just before contact. For visuals my setup has one crosspiece running in the center of the sunroof. It doesn’t bother me at all and hardly affects the light coming through. If you like to stare through it at the sky all day then it might bug you. But you could always just remove that piece and then problem solved.


Initially when I saw your thread I was expecting a white truck lol. Great build so far though. Thanks for the ideas on the console storage organization. I'll be adding that to my build whenever I get around to it. I have too big of a back log right now lol.

I see how that could be misleading. Trust me I looked for a white one but this was too good to pass up and the colour has grown on me quite a bit!
Thank you, my neighbors are probably think I own a lemon cause it’s always in the alley with it’s hood popped but it’s been entirely either mods or preventative maintenance. It’s the simple things for sure. I hate clutter and that center console does not really give you a choice without those dividers.


How is the Daystar 2.5/1.5 working out for you long term?

The Daystar spacer Lift seems to be doing its job just fine. What I’ve realized however is the spacers really max out the XREAS stock suspension. This has resulted in a much harsher ride with some heavy thuds in the rear if I drive over any significant bump. I’m assuming this is because there is no preload left so instead of the shock dropping into the bump the entire truck does it. I really pay attention to the little things and it’s beginning to drive me nuts. I really hope I can get into a new suspension setup soon. If I had to do it all over again I would probably do the spacer lift again. It fit the budget and gave me the lift and stance I was after. If you can afford more I would recommend getting the next step up. So in short, spacers holding up fine, stock suspension not.


I just picked up an ‘08 Limited V8,and your build is providing me with too much inspiration haha. Definitely planning on getting a set of trail wheels, but trying to decide on lift options. I have RAS in the rear, so may just do front spacers to maintain XREAS for the time being. What are your feelings on the XREAS +spacer combo? Are you still running stock front springs? Also, I’m up in Calgary right now for a wedding, if I had more time I would have loved to see your truck!

Haha glad to help (if that’s what you mean.) this whole forum has been a huge inspiration to me and the list is still growing. I’ve managed to pick my way through most of the little mods I want to do. Next up is hopefully the big ones. Time will tell. My last response addressed the Daystar + XREAS issue a bit. I am running stock springs up front. The front doesn’t seem to be an issue at all but the rear seems to be suffering a bit. Maxed out OEM shocks are making for a bit of a rough ride.
Haha oh really? Weddings not in Castle Mountain on Saturday by any chance?


I just got an 06' Sport Edition v8. What did you pay? I paid 19k for 55k miles.

Welcome to the club! 2 years ago I paid $14,900 CAD for mine with 89,000km (55,000 miles). However mine is a rebuild so factor that in plus I got pretty lucky.
 
Another update

I've had about a week off after just finishing a project so I've been able to catch up on a few of the mods that have backed up.


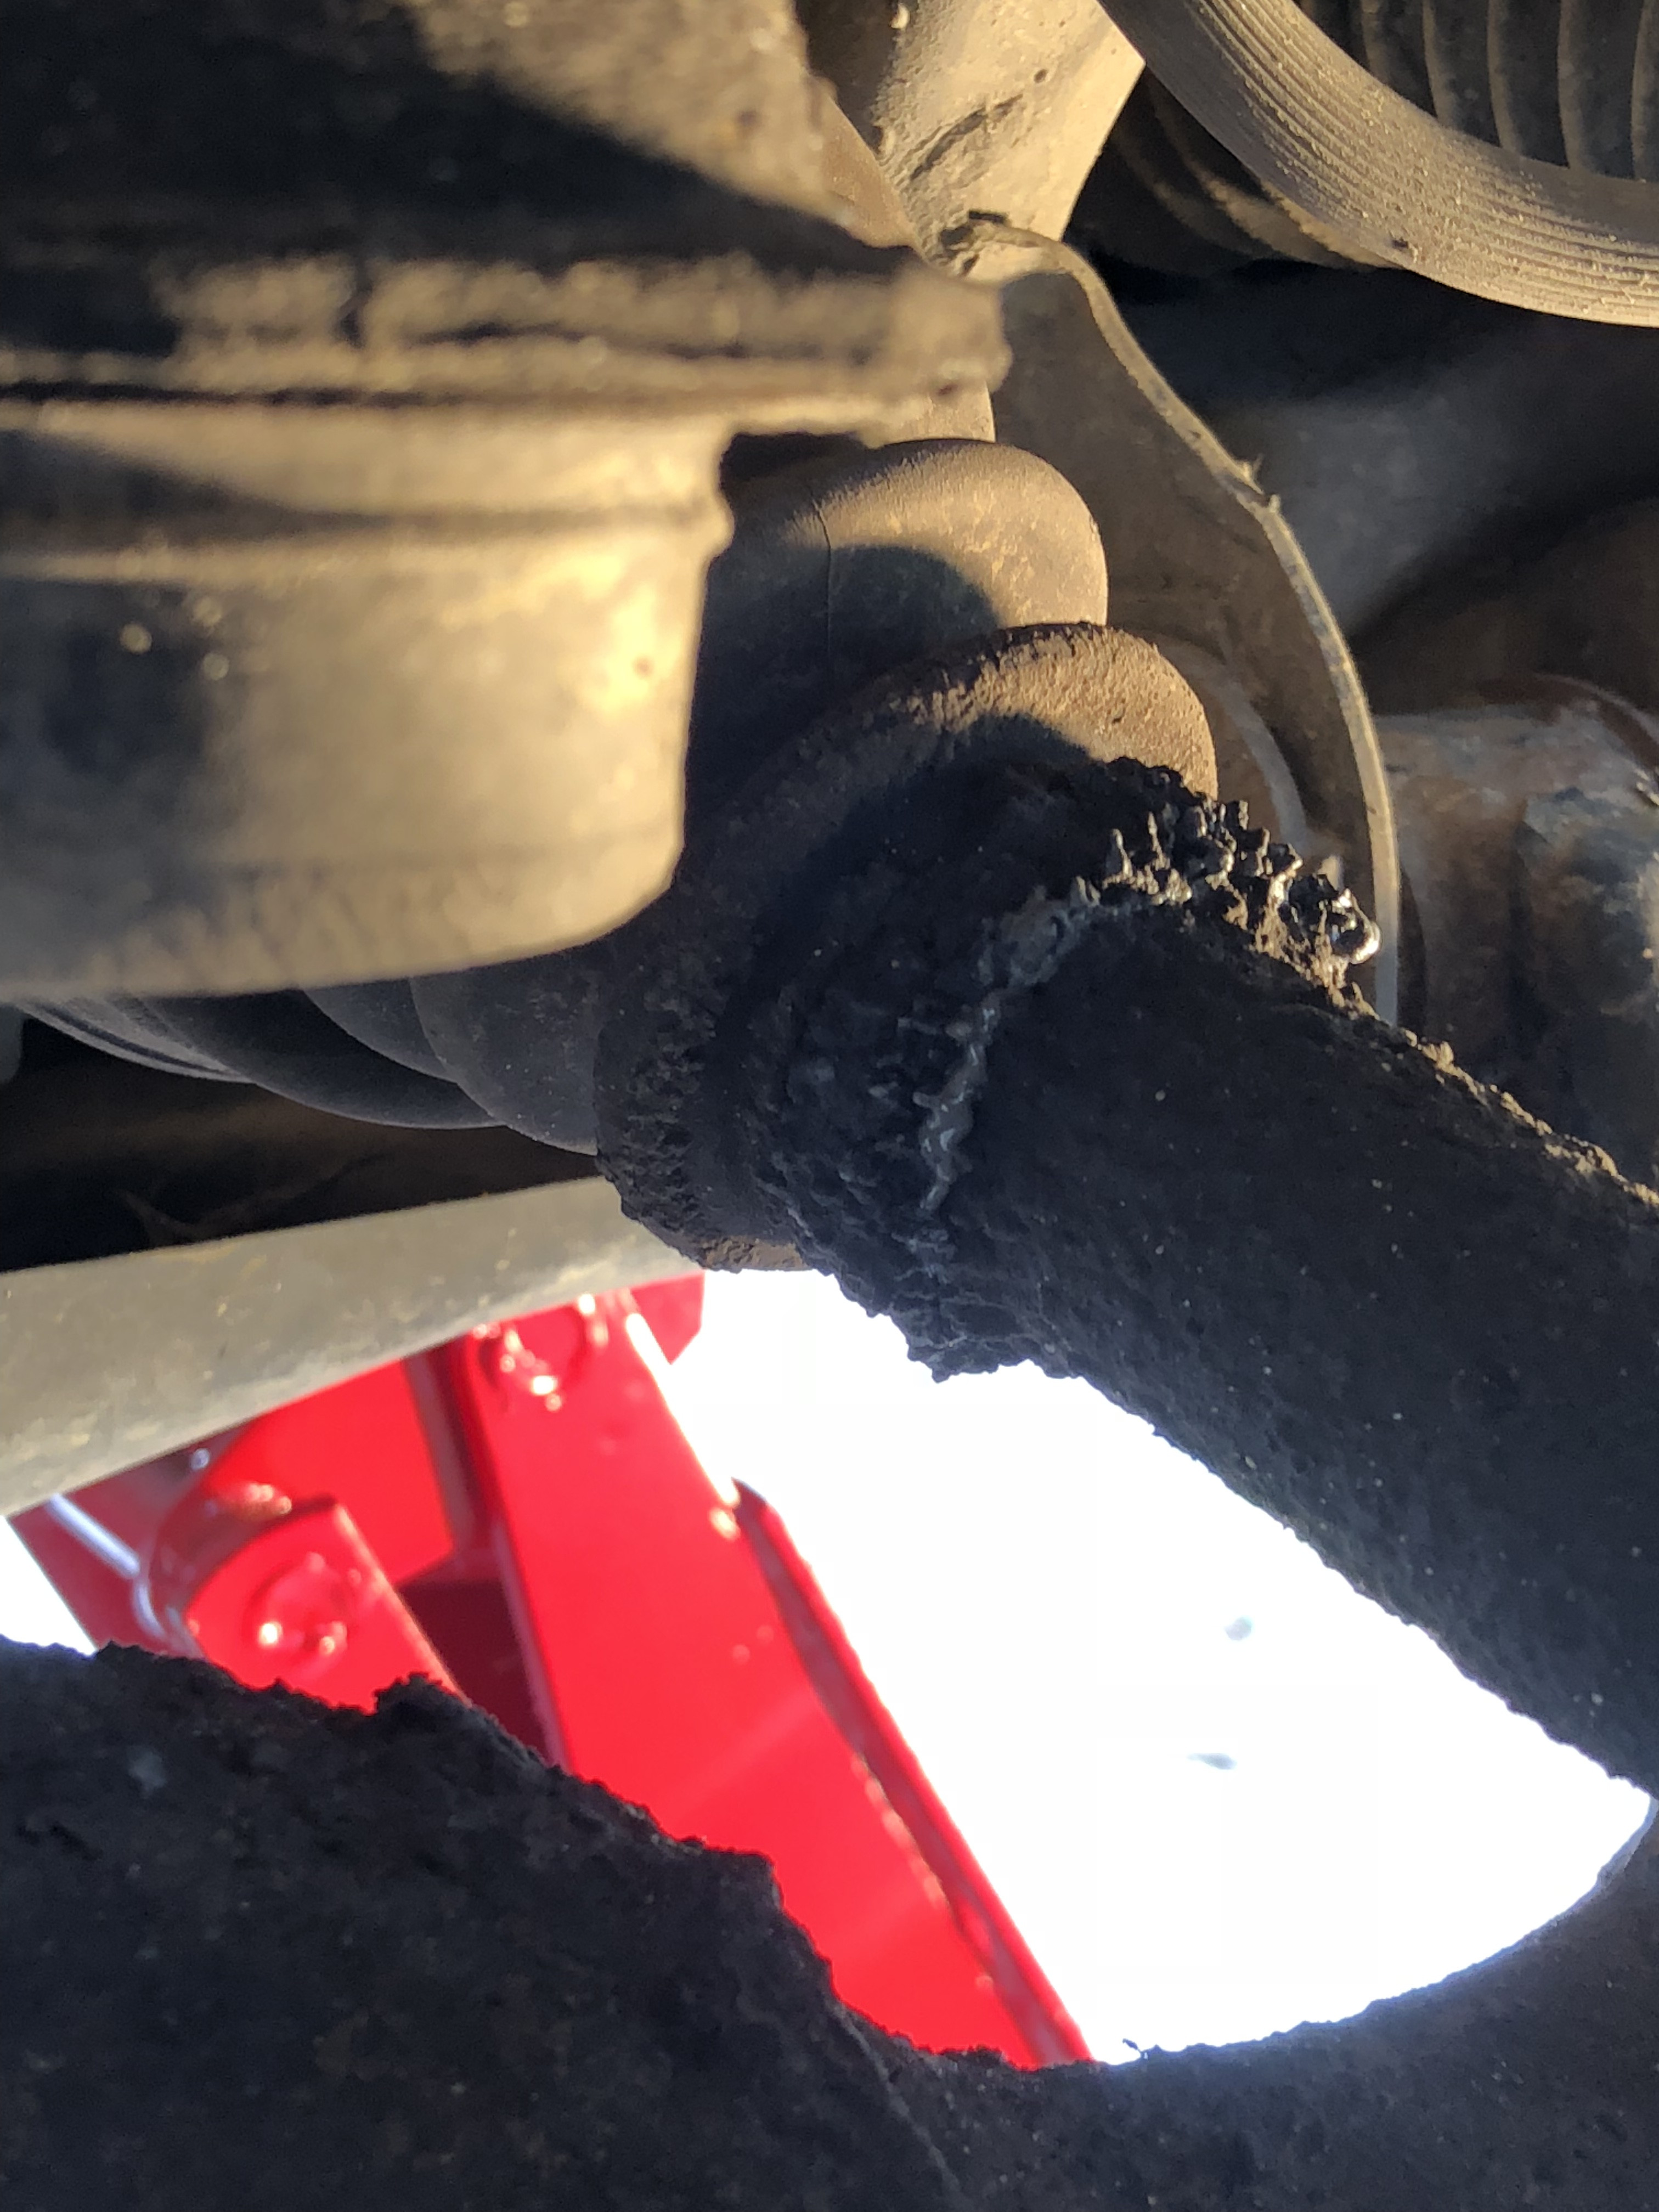
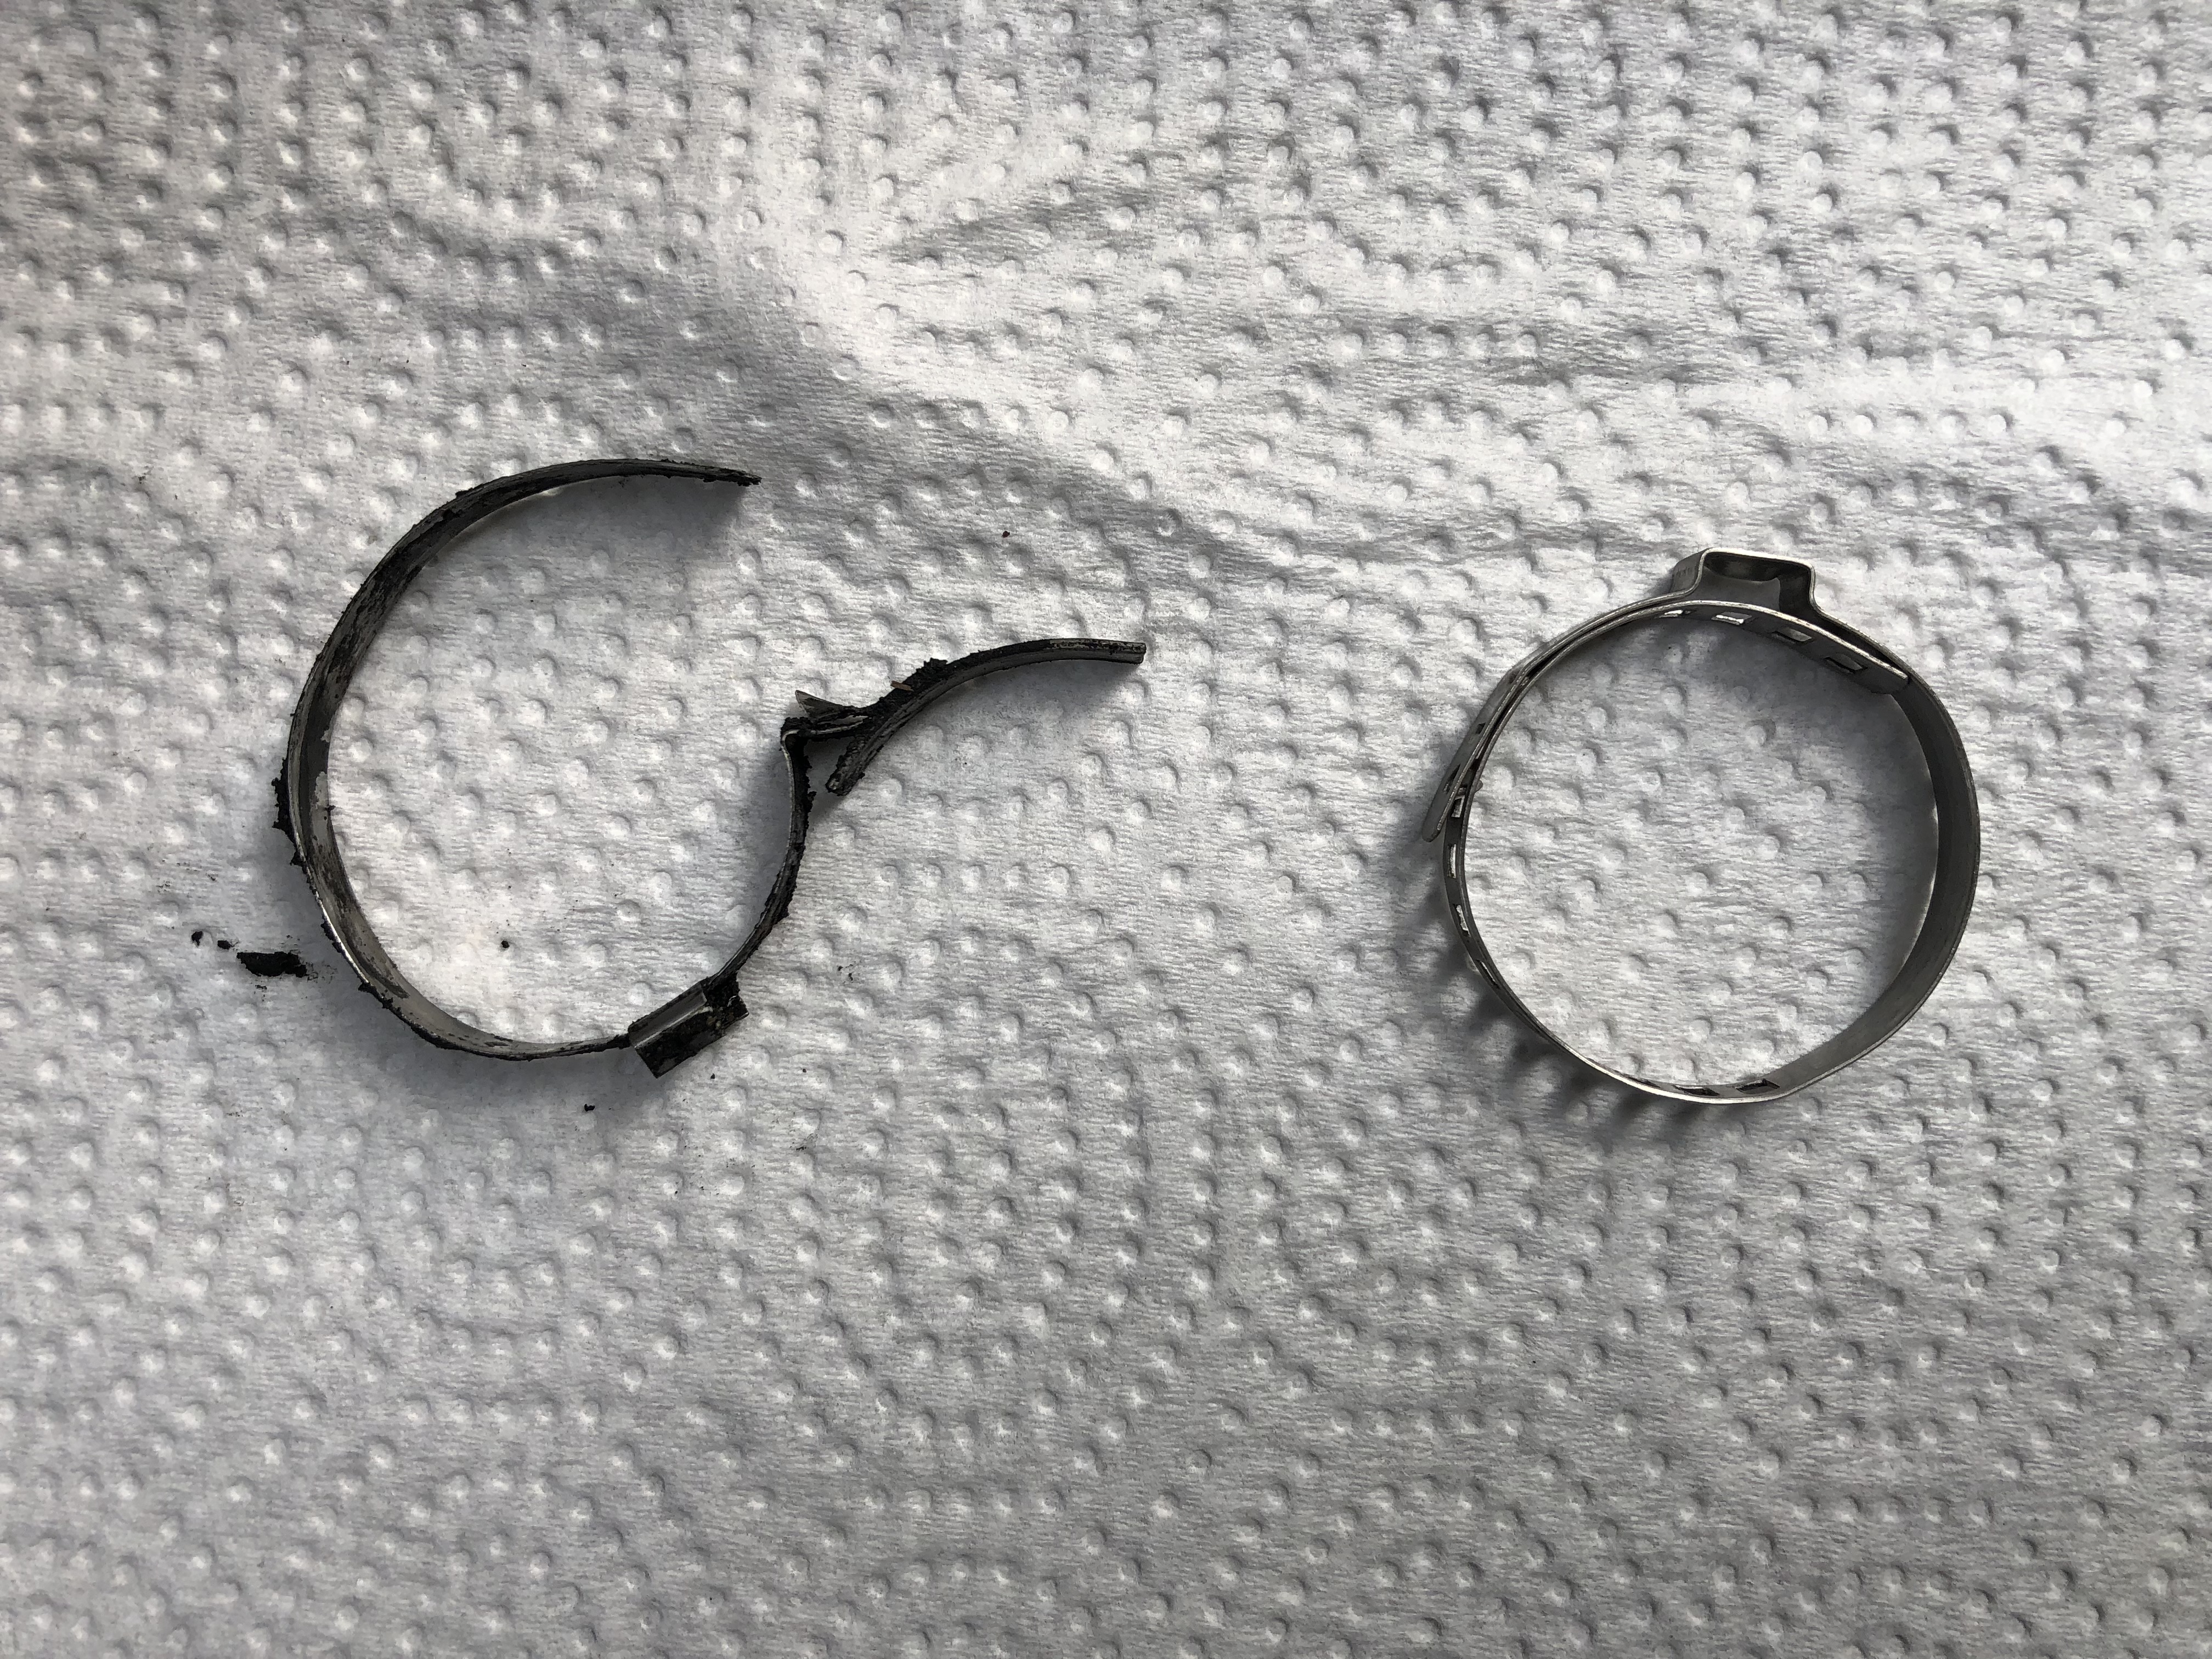
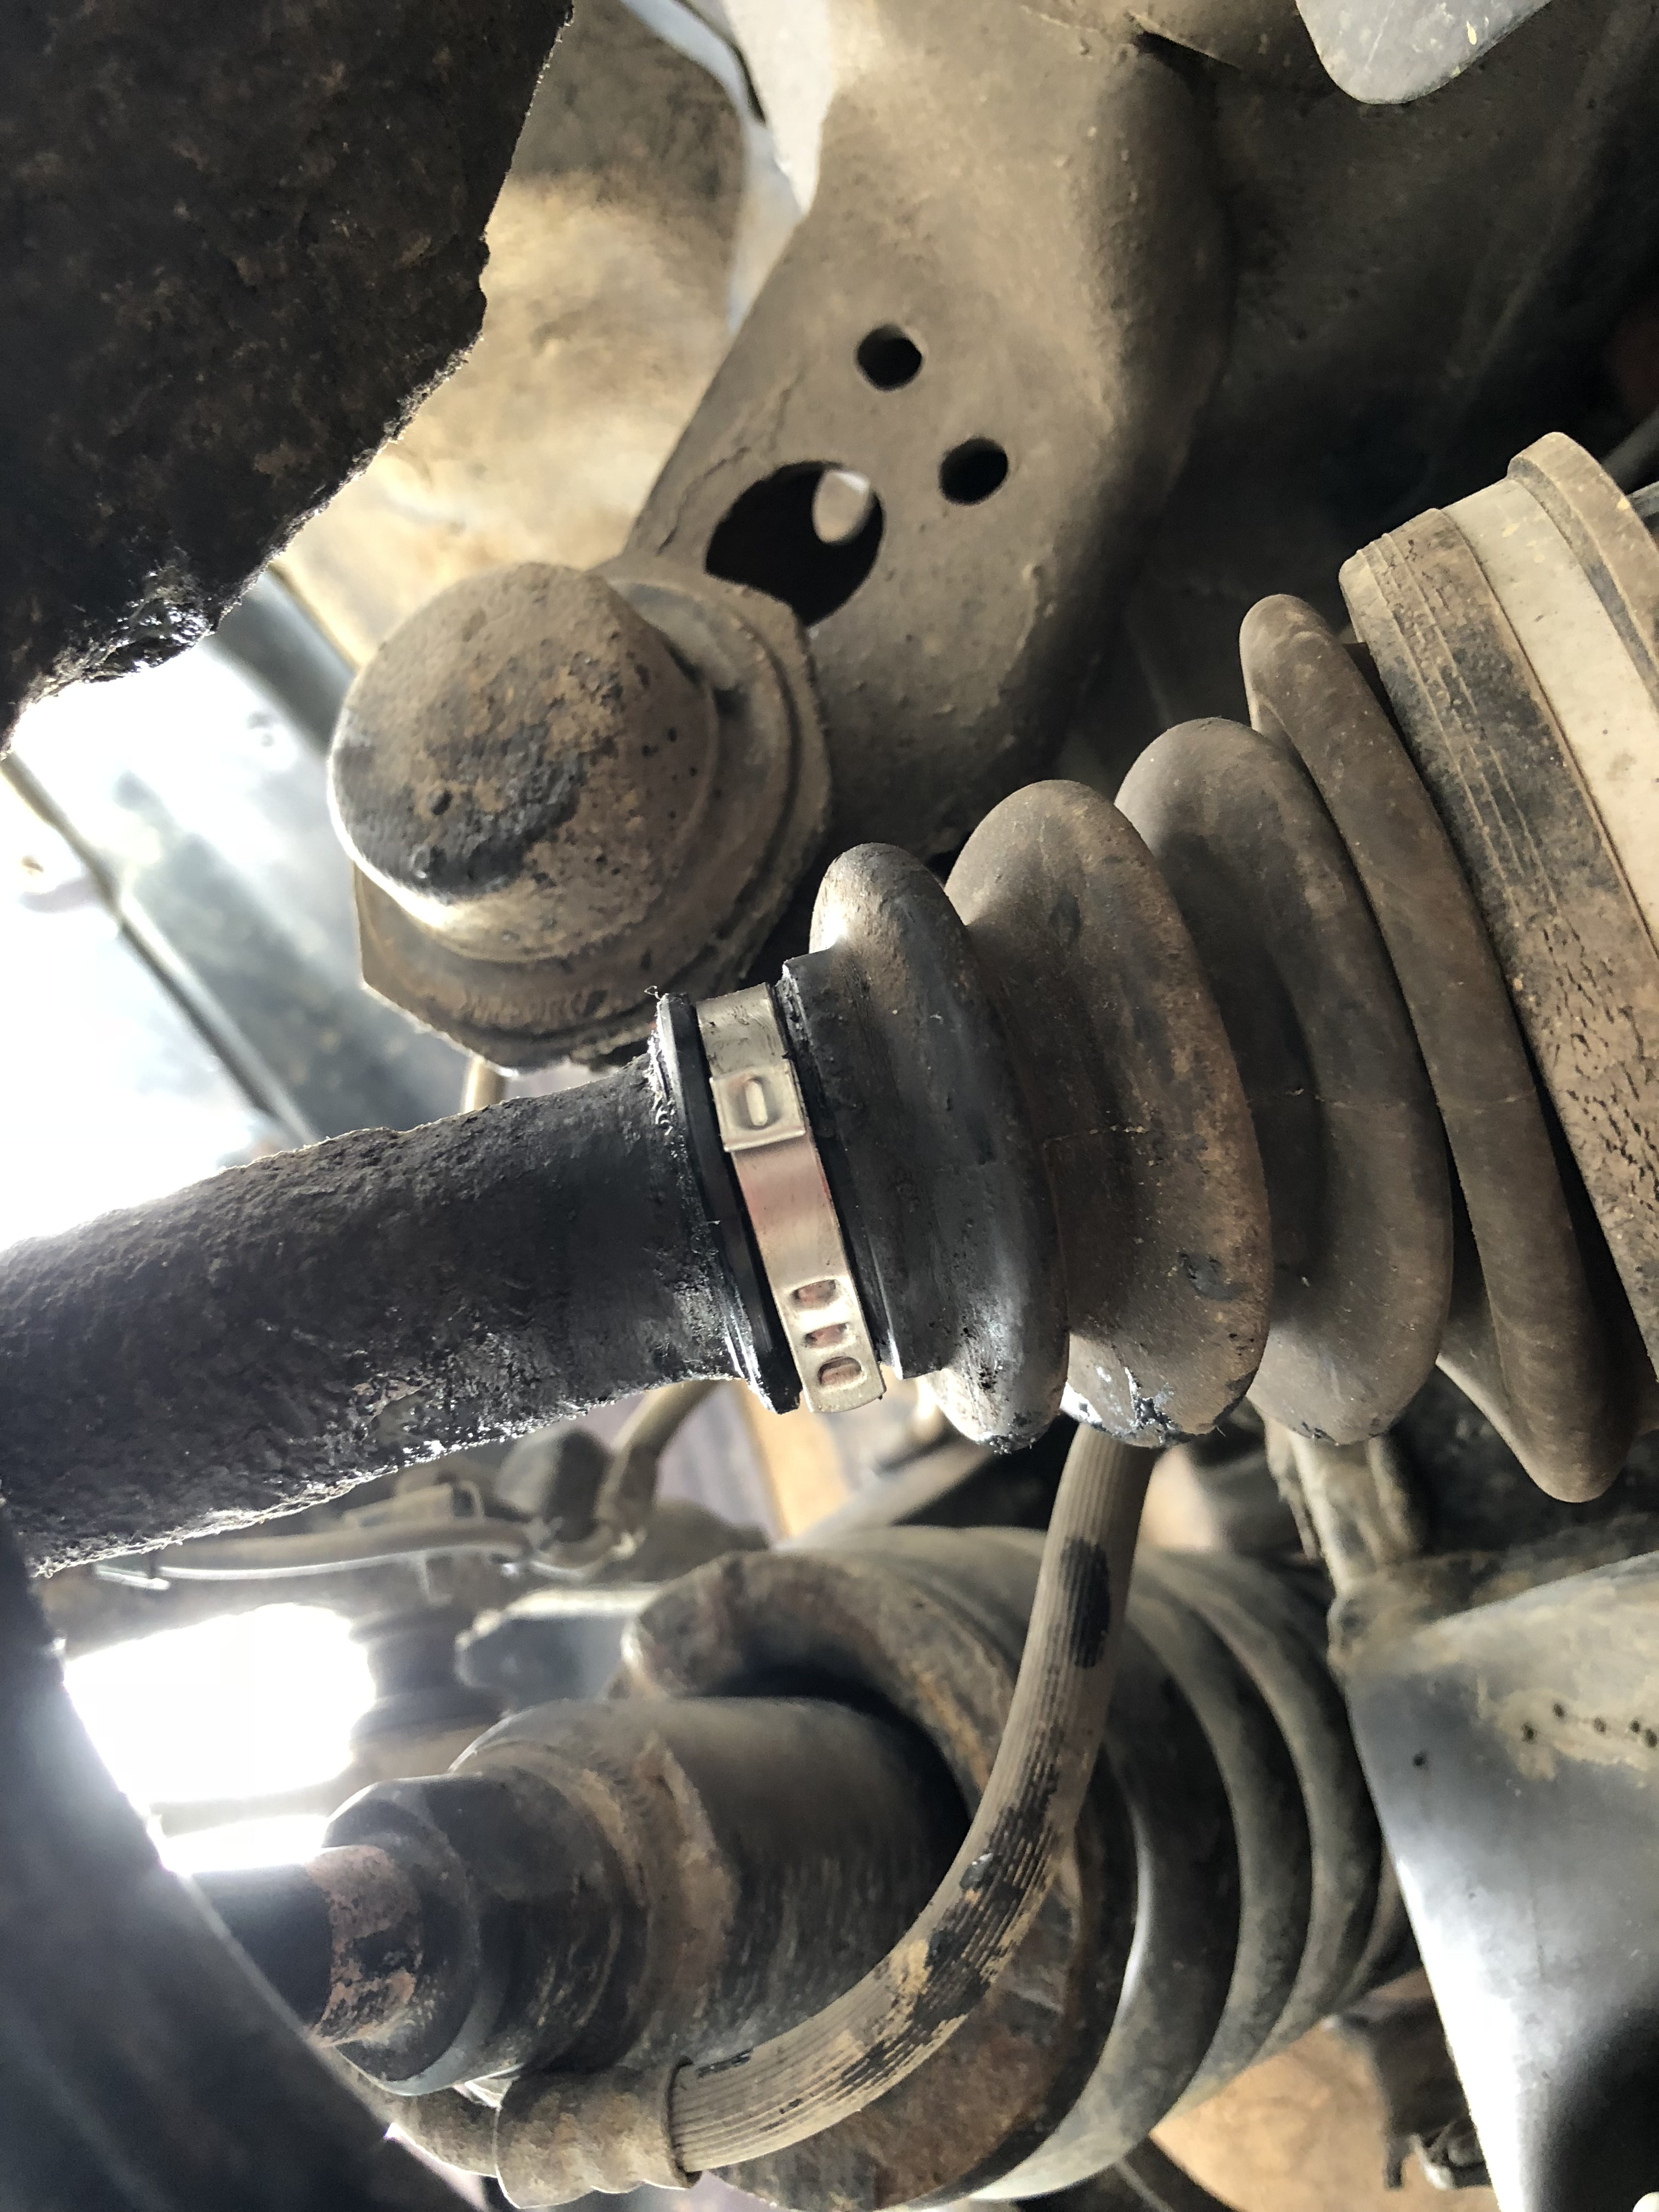
My inner CV Boots have been leaking for a little over a year. Both sides about the same. I was actually worried there were no clamps anymore but they were just buried beneath all that gunk. They either fully leaked out (Didn't turn out to have) or they got so gummed up that it couldn't leak anymore... Maybe I should have just left them...
Anyways I went ahead and replaced the inner boot clamps.
When I removed the original clamps some grease ran out (was somewhat watery) maybe got some moisture in there. But I don't have the means or time to fully replace the boots so I pumped some more grease in and reclamped. Hopefully these hold. I did notice while taking the clamps off that they were the non eared style. Wondering if maybe these ones are not as good. Im pretty sure the outer CV Boot clamps (at least the bigger end) were the ear style.

A2aeyF.jpg

A2aLO0.jpg

A2aoZq.jpg

A2aSnr.jpg


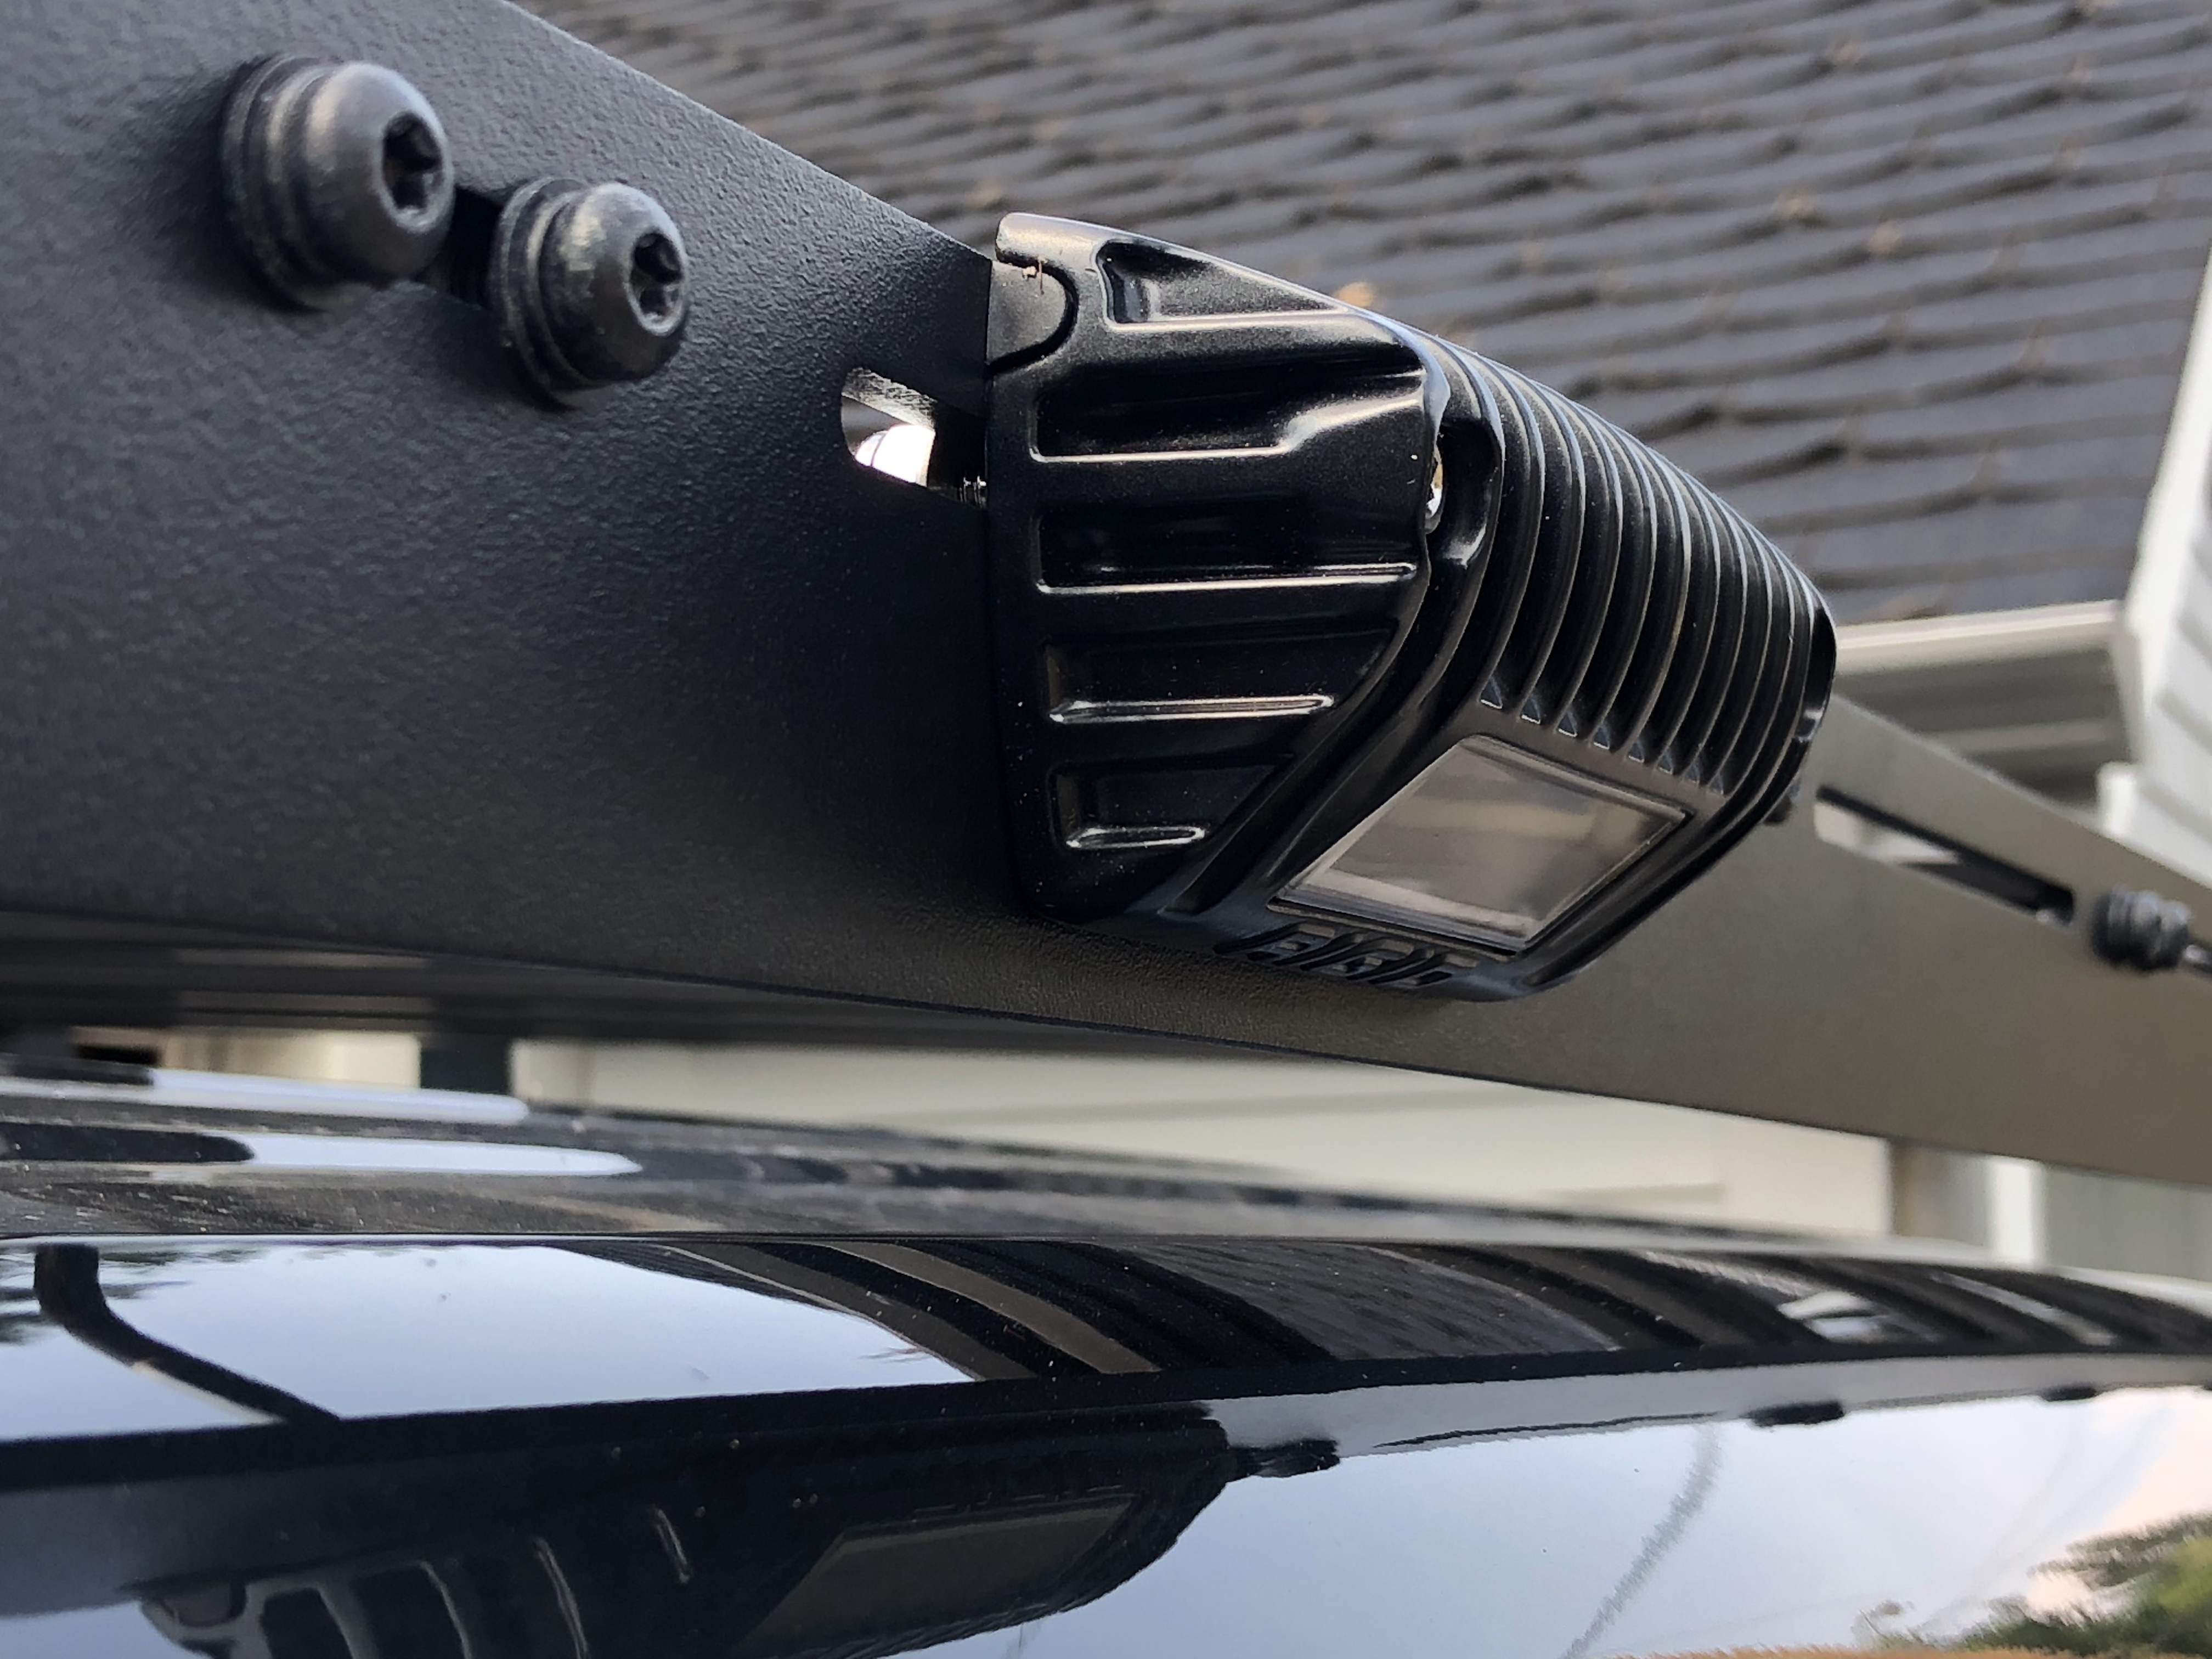
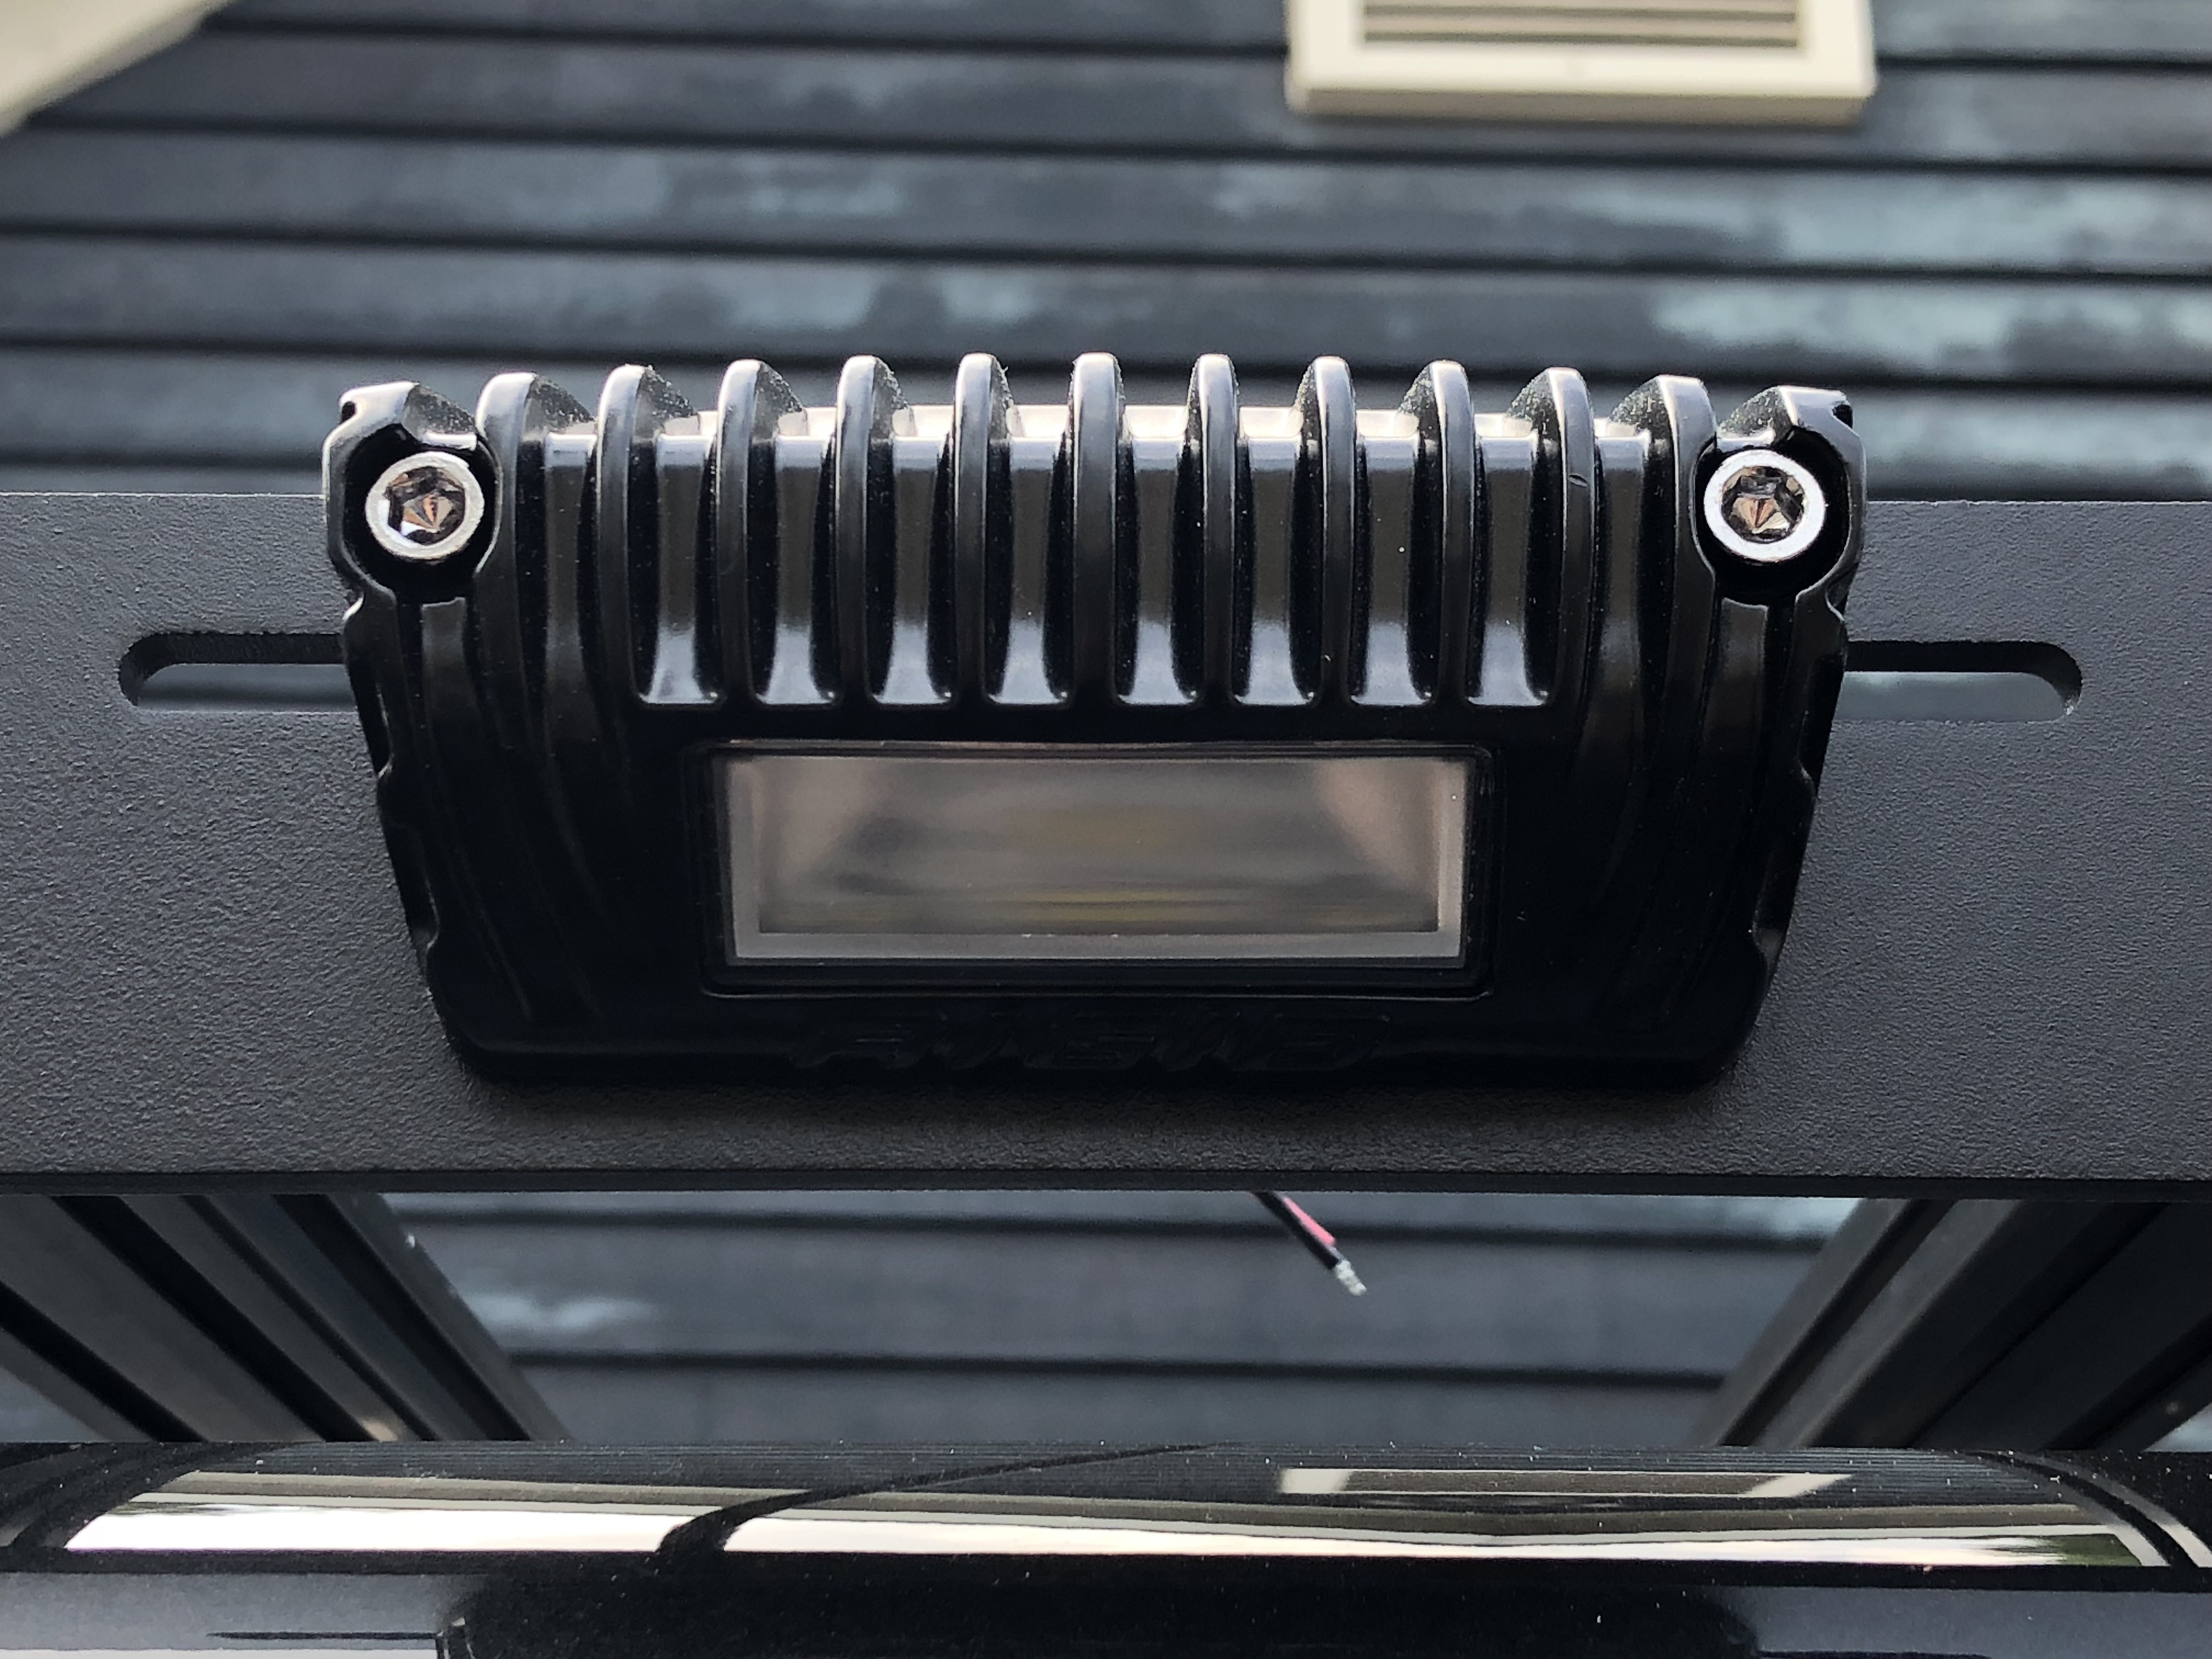
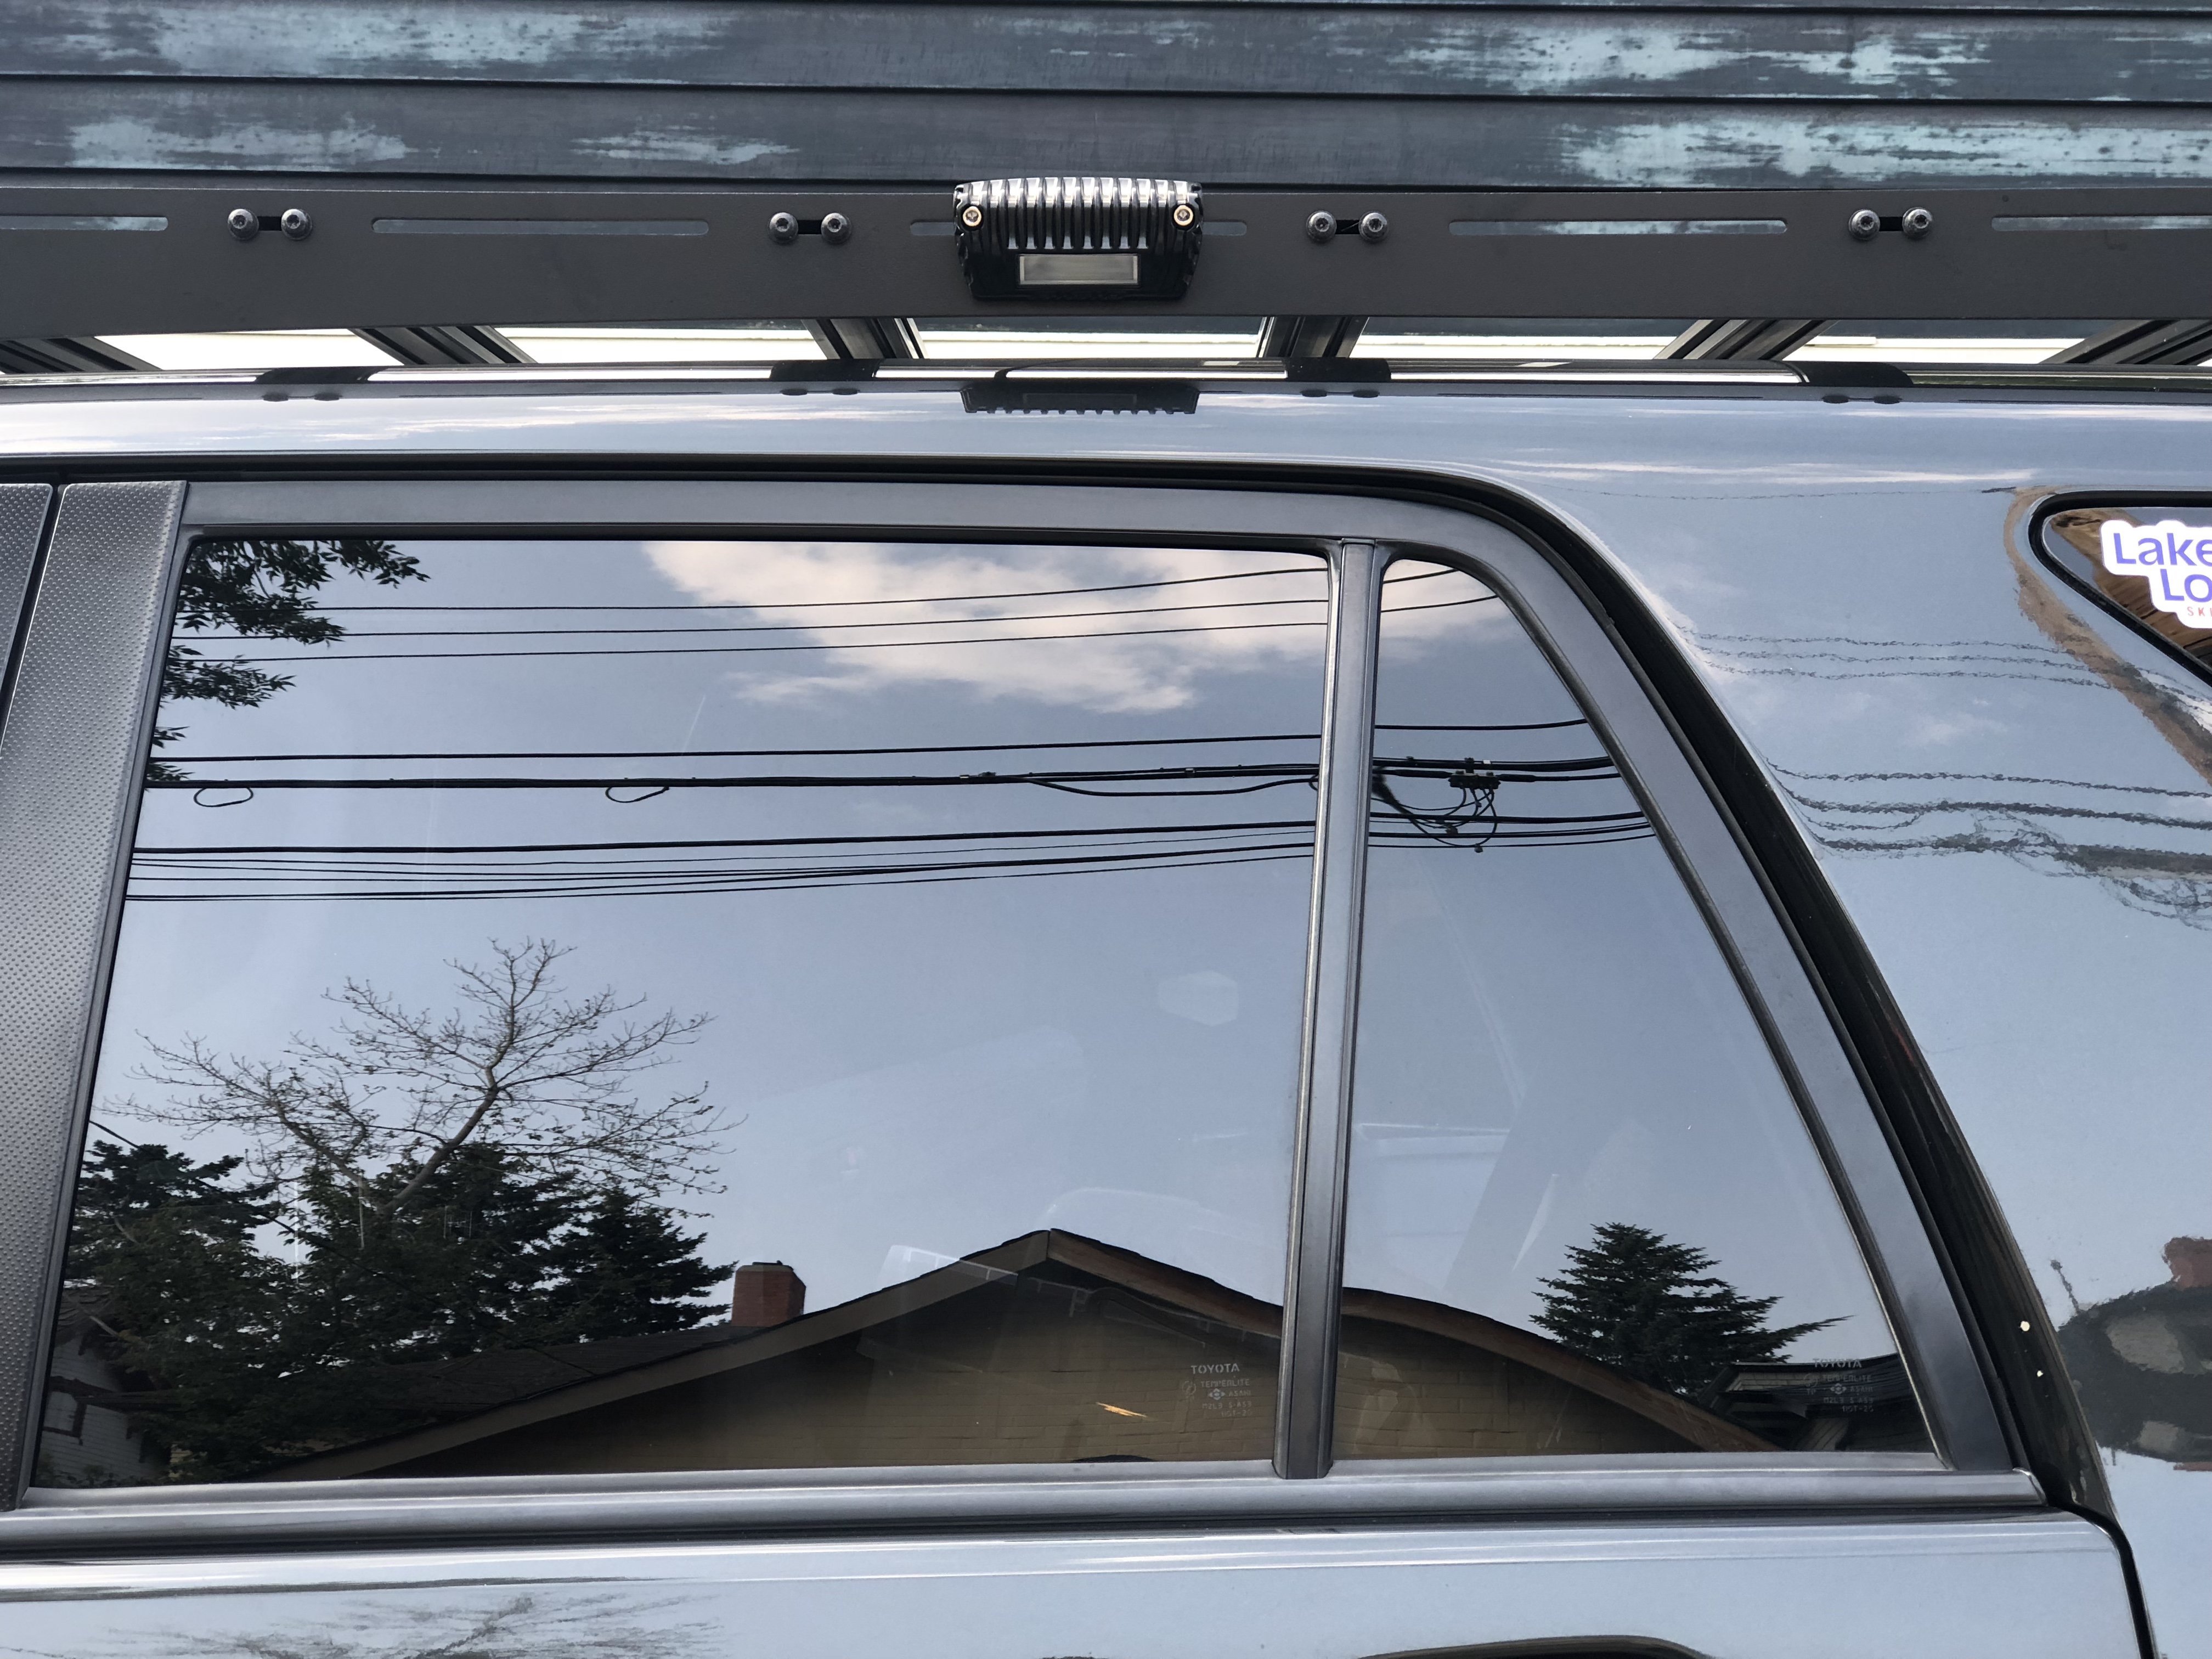
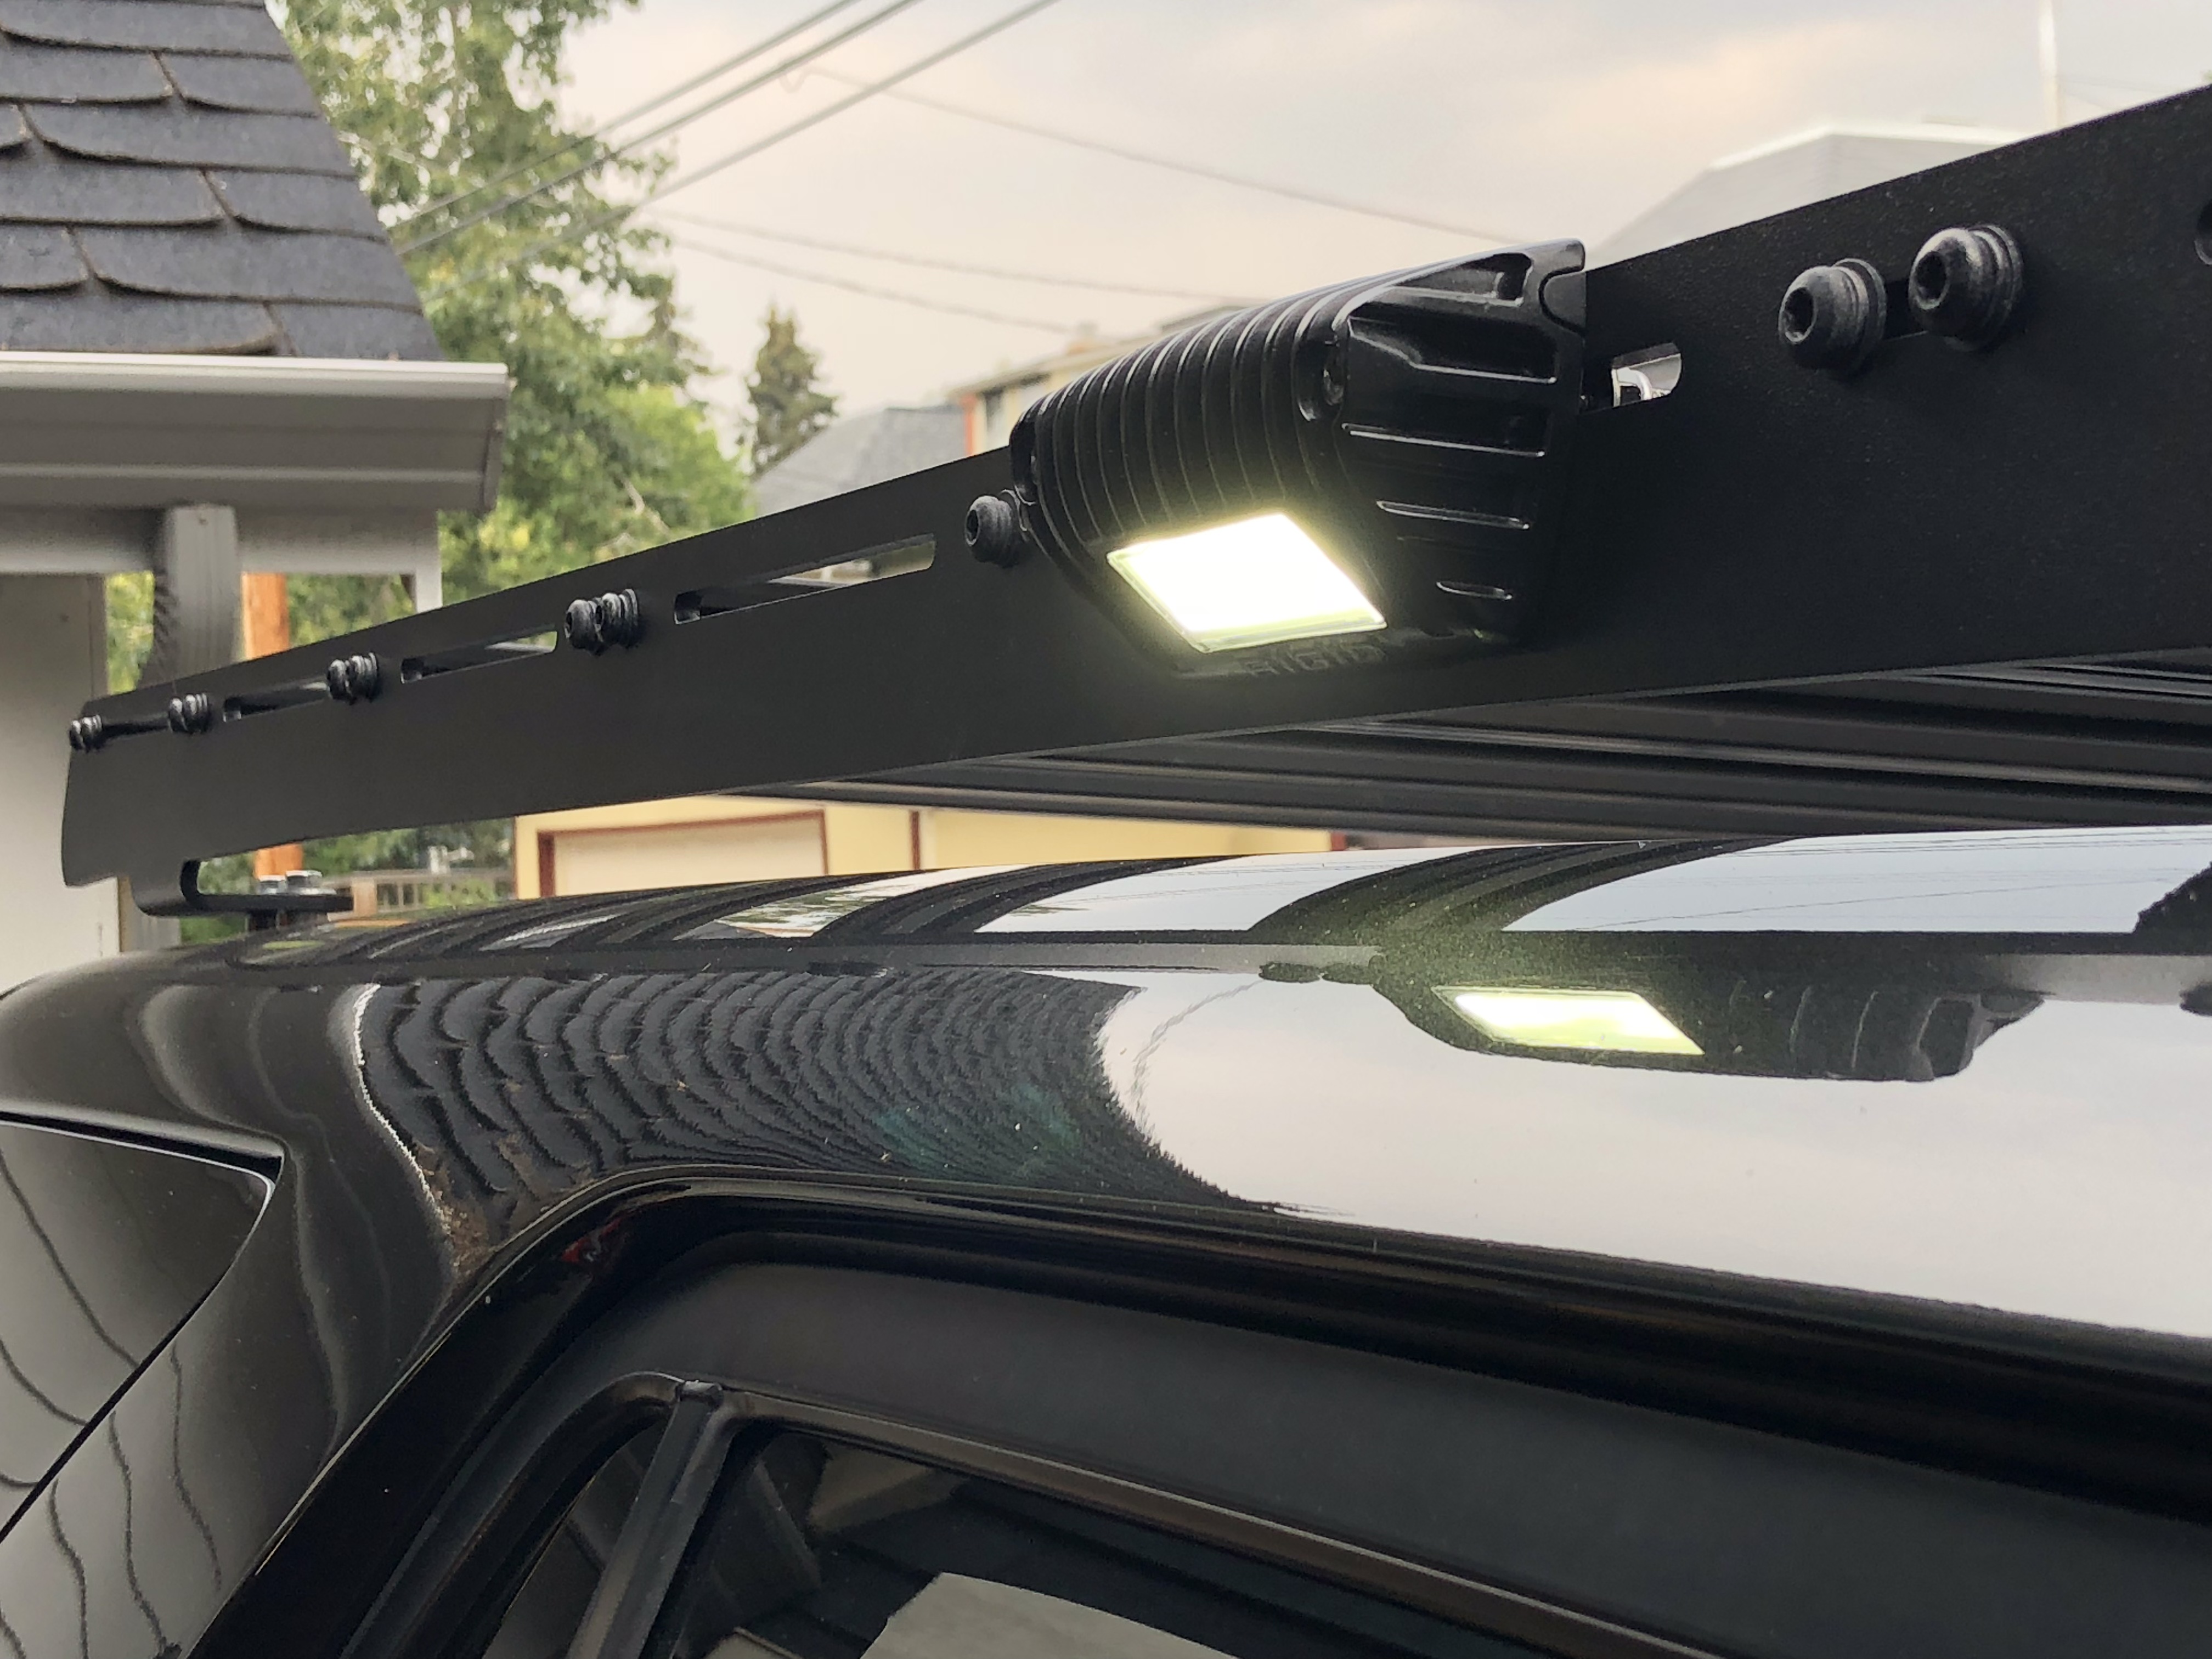
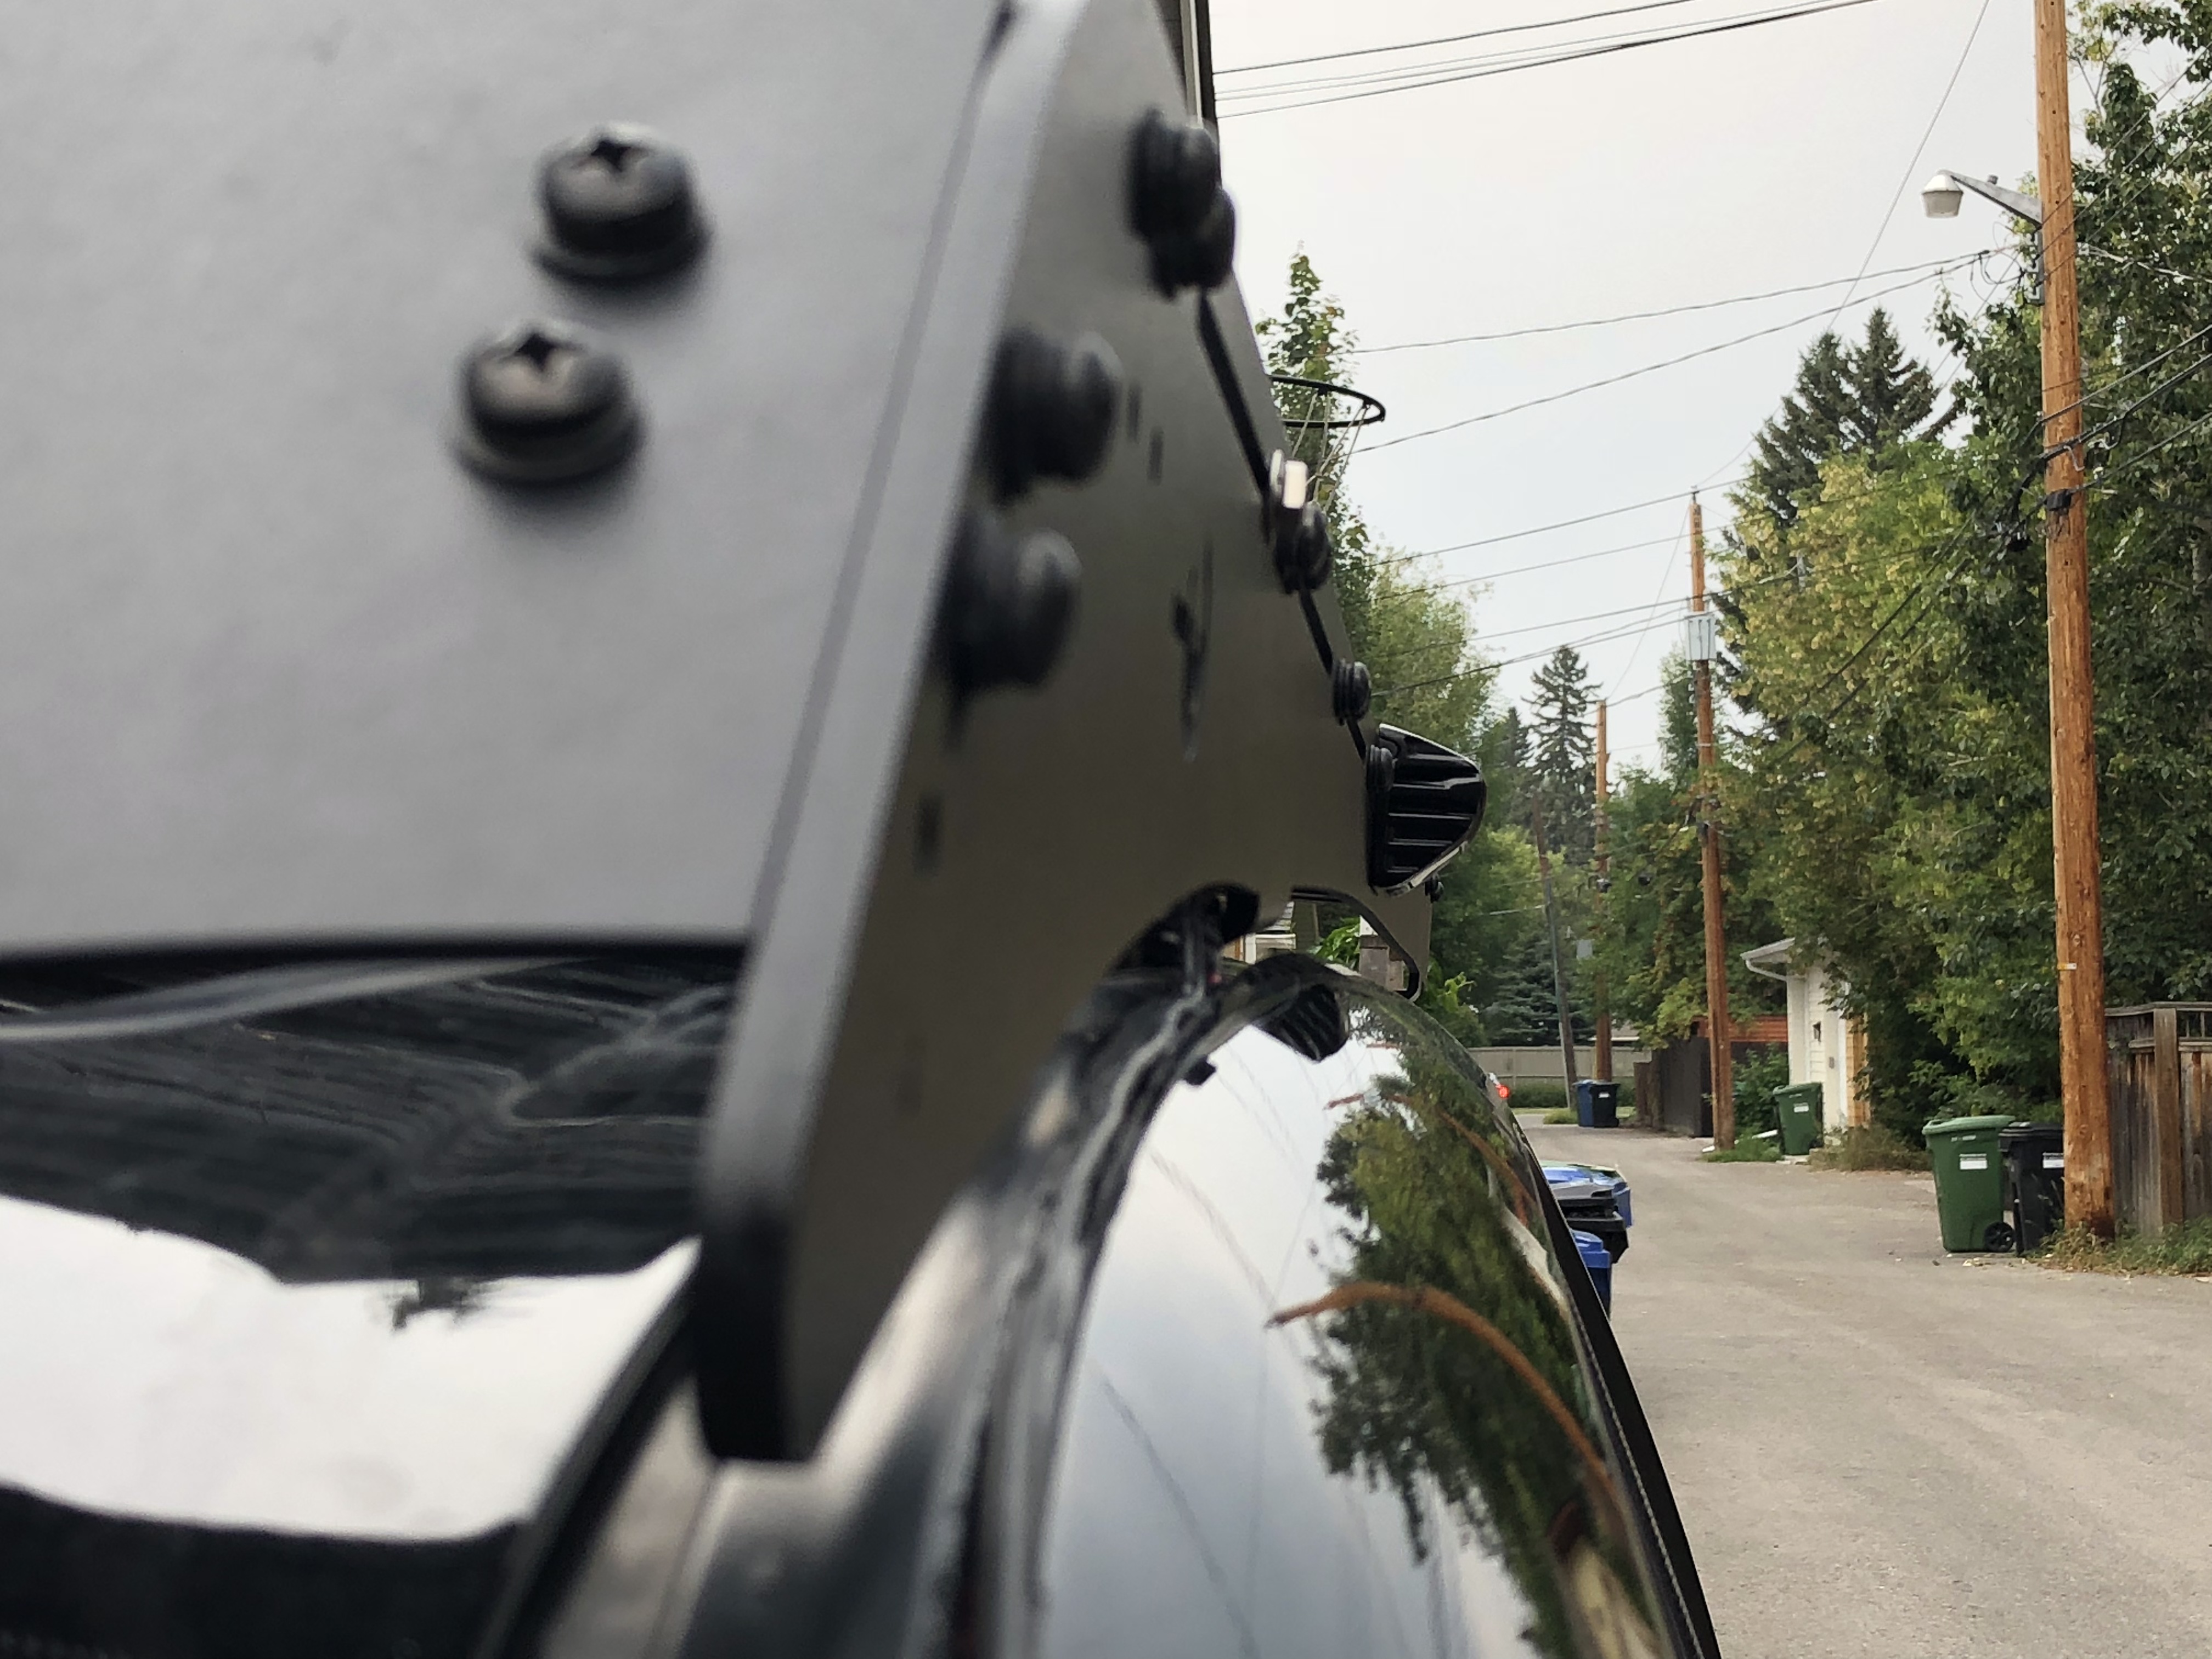
Having recently acquired my Prinsu Rack I began mounting some stuff on there. Started with two Rigid Industries 1"x2" scene lights. Just some small side mounted lights that will be nice for camping. I liked the look of these ones the best as they fit the rack design perfectly. They weren't the cheapest option but I'm happy with them. I plan on installing a 40" roof top LED bar so I ran a line up there so I don't have to do it again later. Now when I get my lightbar I just have to mount it and plug in and it's good.

A2ausA.jpg

A2aPAQ.jpg

A2aU5k.jpg

A2abOH.jpg

A2awc1.jpg


And I haven't had a chance to get out in the mountains yet so a garage shot of the lights will have to suffice for now. They are pretty punchy and I think perfect for what I need.

A8K9y5.jpg

A8KVnC.jpg


With all the lights I have planned (1 bumper lightbar, 1 roof LED bar, 2 side flood lights, and flush mount backup lights) that will take up all 5 switches on my center console (installed a limited console to use the heated switch spots). Only thing causing issue is the DAC switch.
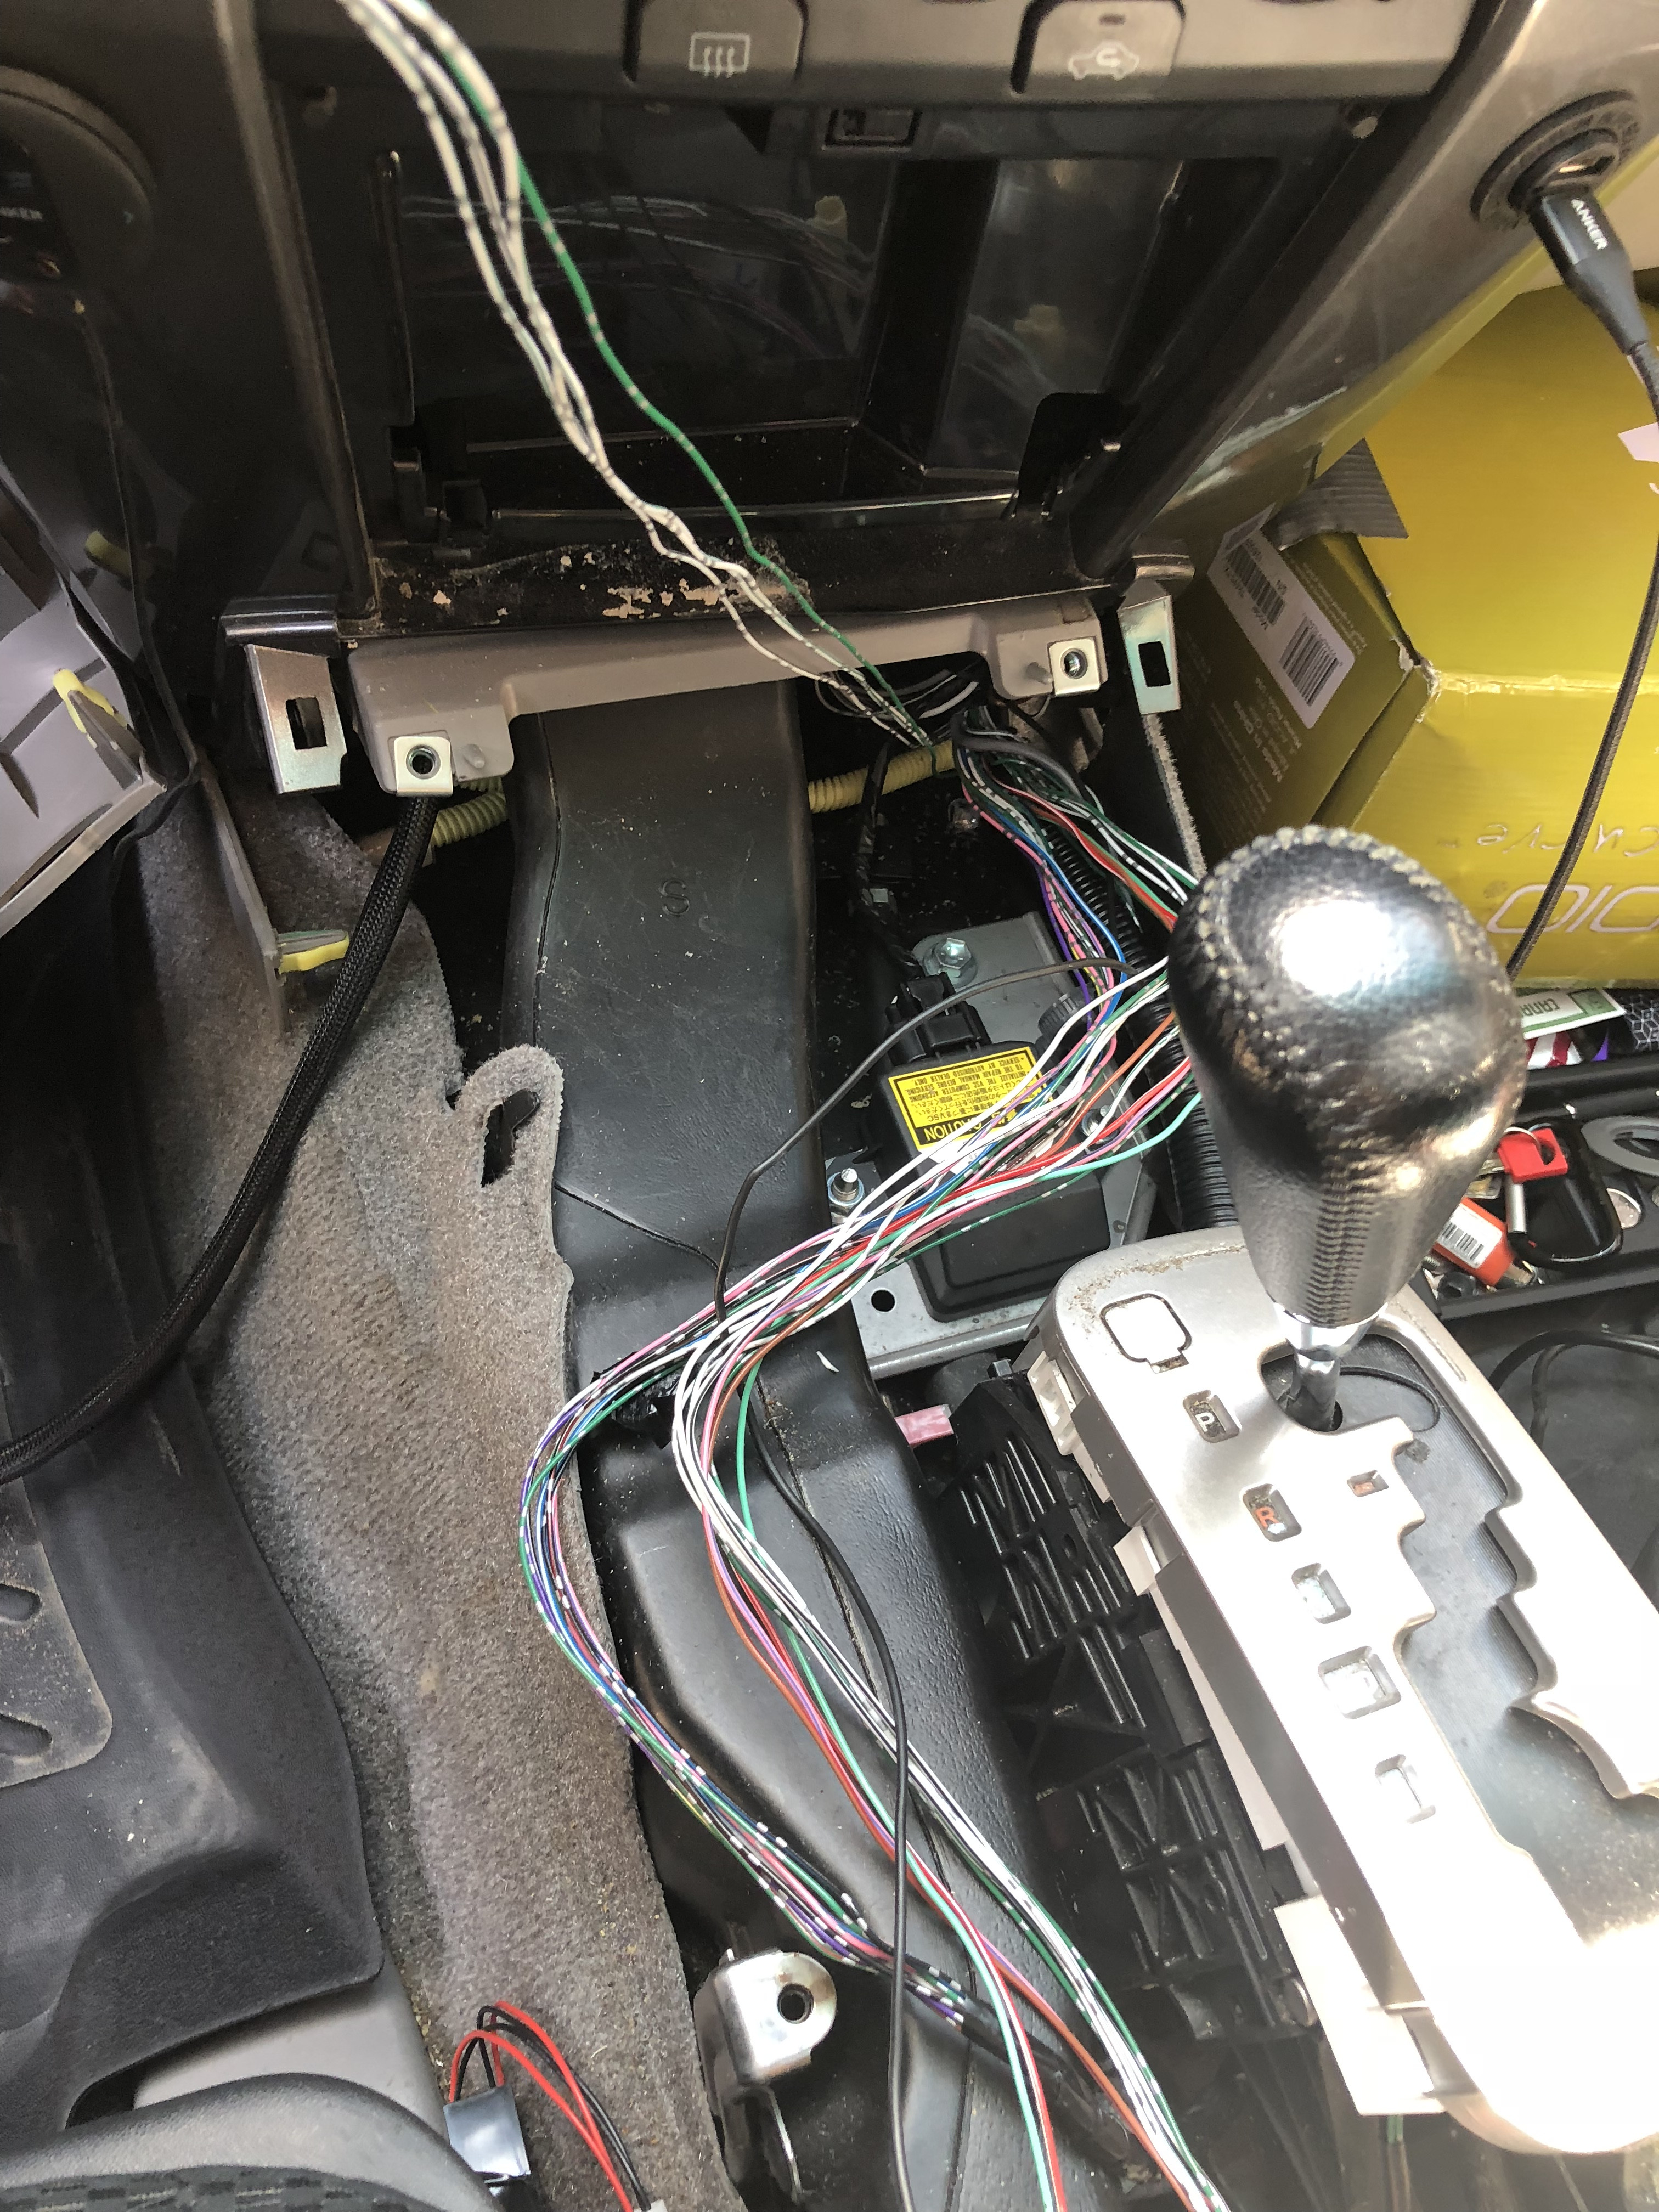
So doing some research I figured I could either A) Cut the harness, splice on 4(i think) extensions and reroute those up to a blank switch to the left of the steering wheel. Or B) cut back the wire bundle and seperate the DAC harness and reroute that. I decided to go with option B to eliminate extra wires and having a crappy extension run. . It wasn't actually that difficult of a job. Cutting and separating the wire loom all the way back to just past the cupholders gave me just enough leash to run to the rightmost switch spot.
Taped everything back up and looks stock.
Here's a rough photo mid project separating the harness. The wires going upper left are the DAC wires.

A2h2Vm.jpg


I received my two custom switches from CH4x4 for the Prinsu Rack mounted side lights. The switches were installed but I had an issue with the passenger side one. I wasn't getting any illumination on the switch. With an email typed up ready to send to customer service I realized one of the pins was bent. I was able to striaghten it out and worked great.

A8KQQv.jpg


About a month ago both my headlights fogged up at the same time. They had both been completely fine for the last two years. I finally got around to baking them today. I used some fresh Morimoto headlight butyl and added a bead of that all the way around. I purchased my vehicle as a rebuilt title and didn't realize until today that the headlight on the damaged side (passenger side) was slightly different then the OEM drivers side. Looks the exact same but it's definitely not Toyota. Taking it apart it was pretty clear as well. The reflector piece was hardly held in. But I'll deal with that later if it becomes an issue. I also installed two new clear lenses for the projector housings. Not sure where I read that it was an worthwhile upgrade. Switching them out they looked pretty similar but they were cheap so in they went.
I also threw 3 silica packs in each headlight in the hopes that any small amount of moisture will be handled with those.
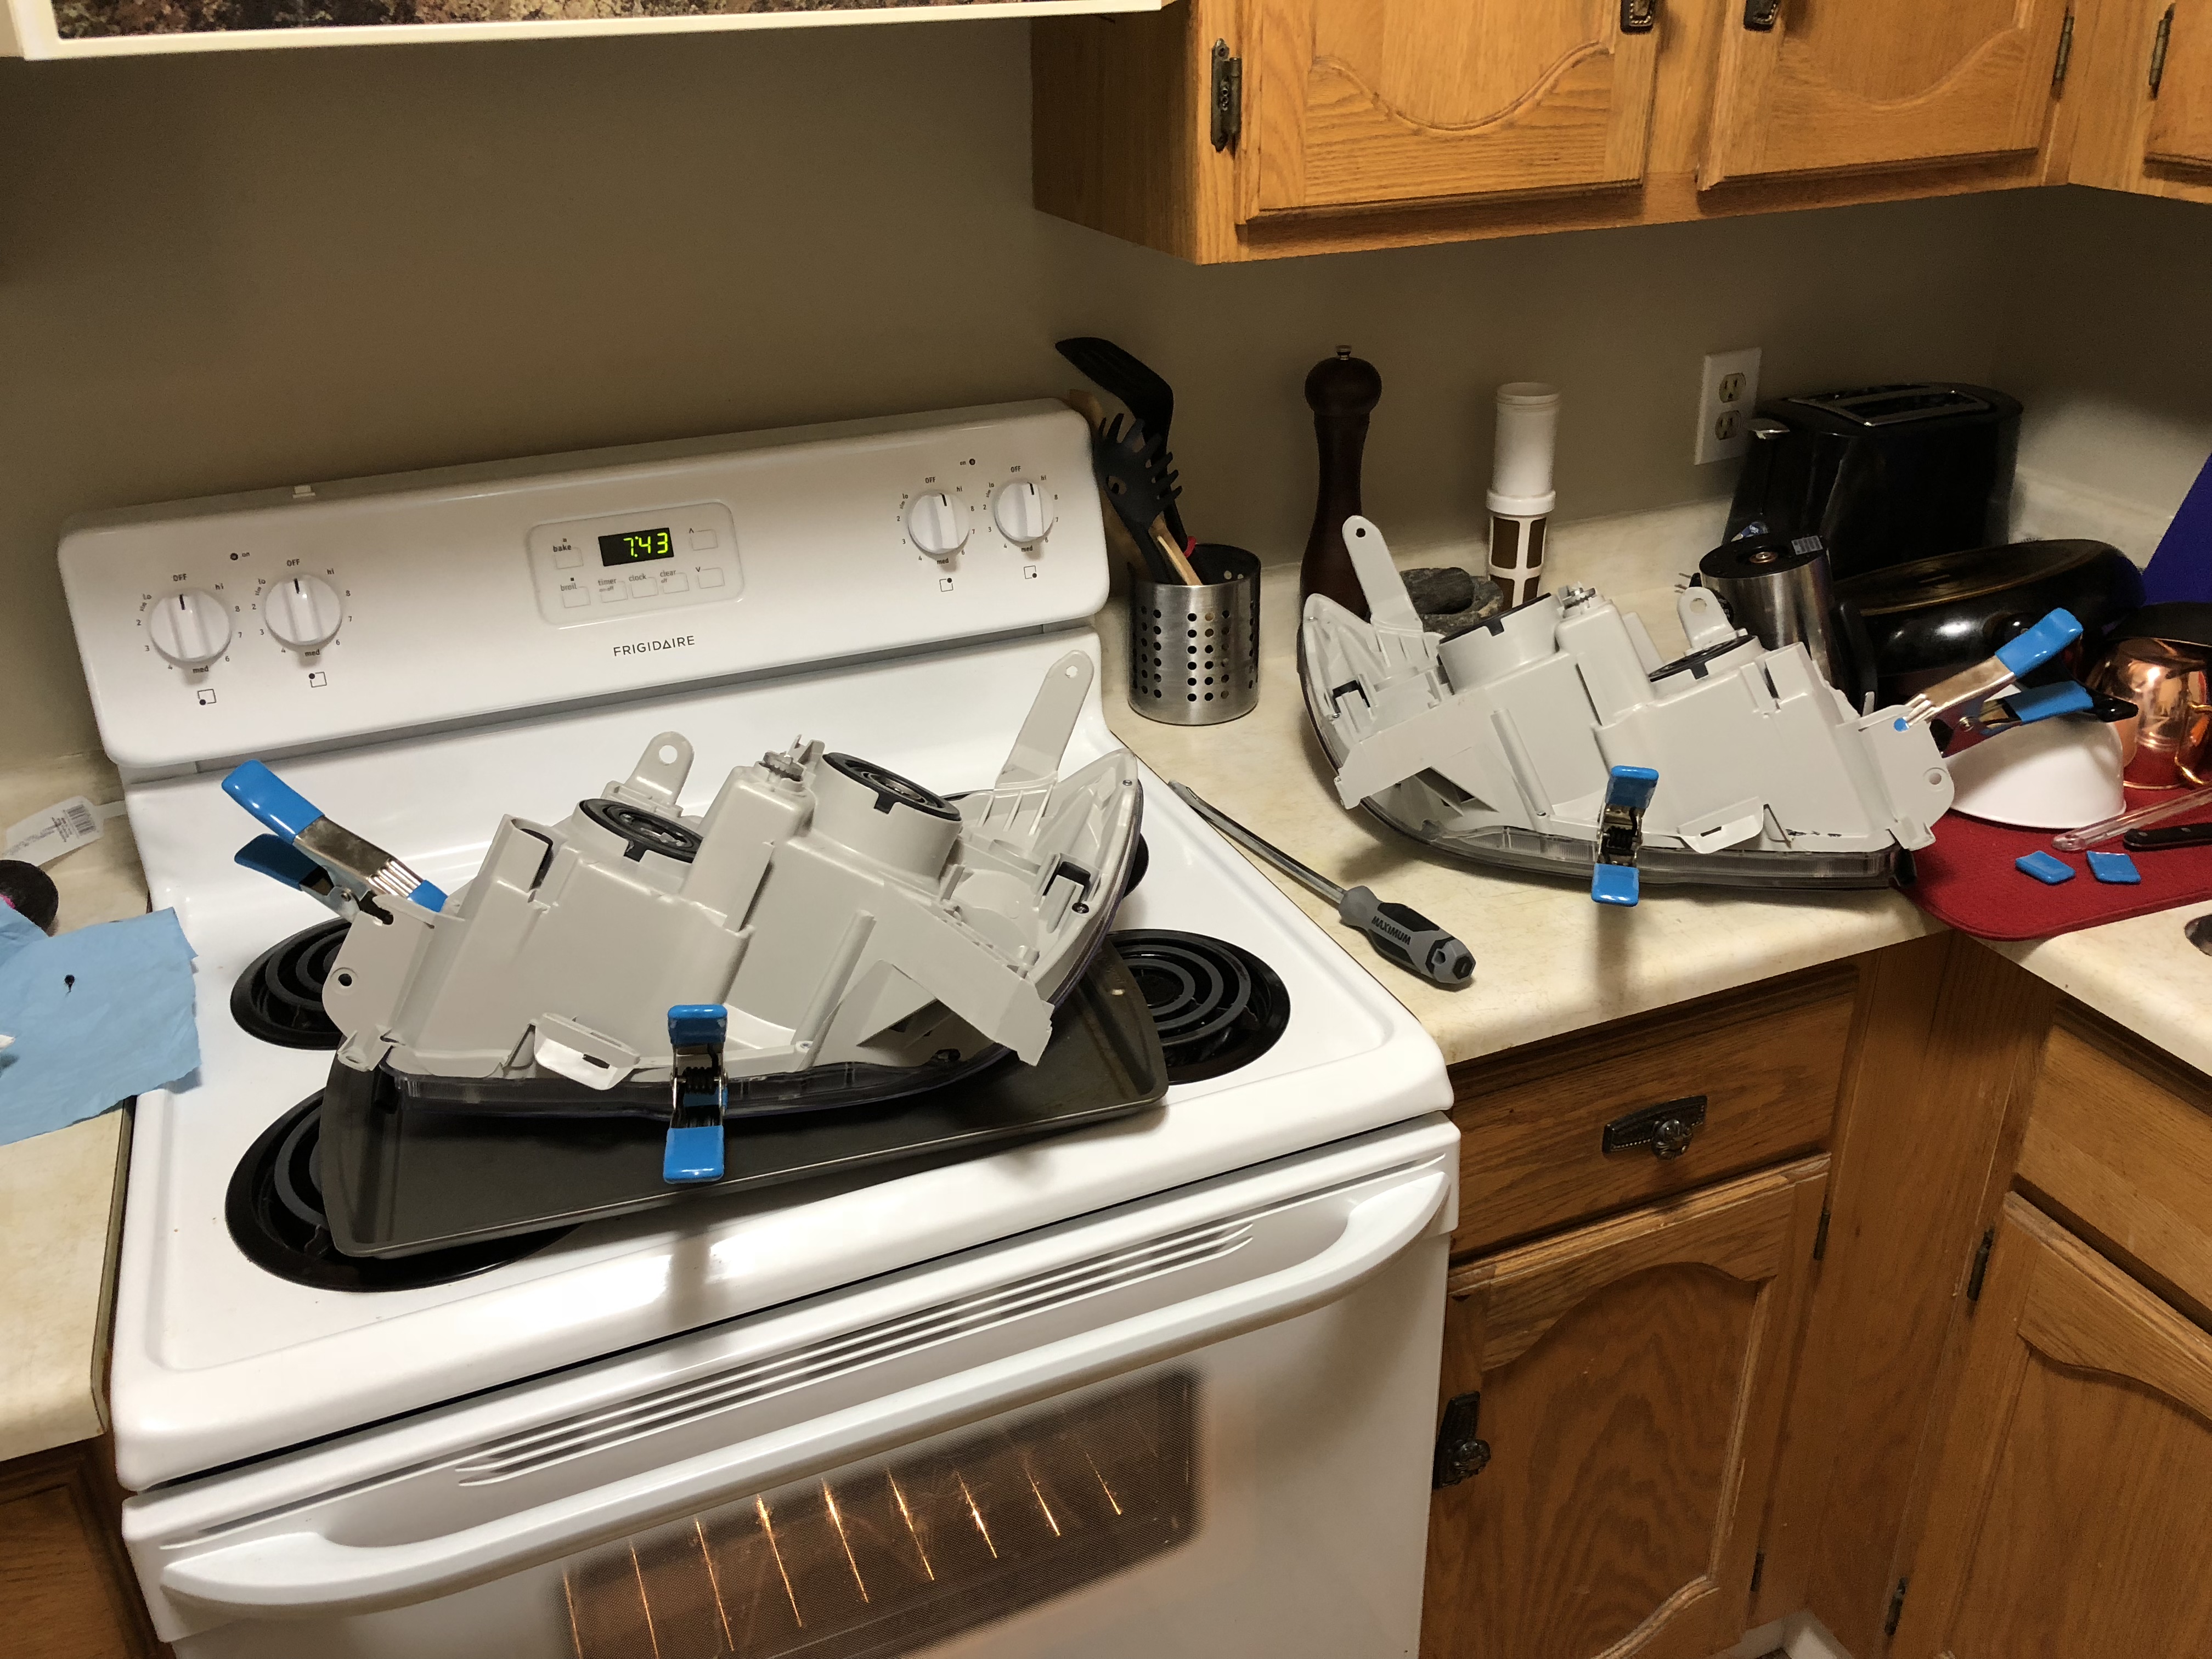
Essentially I baked the headlights for 7 minutes at 265 degrees. They came apart very easily. I then put the base back in for a couple minutes to soften the factory sealant. Then used a flathead screwdriver and tried to smooth out the old sealant around the entire housing. Then added the fresh butyl and stuck together. In the oven for another 7 minutes. Then applied 4 pony clamps to it and some pressure.
After about 30 minutes I ran some electrical tape around the entire edge. Hopefully that does it. If not then I assume the moisture is getting in through the bulb gasket. Sorry no photos but I'm sure you can imagine a headlight in an oven. Pretty uneventful.


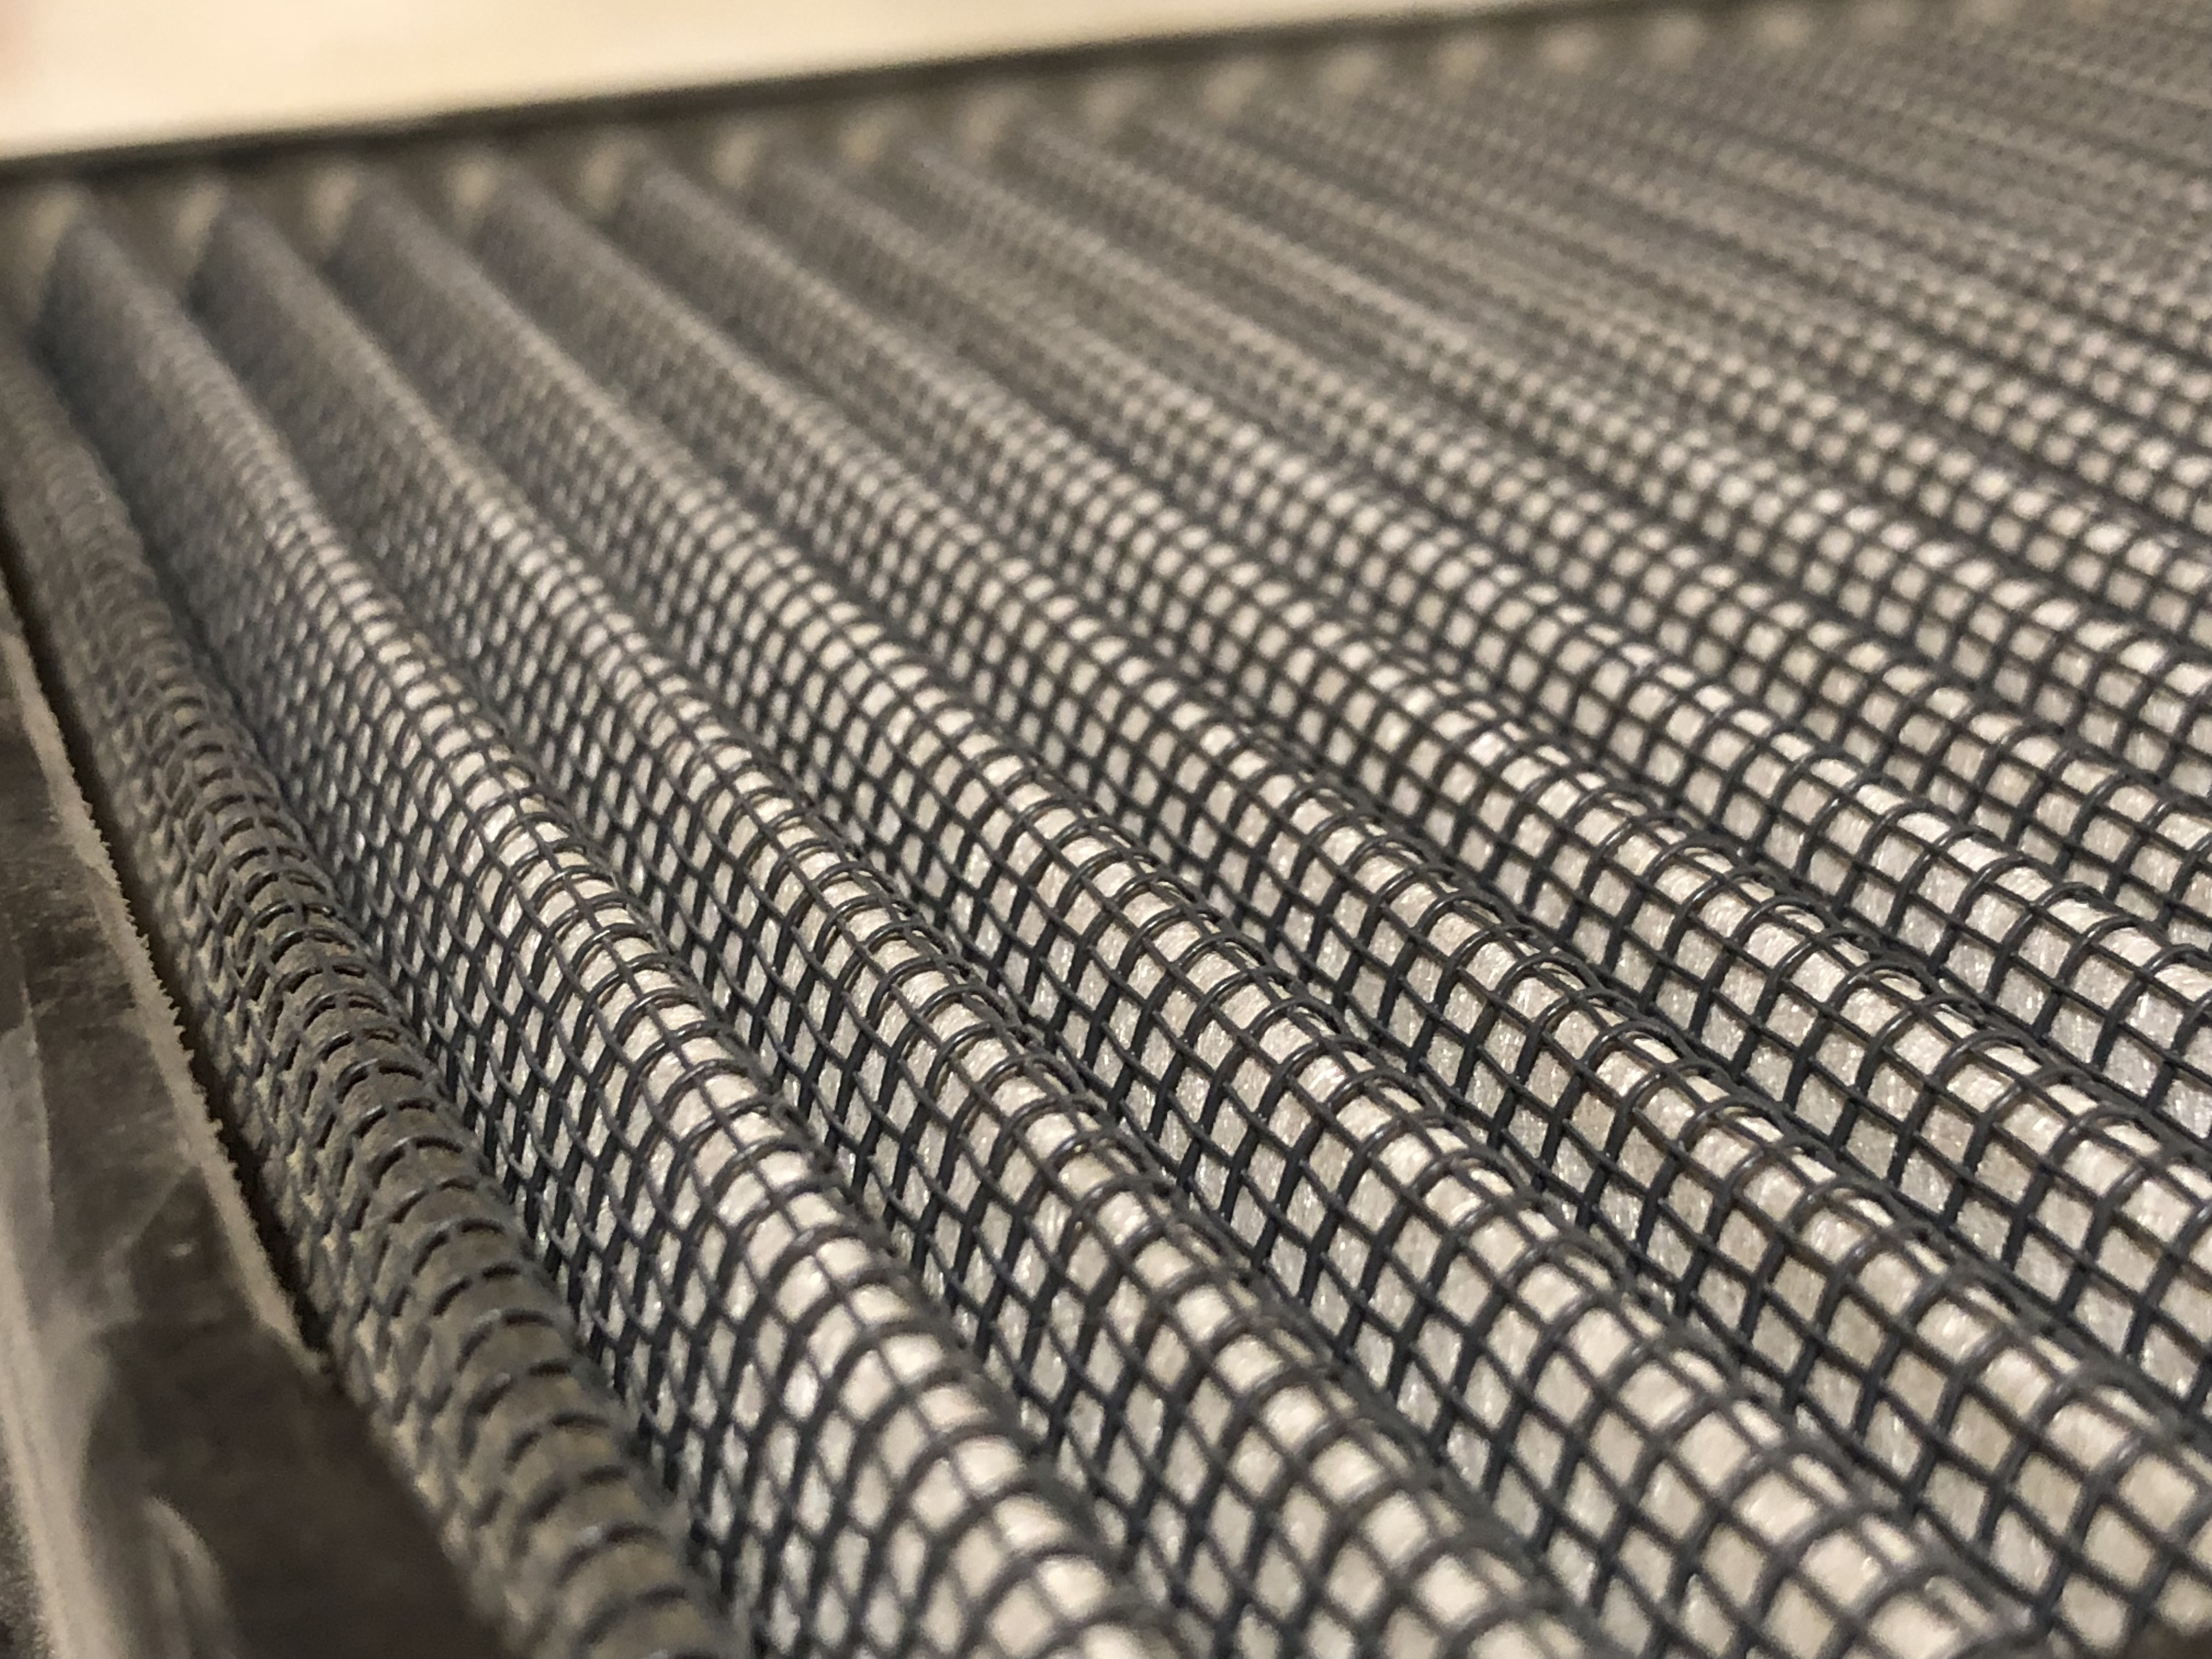
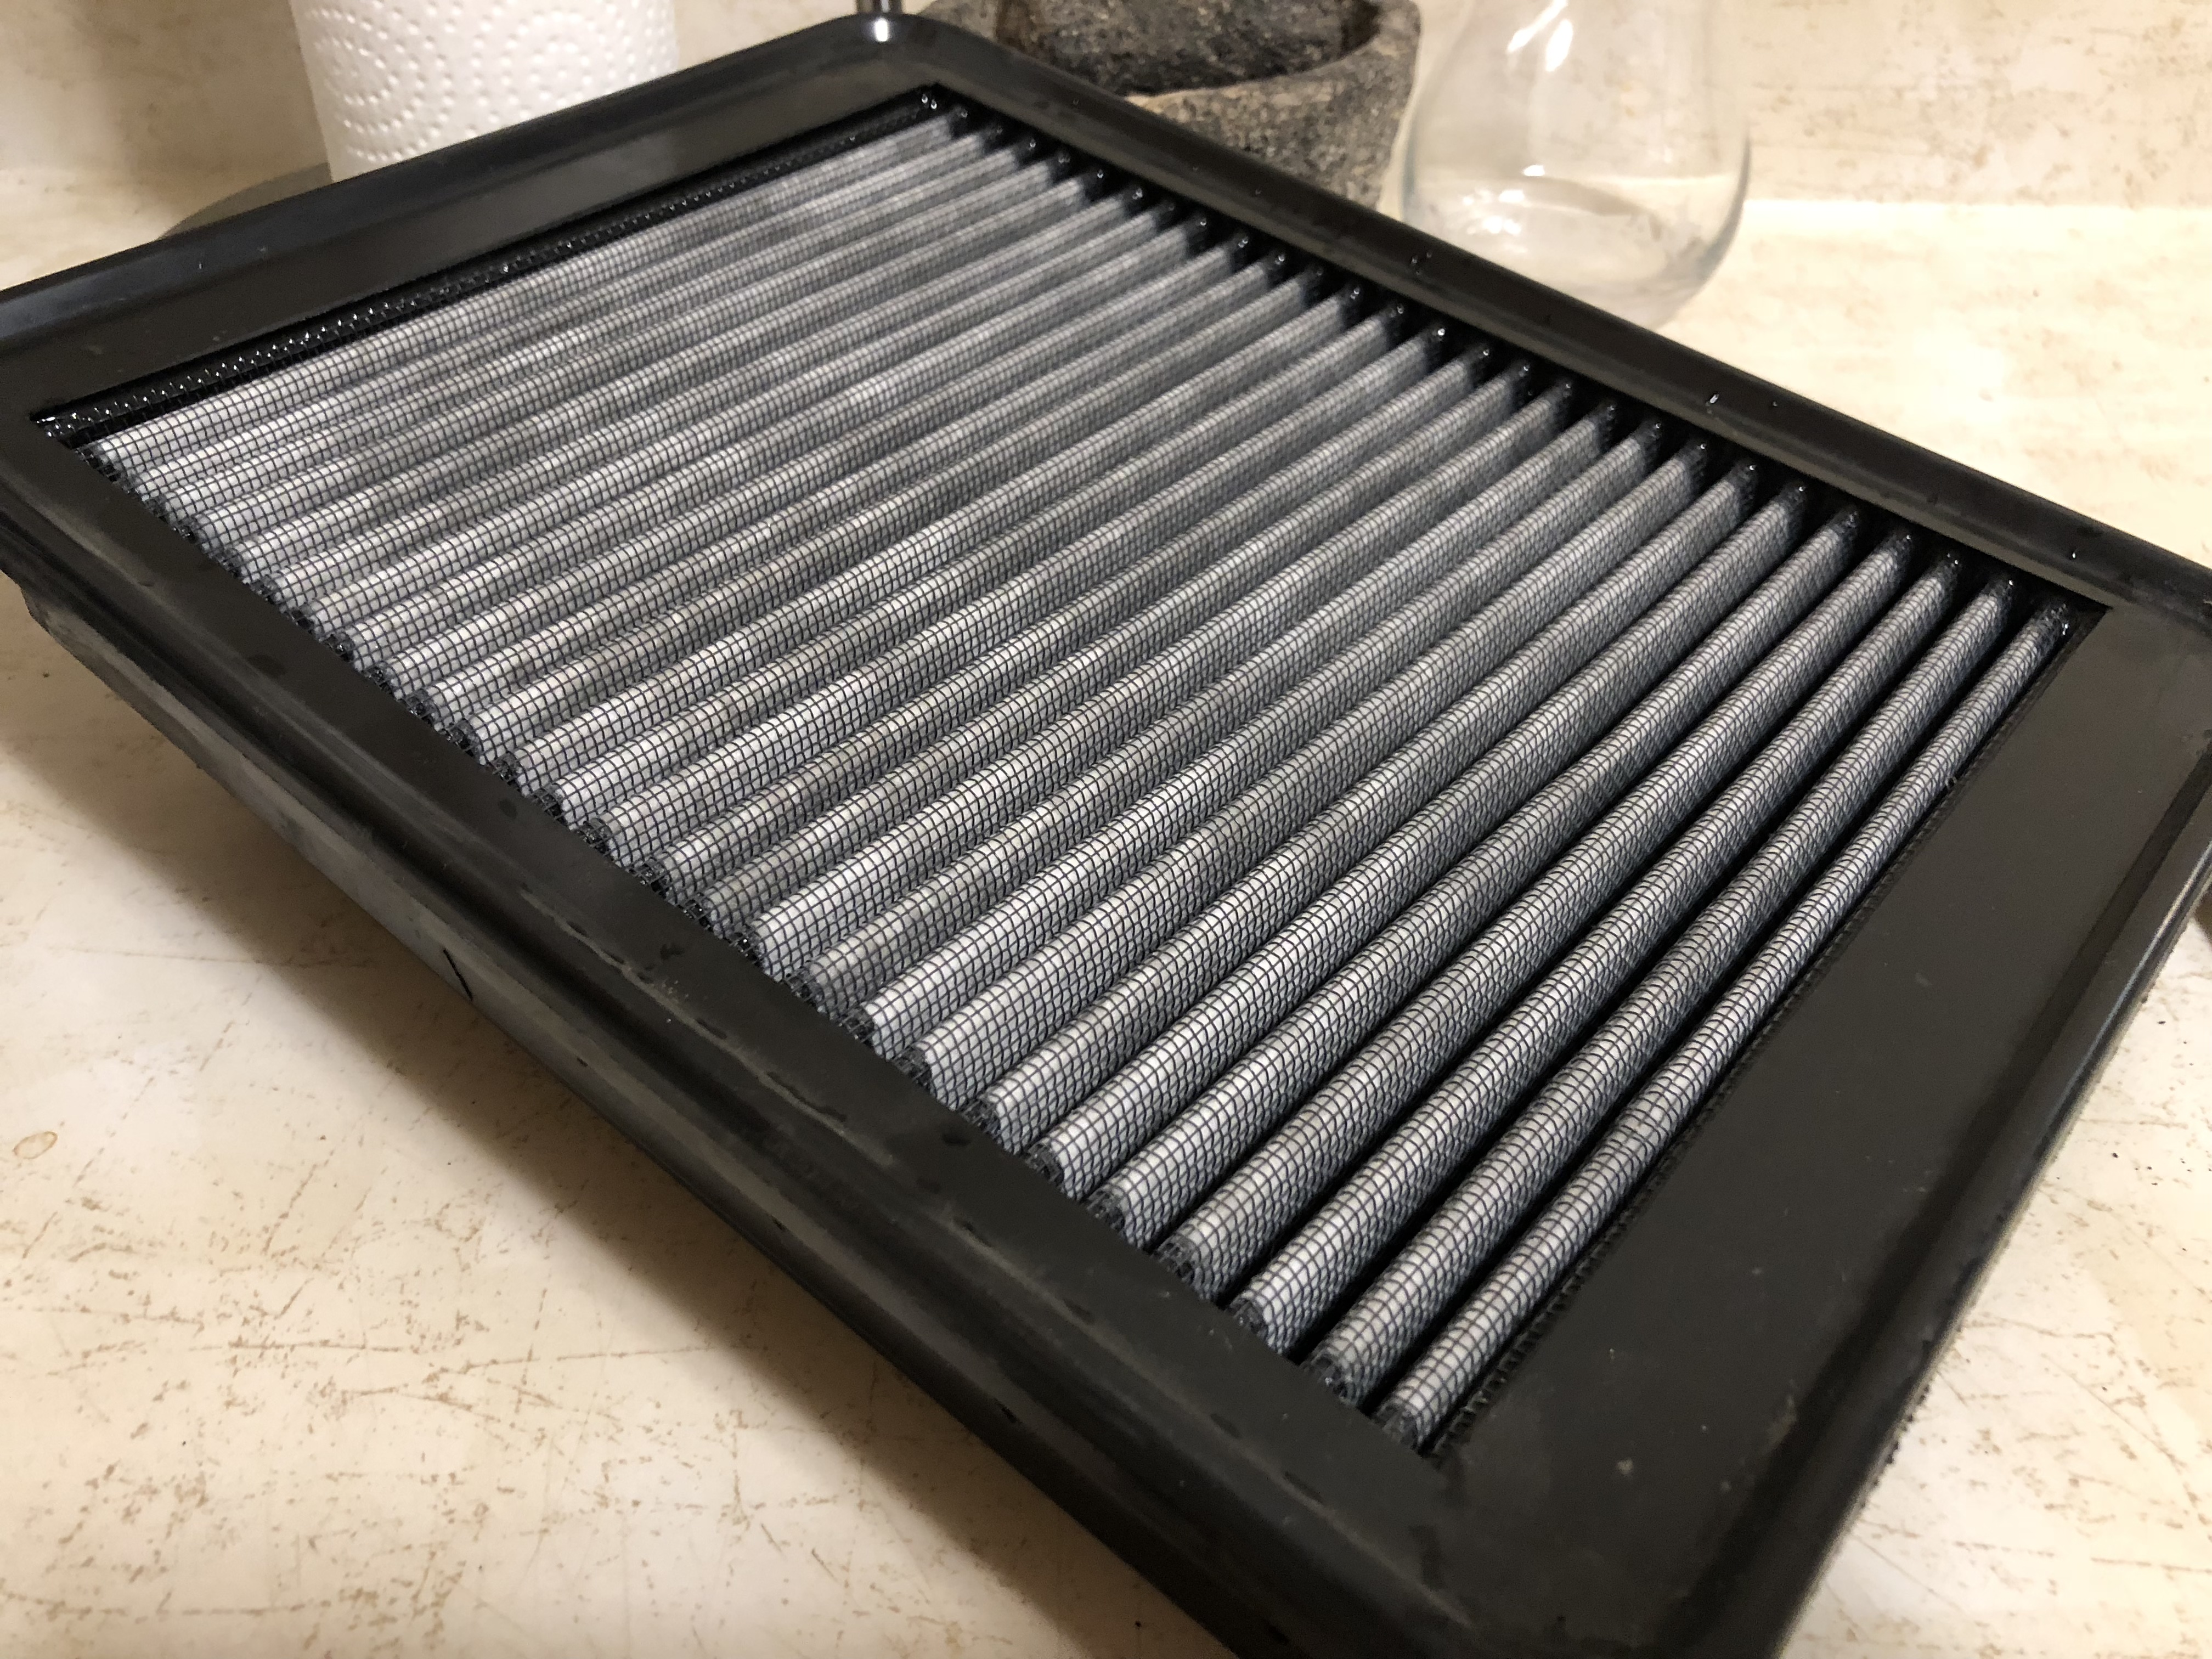
I finally remembered to pull my AFE Pry Dry filter out and give it a rinse.

A8KqTz.jpg

A8KBOT.jpg


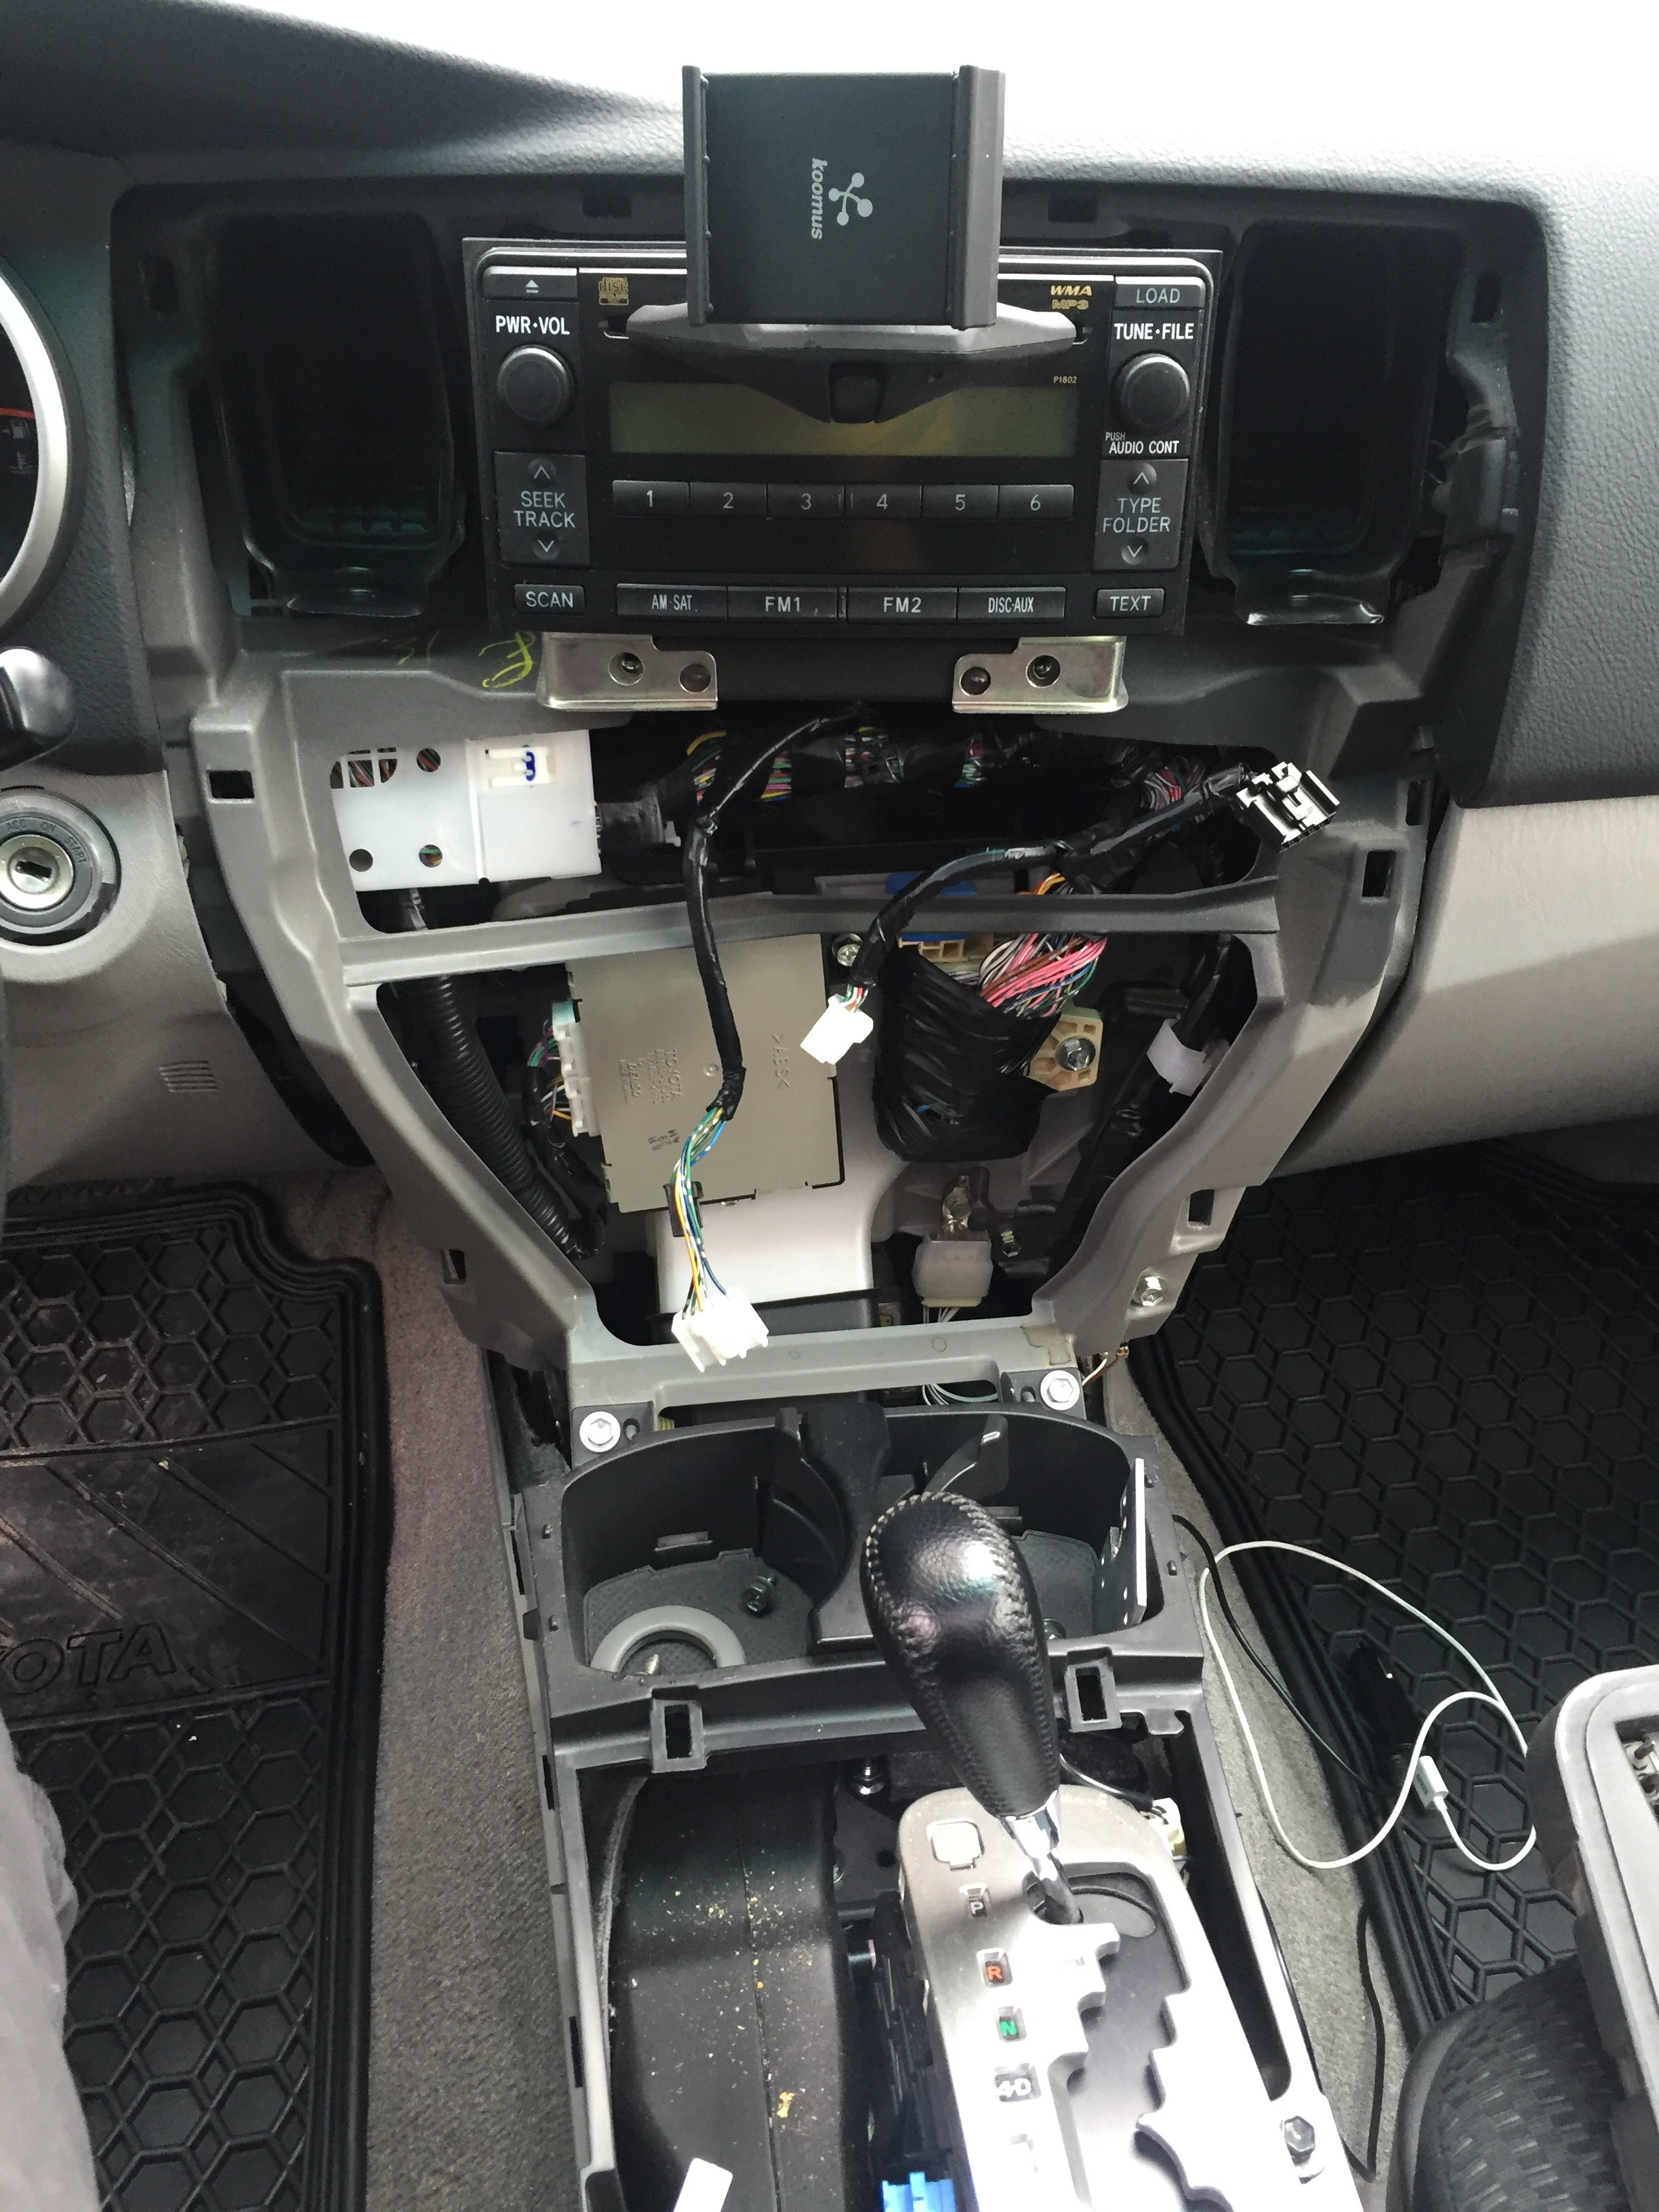
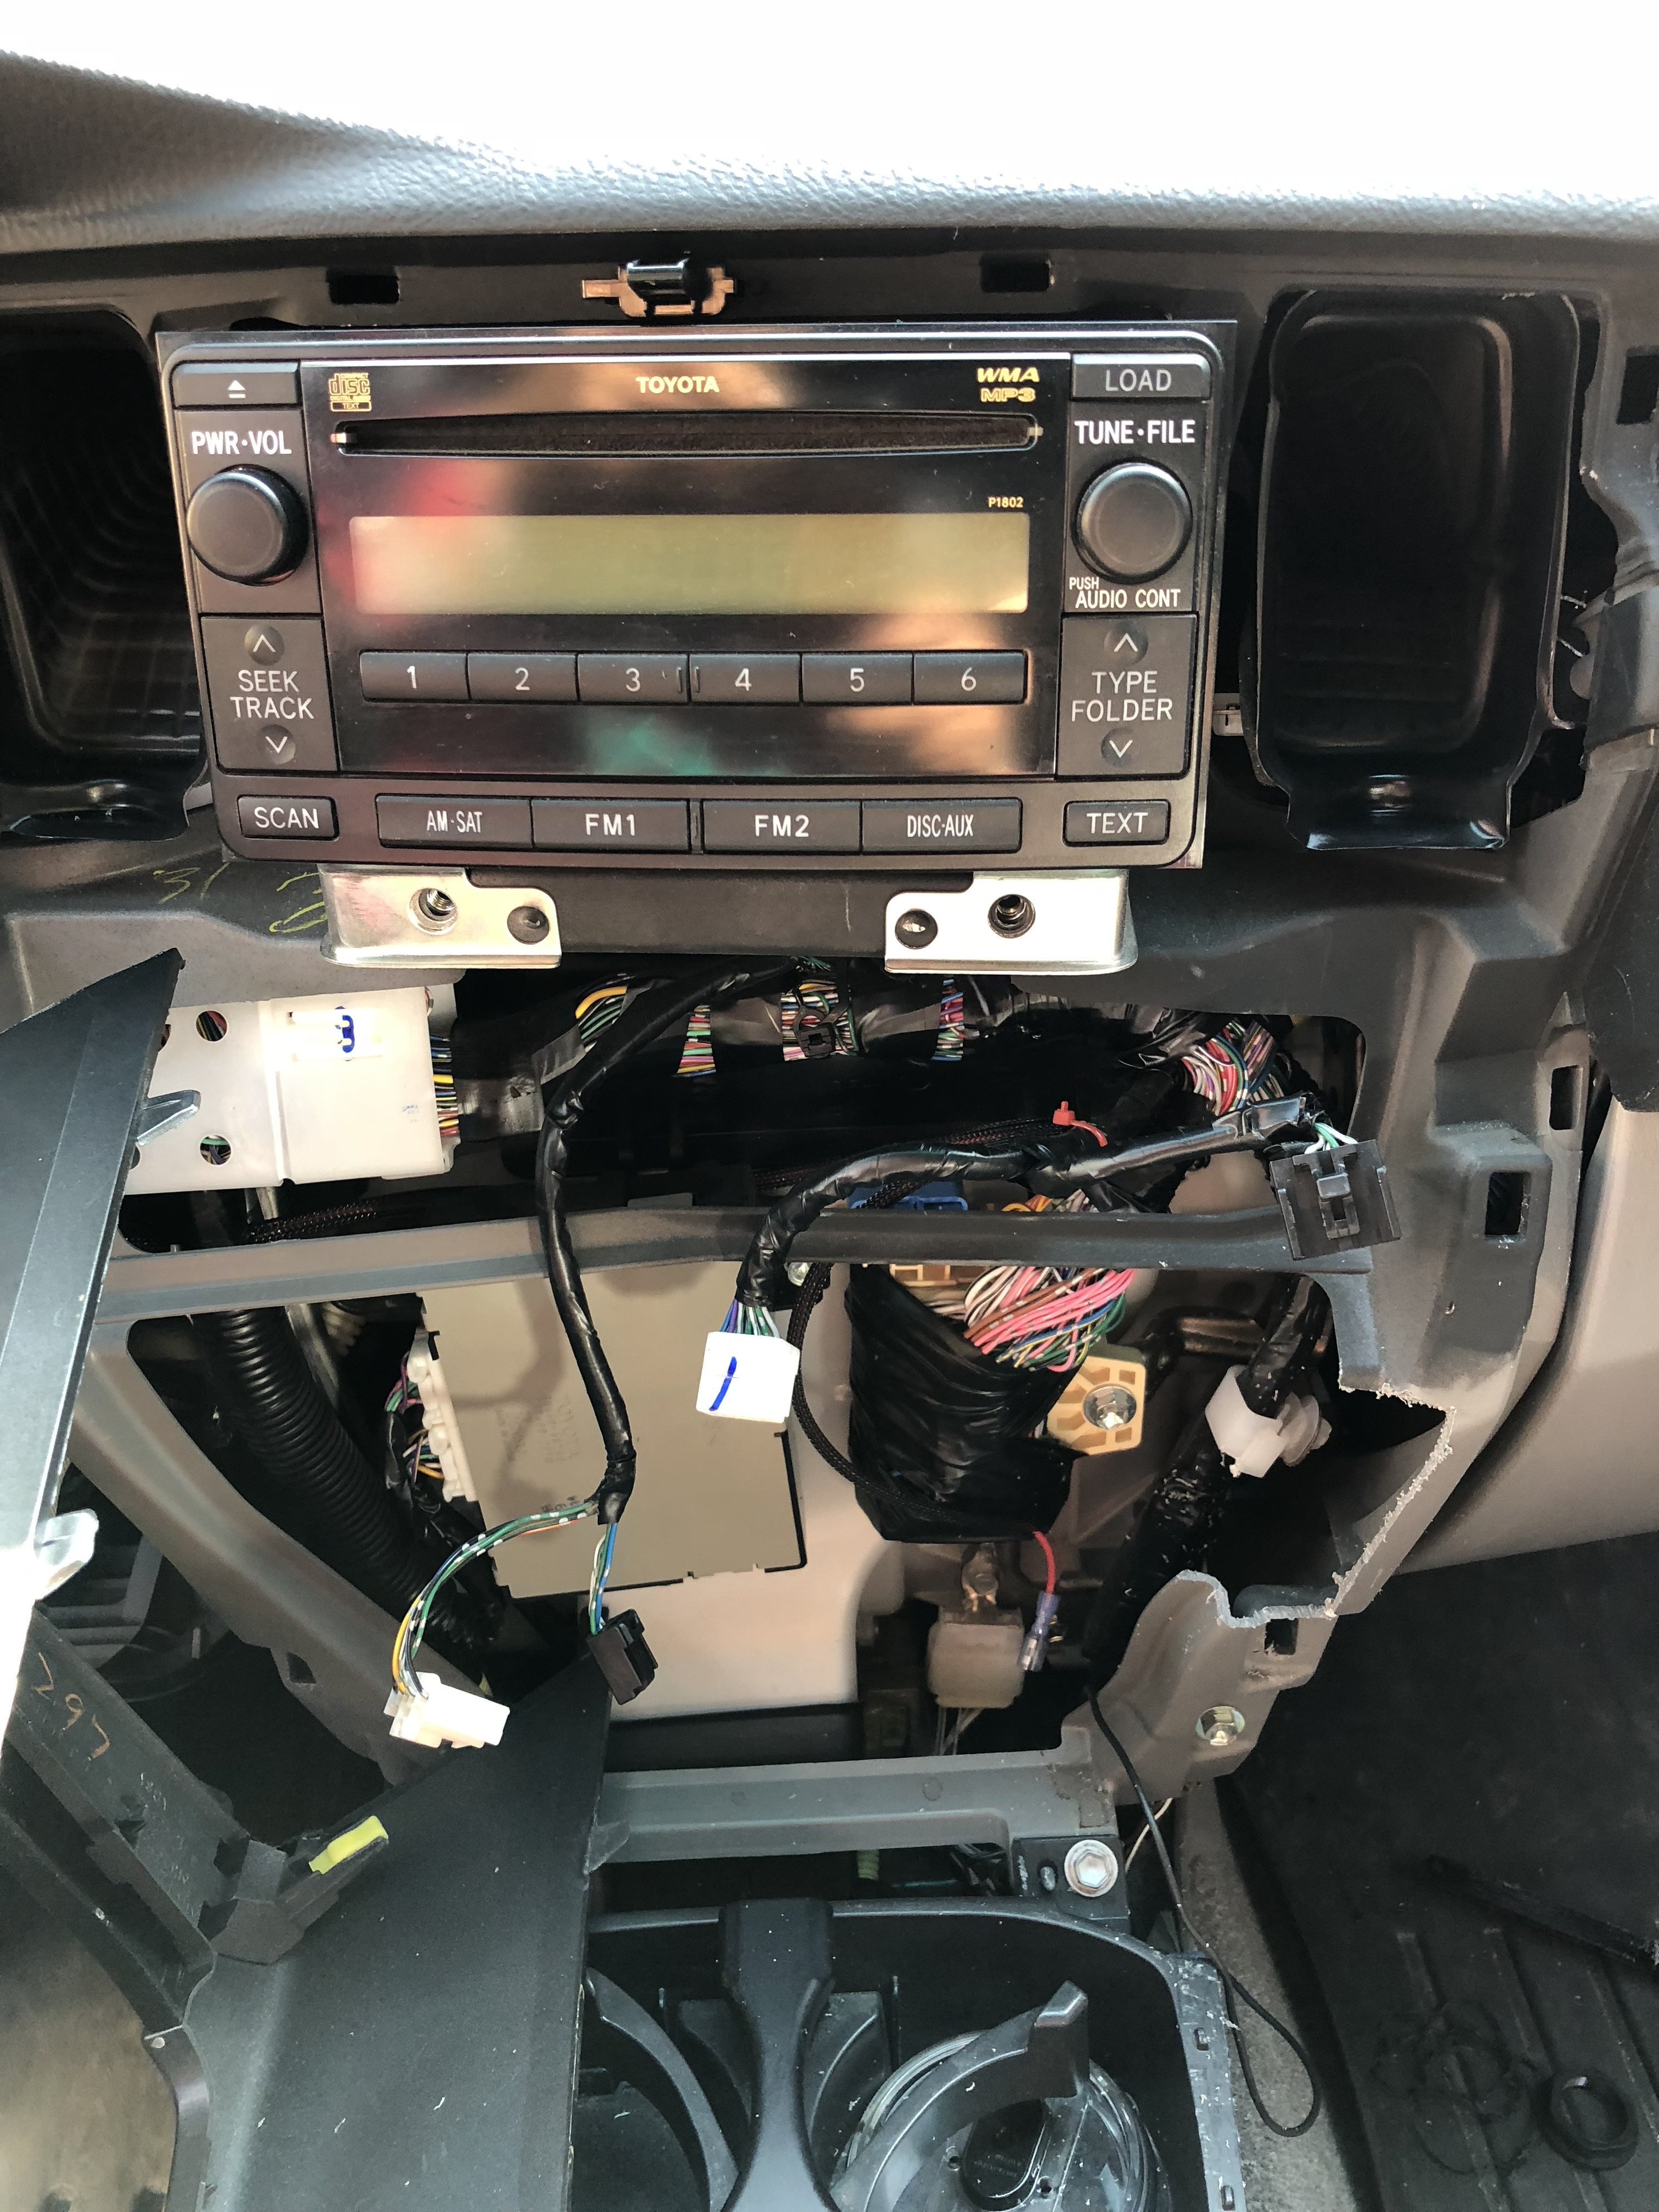
I picked up a used Pioner 4200NEX stereo head unit off Kijiji for a really good price. Just waiting for my installation pieces to arrive from Crutchfield. I was looking to purchase a headunit with Apple Carplay in it and it wasn't really a priority but for a deal I figured why not.
In anticipation of installing it I purchased a USB extender with a circular mount. I wanted to keep the wiring as tidy as possible and this would let me connect to the stereo via USB in a nice OEM looking package. I decided to keep my current dual USB BlueSea mount and add the stereo USB to the same location. I put the extension in the BlueSea slot and added a new hole for the blue sea just below its original spot.
This allows a passenger to charge their phone as well as an additional item (headlamp, key fob, speaker... Etc).
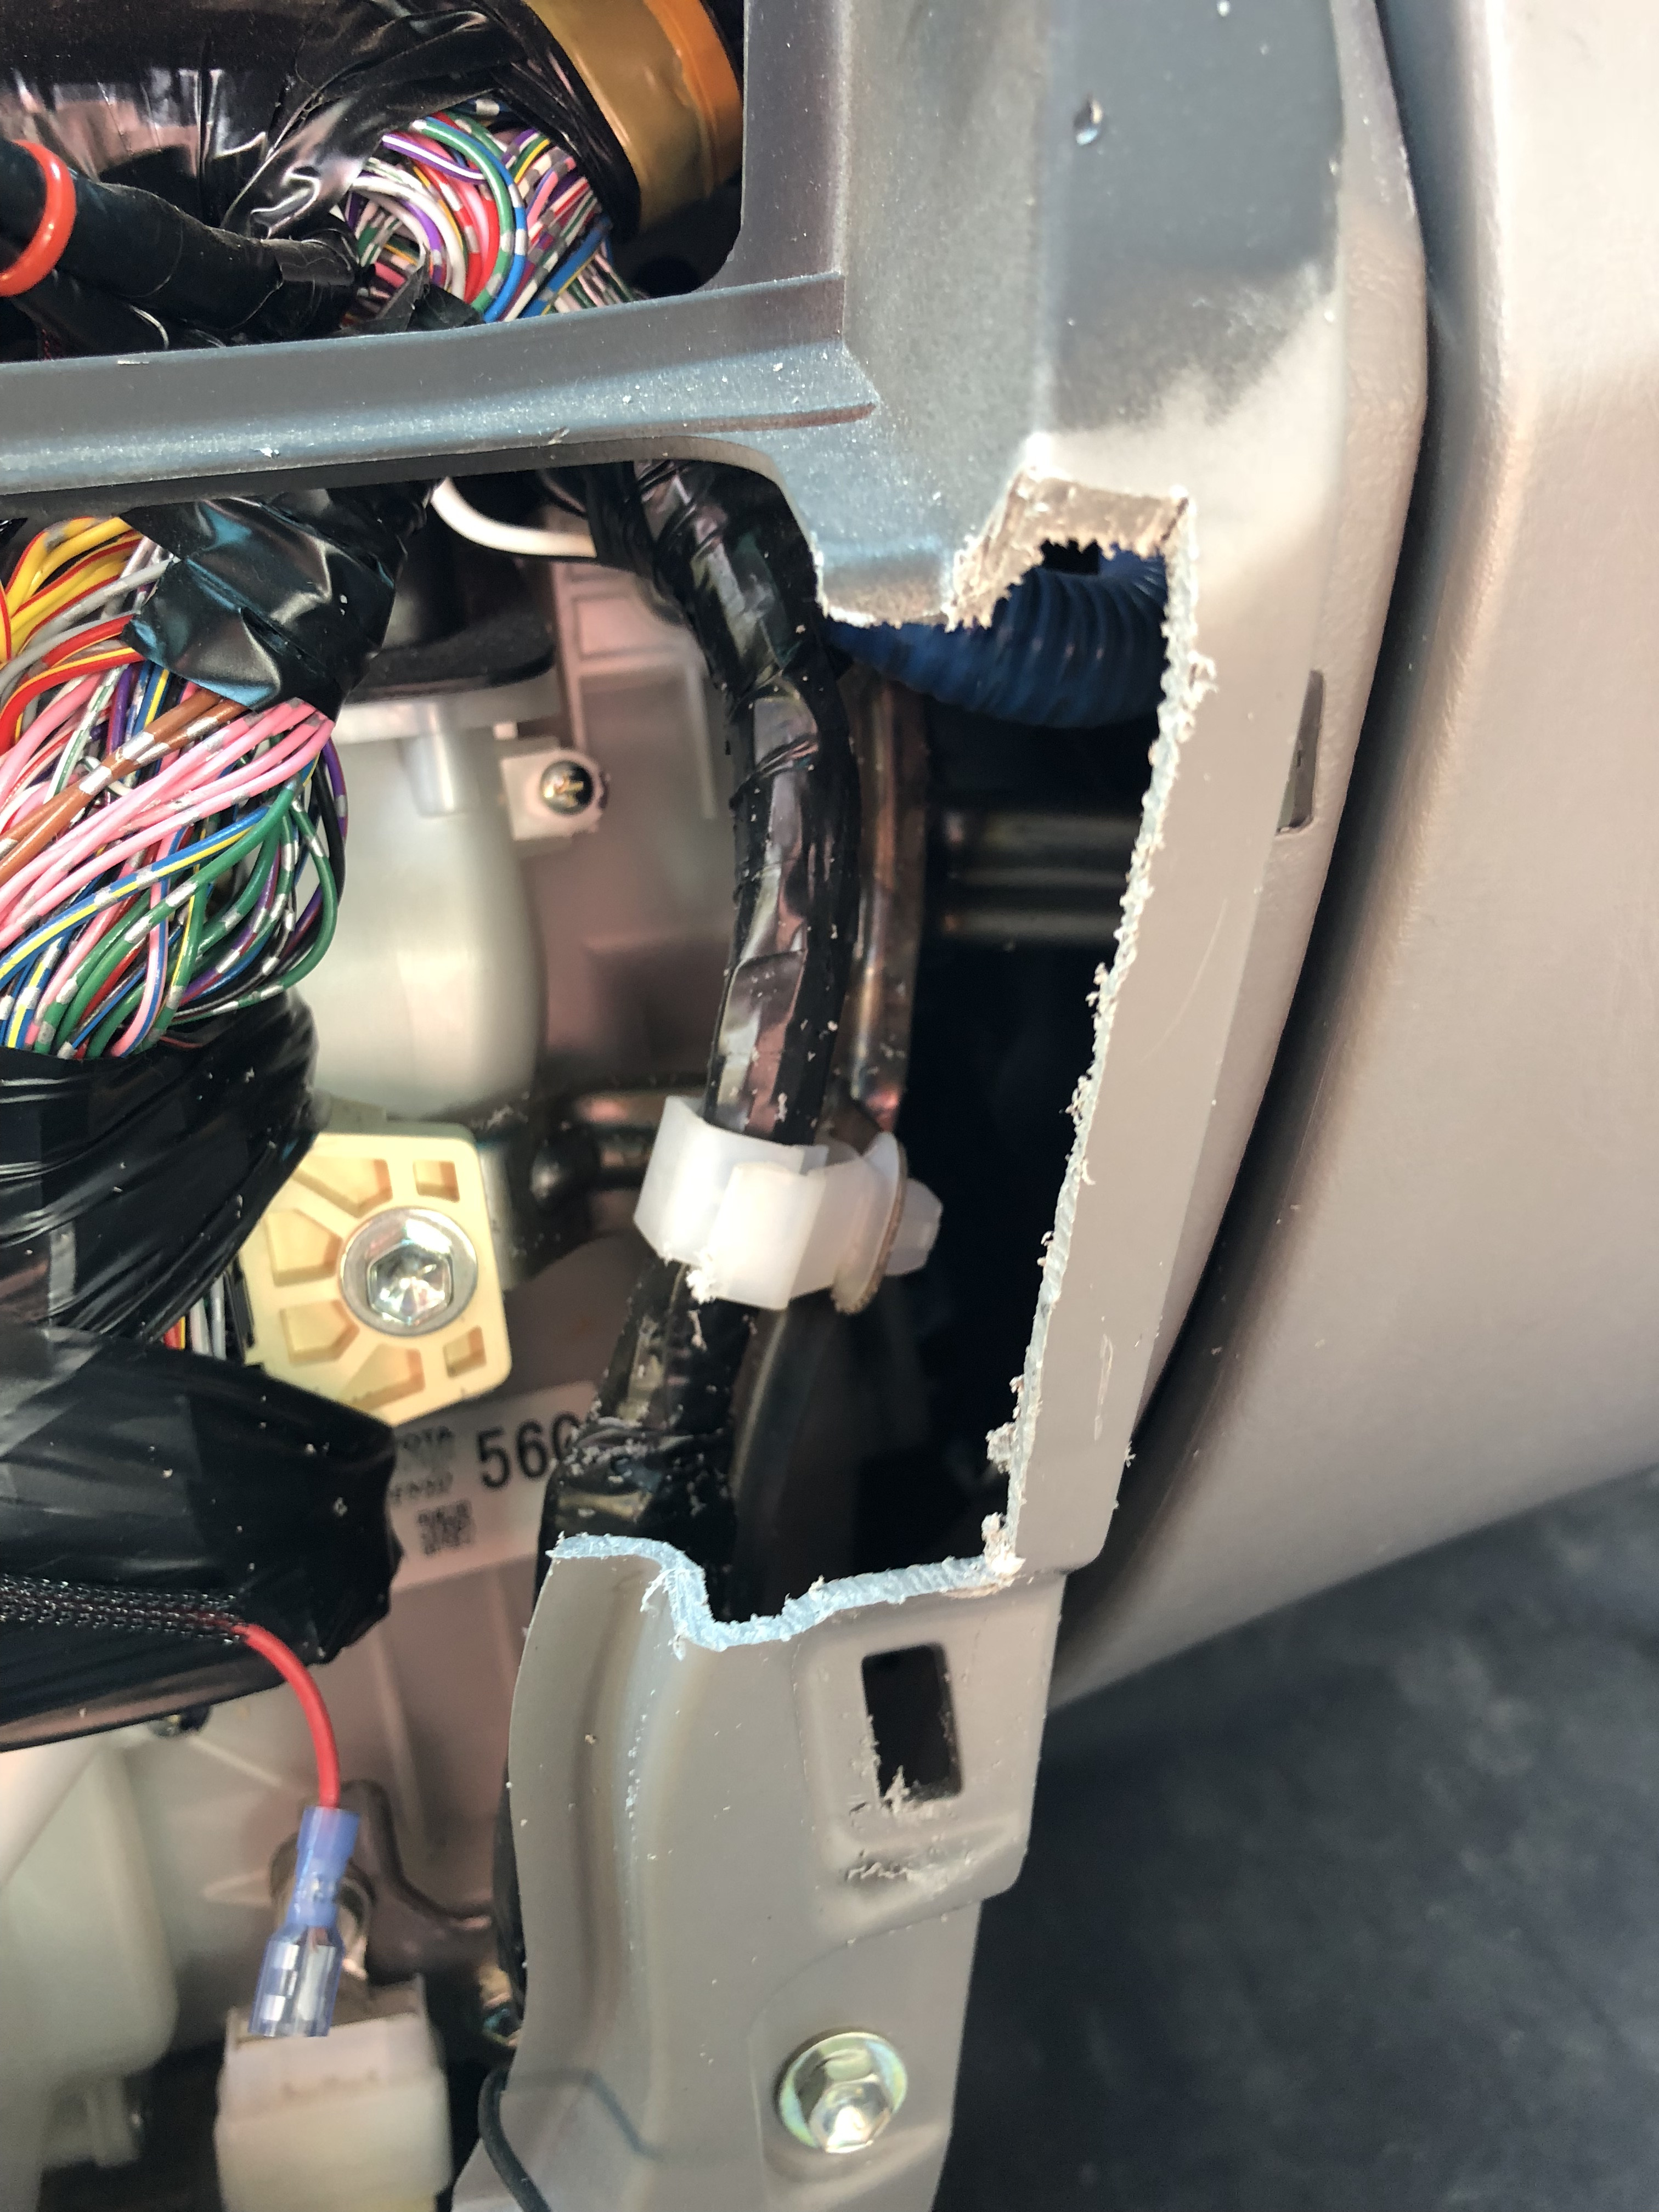
The only permanent modification I had to make to the vehicle was cutting away some extra plastic behind the dash faceplate. This plastic was in the way of my original USB and I had to cut off a little extra below for the new one.
Easy stuff, doesn't seem to affect rigidity or anything and you'll never see it unless you take the dash apart so easy decision.

A85XQi.jpg

A85beo.jpg

A85GUC.jpg


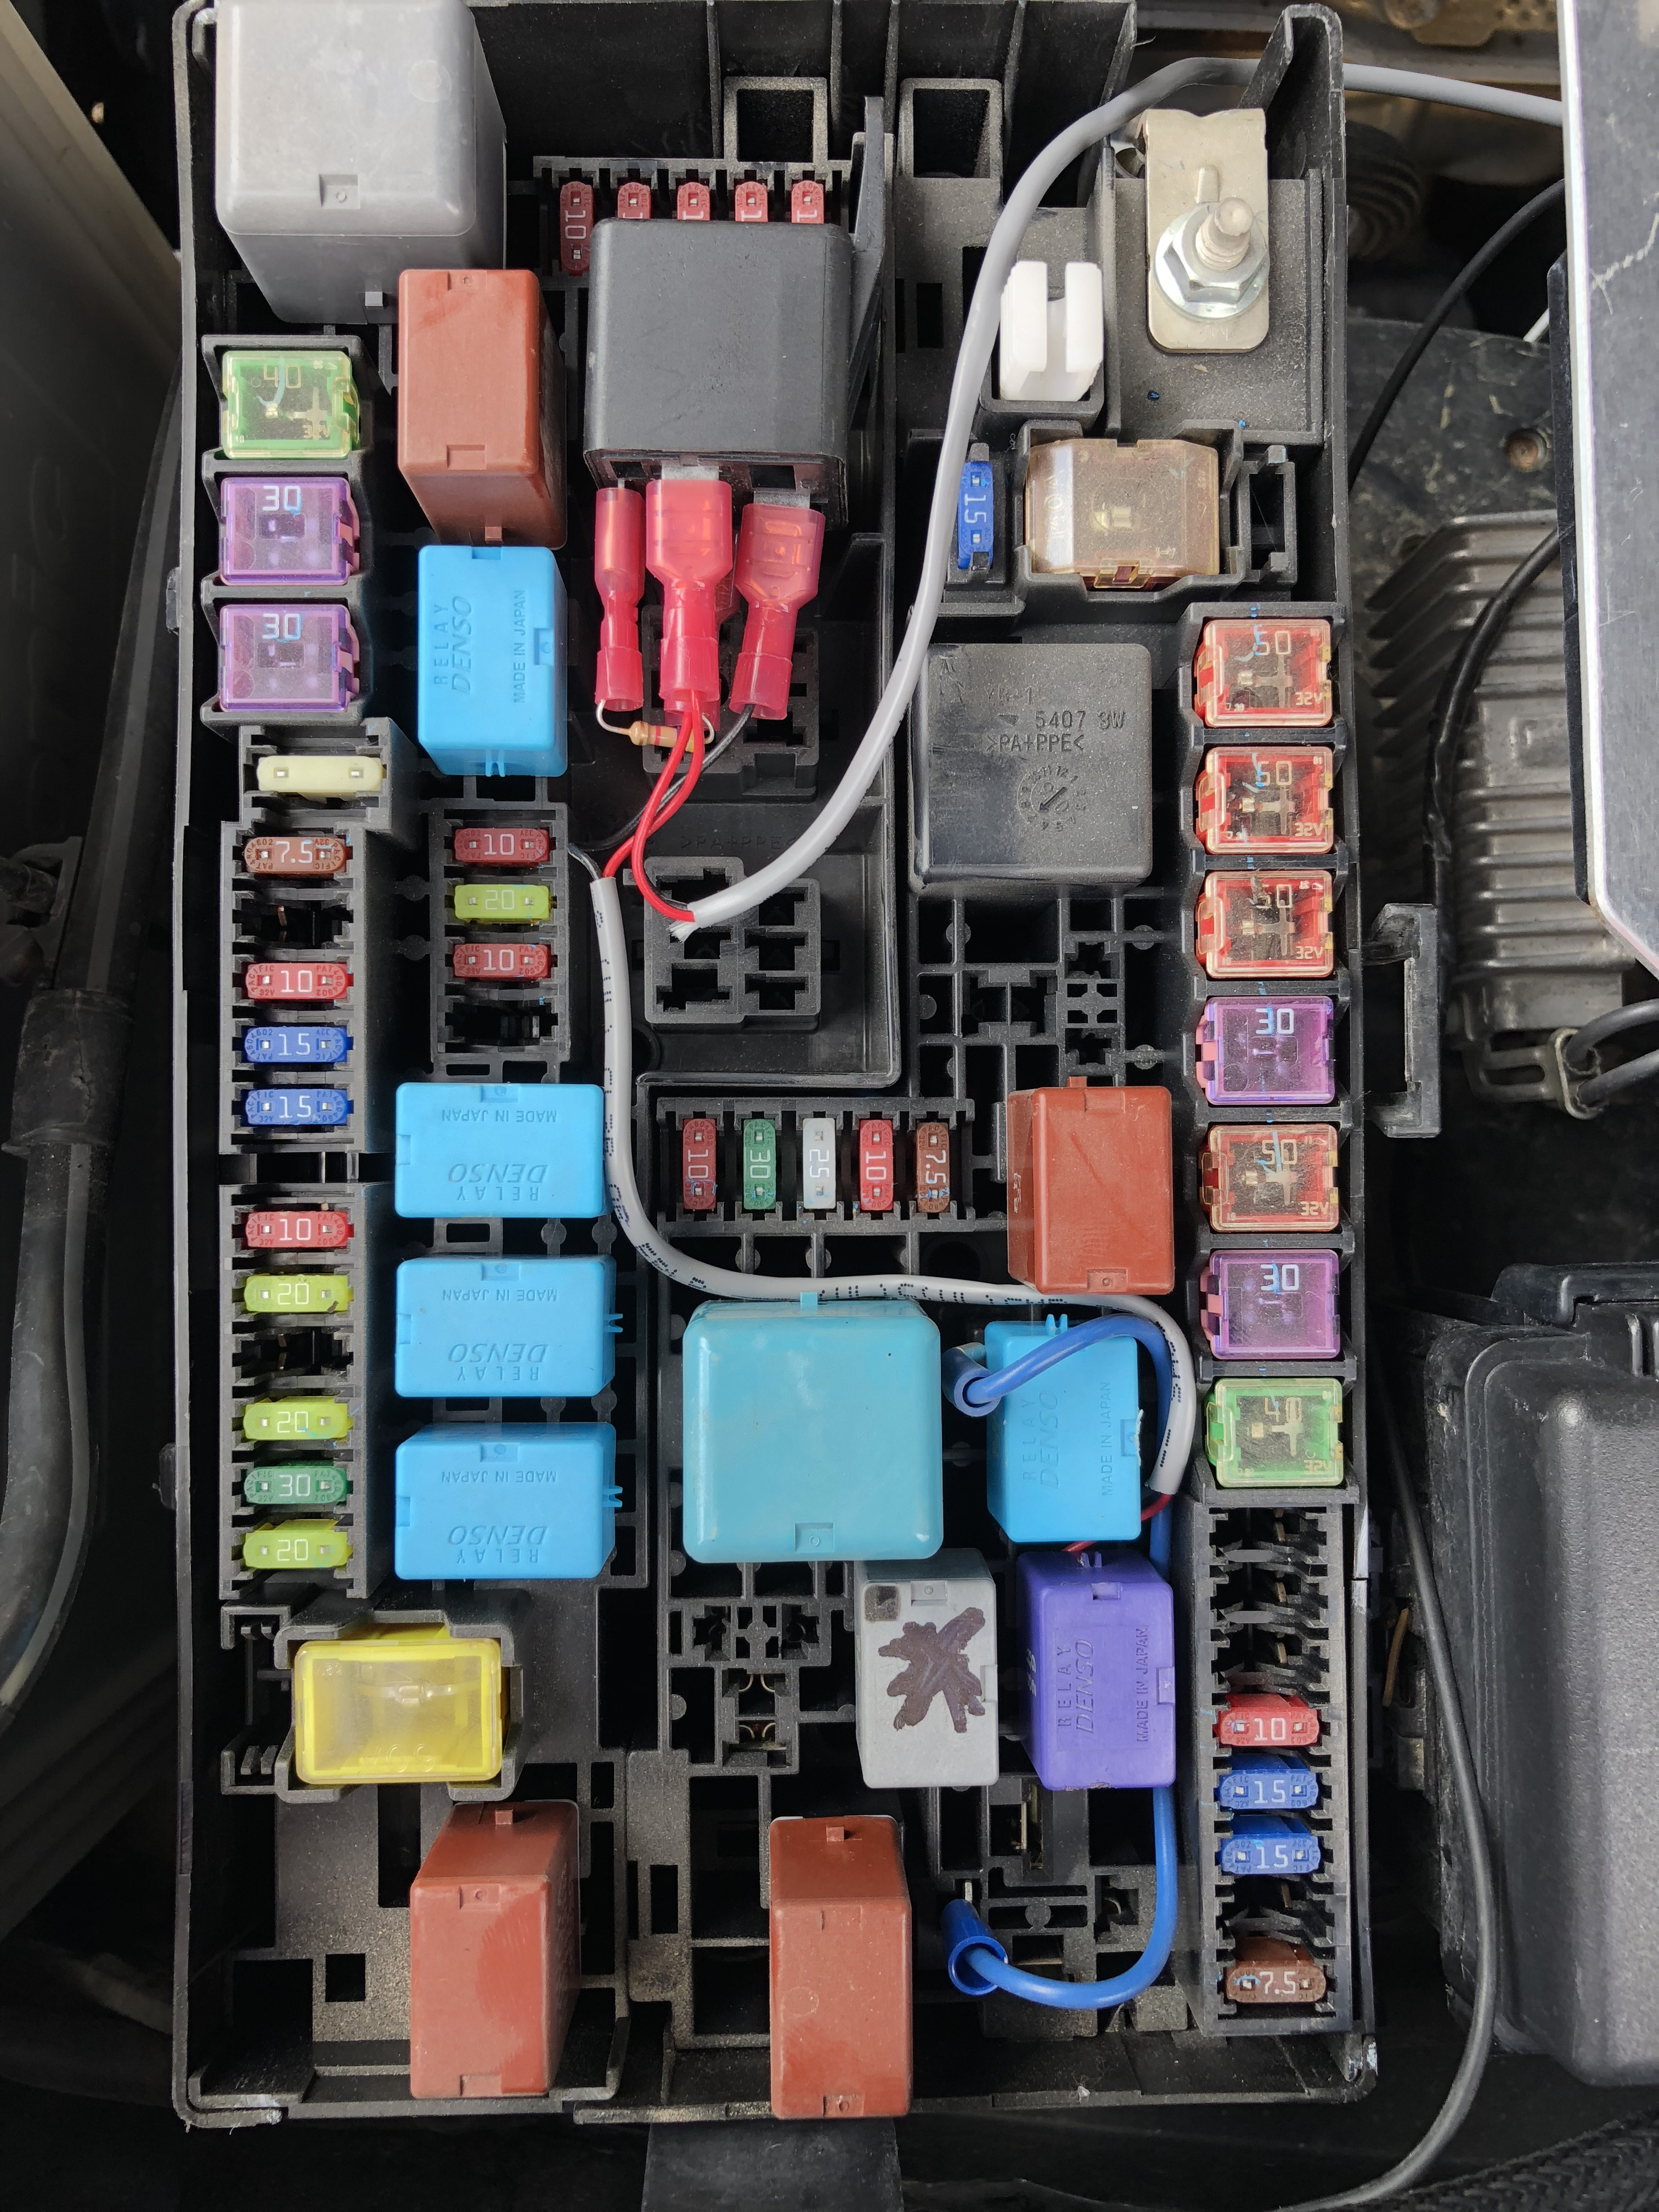
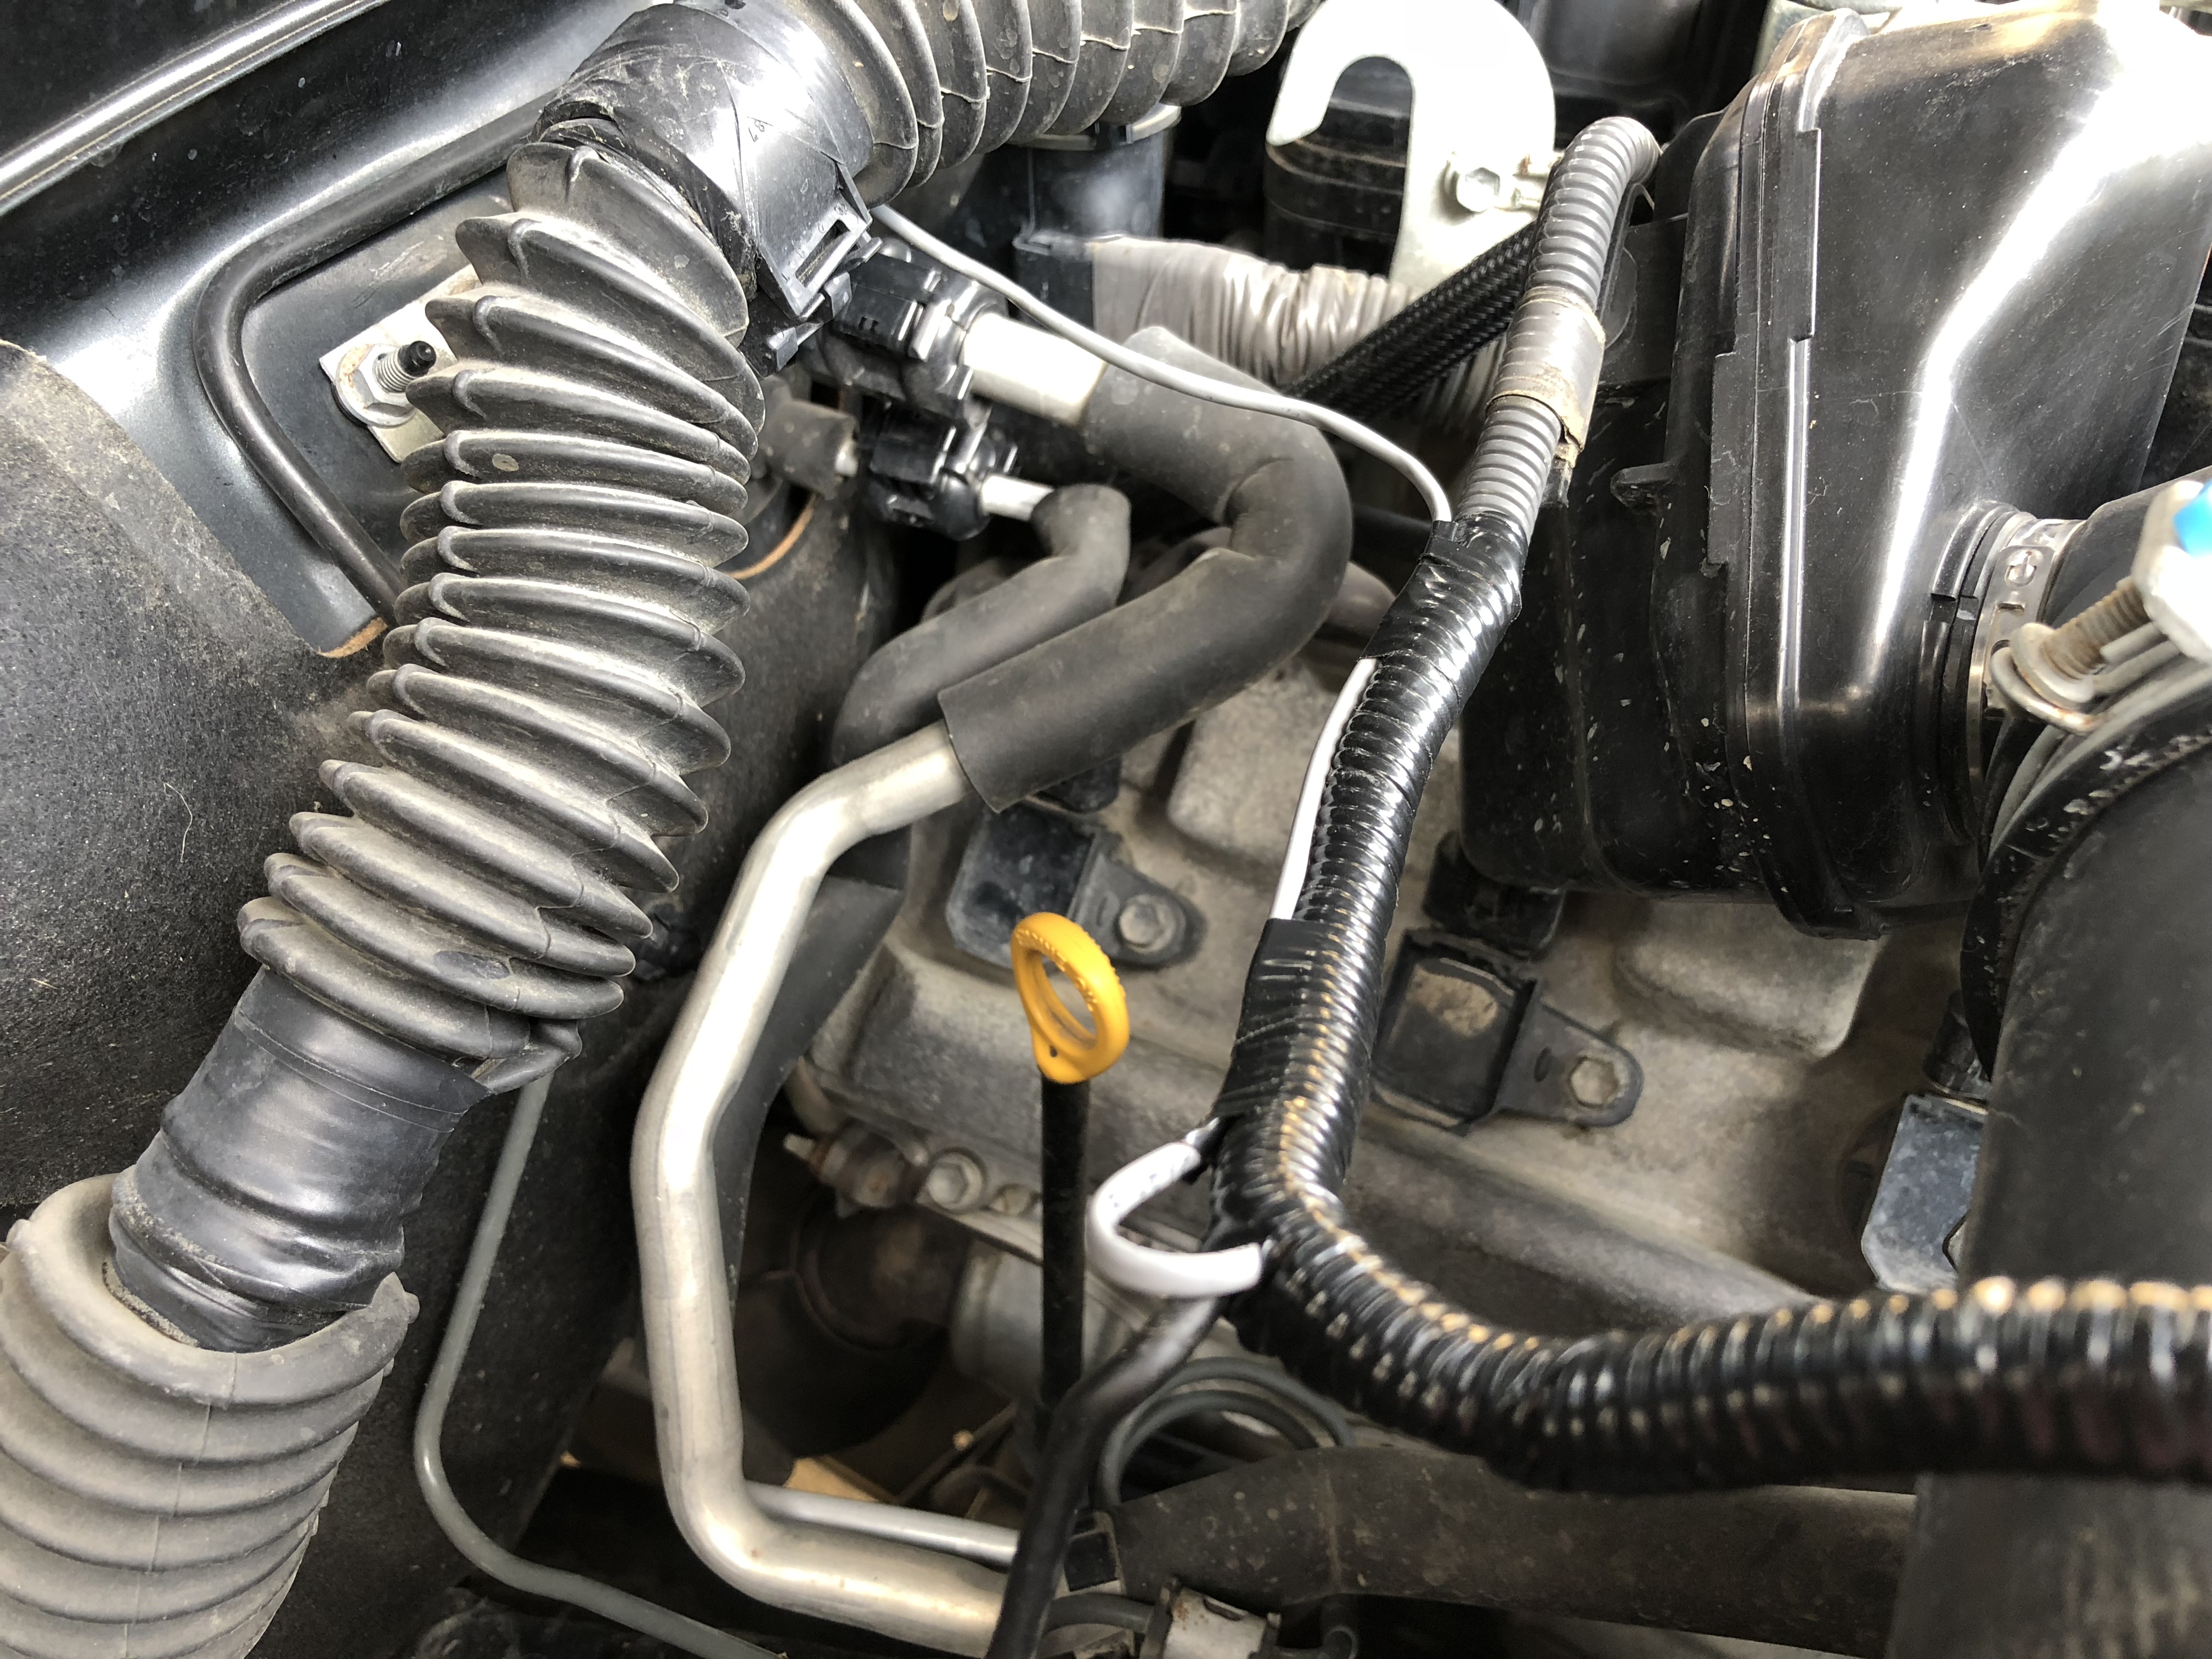
My girlfriend's 4runner had started to make the vacuum sound on startup (AIP failure). So I had ordered a pair of AIP Bypass kits from slyfox a few months ago. Figured may as well be ahead of the game with mine. Haven't had a chance to install the girlfriends but I was the guinea pig and installed mine. Super easy. Probably took me 20-30 minutes as I was going slow trying to make everything clean. Super simple kit and install is no challenge at all. Thanks again [MENTION=8828]slyfox75[/MENTION]

A8GkAQ.jpg

A85hI5.jpg
 
Last edited:
Members online

No members online now.

Forum statistics

Threads
278,309
Messages
3,554,071
Members
248,016
Latest member
Advally Service

Trending content

Back
Top