Tigger's Build and Mis-Adventures

tigger

New member
Since my posts are scattered everywhere, I thought I would consolidate them into a neat mess.

Modifications and upgrades

Baja Roof rack 3-1-2015

Stereo Upgrade / Sound Proofing 3-25 thru 4-10-2015

AOB Switches 4-07-2015

Sleekster Sliders 4-8-2015

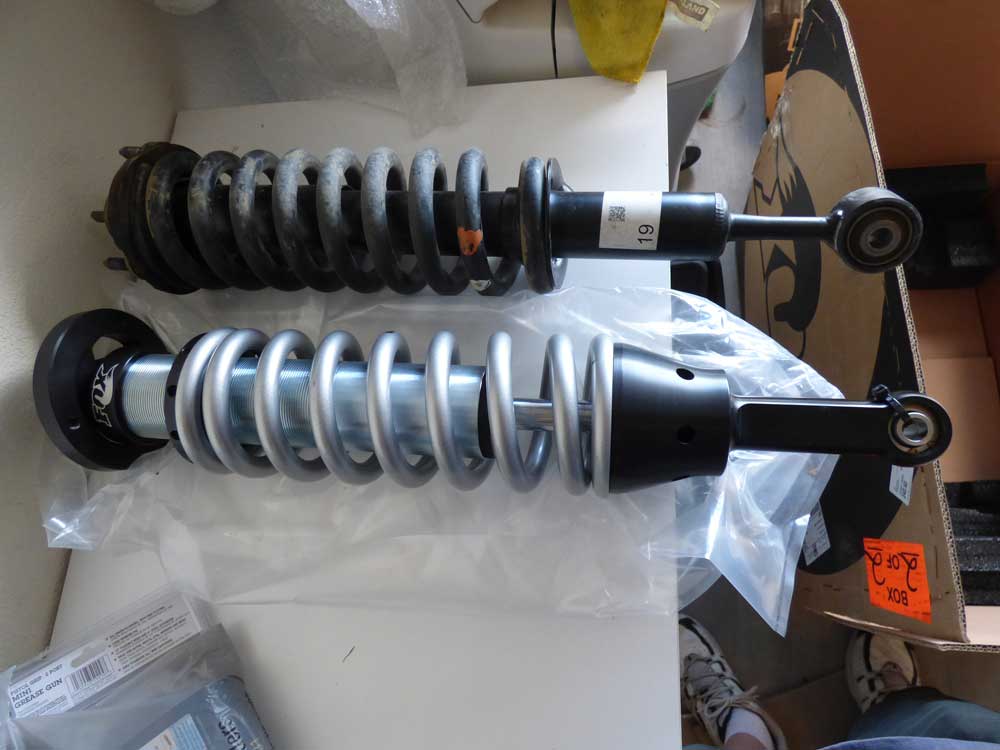
Fox Factory 2.5 Lift 4-9/10-2015

Hood Wrap and Graphics 4-15-2015

RCI Aluminum Skids 4-11-2015

HID Headlights

Bussman RTMR Fuse Block 11-09-2015

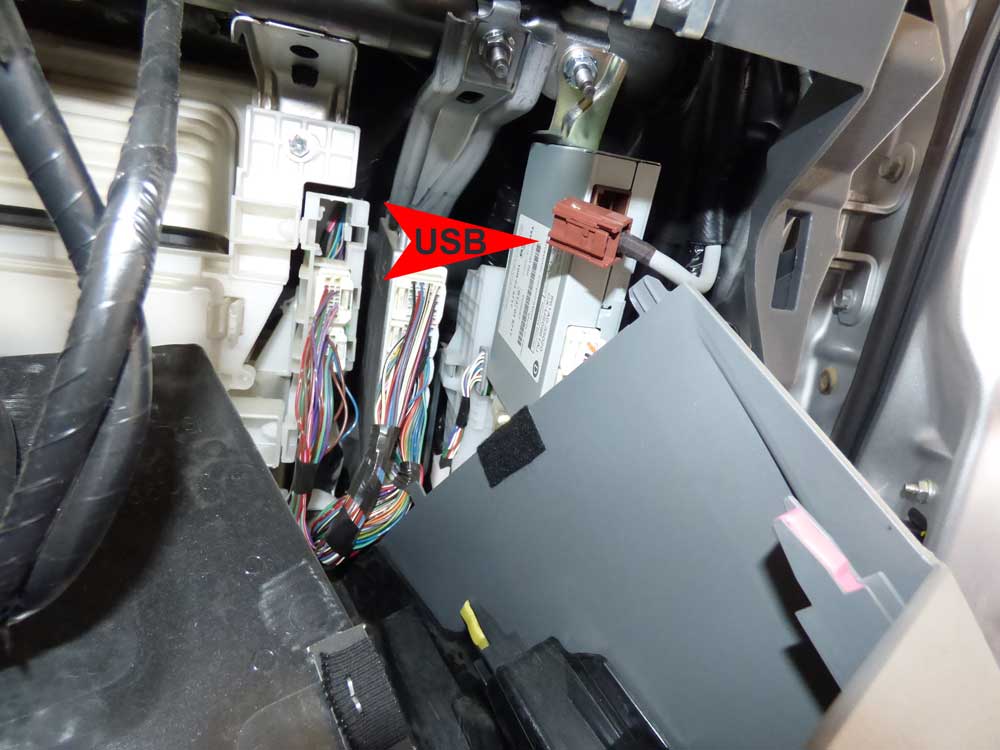
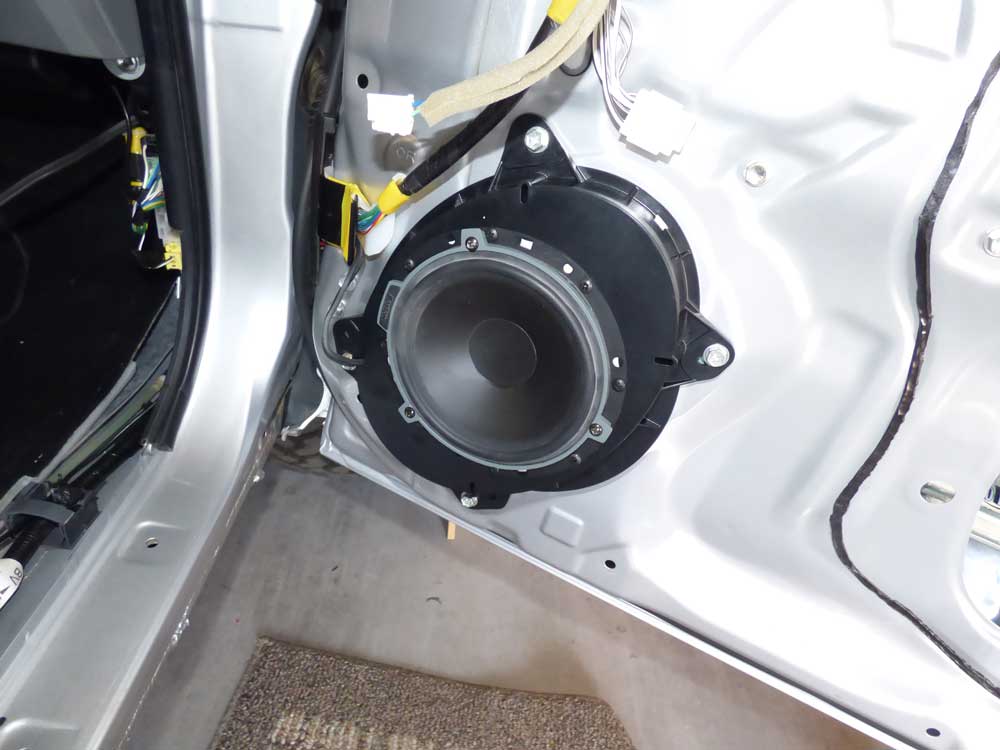
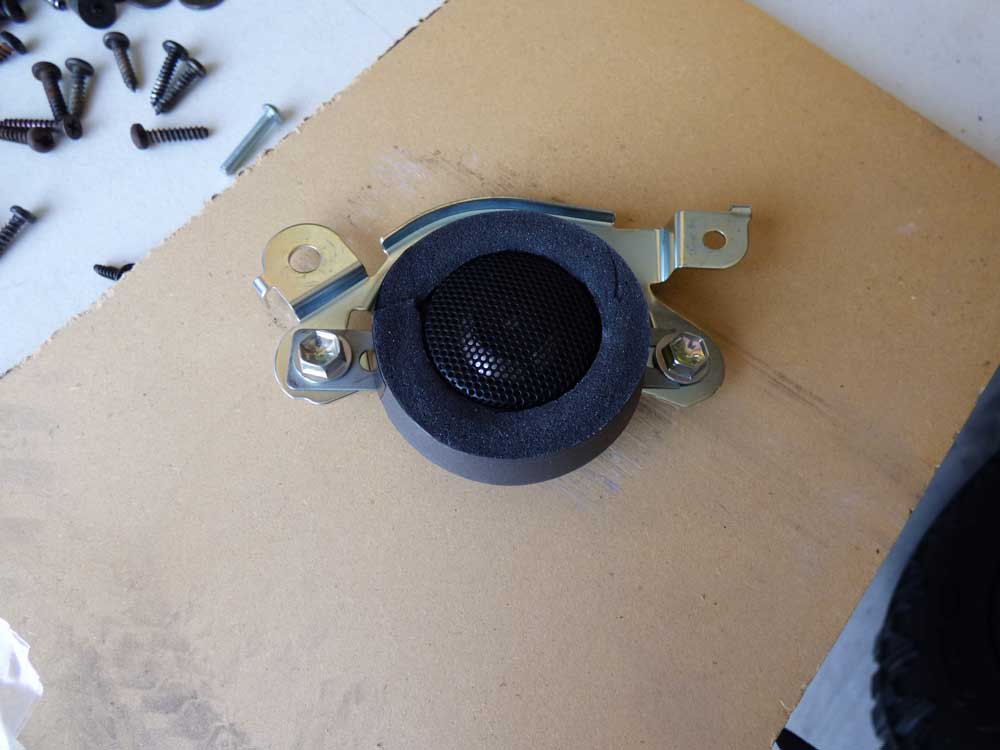
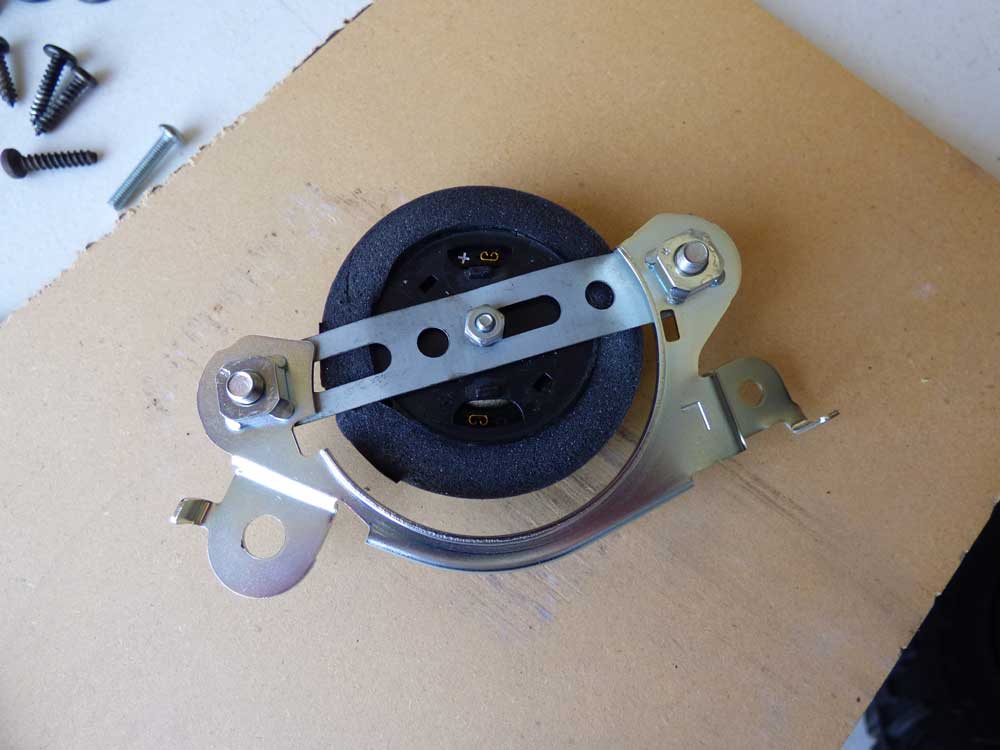
Infinity Kappa 10.9t Dash Speaker replacement 1-15-2016

Rock Light install 1-27-2016

Interior LED Upgrade 2-1-2016

New Shoes (Level 8 MK6 and Cooper Discovery AT3) 2-8-2016

Indel B Portable Fridge (Truck Fridge) 2-16-2016

Fridge Slider 6-11-2016

Fridge Power Port Install 2-23-2016

Alpine PDX-V9 Amp Install 2-23-2016

Odyssey Battery Install 2-23-2016

ARB Awning 3-19-2016

Viair 400P Compressor Install 3-27-2016

800 Watt Power inverter Install 6-10-2016

iKamper Rooftop Tent 6-18-2016


Adventures with Tigger

Big Bear 11-14-2015

Snow on Mt. Charleston 12-15-2015

Carp Trail 4-2-2016

North West Fishing / Off Road Mis-Adventure 6-22-2016 thru early-mid July


Background

I come from the jeep world. I had a 94 YJ that I ran for a while before upgrading to a 2003 jeep Rubicon. I spent a lot of time and money on that thing and ran the hell out of it. It was a fun vehicle and I had many great adventures in it. Unfortunately life got in the way, bills backed up and I had to sell it in 2012 to pay rent.

03zlrx4.jpg


QbPc1xW.jpg


Fast forward a few years and a friend of mine, [MENTION=118444]flyinhawaiian01[/MENTION], picked up a 2011 4Runner and started spouting off how great it was... blah blah blah :argue:

Not to be outdone, for some reason I decided I should look at buying a 4x4 again. Guess the civic was just not cutting it. So after a long search, (very few 4Runners come through Vegas) I caved in and in Feb '15 bought a used 2011 with 86K on the clock. Way more miles that I wanted but there just wasn't much to choose from.

I won't go into details as I know there are several on this board who love Findlay Toyota, but suffice to say, I won't ever deal with them again, and will never recommend anyone ever shop there.

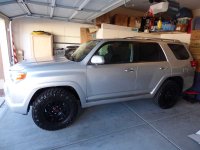
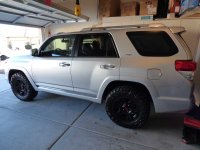
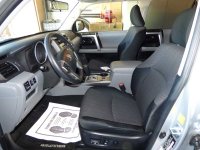
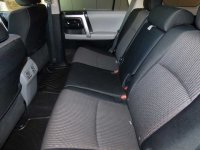
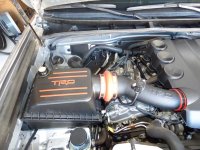
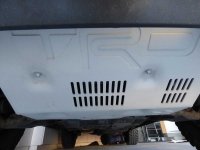
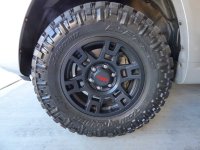
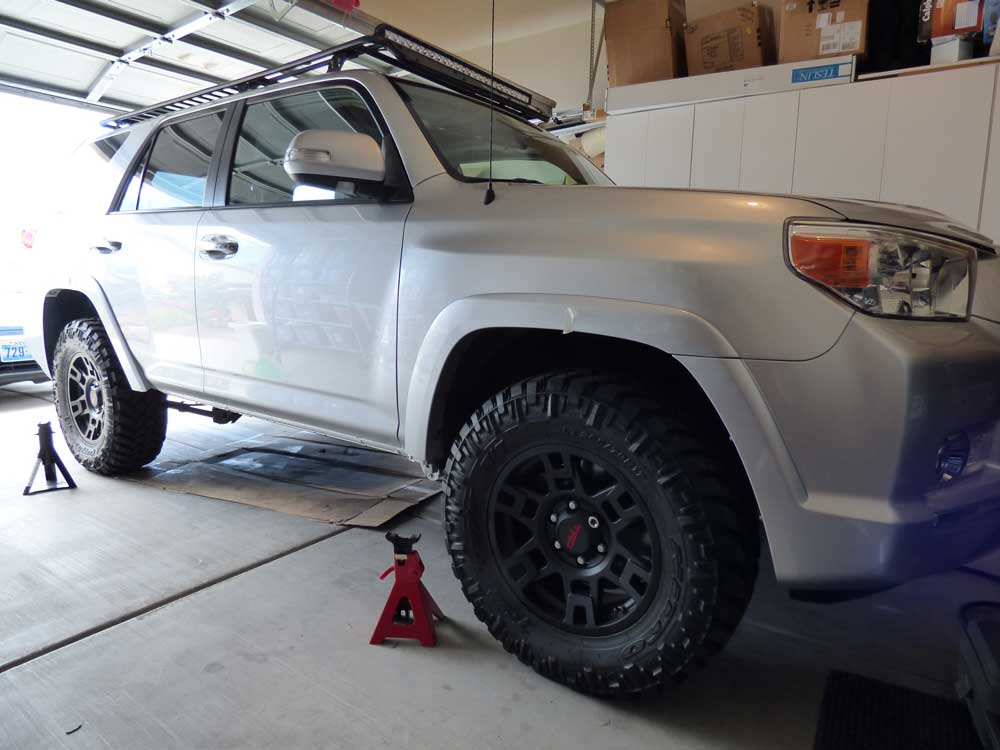
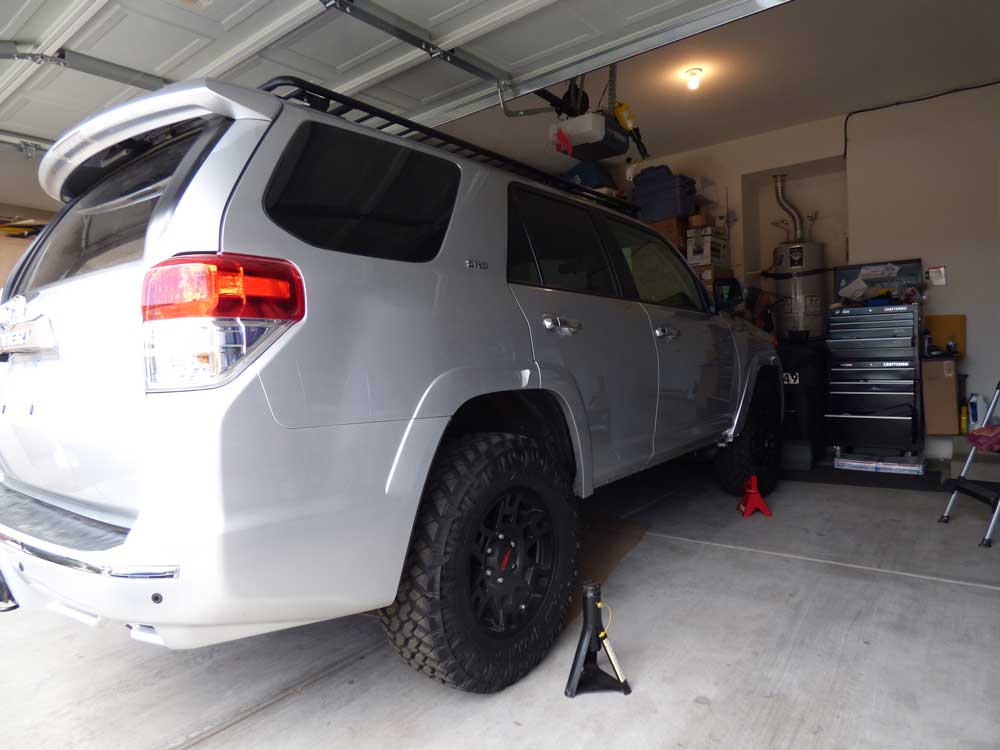
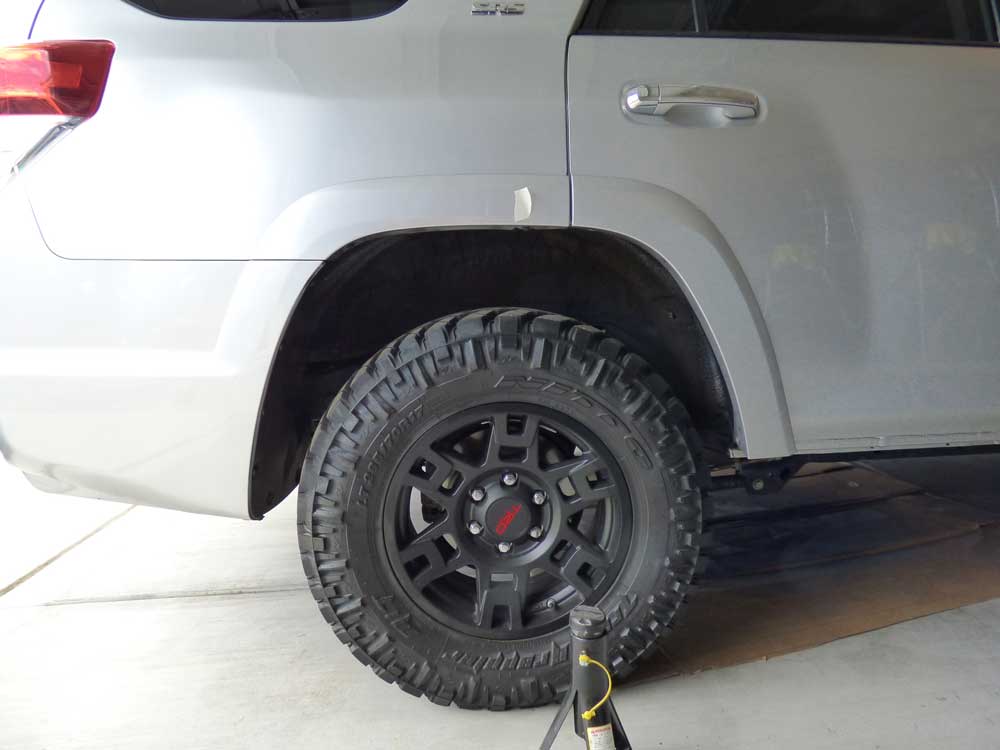
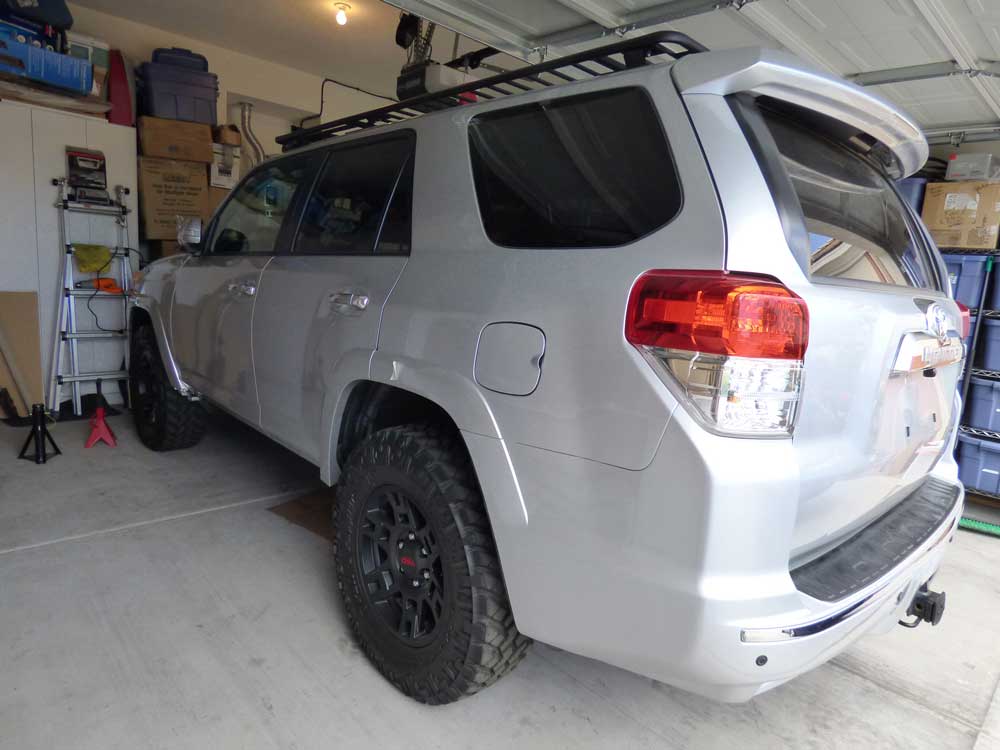
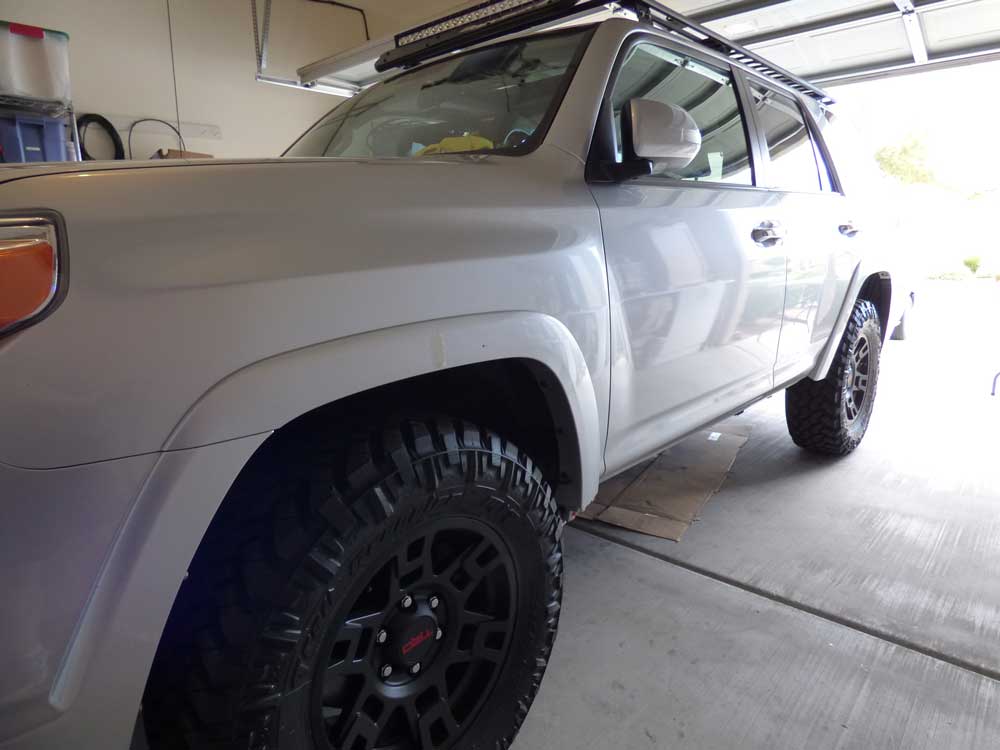
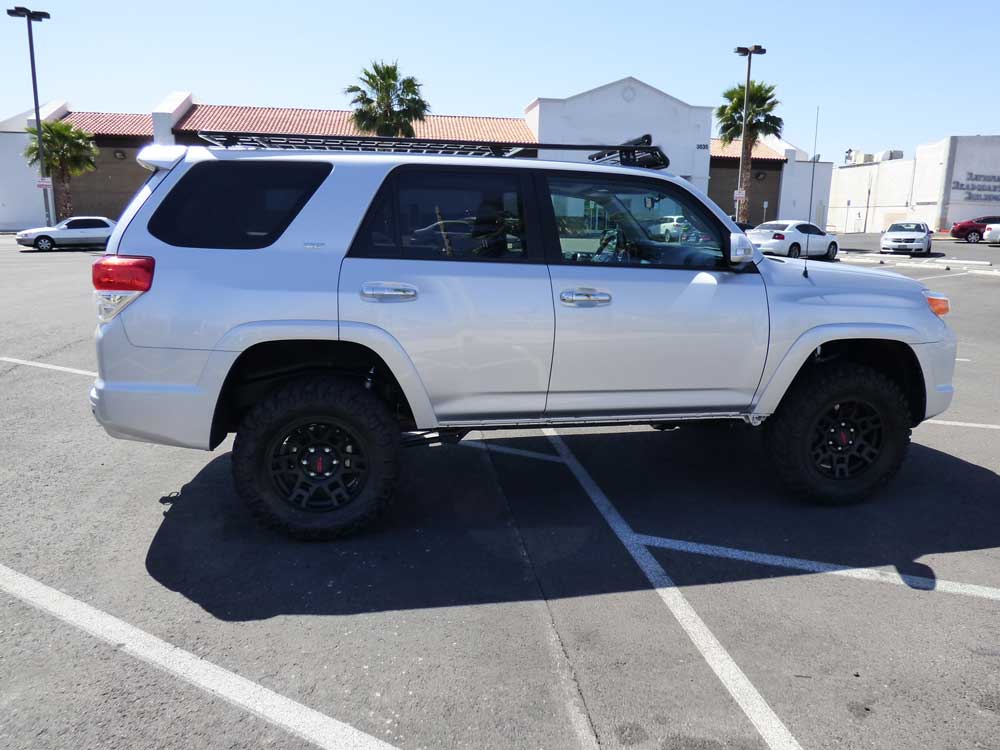
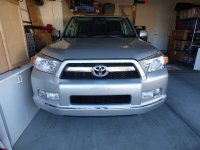
But this is what I came home with, 2011 SR5 with a couple extra goodies already added to it:
TRD Wheels
Nitto Terra Grapplers M/Ts
TRD Intake
TRD Skid
TRD Oil Cap
A ton of white dog fur and red mud
 

Attachments
  • front.jpg
    front.jpg
    57.2 KB · Views: 6,454
  • f-side.jpg
    f-side.jpg
    60.1 KB · Views: 6,430
  • r-side.jpg
    r-side.jpg
    56.3 KB · Views: 6,437
  • f-interior.jpg
    f-interior.jpg
    71.4 KB · Views: 6,895
  • r-interior.jpg
    r-interior.jpg
    66.6 KB · Views: 6,888
  • intake.jpg
    intake.jpg
    92.3 KB · Views: 7,017
  • skid.jpg
    skid.jpg
    35.2 KB · Views: 6,836
  • tire.jpg
    tire.jpg
    65.2 KB · Views: 6,467
Last edited:
Register to hide this ad
First thing to do was test it out and see what I had gotten myself into. I have to say, even 8 months later, I am still not used to driving something this big off-road. The Jeep was very compact and I knew where every corner was. This thing is like driving a tank. But I will eventually get the hang of it one I start getting out on more trails.

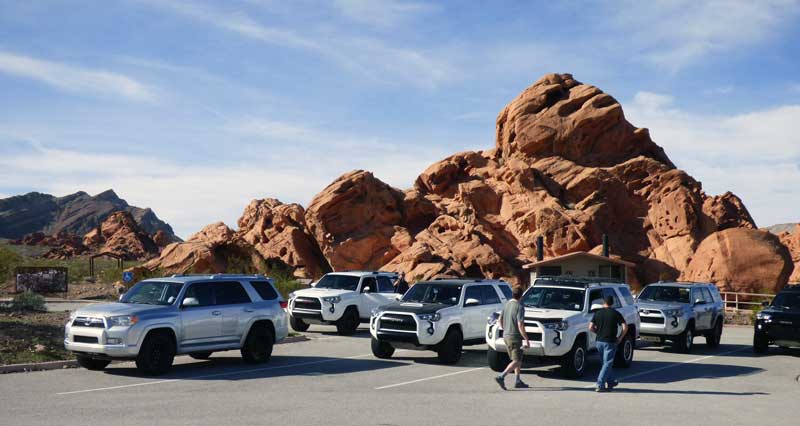
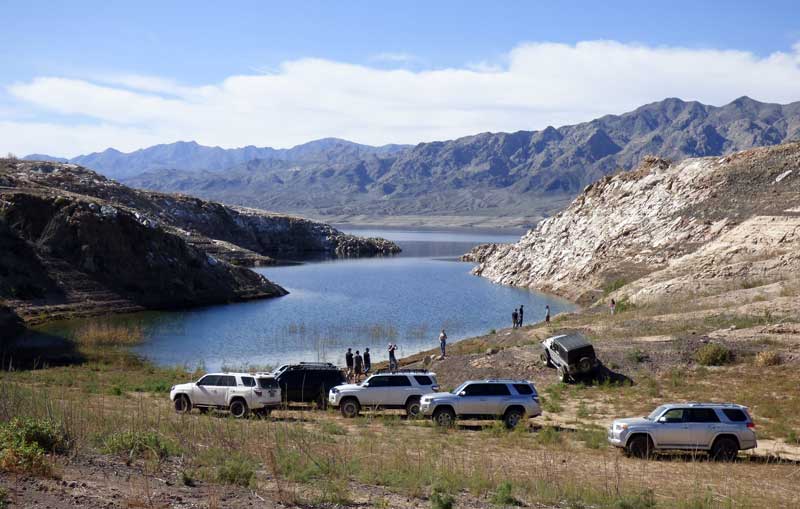
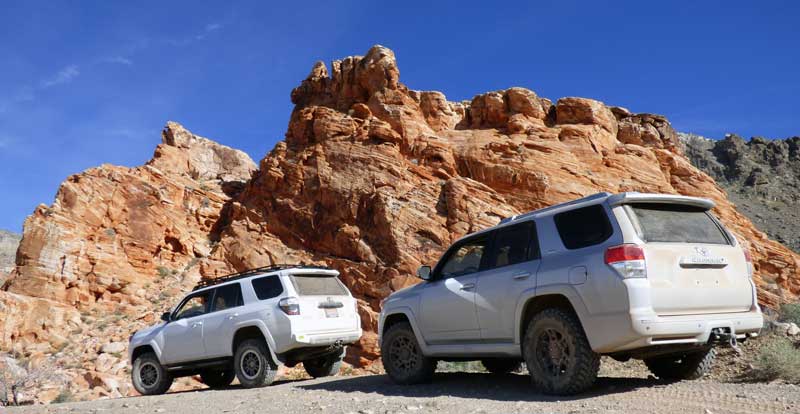
I tagged along with some great guys from the Vegas group out to Boathouse Cove on Lake Mead. (2/16/15 - 5 days after purchase)

146293d1424150392-vegas-crew-roll-call-redstone.jpg


146294d1424150400-vegas-crew-roll-call-lake.jpg


146295d1424150405-vegas-crew-roll-call-going-nowhere-fast.jpg


146297d1424150420-vegas-crew-roll-call-redrock.jpg


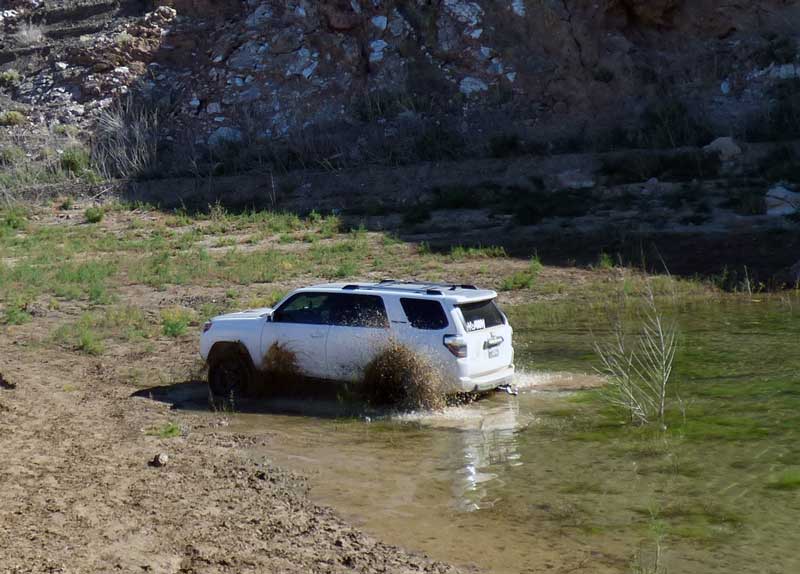
Not a fan of mud but always willing to convince others to go in :brick:

<iframe width="560" height="315" src="https://www.youtube.com/embed/IEWD6XZYx8Y" frameborder="0" allowfullscreen></iframe>
 
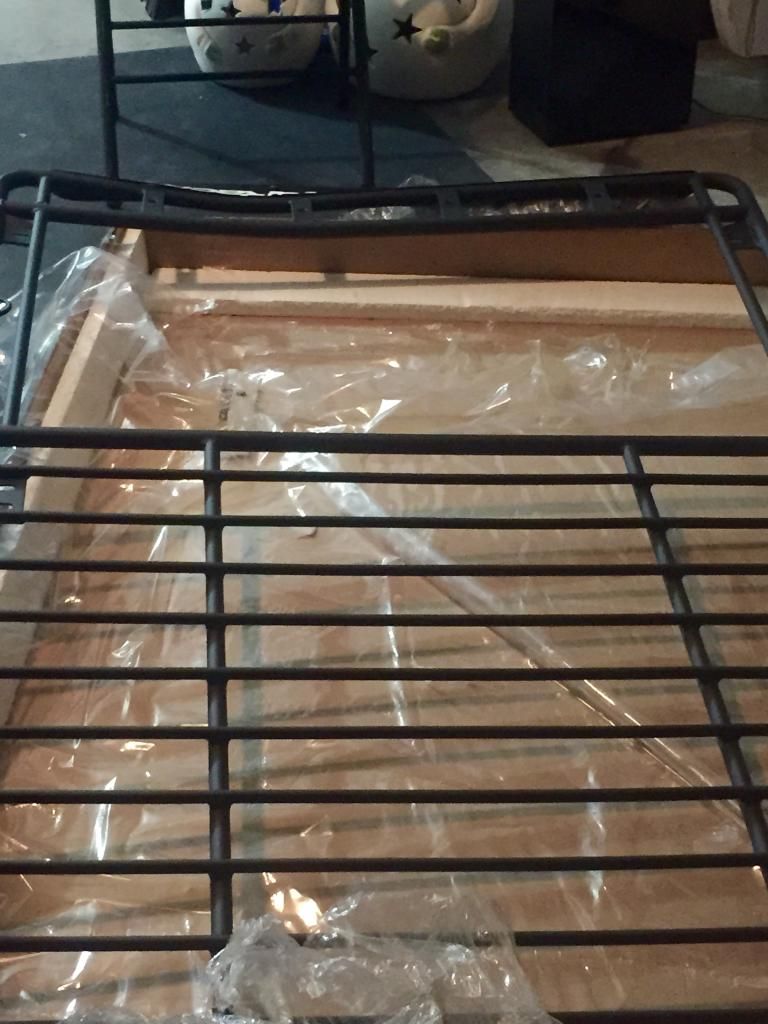
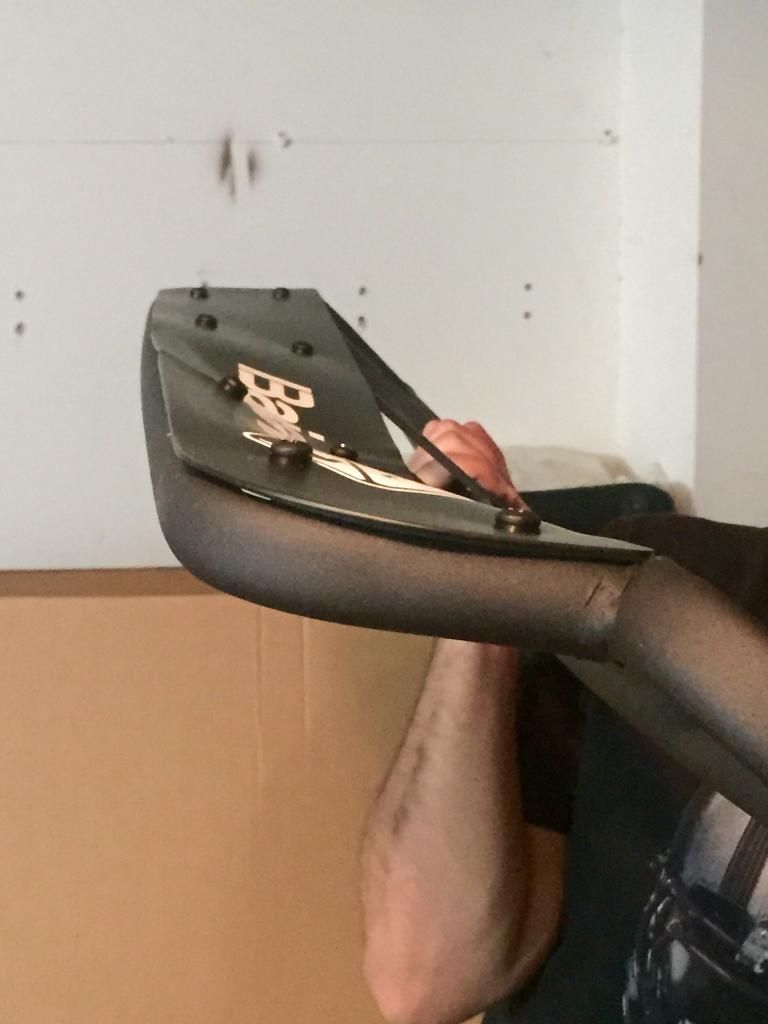
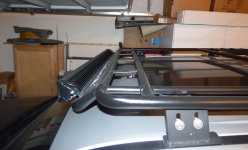
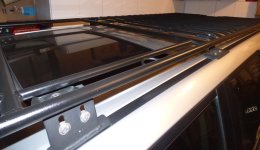
First mods. I picked up a slightly smashed Baja Rack from a local member. Seems FedEx ran over it or something. Front part had some pretty good dents in it.

F23B7040-A1F1-4568-B066-CA80BD5E613E_zpsxveuqoyq.jpg~original


FBCAB032-5286-44DE-8ABA-5DD6123F9DB2_zpsbfp7ds0h.jpg~original


I was able to straighten it out fairly well using a floor jack and ratchet straps. Not perfect but serves its purpose. I curved the lower bar to allow the rack to sit closer to the roof. It did help reduce wind noise.


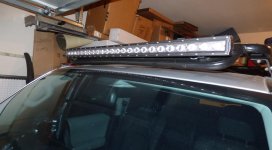
Also added a 40" light bar I bought from a member off of classifieds. Guess the day his bar arrived from SuperBrightLEDs, his wife told him she ordered a RI for his birthday.
 

Attachments

  • rack1.jpg
    rack1.jpg
    73.9 KB · Views: 15,414
  • rack2.jpg
    rack2.jpg
    72.1 KB · Views: 6,140
  • rack3.jpg
    rack3.jpg
    67.8 KB · Views: 11,950
  • rack4.jpg
    rack4.jpg
    65.4 KB · Views: 8,927
Last edited:
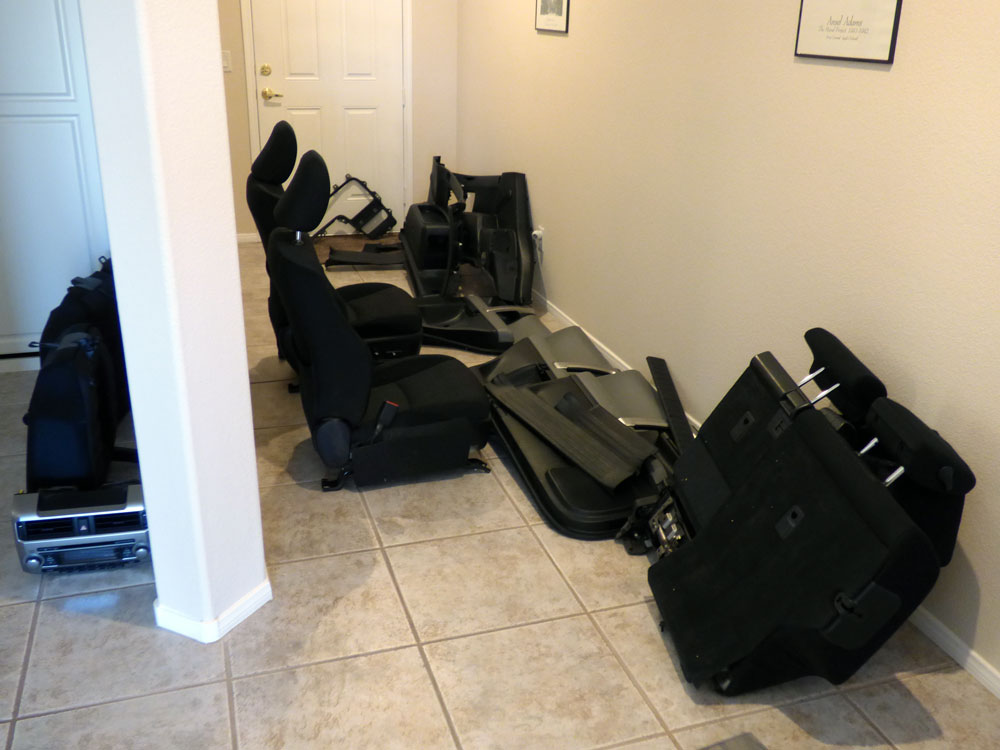
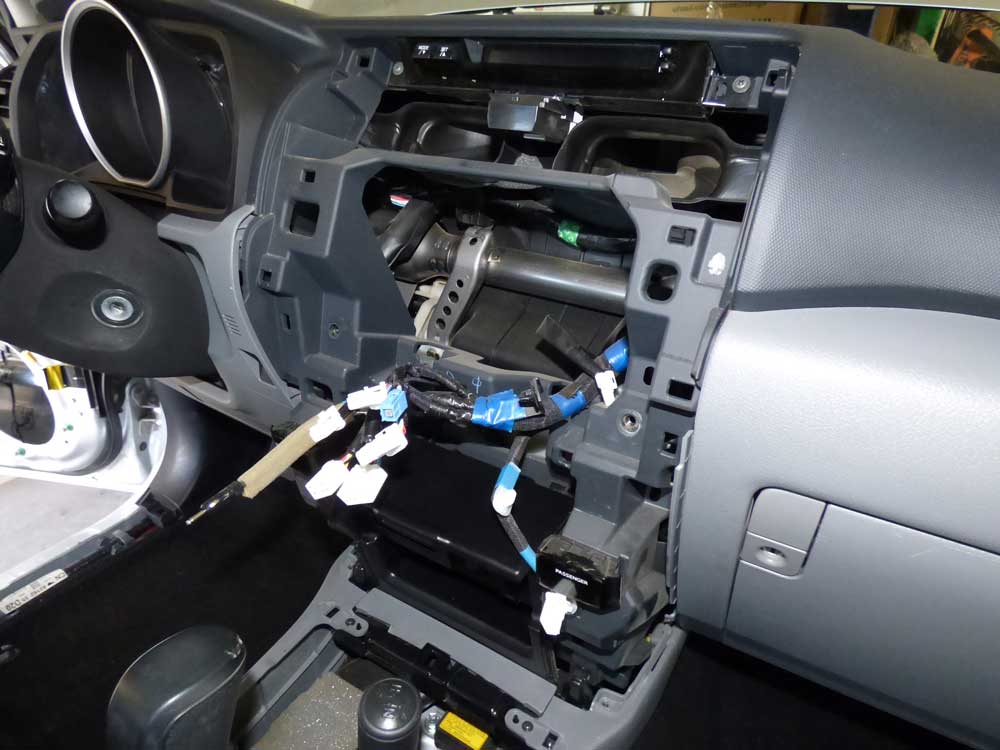
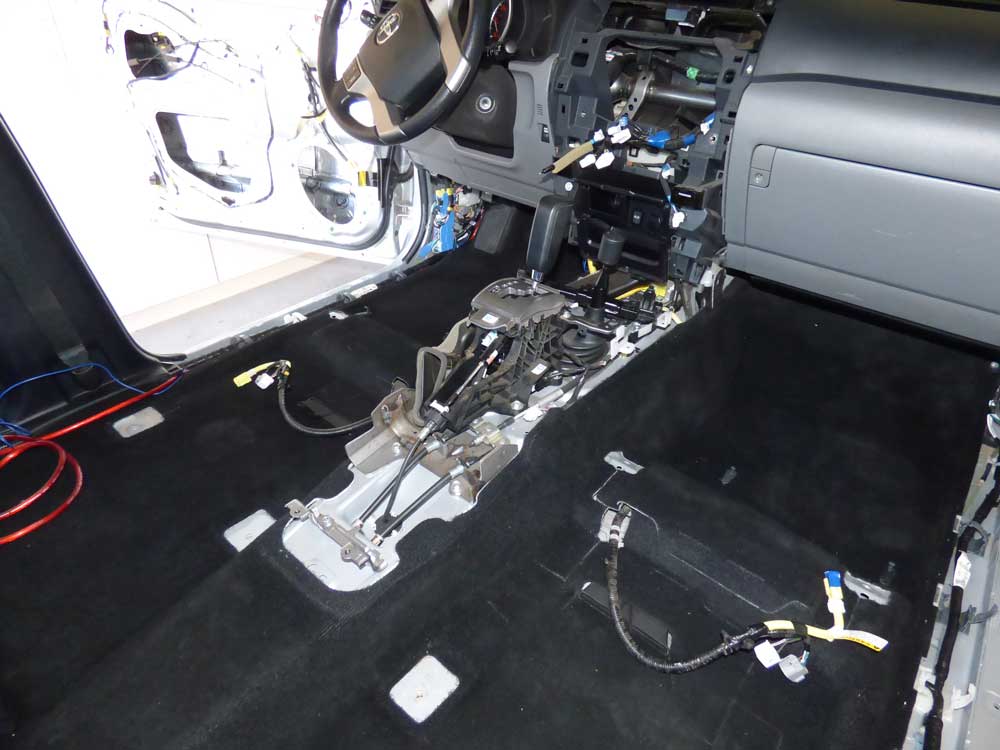
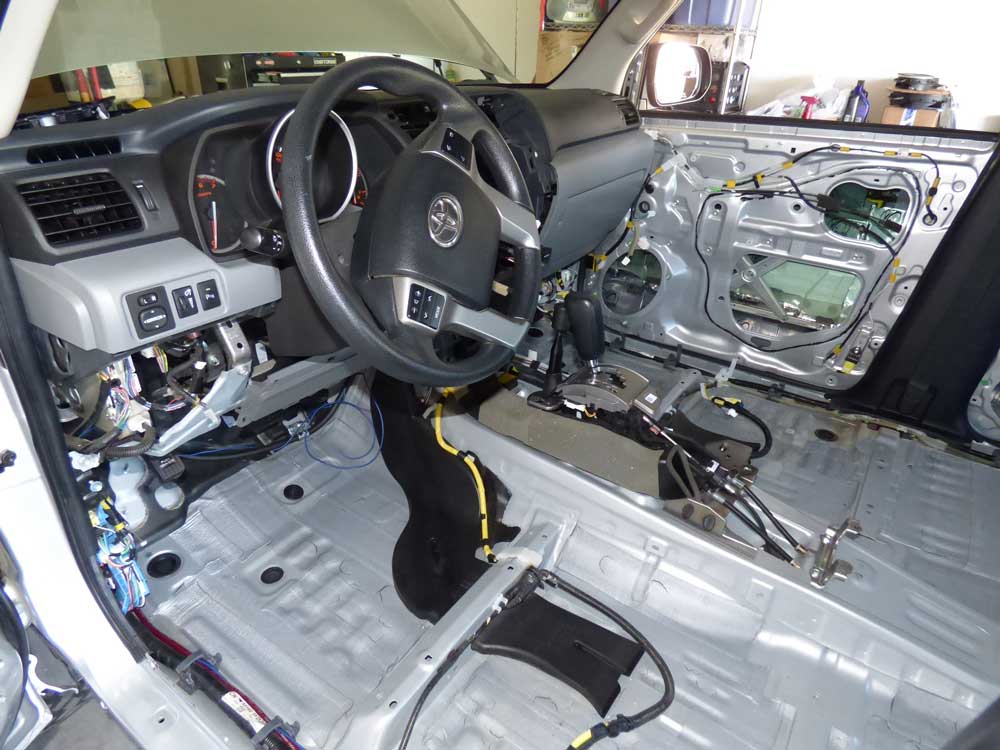
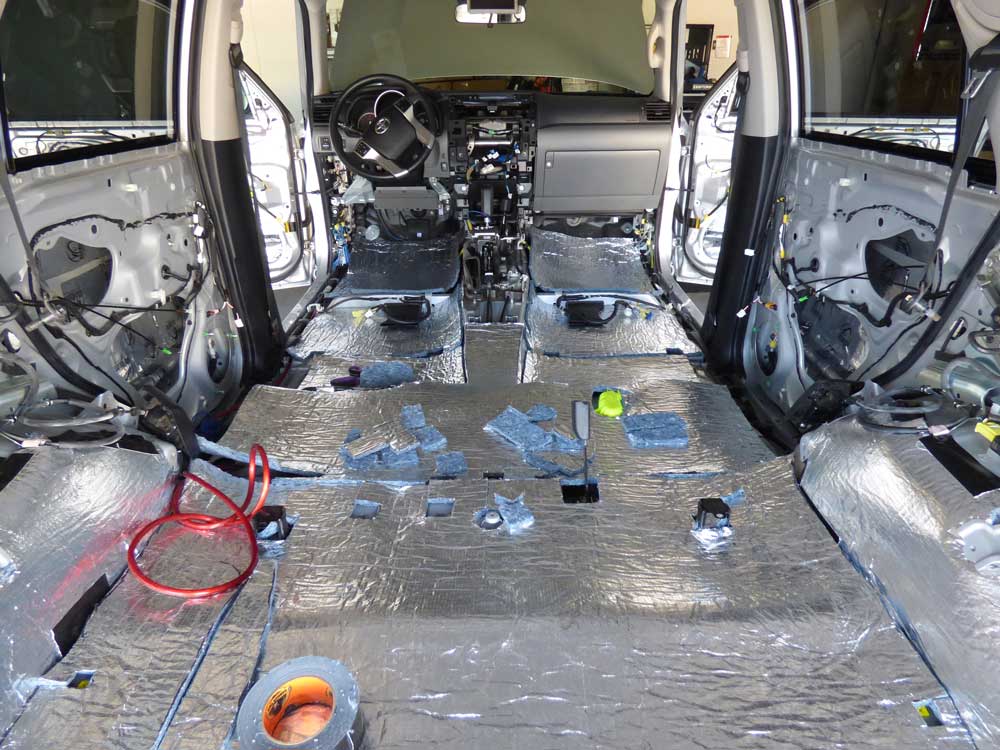
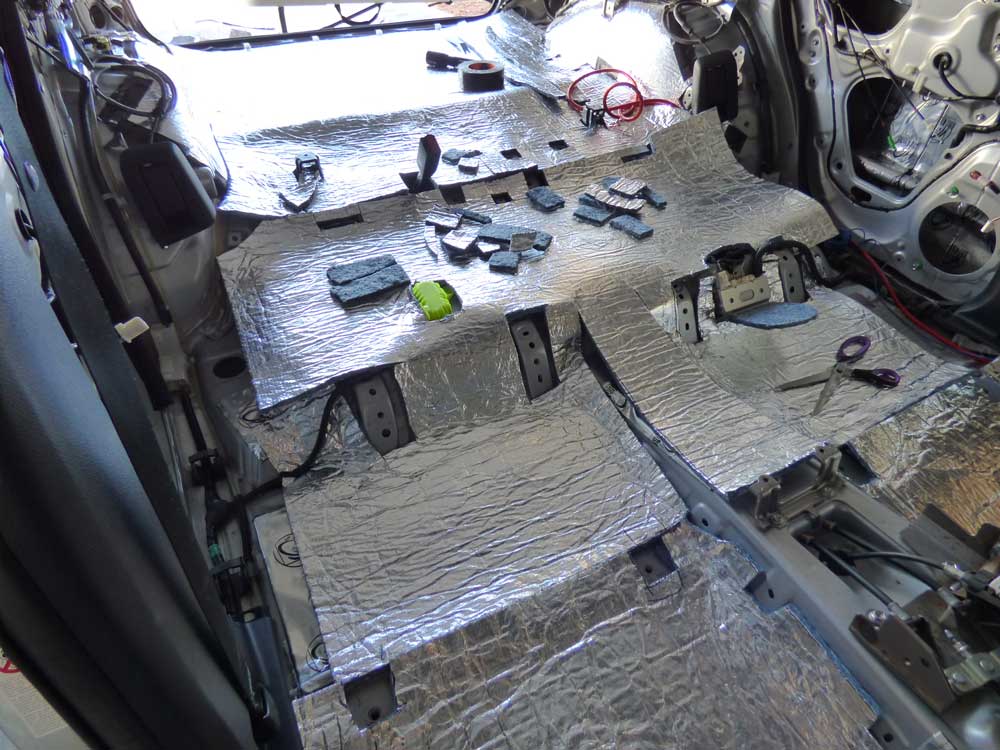
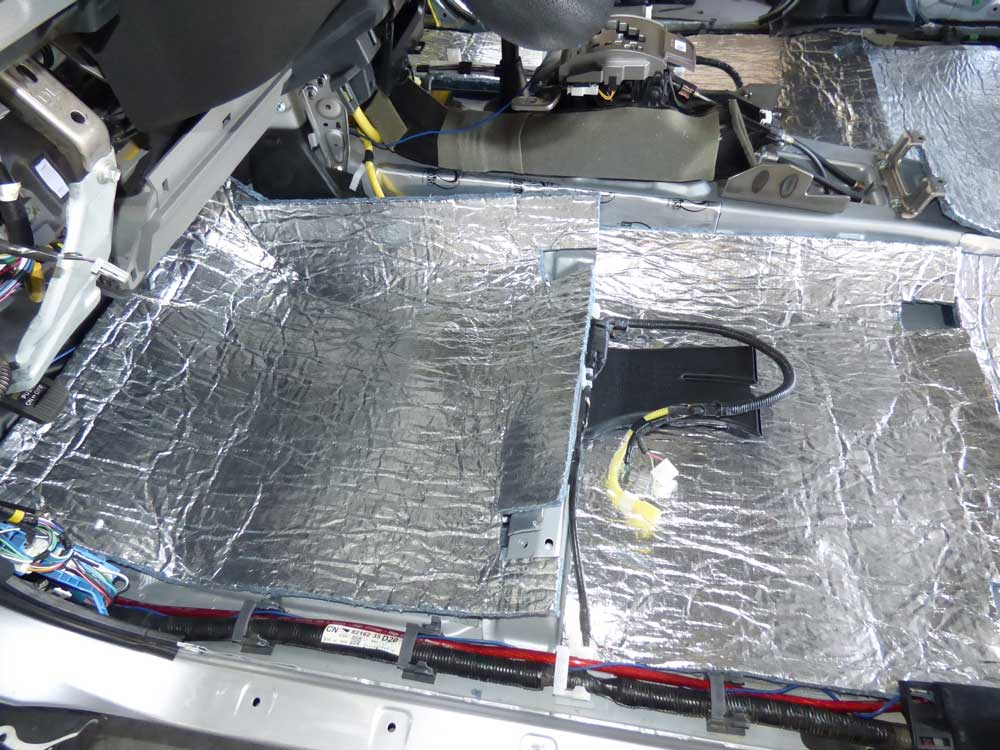
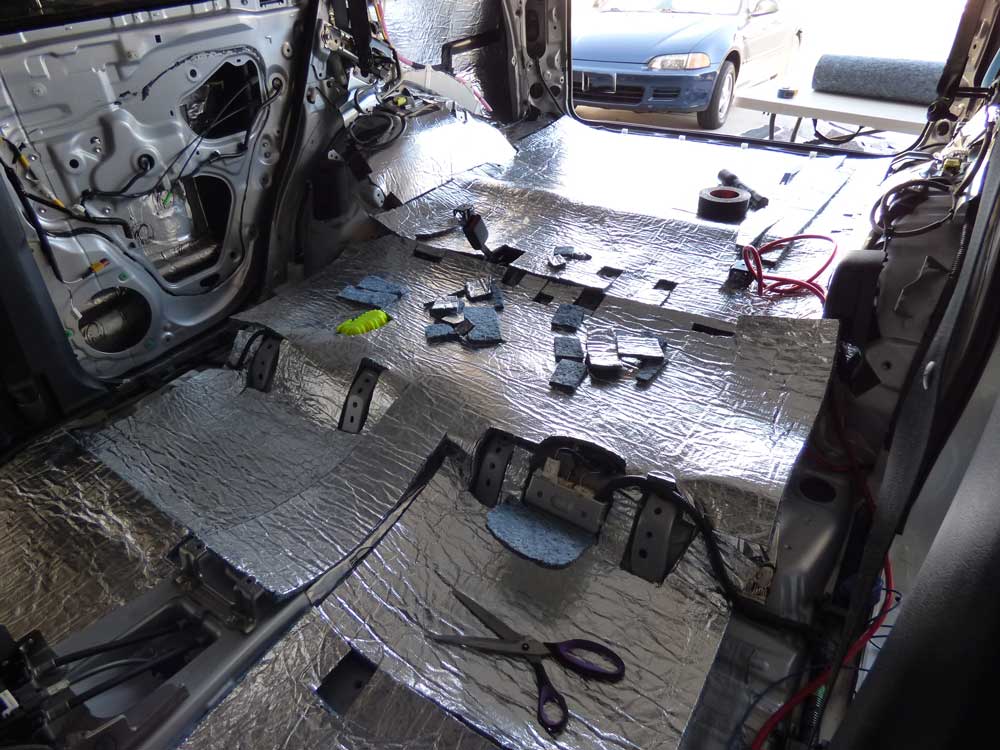
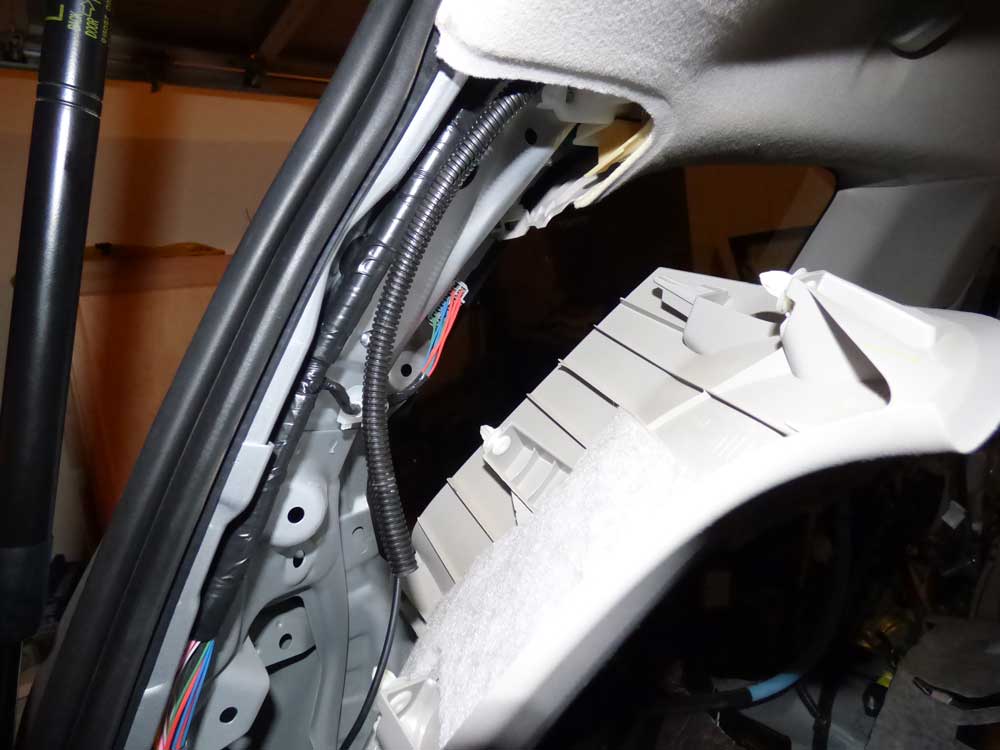
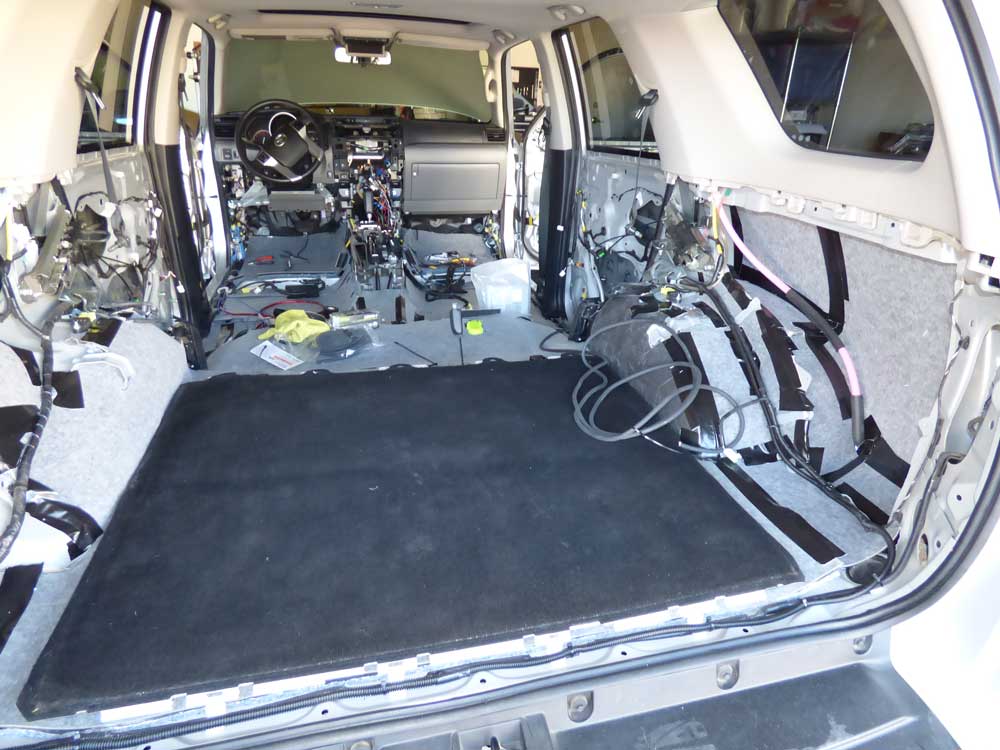
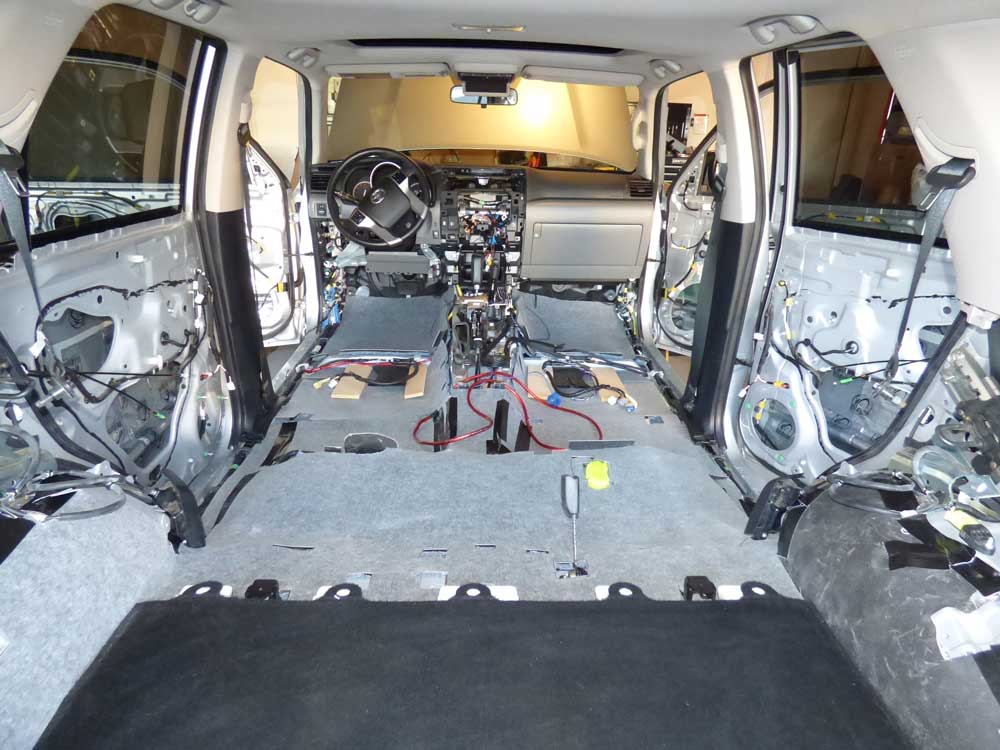
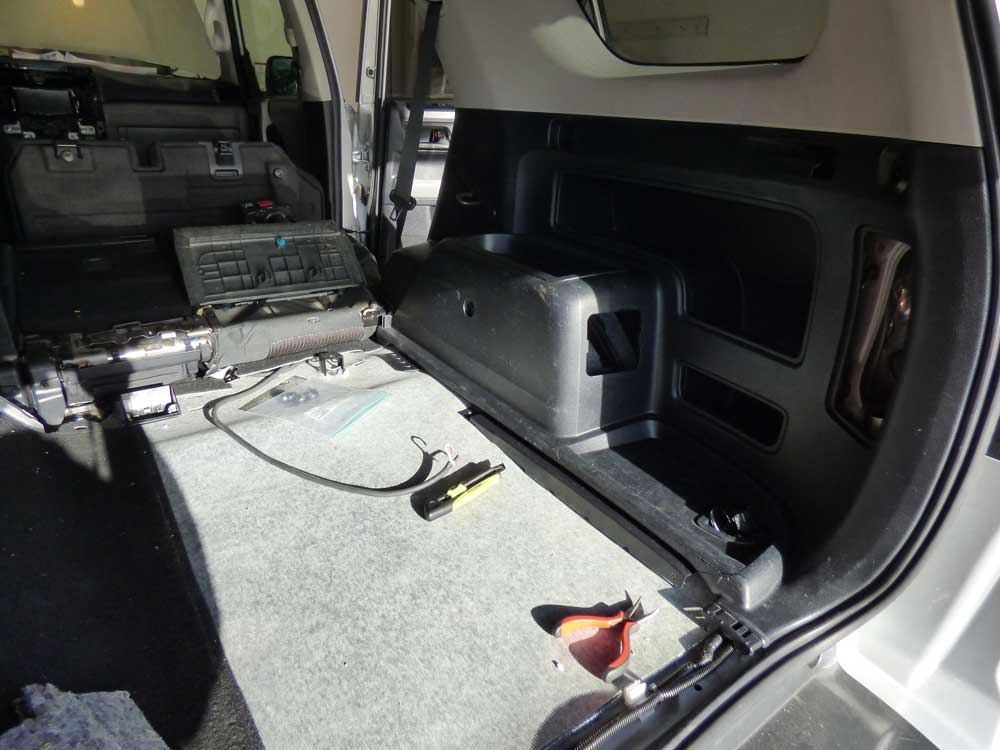
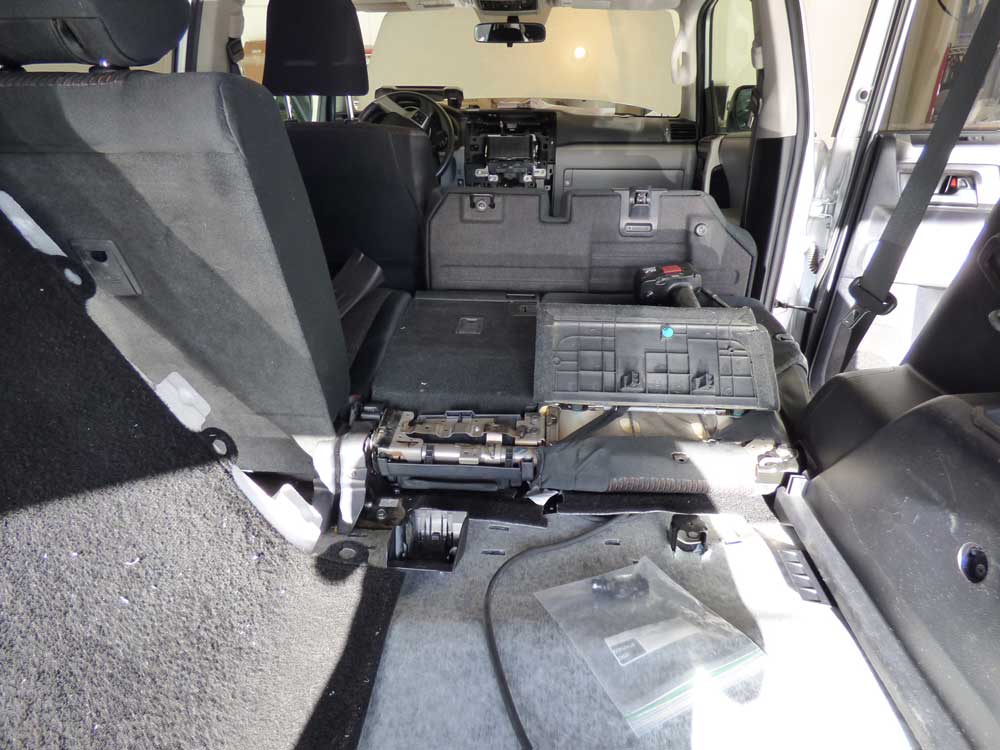
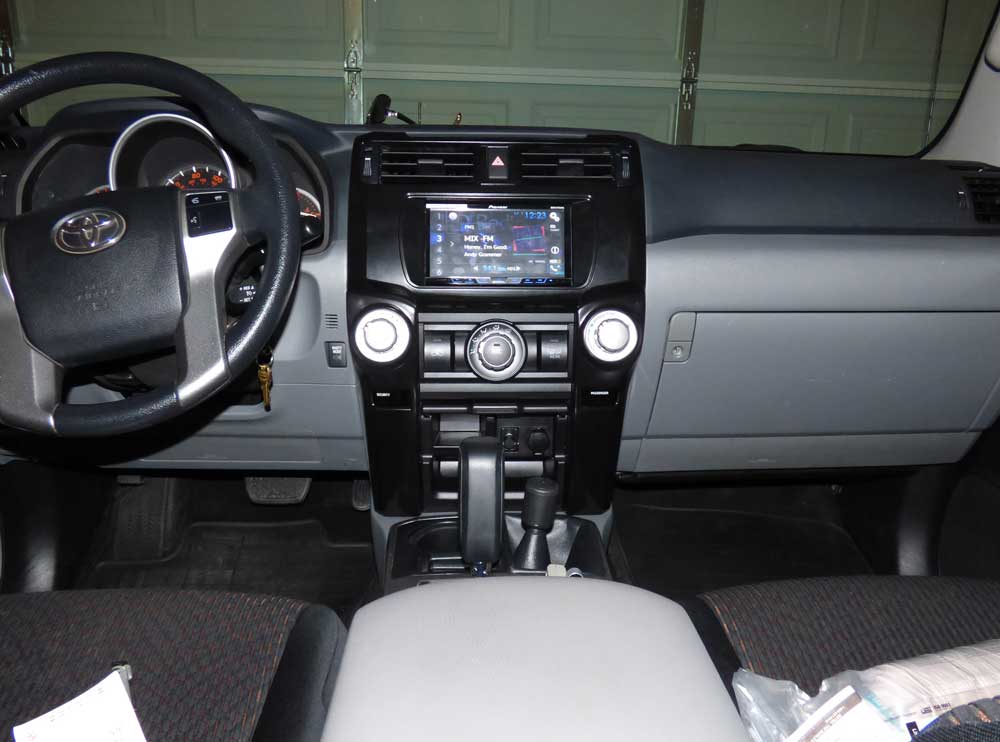
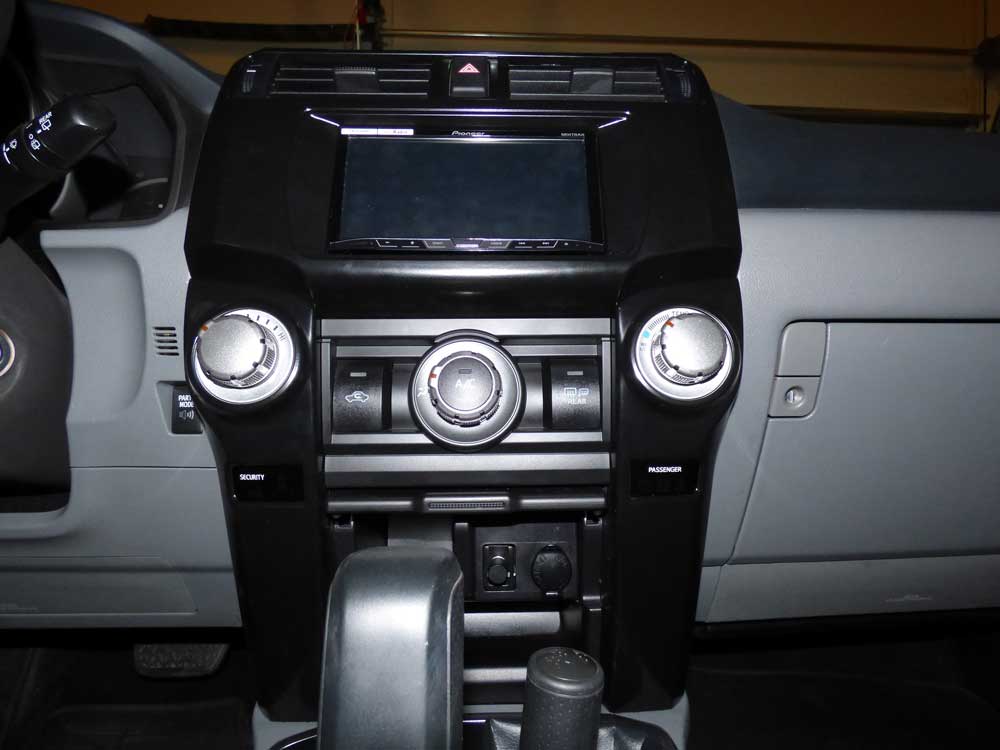
So first major mod for me was upgrading the crap stereo that is the SR5 Base system. I decided if I was going to do an install, I might as well quiet things down on the inside as well. What would normally be a 1 or 2 day install ended up taking a couple of weeks.

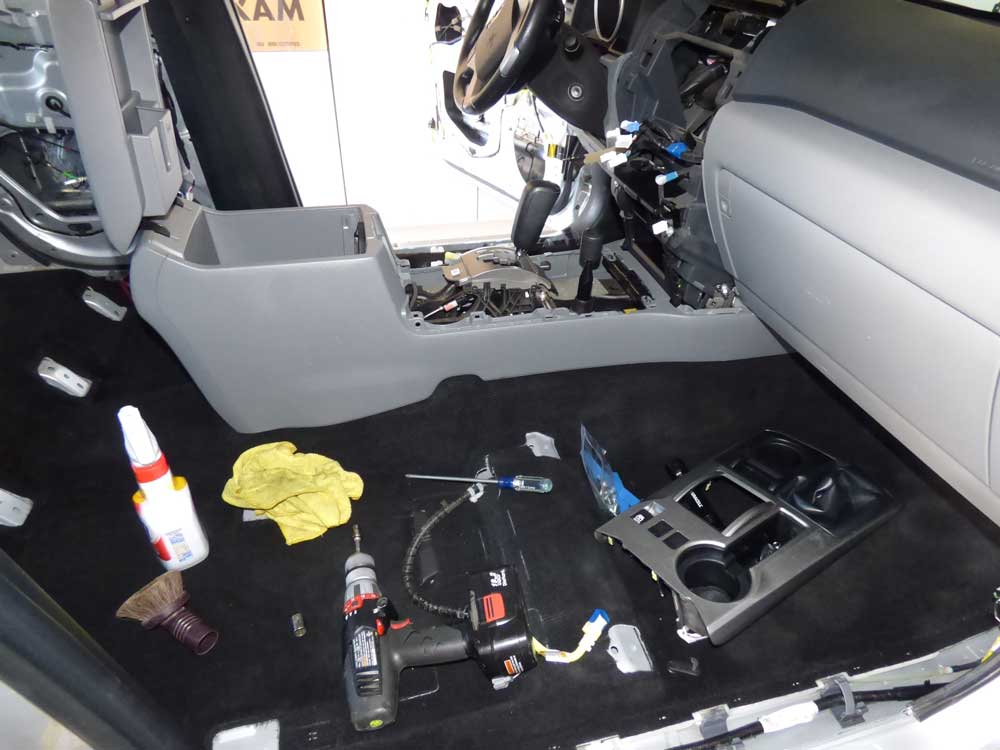
Let's start by removing a couple of interior pieces to gain access

150595d1427143244-stereo-prep-interior.jpg


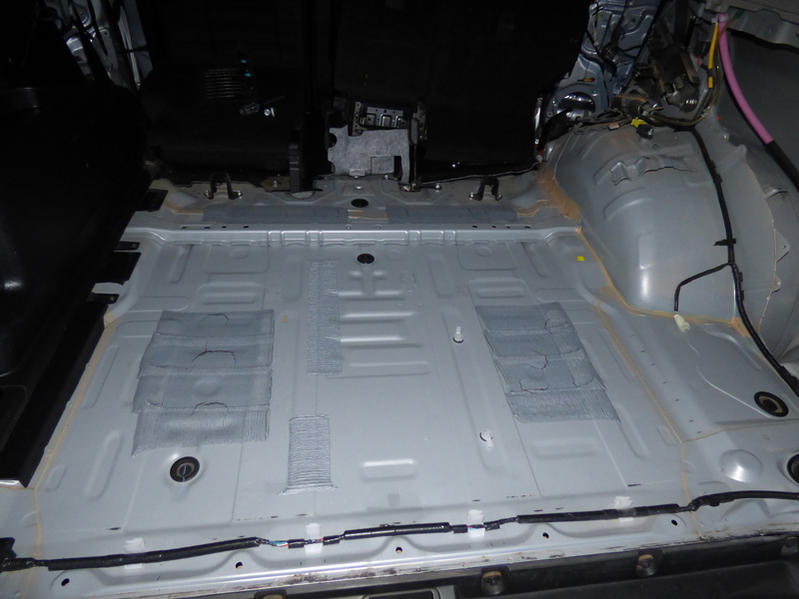
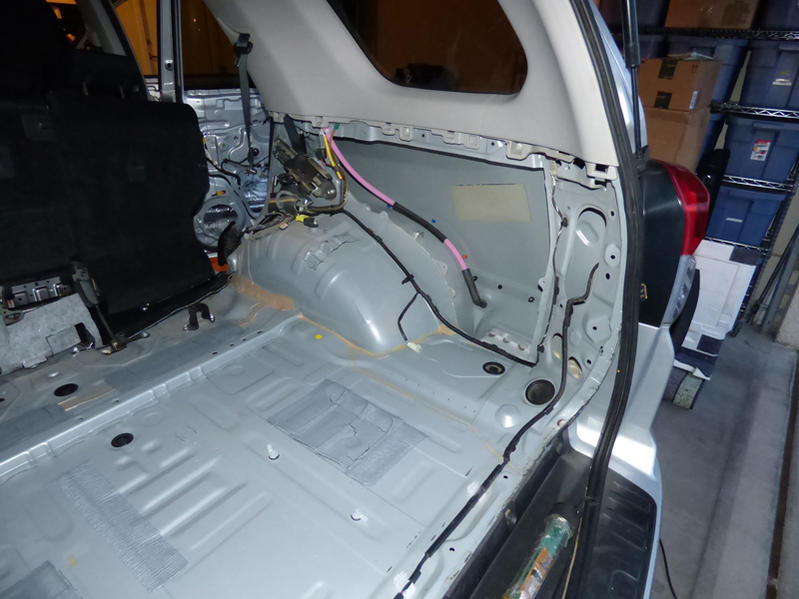
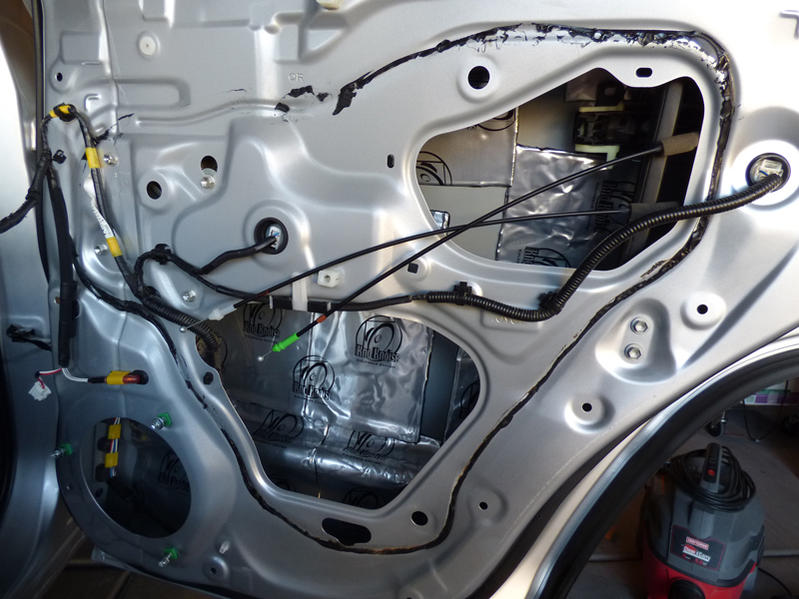
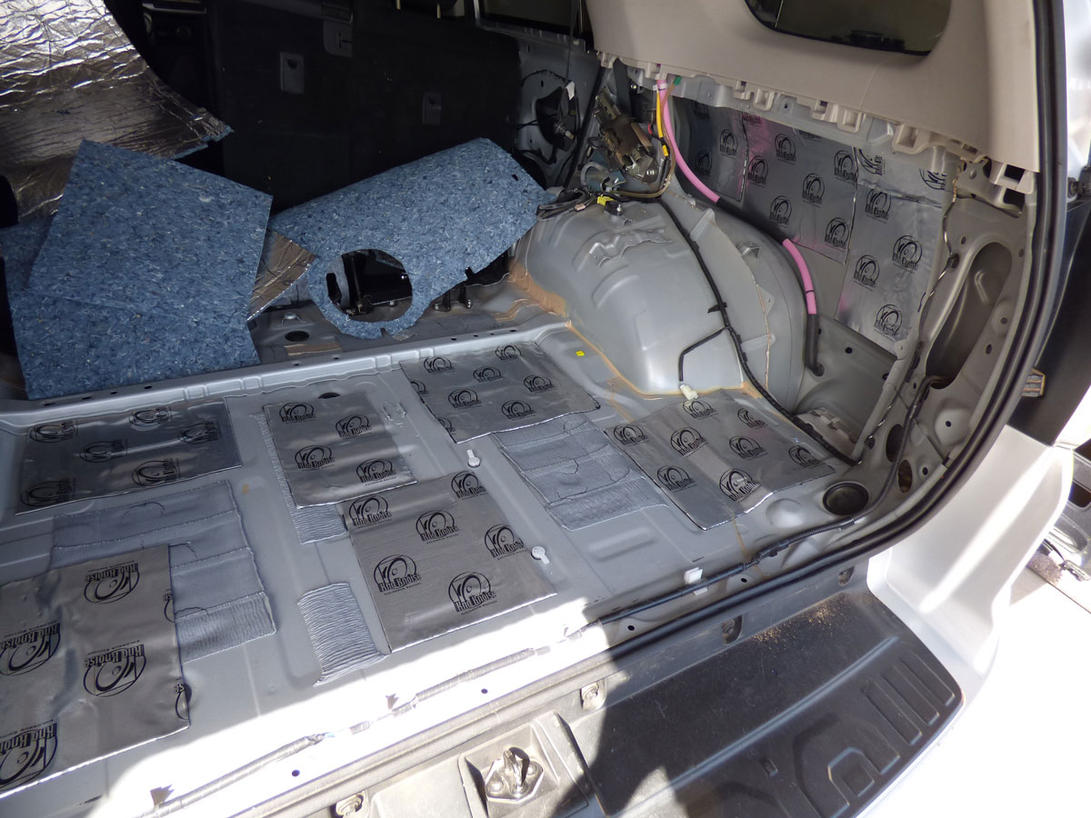
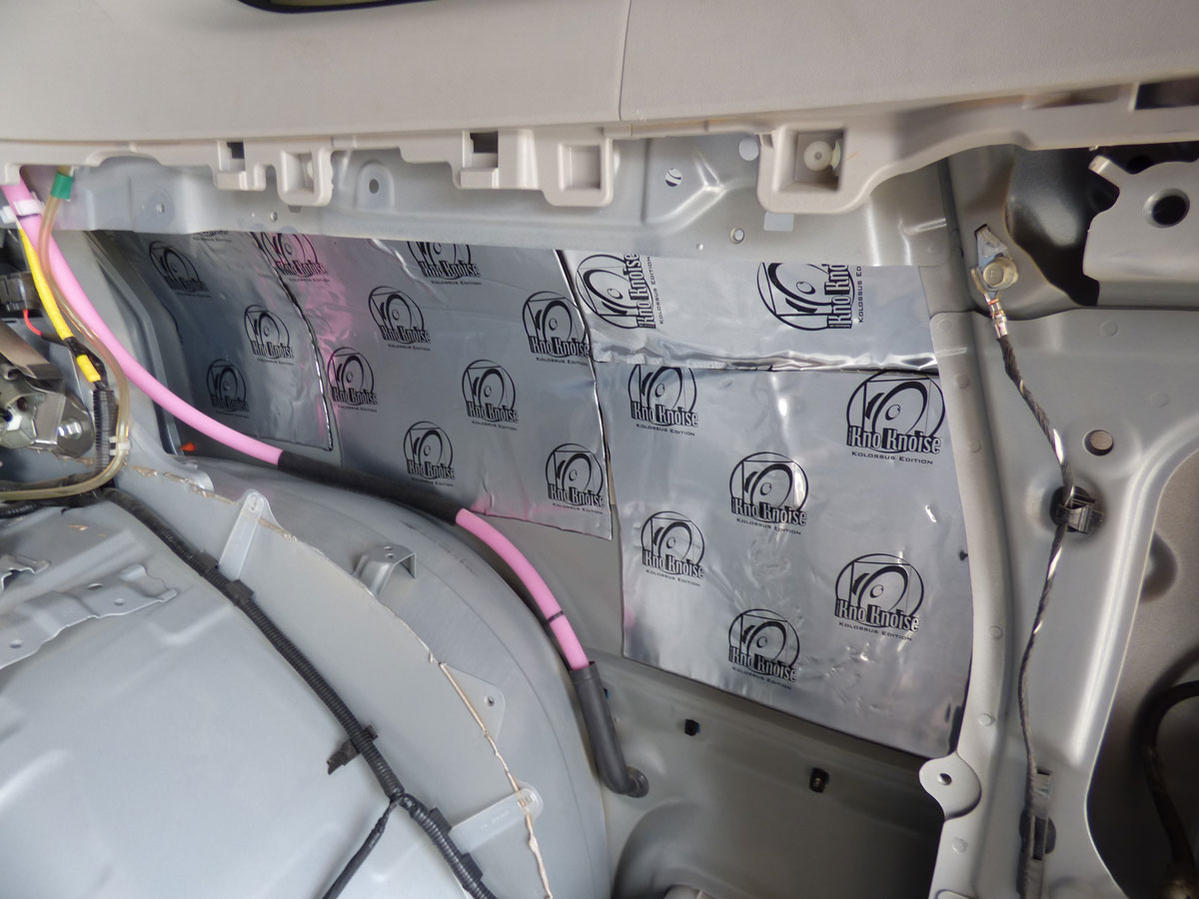
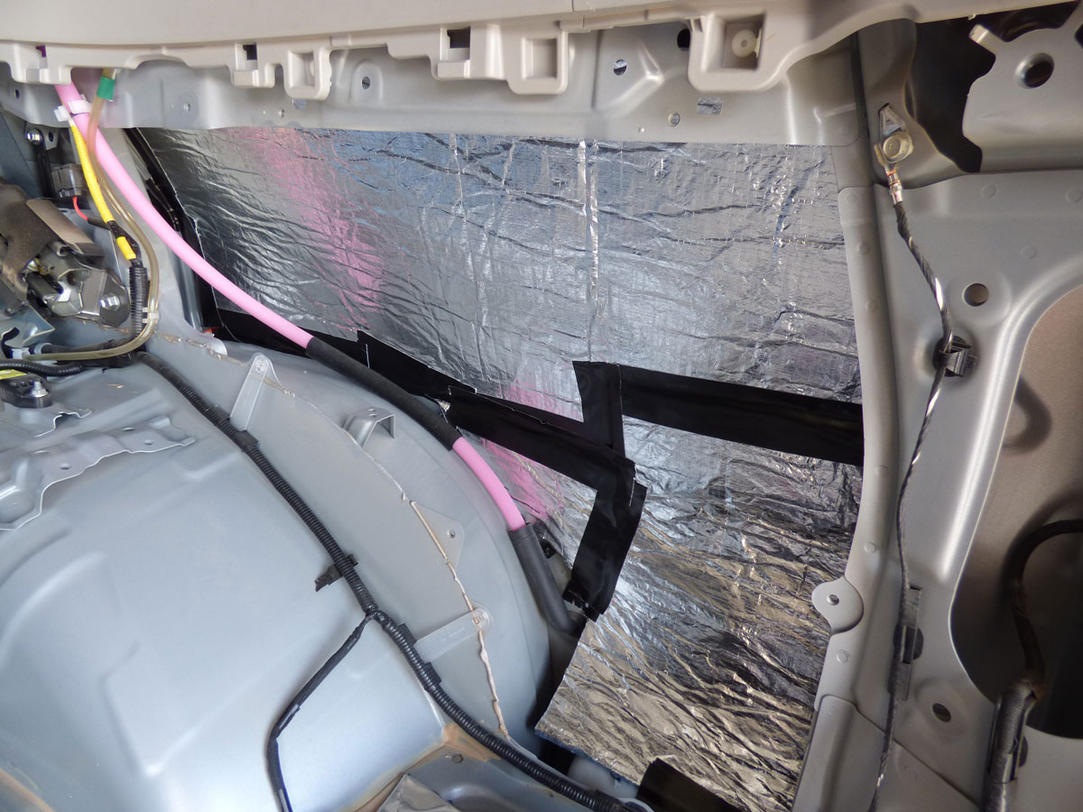
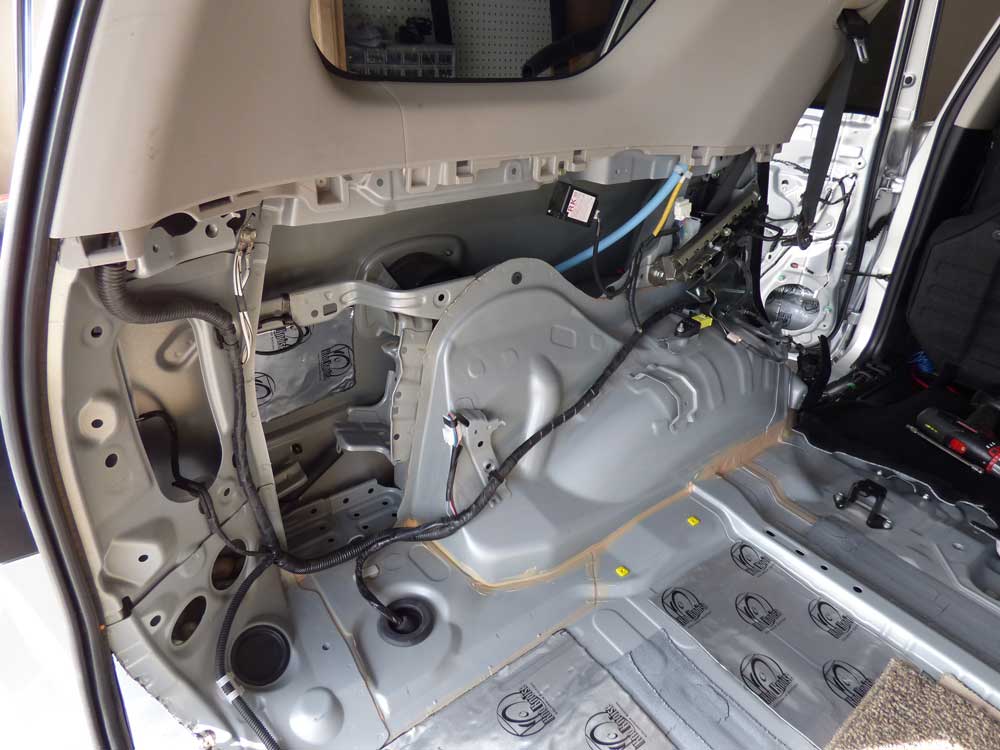
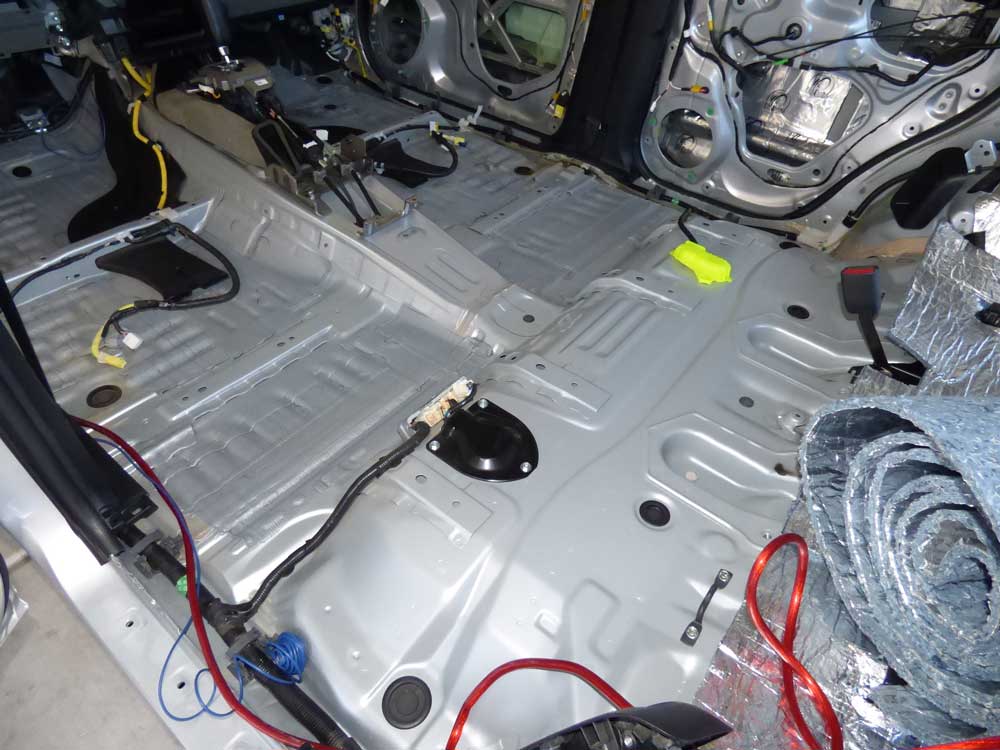
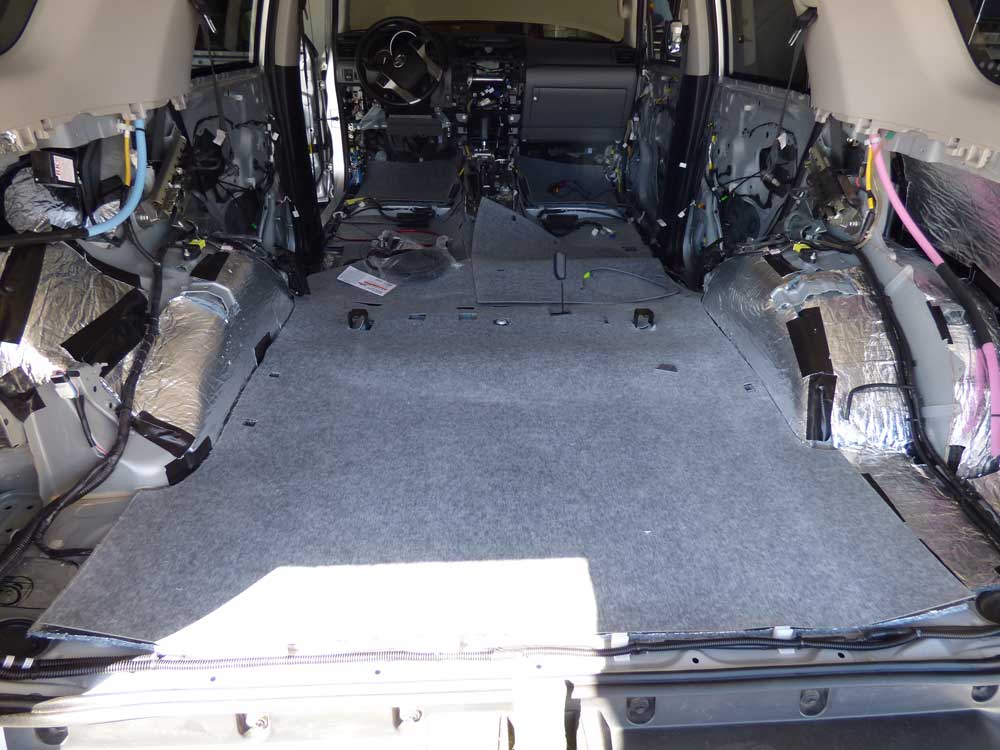
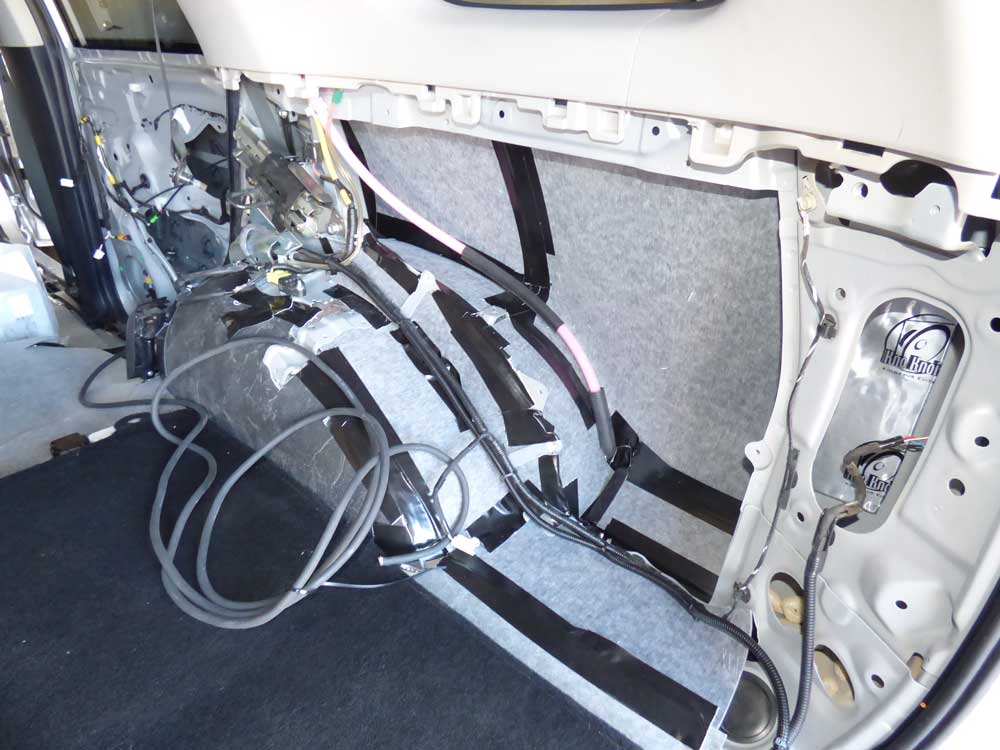
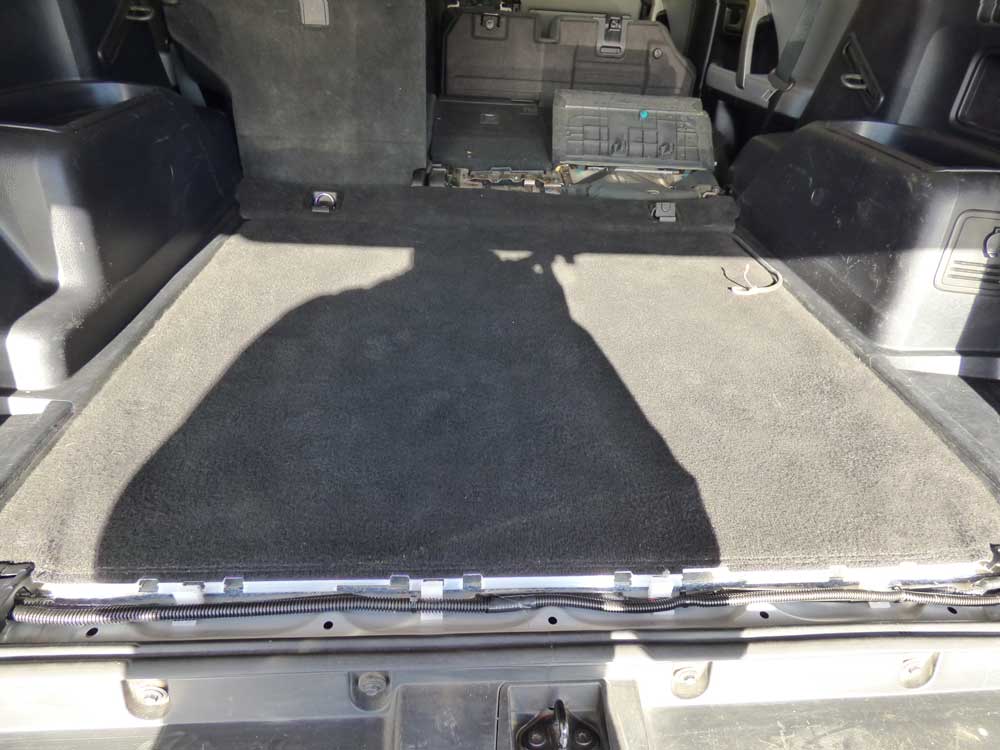
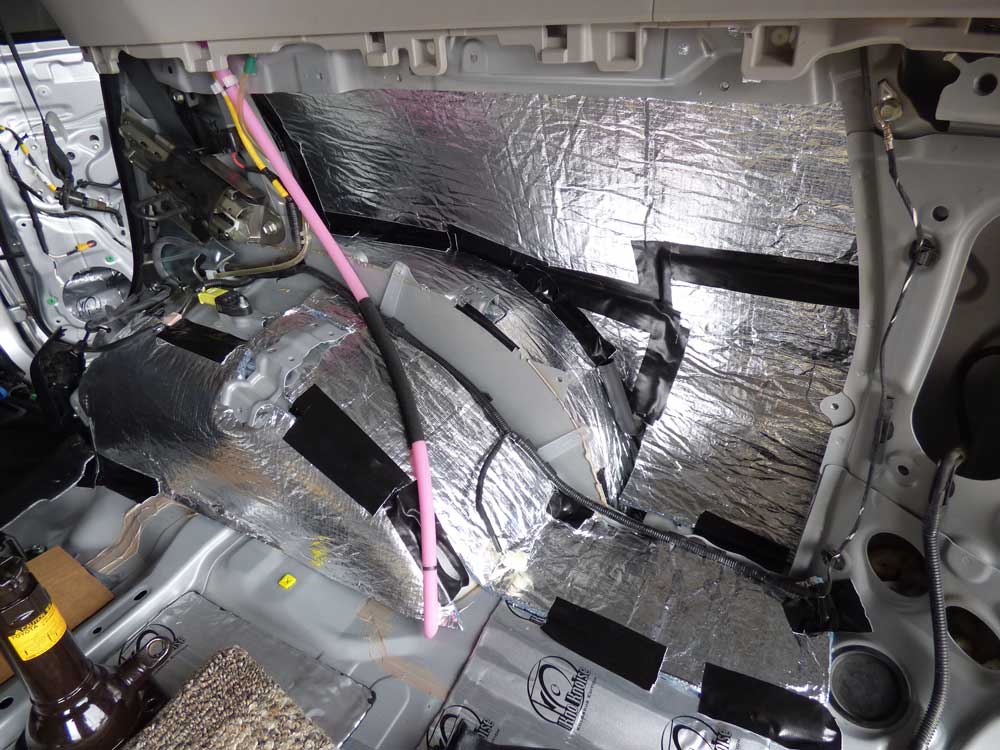
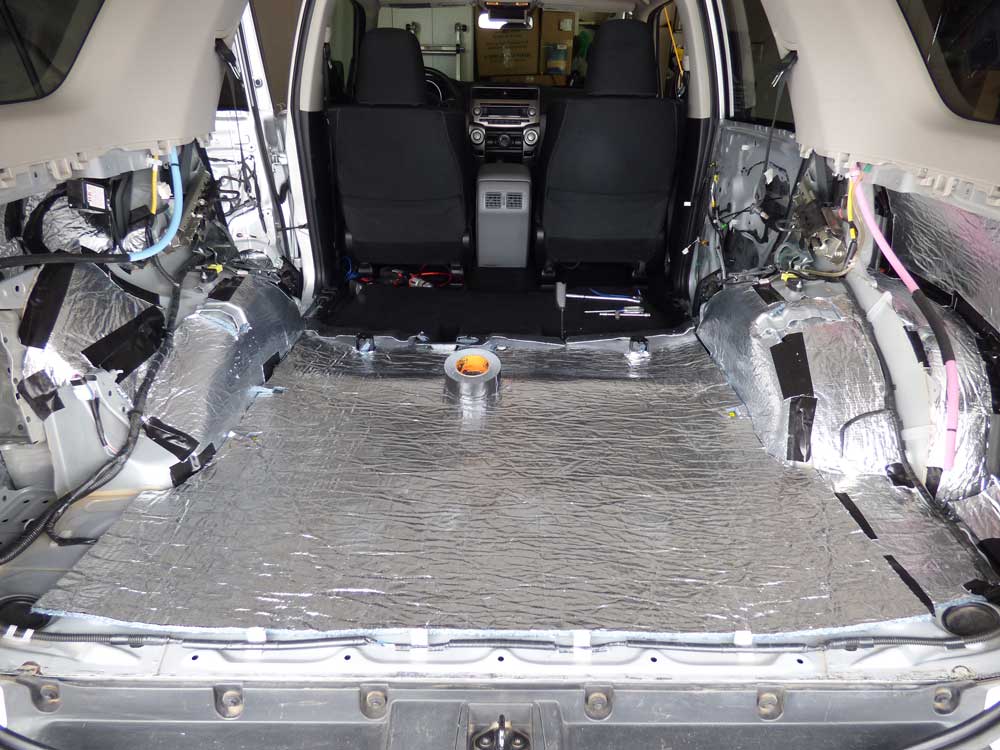
Plan: pull out all of the lower panels and flooring. Install KnoKnoise 100 Mil CDL over all metal surfaces. Then putting down a layer of Radiant Barrier, then will cover everything with a layer of MLV.

Adding in a rear camera, Pioneer AVHX5700BHS, Alpine PDR-V75 amp, Boston Pro 6.5" in the front, 10" Alpine Type R DVC sub. Still haven't swapped out the rear or hatch speakers.

Let the destruction begin.

150670d1427176606-stereo-prep-stereo04.jpg


150671d1427176609-stereo-prep-stereo05.jpg


150672d1427176612-stereo-prep-stereo06.jpg


150673d1427176616-stereo-prep-stereo07.jpg


150674d1427176620-stereo-prep-stereo08.jpg
 
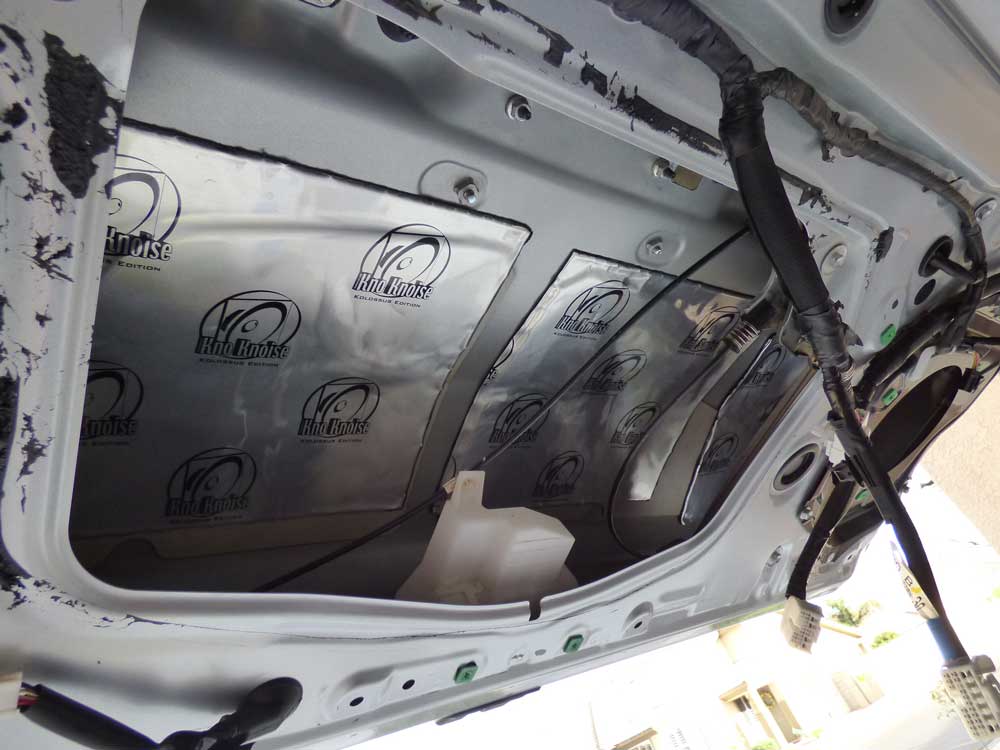
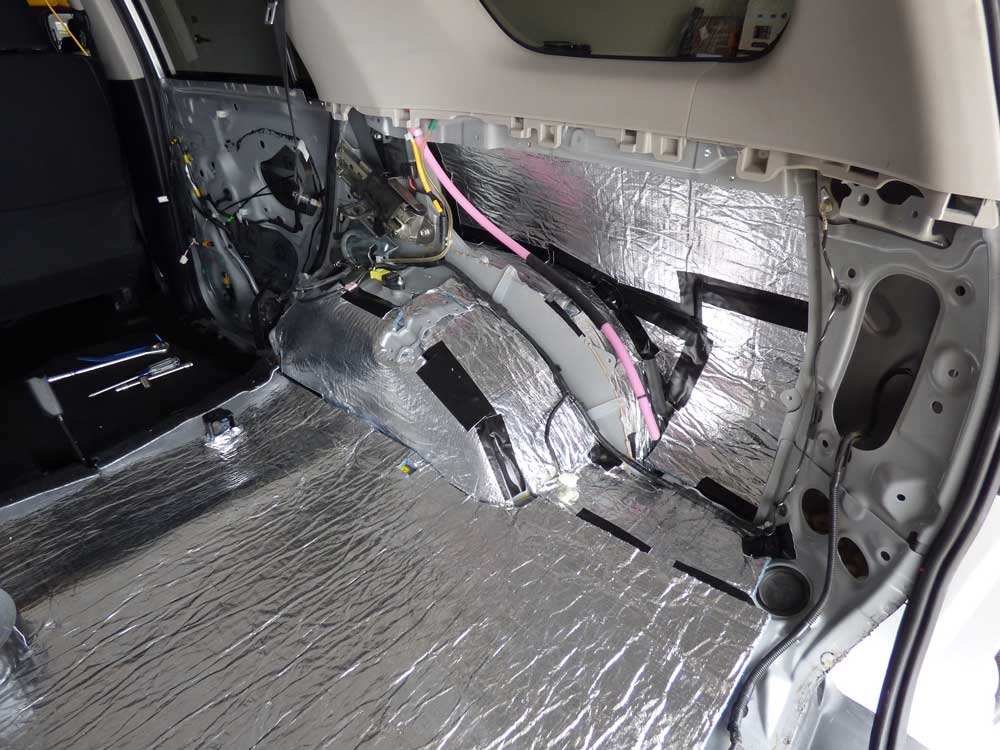
Using KnoKnoise as the constrained layer dampener (CLD). Rated very highly for dampening ability.
Then covering with RadiantBarrier. Then placed a layer of mass loaded vinyl (MLV)

150675d1427176752-stereo-prep-stereo09.jpg


150676d1427176756-stereo-prep-stereo10.jpg


150677d1427176759-stereo-prep-stereo11.jpg


150678d1427176762-stereo-prep-stereo12.jpg


150679d1427176765-stereo-prep-stereo13.jpg
 
Last edited:
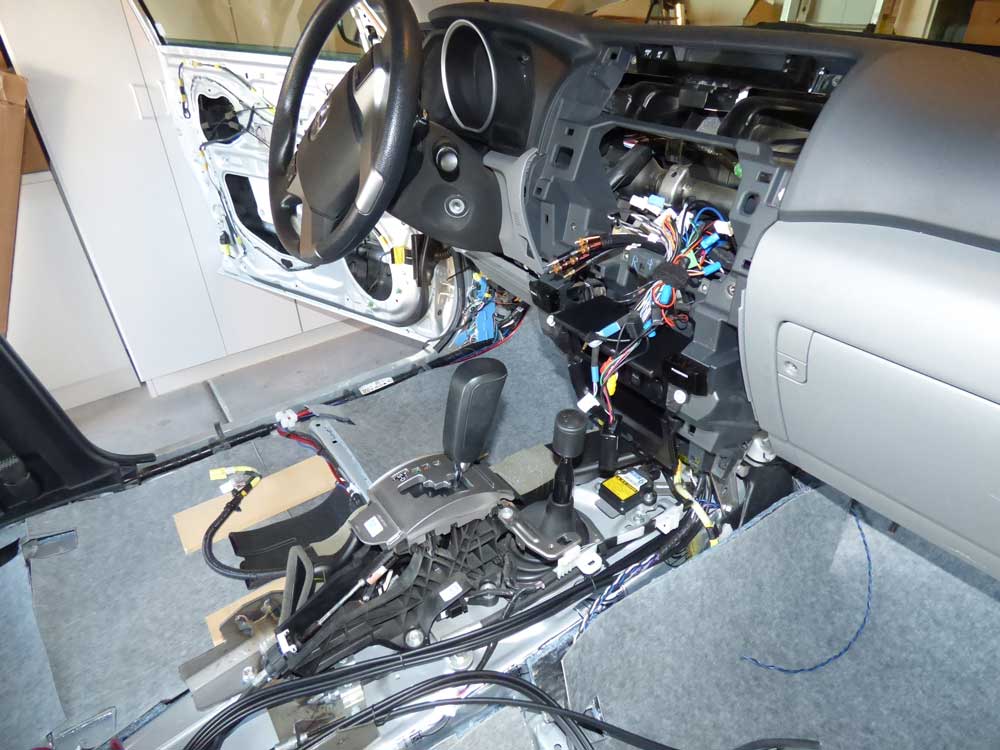
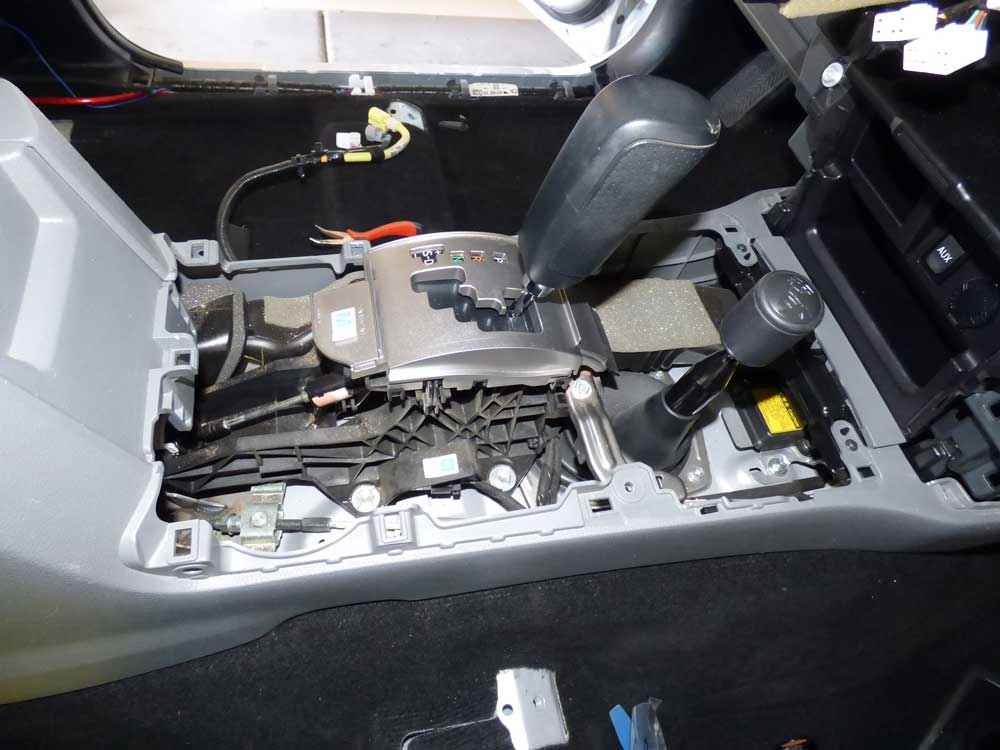
It was time to start tearing apart the front. This is where the fun really begins

150680d1427176769-stereo-prep-stereo14.jpg


150681d1427176775-stereo-prep-stereo15.jpg


150682d1427176778-stereo-prep-stereo16.jpg


150683d1427176846-stereo-prep-stereo17.jpg


150684d1427176850-stereo-prep-stereo18.jpg


150685d1427176853-stereo-prep-stereo19.jpg


Looking very silvery. Should be pretty quiet

150686d1427176855-stereo-prep-stereo20.jpg


150687d1427176858-stereo-prep-stereo21.jpg


150688d1427176861-stereo-prep-stereo22.jpg


150689d1427176864-stereo-prep-stereo23.jpg


150690d1427176868-stereo-prep-stereo24.jpg
 
After I opened the Pioneer head unit to start wiring that, I found out that Amazon was kind enough to ship me a used unit. So back it goes and another big delay in this project. I am running out of time quickly.
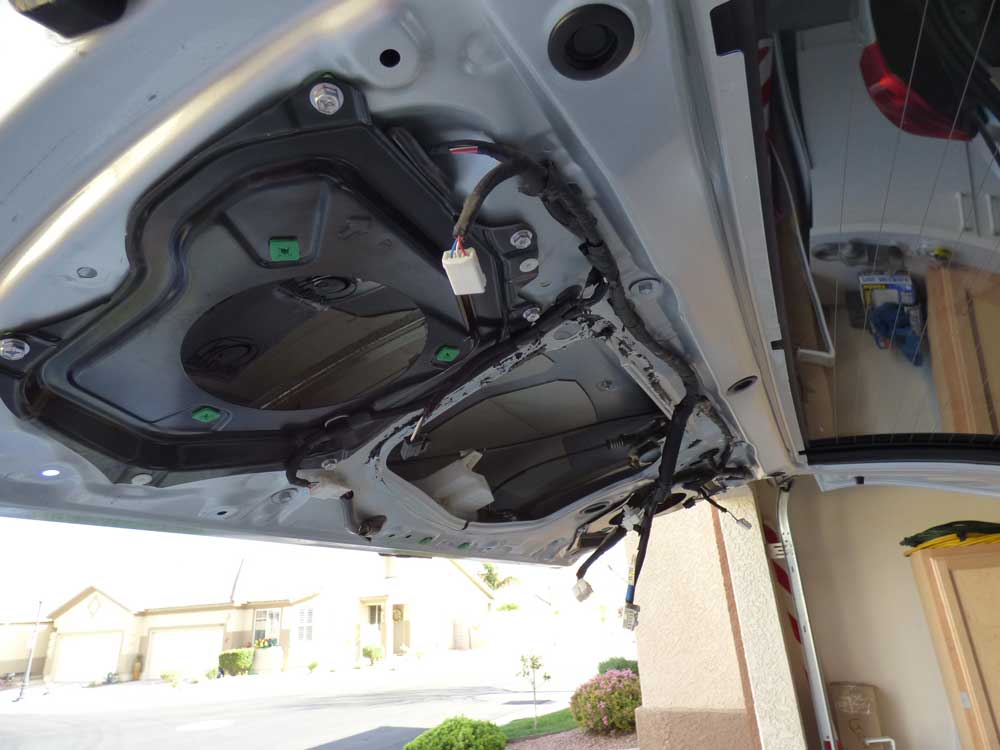
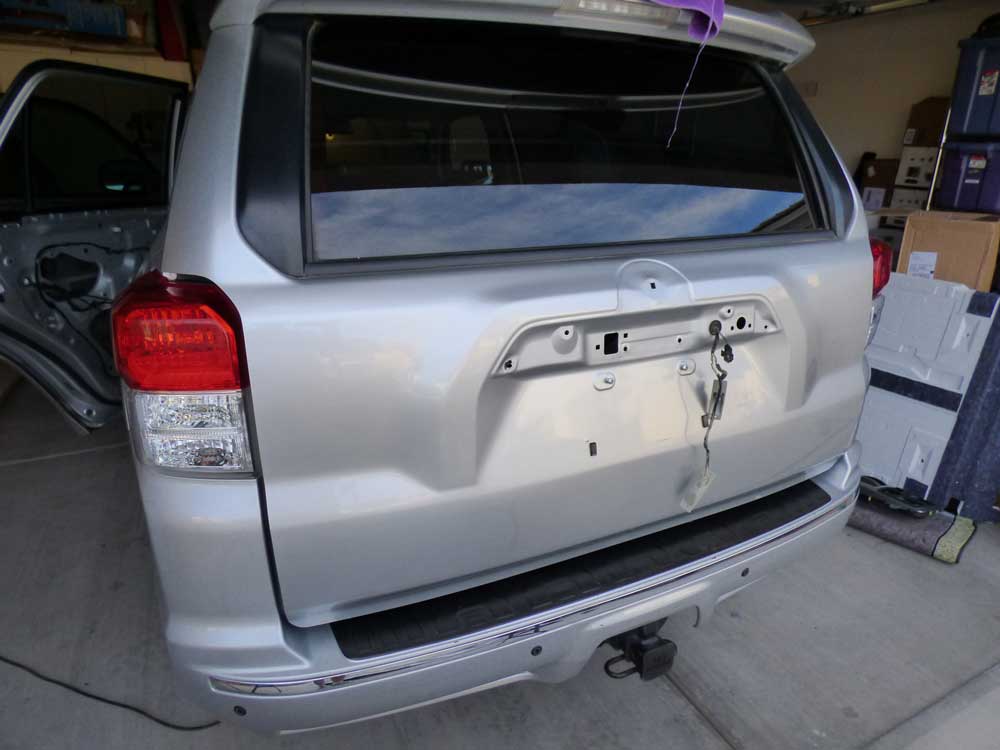
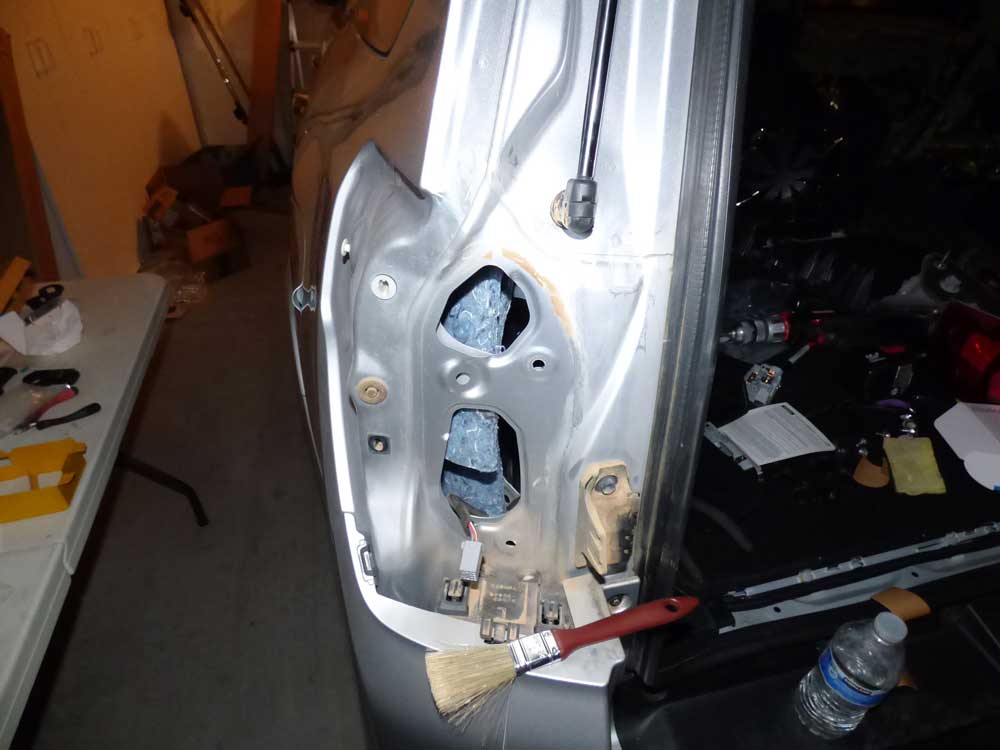
So I decided to work on the tailgate. Another 2 hours of cleaning.
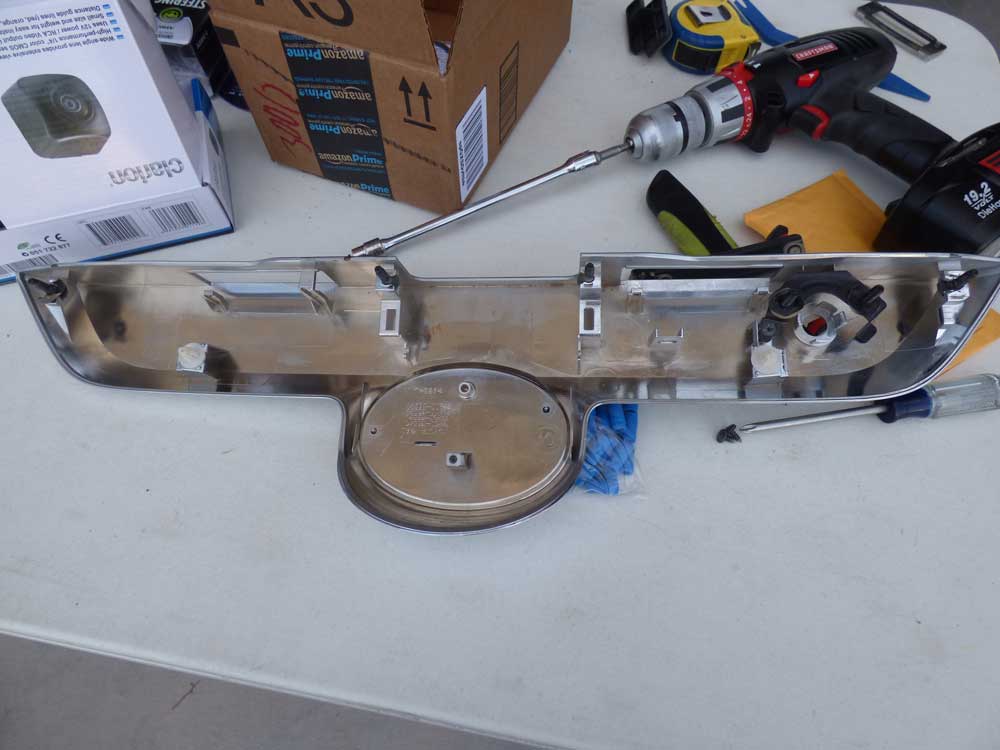
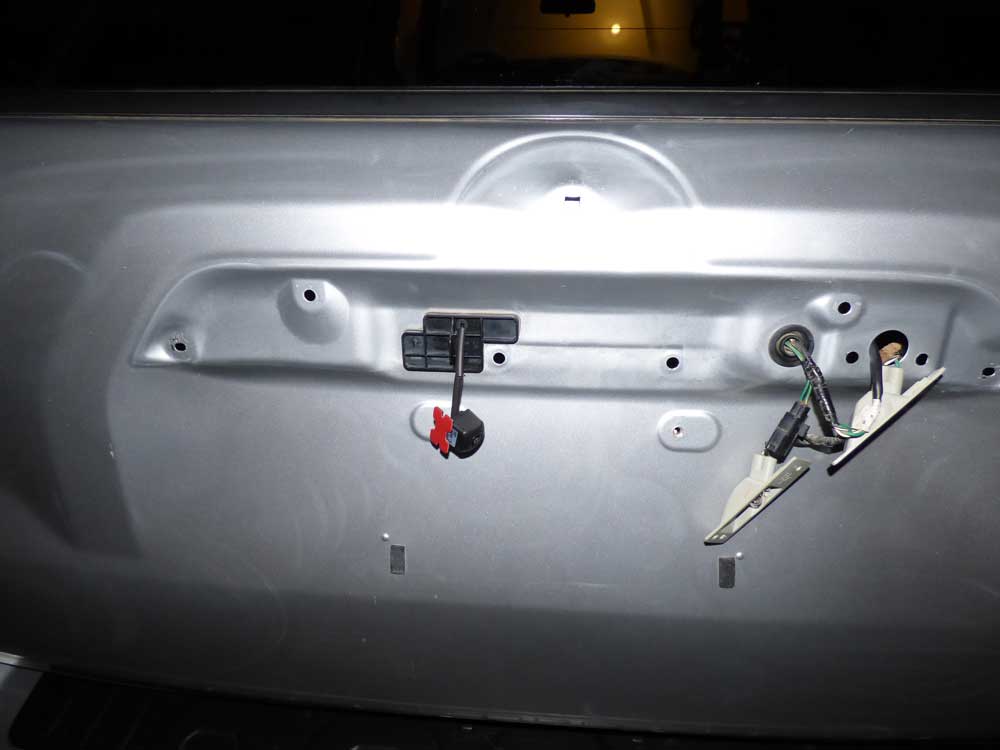
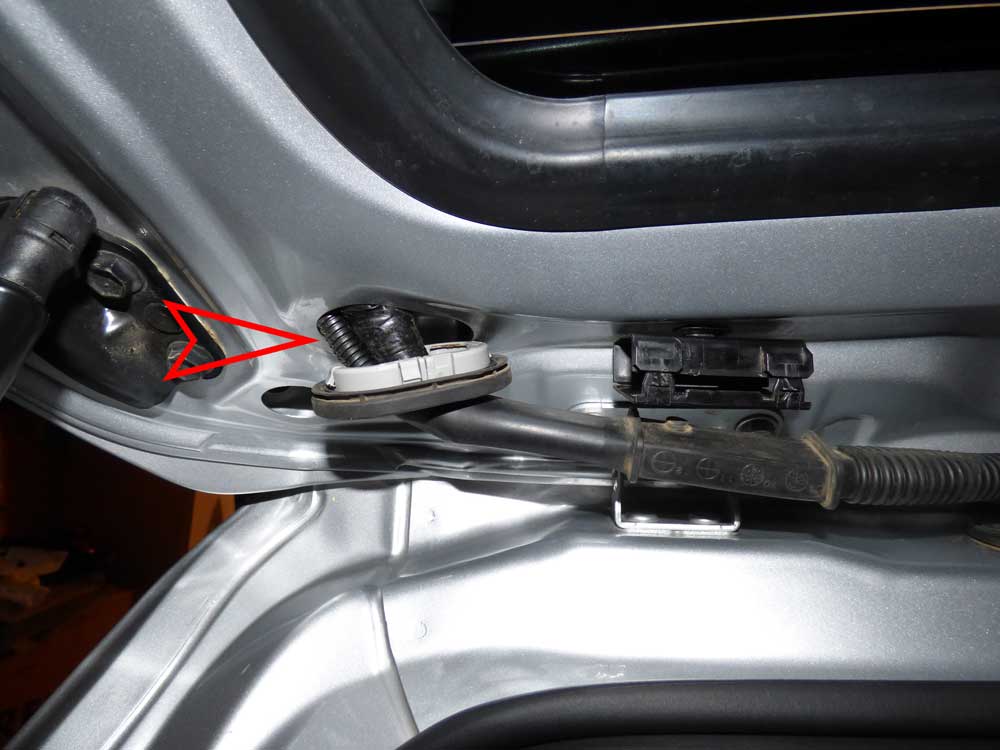
Decided to run the camera through the tailgate and into the Toy. Yea, that was fun... NOT.
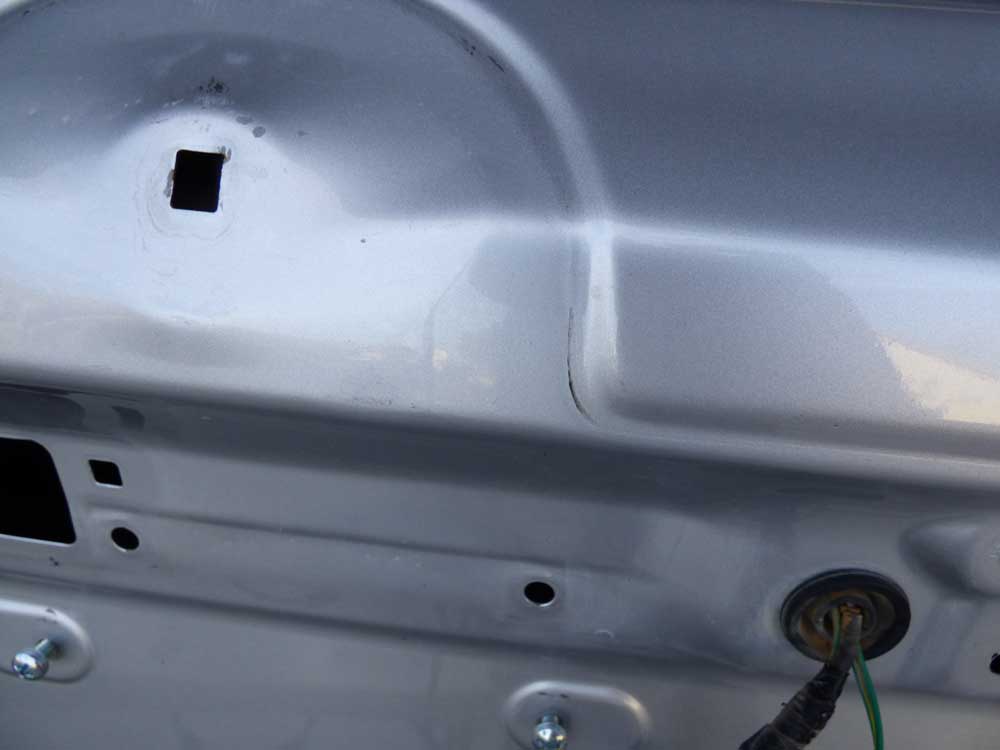
Also notice the paint damage from the rear handle.

Oh, and trying to open the tailgate when you have no power is really fun. Getting that stupid little cover off to reach the latch is a real pain.

150691d1427177122-stereo-prep-stereo25.jpg


150692d1427177125-stereo-prep-stereo26.jpg


150693d1427177129-stereo-prep-stereo27.jpg


150694d1427177132-stereo-prep-stereo28.jpg


150695d1427177139-stereo-prep-stereo29.jpg


150696d1427177143-stereo-prep-stereo30.jpg


150697d1427177153-stereo-prep-stereo31.jpg


150698d1427177156-stereo-prep-stereo32.jpg


150699d1427177208-stereo-prep-stereo33.jpg
 
So it doesn't look like I have gotten very far and I sure don't feel like i have gotten very far. But I am making headway. All of the Radiant Barrier has been cut. All of the MLV has been cut. Stereo is hooked up and functioning, mostly. Need to program a few of the steering wheel controls. Front speakers are mounted.

MLV on flat surfaces (1lb per sq. ft.)

151447d1427694276-stereo-prep-stereo34.jpg


(Notice the simple 1 wire hook up )

151448d1427694282-stereo-prep-stereo35.jpg


151449d1427694286-stereo-prep-stereo36.jpg


151450d1427694291-stereo-prep-stereo37.jpg


151451d1427694296-stereo-prep-stereo38.jpg


151452d1427694300-stereo-prep-stereo39.jpg
 
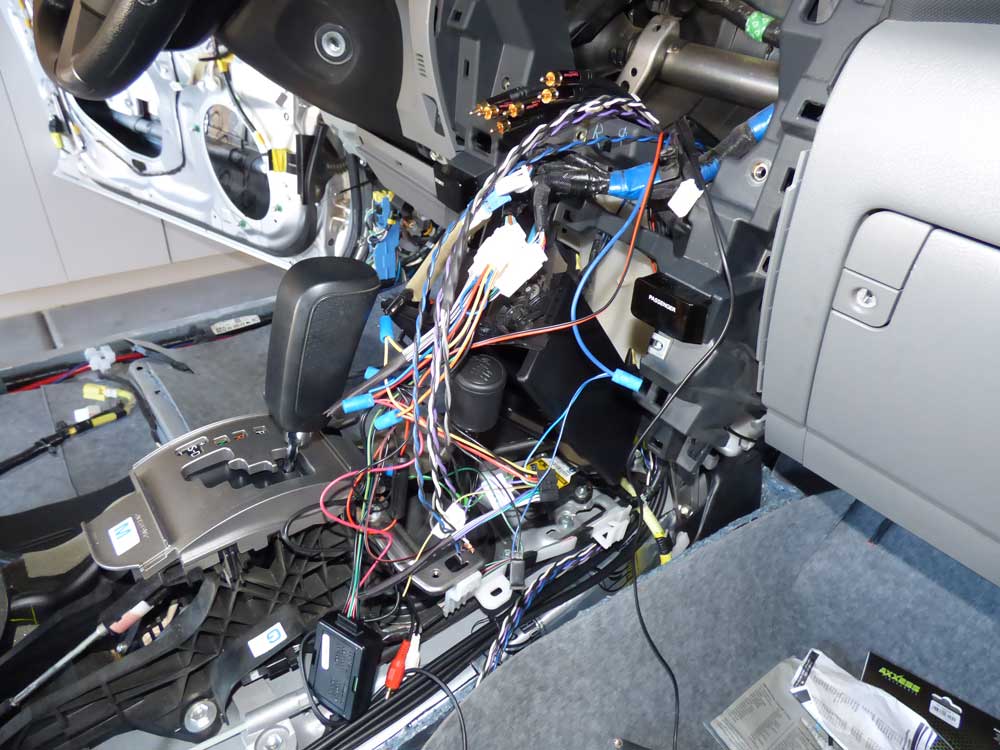
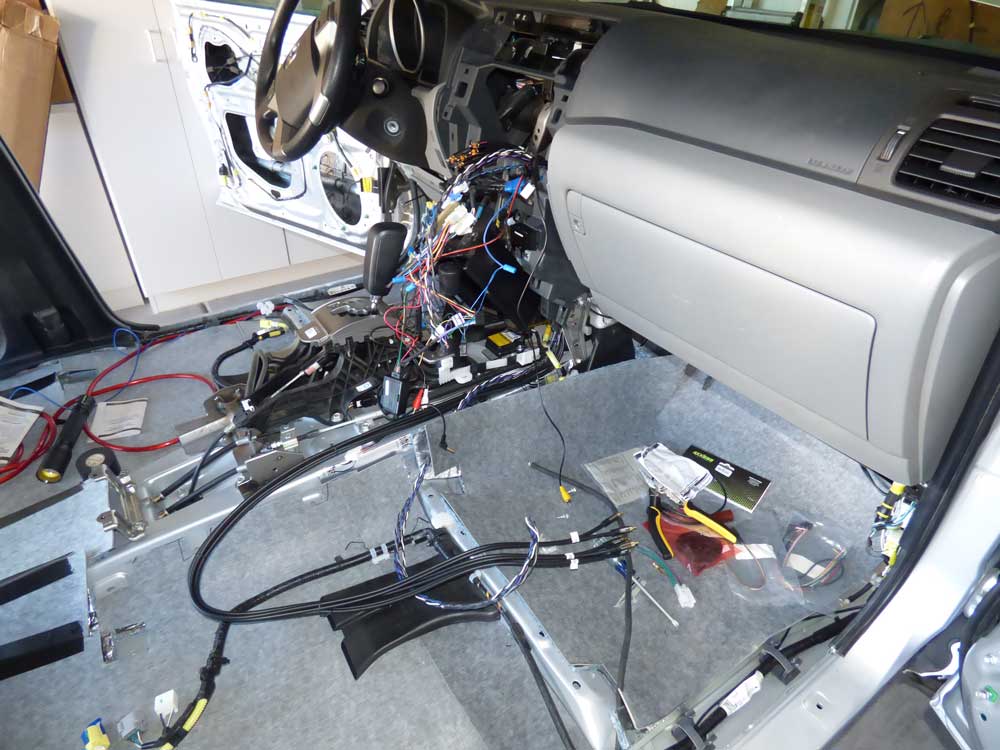
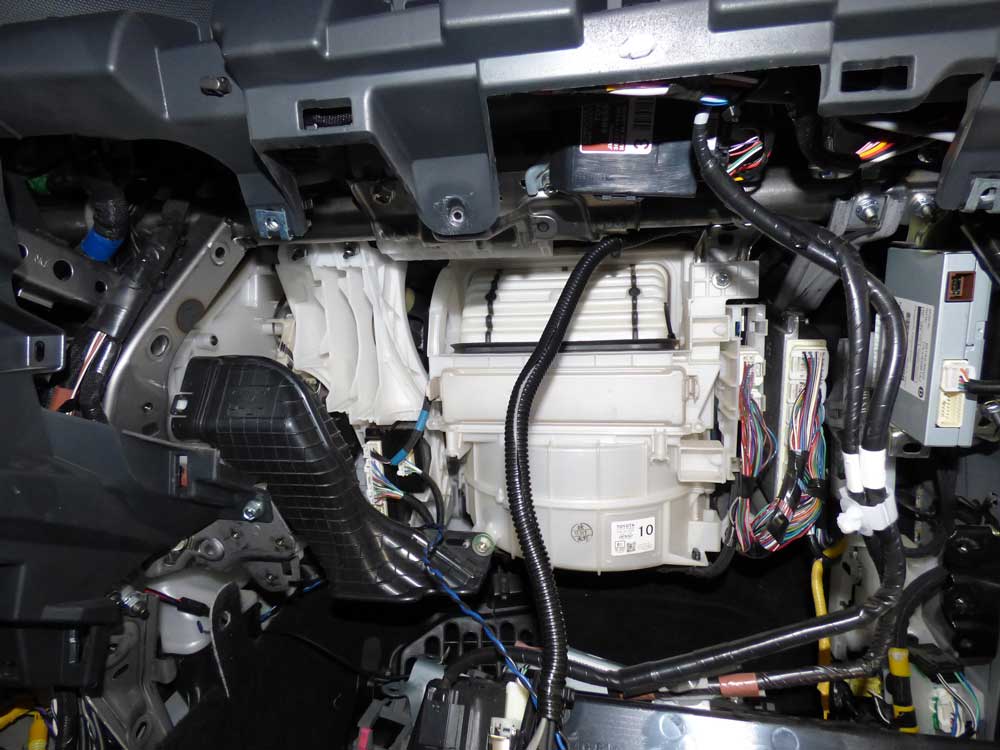
So cleaned up the rats nest a little. Not sure how all of this is supposed to fit behind the head unit but there is some room off to the right behind the glove box.
So the original plan was to rape the Honda for the stereo components for the Toy and put the smaller stuff in the Honda. Decided to hook up the new amp and see how it compared to the PDX series. I have to say I am very impressed. I didn't think this would be able to power the Boston's very well seeing as it is only 75 watts per channel and I am currently running them in the Honda bridged off of the PDX400.4 at 200 watts. I grabbed the Alpine 10" type R out of the Honda to test with this amp. In the Honda it is running off of the PDX 600.1. This little amp only puts out 350 at 2 ohms and has no problem running the sub. Will be interesting how it sounds with a smaller sub at 4 ohms and only 250 watts. For now, I will be running this in the Toy and not mess with ripping the amps out of the Honda.
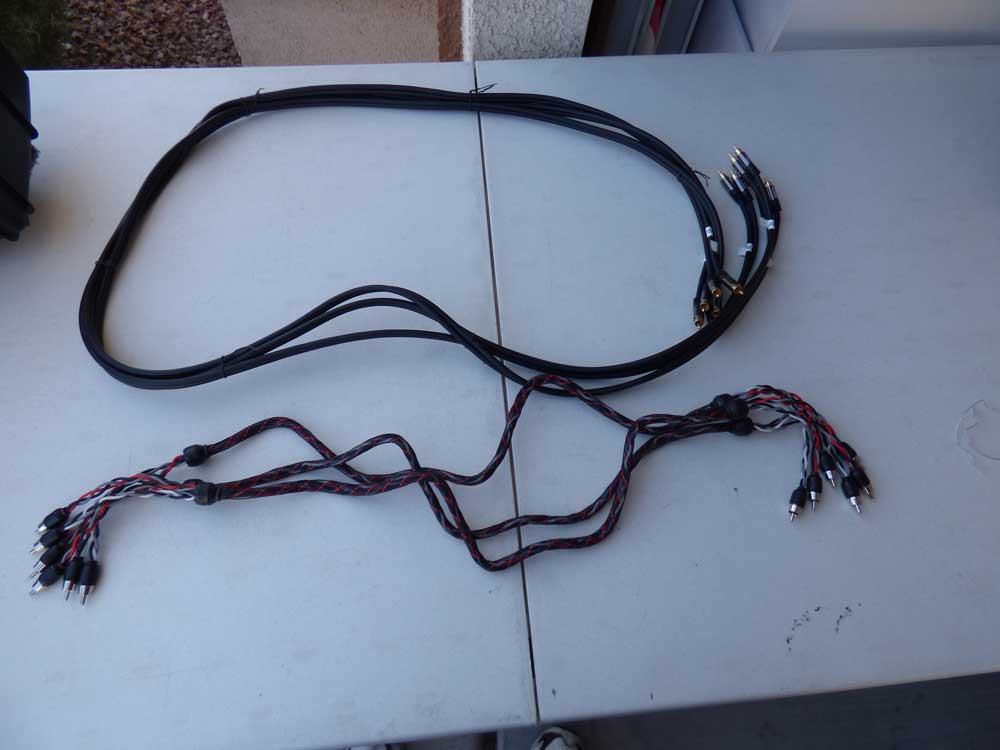
I have to order shorter RCA cables. The 6' are too long and even though these are a really nice set, they are just too thick to run in the car. I am replacing them with some V-12 Phantom Braid cables from T-Spec.

151453d1427694989-stereo-prep-stereo40.jpg


151454d1427694992-stereo-prep-stereo41.jpg


151455d1427694998-stereo-prep-stereo42.jpg


151456d1427695002-stereo-prep-stereo43.jpg


Testing out the mounts Crutchfield sent. They work for now. Will probably make something a little more solid at some point. I just need to get this thing back together soon.
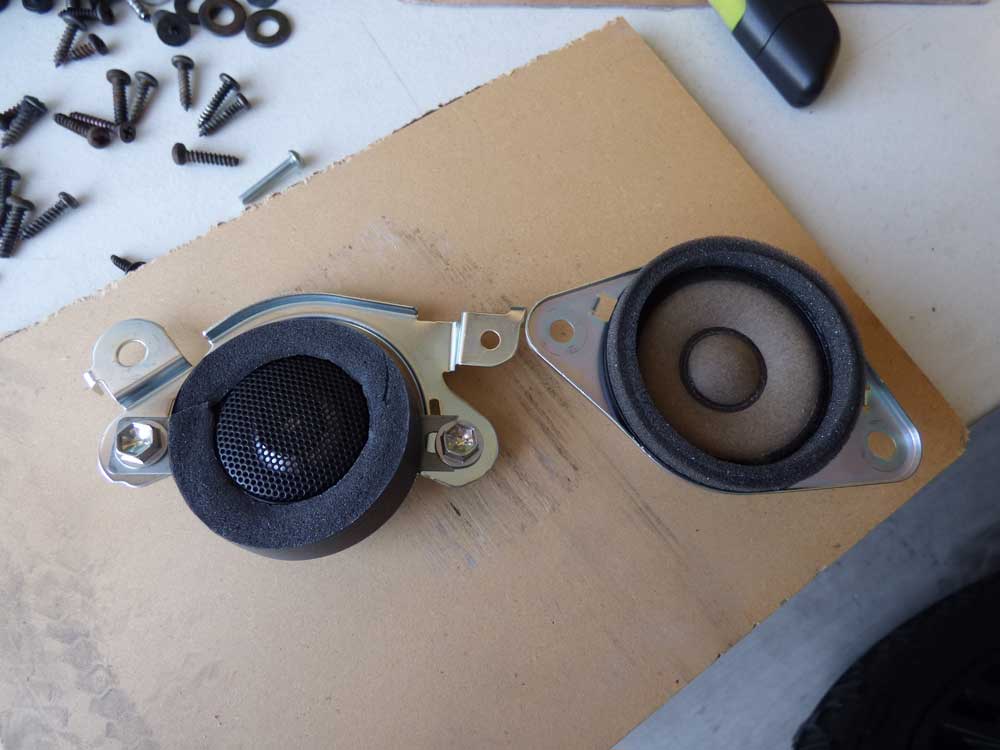
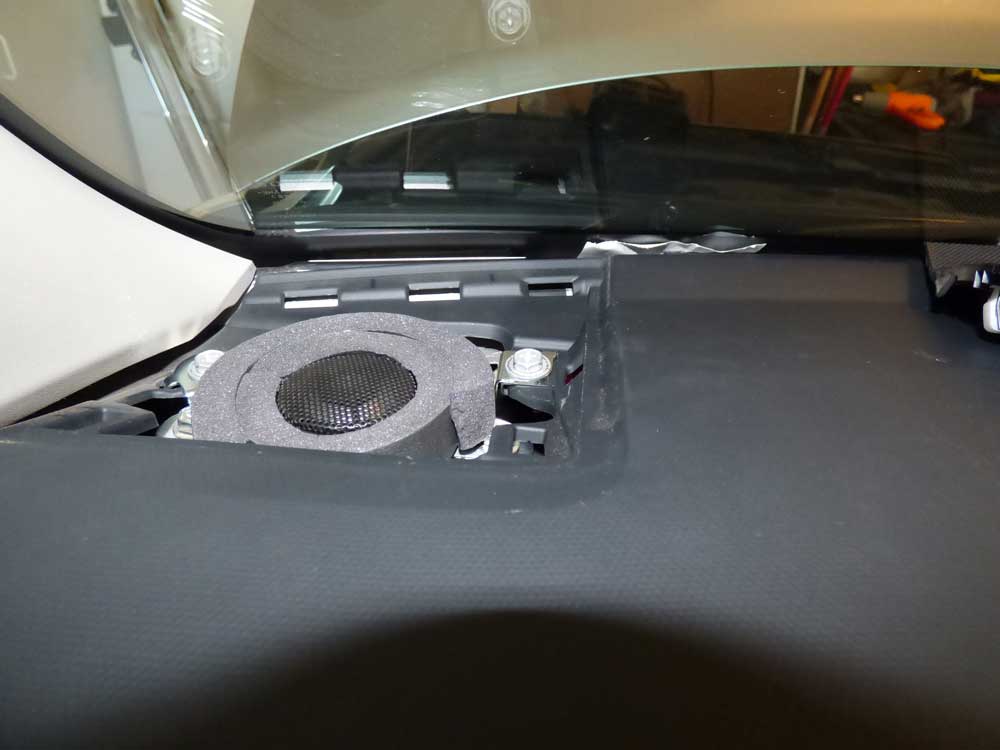
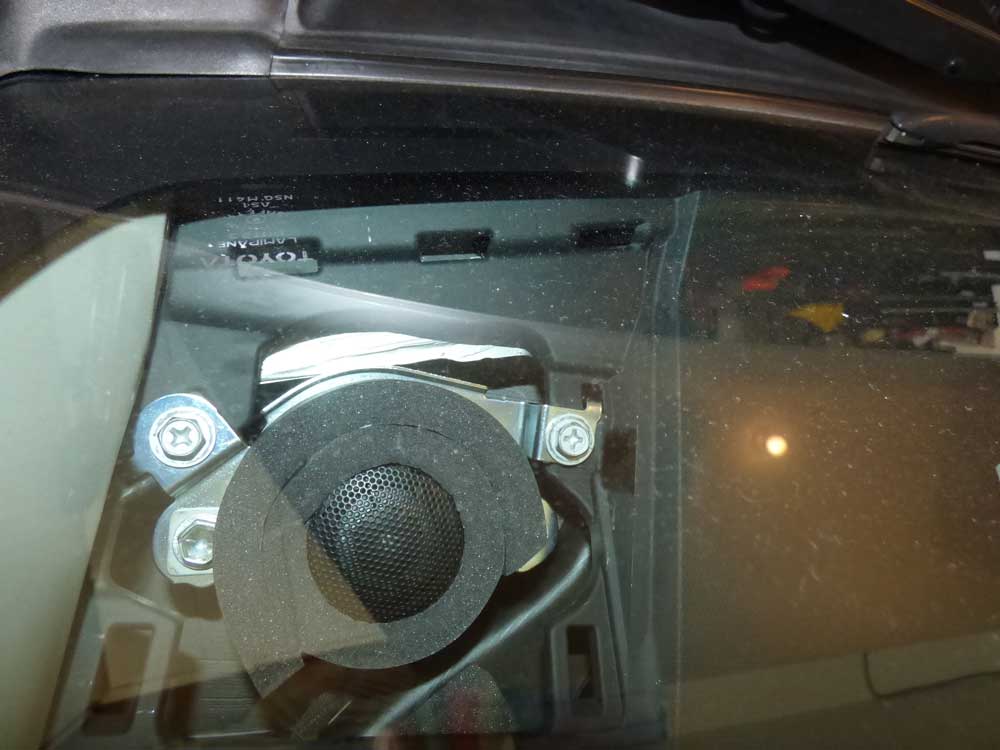
Got the Boston Pros mounted in the front. Still need to pull the other pair of Bostons from the Honda and install the Polks.
Had to get creative with the foam on the tweeter. Seems the stock speaker is offset a little.

151460d1427695332-stereo-prep-stereo44.jpg


151461d1427695335-stereo-prep-stereo45.jpg


151462d1427695338-stereo-prep-stereo46.jpg


151463d1427695341-stereo-prep-stereo47.jpg


151465d1427695355-stereo-prep-stereo49.jpg


151466d1427695359-stereo-prep-stereo50.jpg
 
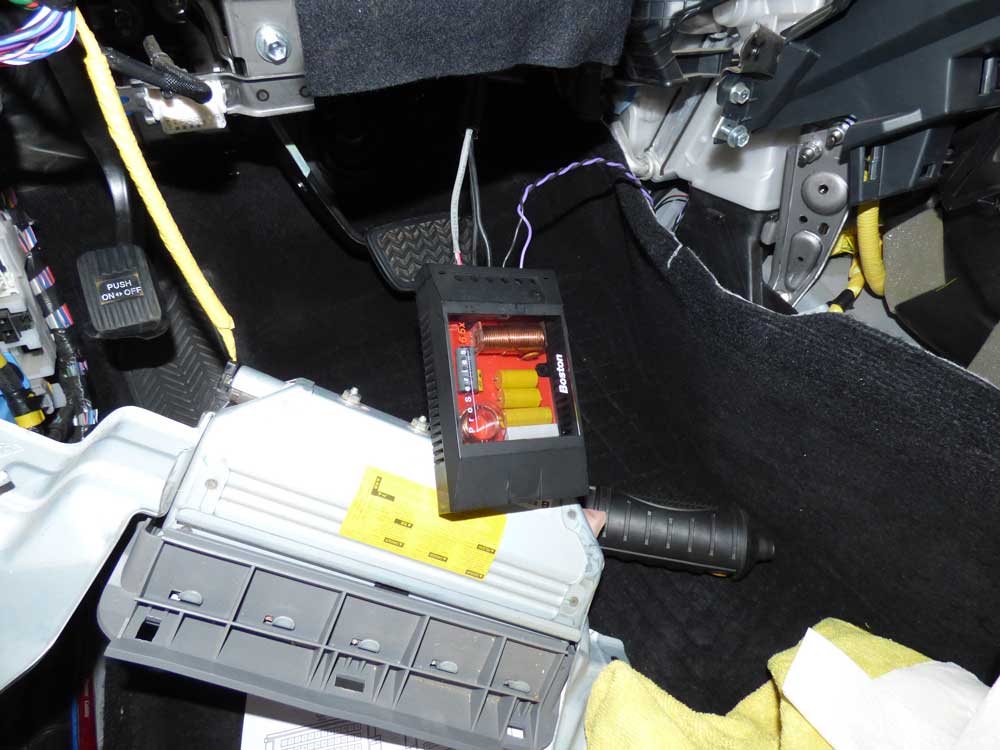
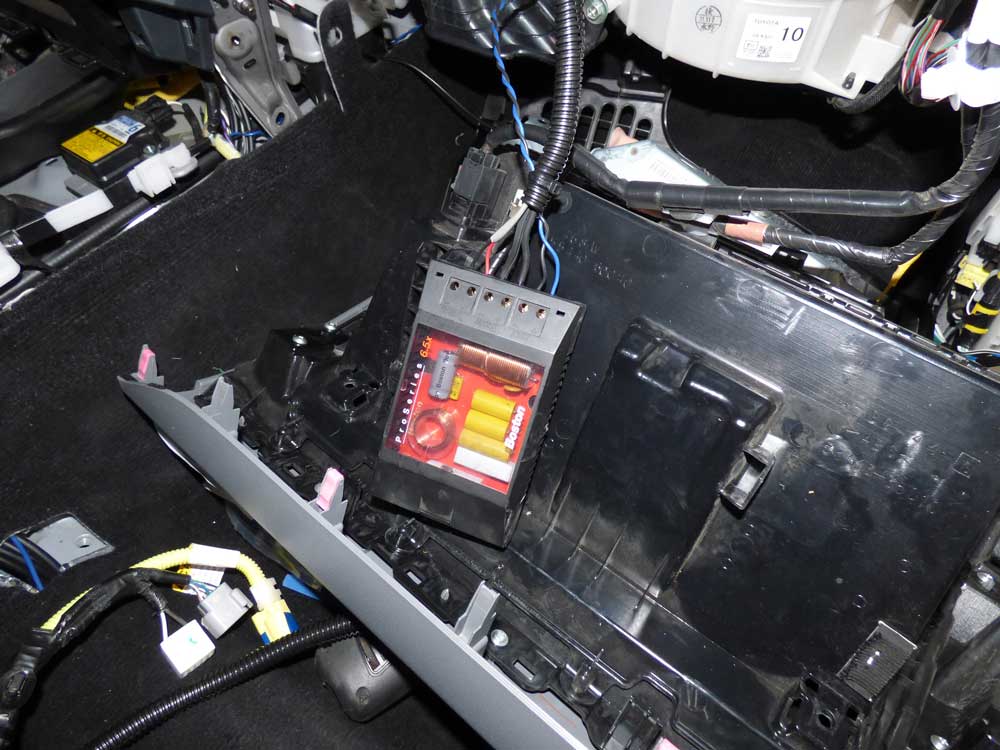
Crossovers were a pain. Should have bought all new wire, but no, I had to use what I could scrounge from old installs. Nothing matches. But it works.
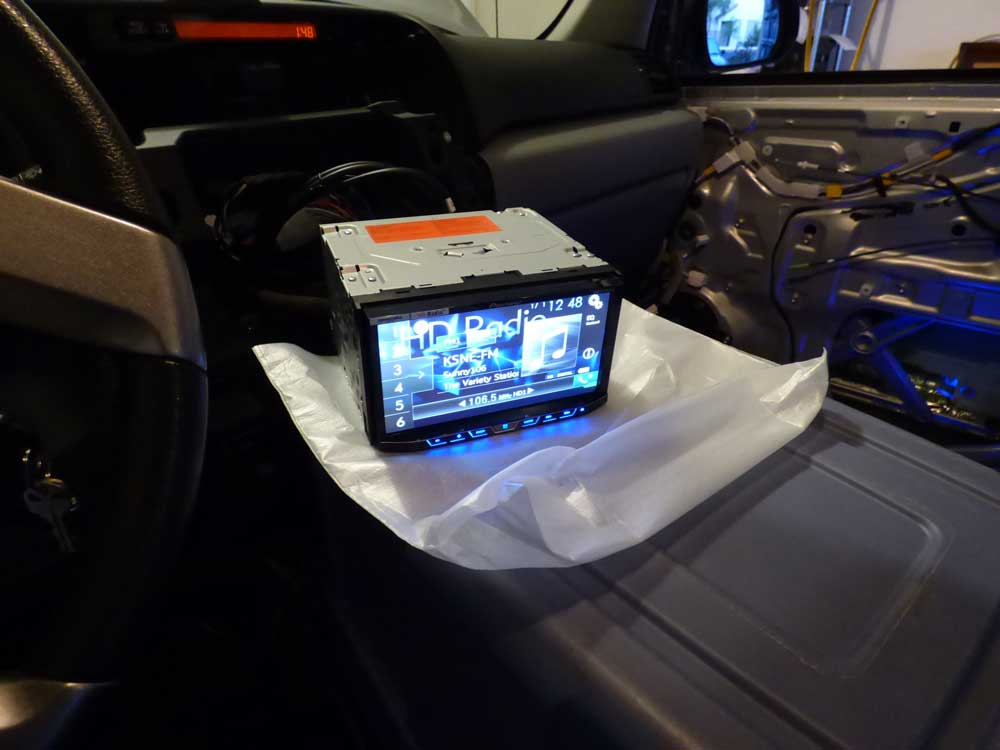
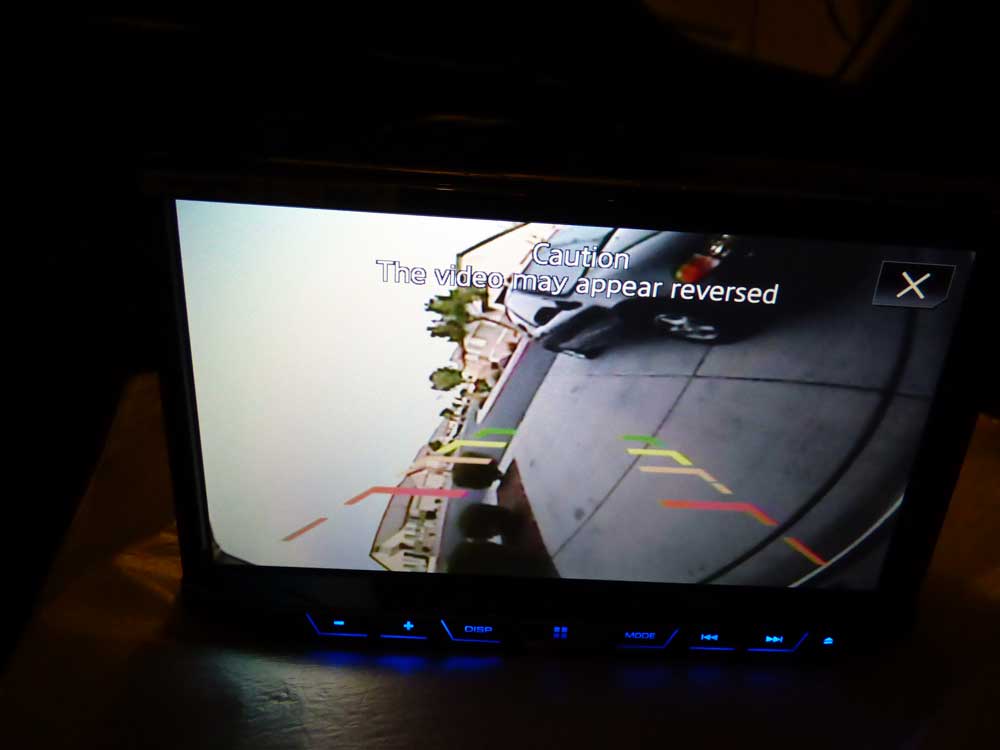
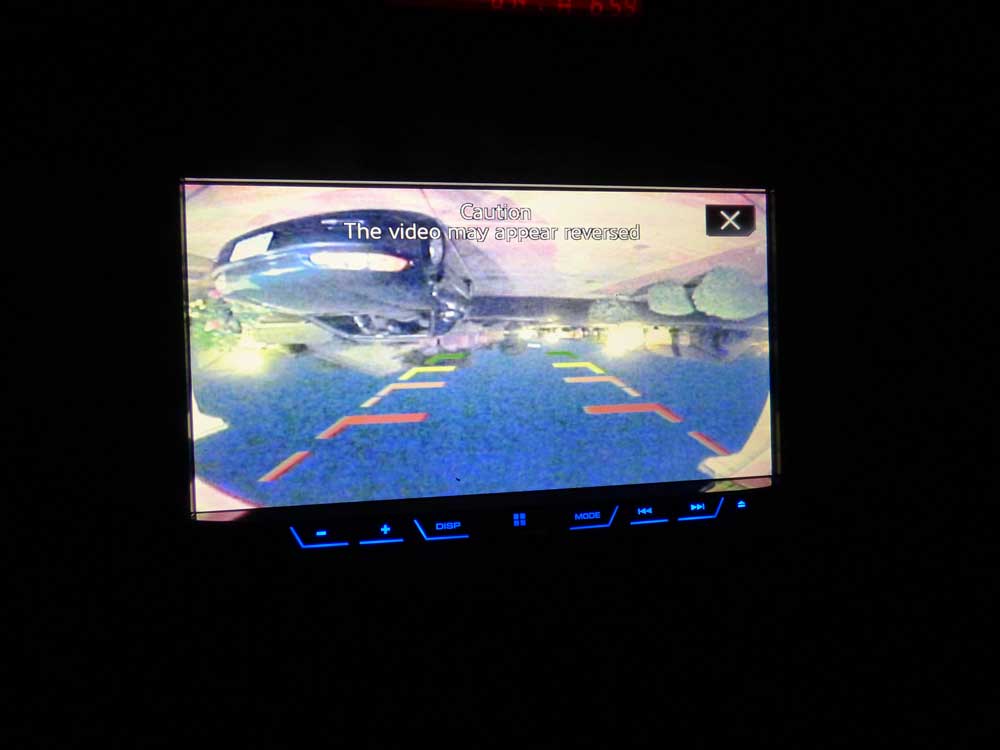
Tested the head unit out. Works pretty well. Got the reverse camera working (even though it looks like the Toy tipped over). Need to do some testing on the correct positioning of the camera.

151468d1427695578-stereo-prep-stereo51.jpg


151469d1427695581-stereo-prep-stereo52.jpg


151470d1427695584-stereo-prep-stereo53.jpg


151471d1427695587-stereo-prep-stereo54.jpg


151472d1427695590-stereo-prep-stereo55.jpg


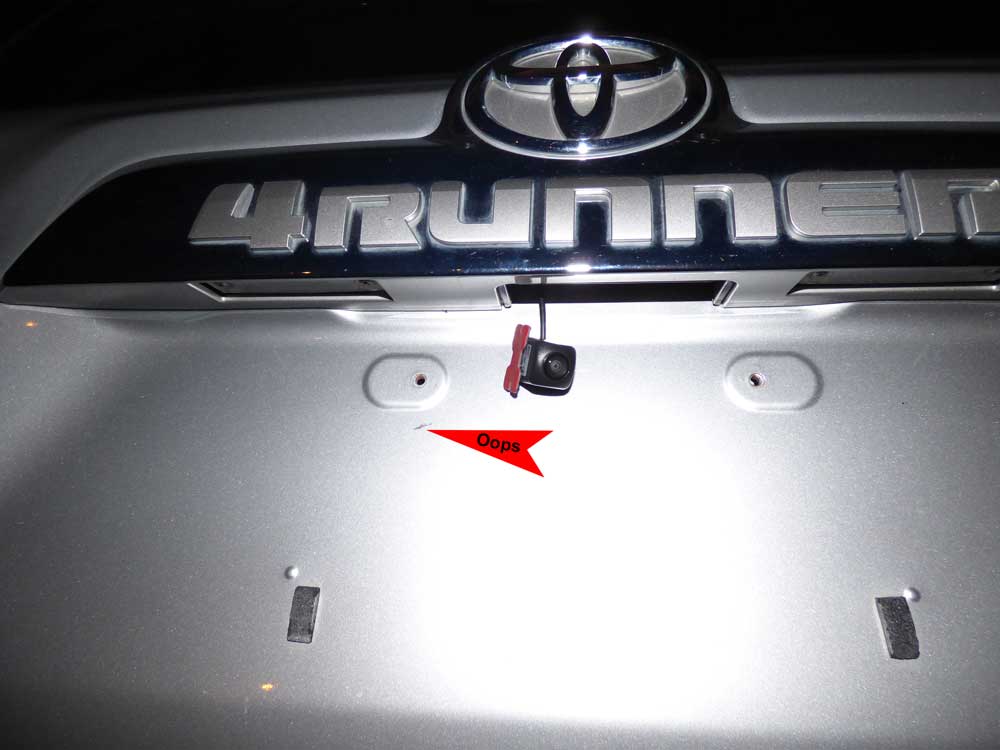
My garage is fairly short and there are built in's along the walls so the Toy just fits. I have to use a towel on the tailgate when I open it as it hits the stucco on the house. What I didn't realize one day is that the camera had moved and was jammed sideways between the tailgate and the house. (I had the garnish off at the time) The mount was pressed against the paint and as I was in and out of the toy, it scratched all of the way through the paint to the metal. Always something.

151473d1427695858-stereo-prep-stereo56.jpg
 
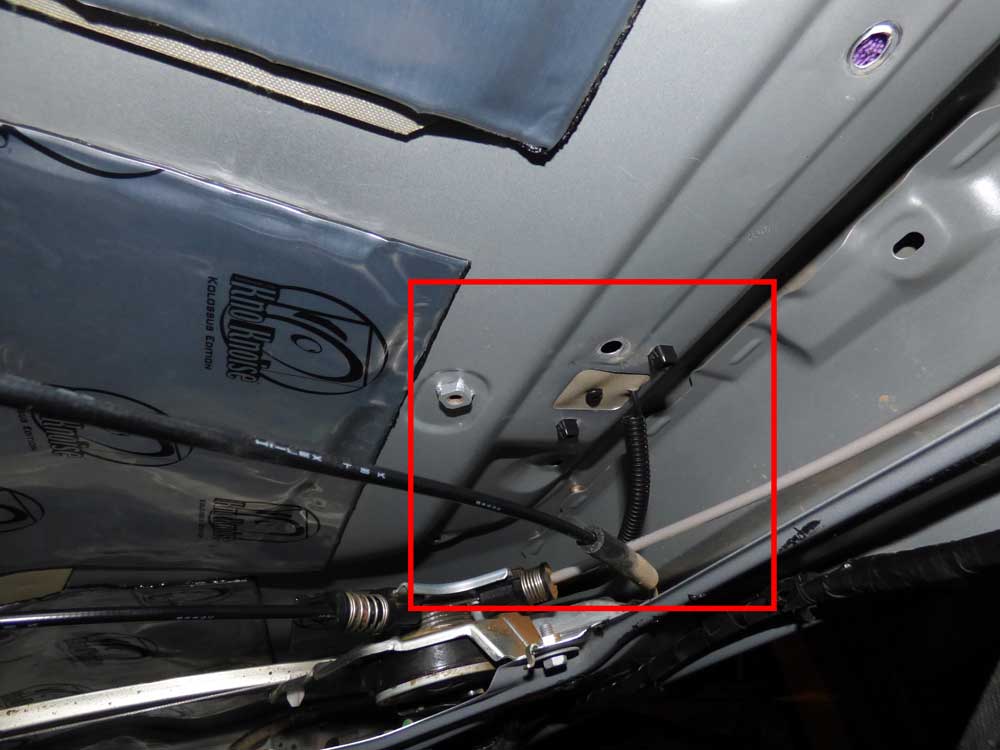
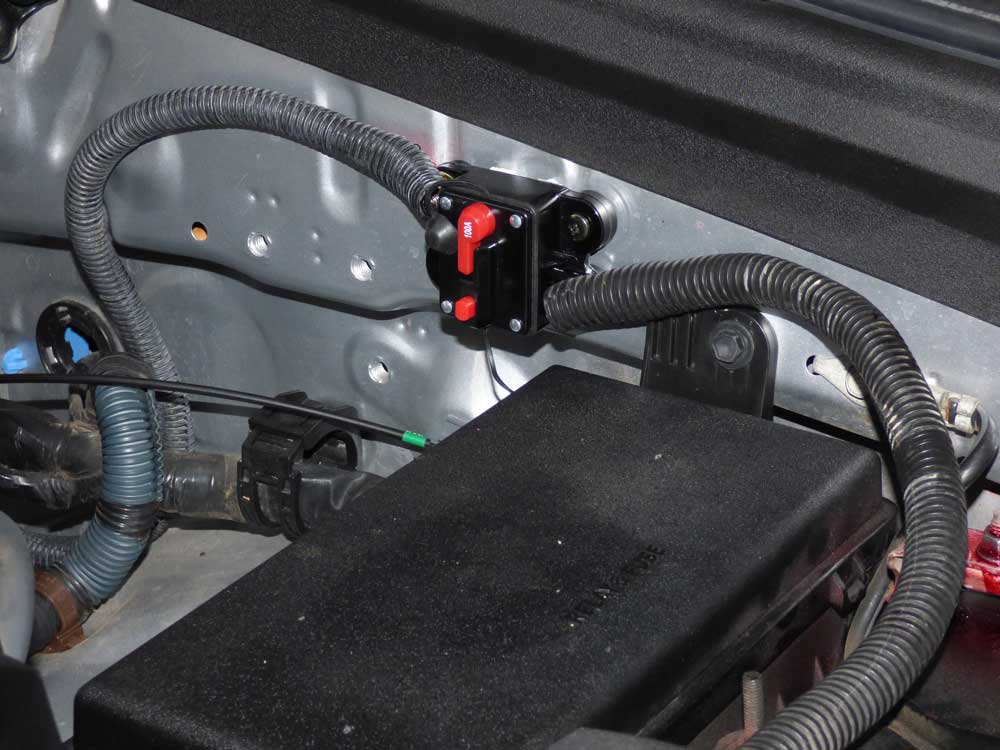
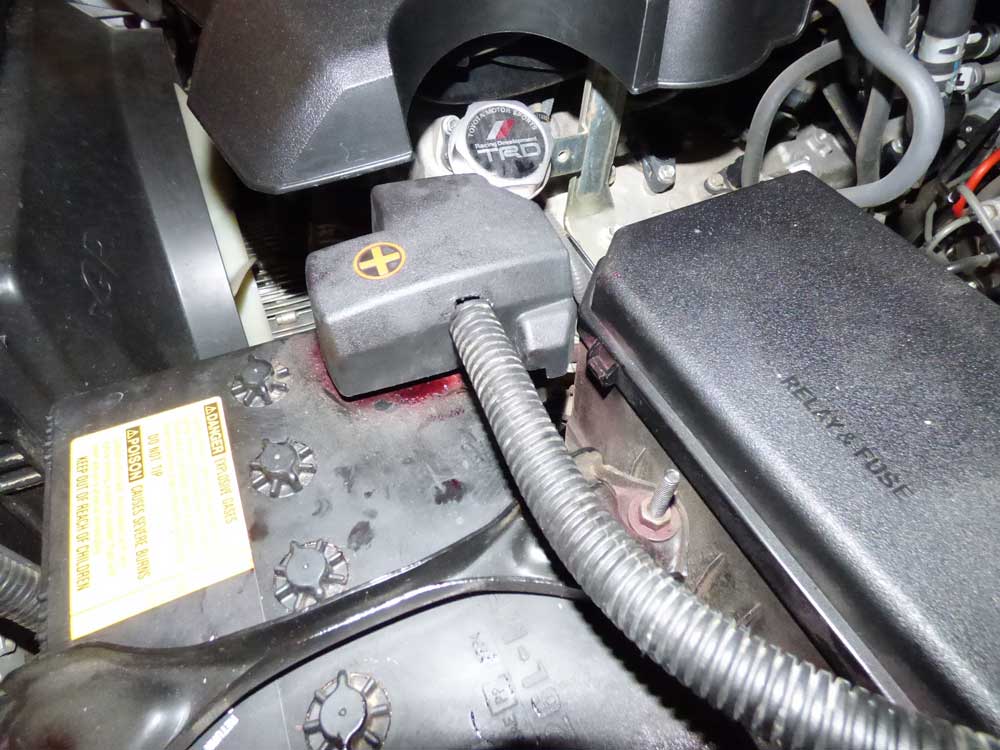
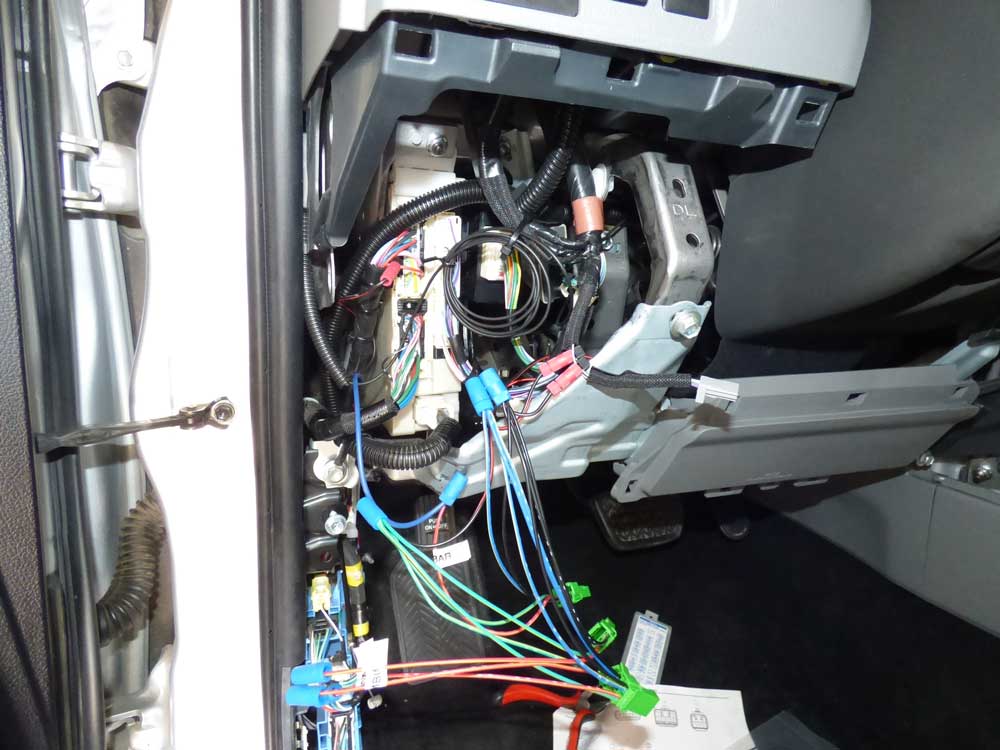
Got the power hooked up. Used a 100 amp breaker. Also, here is the location of the Reverse Sensing Wire on 5th gen in case someone needs a visual reference. (I really needed one)

151474d1427696067-stereo-prep-stereo57.jpg


151475d1427696070-stereo-prep-stereo58.jpg


151476d1427696073-stereo-prep-stereo59.jpg


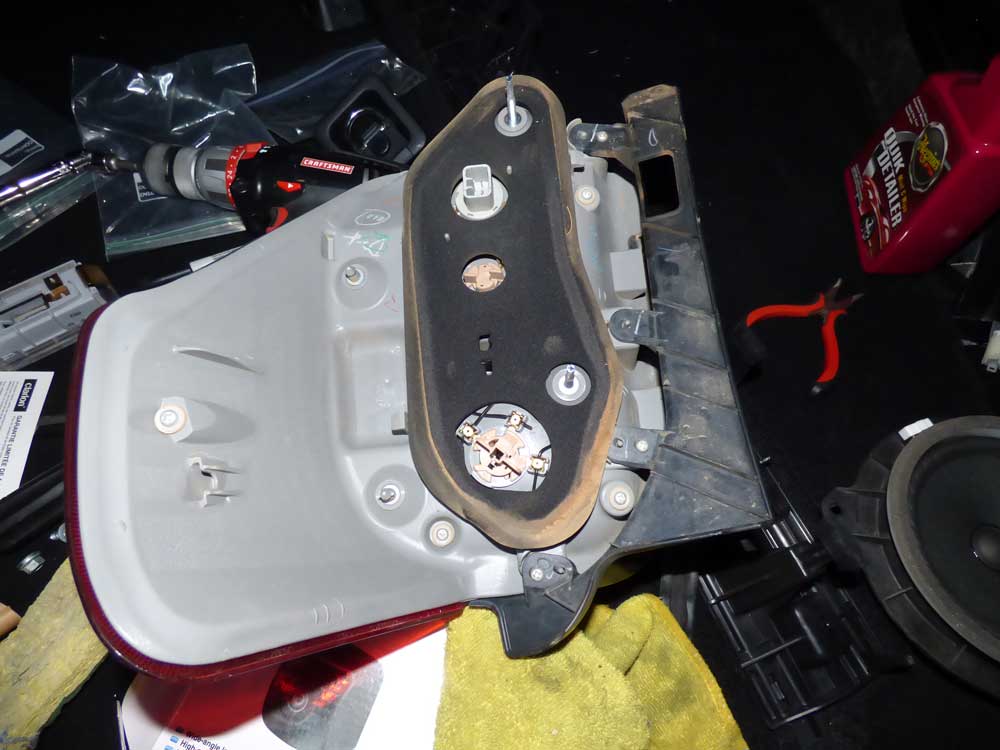
Once it got dark, I decided to pull the tail lights off and clean behind them. The red dirt is never ending on this beast.

151477d1427696076-stereo-prep-stereo61.jpg


151478d1427696080-stereo-prep-stereo62.jpg


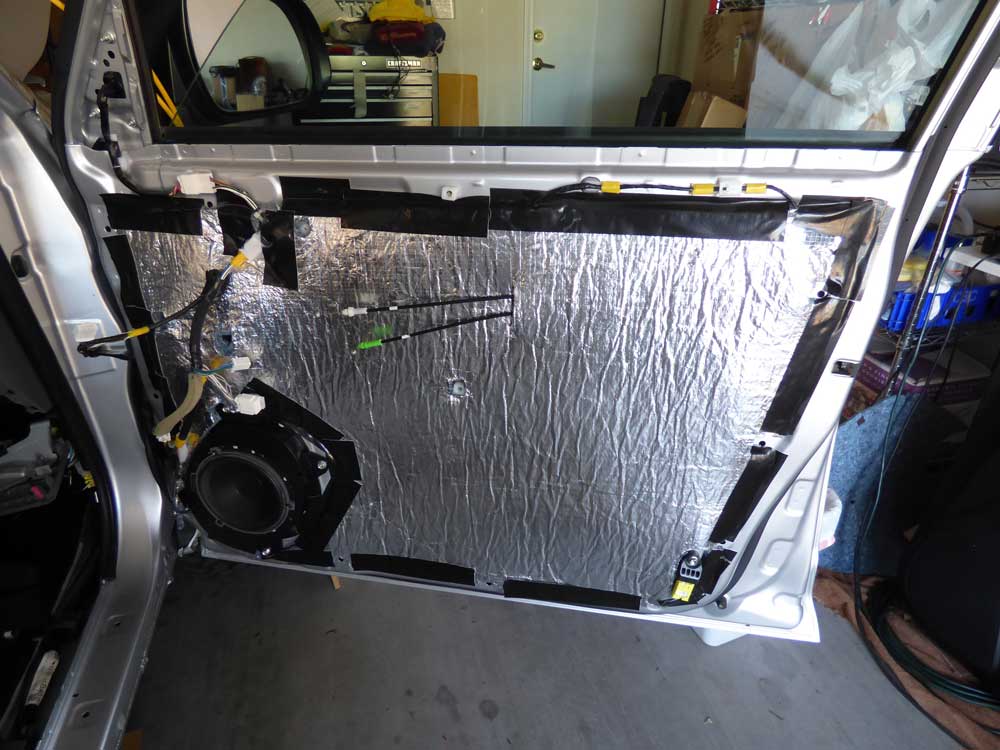
It was another day from hell. Anything that can go wrong is going wrong. Got the radiant-barrier installed on the door, then installed the MVL. Could not get the door panel on. Pulled off every piece of the panel that I could but still couldn't make it work. Just too thick. So pulled it apart and went on the hunt for some thin Closed Cell Foam. After striking out at Home Depot, I found some flooring underlayment at Lowes. So all of the hours spent cutting and fitting the radiant barrier wasted.

Got all of the doors put together and finished up the hatch. The mailman delivered the new RCA cables. A little thinner, shorter and easier to work with. Only one problem, they are 6" too short. So off to Best Buy. They only have 3' or 17' in mobile audio RCA cables. So I pick up 3 sets of 4' RocketFish home theater cables. Right length but back to the really thick cables. Oh well, tired of messing with it. And now I have $80 in RCA cables that I can't use.

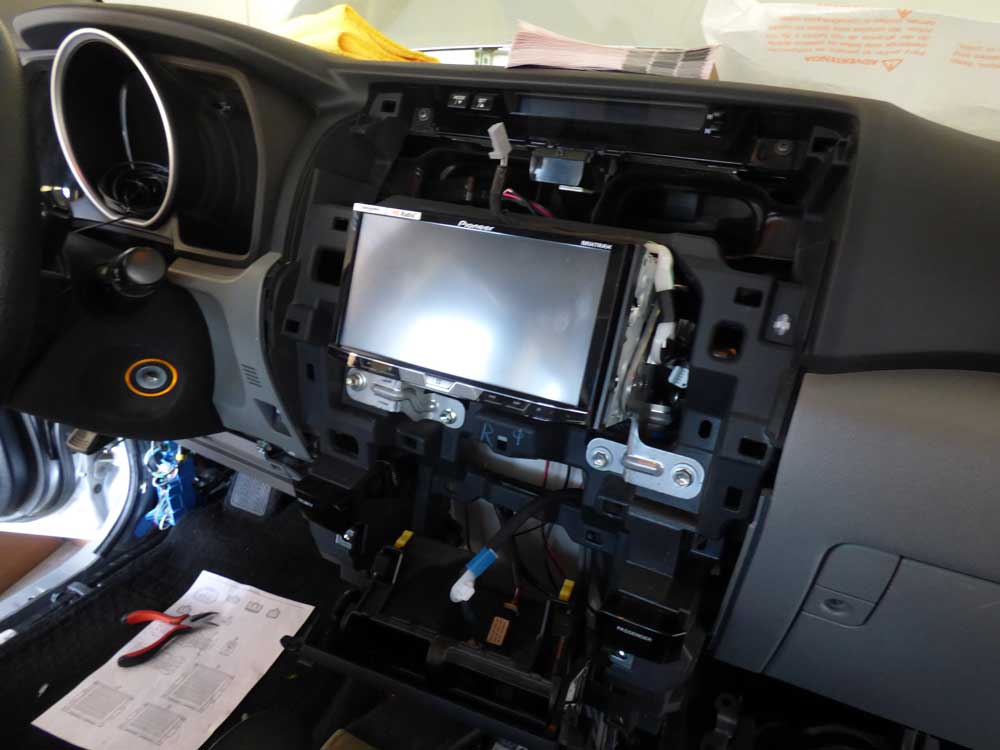
I decide that I don't want to use the crappy plastic supports that come with the faceplate, so just bolt the metal ones back on. Unfortunately the stereo won't line up with the face plate. It's a little to high and too far forward. So I try the plastic ones and there is just no easy way to make them work and trying to program the steering wheel interface. And they are just too flimsy. So I spend the next two hours fitting and adjusting and drilling holes in the metal brackets and finally get everything to line up. So I hook up all of the wires, jam everything behind the head unit and fire it up. Sound is pretty good. Steering wheel buttons all work except for the voice activation, which I knew wouldn't. Then I press on the brake to move into reverse and the stereo goes out. I let off the brake and then it comes back on. I try it again, same thing. Crap, where's the short. No short, battery is dead. Throw the charger on and try again. Stereo stays on this time, but now we have a new problem. The text on the display for the camera is wrong. It should say image may be inverted because the idiot installer put it in upside down. GRRRRRRRR. I don't think there is enough cable to flip it over so will probably have to pull the hatch apart to get a couple inches of play. And for some reason, the head unit doesn't dim with the lights. One more thing to troubleshoot.

152140d1428139988-stereo-prep-stereo63.jpg


152141d1428139991-stereo-prep-stereo64.jpg


152142d1428139994-stereo-prep-stereo65.jpg


152143d1428139998-stereo-prep-stereo66.jpg


152144d1428140001-stereo-prep-stereo67.jpg
 
Started putting the rest of the interior back in. That radiant barrier makes it a real bear to fit the panels in. And not everything fits right. The separator piece between the back seat and rear carpet won't lay flat. And I can't put the feet covers back on the seats. Will have to see if I can live with the little issues.

Still need to finish balancing the levels on the amp and programming the steering wheel control then I can put the passenger seat back in and finish the dash. Everything will be wrapped up by Monday.

Still need to pick out speakers for the rear and hatch. Thought the stock ones would do for now but they just sound so flat.

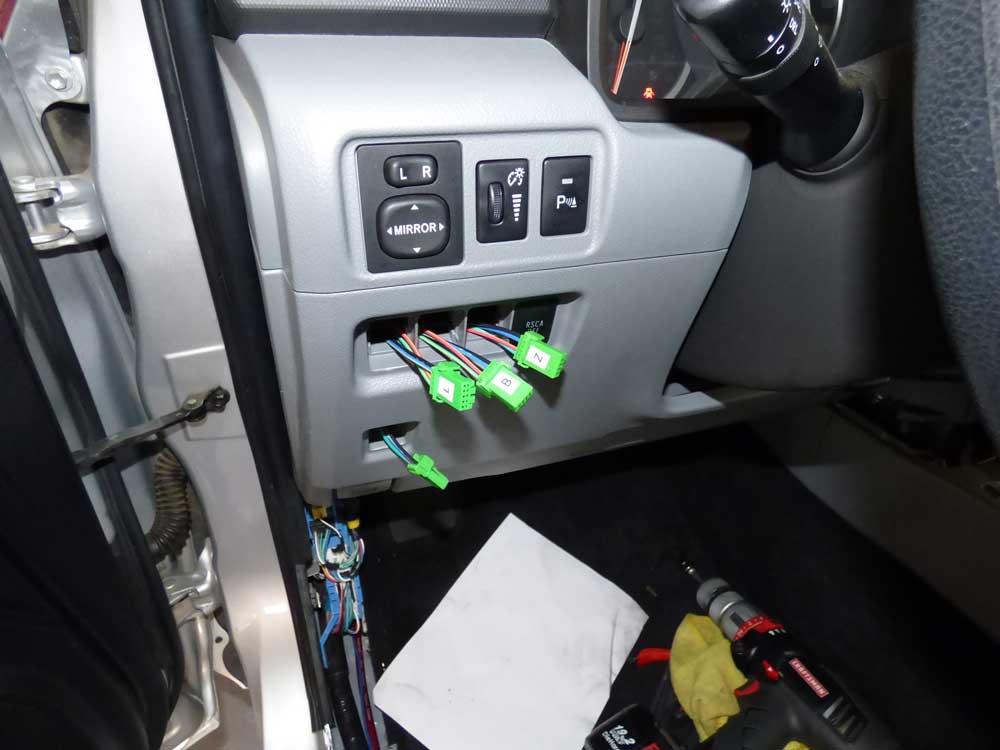
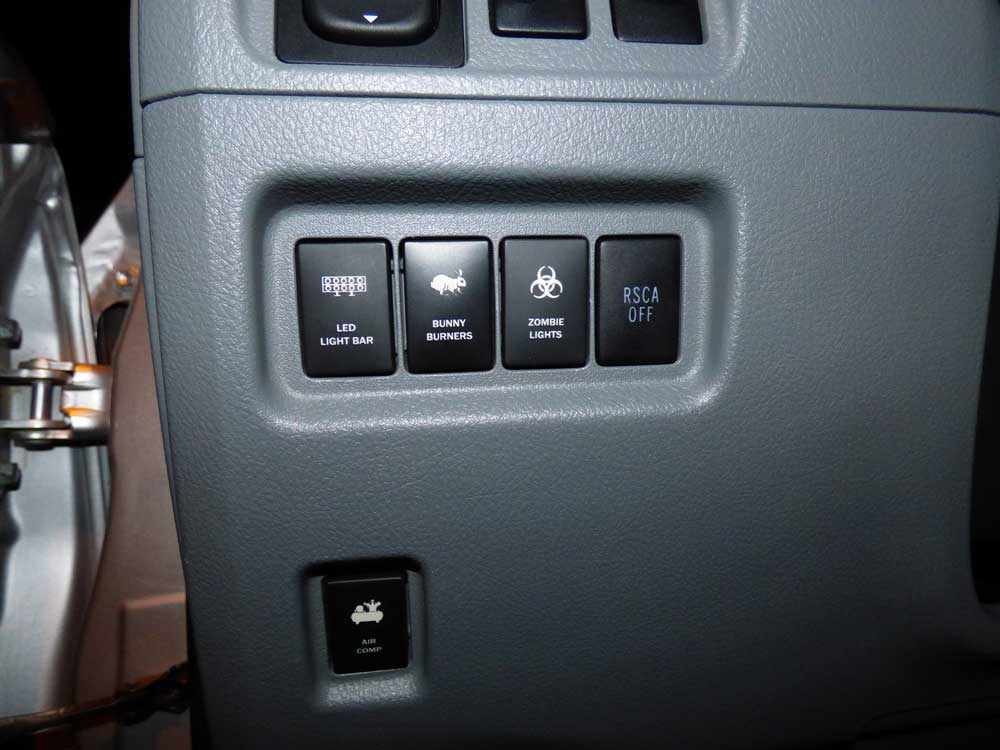
Got the switches installed. Now to get some lights and compressor to hook them up to.

Took it for a drive today just to put on some miles to settle the suspension. It is really quiet at low speeds. But once I hit highway speeds, it is really quiet from the windows down, but sounds like a jet engine above me. That roof rack and light bar are crazy loud. Not sure what to do there. Really like the way it looks, but may have to scrap that part of the project. Will try to create a new fairing and see if that helps, but not counting on it.

153245d1428829807-stereo-prep-stereo68.jpg


153246d1428829810-stereo-prep-stereo69.jpg


153247d1428829814-stereo-prep-stereo70.jpg


153251d1428831250-stereo-prep-stereo70-5.jpg


153252d1428831263-stereo-prep-stereo71.jpg


153253d1428831268-stereo-prep-stereo72.jpg


153254d1428831273-stereo-prep-stereo73.jpg
 
Got it wrapped up today. (4/12/15) Happy to be done with this project for now. Still more to do later.

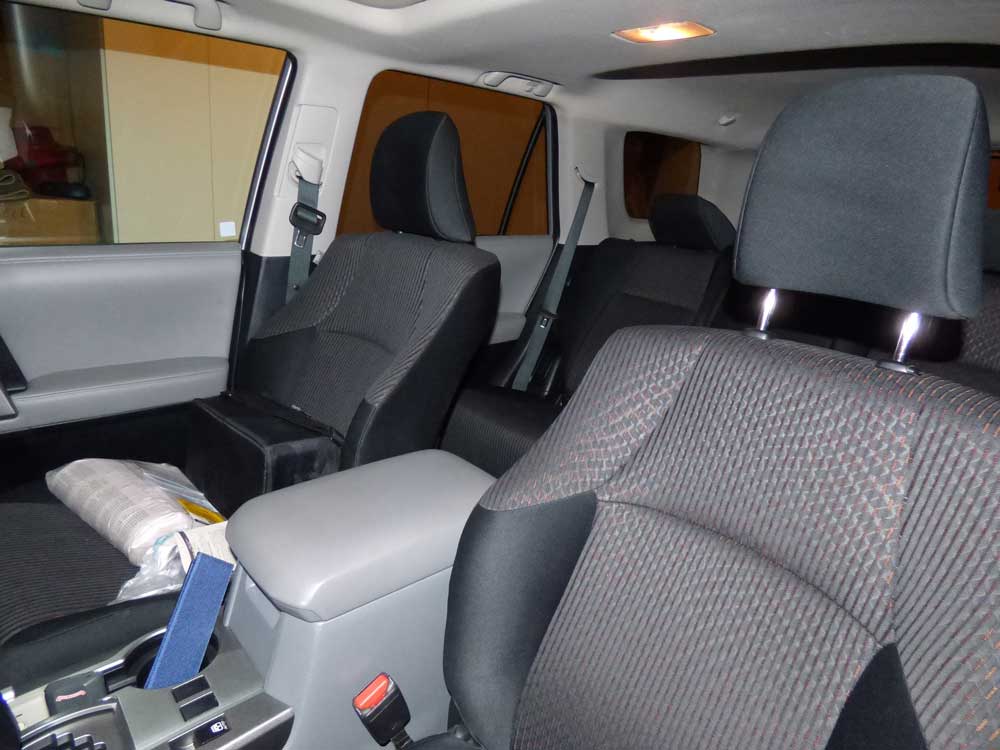
Proof that I got the interior back together (mostly)

I decided to paint the trim black. I like it better than the silver but not sure I love it. May wrap it with some vinyl and try some different looks. For now, it is more than functional.

153377d1428906898-stereo-prep-stereo74.jpg


153378d1428906902-stereo-prep-stereo75.jpg


153379d1428906905-stereo-prep-stereo76.jpg


153380d1428906908-stereo-prep-stereo77.jpg


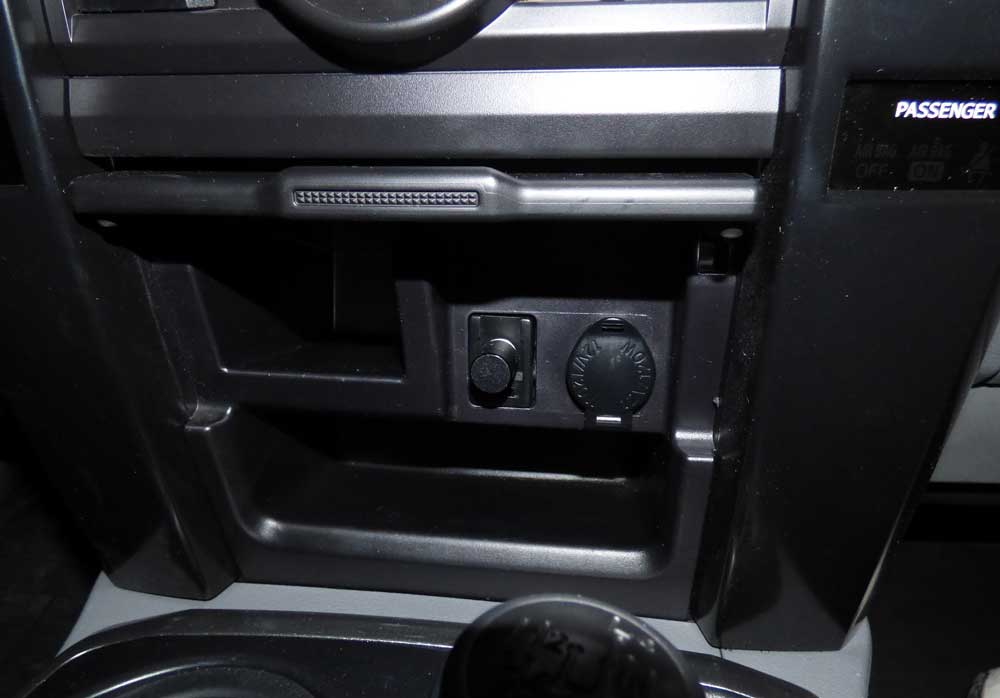
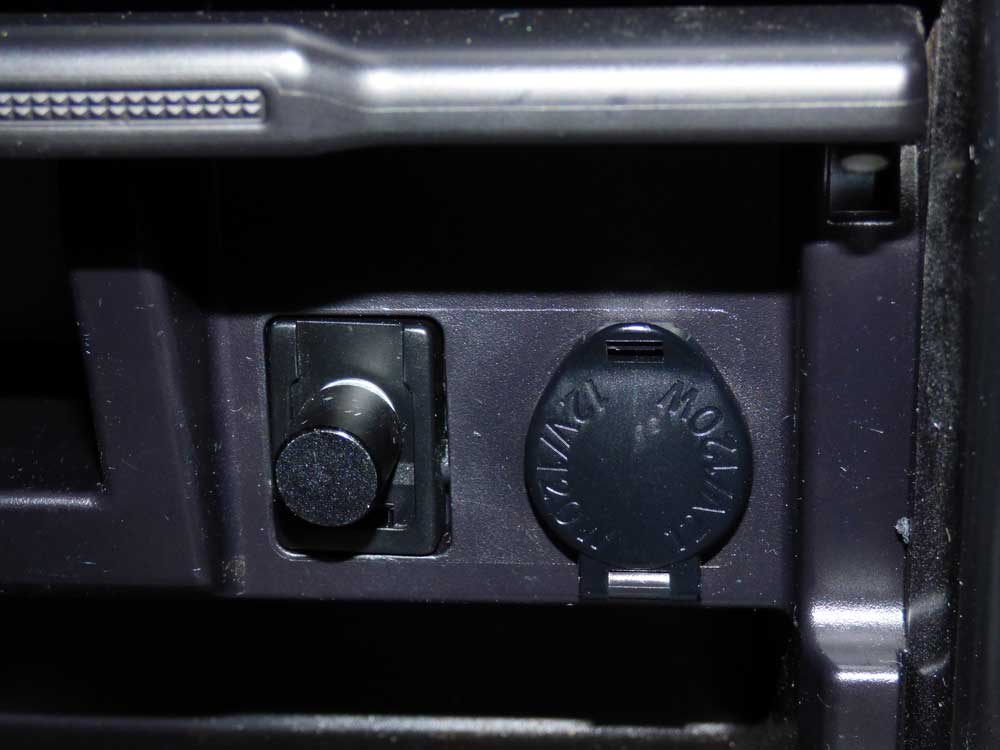
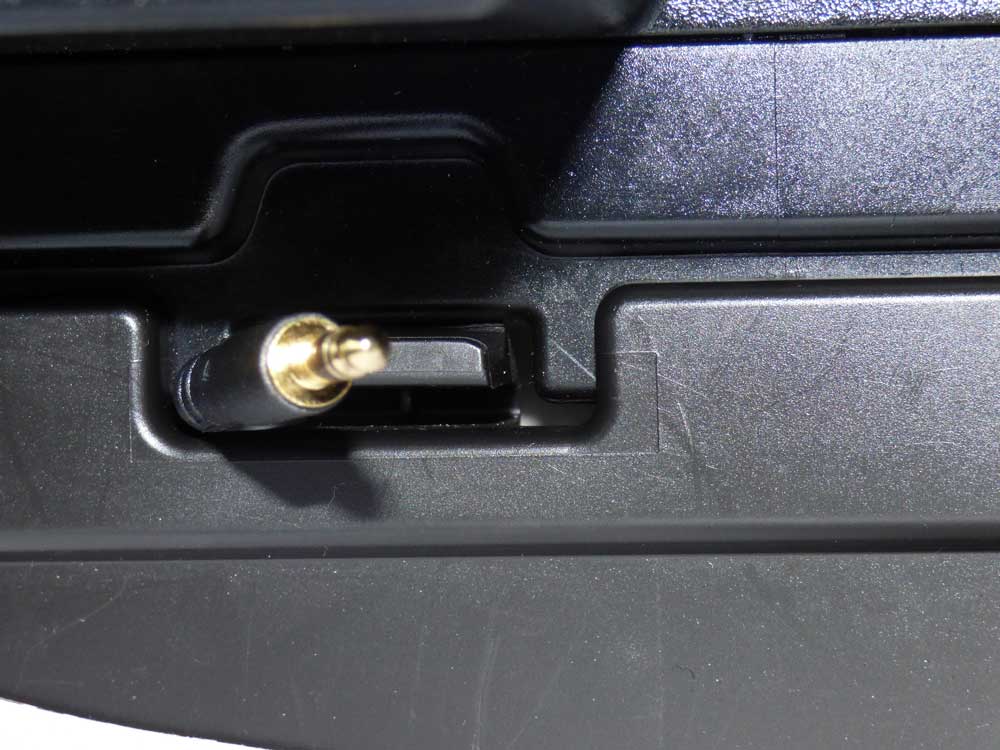
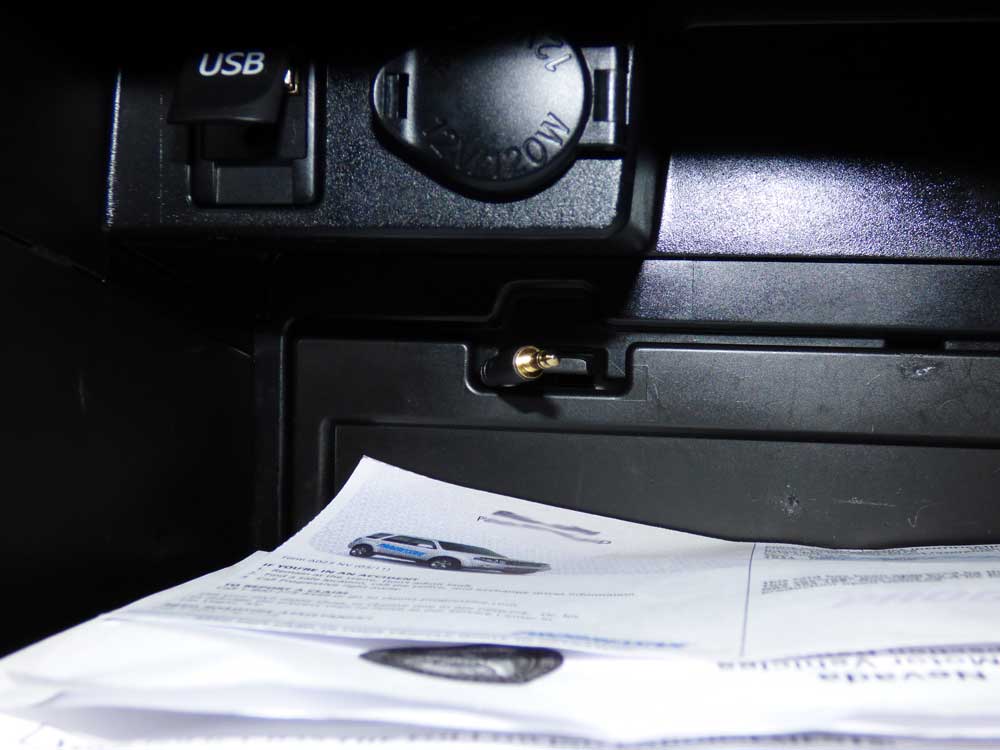
In the process of the swap, I lost the aux input below the stereo. Didn't want to pay the $15 for the adapter for something I may never use. I needed a place for the sub control and that looked like a good area. It took a lot of patience and some detailed trimming but was able to pull the circuit board and knob out of the control box and mount it into the aux input panel. I kind of like it there.

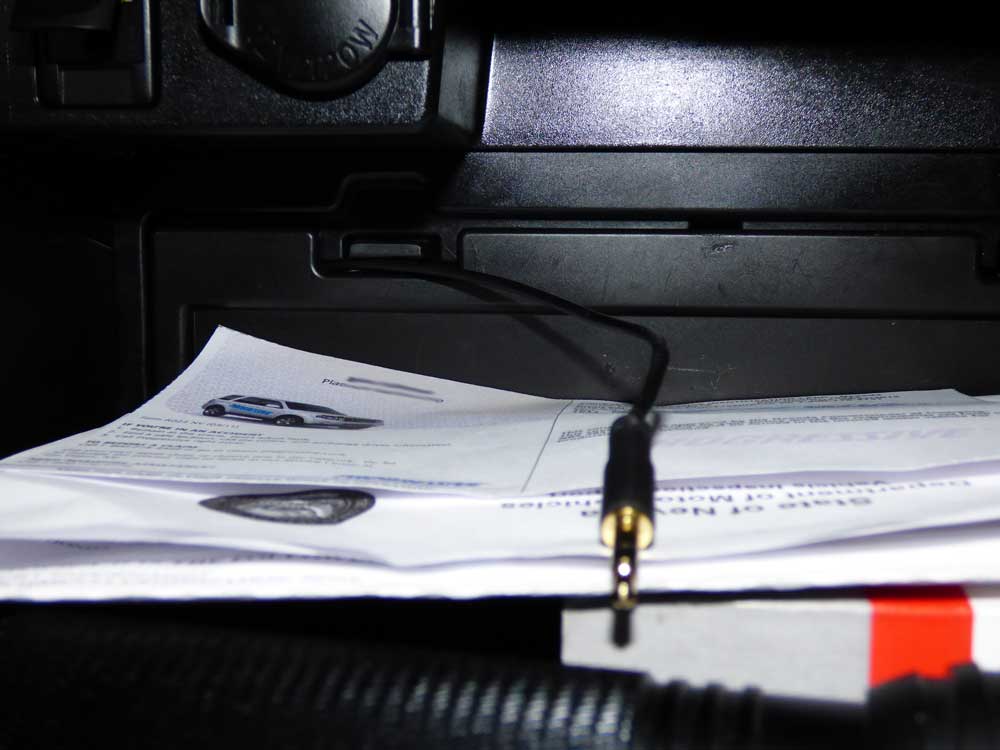
But since I didn't completely want to lose the possibility of using the Aux in, I found a very thin 1.5' cable on Amazon. I was able to route it behind the glove box and there is enough room around the cabin filter access door clip for it to slide through. It's out of the way, but still easy to get to. And no trimming required.

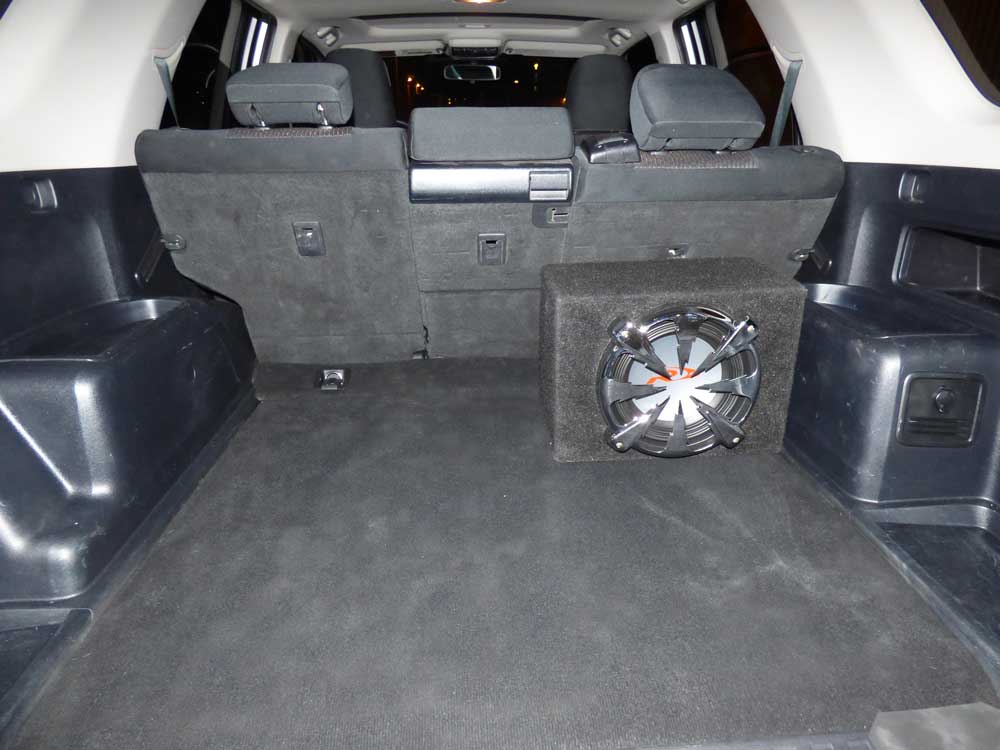
The sub is a 10" Alpine Type R DVC in a sealed box.

Thanks to those who followed along in this great mis-adventure

153382d1428907391-stereo-prep-stereo78.jpg


153383d1428907394-stereo-prep-stereo79.jpg


153384d1428907397-stereo-prep-stereo80.jpg


153385d1428907400-stereo-prep-stereo81.jpg


153386d1428907404-stereo-prep-stereo82g.jpg


153387d1428907407-stereo-prep-stereo83.jpg


153388d1428907410-stereo-prep-stereo84.jpg
 
Sleekster Sliders

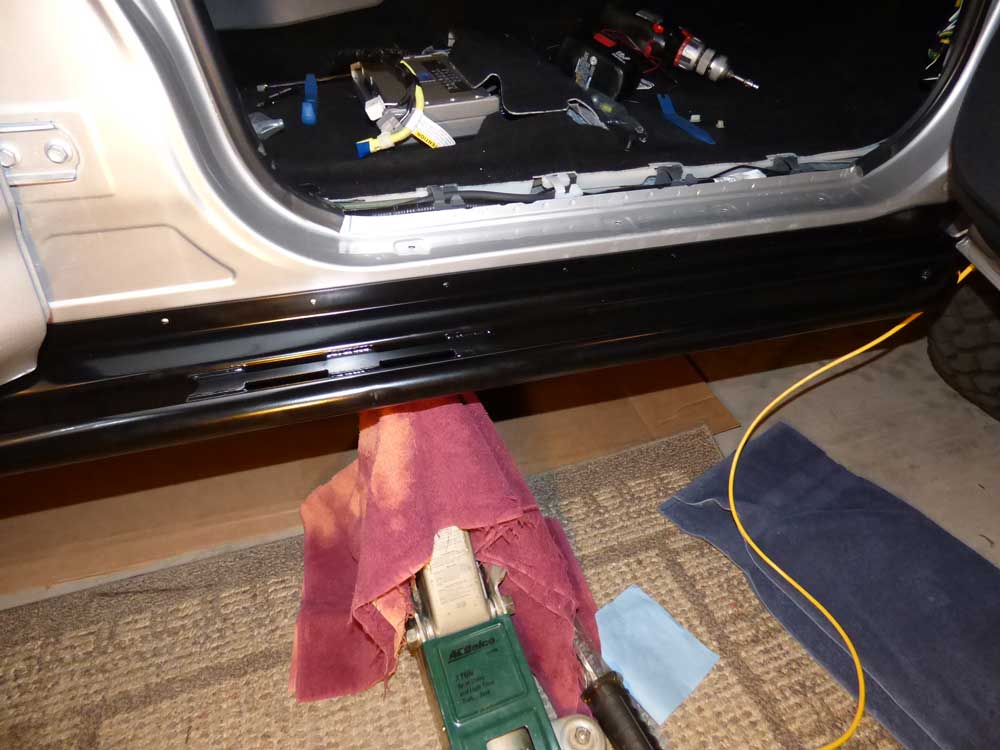
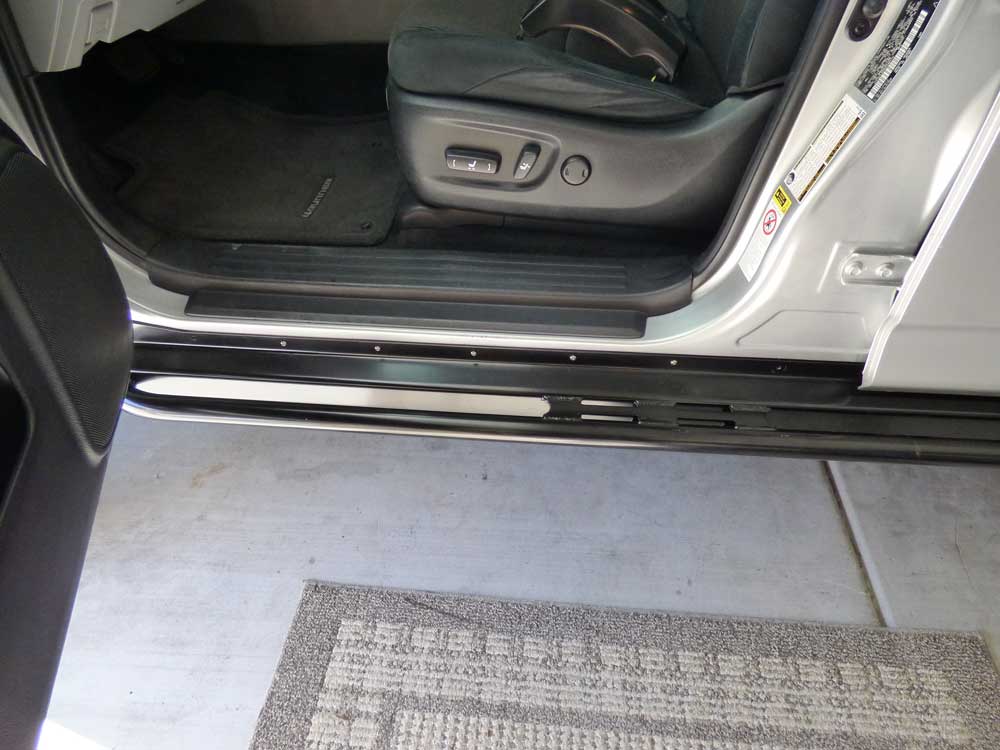
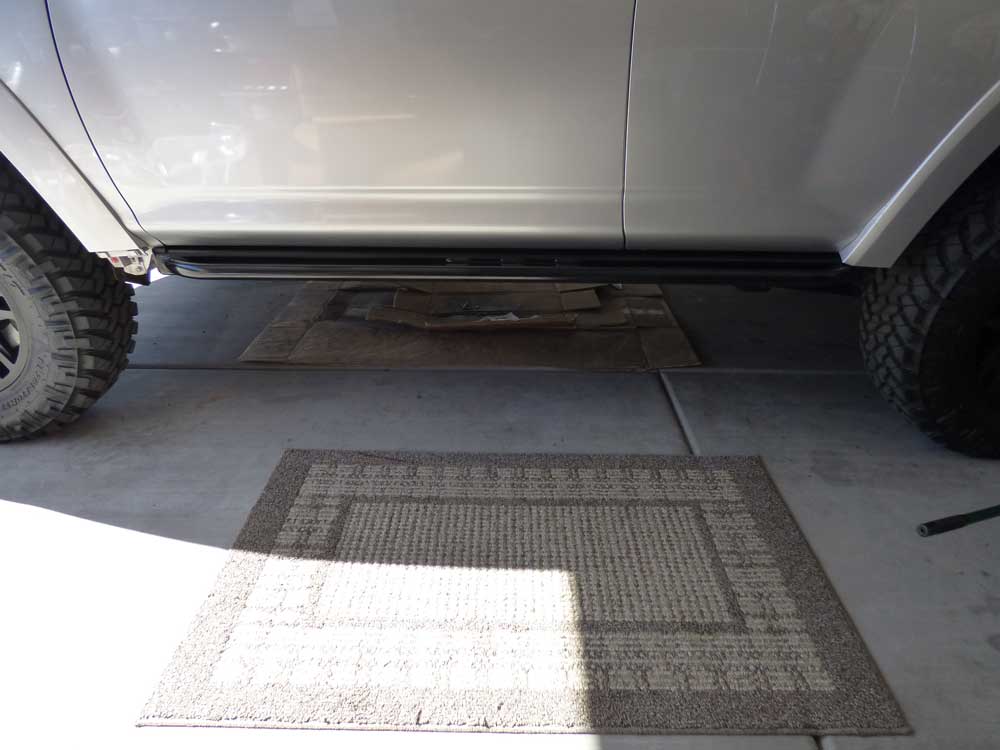
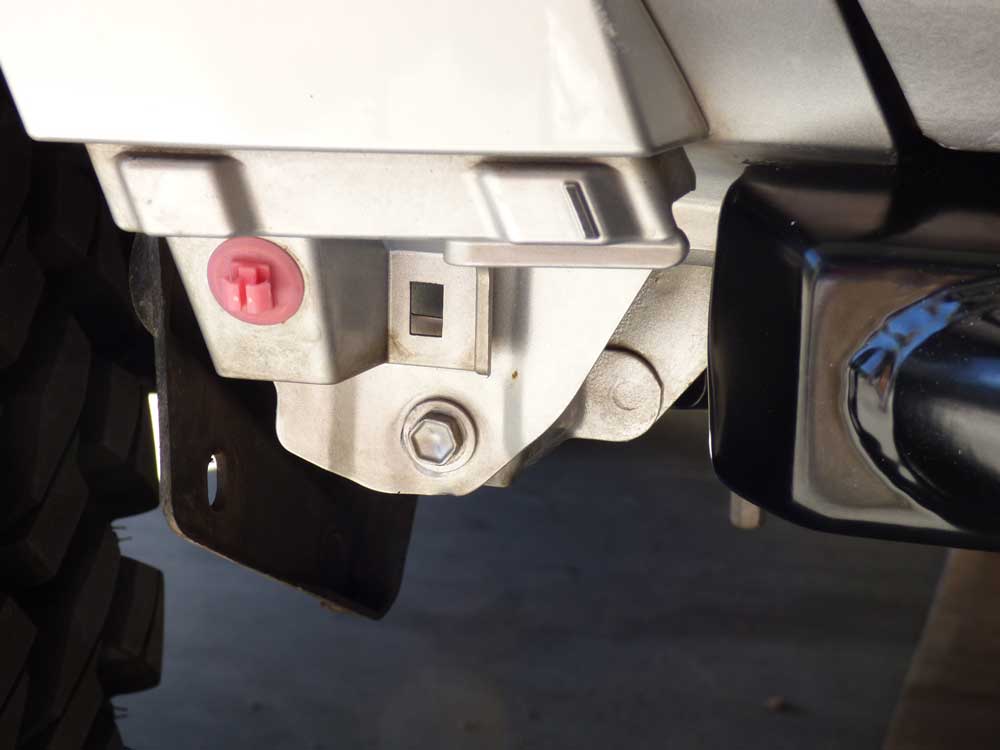
I finally picked out some sliders and got them installed. I chose the Sleekster sliders from RED as I have used this style of slider before on my Jeep, and I like that they tucked up tight and didn't require cutting the rocker panel (it is completely removed) or any type of filler panel (except for two end caps that Toyota charged $30 apiece for)

Following the advice on one of the threads I decided to use Rivet Nuts instead of rivets to mount the upper part. Although it may allow me to remove them later for cleaning, it made it almost impossible to install them in the perfect spots. Because the holes don't necessarily line up with flat sheet metal, there are a couple that end up on the slope of contoured metal. The end result is that there were a few of the upper holes without bolts in them. As these are not really for structural support, I think I will be OK.

153389d1428912903-sleekster-sliders-slider2.jpg


153390d1428912906-sleekster-sliders-slider3.jpg


153391d1428912913-sleekster-sliders-slider4.jpg


153392d1428912918-sleekster-sliders-slider5.jpg


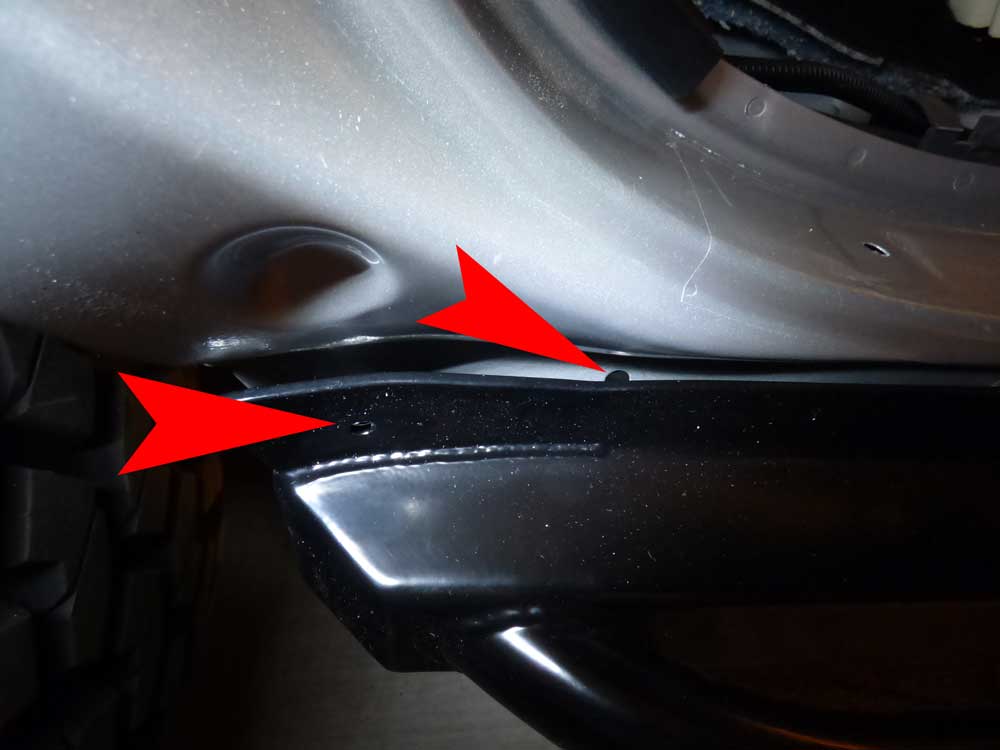
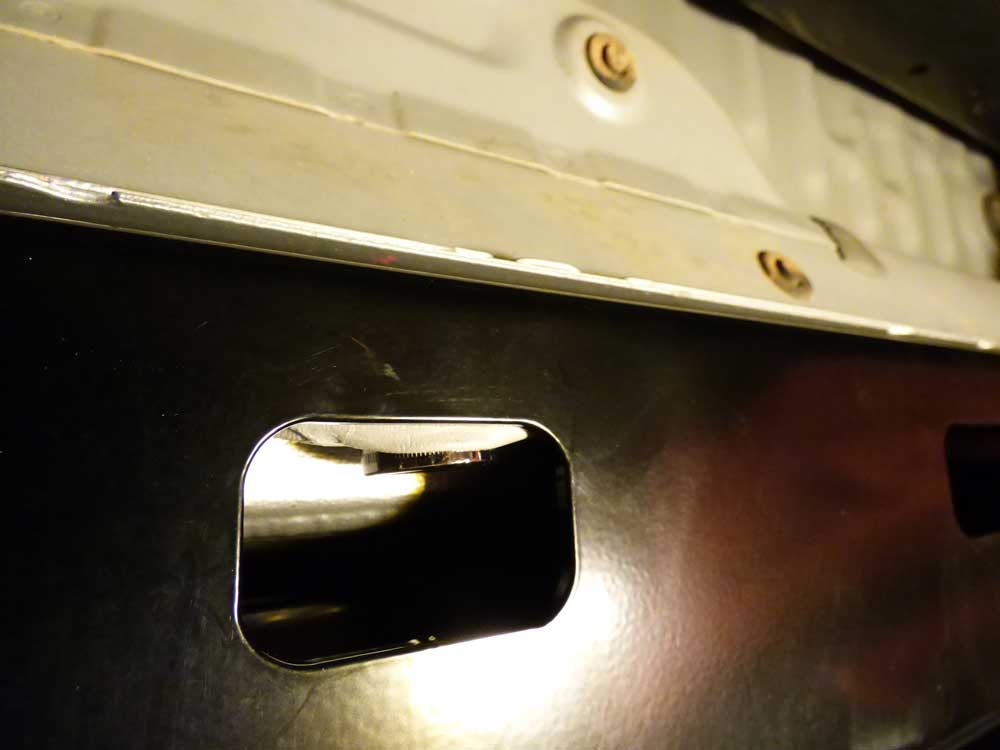
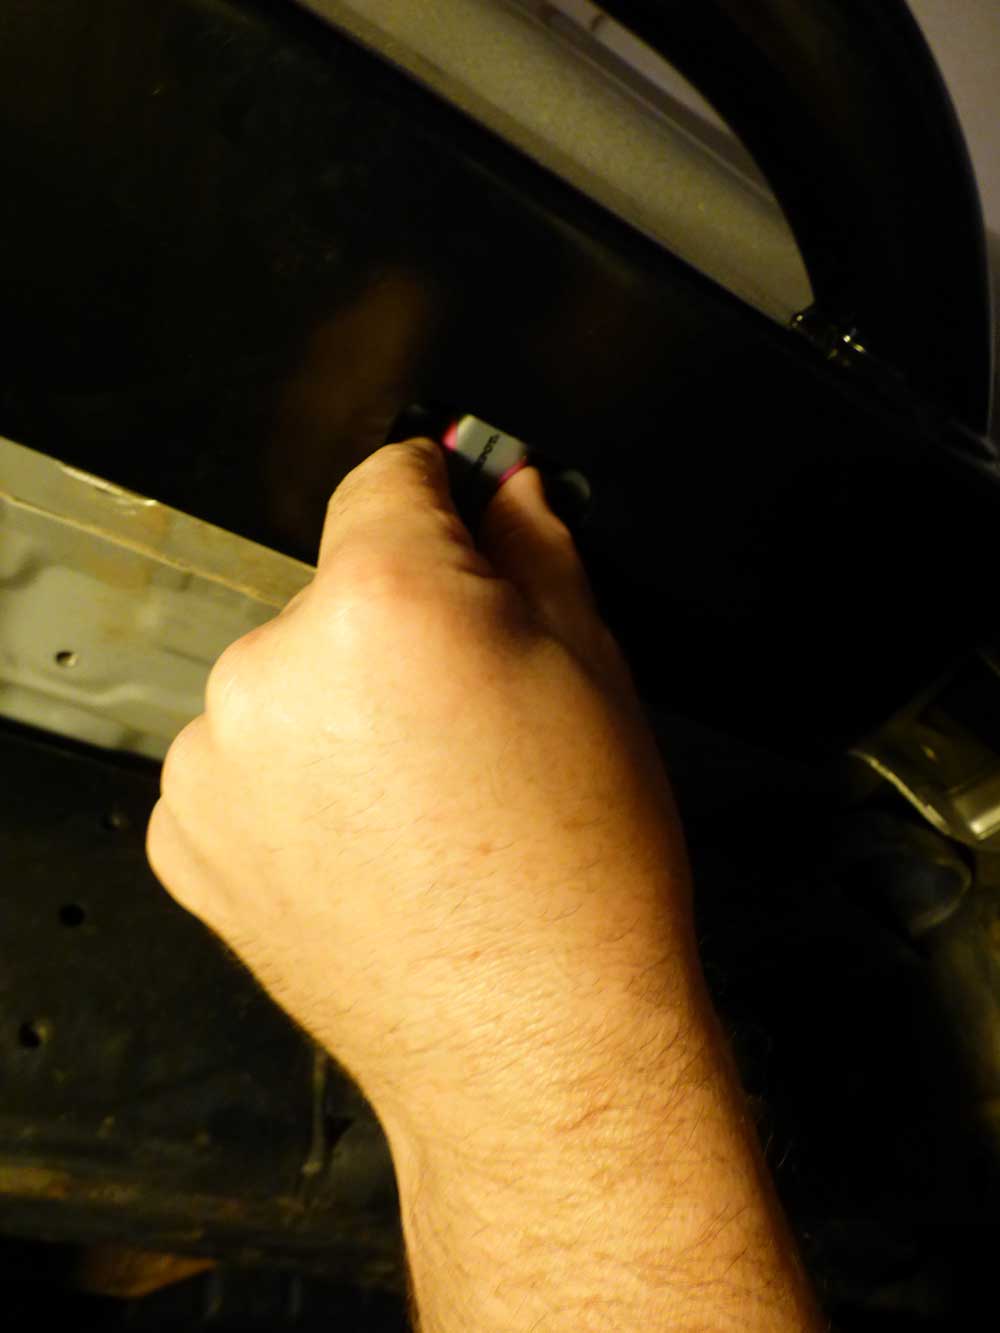
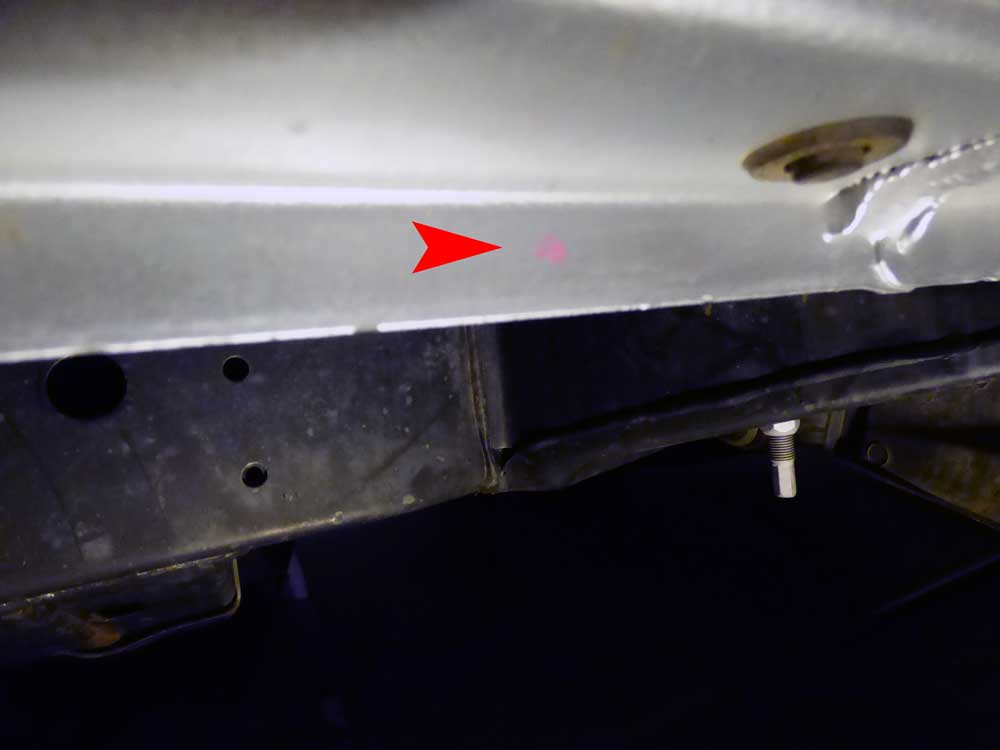
Install requires marking holes on the pinch seam through small windows on the bottom of the sliders. There is very little room to work with and if you hands are any bigger the a 4 year olds, you will have trouble.

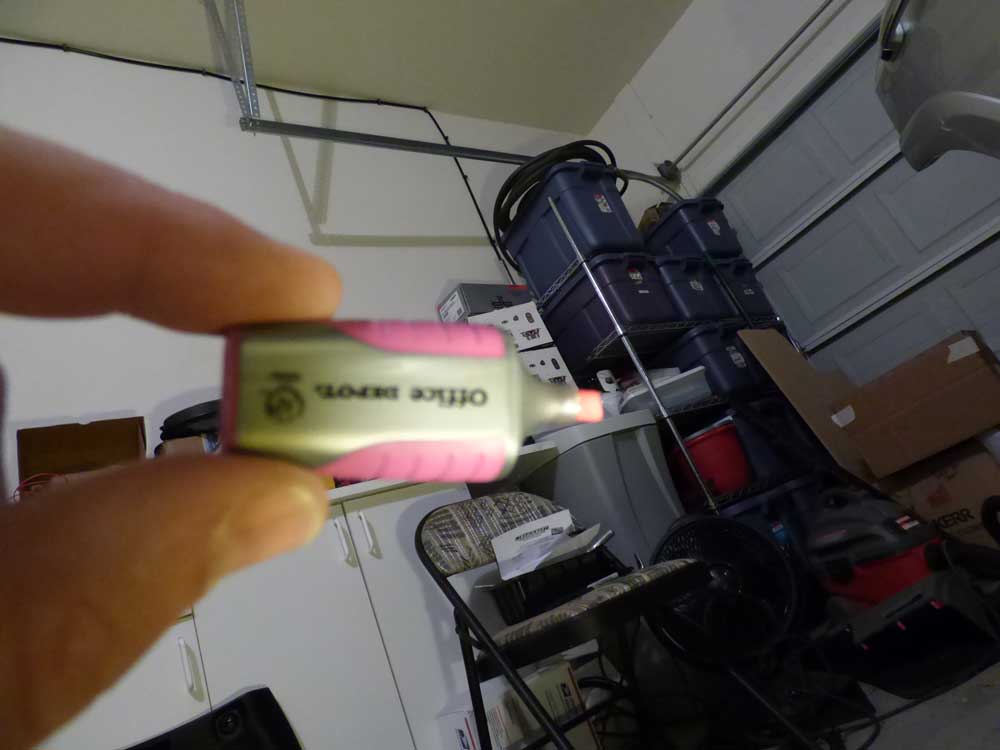
I found a small highlighter that I had that worked pretty well. Other than a few holes not lining up correctly, the install went pretty well.

The instructions say that the rear upper hole lines up with a hole that the rocker panel uses. This is not the case on an SR5. You have to drill out that hole as well. I believe they will be updating their instructions to clarify this.

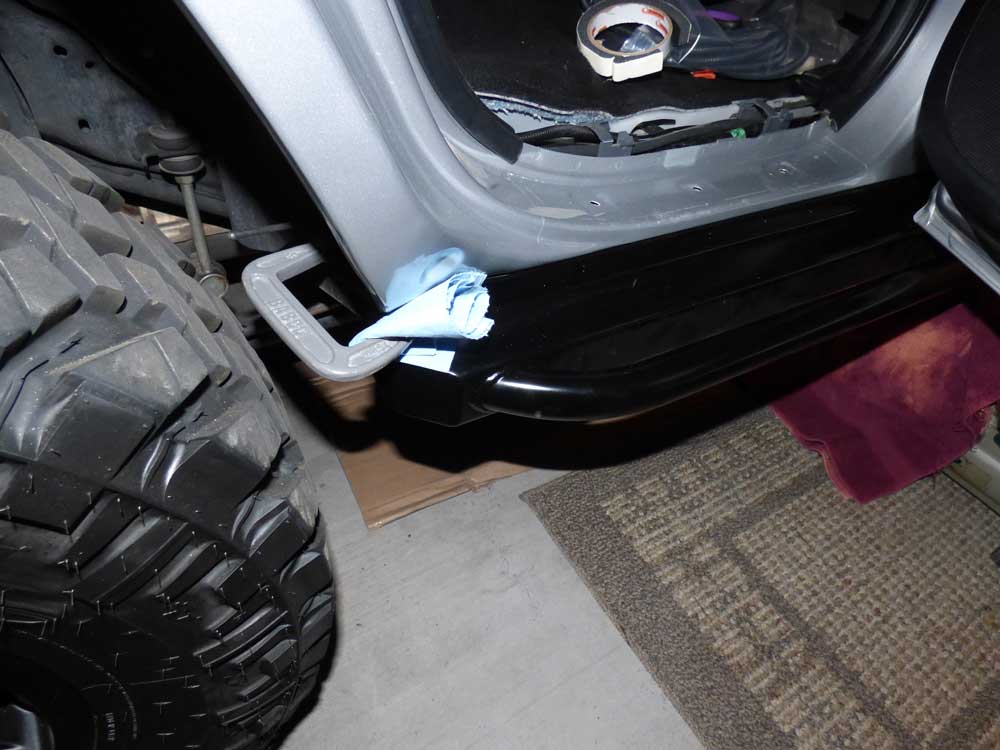
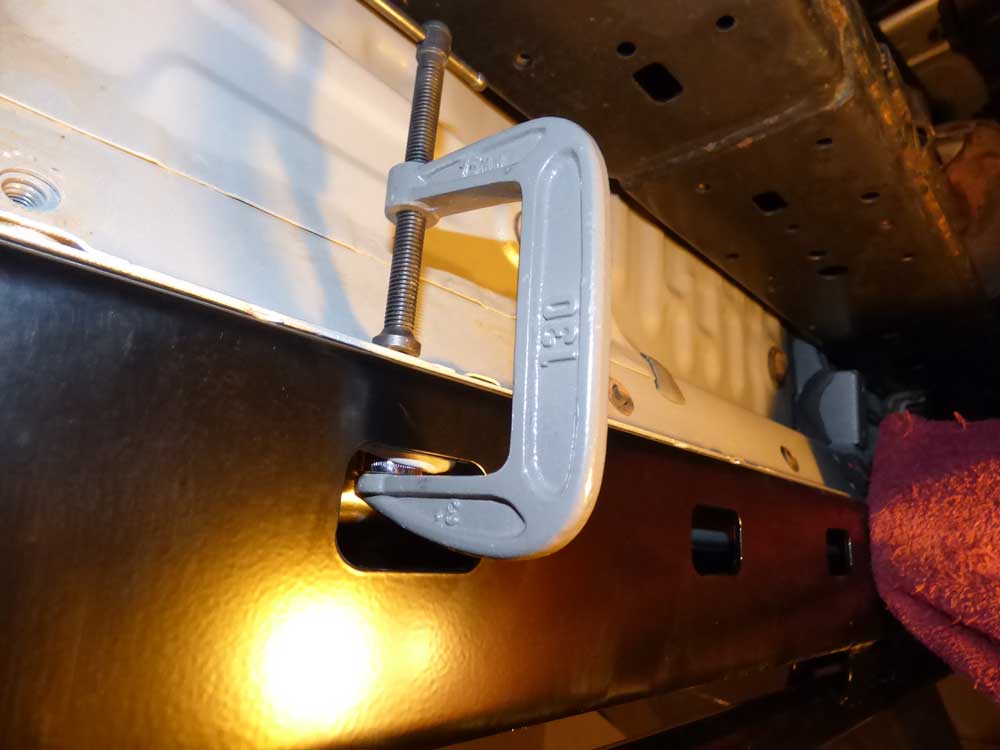
You have to clamp the slider to the body while you mark it. Since my clamp wouldn't reach the body through the little window, I used a socket with some duct tape on it (to keep it from rolling down the slider)

153393d1428912920-sleekster-sliders-slider6.jpg


153394d1428912924-sleekster-sliders-slider7.jpg


153399d1428913439-sleekster-sliders-slider8.jpg


153400d1428913443-sleekster-sliders-slider9.jpg


153401d1428913446-sleekster-sliders-slider10.jpg


153402d1428913449-sleekster-sliders-slider11.jpg


153403d1428913452-sleekster-sliders-slider12jpg.jpg
 
Last edited:
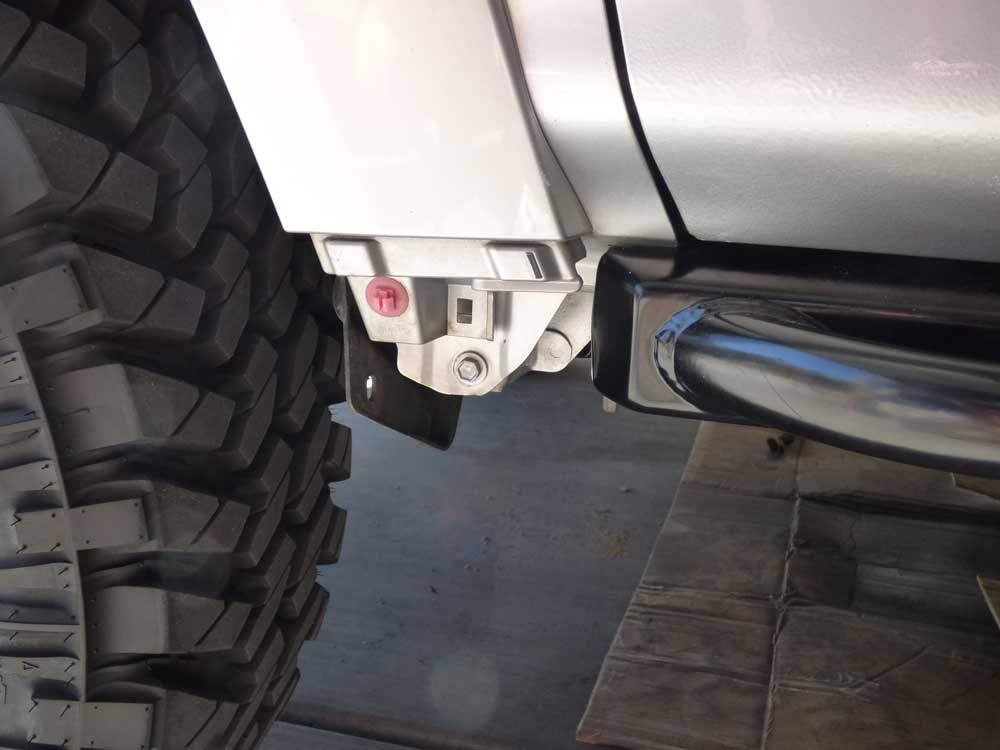
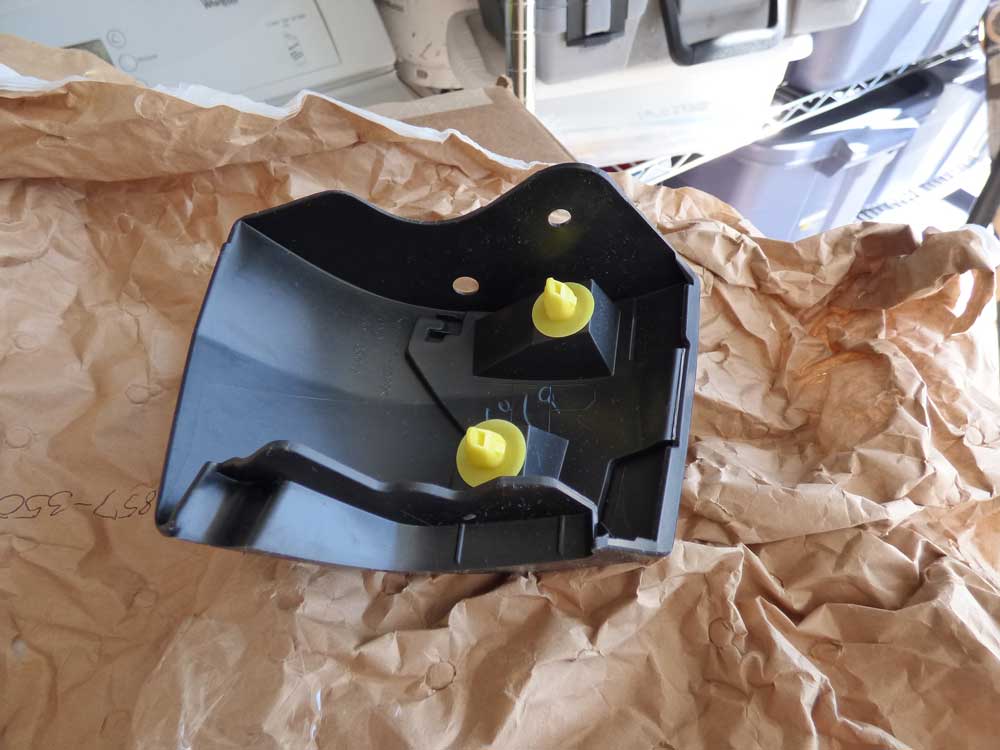
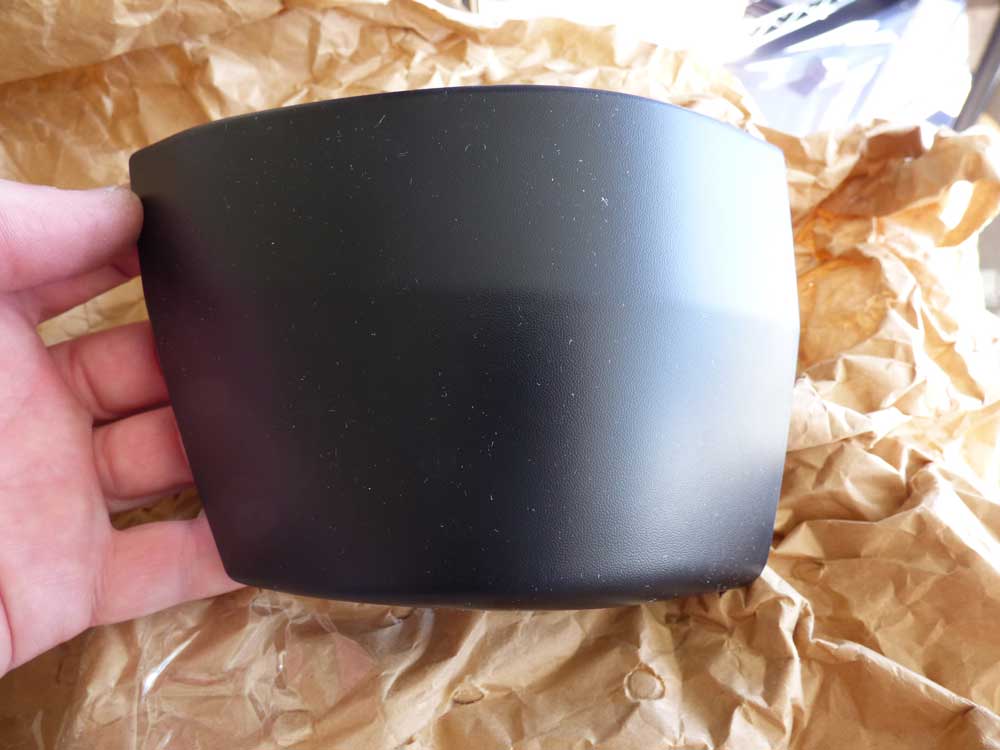
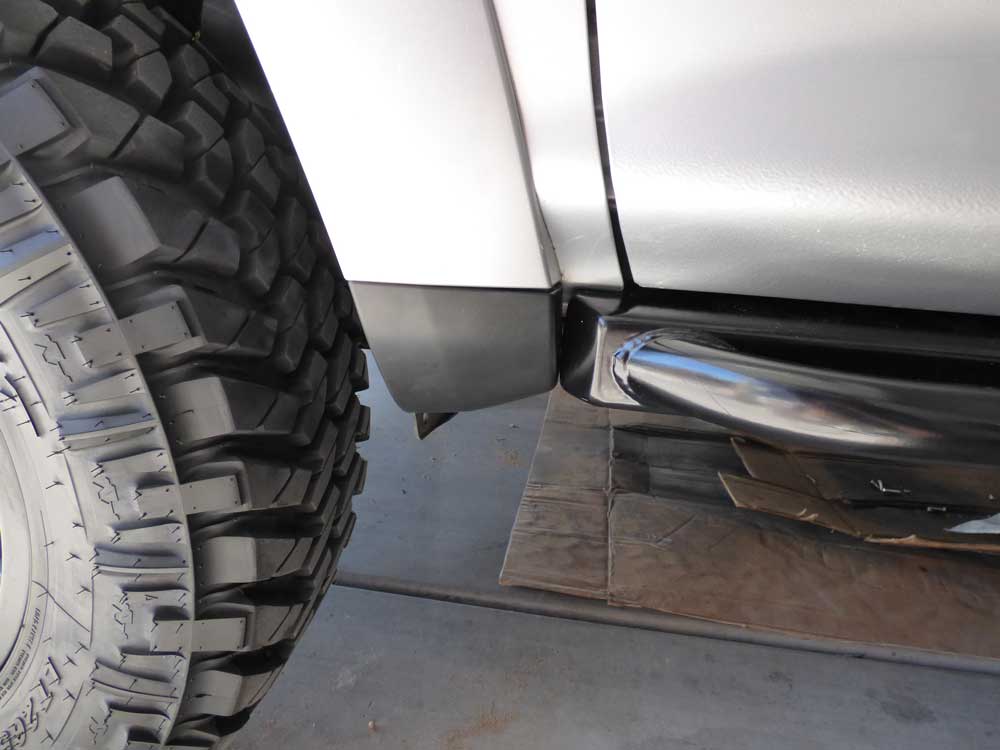
Can't say I am pleased with the fit of the end cap. No matter how hard I tried, I could not get the slider side to fit completely flush. Not positive why it won't snap into place. It's not going to fall off as it is screwed in from the front as well as clipped. (the image shows two clips. On the SR5 only one fits. The other may fit on the 2014 and up which is what these are for)

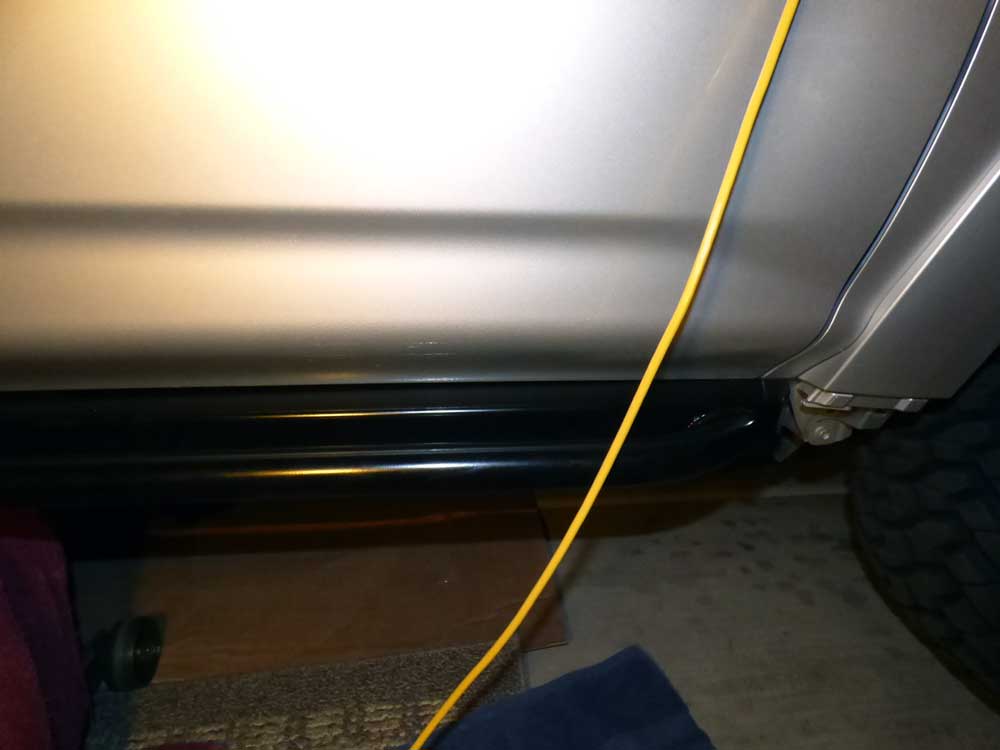
Overall I really like the looks of these. They are not really functional as a step up since they are nearly at the door sill height. There is just enough room to get a couple of toes on to reach the roof, but it's a little awkward.

153406d1428913580-sleekster-sliders-slider13.jpg


153407d1428913584-sleekster-sliders-slider14.jpg


153408d1428913587-sleekster-sliders-slider15.jpg


153409d1428913590-sleekster-sliders-slider16.jpg


153410d1428913595-sleekster-sliders-slider17.jpg


Was informed there is a way to fix the end caps. I have yet to do it, but will someday.
Check out this thread:

http://www.toyota-4runner.org/5th-gen-t4rs/150296-2014-trail-rocker-trim.html

I remember someone talking about the fit of that cap, and what they had to do to make it work.
 
Altitude Adjustment

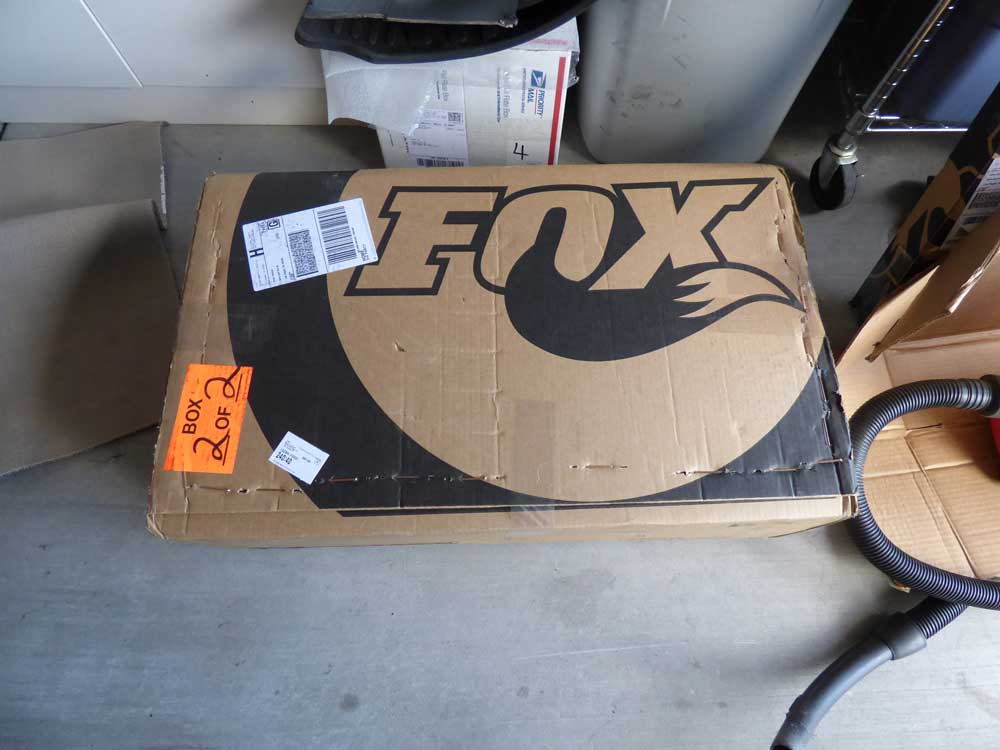
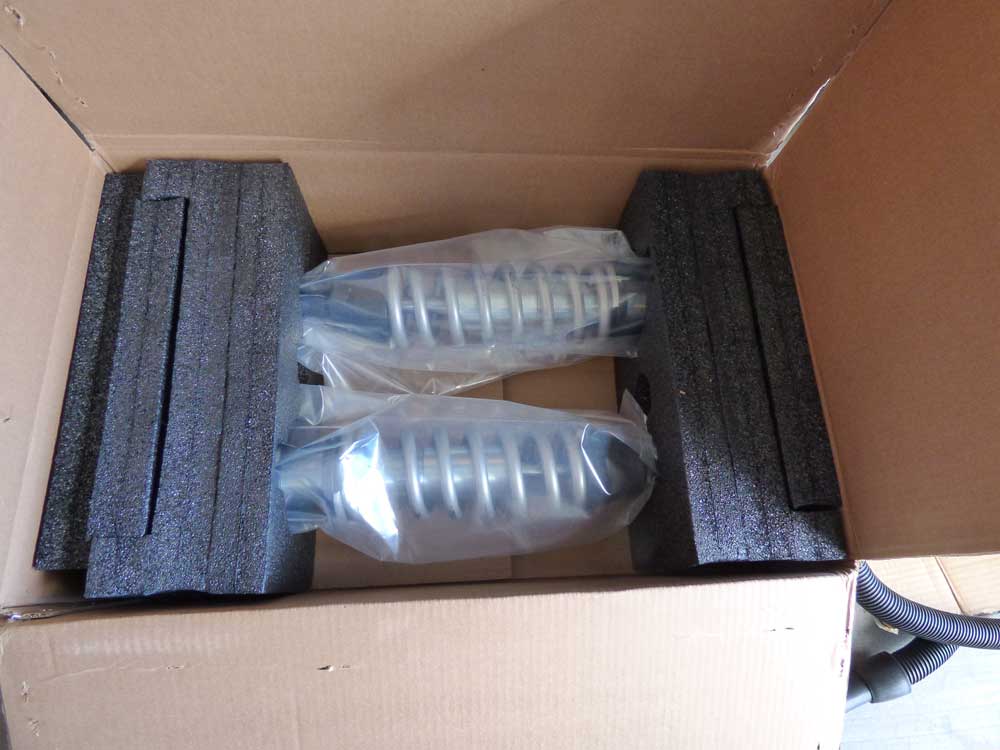
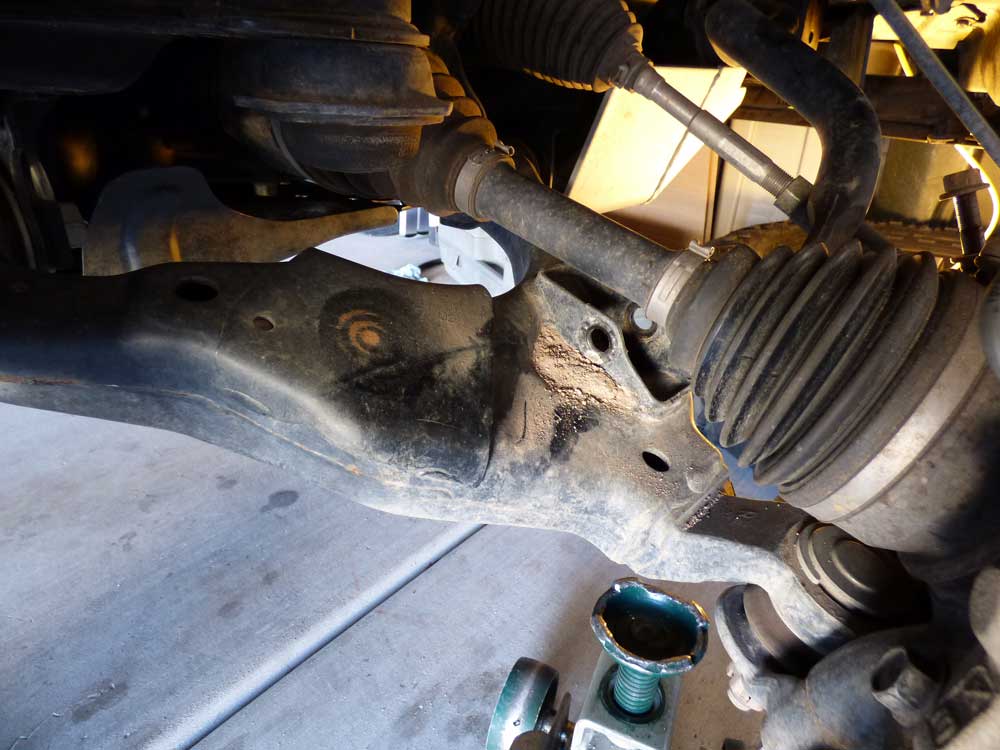
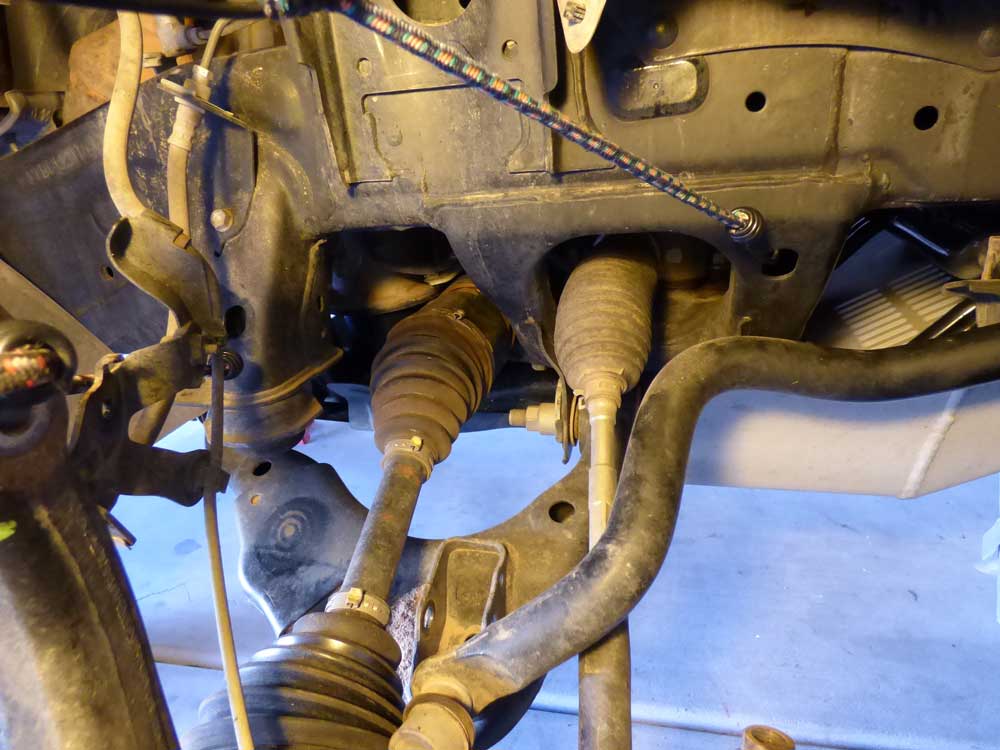
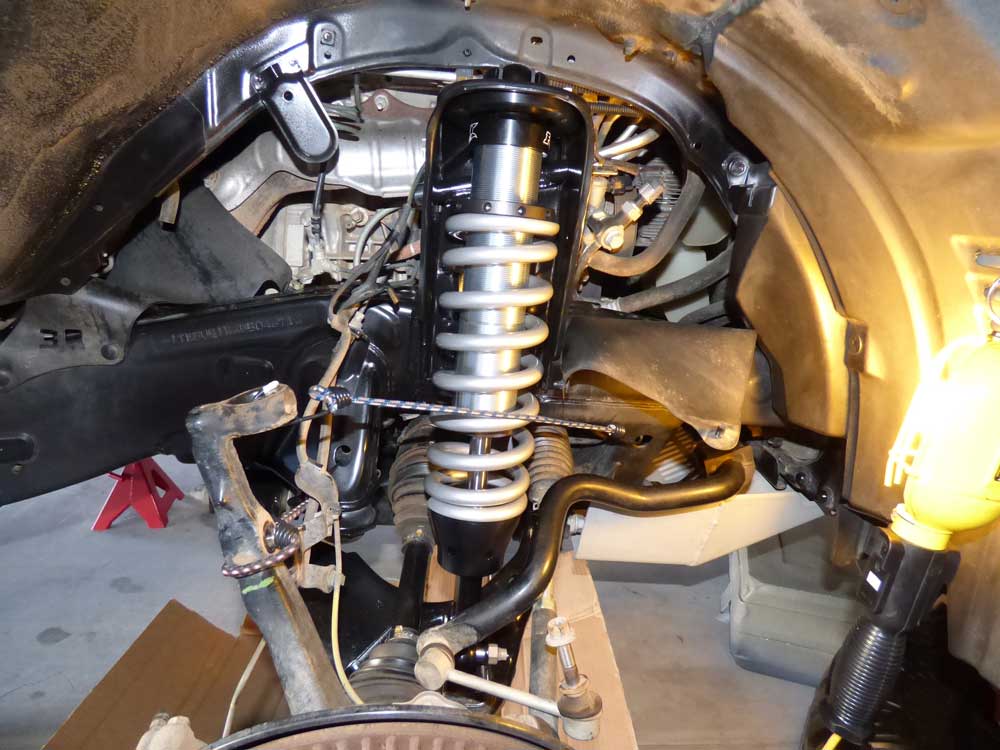
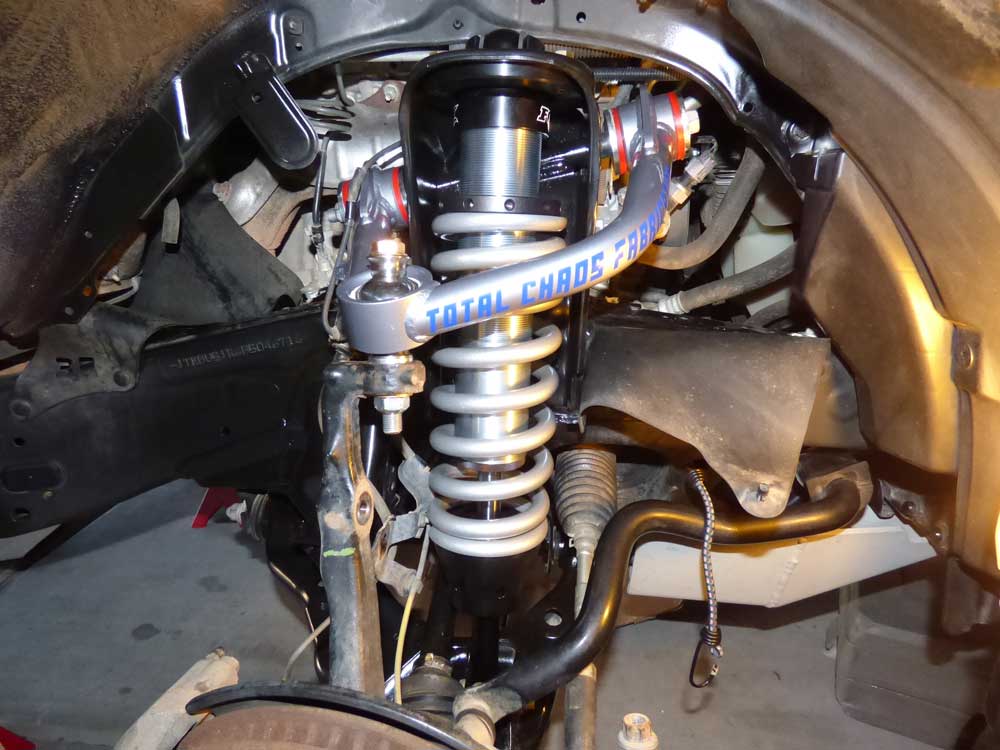
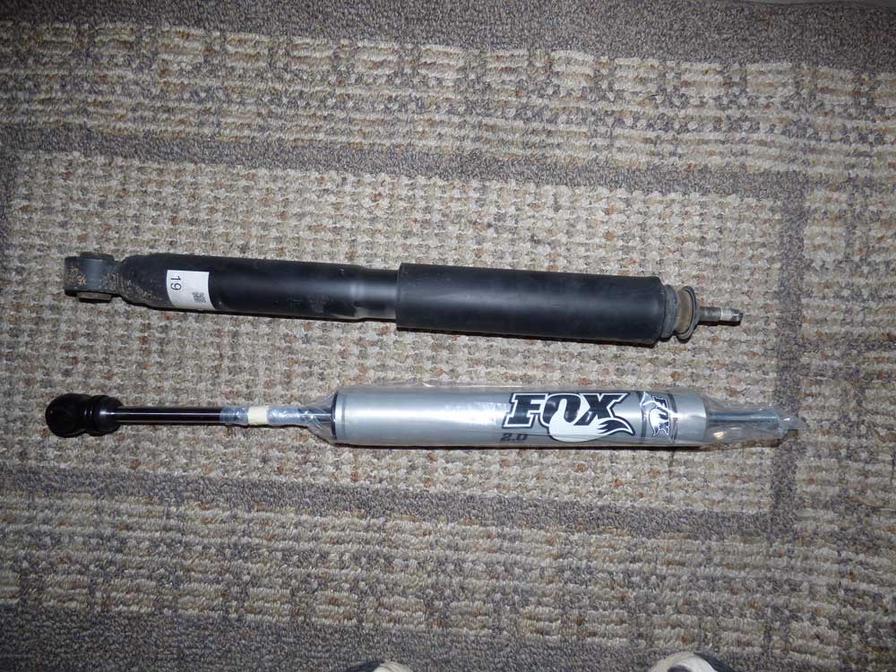
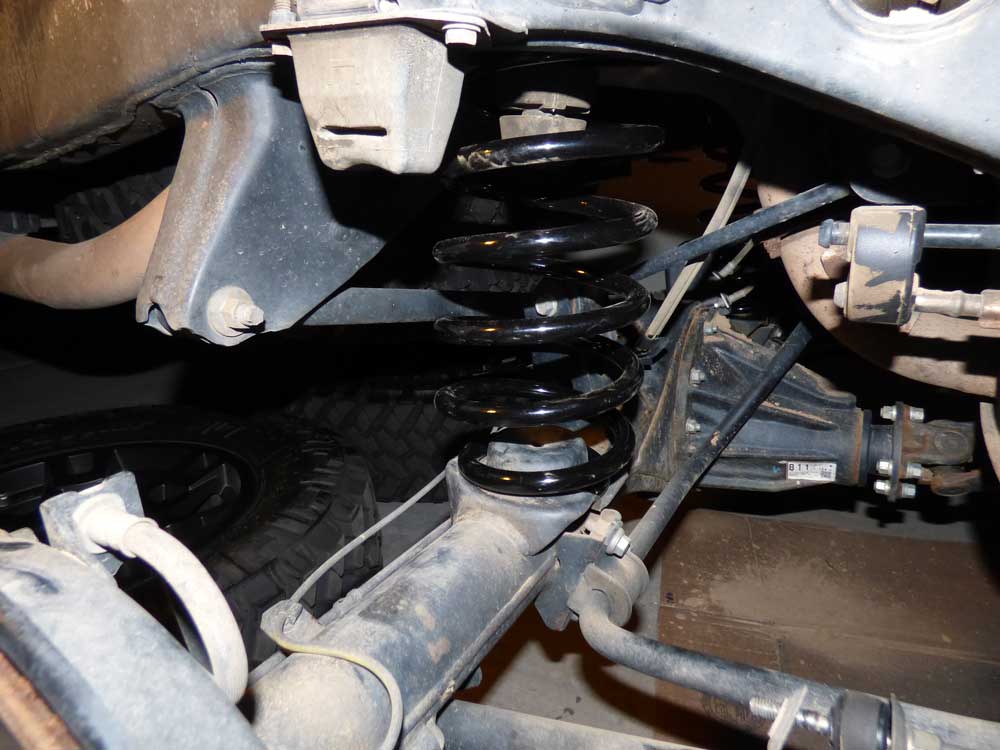
So after making a few offers on lifts in the classifieds, I ended up ordering some Fox 2.5 Factory Series Coil-overs and Fox 2.0 rear shocks. Picked up some Superflex rear coils and Total Chaos UCAs.
Did a 25 hour install marathon. (2 hours cleaning for every 30 min of wrenching)

Took breaks to get new jack stands, longer bolts for the front skid, meals and a run to Walmart for butterfly closures for the gash in my head.
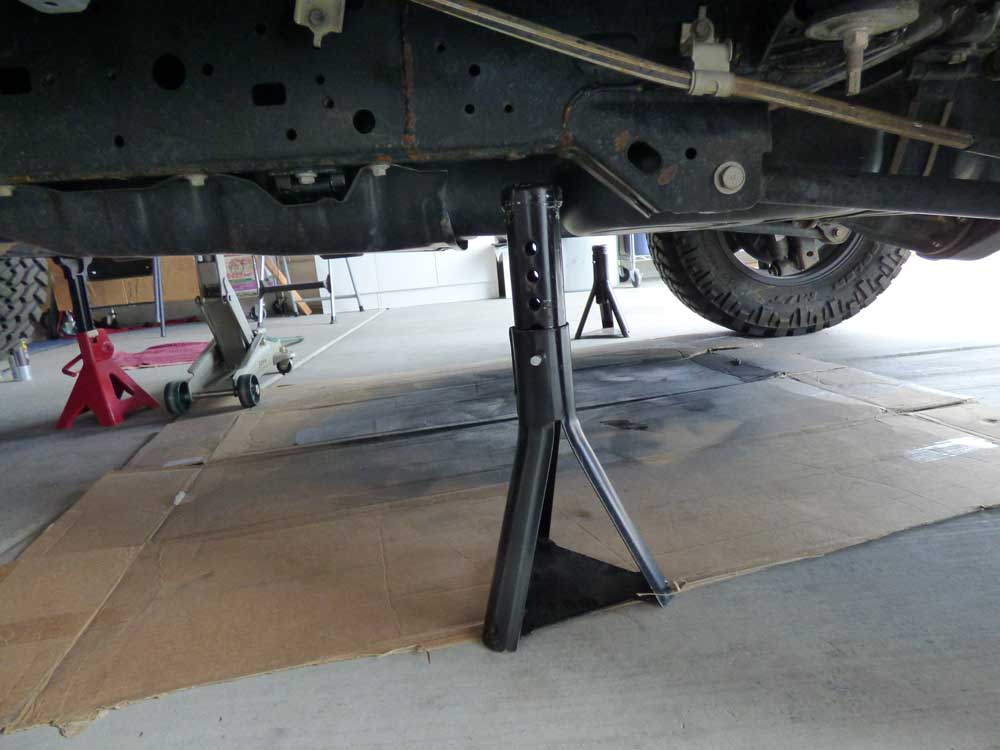
Found out my jack stands were too short. One set worked on the cross member, but the other was 4 inches too short, so picked up some 4 ton that would reach. But the old shorter ones I used, nearly failed on me and I was within a few yanks on the wrench from being crushed under the engine bay. Guess I will be replacing those as well.

Install went pretty well. Took longer as I was working all night so kept having to open and close the garage door to get around the vehicle. (I really hate those built in cabinets.) That slowed me down a lot.

Fox was kind enough to not include a spanner wrench with the coil overs. Went to 4-wheel parts to pick one up. They don't stock them. 3 - 5 days to order one. I need it by Monday. Leaving Tuesday. Only one other place in town that might carry them, Nevada Off-road and Buggy to the rescue. They have them in stock and actually have the steel ones so didn't have to lay out $50 for an aluminum one that I would probably break.

It rides much better. Not nearly as floppy as the stock setup was.

153213d1428826267-fox-lift-lift01.jpg


153214d1428826270-fox-lift-lift02.jpg


153215d1428826272-fox-lift-lift03.jpg


153216d1428826275-fox-lift-lift04.jpg


153217d1428826279-fox-lift-lift05pg.jpg


153218d1428826282-fox-lift-lift06jpg.jpg


153219d1428826288-fox-lift-lift07.jpg
 
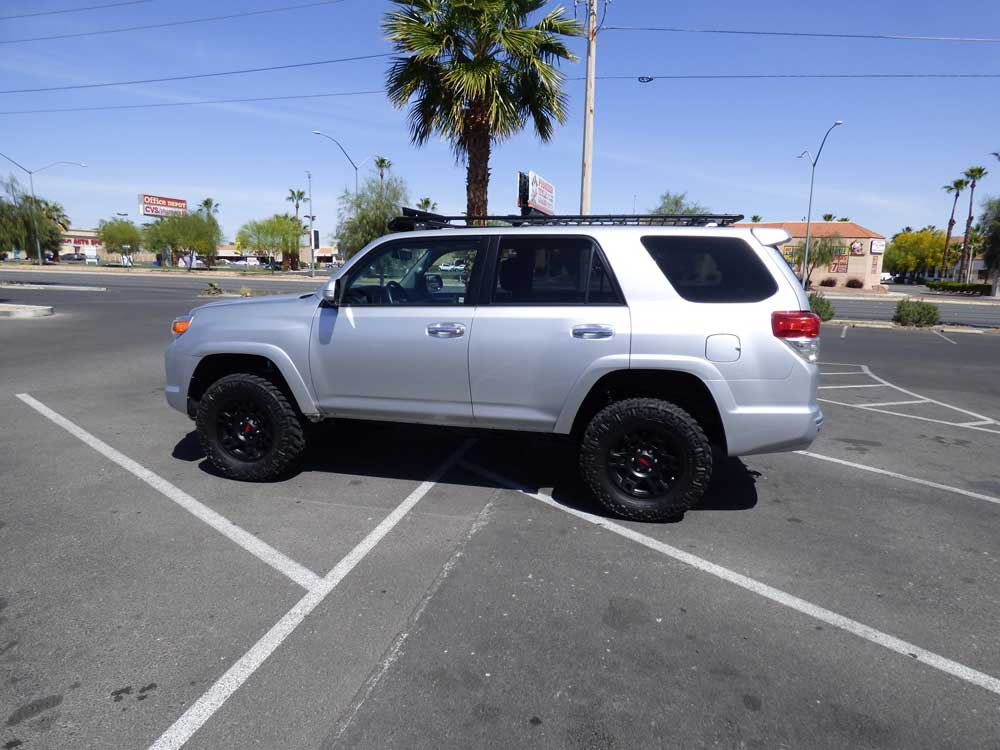
Before and after pics

153234d1428826666-fox-lift-lift30-before.jpg


153235d1428826671-fox-lift-lift30-after.jpg


153236d1428826705-fox-lift-lift31-before.jpg


153237d1428826709-fox-lift-lift31-after.jpg


153238d1428826714-fox-lift-lift32-before.jpg


153239d1428826719-fox-lift-lift32-after.jpg


153240d1428826723-fox-lift-lift33-before.jpg


153241d1428826728-fox-lift-lift33-afterjpg.jpg


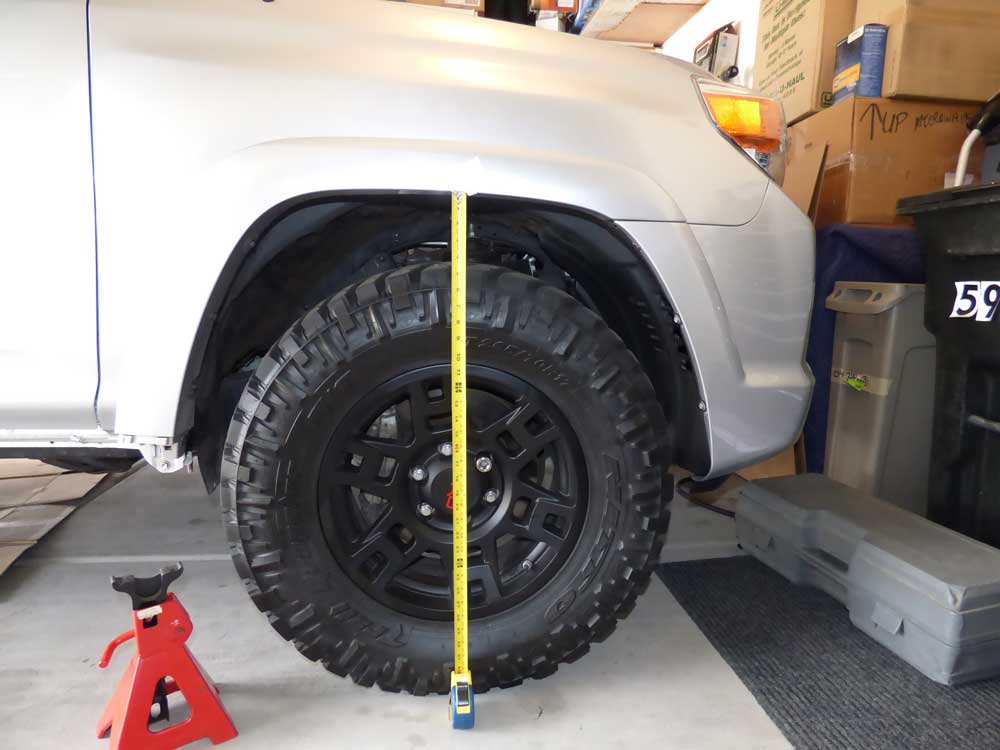
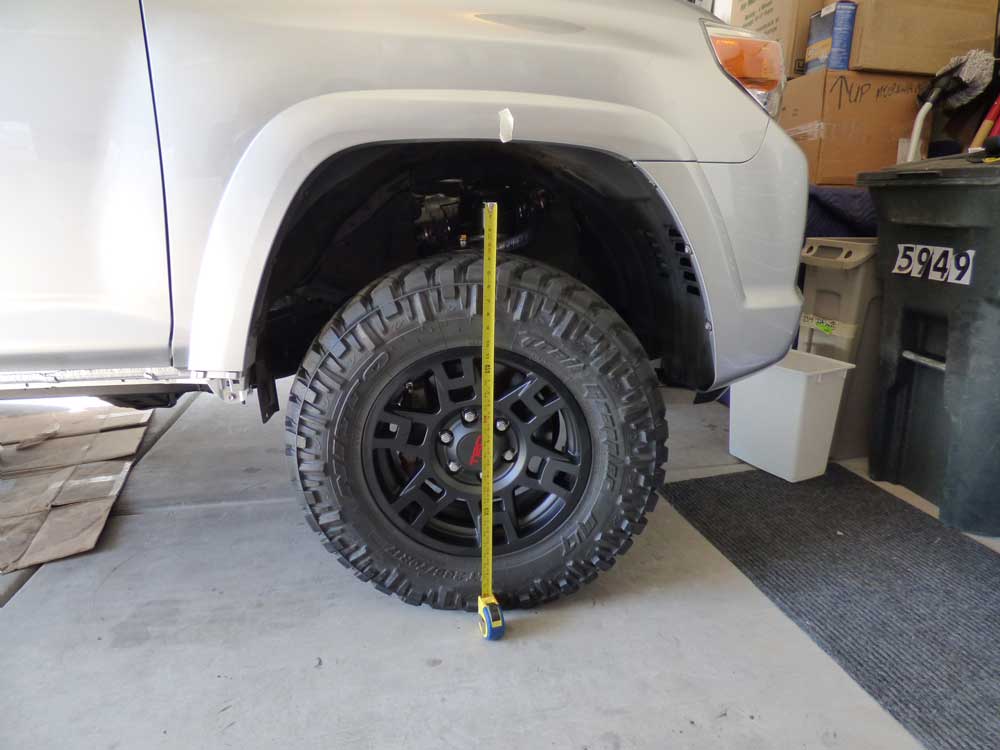
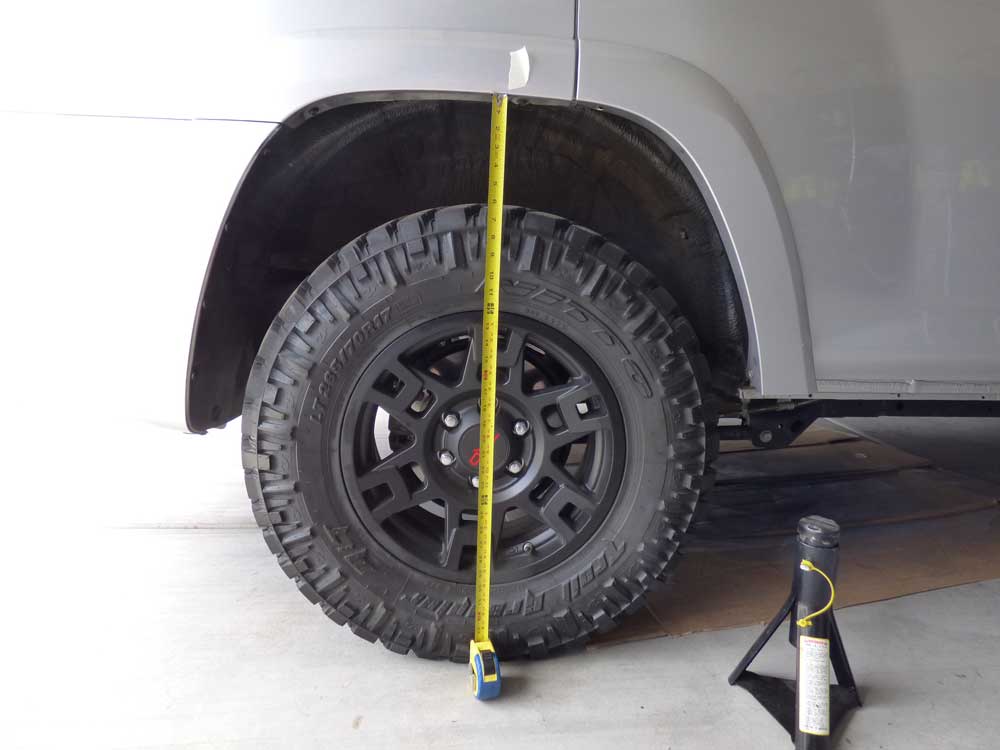
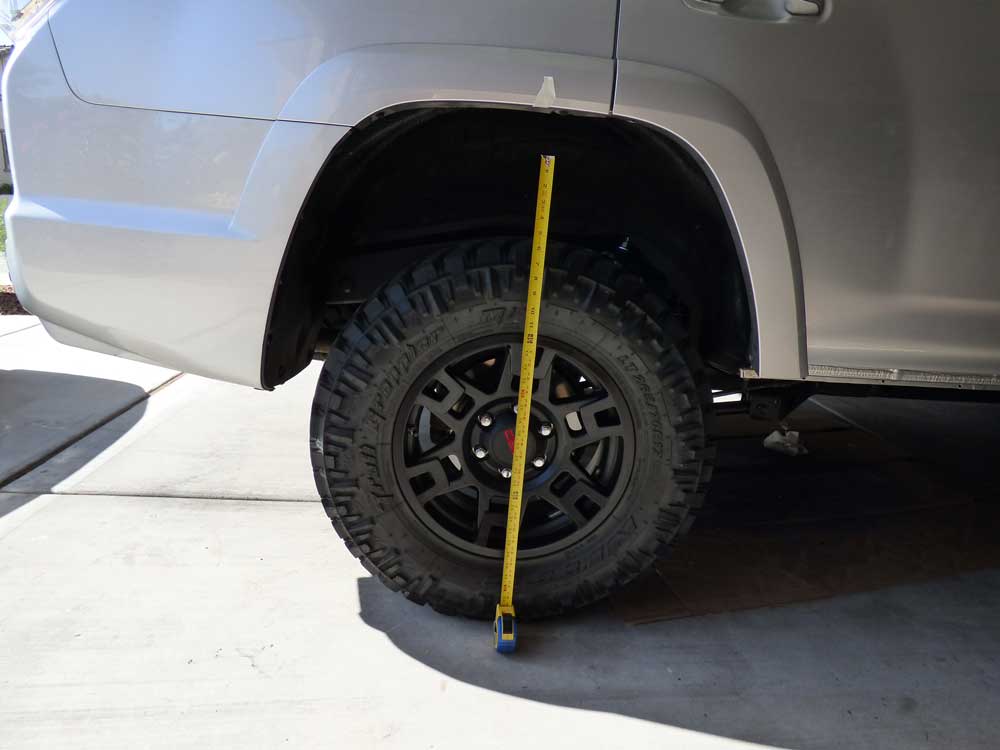
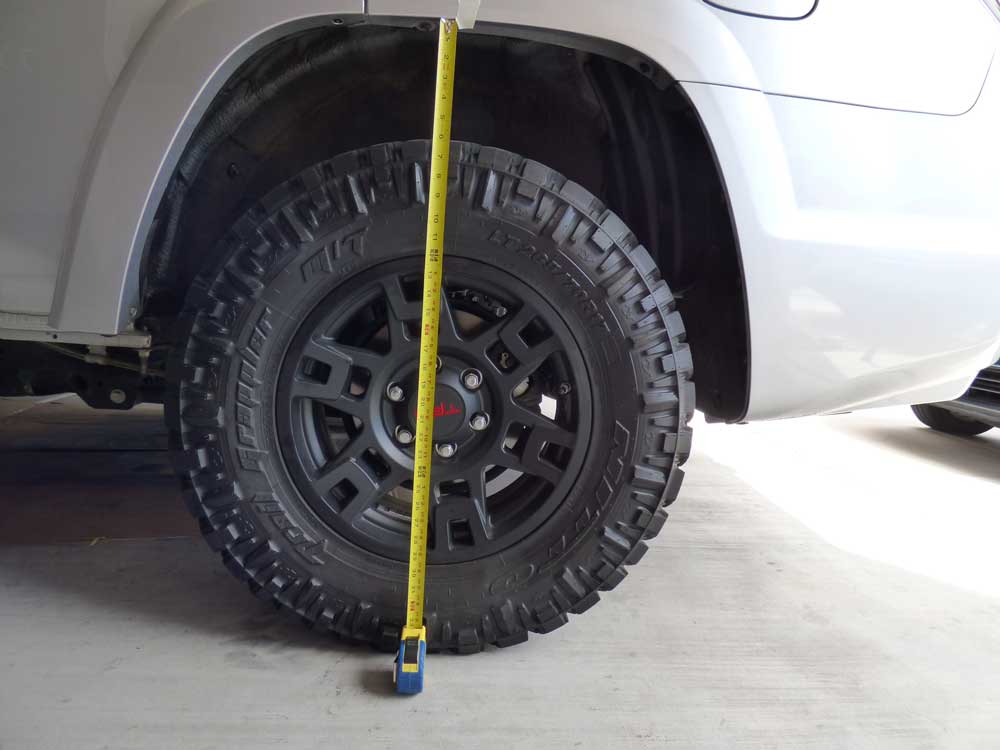
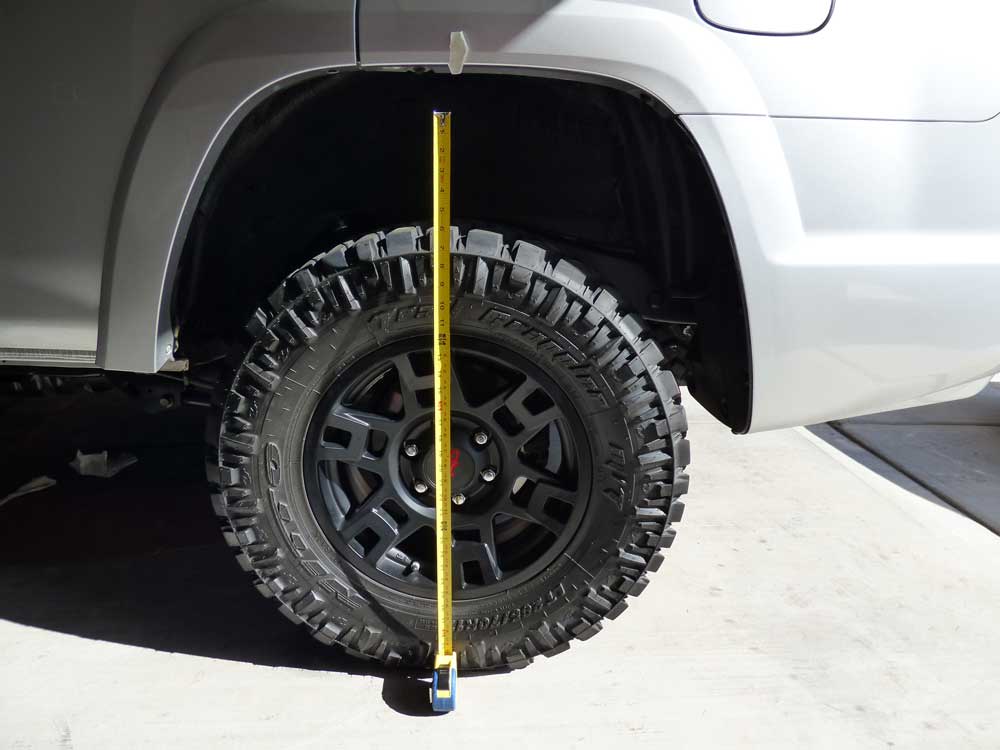
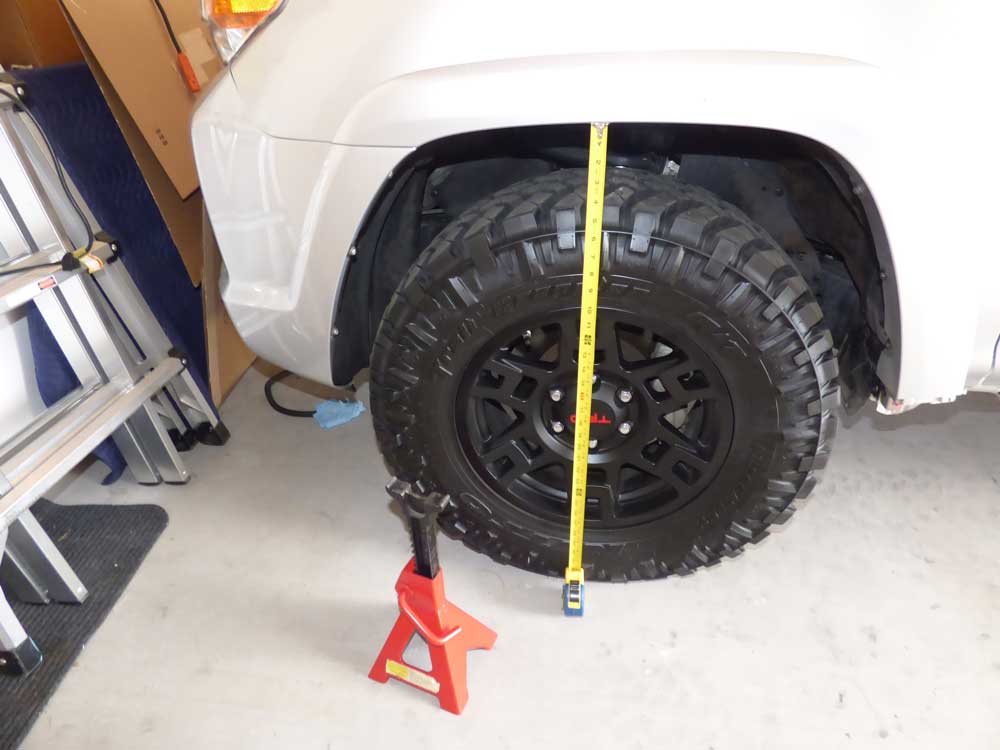
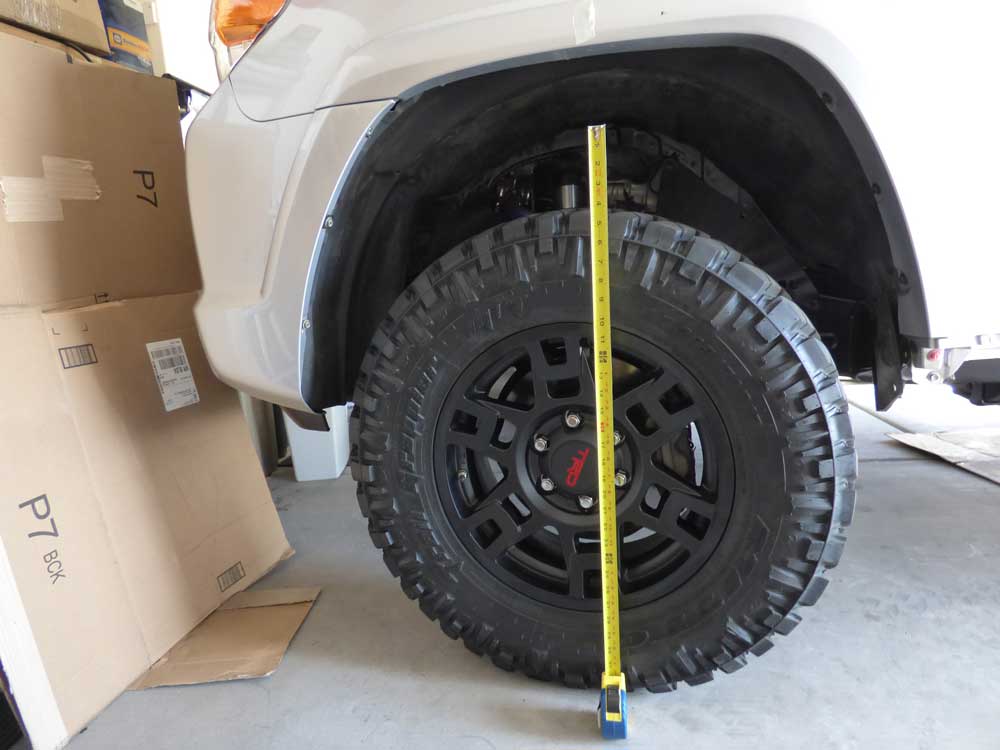
So I got the numbers of the before, immediately and after settling after 40 miles.
I will try to take final ones before the alignment

Driver Front
Before Floor to wheel well 35"
Center hub to wheel well 20"
After Install Center hub to wheel well 23 5/8"
After Settling Center hub to wheel well 22 1/4"
________________________________________
Passenger Front
Before Floor to wheel well 35 1/8"
Center hub to wheel well 20 1/8"
After Install Center hub to wheel well 24"
After Settling Center hub to wheel well 22 5/8"
________________________________________
Driver Rear
Before Floor to wheel well 36 3/8"
Center hub to wheel well 21 3/8"
After Install Center hub to wheel well 24"
After Settling Center hub to wheel well 23 3/8"
________________________________________
Passenger rear
Before FlLoor to wheel well 36 3/4"
Center hub to wheel well 21 3/4"
After Install Center hub to wheel well 24 5/8"
After Settling Center hub to wheel well 24 1/4"
________________________________________


Initial thoughts, floppy is gone, but this is no way a stiff suspension. I actually expected it to be firmer. It rides very nice on the highway. I need to find some streets with speed bumps or dips and see how it handles it.
 
Lessons Learned I

Lessons Learned I

Learning curves.

So I had to lower the passenger front as it was off by almost a half inch. I finally find an hex key that fits, and go to loosen the collar on the CO. Seems Fox was kind enough to set up both sides exactly the same and silly me didn't pay attention. The release bolt was on the back side of the shock body on the collar.

I can't even begin to tell you how much fun that was. I was about to just leave it lopsided. 45 min later, I managed to get the hex key aligned into the slot 10-15 times and get the bolt released enough to make the half turn. My hand is so swollen.

So note to everyone (although most of you are smarter than me and would have caught that), make sure the release bolt is facing out.
 
Lessons Learned II

Lessons Learned II

Living on the edge

Sometimes, even stupid people get lucky and a second chance.

So I am working on the lift, and have most of it done. I have replaced the front coil-overs, upper control arms, rear shocks and rear coils. Nothing traumatic happened and things went fairly smoothly for once, although it took a really long time to complete. Unfortunately I have to spend about 2 hours cleaning for every 30 minutes of wrenching. So what should have taken 5 or 6 hours took 20. Straight through with a couple quick trips for new jack stands and meals.

So I finish up fighting with the front sway bar brackets. They are being a pain. So here is the one negative thing that did happen. I dropped one of the brackets and it fell perfectly splitting my head open right above the eyebrow. Luckily it wasn't my eye.

Anyway, on to the stupidity part. I am cranking on the bolts for the sway bar and re-installing the skid plate, all the while laying under the truck. Get it finished after a trip to Walmart to find butterfly closures for my head and Home Depot to find longer bolts for the skid-plate.

I decide I need to paint some of the rust spot underneath. As I am getting ready to crawl under again, I notice something weird about the jack stand. What hell? Then I look at the other side and see it has slipped off and is hanging on by less than a 1/2". And all of this time I am laying under the engine just torquing away on bolts.

I am really lucky one side or the other didn't give out. These are 3 ton stands. Looks like I will be getting a second set of new stands. (at least they will match now) This is why you don't work on a vehicle for 25 hours straight.

(And no, the front tires were not installed at the time)

153210d1428821844-living-edge-stupidity.jpg


I have upgraded to 6 ton jack stands... I am capable of learning... sometimes it just takes a smack in the head :brick:
 
Last edited:
Members online

Forum statistics

Threads
278,304
Messages
3,554,040
Members
248,016
Latest member
Advally Service

Trending content

Back
Top