Dropzone's 1994 4Runner Expedition/Overland Build

That's interesting.
So for a net increase of about 20 pounds more gearing options and two more levers on the transmission column the additional weight will be worth it.

20 lbs is not much, but if you had to zero out the net increase of 20 pounds, you could put 3 fewer gallons of gas in your tank; carry one less case of beer, water, soda; swap in a fiberglass hood or fender; ... ;):
 
Man, I commend your diligence. That looks like a hell of a project. Great looking rig though. Seems like you've been able to put up a ton of info on here for folks to learn from.
 
no real updates, the gasket kit came in yesterday...this time with both correct gaskets...
So I had some neck and shoulder pain that I thought was related to sitting under the 4runner pulling crap apart.
It was getting worse so made an appointment to get checked out. That morning I started developing a rash on my neck, thought great razor burn.
Nope got hit with a case of shingles that just happens to show up the day of the appointment. Rash and blisters on face, neck and shoulders.
Than a few days later the right side of my face ballooned up like I went 5 or 6 seconds with Tyson...great secondary infection.
The nerve pain has been fun.

If you are an old fart like me get the shingles vaccine.. ]

Will start back on this thing in a few days
 
Haven't really been able to do a whole lot lately due to some nerve issues going on my right side in the neck and shoulder that has been limiting my range of motion.


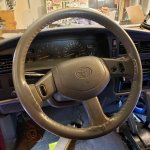
After a friend had his 4runner stolen last week I decided to try to add another line of defense to keep some low life from taking my 94.
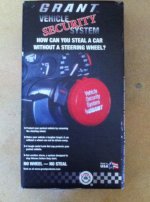
A steering wheel Club is a joke because they take about 5 seconds to defeat.
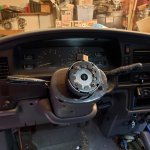
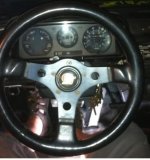
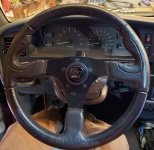
I had the Grant removable steering wheel from the 81 Trekker sitting on the shelf.
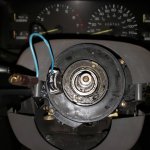
Grant showed a different adapter from the 81 to the 94. Decided what the heck to give it a shot. It turned out the 81 and 94 have the same spline count.
I ended up losing cruise control but was able to keep the horn functional.
This option won't work on Toyota's past 95 due to airbags. Gives me one more option in the arsenal to keep the 4runner in my possession.
 

Attachments

  • 20190209_130708.jpg
    20190209_130708.jpg
    125.2 KB · Views: 690
  • b016f705.jpg
    b016f705.jpg
    87.3 KB · Views: 632
  • 20190209_134830.jpg
    20190209_134830.jpg
    125.3 KB · Views: 666
  • 20190209_160551.jpg
    20190209_160551.jpg
    115.7 KB · Views: 664
  • Screenshot_20190209-192813_Instagram.jpg
    Screenshot_20190209-192813_Instagram.jpg
    76.6 KB · Views: 662
  • Screenshot_20190209-192754_Instagram.jpg
    Screenshot_20190209-192754_Instagram.jpg
    122.9 KB · Views: 686
Very cool thread to read,much good infos and Nice builds, im not sure if i missed something, but what car have you taken the bolted to roof, rails from? Im out for the same type cause i want to have a low profile mounted roofrack in the future.. thanks. :usa:
 
Very cool thread to read,much good infos and Nice builds, im not sure if i missed something, but what car have you taken the bolted to roof, rails from? Im out for the same type cause i want to have a low profile mounted roofrack in the future.. thanks. :usa:
Sorry for the late response, for some reason I didn't get the usual email update on this thread..

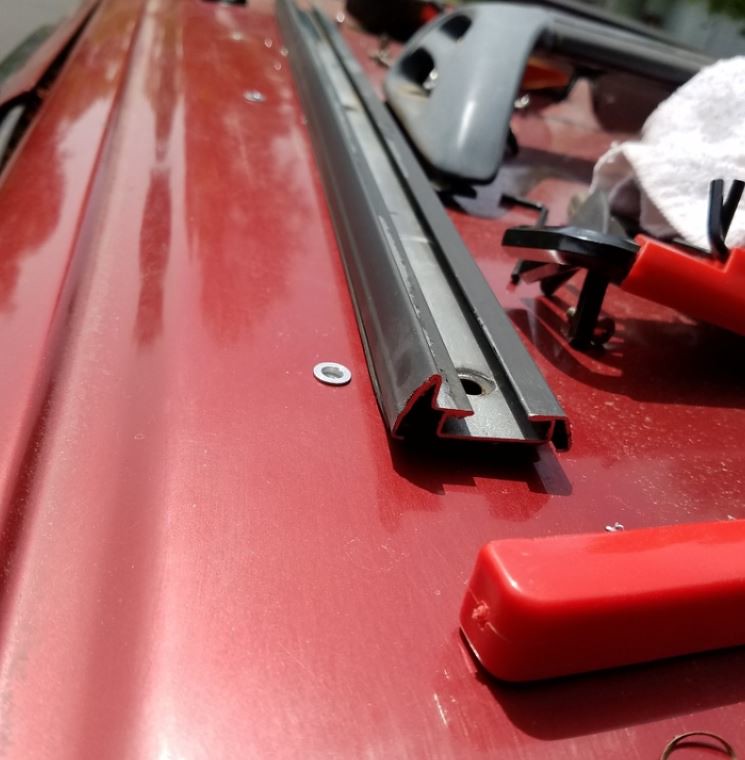
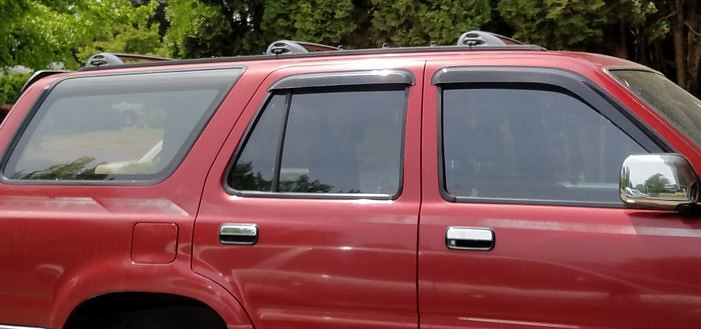
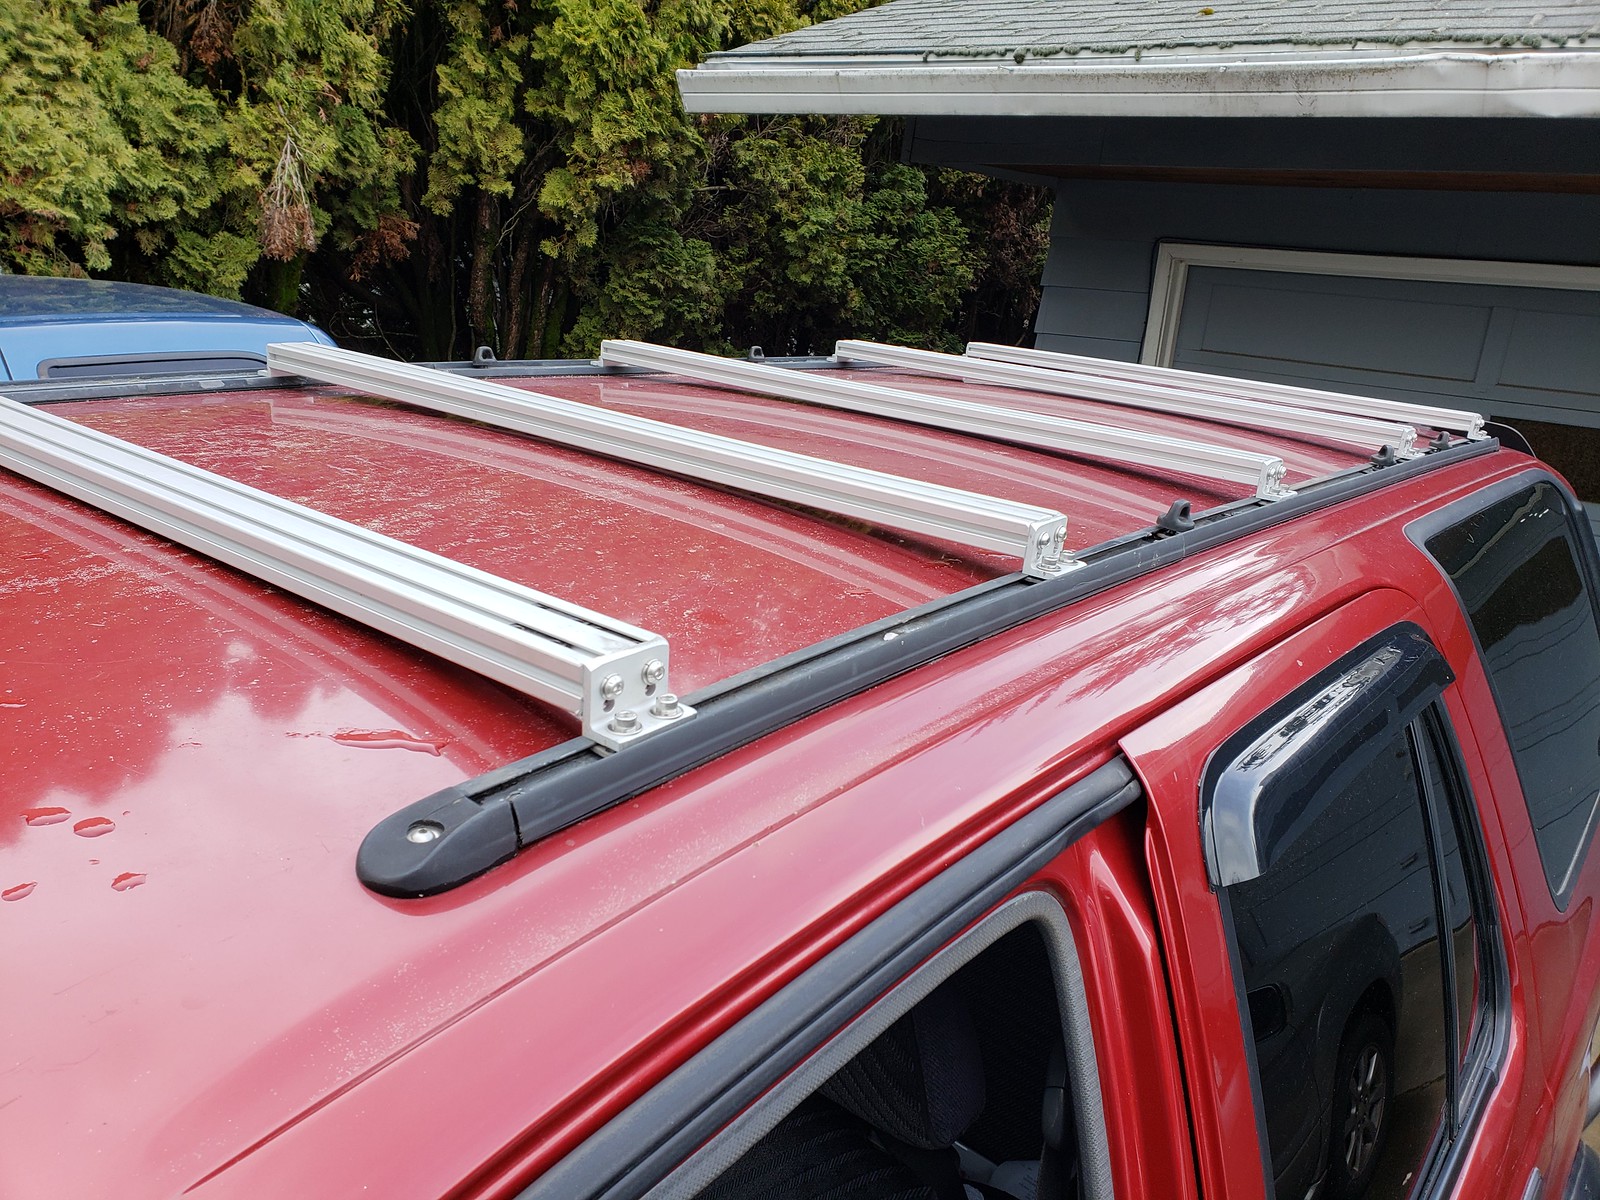
anyway, for the rack extension round one I used the rails from a donor 2nd gen body I had a few years ago. I extended the rails about 20" or so
stock rack by ocdropzone, on Flickr
it allowed me to use 3 stock crossbars for a while
stock rack 2. by ocdropzone, on Flickr

the stock crossbars were pretty brittle with ago so I went with crossbars made of 8020 aluminum
20180322_124327 by ocdropzone, on Flickr
than last summer decided to make the whole thing out of 8020 and some aluminum side rails.
 
2nd Gen Rear Storage

Hadn't touched the 4runner for awhile. Still not having any luck finding another valve body for the transmission. I may end up sucking it up and sending it some where to have it put together


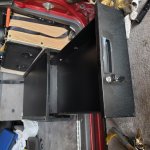
Anyway I have had a metal drawer floating around for a few years. Its 30x18x7.

Not the best quality but it is lockable and will support some weight on top of it

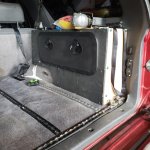
Took some measurements and it would snug up against my existing storage. And it lines up with the split in the back seat so I can haul some long stuff

I had to make a new side cover and flip the door for the right side storage.

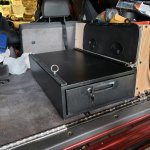
I attached to the pre-existing cargo rails I had using some inverted carriage bolts. This will allow me to remove it in a few minutes. Added a set of cargo rails on top for additional tie down options.

When this thing finally gets on the trail most of the time it will just be me crashing in the back.
If the missus actually decides she likes it I will come up with a modified sleeping platform.
 

Attachments

  • 20190406_134214.jpg
    20190406_134214.jpg
    133.3 KB · Views: 524
  • 20190406_153440.jpg
    20190406_153440.jpg
    134.5 KB · Views: 502
  • 20190406_184058.jpg
    20190406_184058.jpg
    128.2 KB · Views: 542
  • 20190406_183714.jpg
    20190406_183714.jpg
    120.6 KB · Views: 550
Forgot to post this.
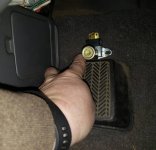
I was dogging through my too big of stash
Of misc crap and found an old school floor dimmer switch
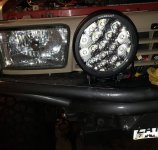
My plan is to mount it in line with my driving lights so I can turn them off quickly for oncoming traffic.
I sold my light bars and ended up picking up a set of AuxBeam combo lights. Been toying around with the idea of getting them for a long time. [MENTION=67615]Dirtco[/MENTION] has some on his 3rd gen and seems to like them. The price on them dropped to a point ot was worth giving them a shot
 

Attachments

  • Screenshot_20190409-055117_Instagram.jpg
    Screenshot_20190409-055117_Instagram.jpg
    116.6 KB · Views: 539
  • Screenshot_20190409-055144_Instagram.jpg
    Screenshot_20190409-055144_Instagram.jpg
    121.4 KB · Views: 525
When will this thing be on the trails?!

That drawer looks like a good spot to have your tools all laid out where you can easily see them
 
When will this thing be on the trails?!

That drawer looks like a good spot to have your tools all laid out where you can easily see them

hopefully soon. i have been search for a new to me valve body for the transmission. a guy on instagram says he has one that he can pull this weekend. hopefully he can ship it next week.
 
been looking off and on for a few months for another valve body for my A340H so I can finish up my dual case install.

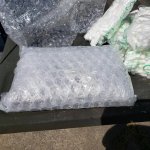
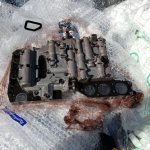
Pretty much been at a stand still since February. Made a comment about it on instagram and a guy said he had one up by Tacoma. It got delivered thursday and I finally had time to bust open the box on saturday afternoon.

It was like Christmas in May for me:domo2:

I thought that I over packed stuff but this thing could have been dropped from a mile up and it would have survived:guitar2:


Opened it up and was happy to see that it looked to be what i need

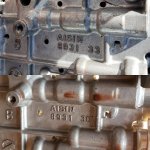
for comparison my original casting is on top and the donor is on the bottom. casting looks to be the same, just slightly different date code (if my research is correct)

looks like I should just be able to swap solenoids and put this sucker in::bounce:
 

Attachments

  • VB unwrapped (3).jpg
    VB unwrapped (3).jpg
    133.8 KB · Views: 762
  • VB unwrapped (1).jpg
    VB unwrapped (1).jpg
    135.8 KB · Views: 760
  • VB comparison.jpg
    VB comparison.jpg
    123.9 KB · Views: 843
So yes I know I need to get off my butt and finish the dual case install but have been working on house junk (painting and getting ready to fill in our inground pool)

Anyway been debating replacing the Prelude seats I have had in 2 different trucks. I was going to convert them to heated seats but the Amazon kit I bought a couple of years ago was dead when I finally went to use it.

Pick n Pull has a 50% off sale this weekend.
Decided to cruise through there today to see what I could find as far as seats.
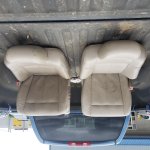
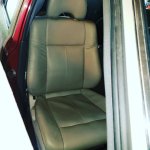
After looking through about 100 cars I ended up with a set of heated, power & leather seats out of a 2005 Subaru Outback. The front mounts measured about 16.5" center and center..same as the stock mounts.

Got them home, tested the motors, they worked great and powered up the heaters..got toasty warm which will be nice this fall.
Spent some time cleaning them up.

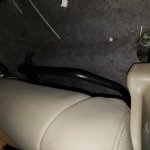
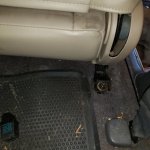
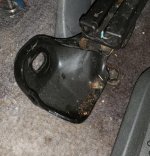
The passenger seat was already out of the 4runner for the dual case install. I was very happy to find that not only did the front two mounts line up but the outside rear mount was a dead ringer too!
I will have to cut the inside rear mount to make it work (as it is now it gives the seat a slight lean)

But for $45 for the seats and heated seats switches I am happy with them.
I will do a leather dye experiment on either a headrest or inside of the seat to see if I can get them gray.
 

Attachments

  • 20190524_102518.jpg
    20190524_102518.jpg
    130 KB · Views: 727
  • 20190524_130827.jpg
    20190524_130827.jpg
    128.7 KB · Views: 728
  • 20190524_130923.jpg
    20190524_130923.jpg
    126.6 KB · Views: 746
  • IMG_20190524_135959_689.jpg
    IMG_20190524_135959_689.jpg
    68.9 KB · Views: 723
  • Screenshot_20190524-161008_Gallery.jpg
    Screenshot_20190524-161008_Gallery.jpg
    100.2 KB · Views: 728
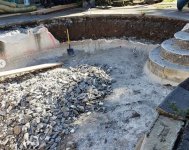
so between the new puppy, college and high school graduations and this back yard project I haven't touched the 4runner

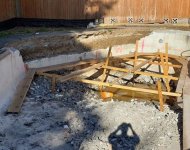
I built swimming pools for a few years and should have never bought a house in the PNW with a pool. If I was in a hot place I would spend the $$$ to have it fixed but not worth it in Oregon.

We had bids ranging from $20-42K, so that wasn't gonna happen so tackling it myself on my days off...hopefully be done and have a back yard at the end of the summer. Slow going when my supervisor lays around most of the day
 

Attachments

  • pool1.JPG
    pool1.JPG
    66.1 KB · Views: 632
  • pool2.JPG
    pool2.JPG
    77.9 KB · Views: 633
  • pool3.JPG
    pool3.JPG
    62.4 KB · Views: 638
Finally had a ln afternoon off and decided to make some junk.
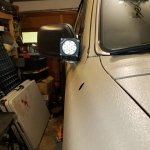
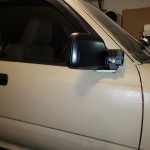
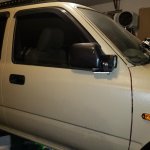
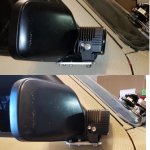
I have been going back and forth about using a set of ditch lights. No one made a kit for 2nd gens that I was aware. Plus I try to make crap for this POS when I can.
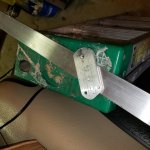
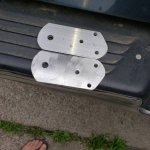
Finally caved and decided to see what I could come up with. Didn't really want to swiss cheese the A pillar or pop the windshield vent to run wires etc.
I had some left over aluminum from the 8020 roof rack project. Looked at a spare mirror and saw the 3 screw holes.
Took a few minutes to see what I could come up with.
Not too bad for V1.0. I could use a couple of longer bolts for each side. But overall i am happy with how it came out. And I am into the mounts for about $5
Lights are some Run-D 35w LED's off Amazon
 

Attachments

  • 20190706_154638.jpg
    20190706_154638.jpg
    129.6 KB · Views: 672
  • IMG_20190706_184551_028.jpg
    IMG_20190706_184551_028.jpg
    108.6 KB · Views: 665
  • IMG_20190706_184551_025.jpg
    IMG_20190706_184551_025.jpg
    89.6 KB · Views: 659
  • 20190706_182653.jpg
    20190706_182653.jpg
    131.1 KB · Views: 651
  • 20190706_182709.jpg
    20190706_182709.jpg
    126.7 KB · Views: 681
  • 20190706_183050.jpg
    20190706_183050.jpg
    115 KB · Views: 666
Dude. Great idea. Agree on the no kit for ours... Where do the wires go?
Debating about running them through the mount with the power mirror wiring. That route is getting crowded though since I made these things heated too.


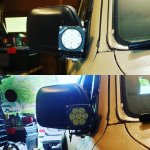
At my buddy Phil's suggestion I tried to level the 2nd gen 4runner mirror mounted ditch light bracket out a bit.
I tried bending the bracket in the vice but the 2.5" x .25" thick bracket just didn't want to adjust using the vice and tools I had on hand.
1st version on top
2nd version on the bottom
So the next option was to use some nylon inserts I had in the fastener bin
Drilled them out to work with M5 bolts and sanded them down to a close height.
Not perfect but way better than bolting straight to the mirror
 

Attachments

  • IMG_20190713_181433_909.jpg
    IMG_20190713_181433_909.jpg
    101.8 KB · Views: 668
  • 2019-07-13_18.08.08.jpg
    2019-07-13_18.08.08.jpg
    101.9 KB · Views: 667
been working on the pool on my days off so still haven't touched the 4runner


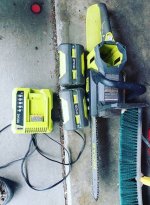
I did wander down to my neighbor's garage sale to look at a tiller that I would need. Budget was $100, he wanted $450. Ended up walking home with a gently used cordless 40v Ryobi cordless chainsaw with a couple of batteries. I had priced one at home depot, couldn't really justify the $200 for one. I picked this one up for $35

Plans are to make this my trail chainsaw. in the PNW you get downed trees blocking trails sometimes. I have a 18" gas saw but it is sort of a PITA. If I end up having to cut more stuff out of the way that the batteries won't last for it is probably time to turn around.


​​​​​​​
 

Attachments

  • saw.JPG
    saw.JPG
    69.8 KB · Views: 586
Nice rig. So to clarify the outback seats bolted right in, front and rear mounts with no problems? That is what it sounded like but then picture shows mount not lining up?

NVM re-read your post and missed the part about the inner mounts
 

Members online

Forum statistics

Threads
278,310
Messages
3,554,079
Members
248,016
Latest member
Advally Service

Trending content

Back
Top