This thread will outline, in detail and with pictures, how to properly sound deaden a truck and install a full audio system. I spent months planning and piecing together this build and the process was made a million times easier due to all the great information on this forum. It is my hope that this post can centralize a lot of the existing information and be an all-encompassing walkthrough for anyone looking to sound deaden and/or upgrade their stereo.
Special thanks to everyone who provided help and design ideas either directly or indirectly via their threads. **Disclaimer: Everything outlined in this thread worked effectively for me but I cannot guarantee the same results. If you choose to do anything described here, you do so at your own risk.
First off, a quick break down of what I was trying to accomplish with this build and the products required. My goal was to quiet my 4runner and then install a defined, balanced sound system while retaining factory appearance and utility.
Sound deadening material cost: $250
Added weight of deadening/insulation: ~100 lbs
When it comes to sound deadening, there are two essential parts:
1. Lowering the resonant frequency of panels (doing away with vibration/rattles):
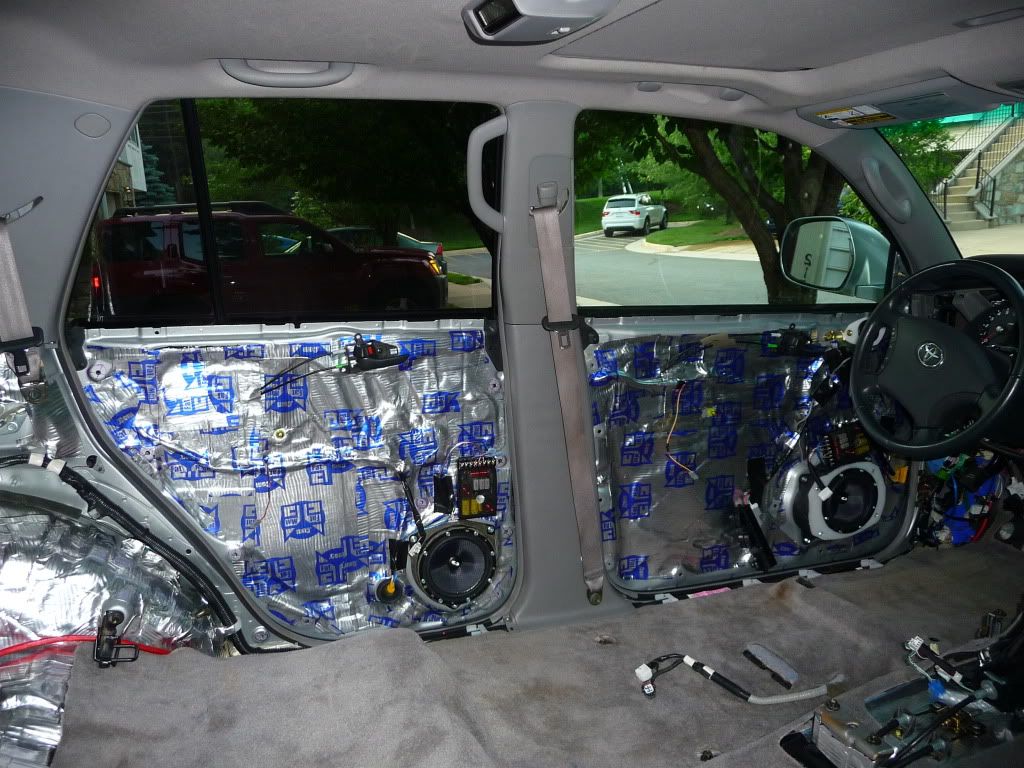
There are many products out there in terms of sound deadening mat: Dynamat, Brown Bread, RAAmat, Hushmat, Fatmat…the choices are endless. Some are thicker than others and some smell (for a few days) while others don’t. It is my opinion that any of the products provide an effective solution IF properly installed. I was going for a budget build and tested/used the following products:
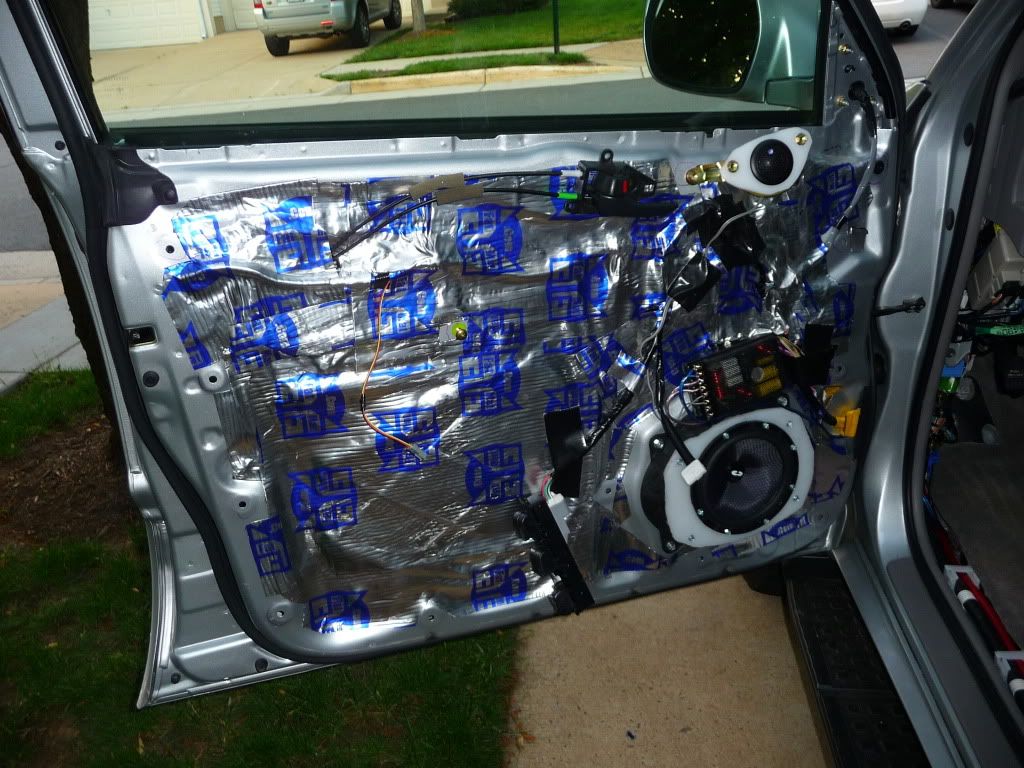
• Fatmat (used exclusively for the inner and outer door shells)
FatMat Sound Deadener Noise Killer
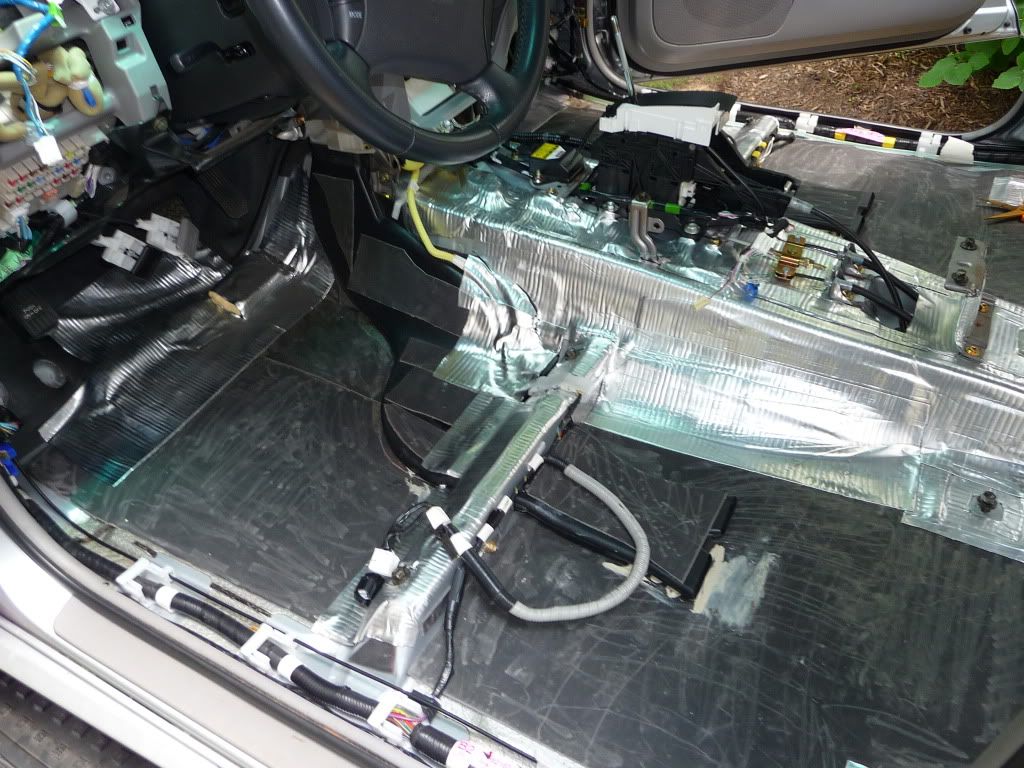
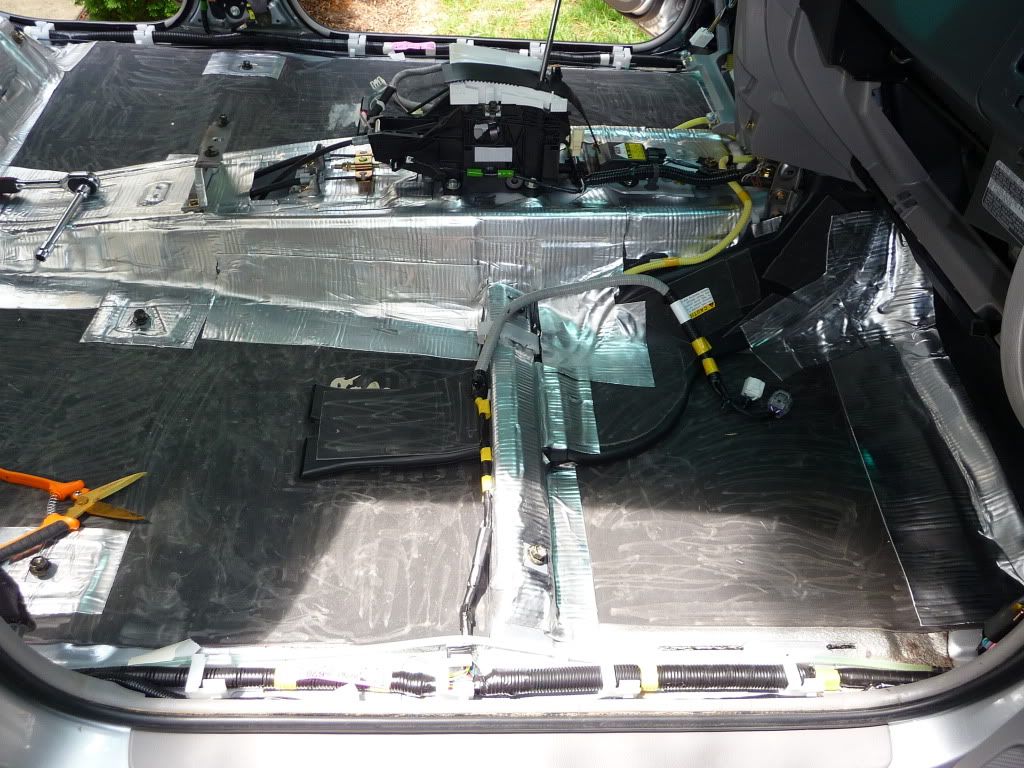
• Peel and Seal (used to seal EVA Mastic edges/trans tunnel/second row/rear quarters)
Peel and Seal
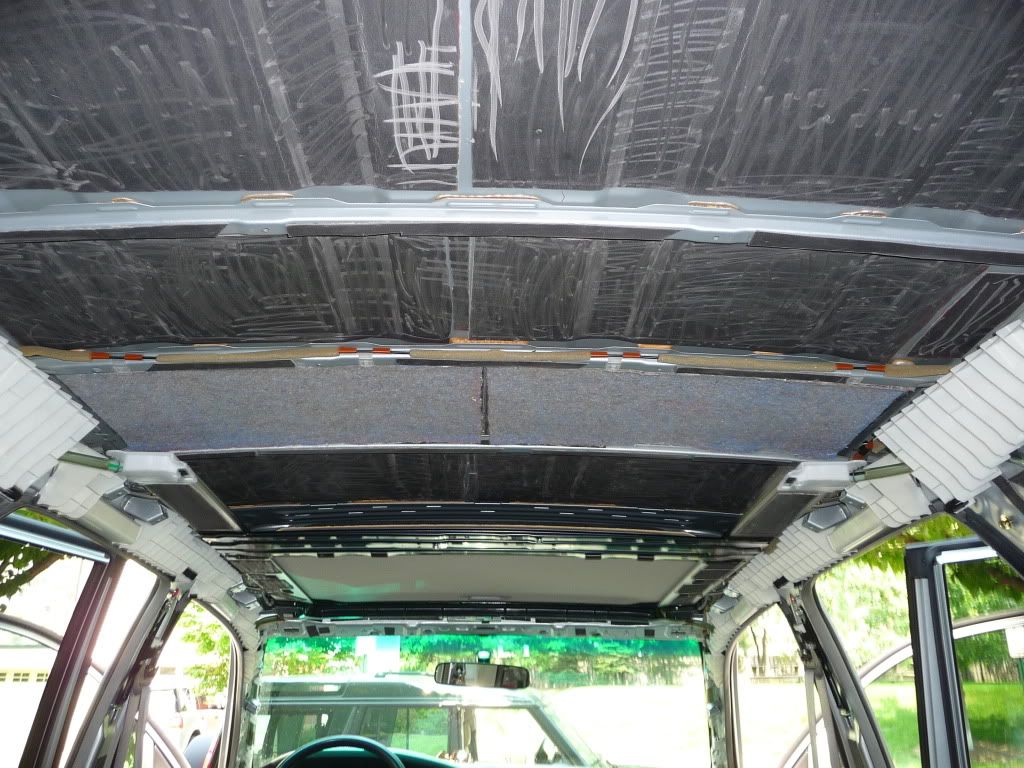
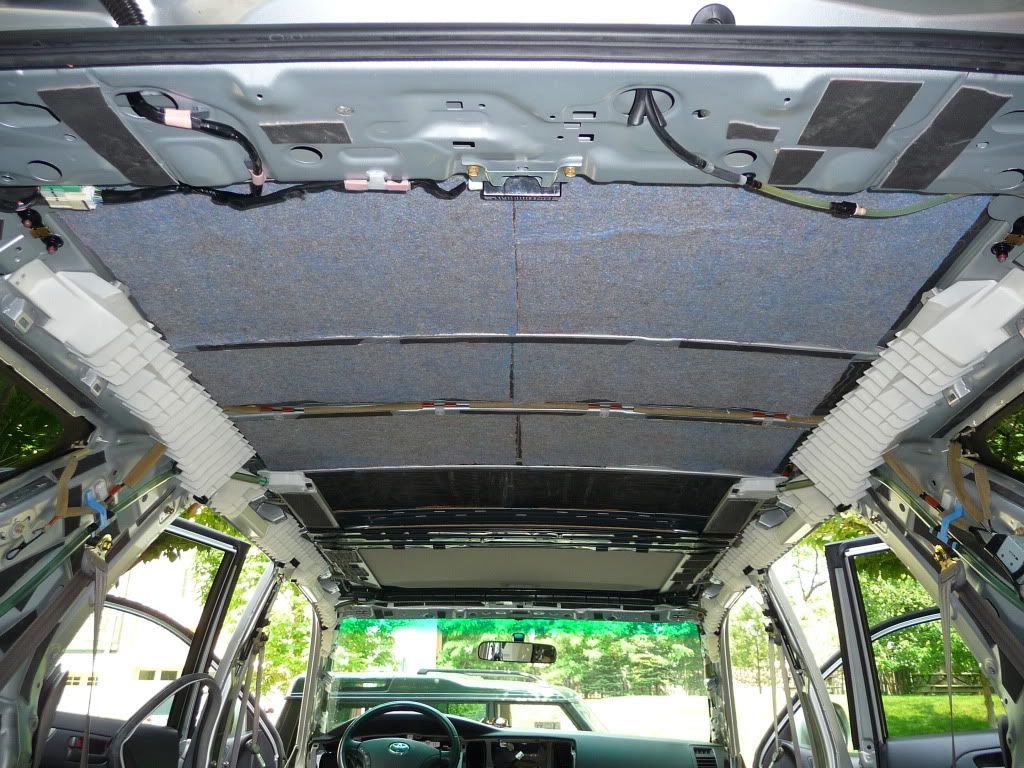
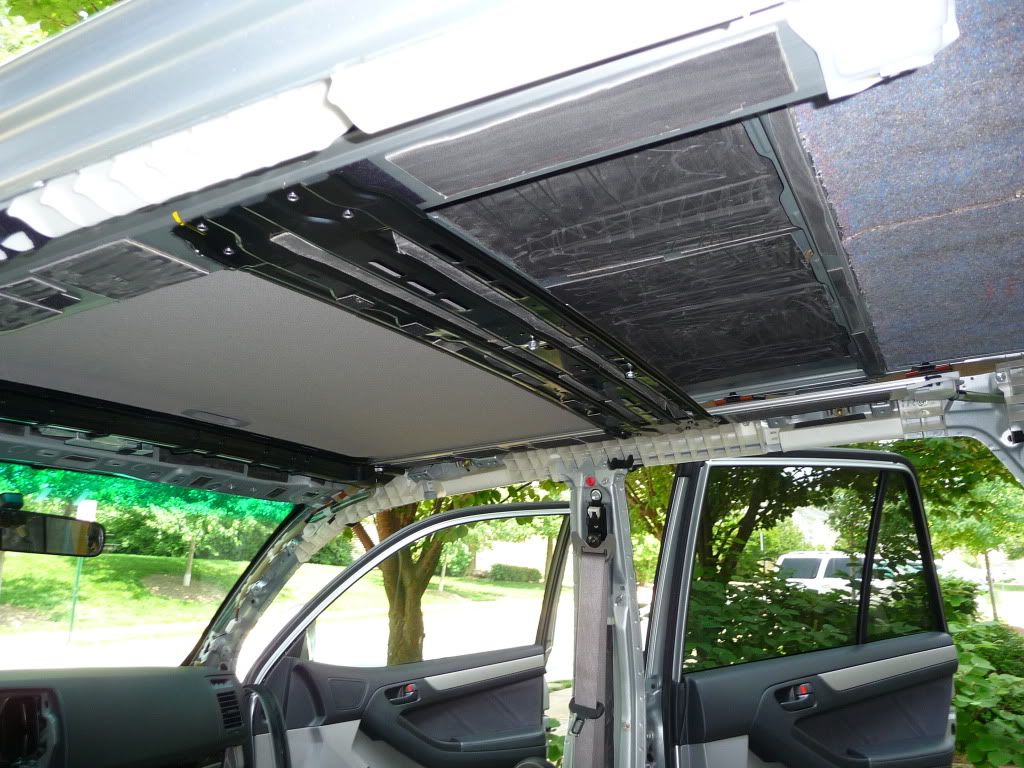
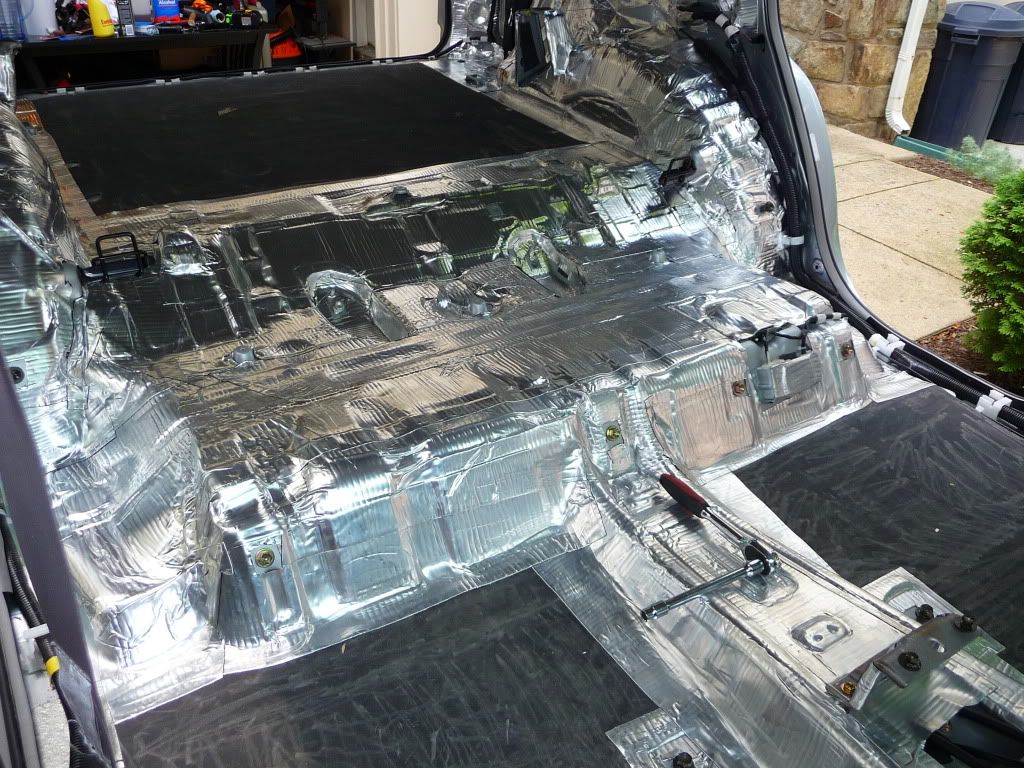
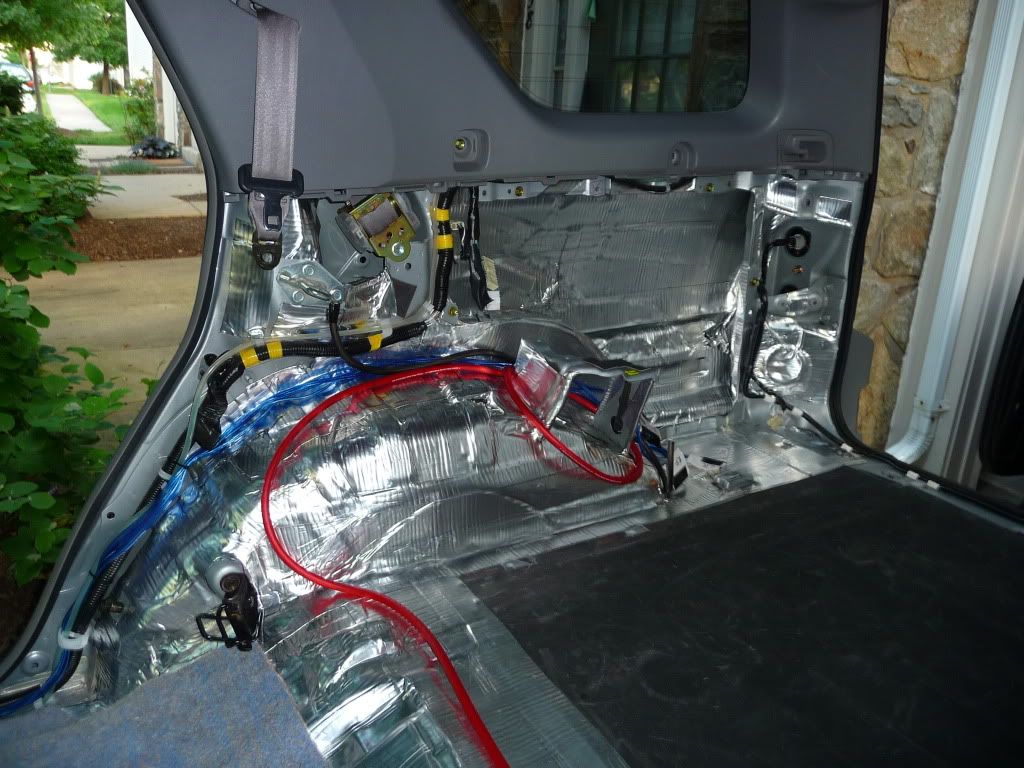
• EVA Mastic sheeting (used on the truck floor and roof)
McMaster-Carr - Polymeric Mastic
2. Blocking external noise (tires, drivetrain, environment):
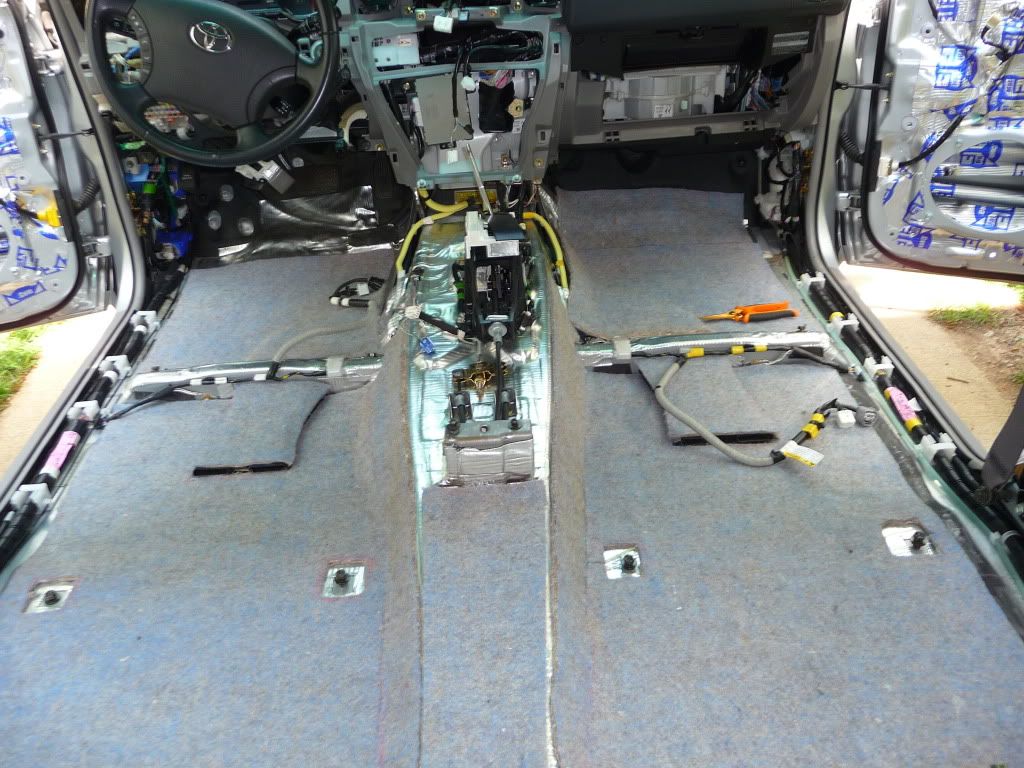
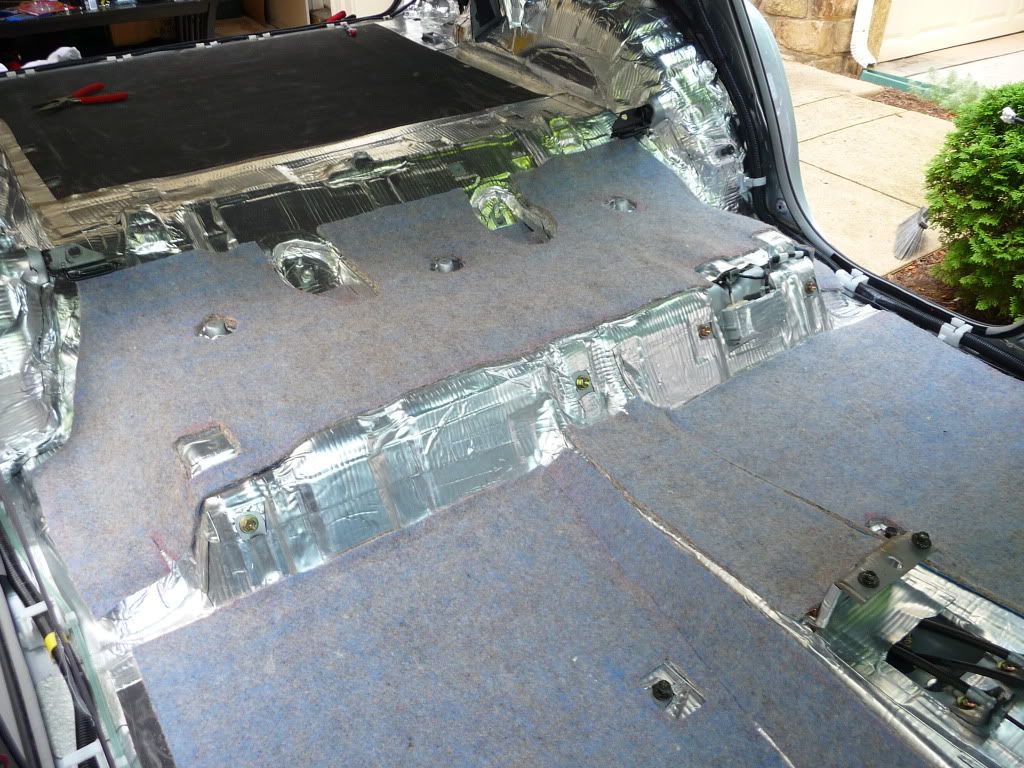
There are many product options to use for insulation. Car manufacturers typically use jute (felt). Another popular product is closed cell foam. After doing some research, I located some jute locally at a higher end carpet store:
• 3/8” Liner backed, water resistant felt
A spray adhesive was used to apply the felt throughout the vehicle.
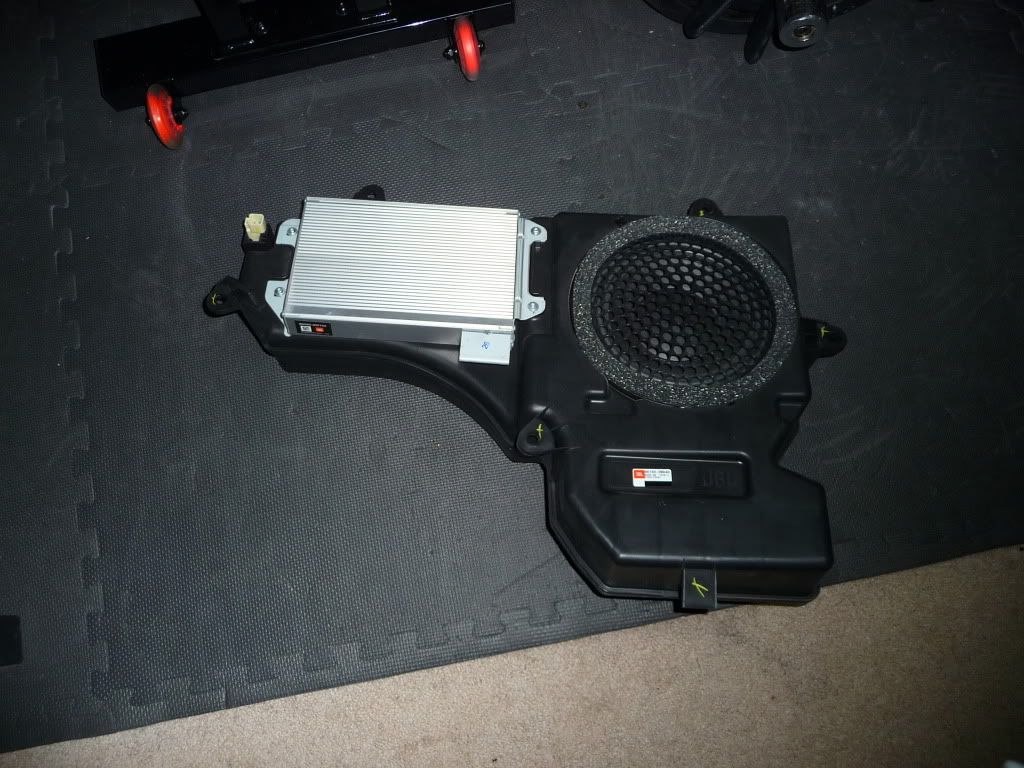
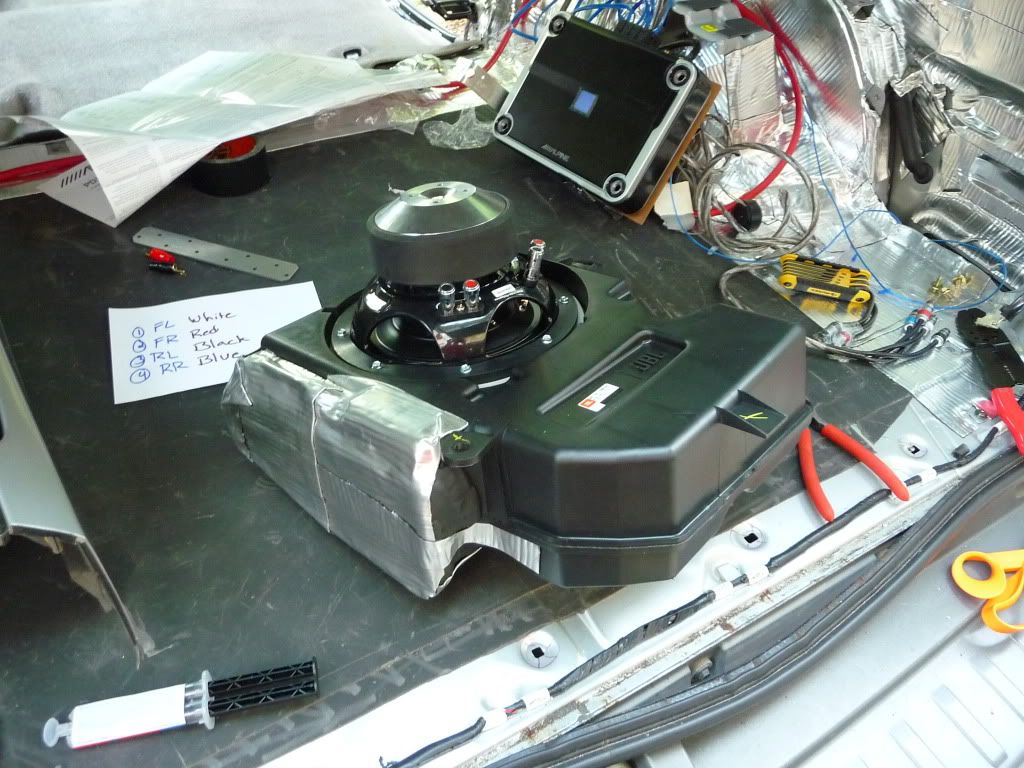
For the audio system, I went with the following hardware:
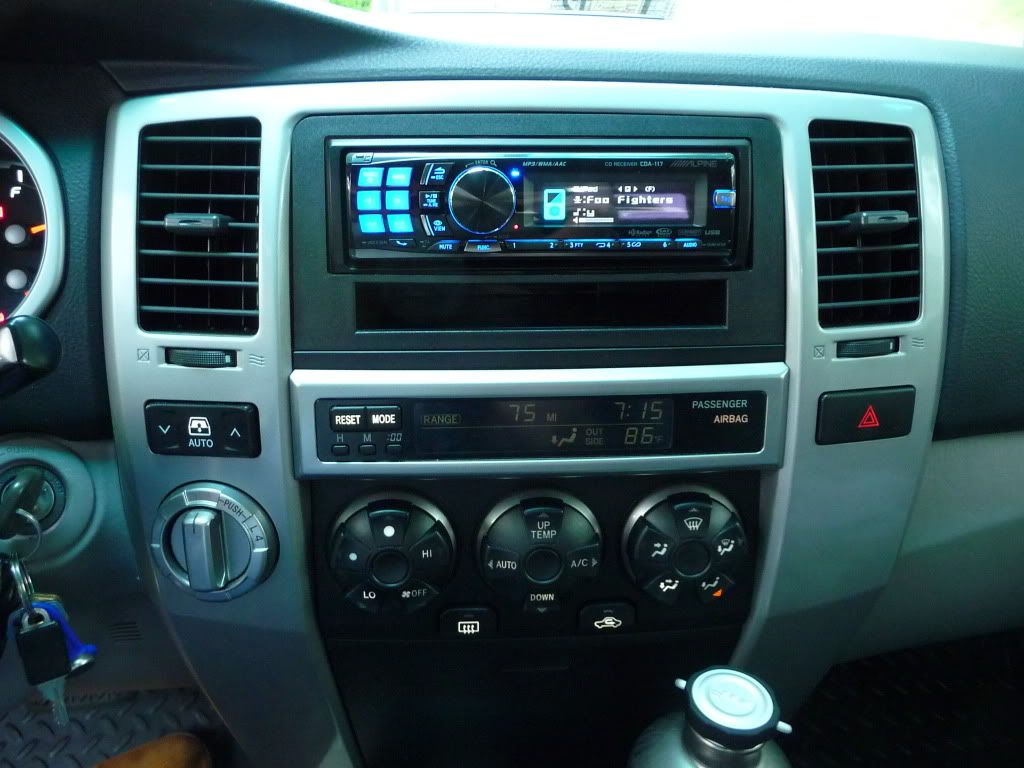
• Headunit: Alpine CDA-117 w/ Imprint Module PXA-H100
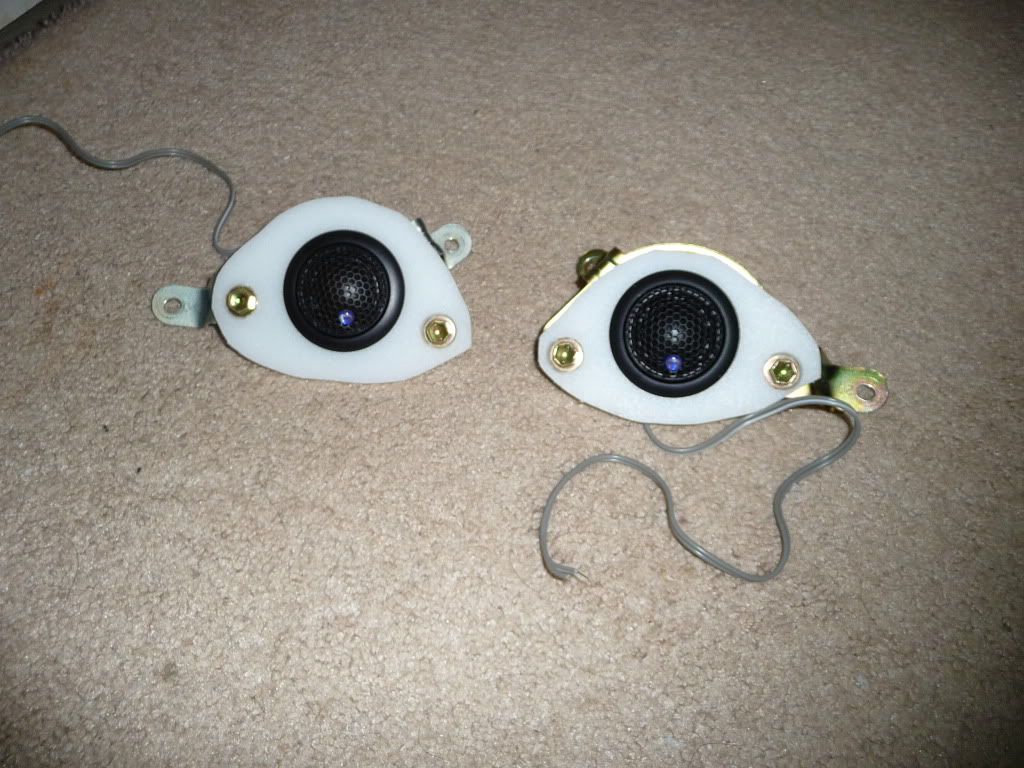
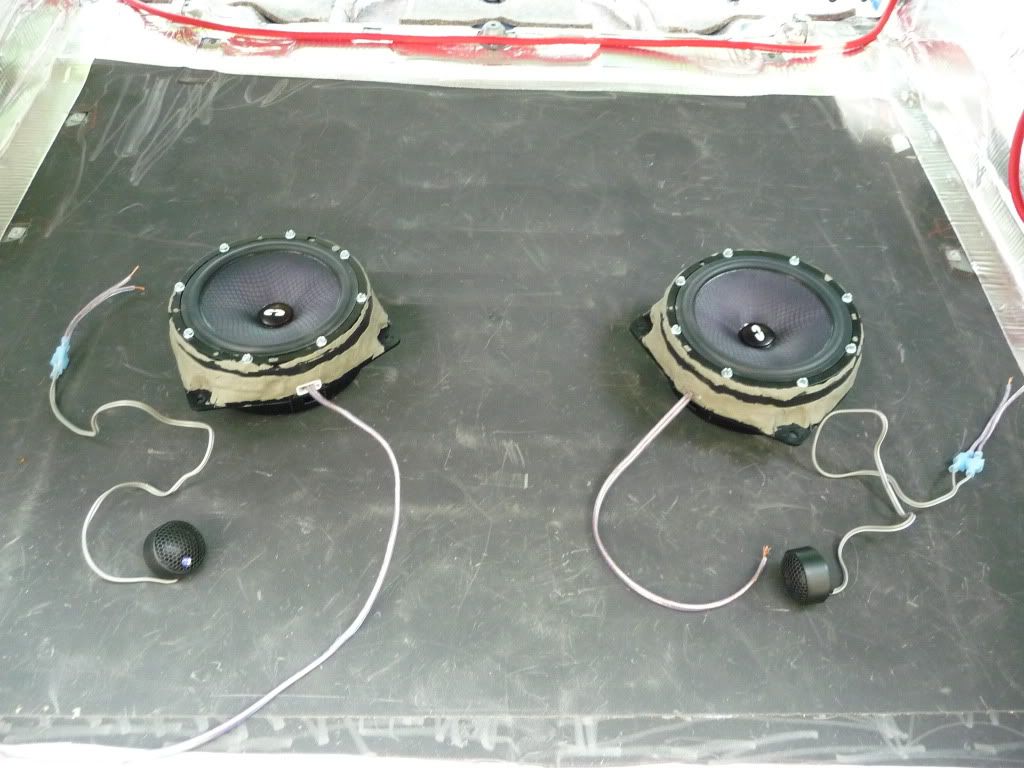
• Speakers: 2 sets of CDT Audio 6.5 Component speakers
• Amp: Alpine PDX-5
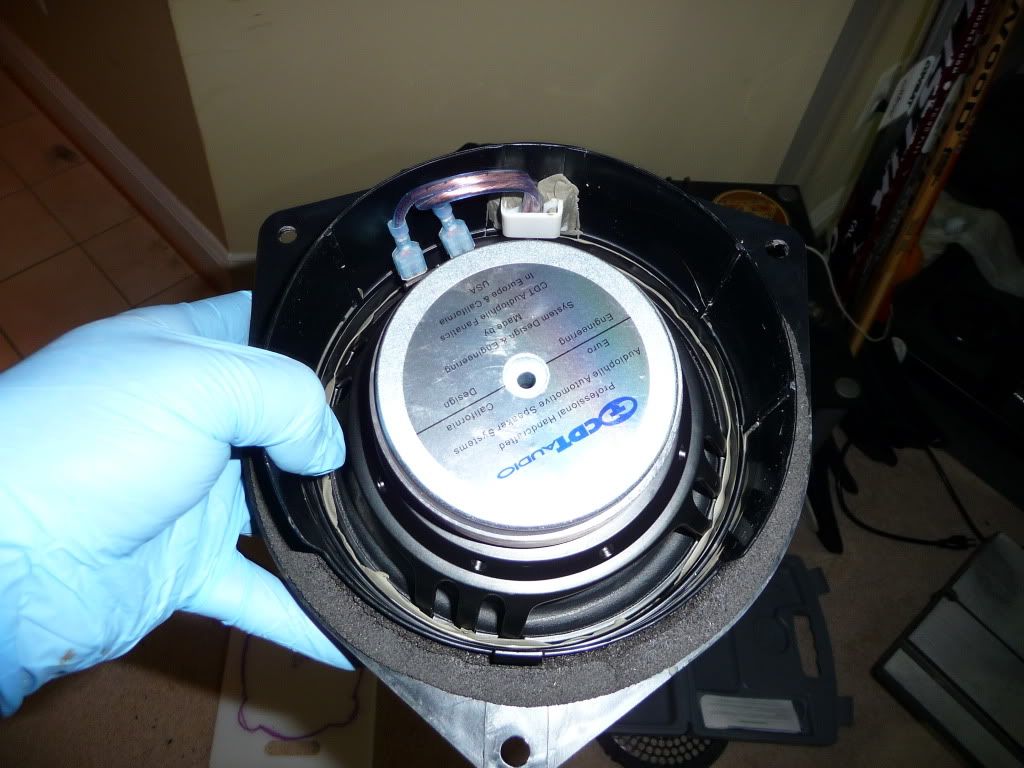
• Subwoofer: Elemental Designs e3.8 – 2ohmDVC 8”
• Accessories:
o Swi Jack steering wheel control adapter
Installation Instructions
o Antenna ‘Y’ Adapter and size adapter (for mini jack)
o Amplifier wiring kit
o Scosche head unit adapter
Now on to the actual work!
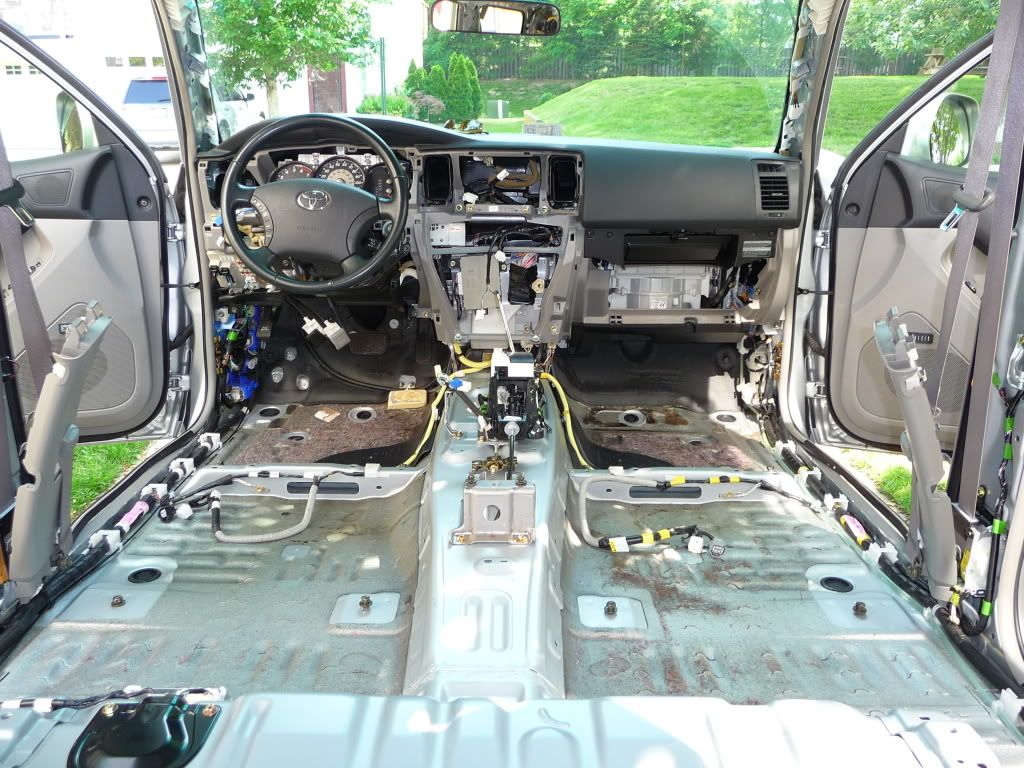
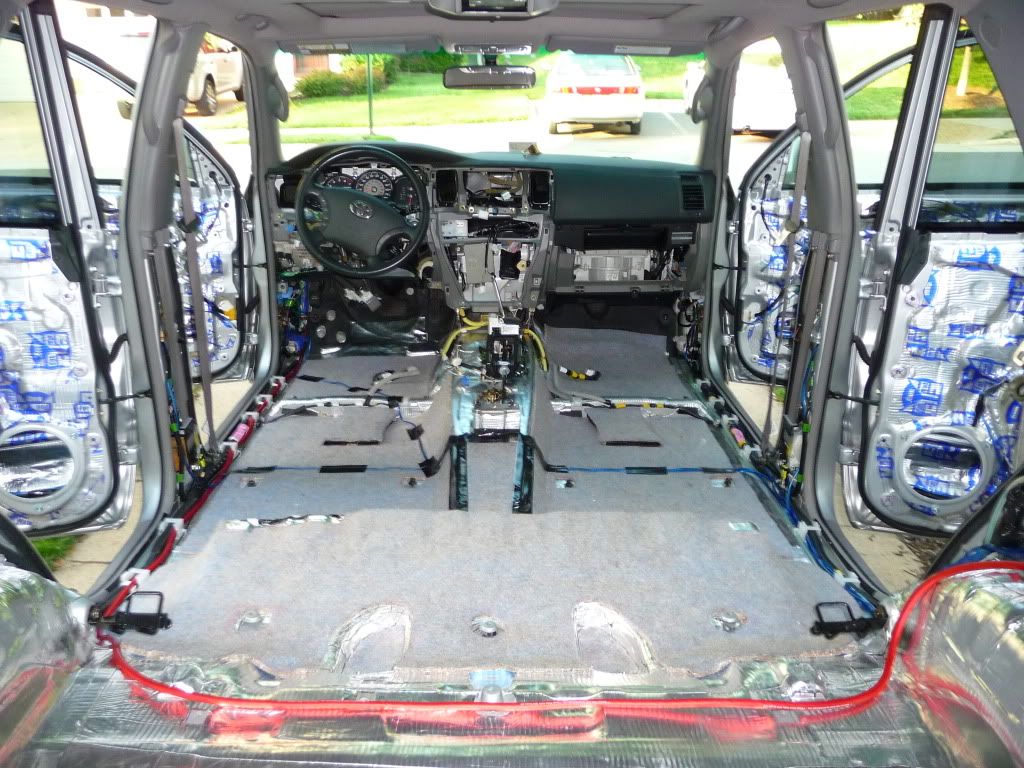
Truck disassembly:
There are walkthroughs for some of this so I am going to just post links to the ones I used here since they are very well done:
*Helpful tip: Grab some tape and a sharpie. Either screw the bolts/screws back into the truck body after you remove the panel or tape them to the panel they belong to. Also circle ALL locations where parts snap/bolt on with a sharpie since you DO NOT want to cover those holes with sound deadening materials. Take pictures as you go. It will help you remember where things go upon reassembly.
•
Dash/Head unit
•
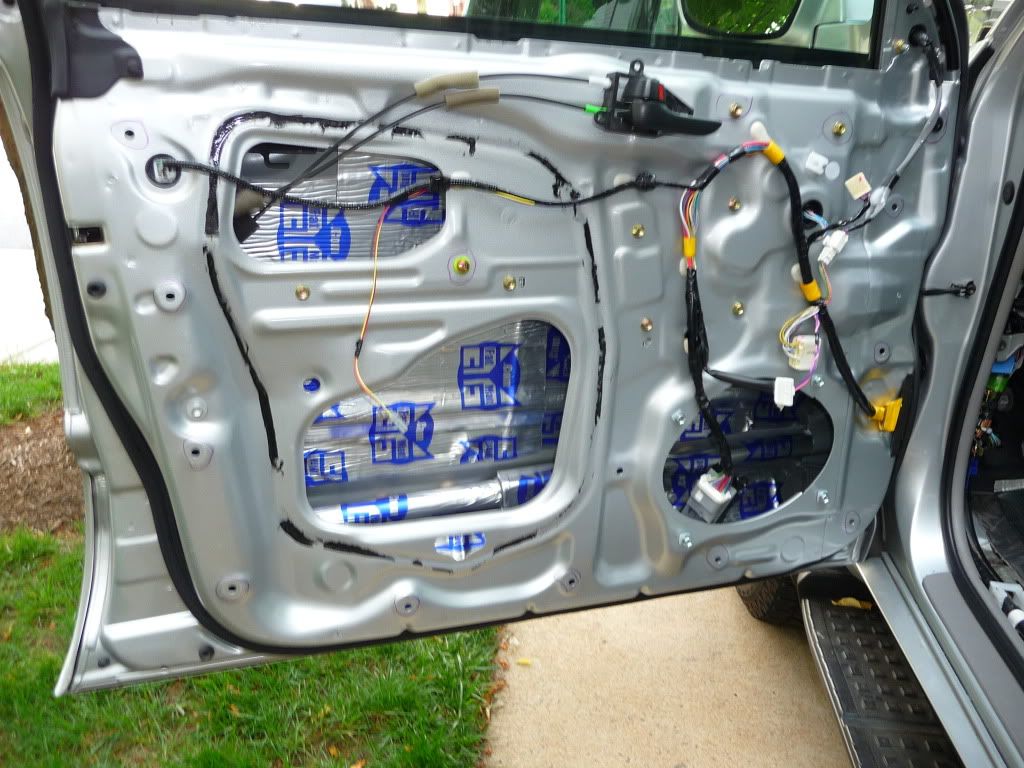
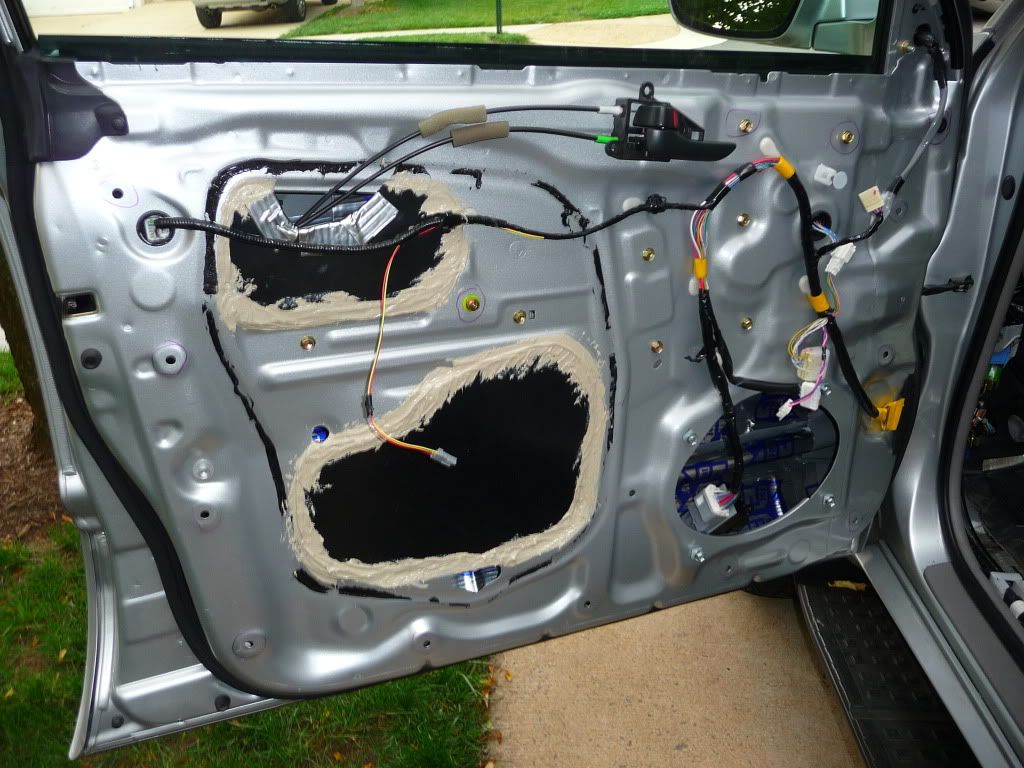
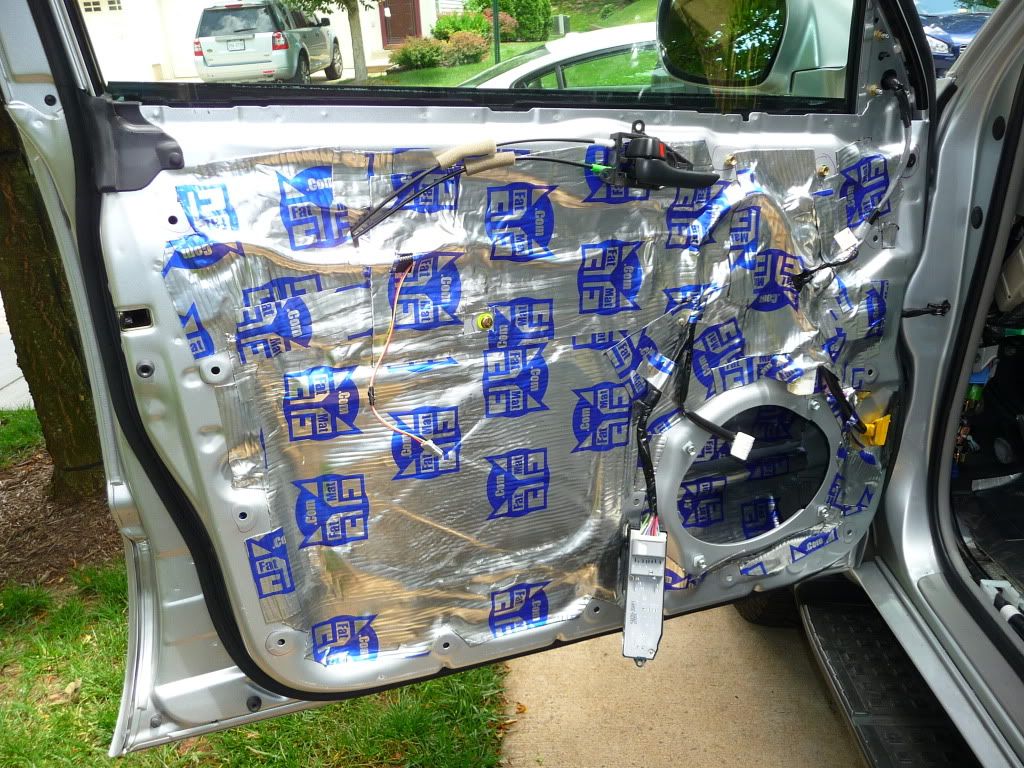
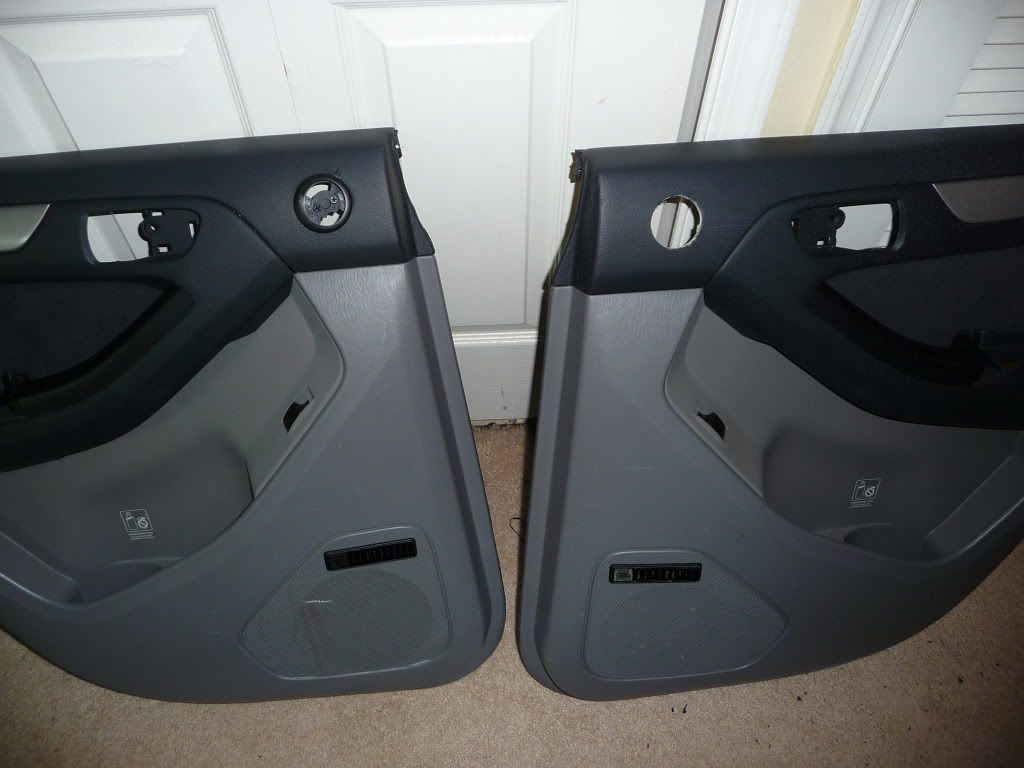
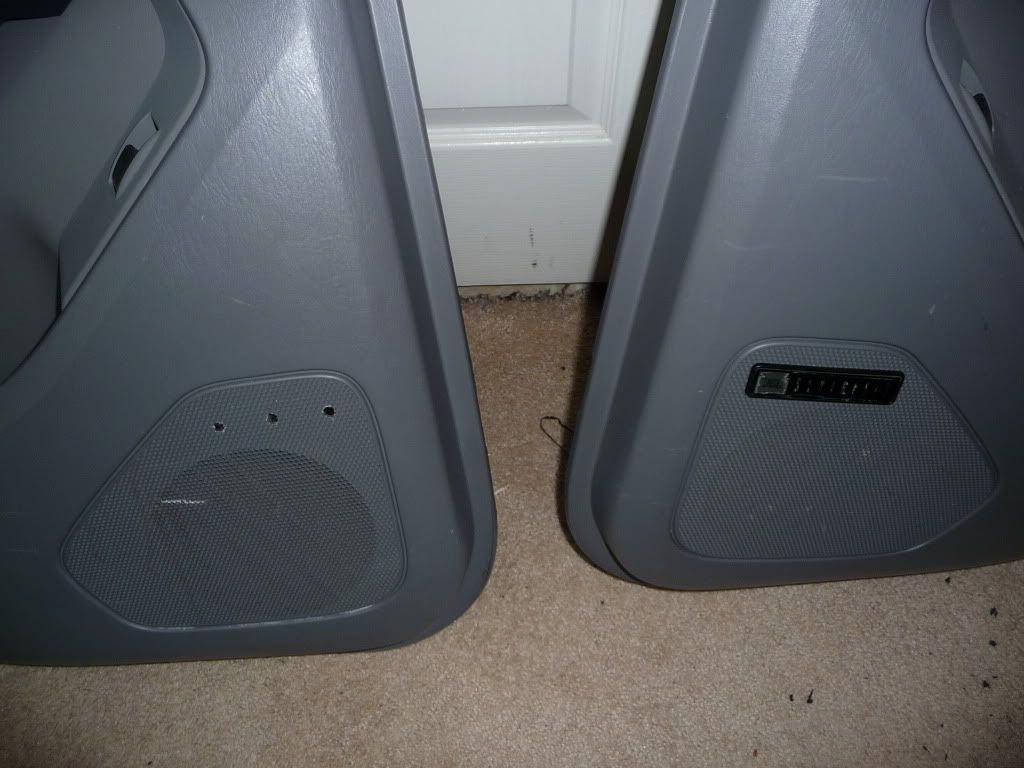
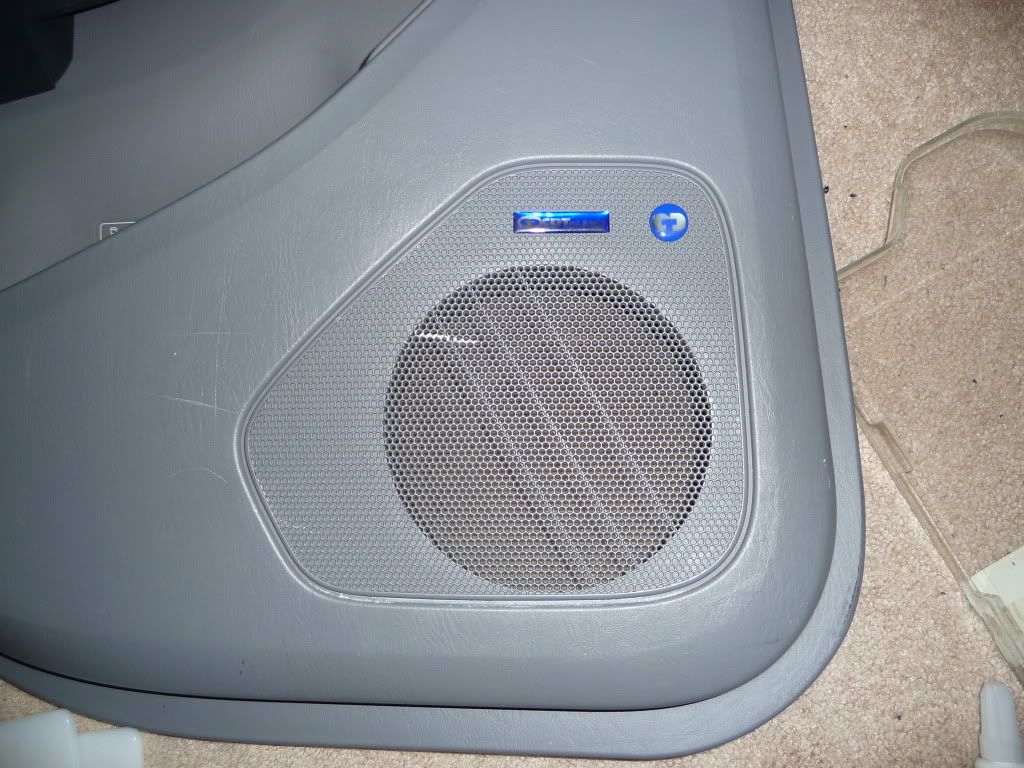
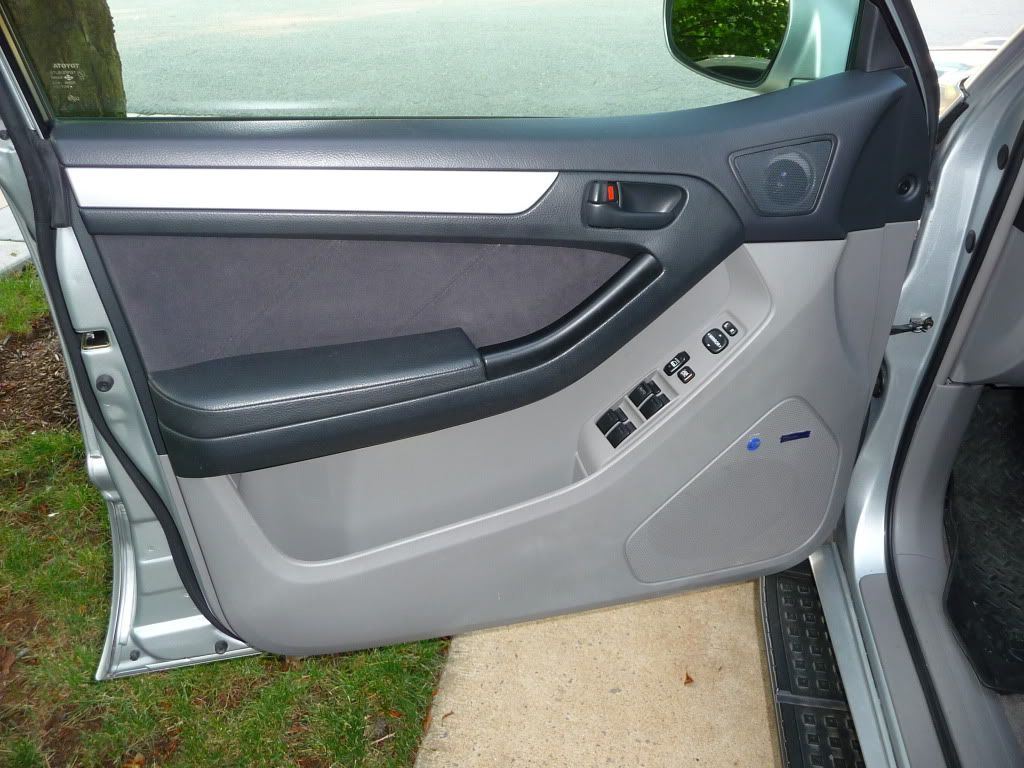
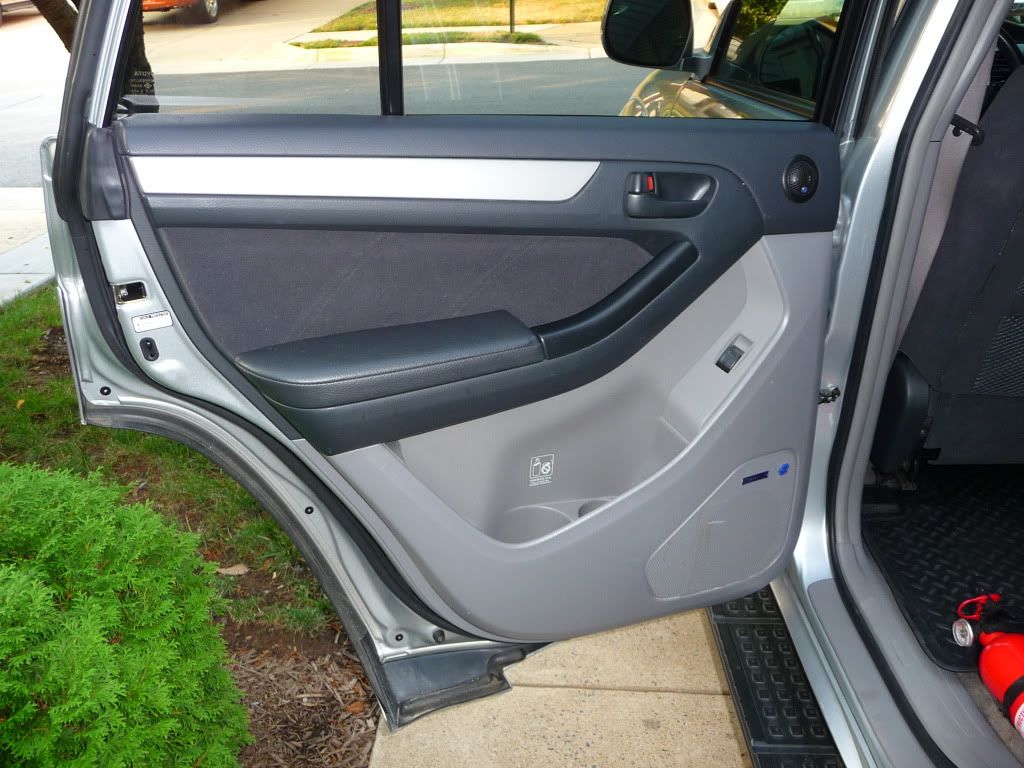
Door panels
•
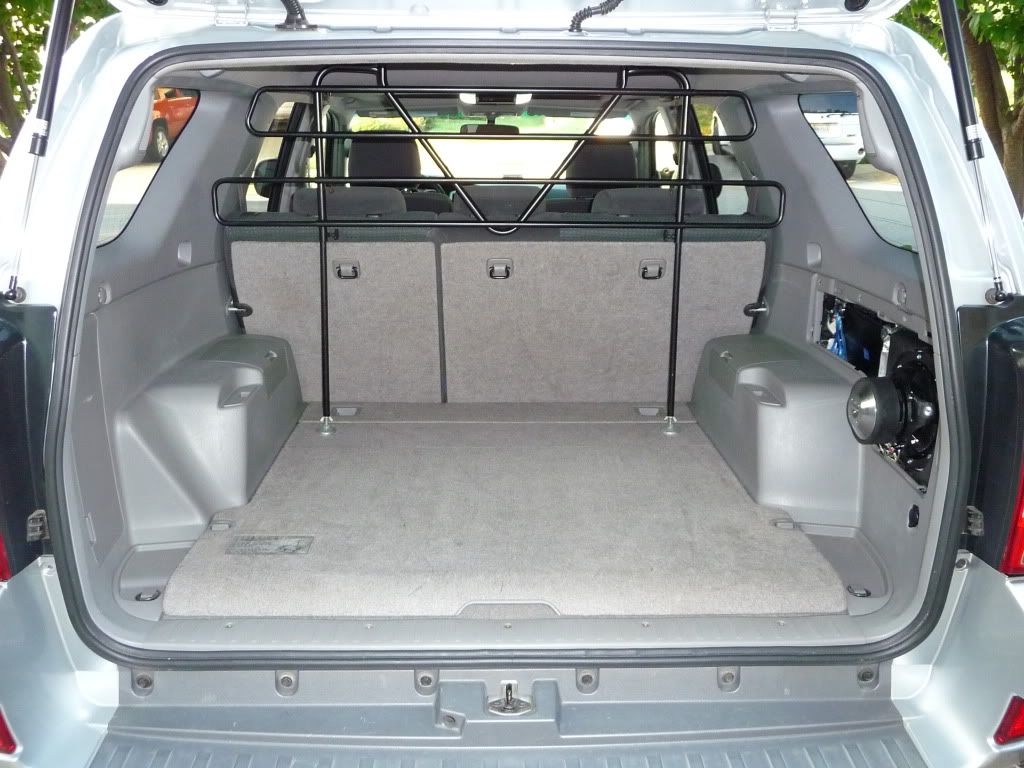
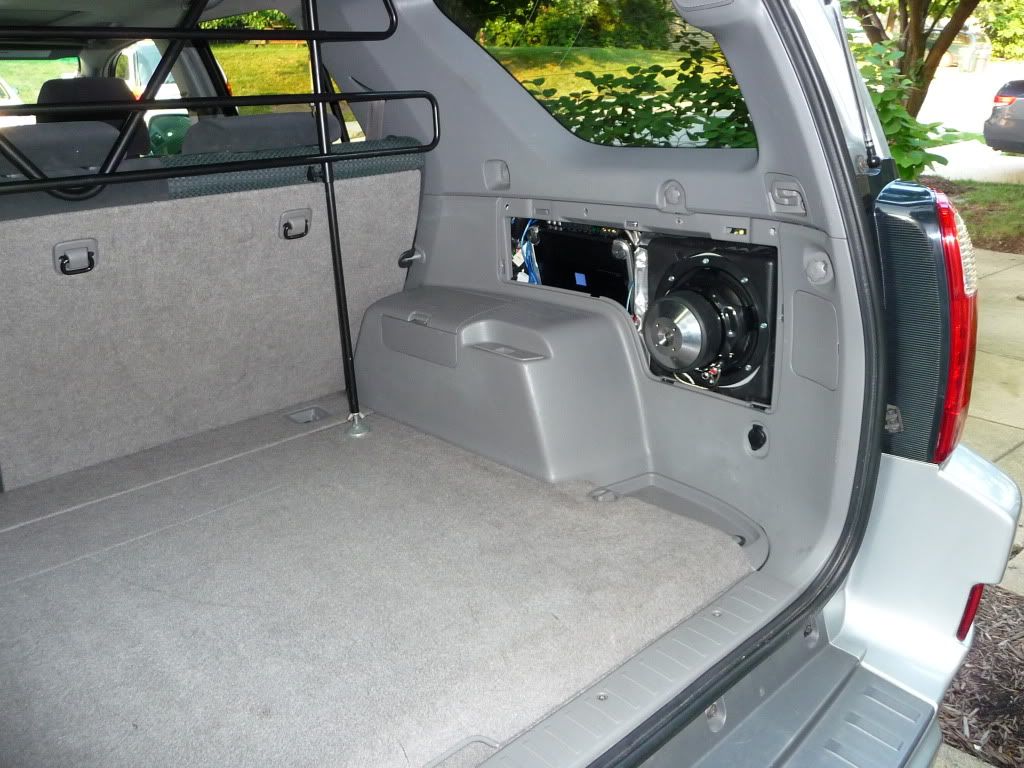
Rear cargo area
•
Center console:
o There are two bolts in bottom of the center bin under the armrest, remove those along with two up front and two in the center (on either side of the shifter).
o Undo any lighting clips and lift out the console.
•
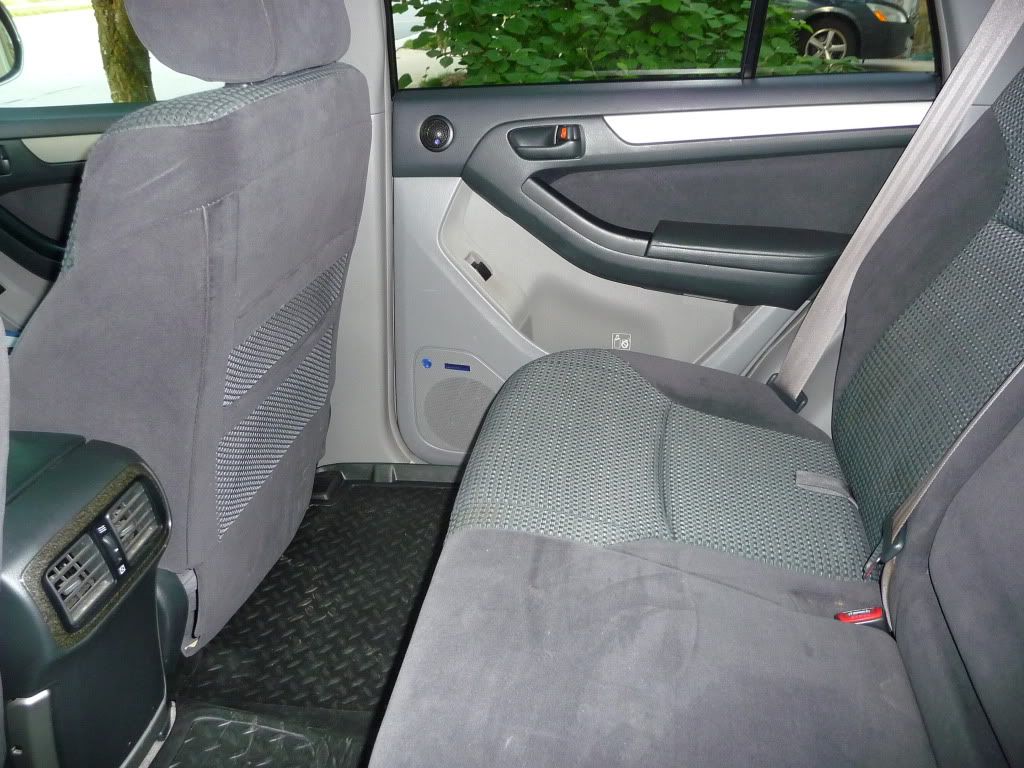
Seats:
o Pop off feet covers and unbolt. Each seat will have at least two wiring clips underneath that you’ll have to undo.
o For the rear seats, just undo the bolts (4 for the bench section). For the 2nd row seat backs, fold them down and undo the 2 bolts (1 at each end) and then the center mount bracket (2 bolts)
•
Carpet:
o Pull up all the door sill covers
o Remove front kick panels (driver left foot rest pops off to reveal a black rubber bumper –just unscrew the rubber bumper and then the kick panels pop out)
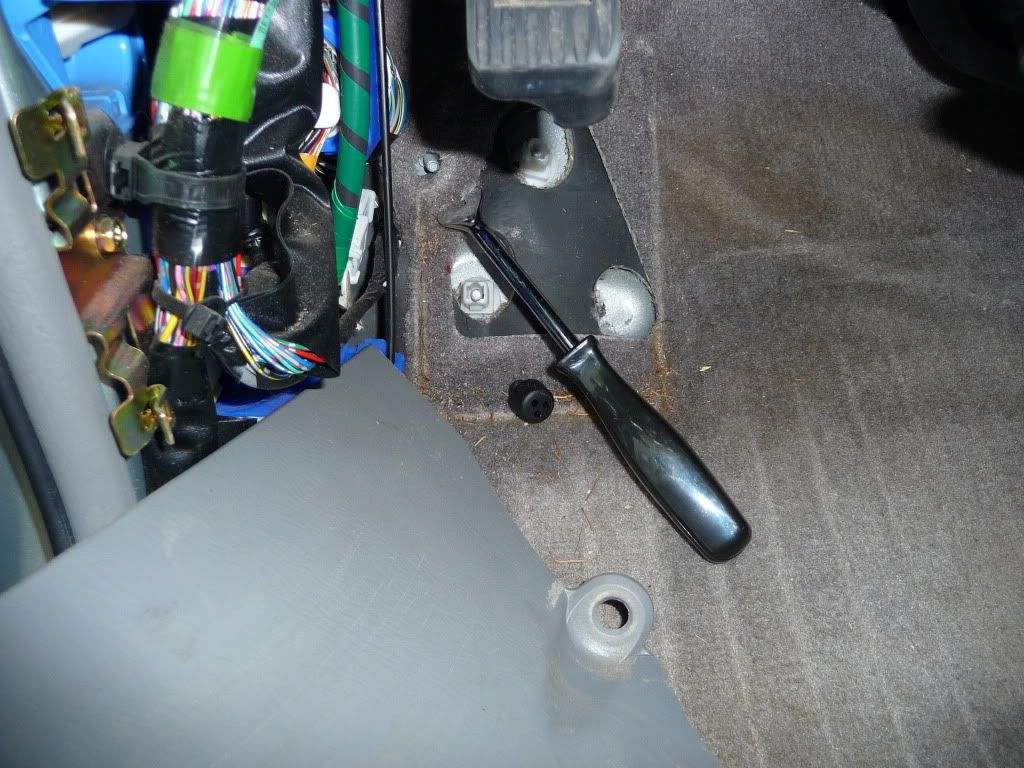
o Unscrew seat belt bolts at bottom of “B” pillars
o Pull off door seal trim on bottom half up to windows
o Lower “B” pillar trim should now pop off
o Rip out carpet (the factory jute and carpet in my truck was a disaster as the prior owner’s children must have treated the truck like a kitchen sink….but more on this later)
•
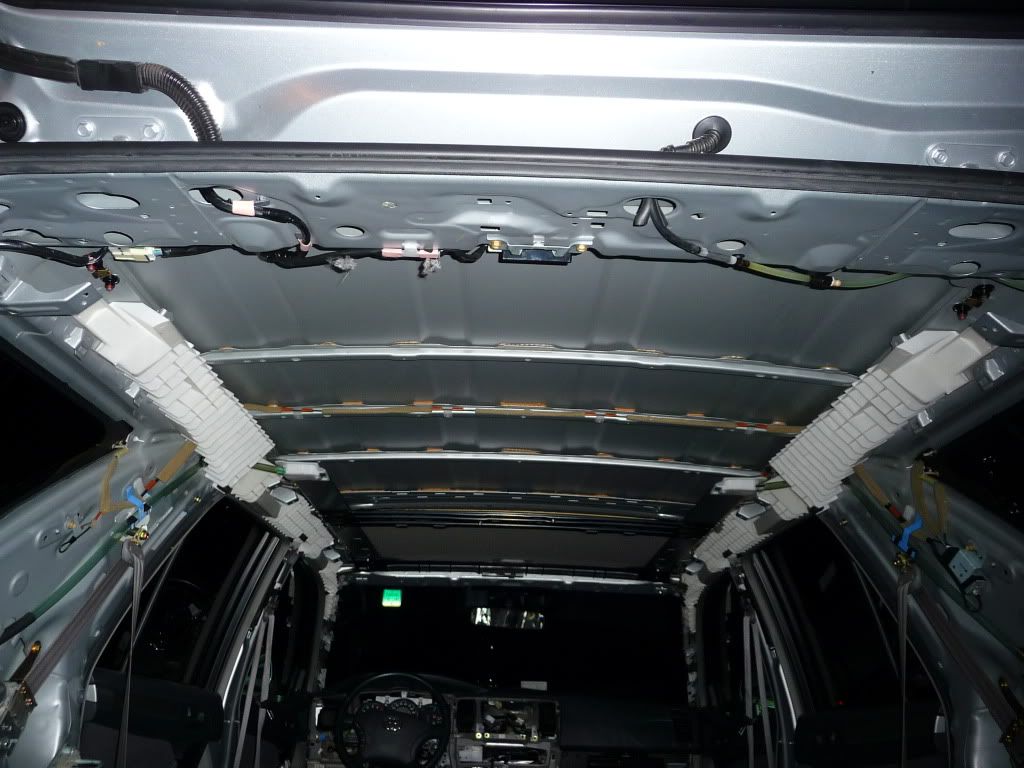
Headliner panel (for moon roof equipped 4Runners):
o Remove map light (pull down hard at front of console-near windshield) – unplug two wires
o Remove second row light – undo 2 screws and a plug
o Remove cargo area light
o Remove upper cargo area panels
o Remove front visors and clips
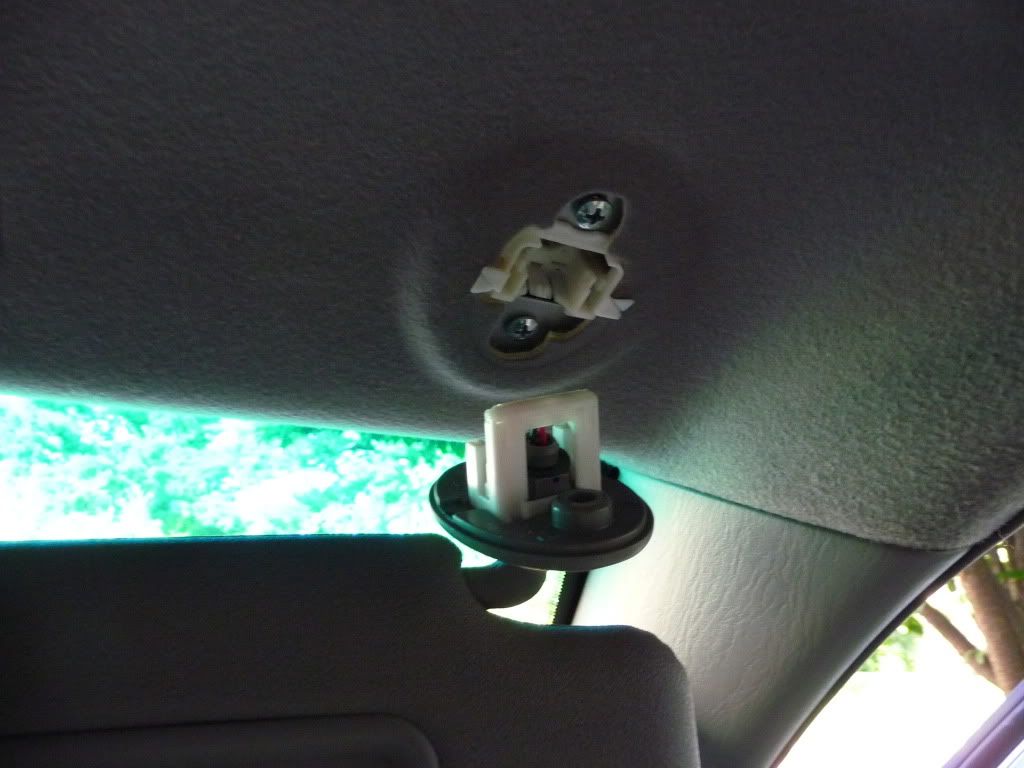
o Remove all the ‘oh crap’ handles and clothes hanger points
o Remove the “A” pillar panels
*All wiring for the moon roof and lights is glued to the topside of the headliner. The wiring loom (green tape) runs down the driver’s side “A” pillar. It is fixed via two clips behind the dash, splits near the bottom of the dash, and terminates in two plugs that will need to be undone and strung up through the dash.
**The roof panel is now being supported by 4 grey clips (2 above where the second row used to be, and 2 near the rear cargo light) in addition to Velcro around the moon roof and the upper half of the “B” pillar panel. Removal of any more items will result in gravity removing the headliner for you. Make sure you have some braces or a helper nearby for the following steps (I found this out the hard way and had to do my best Spiderman impression to get the headliner out).
o Undo four clips in cargo area (using panel tool) and have your assistant/brace support the tail end of the headliner.
o Unscrew two bolts on “B” pillar upper trim and pop it off (let it slide to the ground – no need to remove this panel totally)
o Pull down around moon roof to undo the velcro and slide the headliner out the rear cargo door!
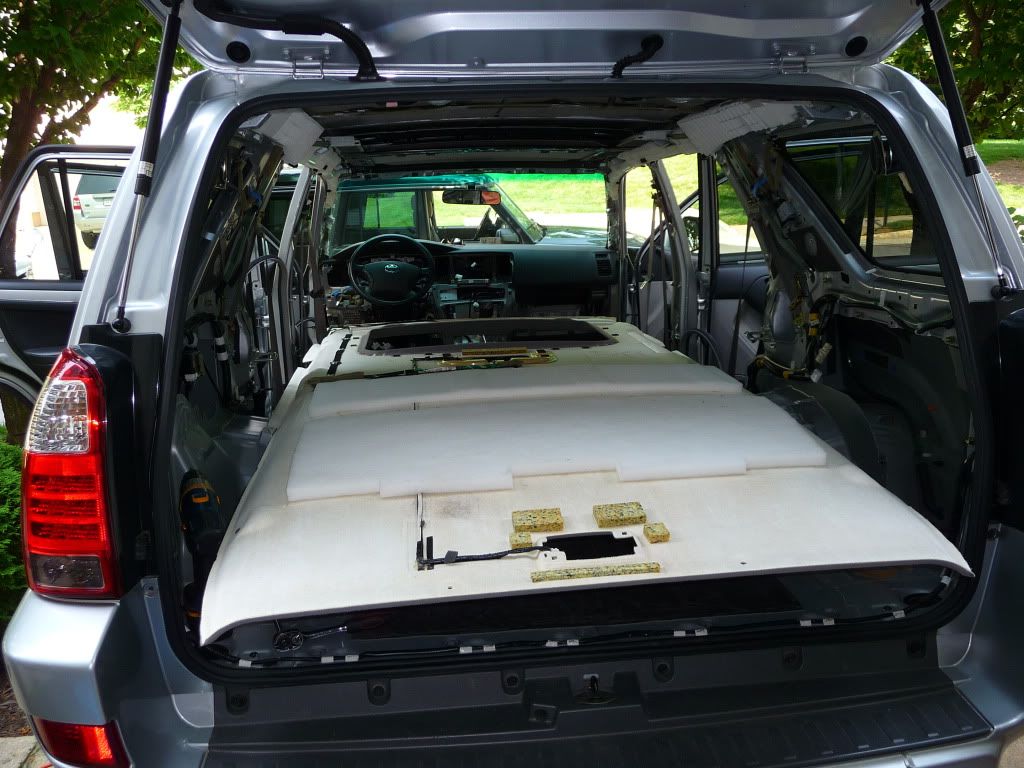
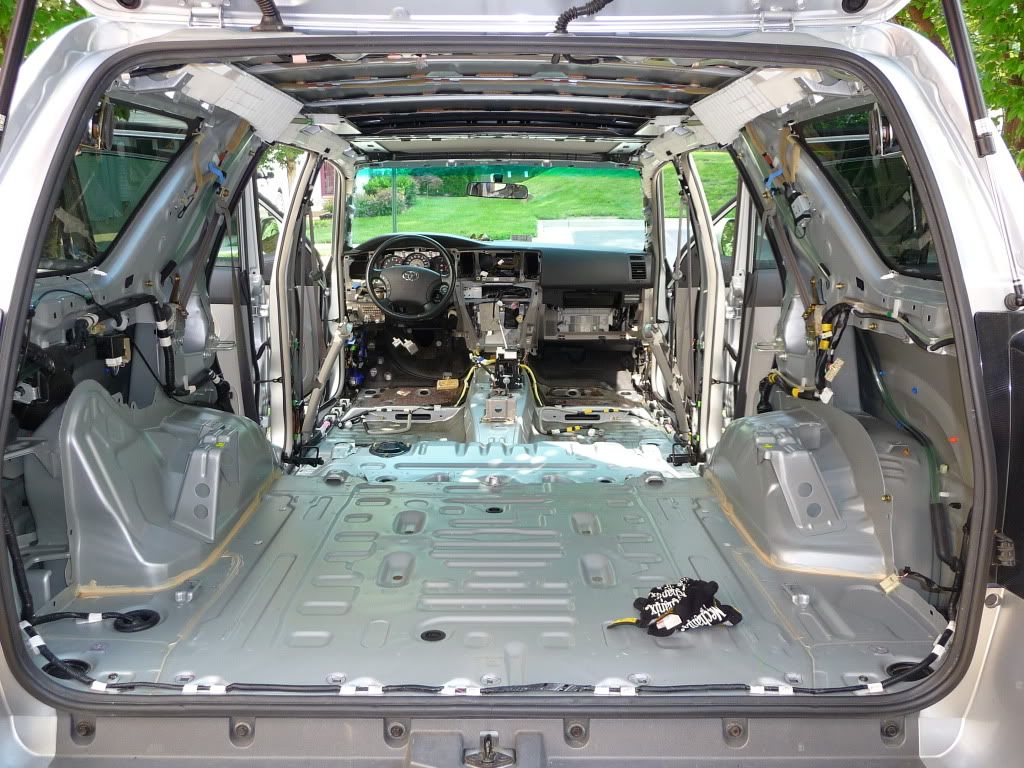
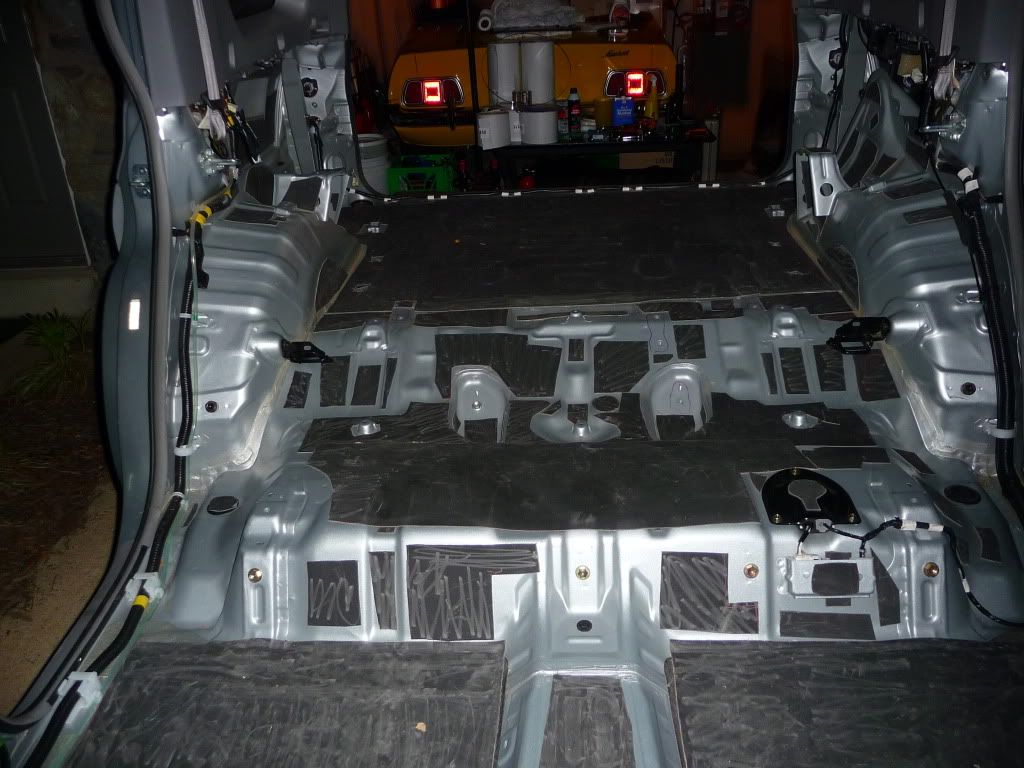
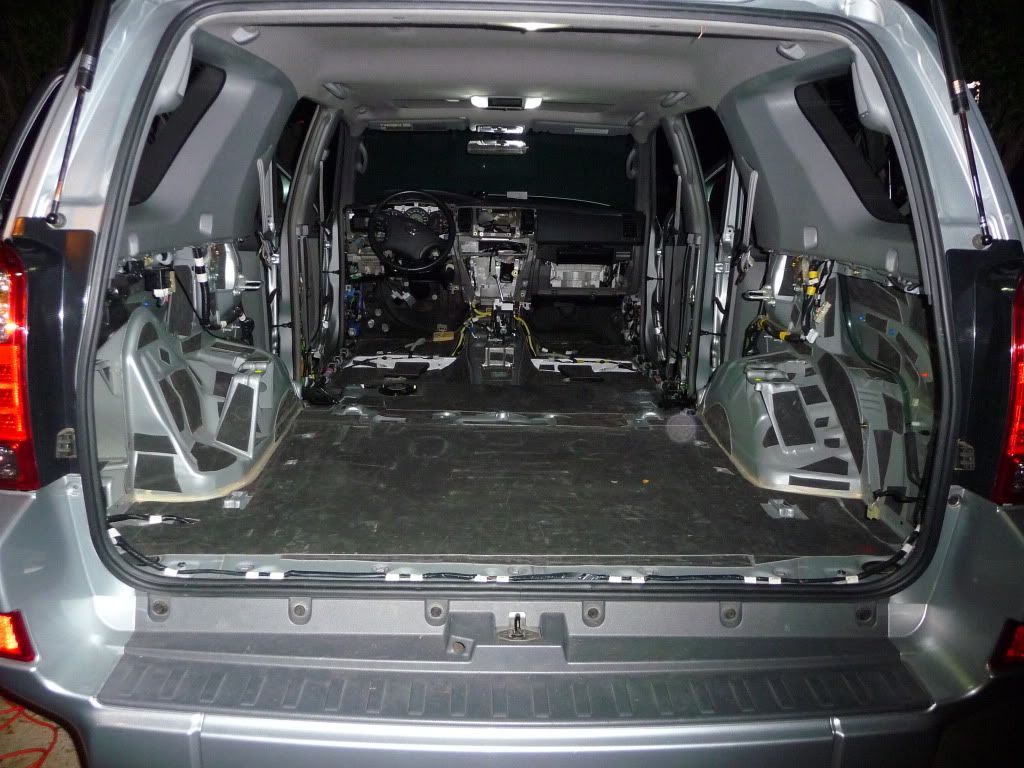
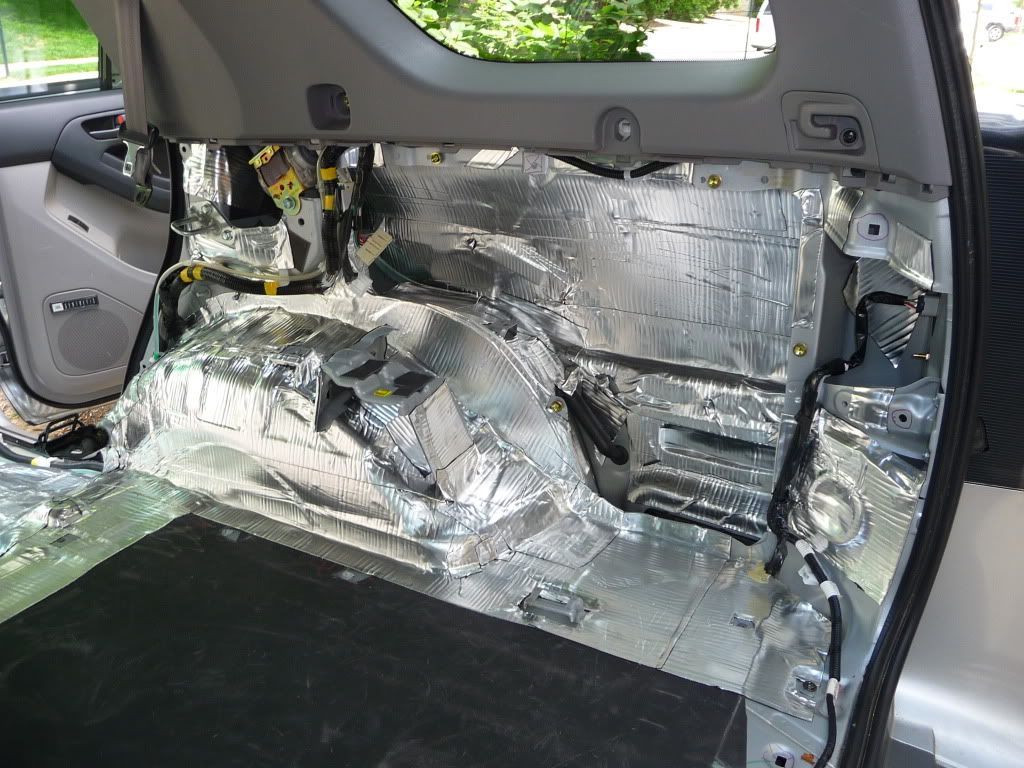
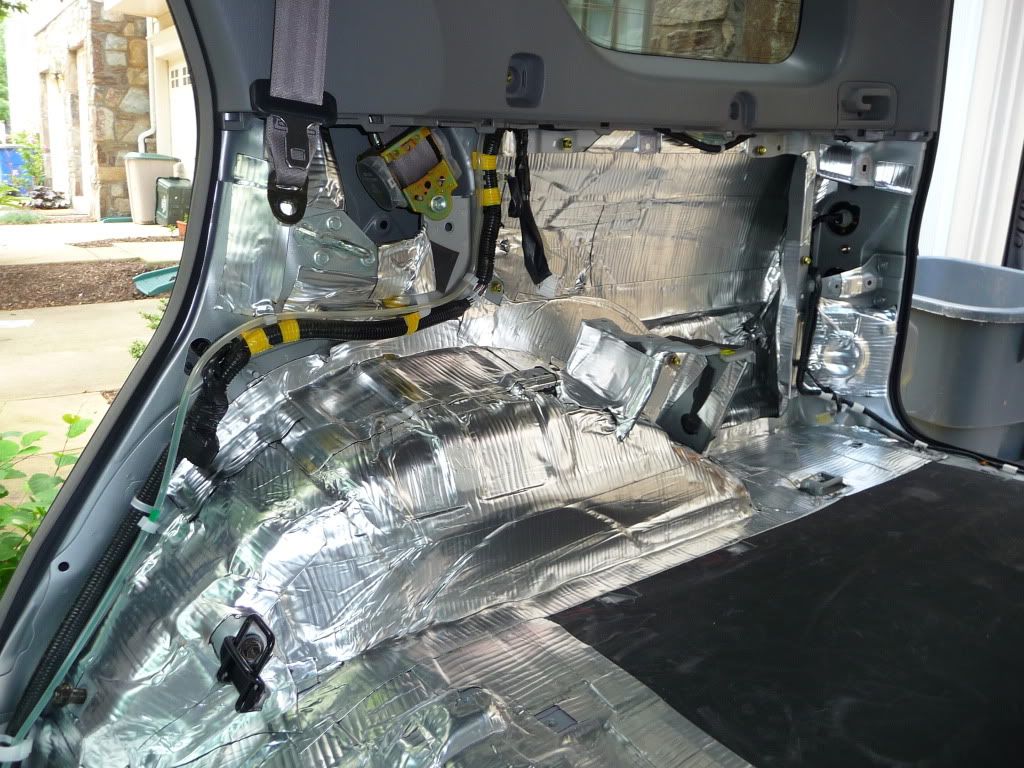
Your truck should now be completely gutted and resemble a panel van:


 (my factory head unit was partially defective anyways and I had a helluva good time sawing into that thing!)


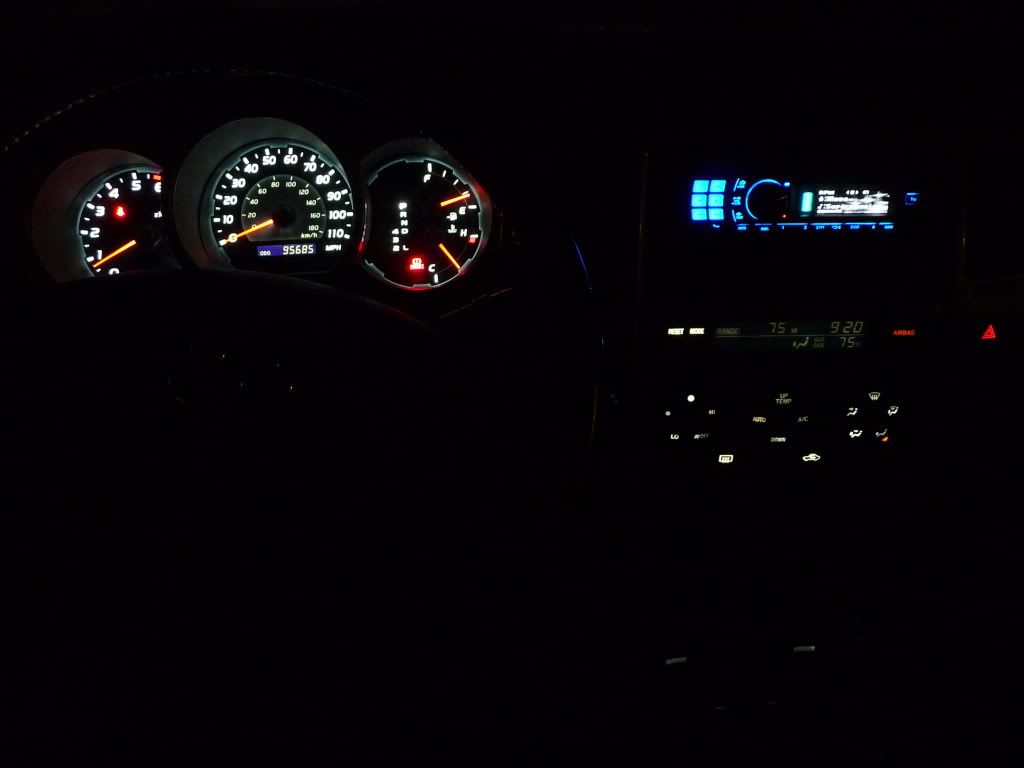
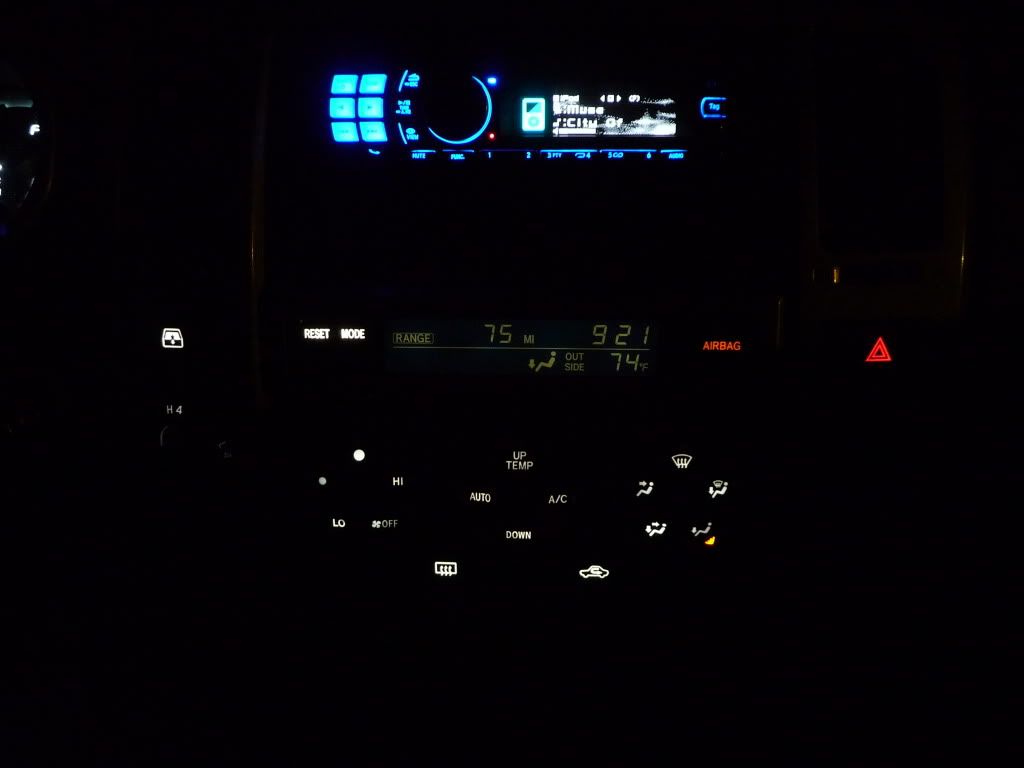
 Sure takes a long time and i noticed two night shots there, but i bet the results are awesome! 5 stars for you!
 Good luck and Thanks for sharing!


 Linear Mode


