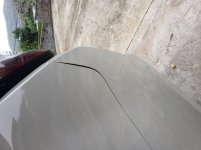
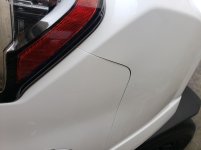
2014 Trail - Silver bumper accent removed

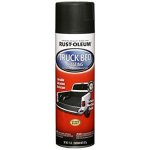
Just bought the rustoleum rattle can bed liner. after giving it a quick test on the ground in front of the spray paint rack :bounce: and letting it dry i discovered it has a very rough a durable feeling to it, not quite textured per say but just rough and I really liked it. I've removed the front valence this afternoon and will give it a shot tomorrow.

411qnyZIaiL._SX425_.jpg
 

Attachments

  • 411qnyZIaiL._SX425_.jpg
    411qnyZIaiL._SX425_.jpg
    17.9 KB · Views: 3,835
Last edited:
Just bought the rustoleum rattle can bed liner. after giving it a quick test on the ground in front of the spray paint rack :bounce: and letting it dry i discovered it has a very rough a durable feeling to it, not quite textured per say but just rough and I really liked it. I've removed the front valence this afternoon and will give it a shot tomorrow.

View attachment 248088

Food for thought on using this. I have an off-road trailer I used this to line the inside of. The rough texture retains the dirt. It tougher to get clean than you may anticipate. It is durable and does the job though. Ensure you prep the surface well.
 
Food for thought on using this. I have an off-road trailer I used this to line the inside of. The rough texture retains the dirt. It tougher to get clean than you may anticipate. It is durable and does the job though. Ensure you prep the surface well.


I appreciate the advice. I plan on scuffing the surface pretty good then scrubbing and cleaning with denatured alcohol, do you think that would suffice?

I'm ok with it being hard to clean I just want something that isn't going to rub off or chip or fade. As long as it's strong I'll be happy


Sent from my iPhone using Tapatalk
 
Last edited:
I appreciate the advice. I plan on scuffing the surface pretty good then scrubbing and cleaning with denatured alcohol, do you think that would suffice?


Sent from my iPhone using Tapatalk

That's a good plan. Don't worry about over-scuffing it or imperfections in the surface, as the surface of the spray liner is rough/coarse and will hide a lot.
 
That's a good plan. Don't worry about over-scuffing it or imperfections in the surface, as the surface of the spray liner is rough/coarse and will hide a lot.


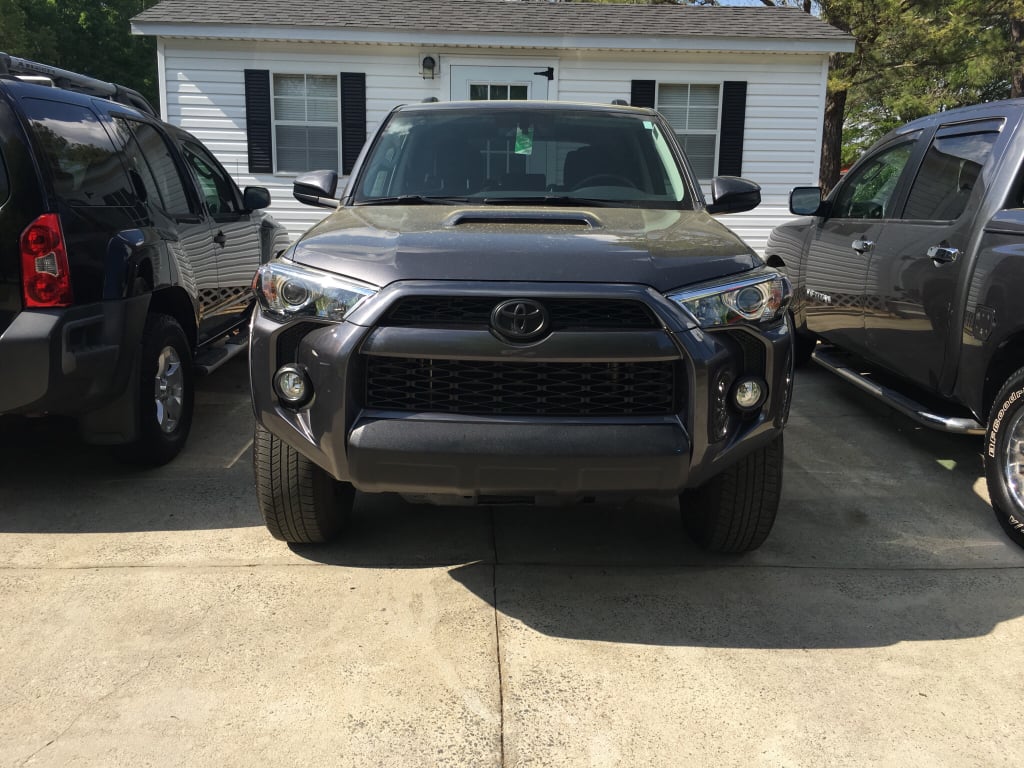
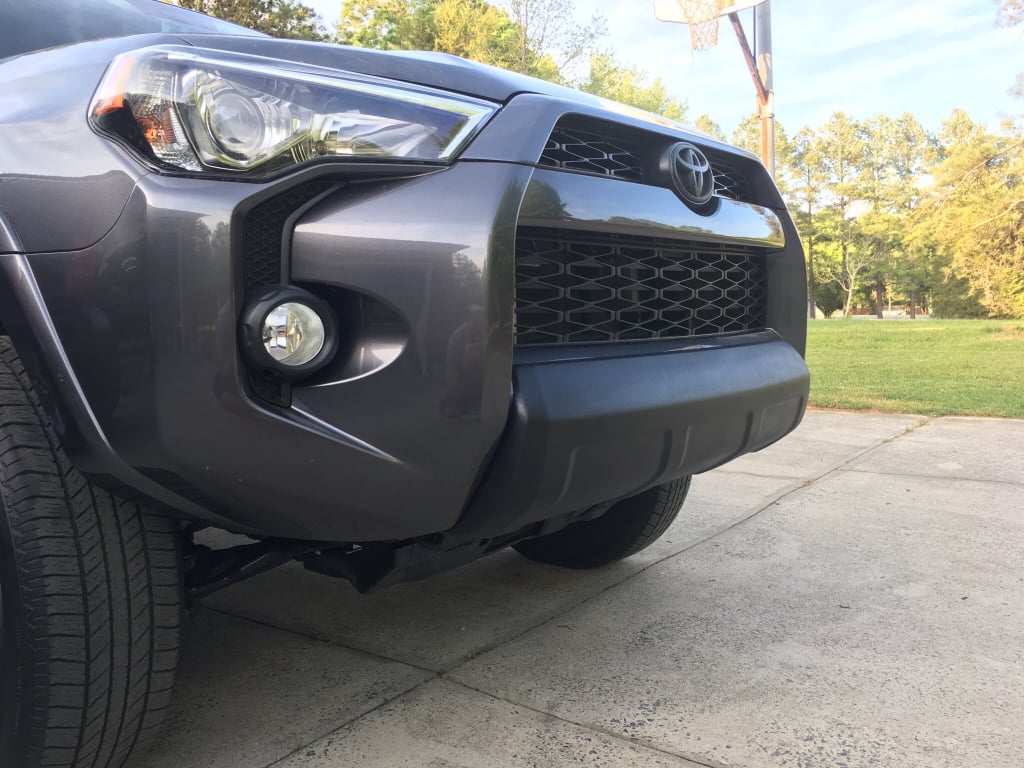
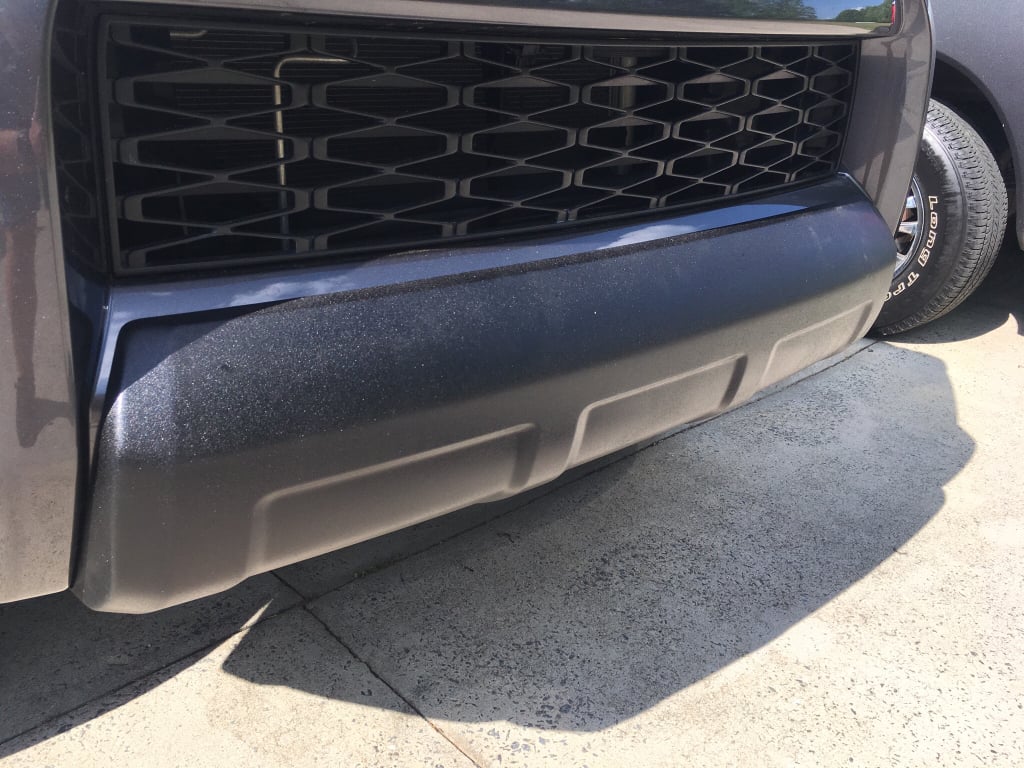
Finished the front and reinstalled it yesterday and I'm really happy with it!

I can see what you're saying about it holding dirt though.

4c57ffc4a543882a7232e809defd2f69.jpg


cf7325398843ca380cdfbbba969838bd.jpg


0766136d4fac38c6f238f266404165c5.jpg


Sent from my iPhone using Tapatalk
 
Finished the front and reinstalled it yesterday and I'm really happy with it!

I can see what you're saying about it holding dirt though.

4c57ffc4a543882a7232e809defd2f69.jpg


cf7325398843ca380cdfbbba969838bd.jpg


0766136d4fac38c6f238f266404165c5.jpg


Sent from my iPhone using Tapatalk


Came out great. My fenders on my jeep TJ have the same coating. A quick hose off gets rid of most any dirt no big deal. I mean these are off road vehicles anyways not showroom cars.


Sent from my iPhone using Tapatalk
 
Tlowe;
What are your impressions after the first few weeks? Can you comment on the texture/dirt after a few weeks with the bedliner?
 
Thanks to those of you who posted about removing the rear bumper. I was donated a rear Pro valance and will install it when I get some free time.
 
If you replace your front or back bumper, most likely front, now one of your bumpers is gray and the other is some other xyz color. Looks ridiculous. Just tape it off and plasti dip. I would never waste my time removing the whole bumper when a spray can for 6$ can make it black or whatever color to match. It can also be removed and resprayed in a few years or whatever. And if you want it stock again, well there it is. Hidden from UV lights and ready to roll.
 
I removed mine about a week or two after purchase. It was super easy.
All you need is a big mudhole that you don't think you can get across, but decide to go anyway.
Get the front stuck in nice and deep.
Then get pulled out by a helpful friend in another truck.
Voila! No more silver piece.
 
I had sprayed my originals with some Rustoleum and it looked great, the problem was after a few months the front valence gets hit with all sorts of road rockets and starts to show silver freckles, coming from the Jeep world where I have plastidipped many things, it can start to peel over time, I decided to just order a new set of valences from the dealer and have them coated with Line-X.

Cost was $200 total to cover both.
This will last far longer than rattle can and plastidip...
plus I like the way it stands out more.

How well has this held up now that you’ve had it like this for over a year? Is it easy to keep clean and remove road tar and bugs...? My rear valance was damaged by some jerk in a parking lot so I need to either replace or try and cover the damage with line-x or line-x a new valance before installling. While I’m at it, I’ll do the front to match...
 
How well has this held up now that you’ve had it like this for over a year? Is it easy to keep clean and remove road tar and bugs...? My rear valance was damaged by some jerk in a parking lot so I need to either replace or try and cover the damage with line-x or line-x a new valance before installling. While I’m at it, I’ll do the front to match...

These have held up perfectly... still look brand new and are easy to spray out with a hose, super easy to clean.

Would recommend!
 
I just painted mine using Krylon Fusion Black Satin. This paint is specifically formulated to stick to plastic. I removed the valances (see below), cleaned them with the soapy water and then wiped them down with some mineral spirits. I applied 5 coats of paint, waiting about 30 minutes between coats. For the 6th and final coat, I waited about 2 hours before applying.

This is VERY easy to do by removing the front and rear bumpers. I tried to do it without removing the bumpers and the spaces were too tight for my hands. Removing the bumpers sounds like a daunting task, but it is actually one of easiest things I've done to my 4Runner.

Here's a video on front bumper removal: YouTube

Once you have that off, you can see the clips that hold the valance to the bumper. Use a screw driver to press the tab and slide them out.

I couldn't find a video of rear bumper removal. I did find various pictures and text descriptions of removing it. I took some pictures in hopes in helps the next shadetree mechanic...

In the 1st picture below, you can see a red arrow that points to a 10mm screw you need to remove. The blue arrows point to three push-in clips. To remove those, use a small flat-head screw driver. Insert it into the groove on the top side of the clip and pry the center cap up. Then just pull out the clip.

In the 2nd picture below, the arrows point to 10mm screws you need to remove. The blue screw is special. Once the blue screw is removed, you can move the mud flap out of the way and access another push-in clip shown in the 3rd picture. The blue arrow in the 3rd picture is where the blue screw in the 2nd picture used to be. My finger is pointing at the push-clip.

In the 4th picture, the red arrow points to one more 10mm screw you need to remove. It's over towards the center of the bumper by the hitch and spare tire. IIRC there is also a push clip in this area.

Repeat pictures 1-4 for the other side of the truck.

The 5th picture shows the other screws you need to remove.

To physically remove the bumper, pry the bumper away from the raised retainer clip that is located where the first screw you removed was (the red screw in the 1st photo). Then, give the bumper a tug away from the rear of the vehicle. There are some clips in the segment behind the wheel that will release. The bumper will slide freely and off the back of the truck. Now you have easy access to the valance clips.

Thank you for posting this!
The only thing I would add is that when you're removing the bumper (after all screws are out, etc)... tape off the area around the bottom of taillights. I noticed the bumper was causing slight scratching in the black area.

Also, the push-connectors that are hidden by mud-flaps are no joke to get out (like the others are). You need to grab those and pull hard to get them out. Not difficult, but way more pressure than the others.
 
rear bumper reinstall- corner by taillights??

looking for a little direction on how much gap the bumper corners just below the taillights should be. Not sure is it's just me or if it should be that much space. Both sides look identical after removal and reinstall while putting on the TRD lower valence.
Does this look right? Is there a secret to get those 2 very small white colored clips on the bumper to grab the frame better? I tried several times from different angle, similar results.
Appreciate any guidance. Thank you
 

Attachments

  • _copie-0_20190210_134937.jpg
    _copie-0_20190210_134937.jpg
    129.8 KB · Views: 1,011
  • _copie-0_20190210_134943.jpg
    _copie-0_20190210_134943.jpg
    134.4 KB · Views: 1,016
I just painted mine using Krylon Fusion Black Satin. This paint is specifically formulated to stick to plastic. I removed the valances (see below), cleaned them with the soapy water and then wiped them down with some mineral spirits. I applied 5 coats of paint, waiting about 30 minutes between coats. For the 6th and final coat, I waited about 2 hours before applying.

This is VERY easy to do by removing the front and rear bumpers. I tried to do it without removing the bumpers and the spaces were too tight for my hands. Removing the bumpers sounds like a daunting task, but it is actually one of easiest things I've done to my 4Runner.

Here's a video on front bumper removal: YouTube

Once you have that off, you can see the clips that hold the valance to the bumper. Use a screw driver to press the tab and slide them out.

I couldn't find a video of rear bumper removal. I did find various pictures and text descriptions of removing it. I took some pictures in hopes in helps the next shadetree mechanic...

In the 1st picture below, you can see a red arrow that points to a 10mm screw you need to remove. The blue arrows point to three push-in clips. To remove those, use a small flat-head screw driver. Insert it into the groove on the top side of the clip and pry the center cap up. Then just pull out the clip.

In the 2nd picture below, the arrows point to 10mm screws you need to remove. The blue screw is special. Once the blue screw is removed, you can move the mud flap out of the way and access another push-in clip shown in the 3rd picture. The blue arrow in the 3rd picture is where the blue screw in the 2nd picture used to be. My finger is pointing at the push-clip.

In the 4th picture, the red arrow points to one more 10mm screw you need to remove. It's over towards the center of the bumper by the hitch and spare tire. IIRC there is also a push clip in this area.

Repeat pictures 1-4 for the other side of the truck.

The 5th picture shows the other screws you need to remove.

To physically remove the bumper, pry the bumper away from the raised retainer clip that is located where the first screw you removed was (the red screw in the 1st photo). Then, give the bumper a tug away from the rear of the vehicle. There are some clips in the segment behind the wheel that will release. The bumper will slide freely and off the back of the truck. Now you have easy access to the valance clips.

Thanks for the post! Going to start this hopefully tomorrow. I bought a black rear valance to replace the silver one. Wasn't sure of you had to remove the entire bumper cover or not
 
looking for a little direction on how much gap the bumper corners just below the taillights should be. Not sure is it's just me or if it should be that much space. Both sides look identical after removal and reinstall while putting on the TRD lower valence.
Does this look right? Is there a secret to get those 2 very small white colored clips on the bumper to grab the frame better? I tried several times from different angle, similar results.
Appreciate any guidance. Thank you

Did you figure out the spacing? I'm about to start the same work
 
Did you figure out the spacing? I'm about to start the same work
yup, came across another post on 4runner.com.
The issue was the clips being bent downwards, you gotta really look at them to notice. Take you time, be sure the clips are pointed so it goes over the edge and it will grab like it did from the factory.
 
Thanks for all of the info everyone shared here. I was able to replace the front lower valance on my 4Runner TRD without removing the bumper, and without too much difficulty. There's a plastic piece under the radiator that had 5 screws and a pull tab but once I got it out of the way I was able to access all of the tabs holding the Valance in place fairly easily. Used a screwdriver to depress the tabs in some cases, while pulling the tab out with my fingertips. Not too bad. The whole process took about an hour. Doing the rear valance tonight. Full bumper removal.
 

Members online

No members online now.

Forum statistics

Threads
278,312
Messages
3,554,083
Members
248,016
Latest member
Advally Service

Trending content

Back
Top