3D Printed Rostra Round Switch Plates

DarenS

New member
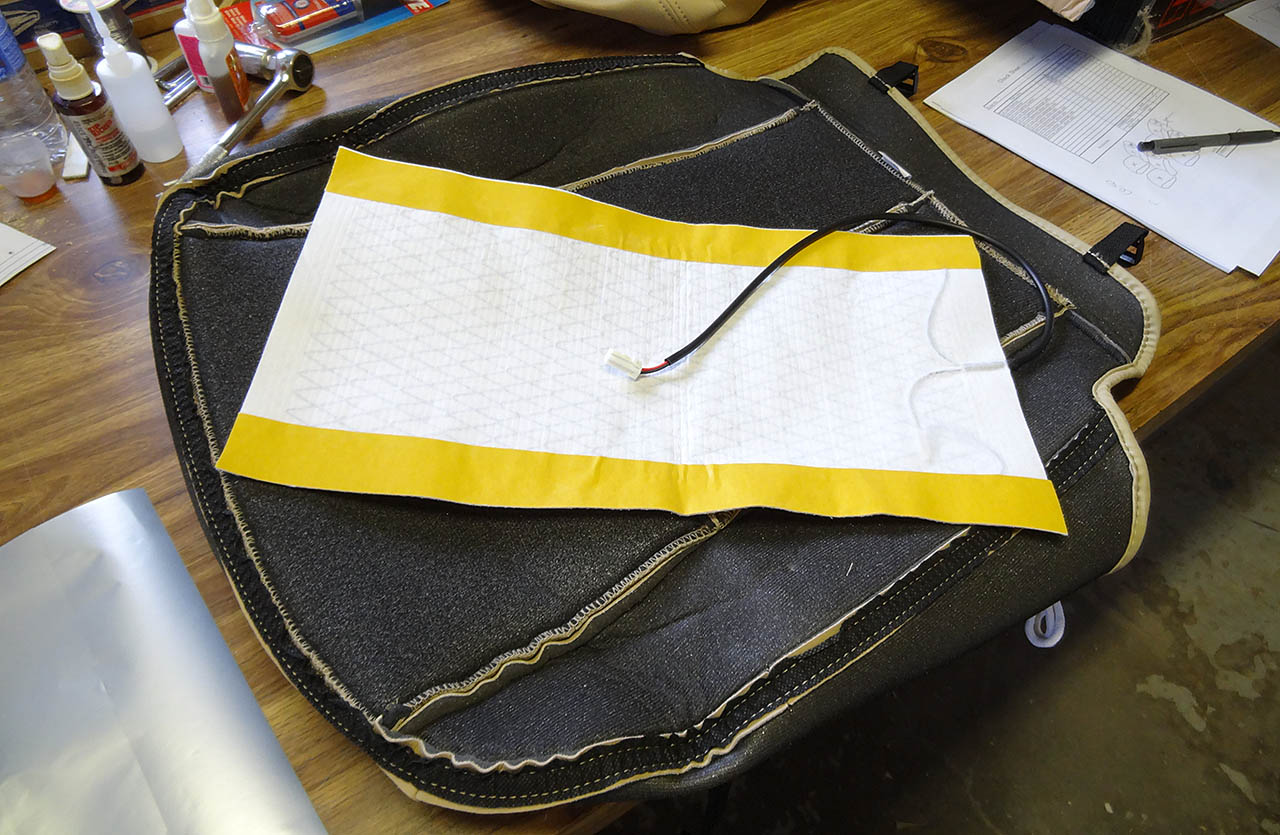
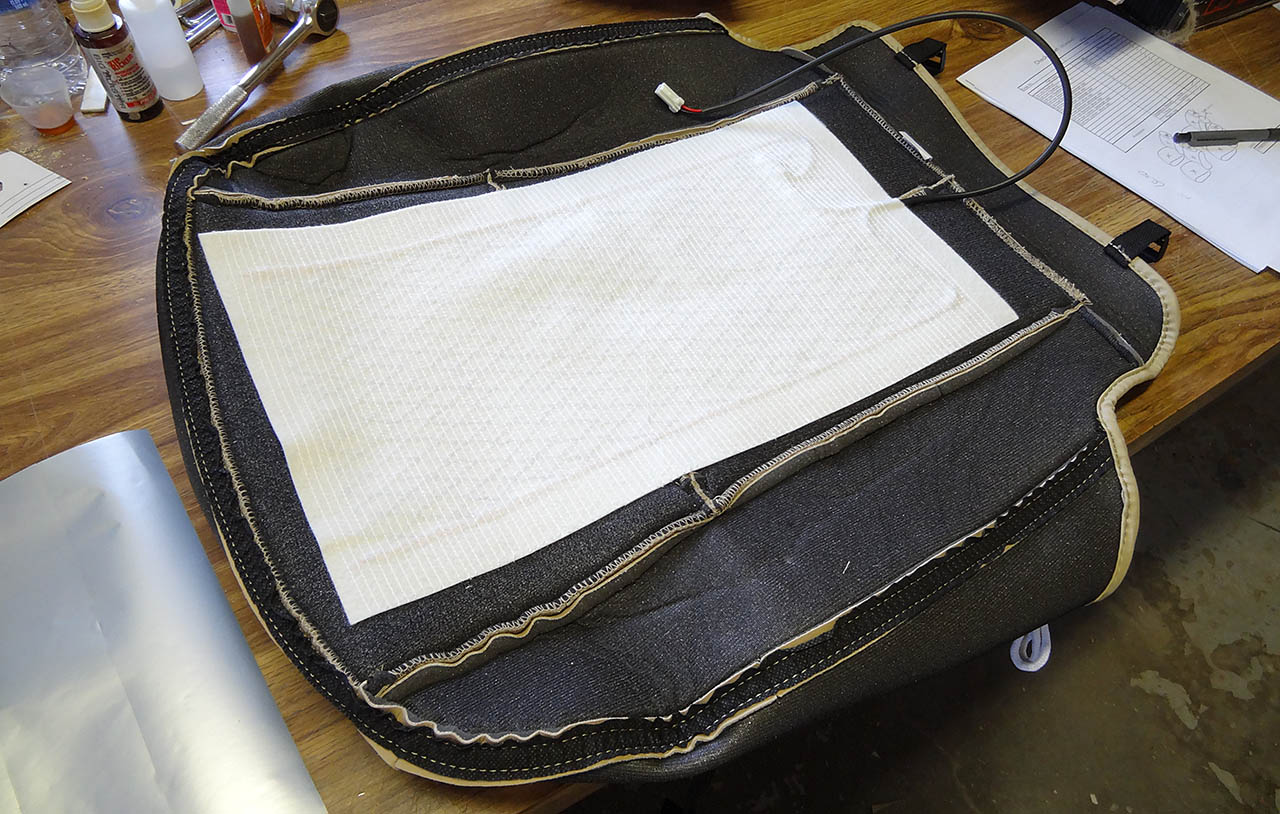
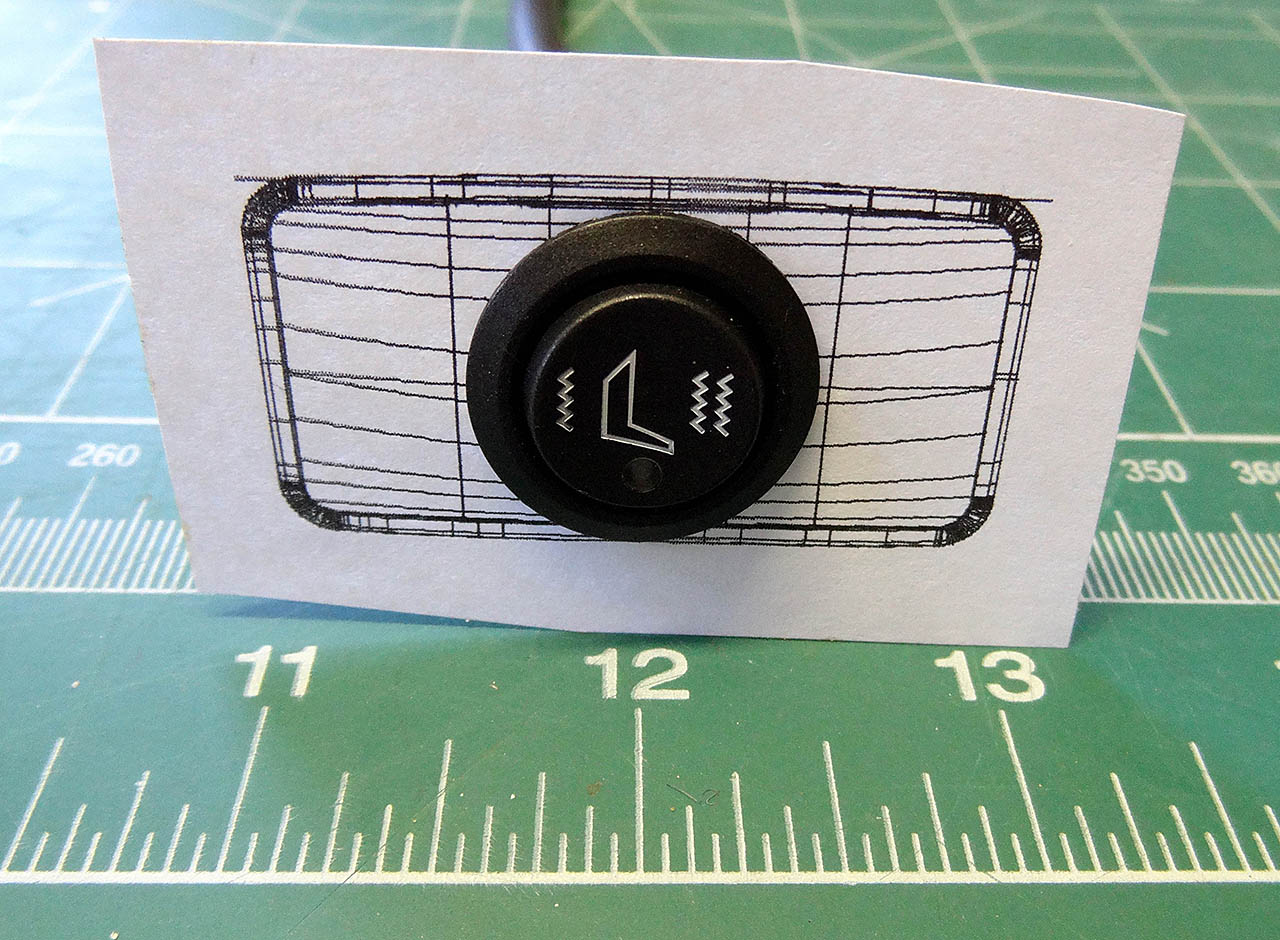
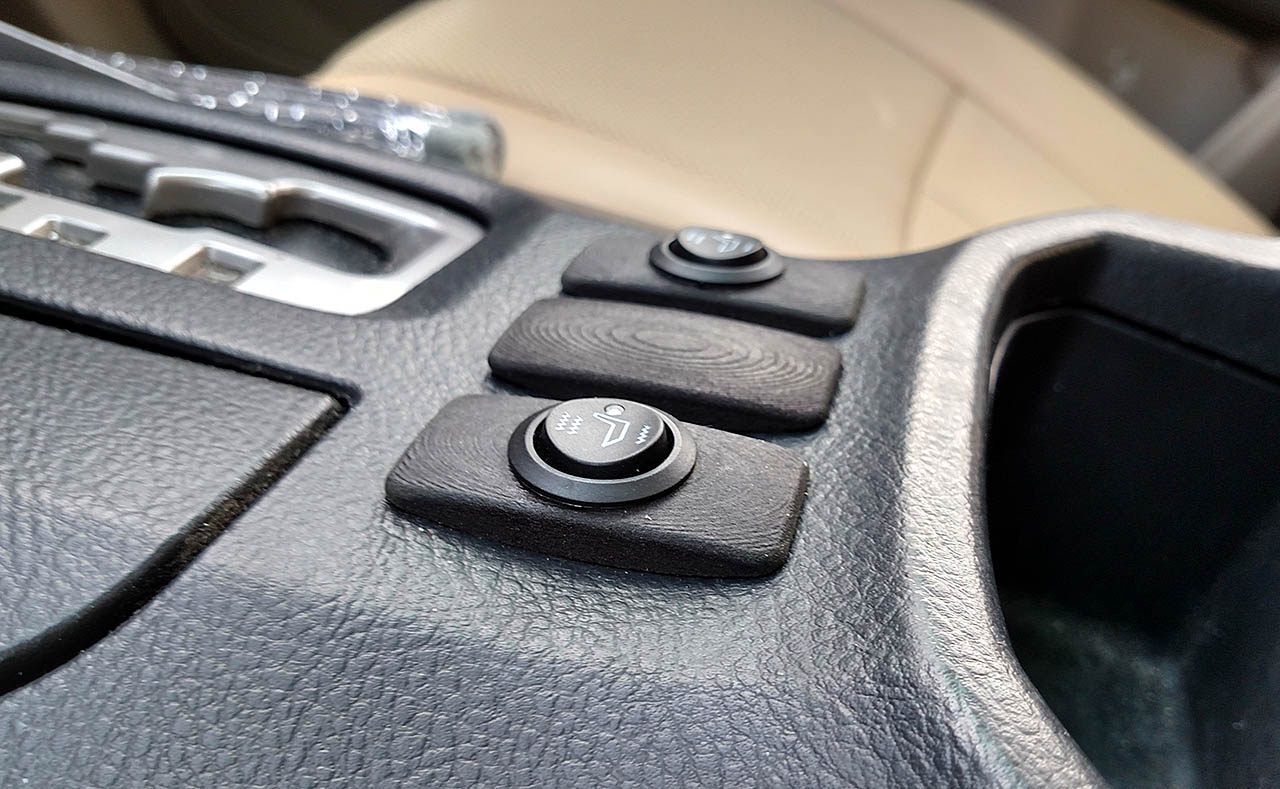
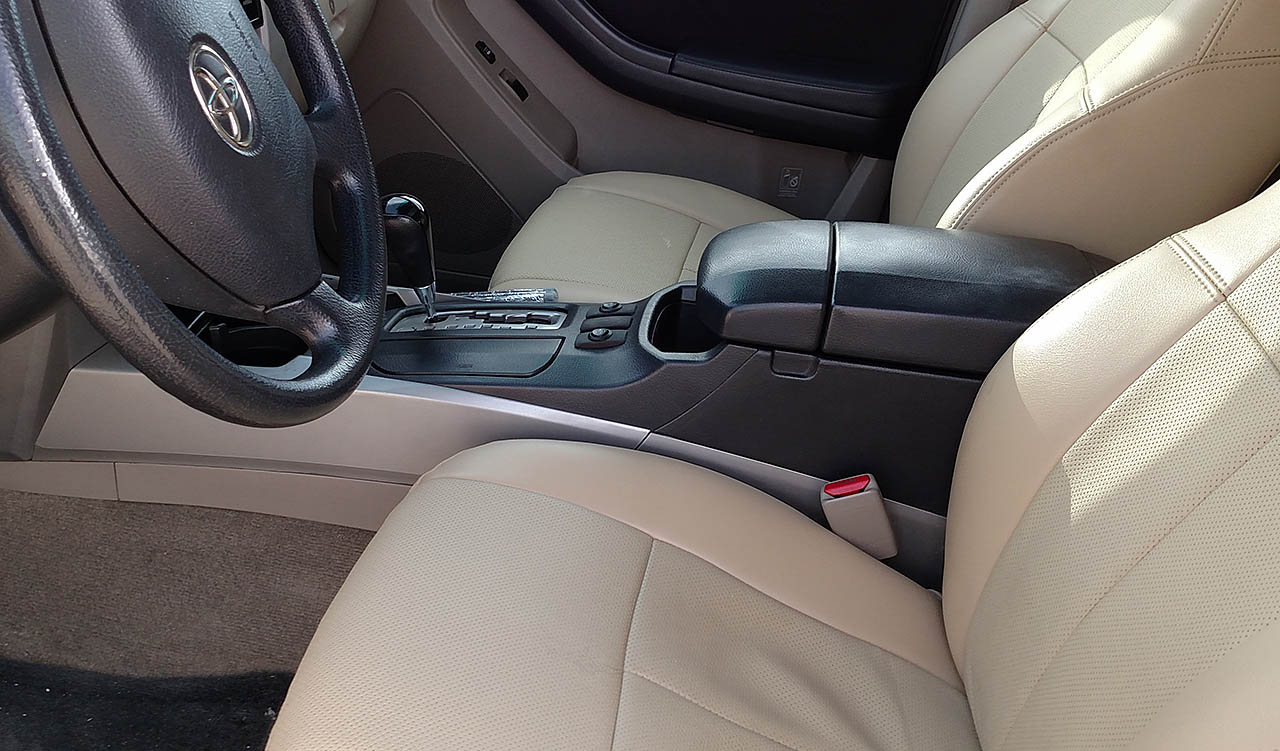
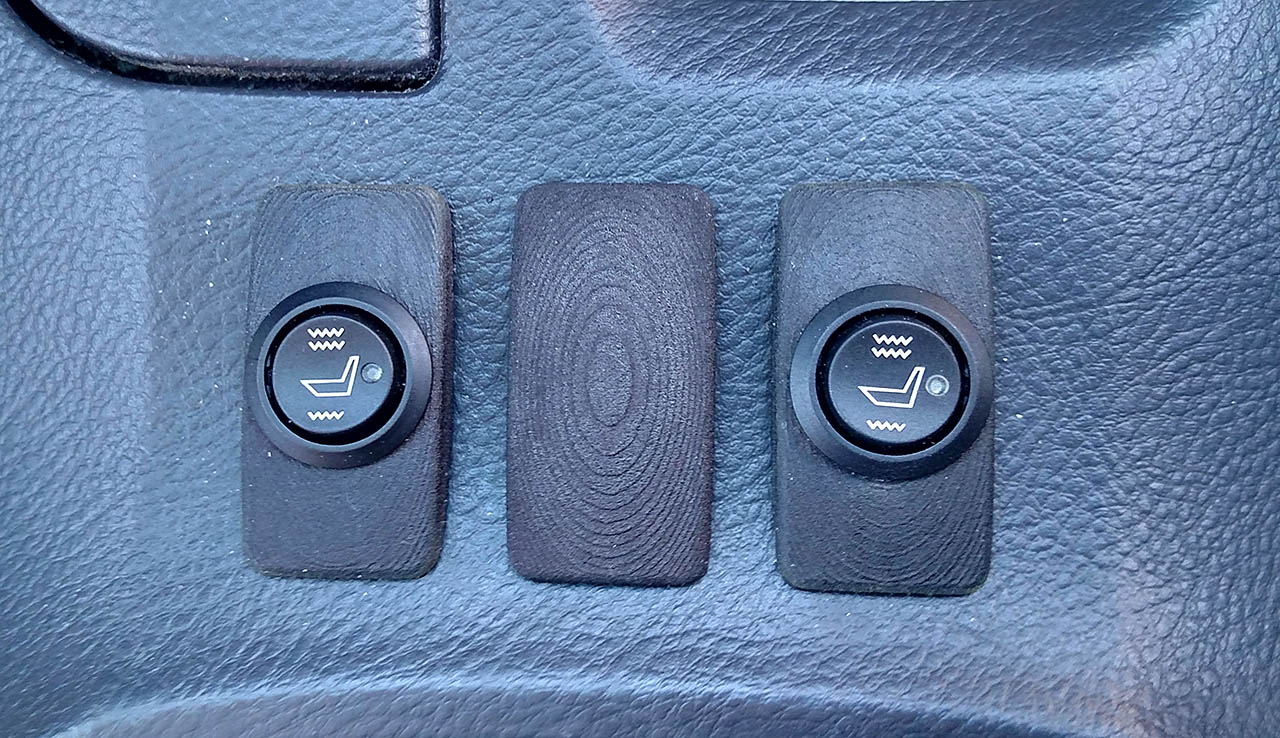
Last spring I installed Clazzio seat covers on my 4R. During the install I also added Rostra seat heaters. I opted for the round rocker stitches due to cost.

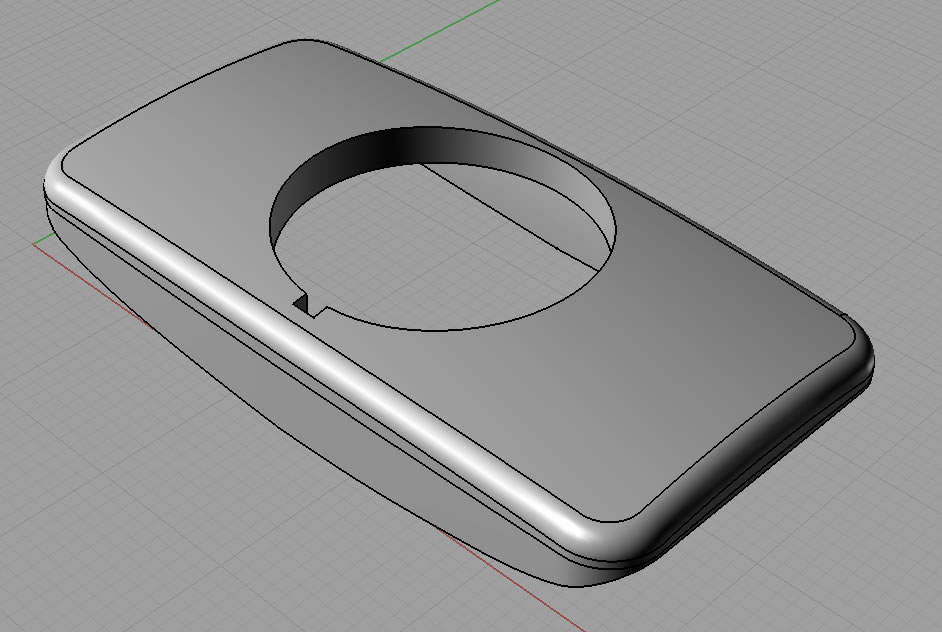
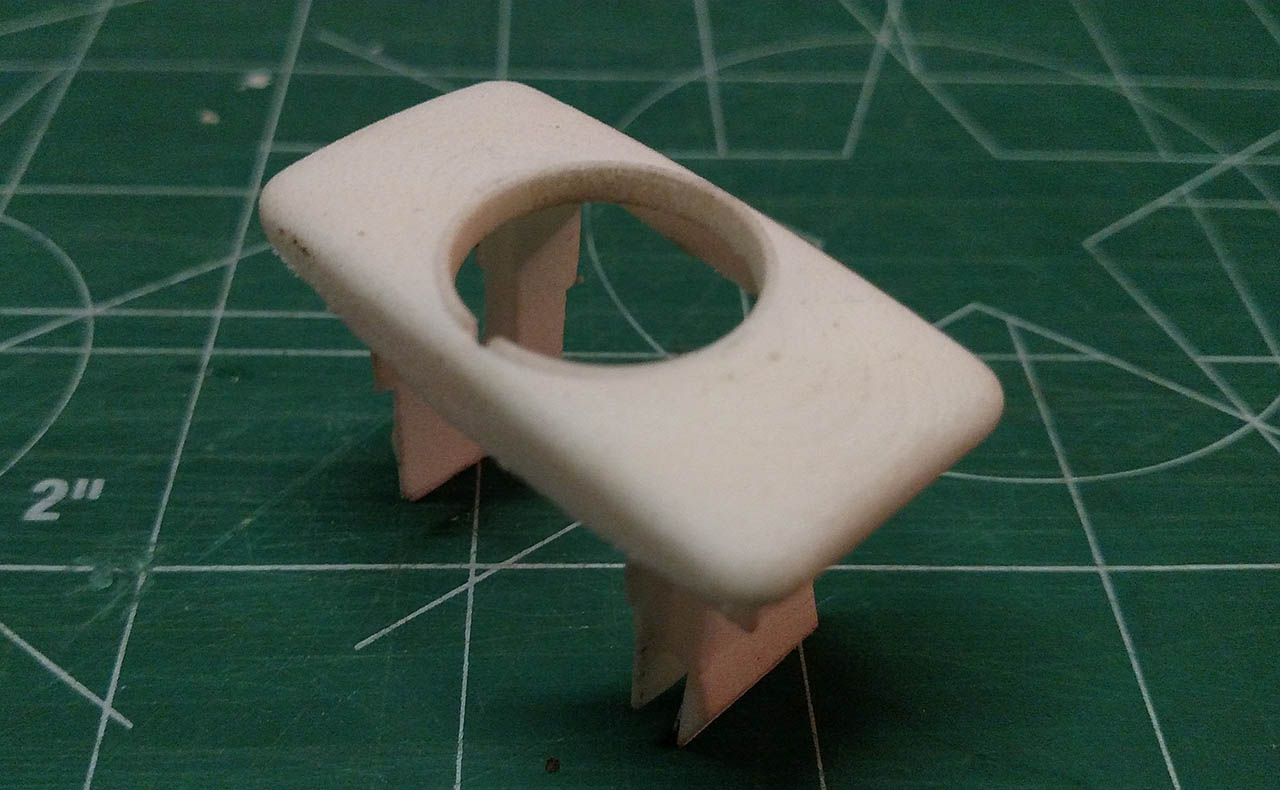
My brother Dan offered to design and 3D print some switch plates that would accommodate the round switches. He had already made a plate for his 50th Corvette.

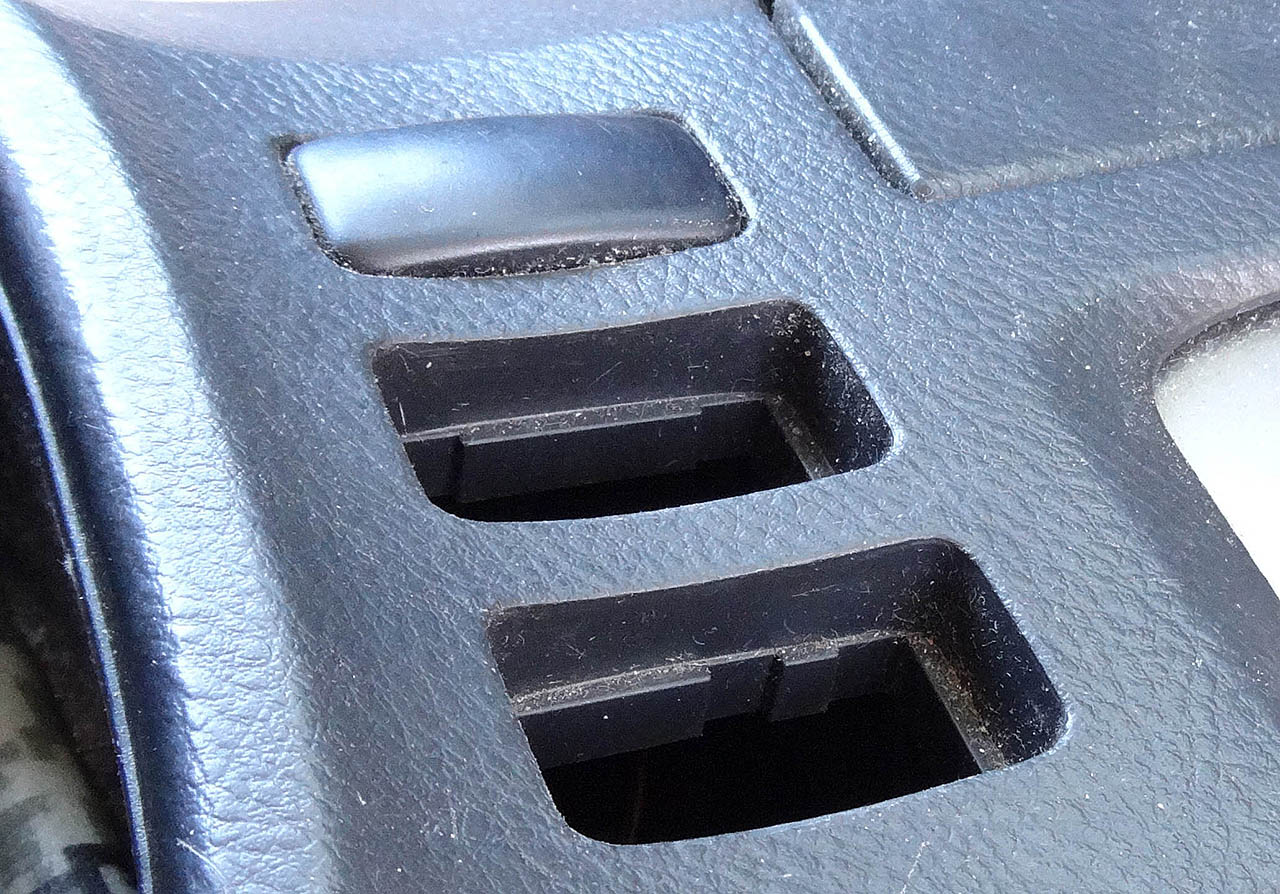
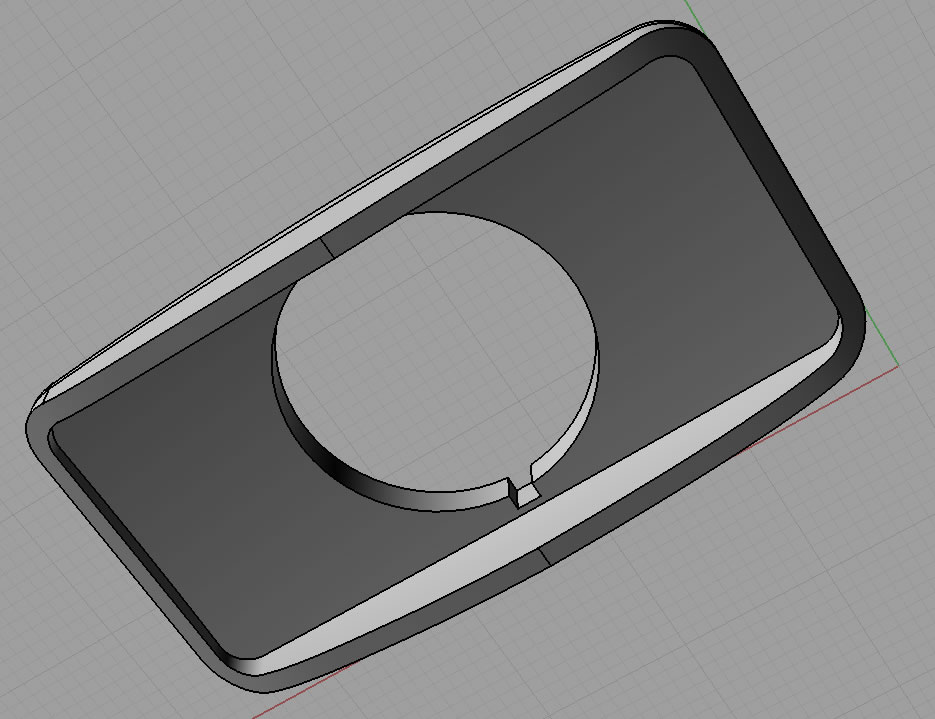
The original plan was to just add a hole to he original type of insert, but the part of the switch that clips into the hole was the same width as the hole in the console. Dan's solution was the design you see here.

I used this post by Catfish to wire my seat heaters: Another mystery wiring harness question...

Here's a comparison video of the OEM and Savage Light blank switch plate.
https://www.youtube.com/watch?v=tRNkba_KIv0

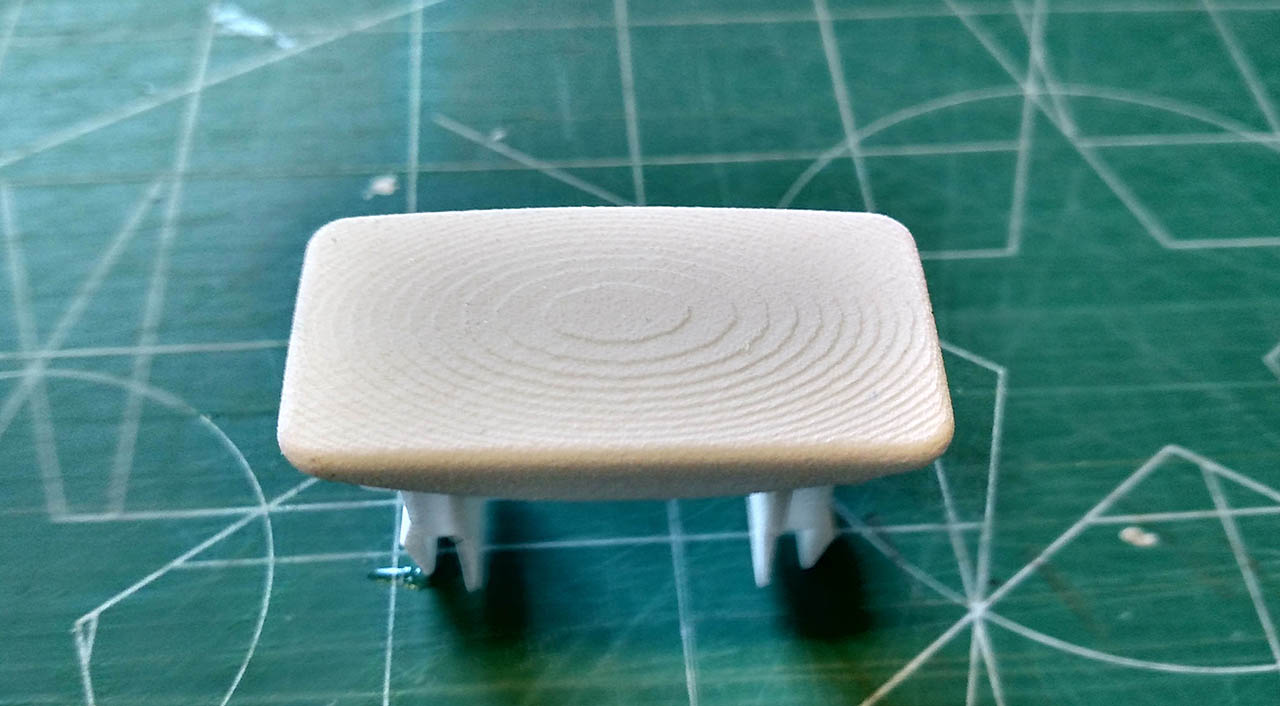
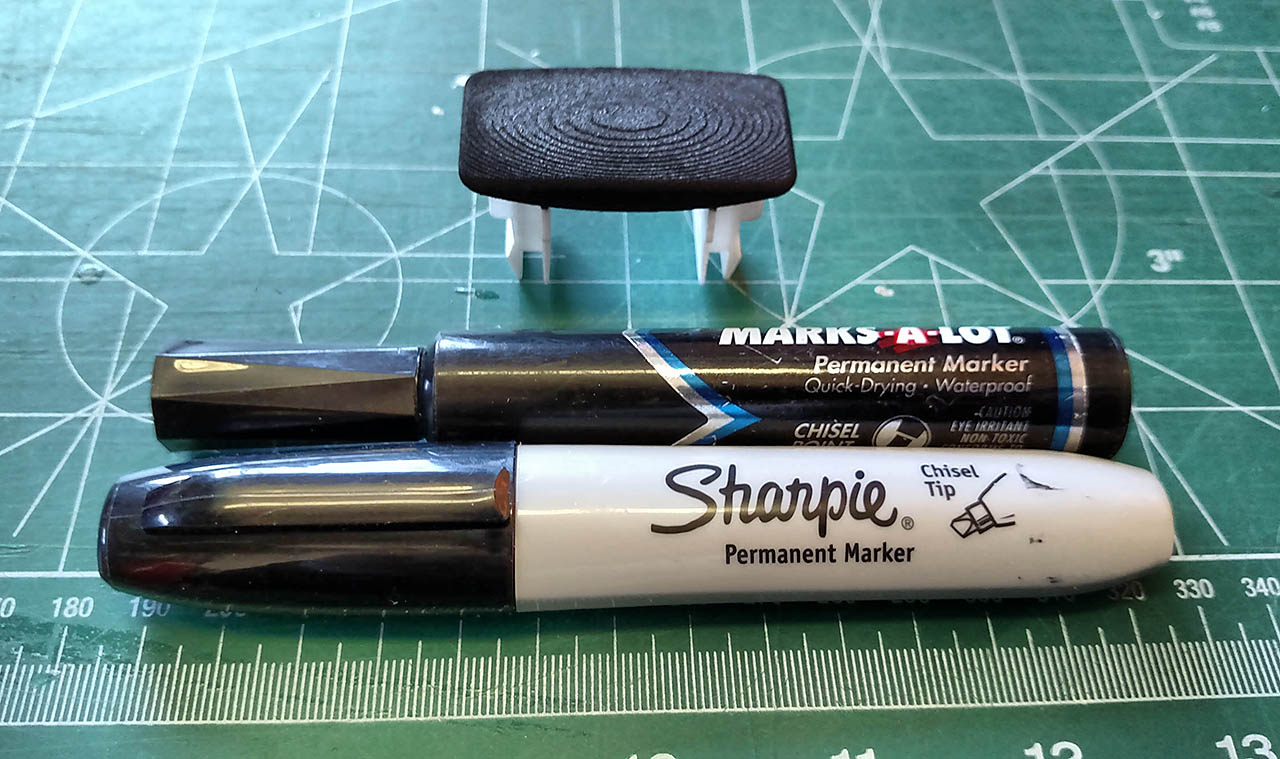
There is some ridging. Evidently Shapeways changed how parts are printed. I will probably install a double USB charger in the blank which will cut away a large part of the center and eliminate the ridging.

Dan has the parts available on his Shapeways page. Savage Light Industries

Daren
heater_seat_01.jpg


heater_seat_02.jpg


heater_seat_03.jpg


heater_switch_01.jpg


heater_switch_02.jpg


heater_switch_03.jpg


heater_switch_04.jpg


heater_switch_05.jpg


heater_switch_06.jpg


heater_switch_07.jpg


heater_switch_08.jpg


heater_switch_09.jpg


heater_switch_10.jpg
 
Register to hide this ad
How much effort would adjusting the 3D printed model for a finishing stage require? I have always hated how 3D printers can't seem to print out smooth or near smooth objects. But I would assume based on the pictures that increasing the visible portion by a few thousandths and then sanding it down would result in a near factory looking piece.

Also how did you guys obtain your measurements? 3D scanner? It seems like the replacement units stick out further than the factory units, was this intentional?

Also they are very impressive and congrats! :D
 
Last edited:
Those look good, but could you not just have cut out the holes on the dummy switches that are already there since your still placing a button on the center of them or like [MENTION=66389]BlackWorksInc[/MENTION] said, are these bigger?
 
@ BlackWorksInc: I think Dan used a 3D scanner, but I'm not sure. I also sent him a OEM insert that he based bottom clips on. From there it was fit and adjust. I would probably use something to fill the steps before sanding and painting, but you're correct. Thanks! Dan deserves the accolades for the design work.

@ 28: These switch plates cover the hole rather than insert into it. This was done because the round switches are about the same diameter as the hole. There was no way use the OEM inserts because drilling holes big enough to fit the switch would have cut the OEM inserts in half.

Daren
 
Last edited:
How much effort would adjusting the 3D printed model for a finishing stage require? I have always hated how 3D printers can't seem to print out smooth or near smooth objects. But I would assume based on the pictures that increasing the visible portion by a few thousandths and then sanding it down would result in a near factory looking piece.

Also they are very impressive and congrats! :D

Agreed that they are awesome but they look like they're made of wood. I would have sanded them smooth then hit them with some black trim paint.
 
How much effort would adjusting the 3D printed model for a finishing stage require? I have always hated how 3D printers can't seem to print out smooth or near smooth objects. But I would assume based on the pictures that increasing the visible portion by a few thousandths and then sanding it down would result in a near factory looking piece.

Also how did you guys obtain your measurements? 3D scanner? It seems like the replacement units stick out further than the factory units, was this intentional?

Also they are very impressive and congrats! :D

The ridges you are seeing come from the layering process. It works much like an inkjet printer but lays down a bead of plastic. You can sand and paint for a smooth finish. There is also a process where you steam it with acetone in a wok that will make it smoother and stronger but that would be more expensive for a one time deal.
 
Agreed that they are awesome but they look like they're made of wood. I would have sanded them smooth then hit them with some black trim paint.
Luckily, these switch plates aren't a permanent install. If it bothers me too much, I'll pull them out and redo the finish. I would probably use a filling primer, then sand and paint for the easiest smooth finish.

Daren
 
Last edited:
@ BlackWorksInc: I think Dan used a 3D scanner, but I'm not sure. I also sent him a OEM insert that he based bottom clips on. From there it was fit and adjust. I would probably use something to fill the steps before sanding and painting, but you're correct. Thanks! Dan deserves the accolades for the design work.

@ 28: These switch plates cover the hole rather than insert into it. This was done because the round switches are about the same diameter as the hole. There was no way use the OEM inserts because drilling holes big enough to fit the switch would have cut the OEM inserts in half.

Daren

Hi Daren,

I didn't use a 3D scanner. It would have made the job easier if I had one. I made these the old fashioned way --with a ruler.

Dan
 
How much effort would adjusting the 3D printed model for a finishing stage require? I have always hated how 3D printers can't seem to print out smooth or near smooth objects. But I would assume based on the pictures that increasing the visible portion by a few thousandths and then sanding it down would result in a near factory looking piece.

Also how did you guys obtain your measurements? 3D scanner? It seems like the replacement units stick out further than the factory units, was this intentional?

Also they are very impressive and congrats! :D

Unfortunately, I have little control over the orientation of printing. Shapeways.com is, essentially, a 3D printing bureau. They are the cheapest company that prints using the SLS. (selective laser sintering) I'm sure there are companies that offer more flexibility in what orientation stuff is printed, but they are a lot more expensive, by orders of magnitude.

The stair-stepping is only .003" - .006" thick. As you and others have noted, stair-stepping can be minimized by painting. The gets more pronounced on very gradual curves, such as the doming I applied to the top of the switch plates. Had I flattened the tops of the switch plates, or been able to change the printing orientation, the stair-stepping would have be nearly non-existent.

Dan
 
The ridges you are seeing come from the layering process. It works much like an inkjet printer but lays down a bead of plastic. You can sand and paint for a smooth finish. There is also a process where you steam it with acetone in a wok that will make it smoother and stronger but that would be more expensive for a one time deal.

There are several methods of 3D printing available.

Makerbot 3D printers use Fused Deposit Modeling (FDM) which is, for the most part, a computer-controlled hot-glue gun that melts a thermoplastic, such as PLA or ABS and 'draws' the part.

The switch plate parts on this thread were printed using the selective laser sintering. (SLS) In this process a bed of nylon powder is laid down, then the part is printed layer by layer using a CO2 laser that fuses the powder. Imagine how a dot-matrix printer prints a image drawing row by row. This process is repeated layer by layer.

I really like the SLS process because it makes plastic parts that are really durable. I printed a cell phone holster that clipped on my belt and I only stopped using it when it hooked on the side of a trash can as I knelt down and it tore the belt clip off the back of the holster.

The SLS process can also be used with titanium, stainless steel and ceramics.

Another method is the Stereolithography. (SLA) This allows very detailed parts to be made using a liquid polymer that is fused layer by layer with a UV laser. The only real problem with SLA parts is that they are slightly brittle and cannot stand temperatures over 176°F degrees.
 
@ 28: These switch plates cover the hole rather than insert into it. This was done because the round switches are about the same diameter as the hole. There was no way use the OEM inserts because drilling holes big enough to fit the switch would have cut the OEM inserts in half.

Daren

Correct.

Here's a couple of pics that show how big the hole would need to be in the OEM plugs.

Top02.png


Bottom02.png
 
Very nice [MENTION=119627]DanSavage[/MENTION] ! How did you go about getting the external curves of the plate? - they seem to follow the contour of the console almost exactly... seems like it would be hard to eyeball. As a fellow designer/printer, I'm always looking for different techniques :cheers:
 
Very nice [MENTION=119627]DanSavage[/MENTION] ! How did you go about getting the external curves of the plate? - they seem to follow the contour of the console almost exactly... seems like it would be hard to eyeball. As a fellow designer/printer, I'm always looking for different techniques :cheers:

Thanks! The fit was done the old-fashioned way --trial and error. ;)

I designed the part, then sent it off for printing and had it drop-shipped to Daren. He tried the part and took pictures/measurements of where the adjustments needed to be made.

It took three iterations to get the fit to where it is in the pics.
 
Agreed, they look awesome, and very impressive for making your own part. I don't mind the ridges, you could always sand it down. Kind of look like a woodgrain to me


^Agreed. The ridges are interesting to me because of how unique they are. I think it's kind of a cool feature.

I've been trying to talk my robotics buddy into getting a 3-D printer for just this sort of thing.
 
^Agreed. The ridges are interesting to me because of how unique they are. I think it's kind of a cool feature.

I've been trying to talk my robotics buddy into getting a 3-D printer for just this sort of thing.

Thanks!

I've been wanting to get my own 3D printer, but the SLS or SLA printers are very expensive. FDM printers, like the MakerBot are cool, but they're still around $1000 or so.

That's what makes a service bureau like Shapeways attractive to me. I can print the parts using whatever material/method I want at a very reasonable cost. I only had to buy a 3D CAD program (Rhino 3D) and then design the parts and upload them to Shapeways.com for printing. If you can live with the 1-2 week lead time between uploading and getting a finished part, it's a great way to get into 3D printing without breaking the bank.
 
Thanks!

I've been wanting to get my own 3D printer, but the SLS or SLA printers are very expensive. FDM printers, like the MakerBot are cool, but they're still around $1000 or so.

That's what makes a service bureau like Shapeways attractive to me. I can print the parts using whatever material/method I want at a very reasonable cost. I only had to buy a 3D CAD program (Rhino 3D) and then design the parts and upload them to Shapeways.com for printing. If you can live with the 1-2 week lead time between uploading and getting a finished part, it's a great way to get into 3D printing without breaking the bank.

I'll have to let my engineering buddies know about that site. I'm a bio major, therefore I have engineering friends for just this sort of thing, haha. Design is like magic to me.
 

Members online

Forum statistics

Threads
278,307
Messages
3,554,054
Members
248,016
Latest member
Advally Service

Trending content

Back
Top