manhunter
New member
Well, I finally got around to buying the 1.5" 4crawler body-lift for my 02 runner. I am also having a custom made tube winch bumper made, so I decided to do them at the same time since I had to remove the stock bumper anyway for the body-lift. I had already removed my brush guard and sold it last week. Three days before, I soaked each body mount point with PB Blaster. Here was the order of things:
1. Remove sliders.
2. Remove stock bumper
3. Loosen rag-joint on steering shaft (advice - saturate that thing with PB blaster days before you do this. I spent almost an hour trying to get the two bolts loose, plus it is tight working space.)
4. Remove trim on door seals, including cargo area, to gain access to top bolt heads of body-mount points
5. Remove lower nut of each body-mount assembly
6. Jacked up the driver side with hi-lift jack, attached just past the B pillar under the rear passenger door, leaving the door open.
7. Removed the old bolt pulling it out through the top, and inserted the new 1.5" poly blocks between the top bushing and body in each, and dropping the new bolt through until it passed through the new block and all the bushings and back to the bottom.
8. Installed the new lower nuts on each, and lowered the jack to compress the mounts and bushings.
9. Installed the steering shaft rag-joint spacer and new bolts.
10. Repeated steps 6,7, and 8 for the passenger side.
11. I did not lower the radiator but rather removed the lower shroud and that gave me enough clearance for the fan. If I had lowered it the 1.5 inches, it would have interfered with my skid plate.
12. I painted the entire exposed front with black bed-liner to have a solid clean background for my new bumper.
I would have to say that the most difficult part of this was doing the steering shaft rag-joint spacer. If you do a 1" lift, and don't think that is required. The actual body-lift blocks were much easier to do than I expected. The bolts are very accessible and came out with no problems.
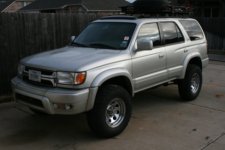
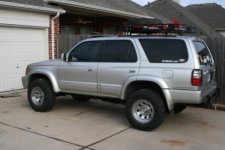
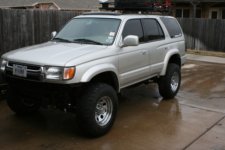
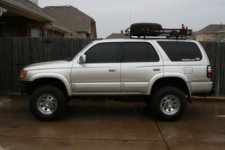
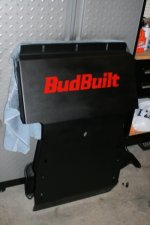
Sorry I did not take photos of each and every step. The runner is now at my friends getting the front bumper fabricated. When I drove it over there, it felt like I had a more solid ride, less creaking, and the steering did not have as much slop in it as before. Overall, I am very pleased with the 4crawler body-lift and recommend it to anyone. I hope to have it back sometime this week with the new bumper. I will then re-install the sliders and my new BudBuilt skid plate, then post a photo of the new and improved runner. Here are photos of before and after the body-lift.
1. Remove sliders.
2. Remove stock bumper
3. Loosen rag-joint on steering shaft (advice - saturate that thing with PB blaster days before you do this. I spent almost an hour trying to get the two bolts loose, plus it is tight working space.)
4. Remove trim on door seals, including cargo area, to gain access to top bolt heads of body-mount points
5. Remove lower nut of each body-mount assembly
6. Jacked up the driver side with hi-lift jack, attached just past the B pillar under the rear passenger door, leaving the door open.
7. Removed the old bolt pulling it out through the top, and inserted the new 1.5" poly blocks between the top bushing and body in each, and dropping the new bolt through until it passed through the new block and all the bushings and back to the bottom.
8. Installed the new lower nuts on each, and lowered the jack to compress the mounts and bushings.
9. Installed the steering shaft rag-joint spacer and new bolts.
10. Repeated steps 6,7, and 8 for the passenger side.
11. I did not lower the radiator but rather removed the lower shroud and that gave me enough clearance for the fan. If I had lowered it the 1.5 inches, it would have interfered with my skid plate.
12. I painted the entire exposed front with black bed-liner to have a solid clean background for my new bumper.
I would have to say that the most difficult part of this was doing the steering shaft rag-joint spacer. If you do a 1" lift, and don't think that is required. The actual body-lift blocks were much easier to do than I expected. The bolts are very accessible and came out with no problems.
Sorry I did not take photos of each and every step. The runner is now at my friends getting the front bumper fabricated. When I drove it over there, it felt like I had a more solid ride, less creaking, and the steering did not have as much slop in it as before. Overall, I am very pleased with the 4crawler body-lift and recommend it to anyone. I hope to have it back sometime this week with the new bumper. I will then re-install the sliders and my new BudBuilt skid plate, then post a photo of the new and improved runner. Here are photos of before and after the body-lift.