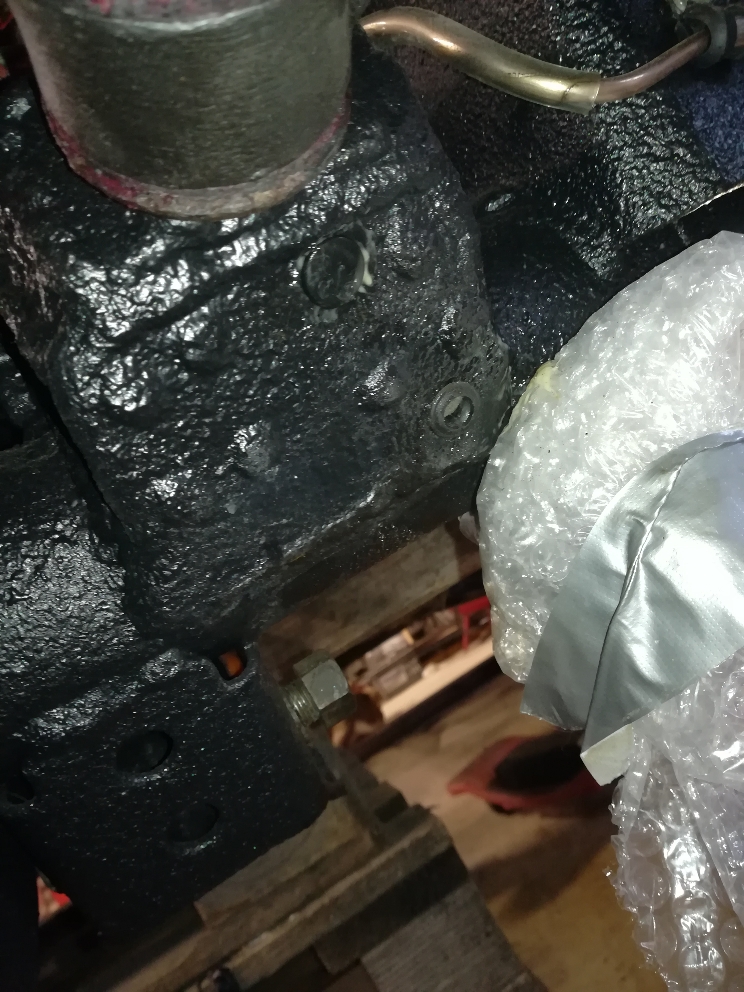
4R from North, *Accessories build time.

[MENTION=619258]4RunnerNorway[/MENTION]

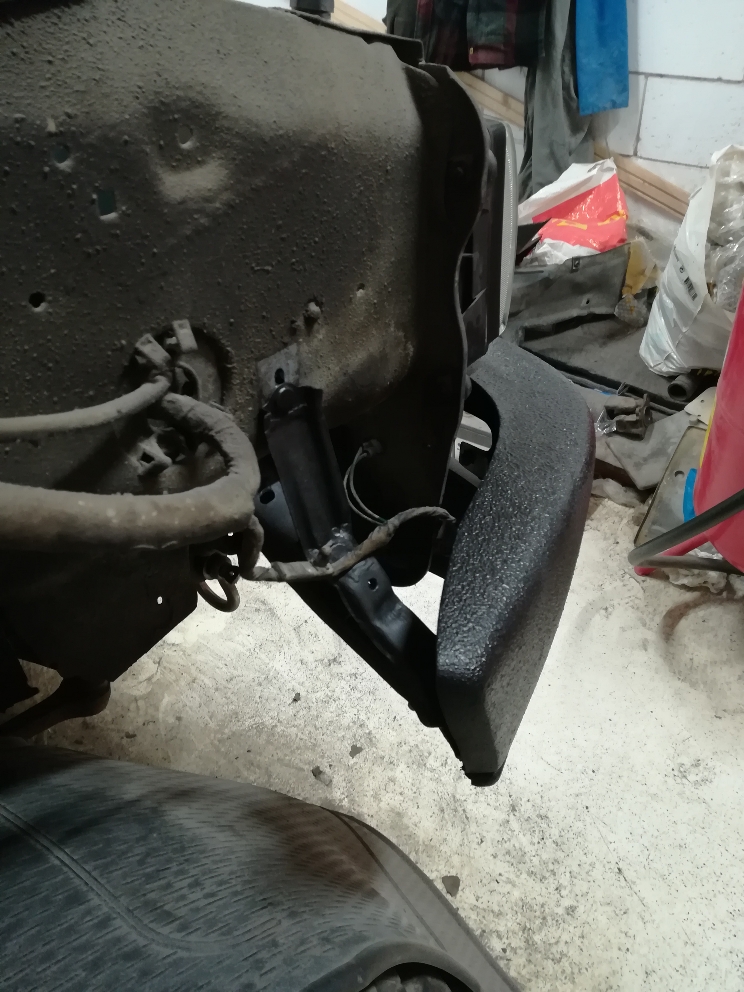
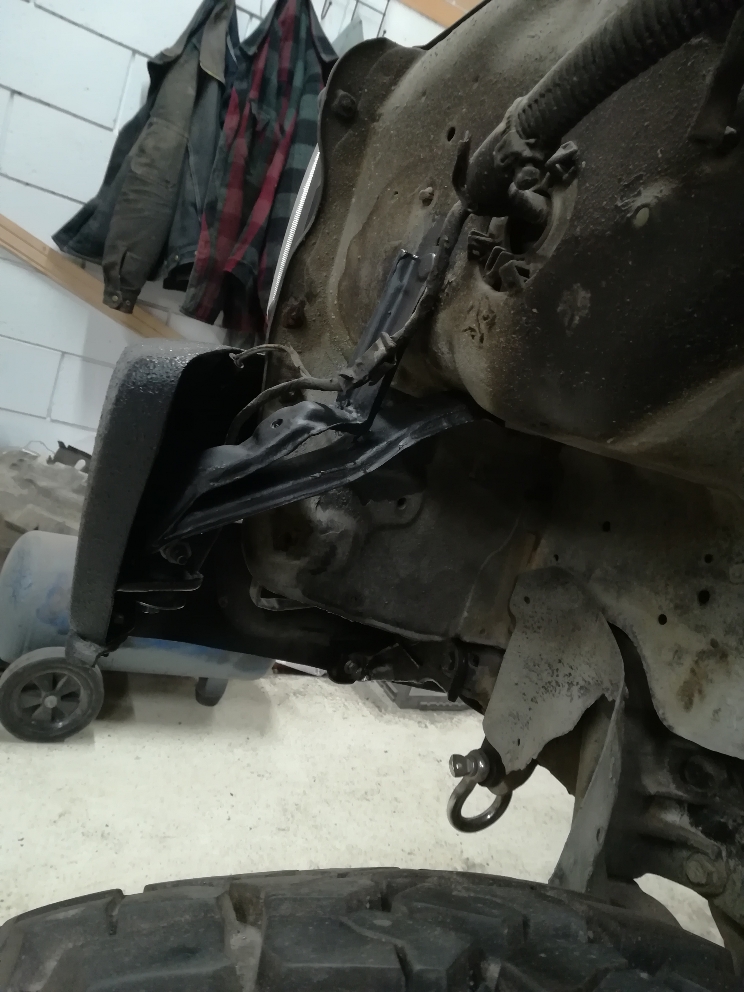
Du kan prøve å justere hoved brakettene for støtfangeren, sitter 2 bolter på kvar side ved tverbjelken under radiatoren. løsner de 2 boltene på hver side å kan finjustere litt høyden/vinklinga.

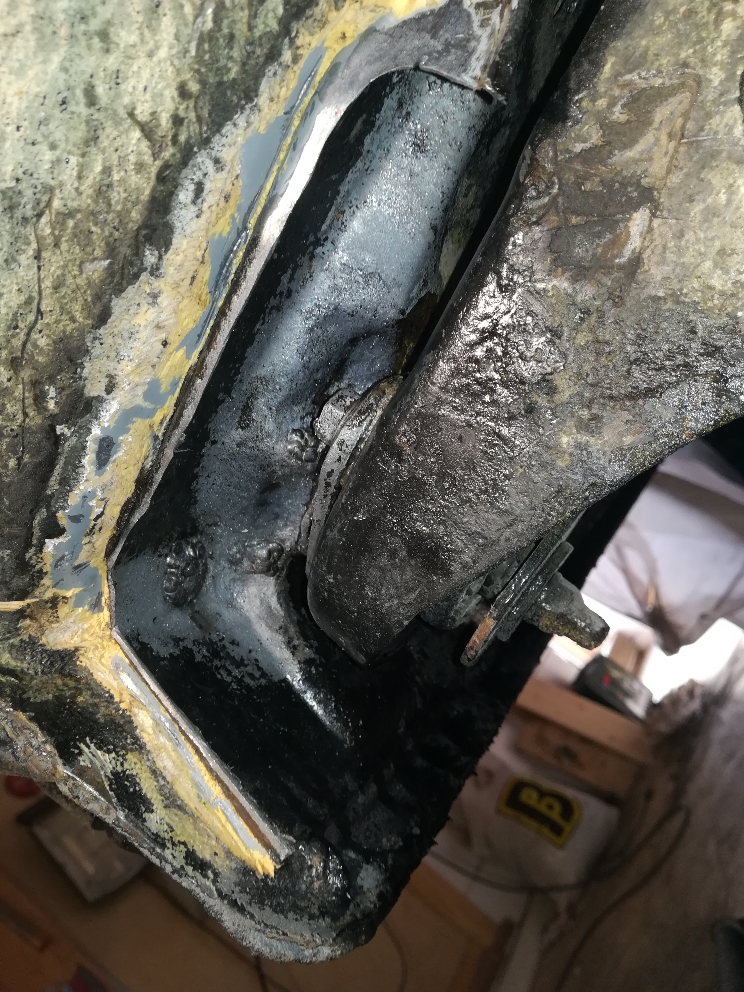
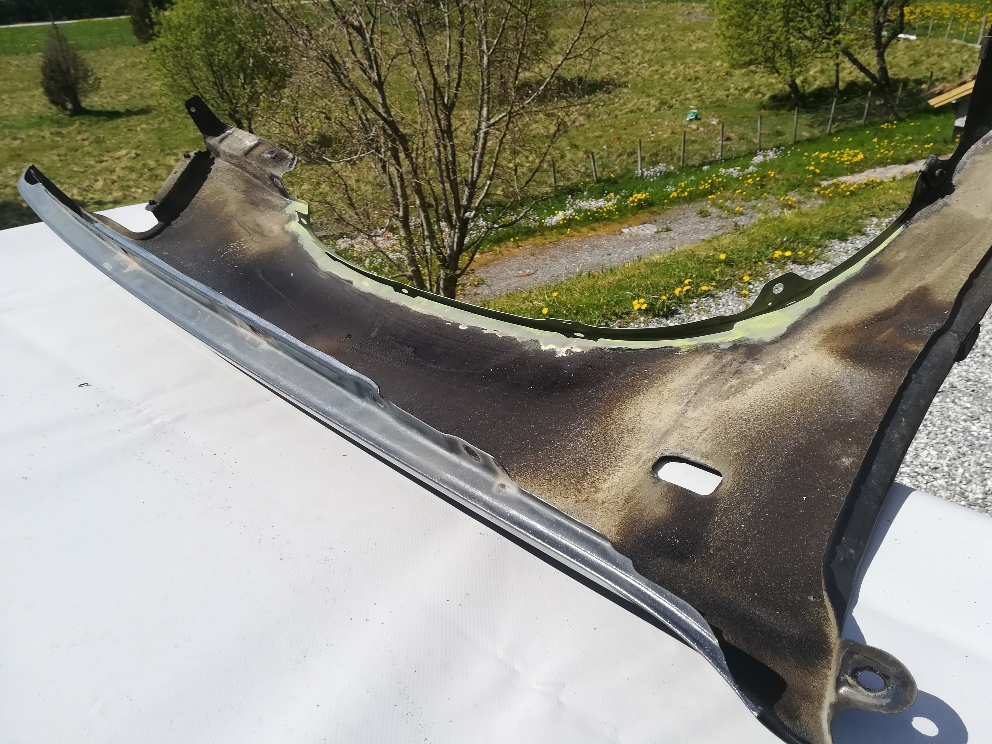
Hullene bak på sidend hadde eg også, så lenge du har litt god tid, riktig utstyr og får sveiset inn litt nytt stål med litt forming, så kan du få det greit til.. best å ta av bakfanger og side dekslene.

Sent fra min WAS-LX1 via Tapatalk
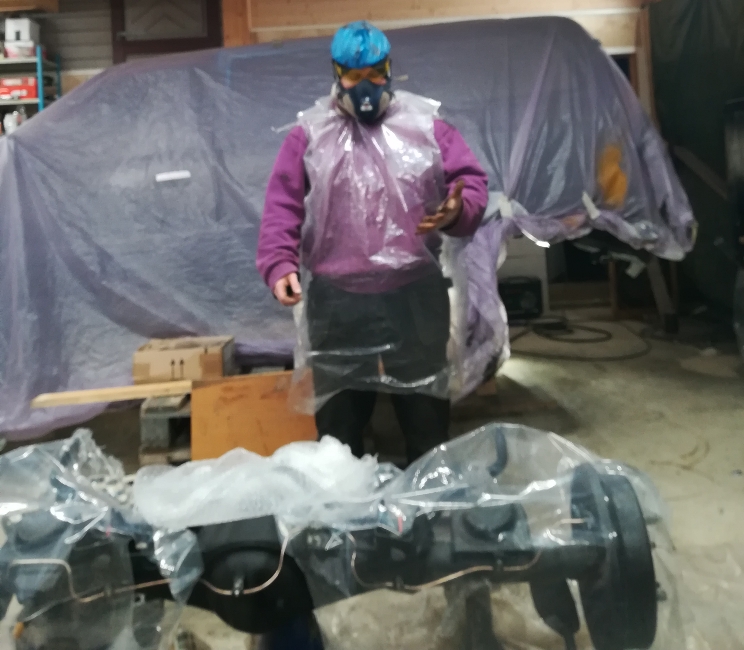
 
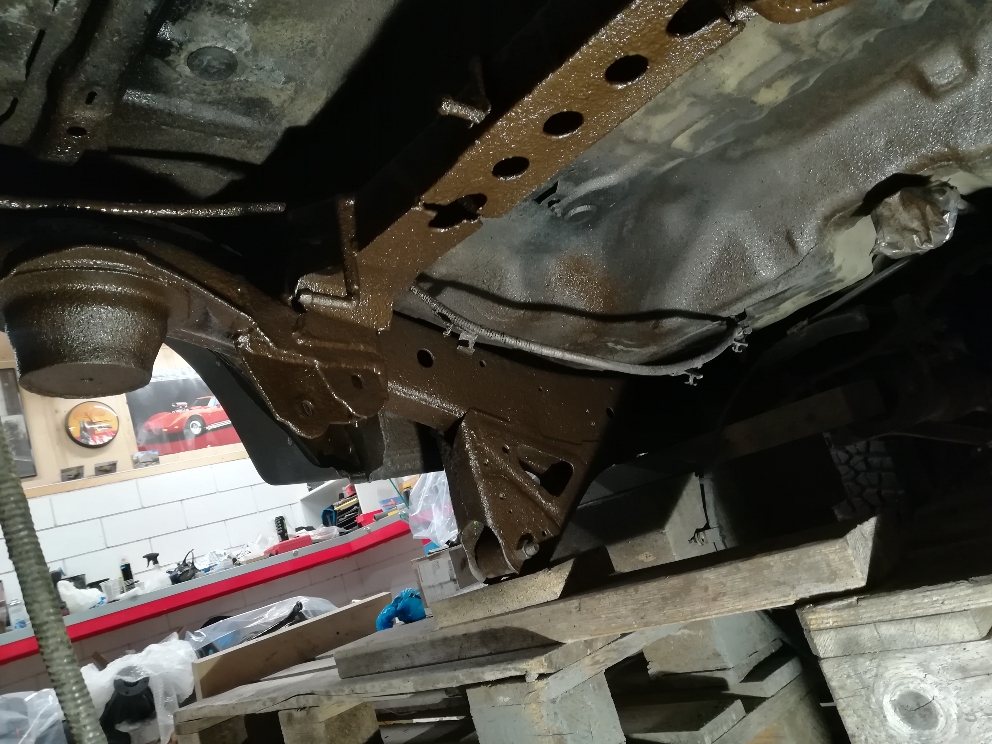
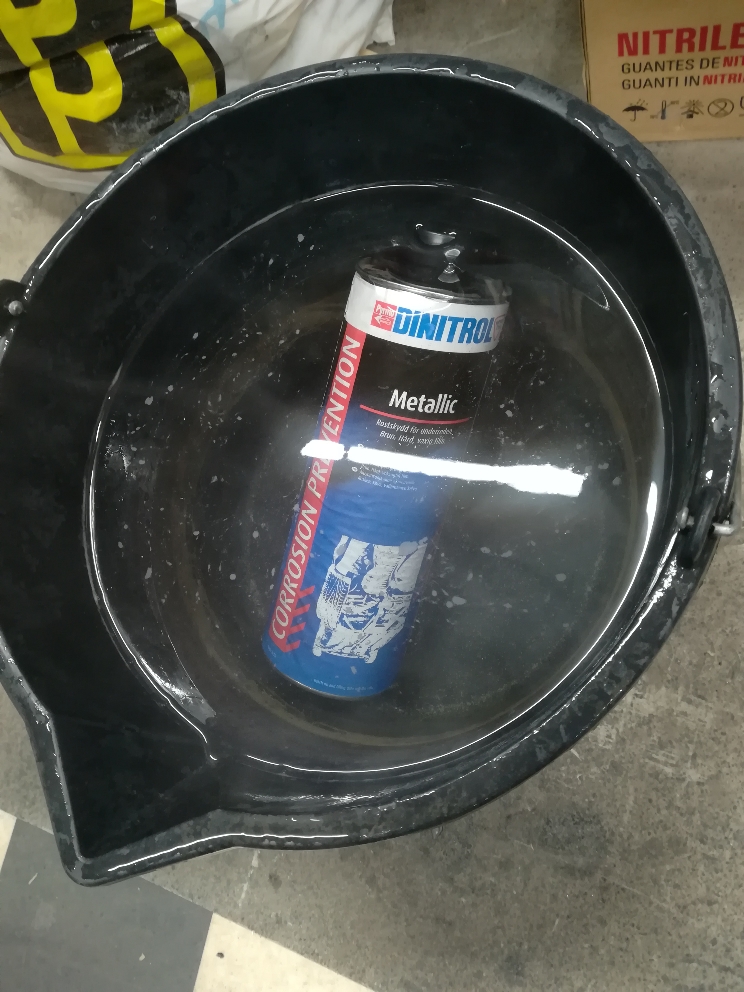
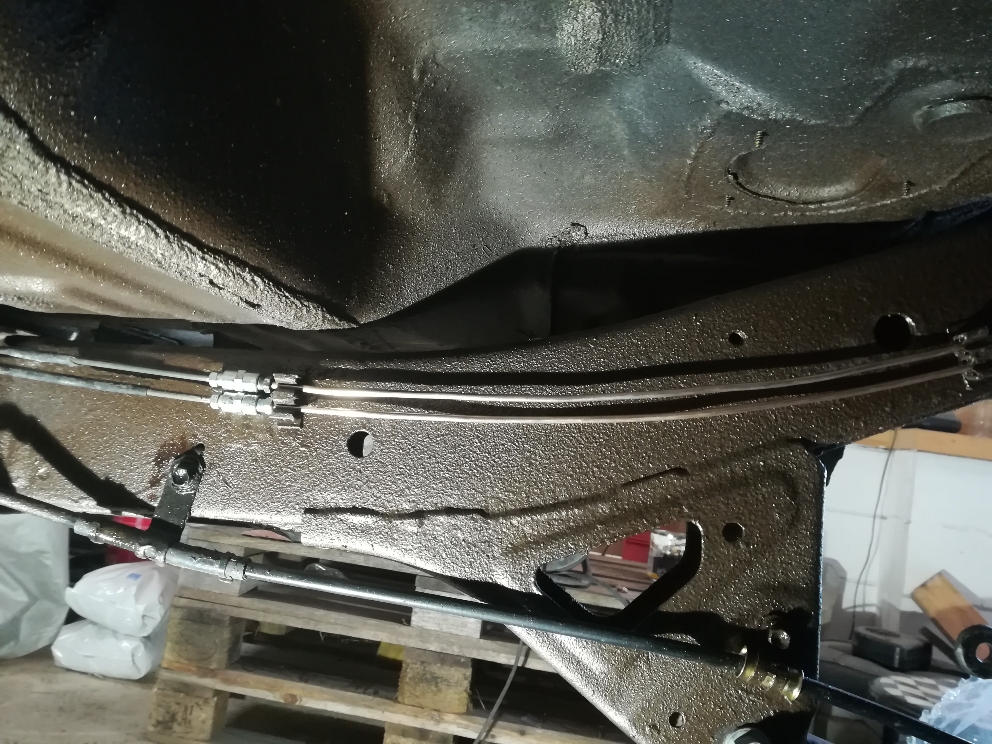
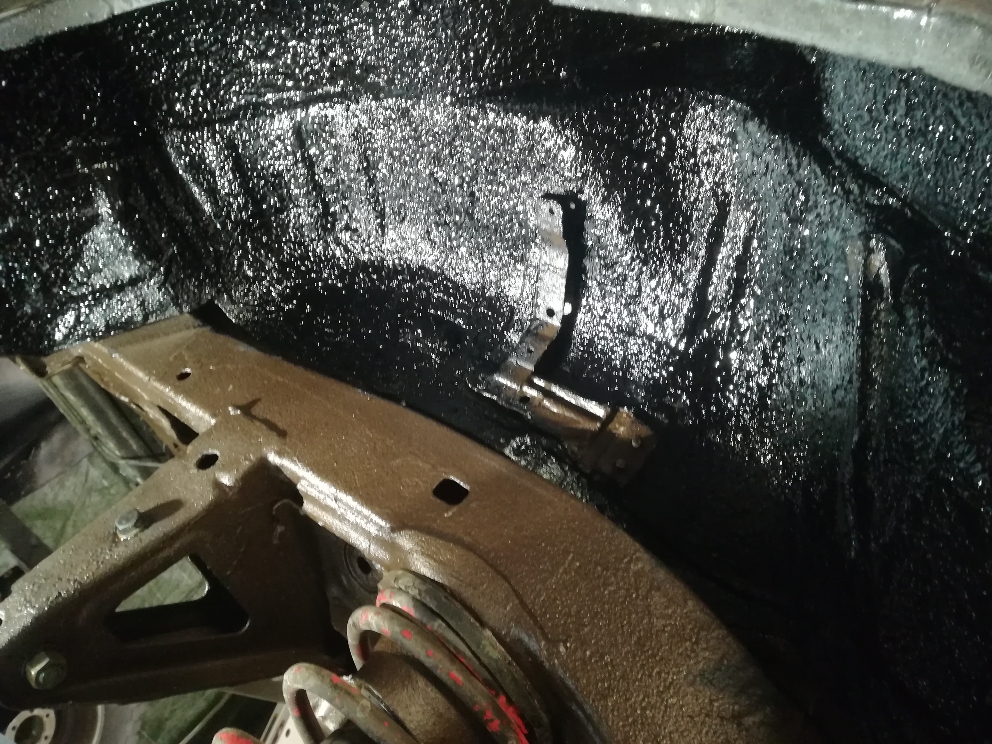
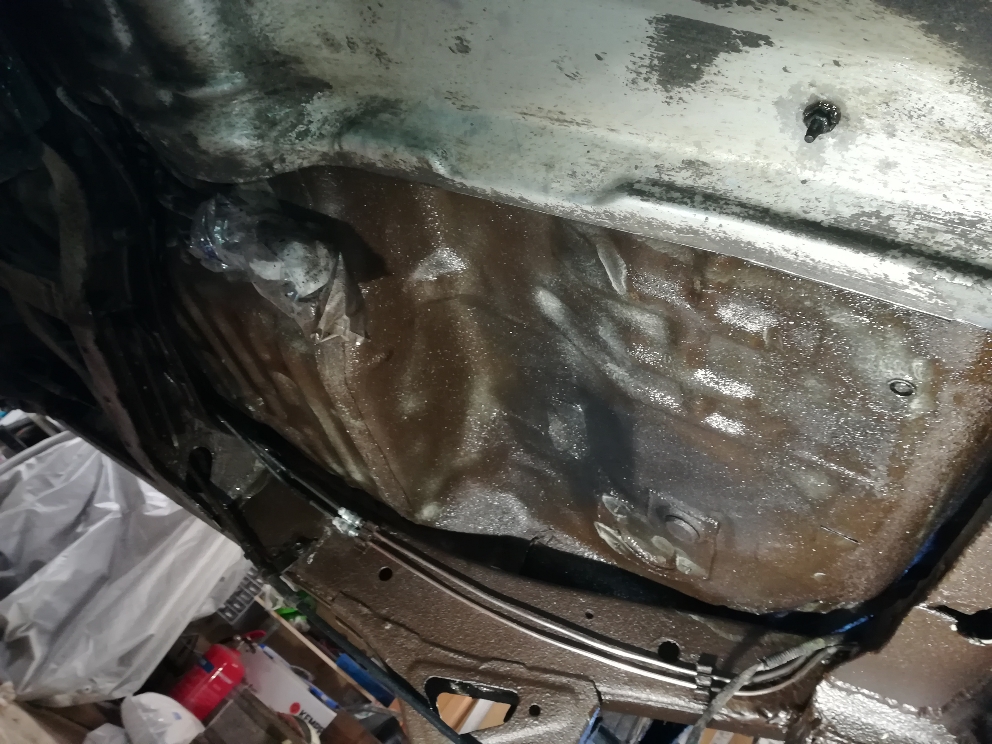
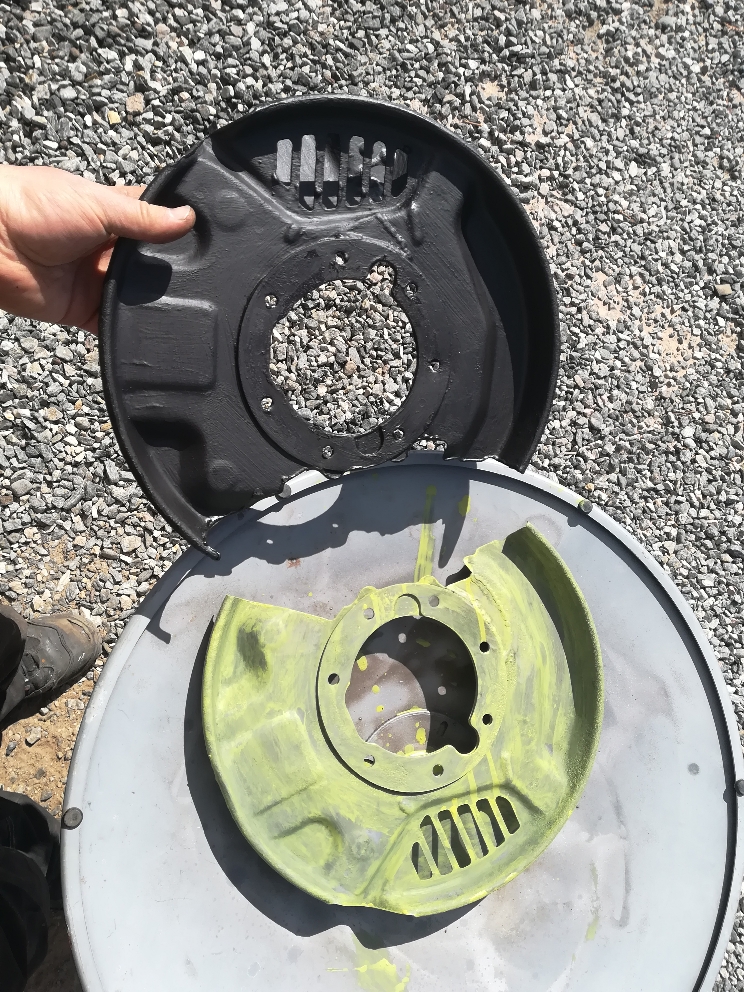
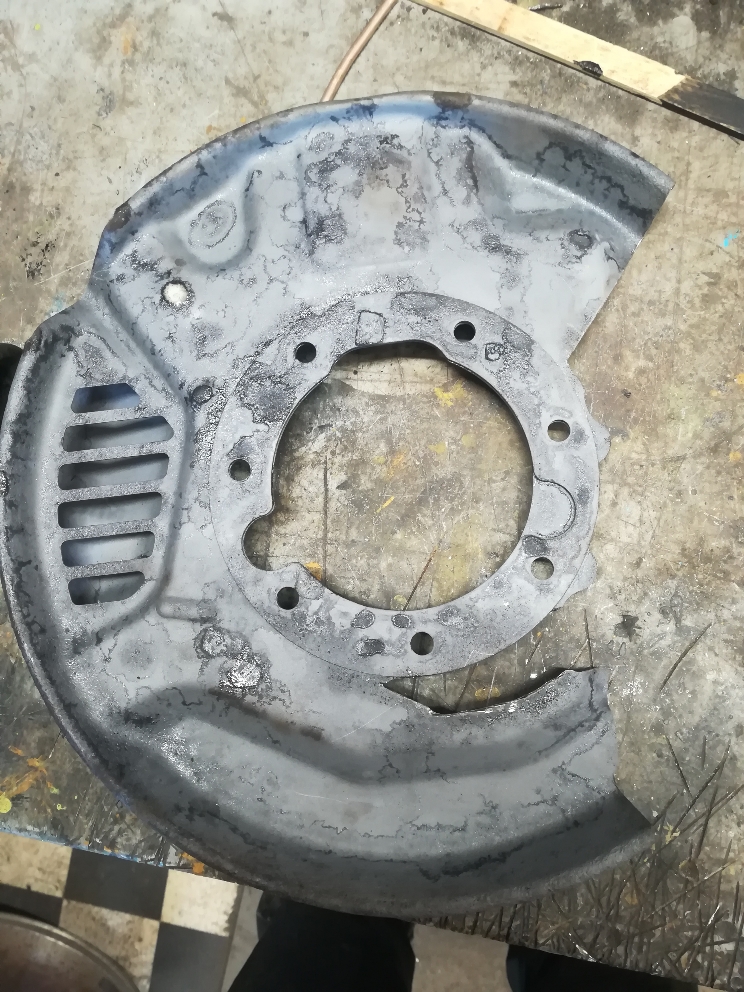
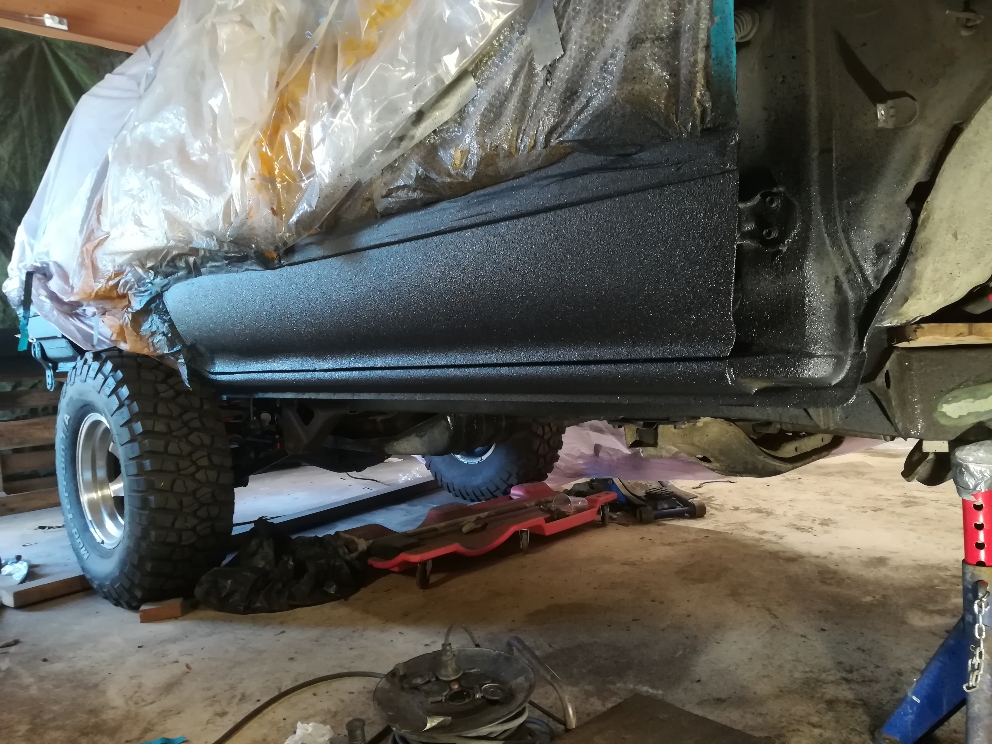
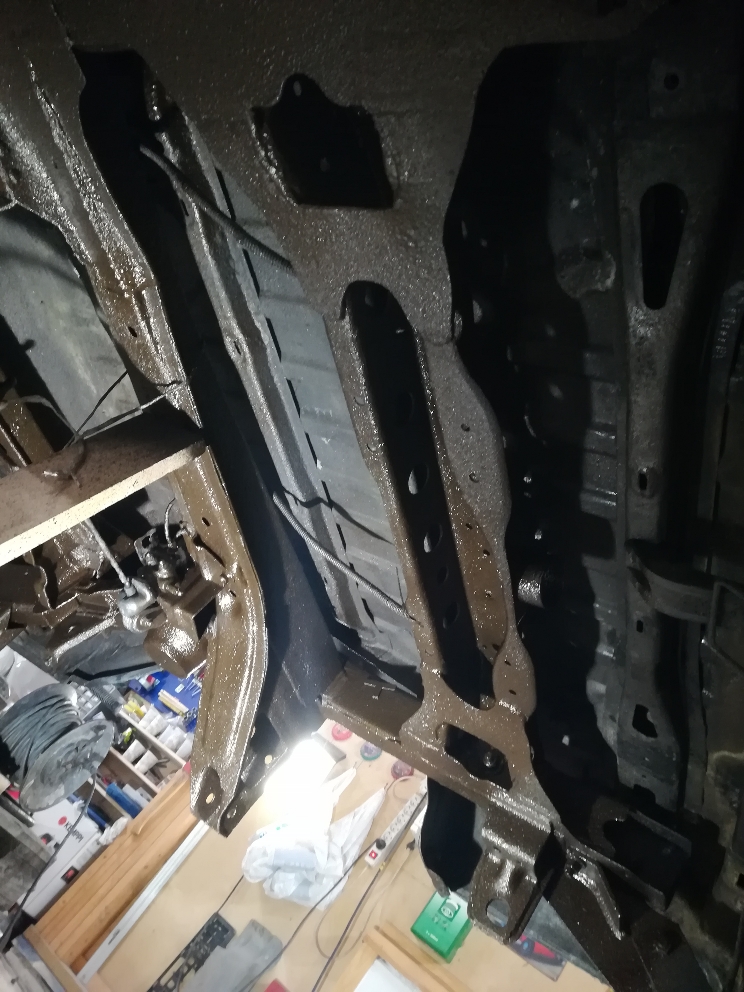
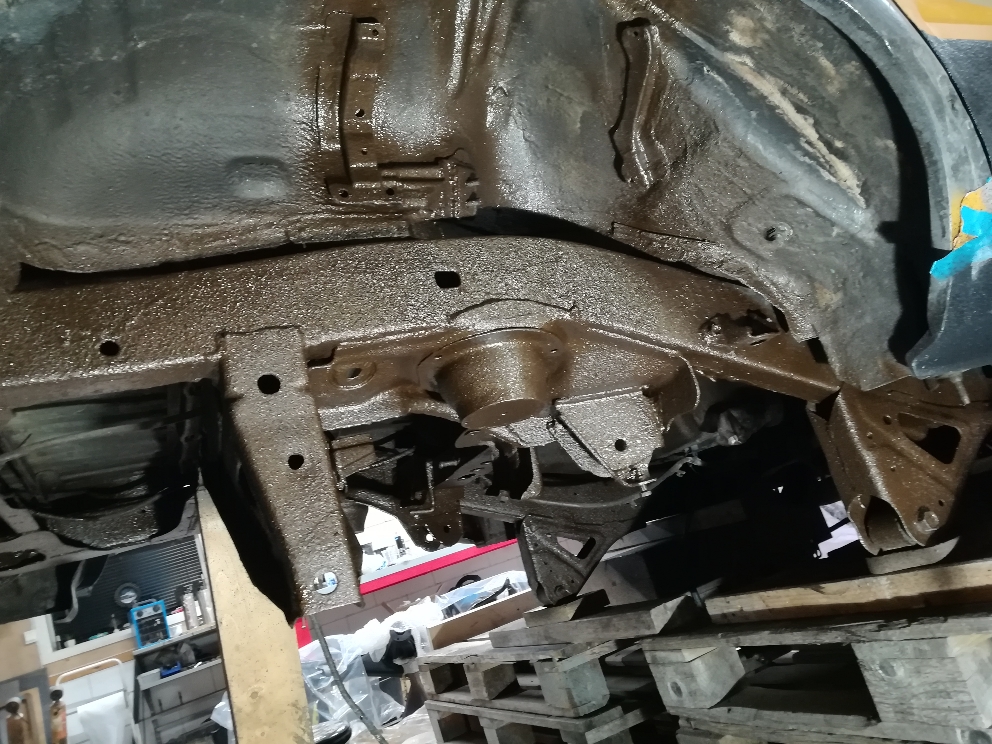
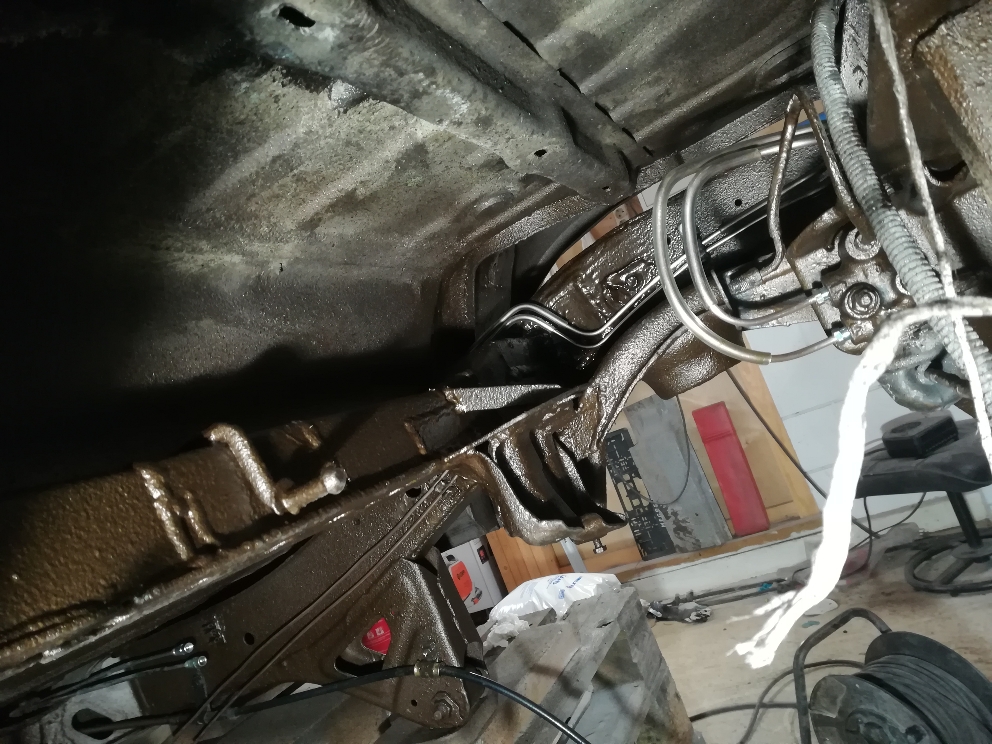
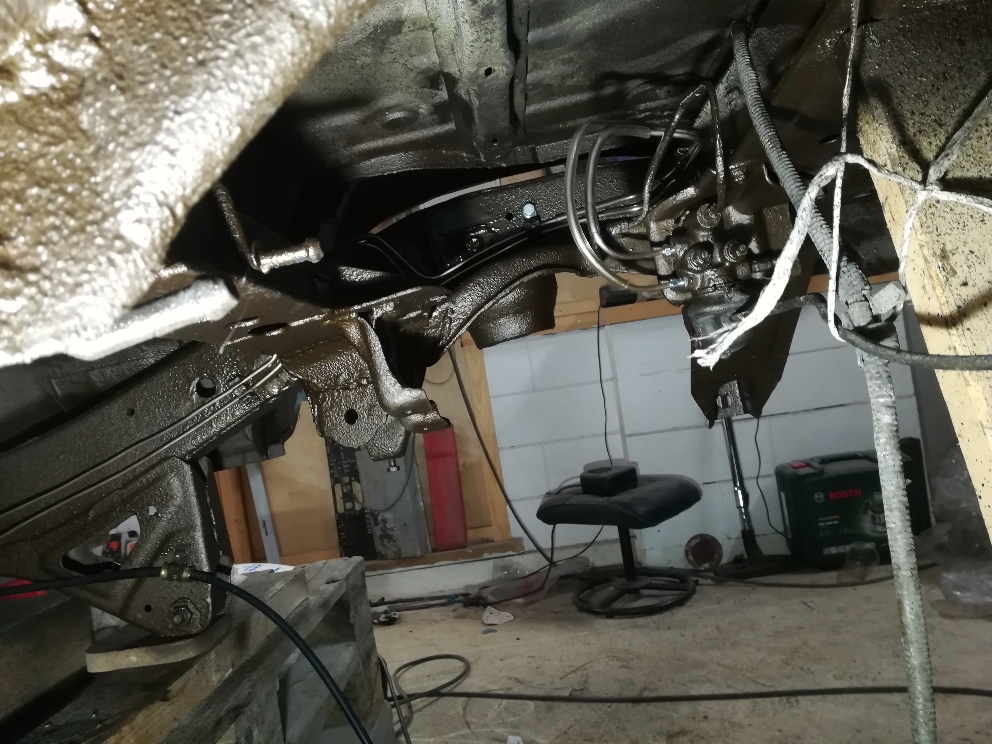
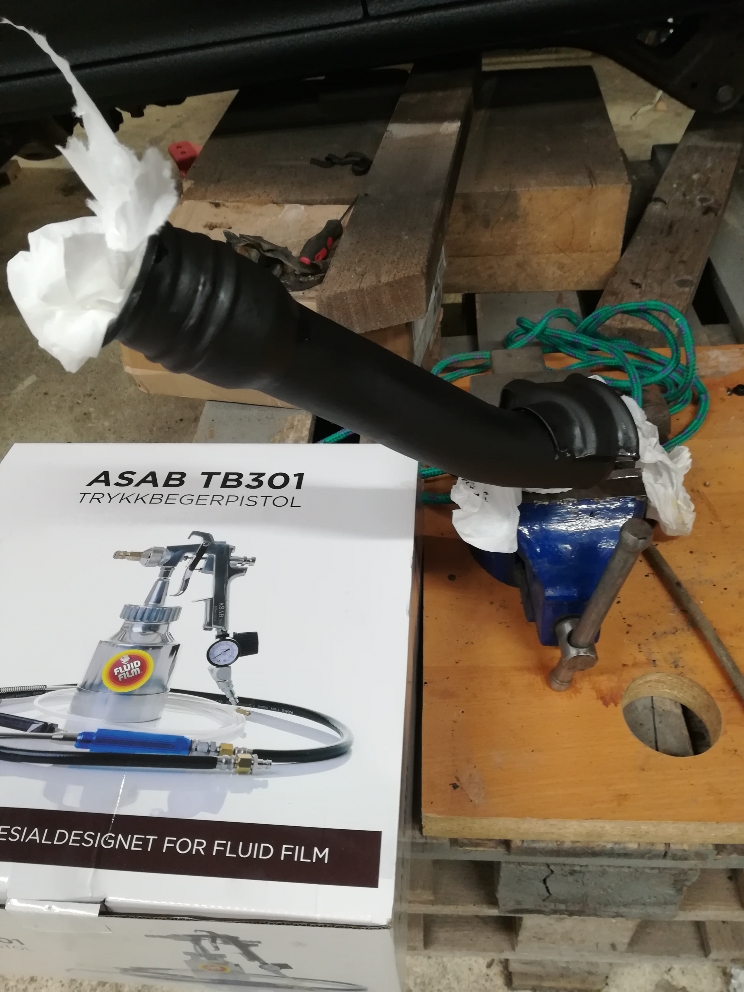
Dinitrol wax on, what a mess, empty 2 bottle cans. Throw on some plastic bag protection and look hillarious.

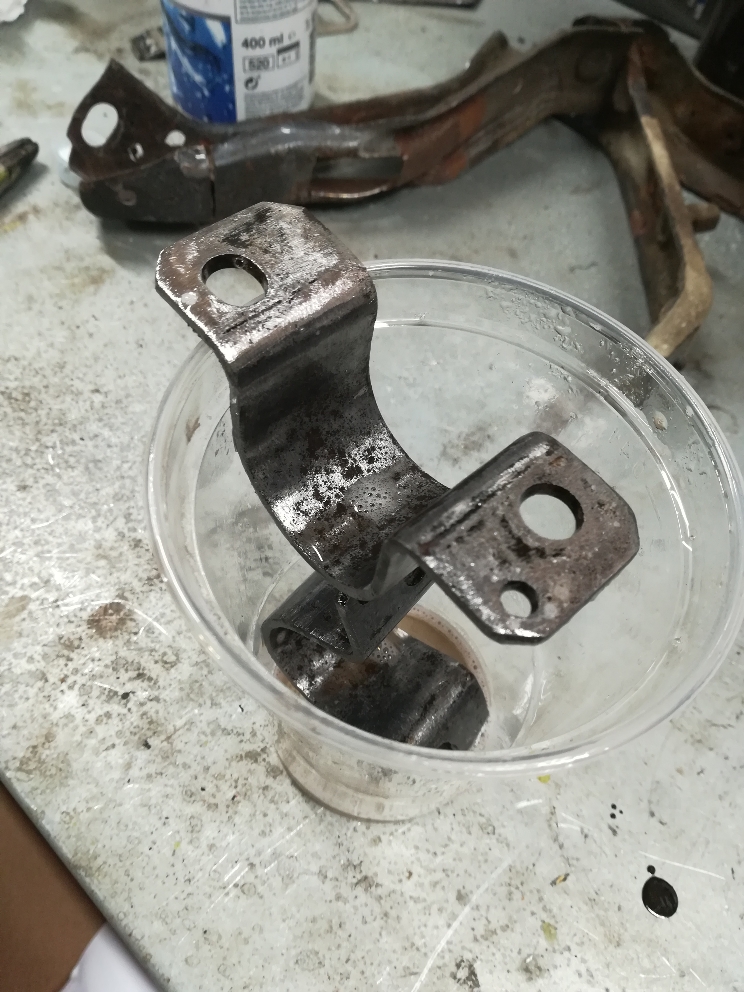
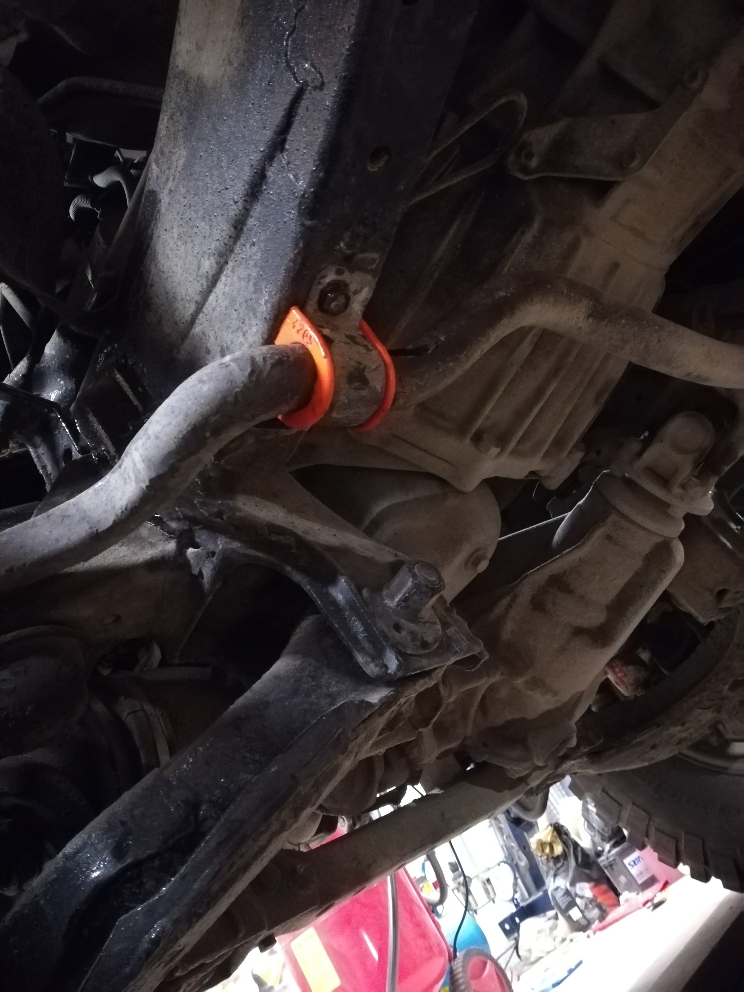
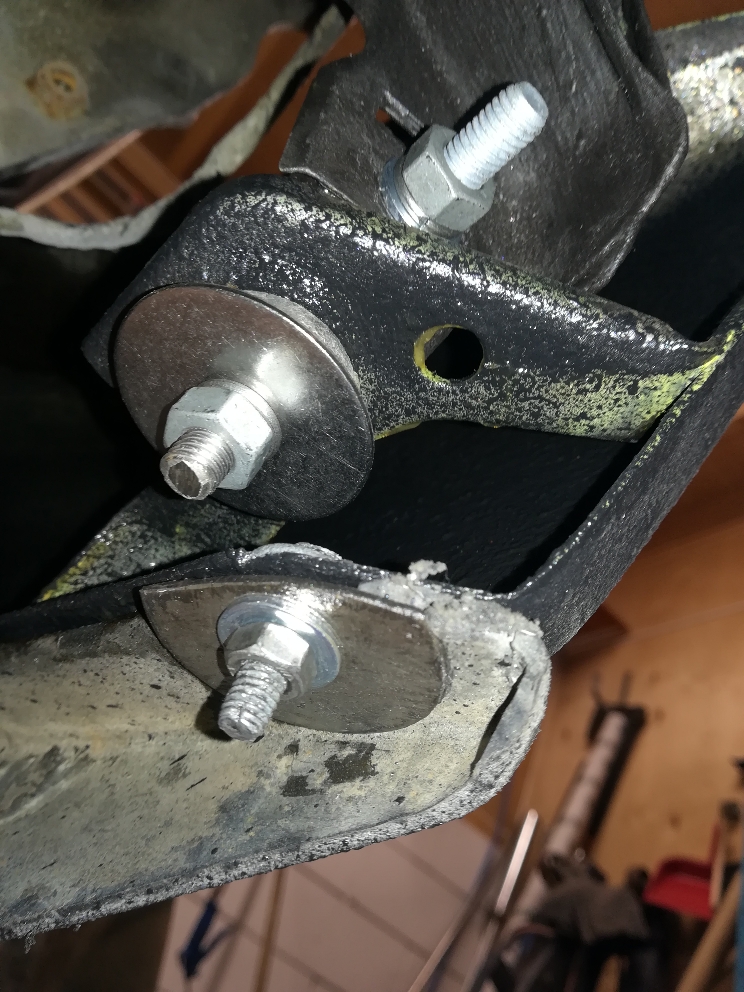
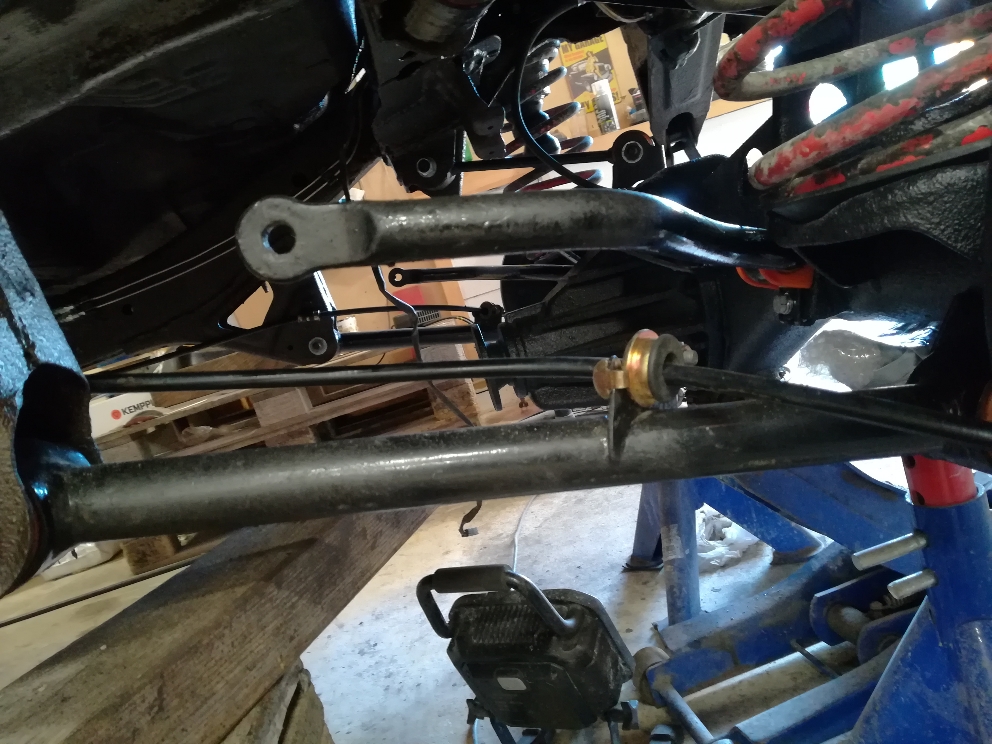
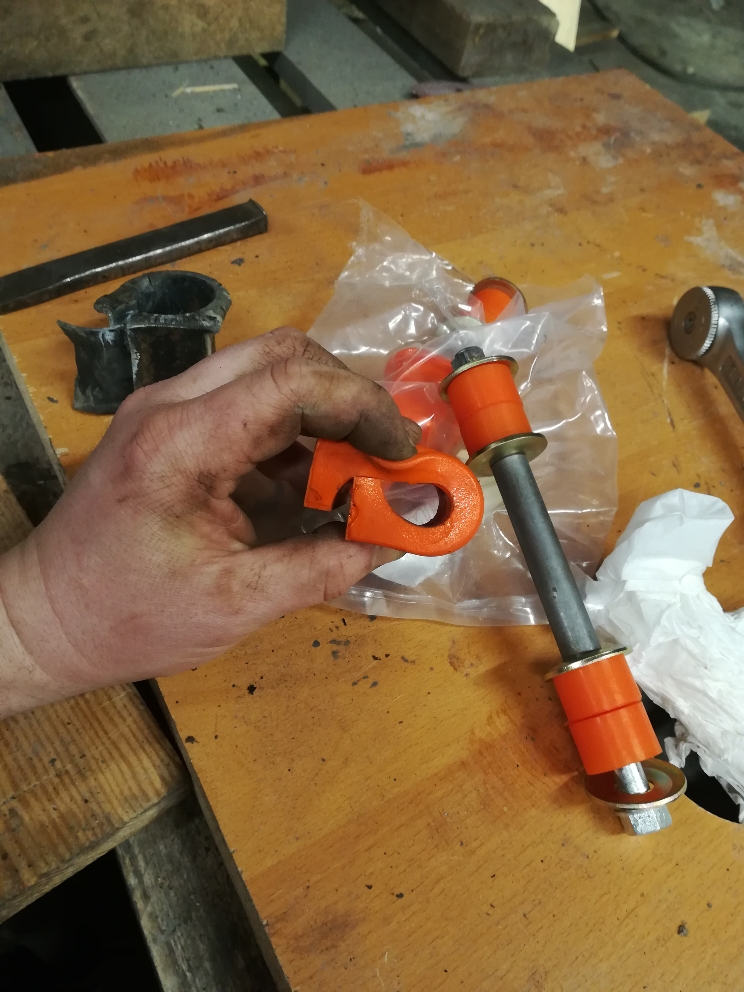
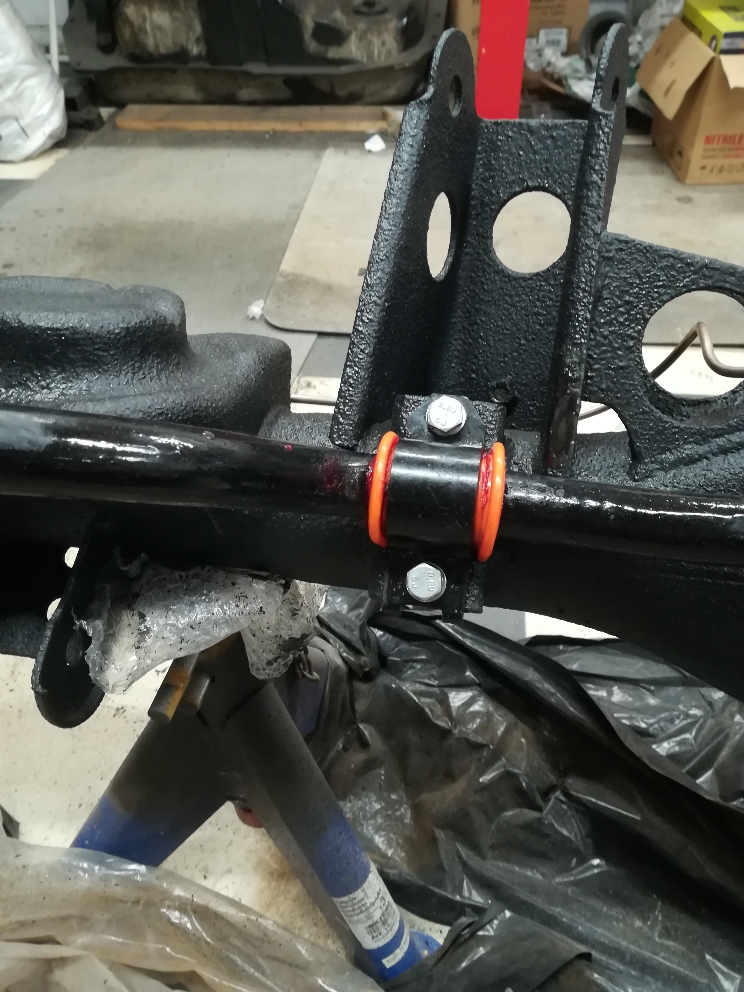
Anyway it's done and brakelines is ready to be installed soon.. also found some new bushings for the front swaybar that fits.. but the clamps have to be cleaned for rust first. Rear swaybar tested on axle, but need to mod some new bolts i bought today.
d7fc4f814bcbf1564976394fc984ed63.jpg
911bdcd374ade38bf5f4f7bd0f847606.jpg
c92b0c85da6b72c8226dcafbb7fba1fd.jpg
54c4dbfb822bada11dbc8338c487114f.jpg
33dcde4b6599f13f3be8013ec60080ad.jpg
433f0be182cd90d3ceca00cbc9669aef.jpg
d9ca36457bd58aad946d661c8764f6b9.jpg
7129db2b9b19a0037ec146e5d0e1db35.jpg
c7fe0de00fb1e84f0c37eedc2fdea75e.jpg


Sent fra min WAS-LX1 via Tapatalk
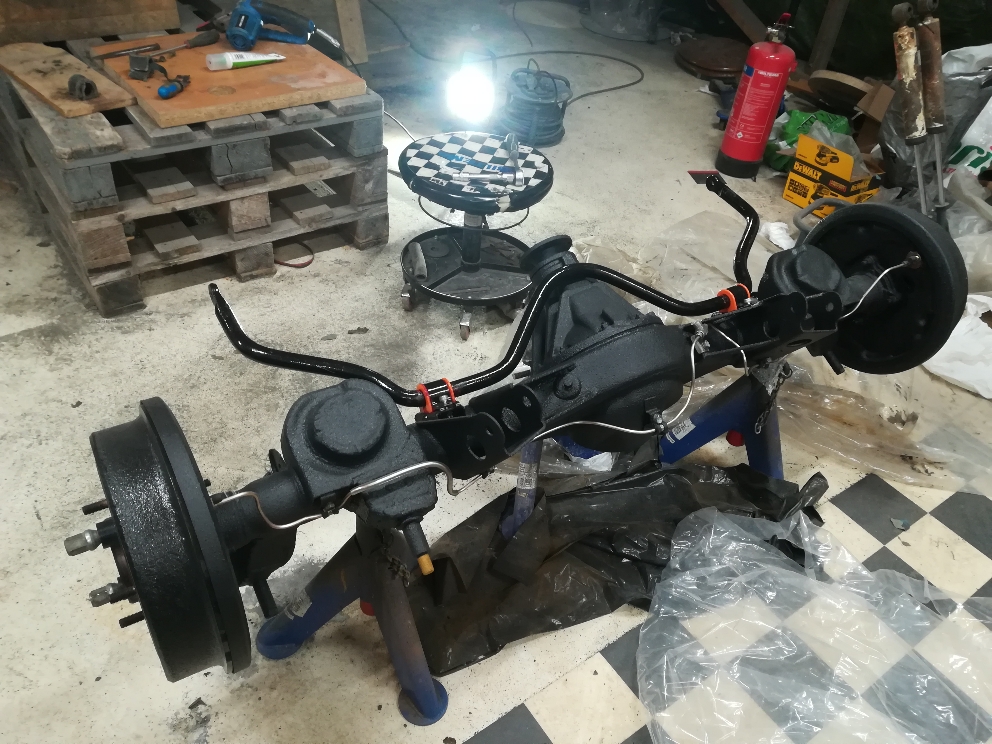
 
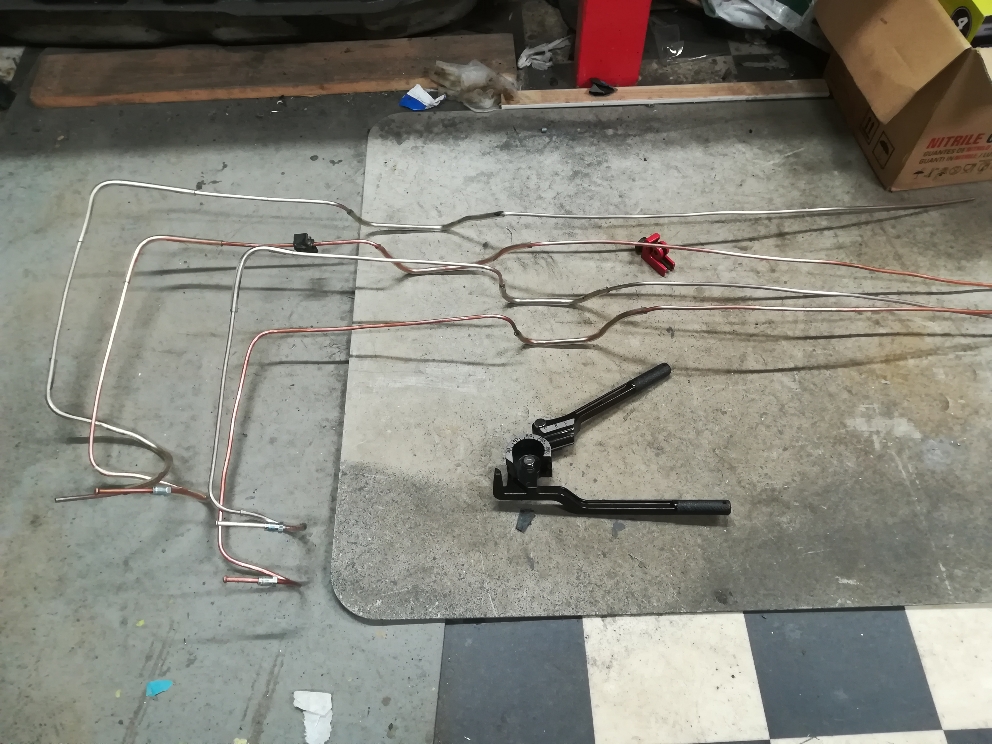
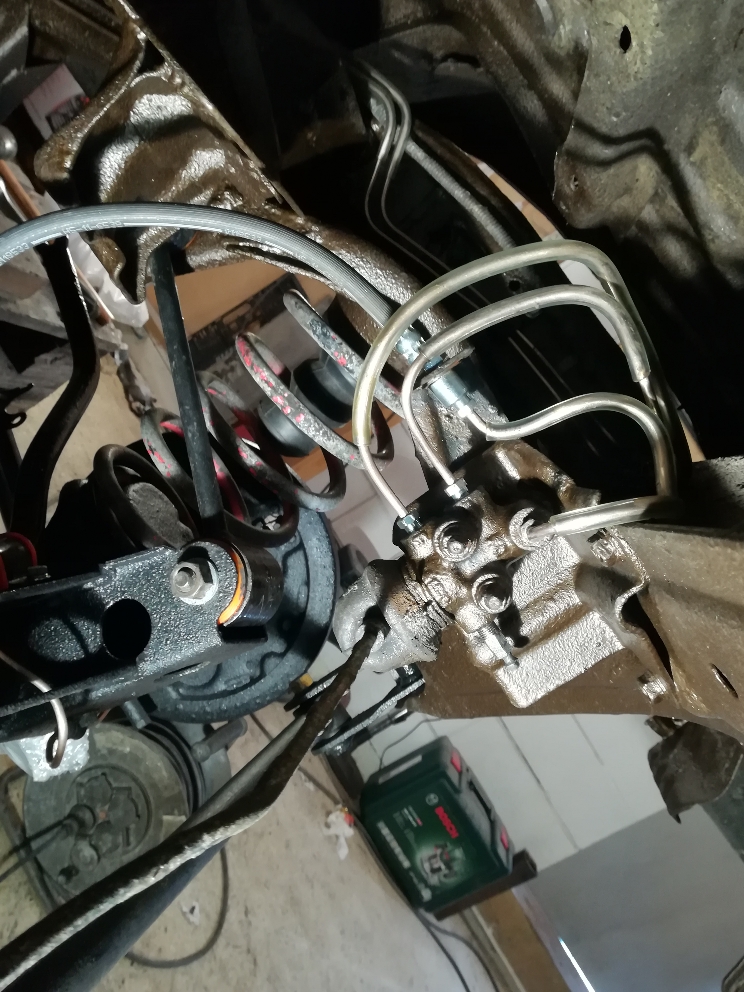
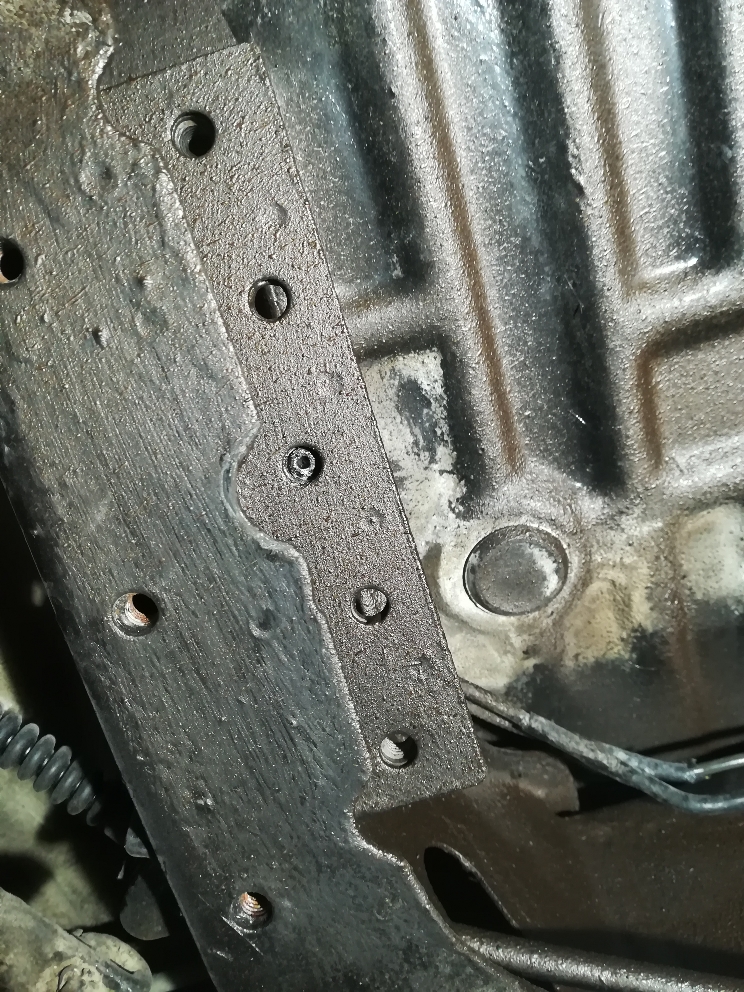
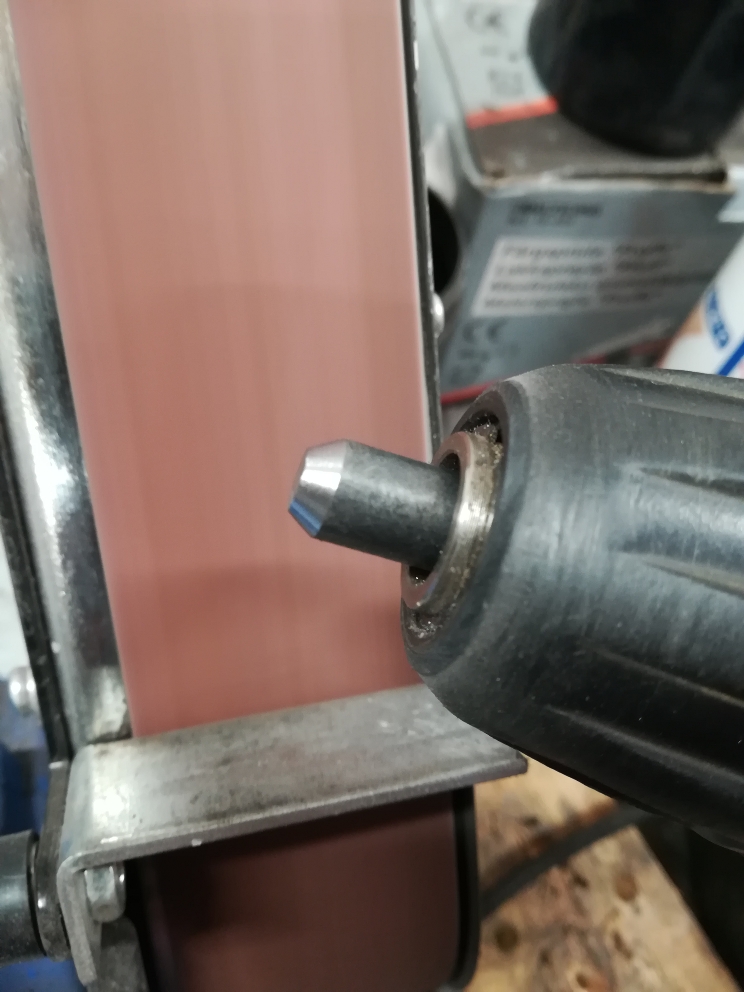
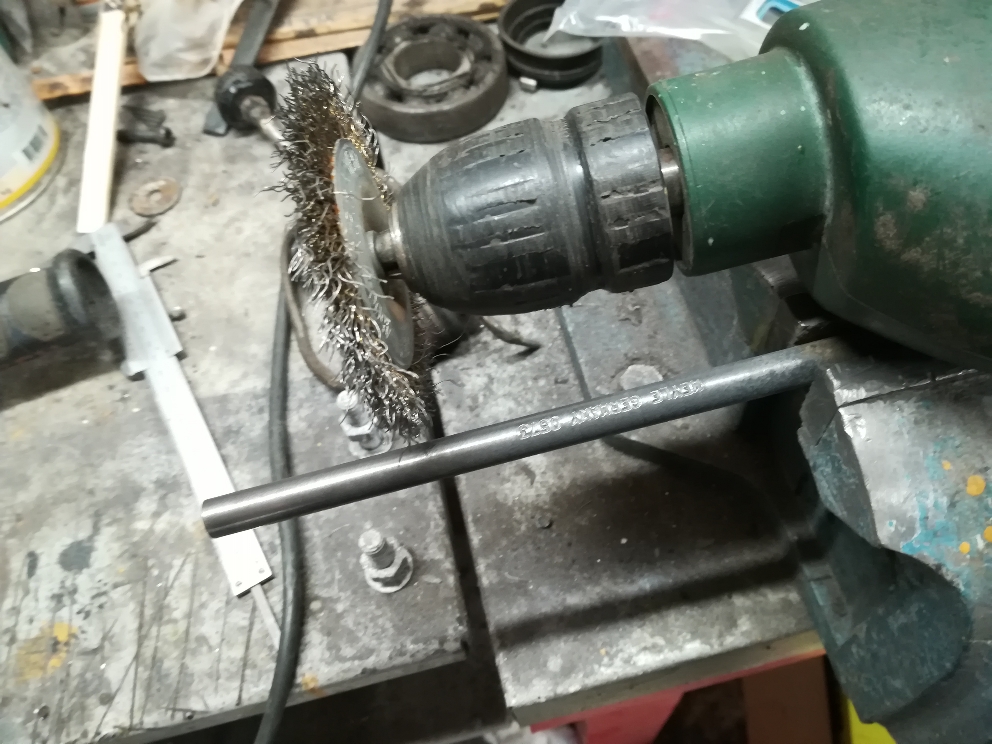
Took a short trip to the garage today and re-make the brakelines cause i want to have same type of brakelines that is on the rear axle, and they are a bit stronger and look nicer. lol

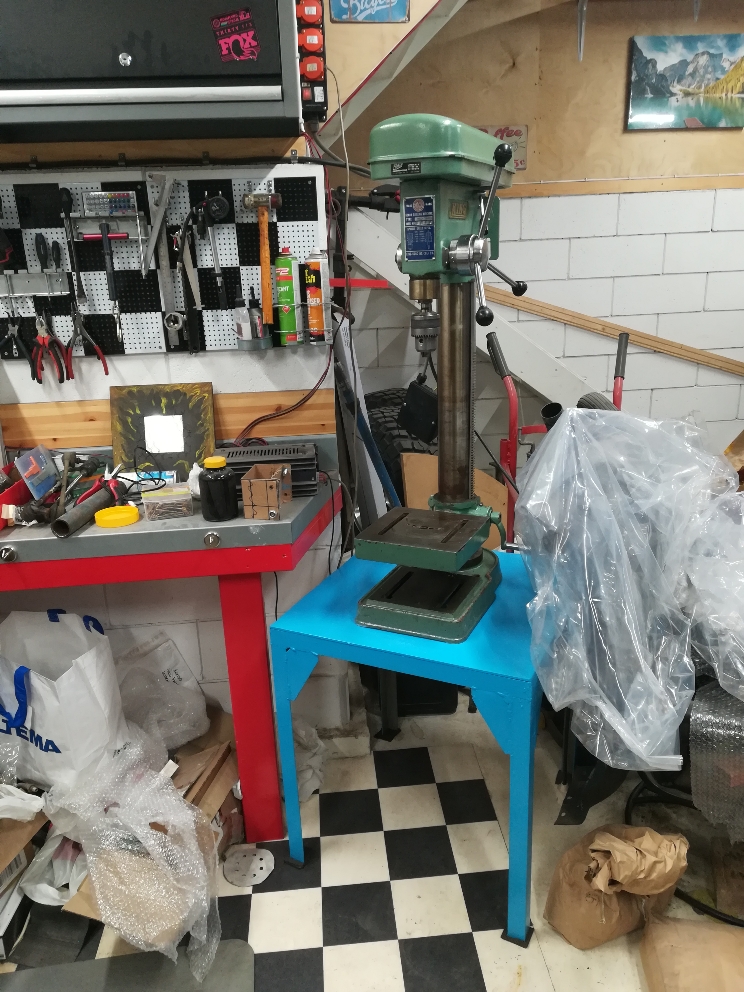
Installed the footbrake cables as well to the frame, and also prepared my new (old) drilling machine, lol
41643106464a2fb2f6194cfefd31cc94.jpg
748e45cbf680c41d36db1710e6f6d29f.jpg
fcfdead9927d05f06632dff3b33a2b76.jpg
d7373b3b750c1ce05d29112a79eca892.jpg
6ee89f2be856c770d88ad9e203975ed1.jpg
256061dfb066594693587b5a34b05f84.jpg
d48d9f5d2e951cacc011e406221960d5.jpg
6b28ce037791bd35bb69cc97e24f4df8.jpg


Sent fra min WAS-LX1 via Tapatalk
 
A good and a long day in the shed with different stuff.

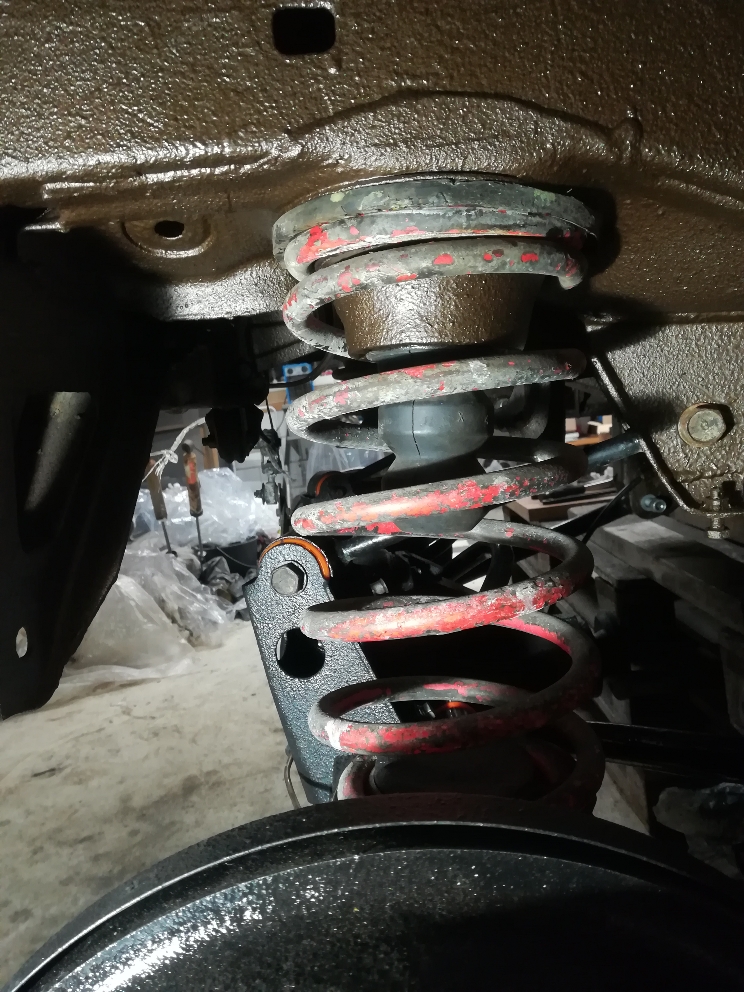
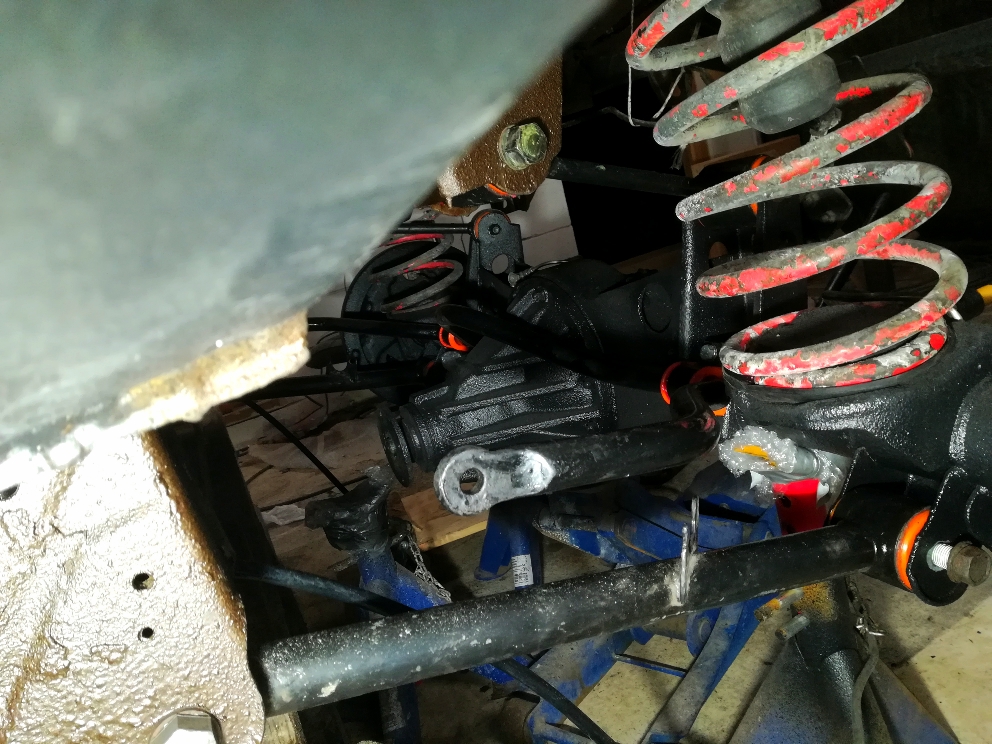
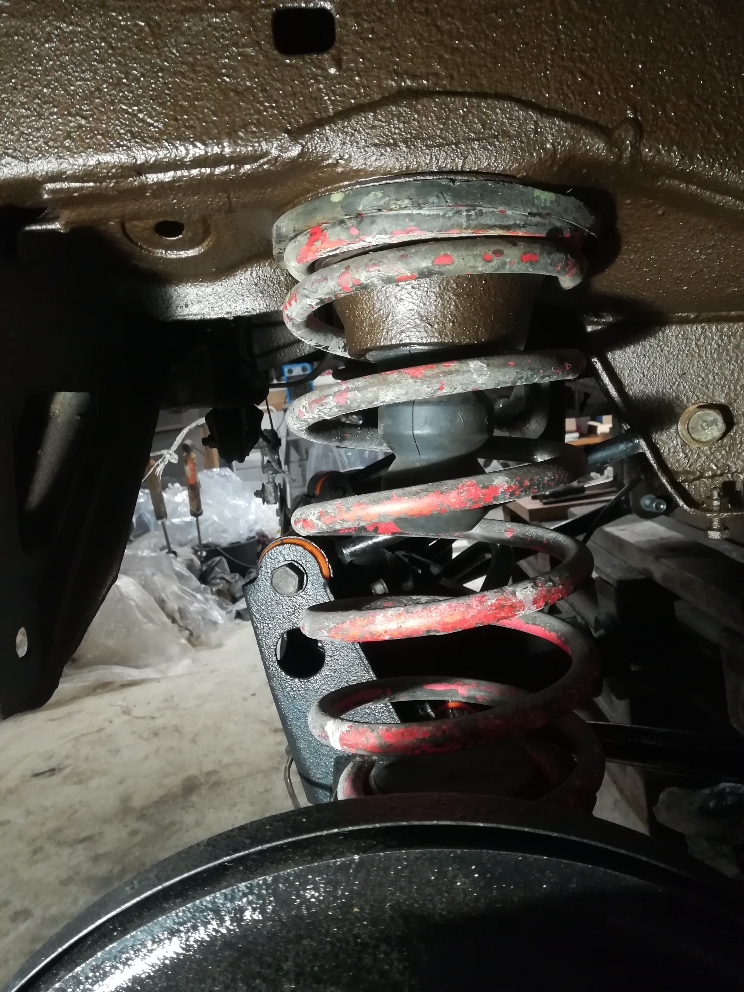
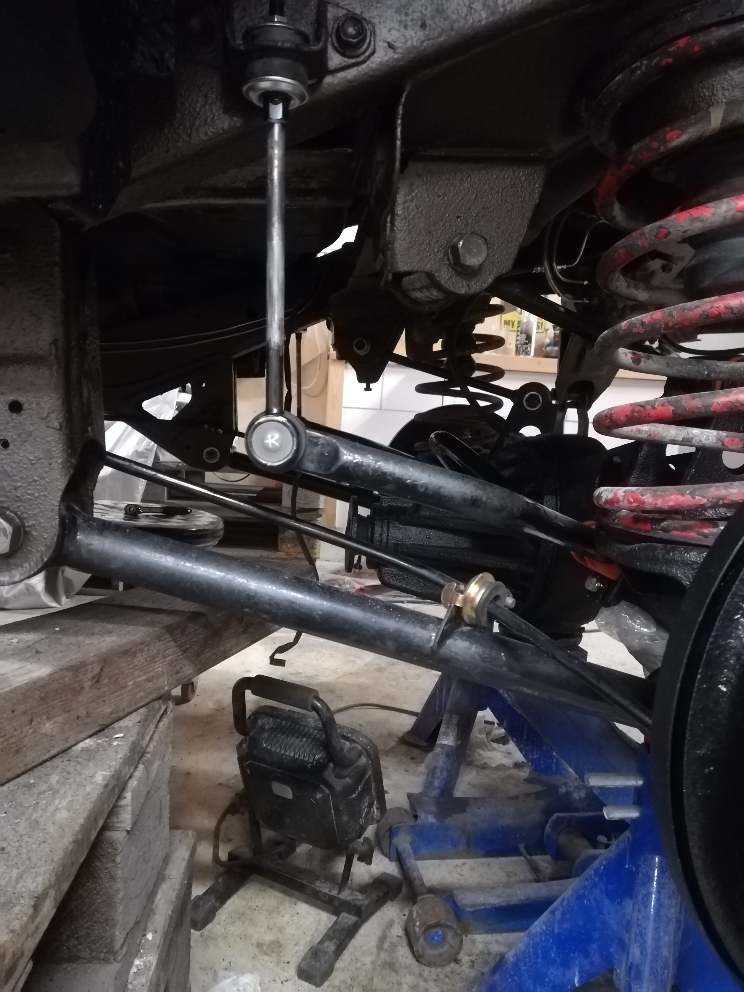
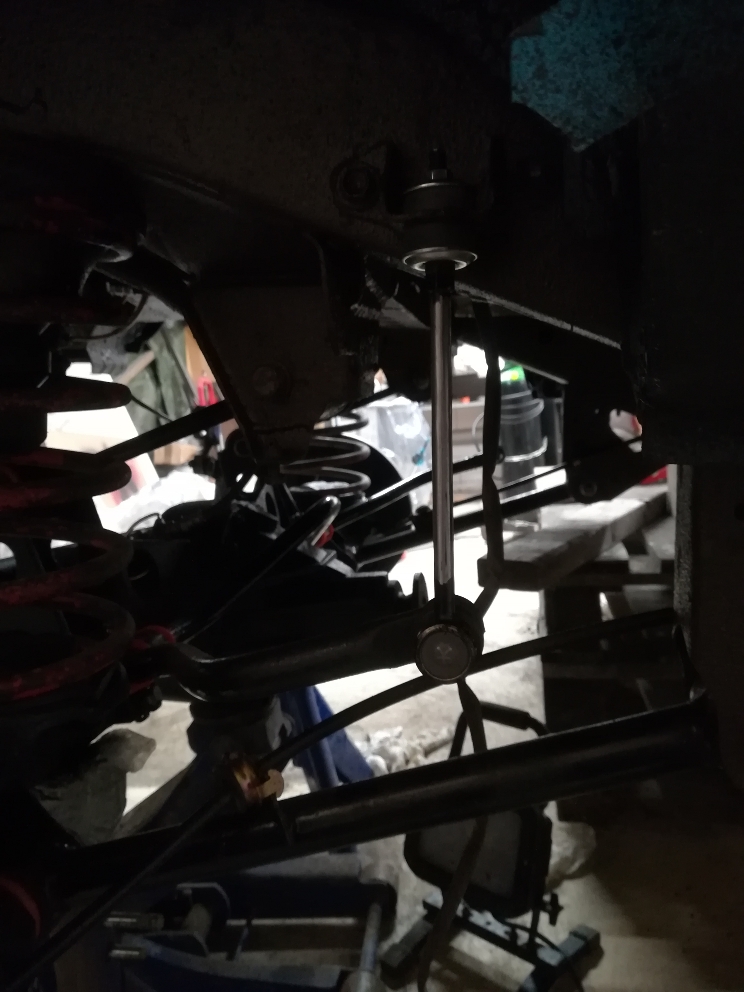
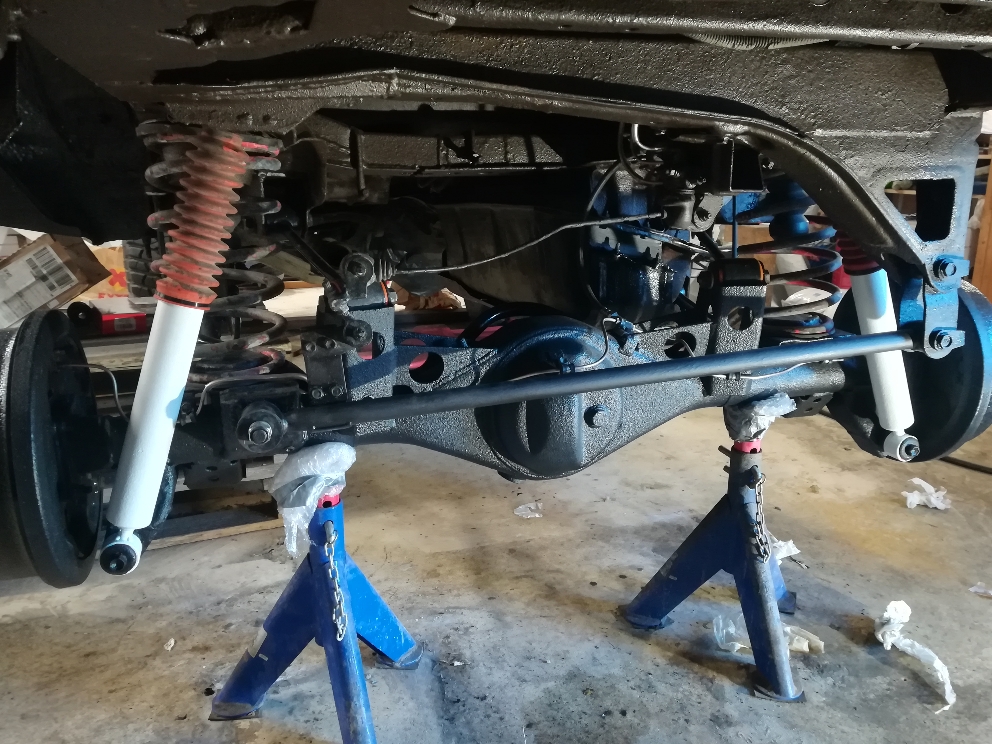
Now all 4 links are installed, some wires hokked up to the frame and preparing some other stuff for the shocks and the rear swaybar.

The springs are ugly, i could clean them but they just got a wash and a dry before install.

2c9ef8bd8bf8c65eb91ac5fb0727657d.jpg
d67e1c2938b044ea1d2611fbf6f0a310.jpg
f0df83bd0fbcc9ab25f44b8ea2bbe159.jpg
60ce7003e308ce52b513eb2a20ae90a9.jpg
4b255056cdf294cb543ee650a5105138.jpg
463a99e0aa25df04dce816277693268f.jpg
06352fdb9fbdb0824cb8cb2b40a6ff1f.jpg
bc84926e57adf9b6abf0aaa61e8f0907.jpg


Sent fra min WAS-LX1 via Tapatalk
 
Bumper

Justerte framfangeren. Fikk litt bedre vinkel og høyde på den, men den er skjeiv. Bilen ble grøftet av forrige eier, så sikkert fått seg en trøkk. Tar av fangeren og sjekker brakettene.

Noen andre tips du har sånn karrosseri/ramme messig? Har alt behandlet støtdemper festet bak. Skal male hele bakre ramme før fluid film.
 
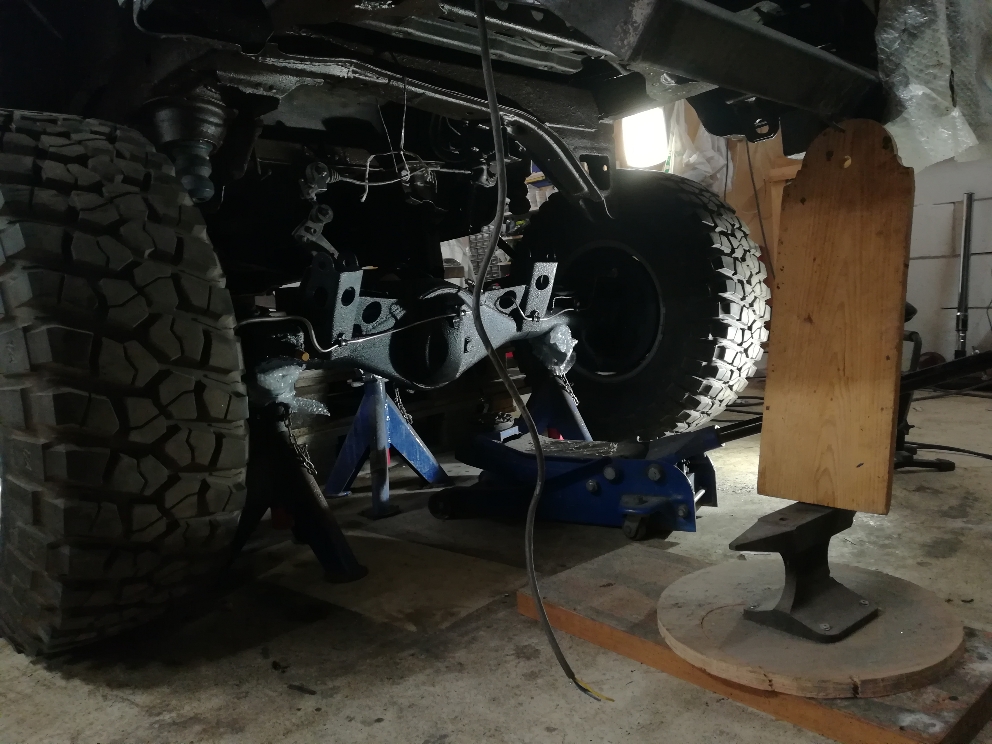
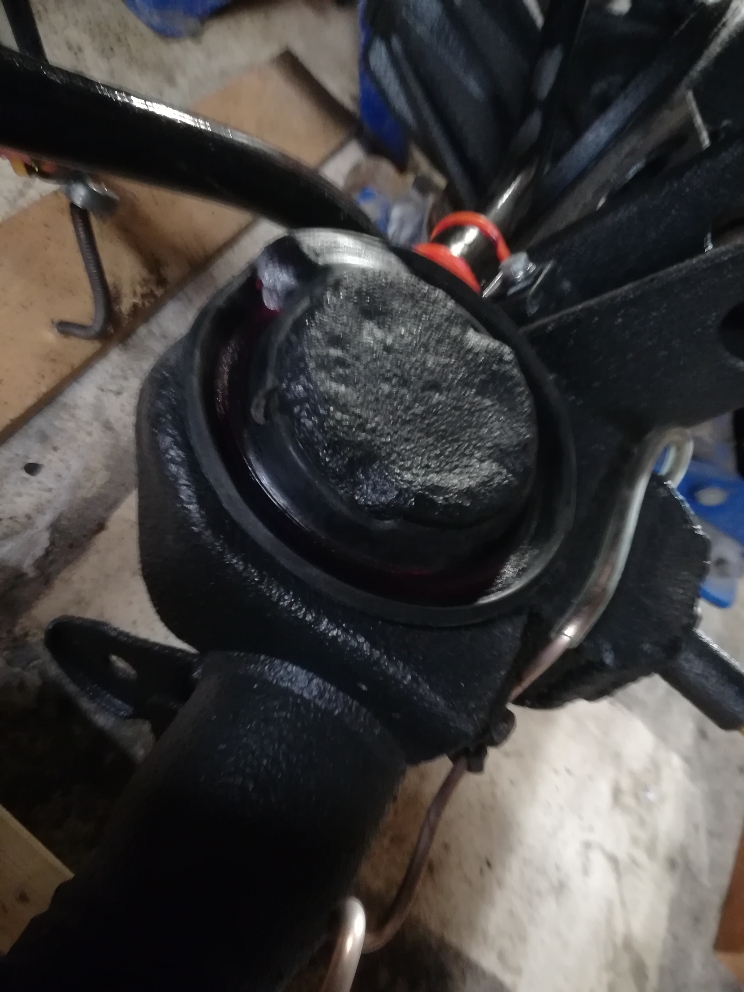
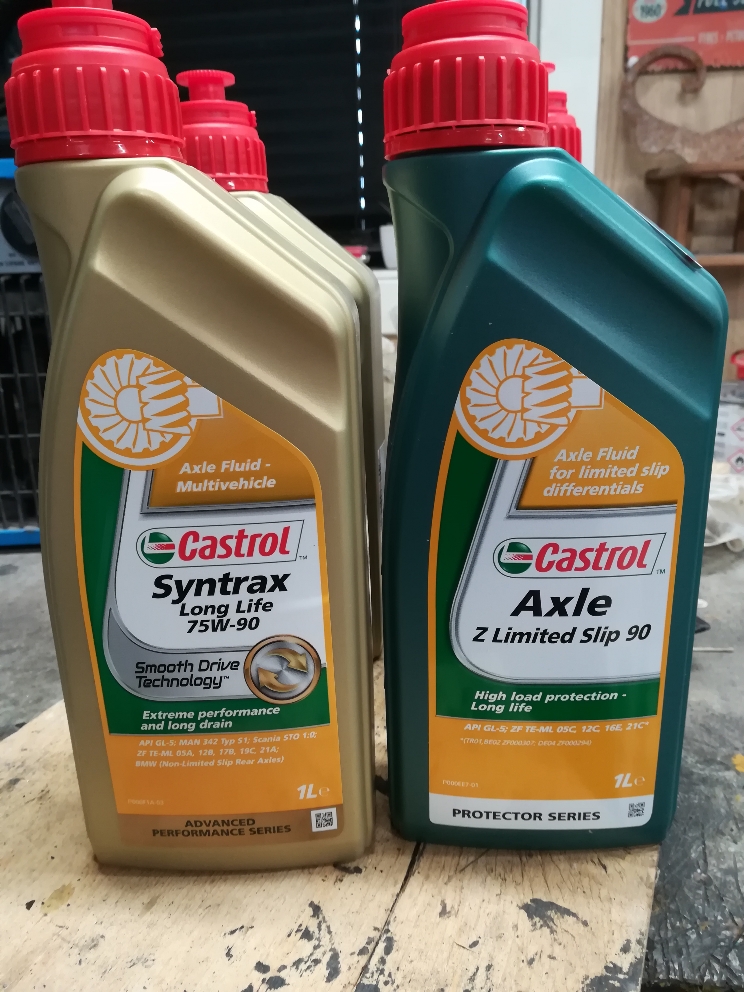
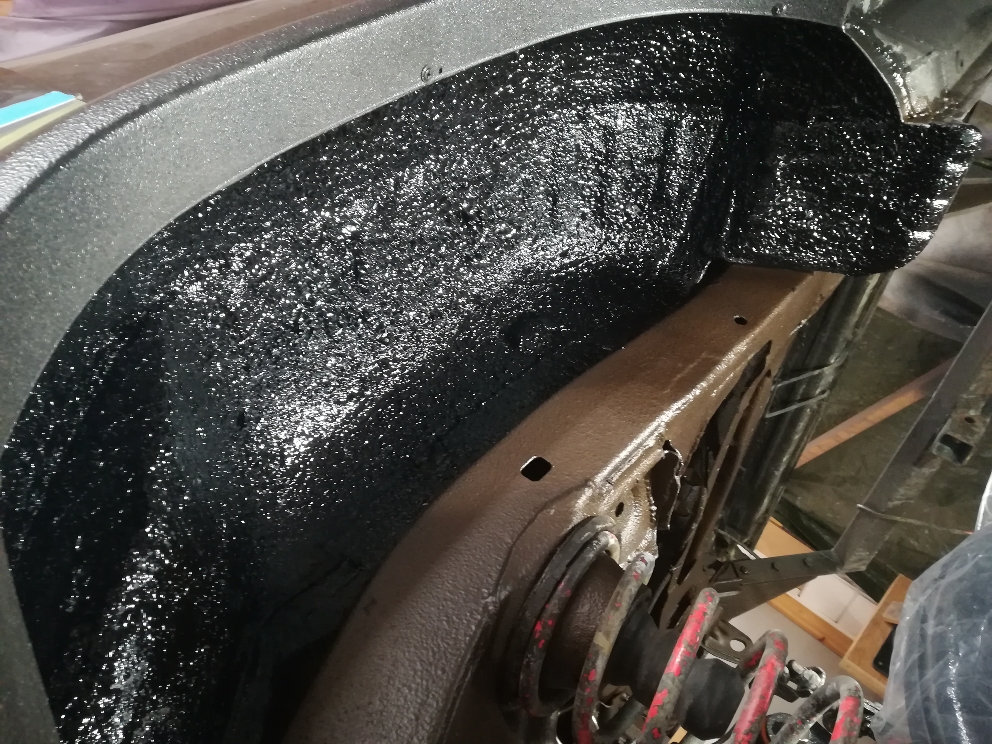
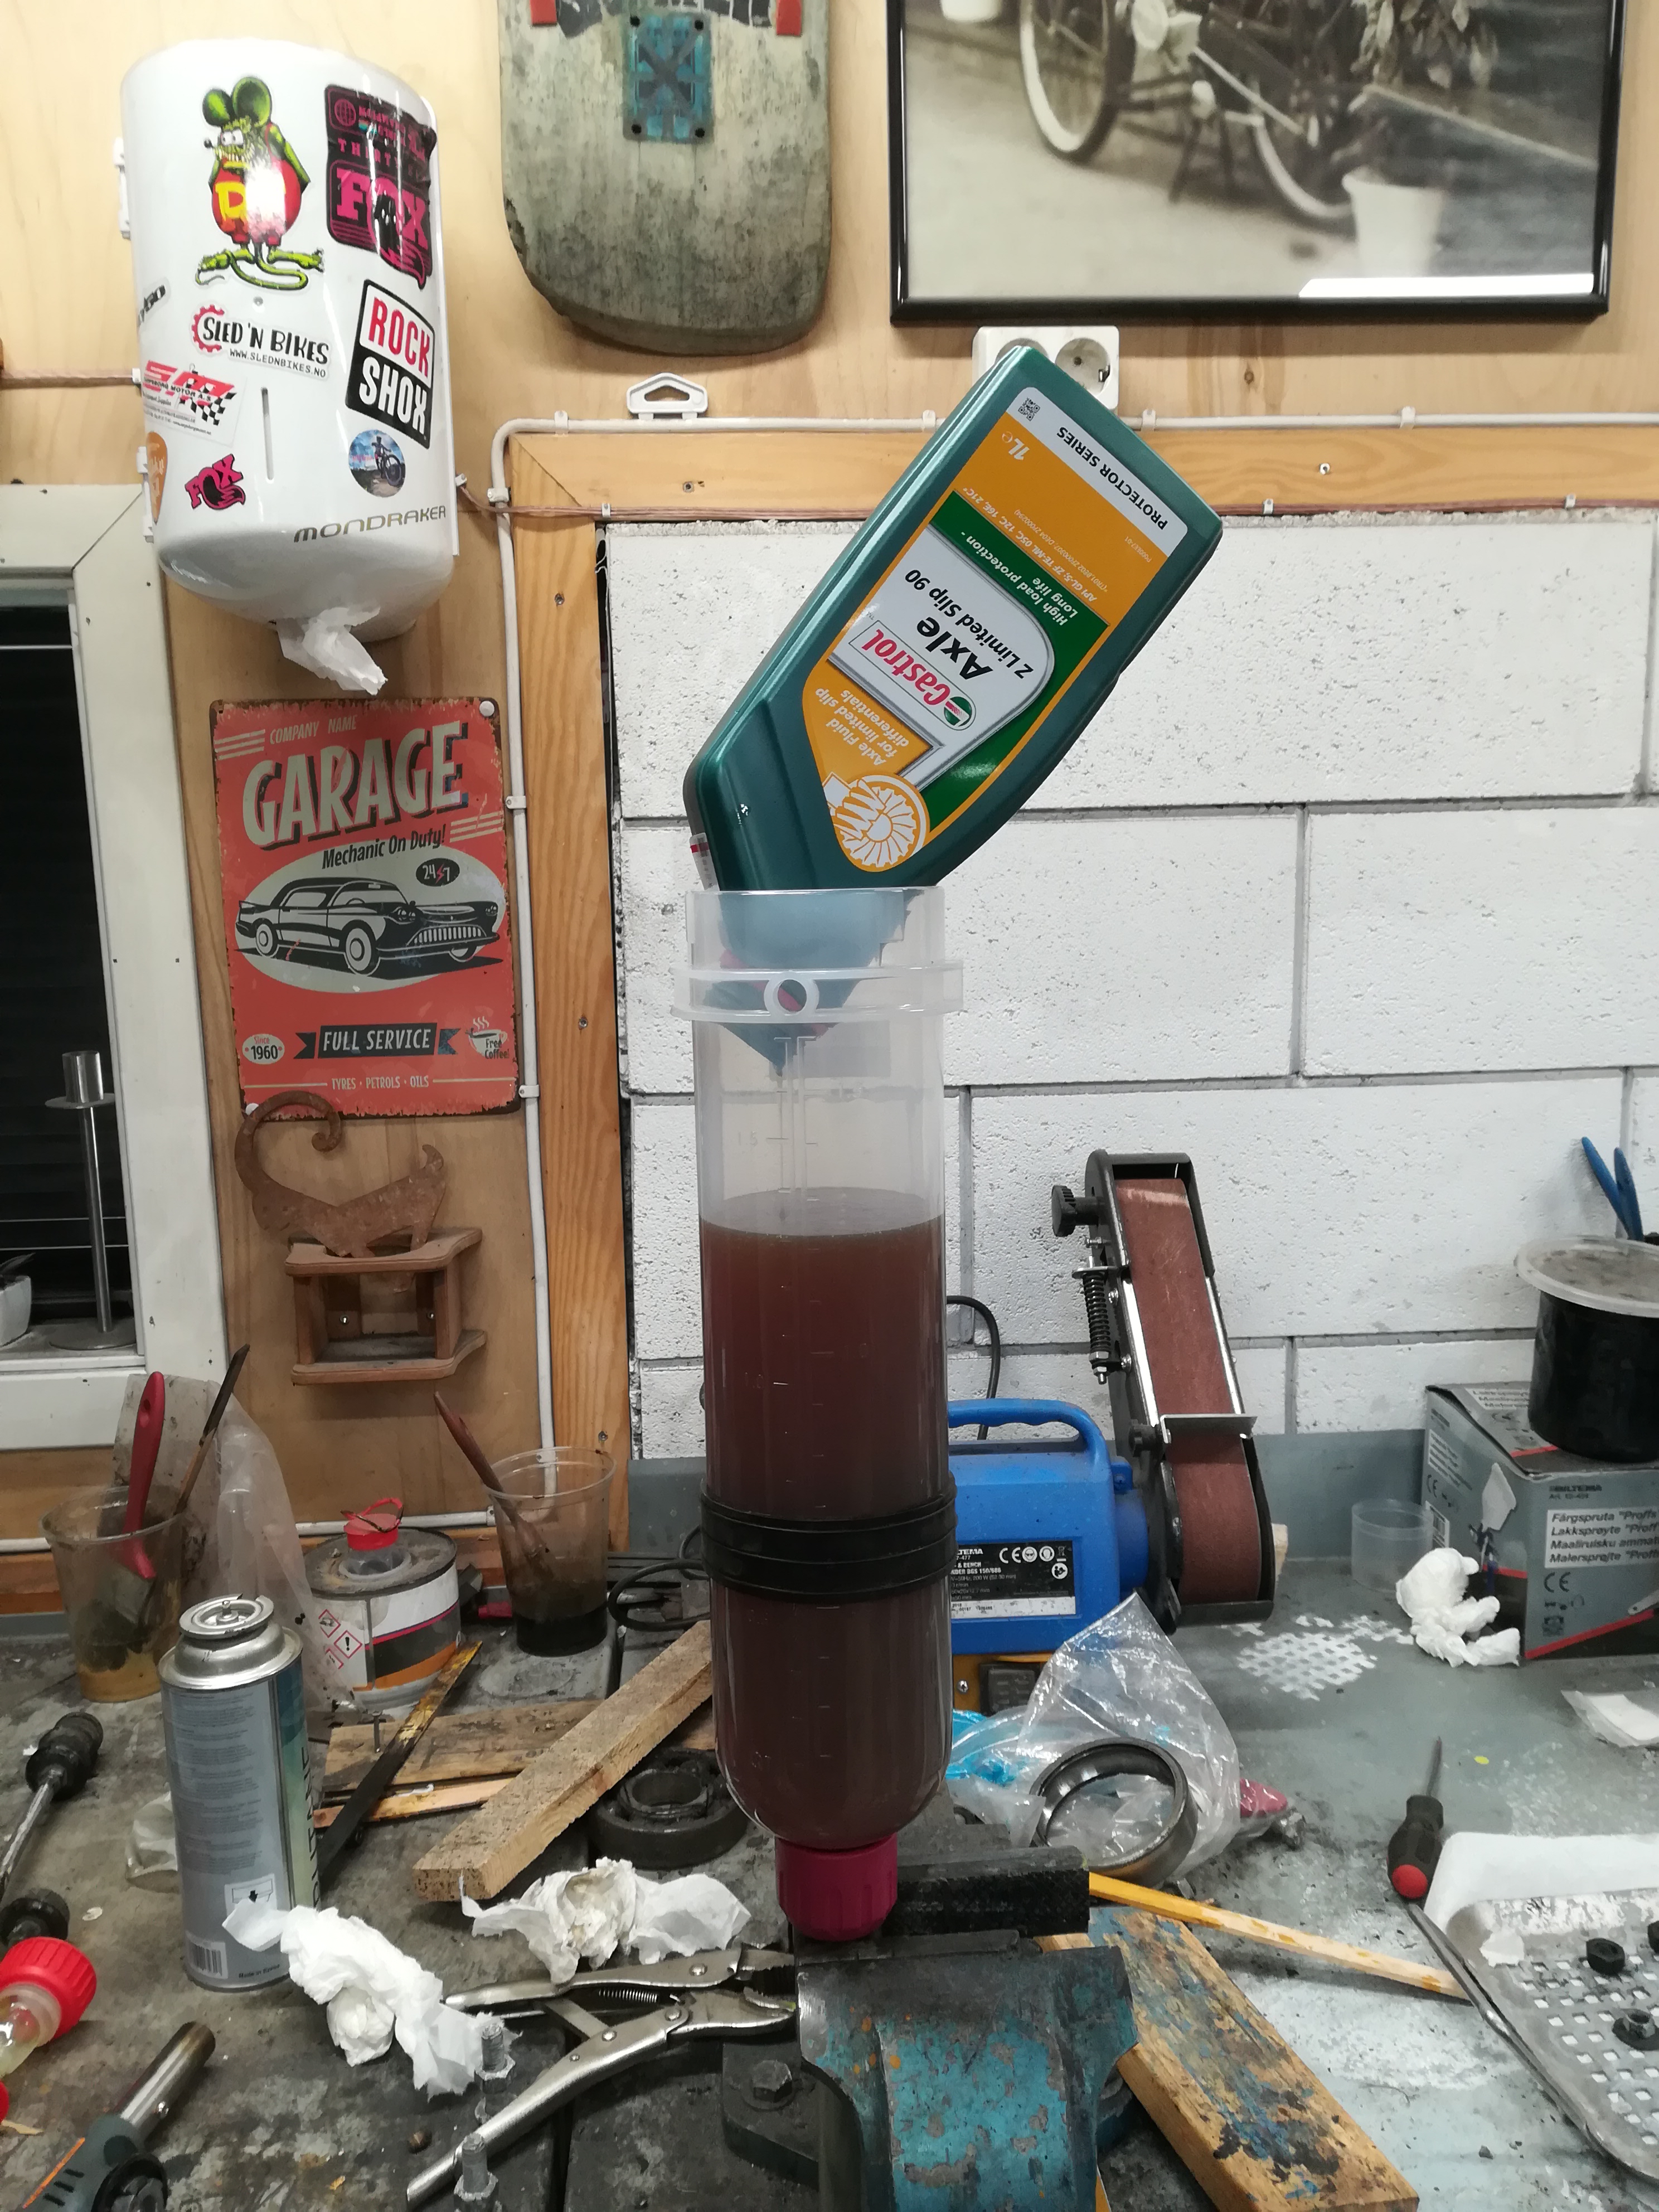
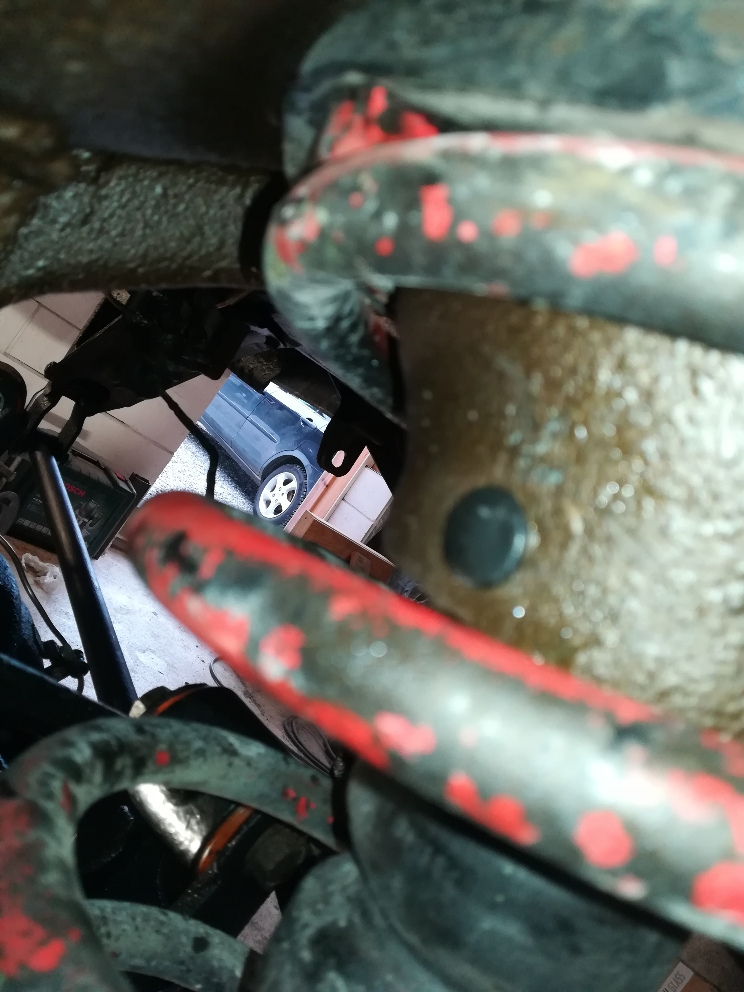
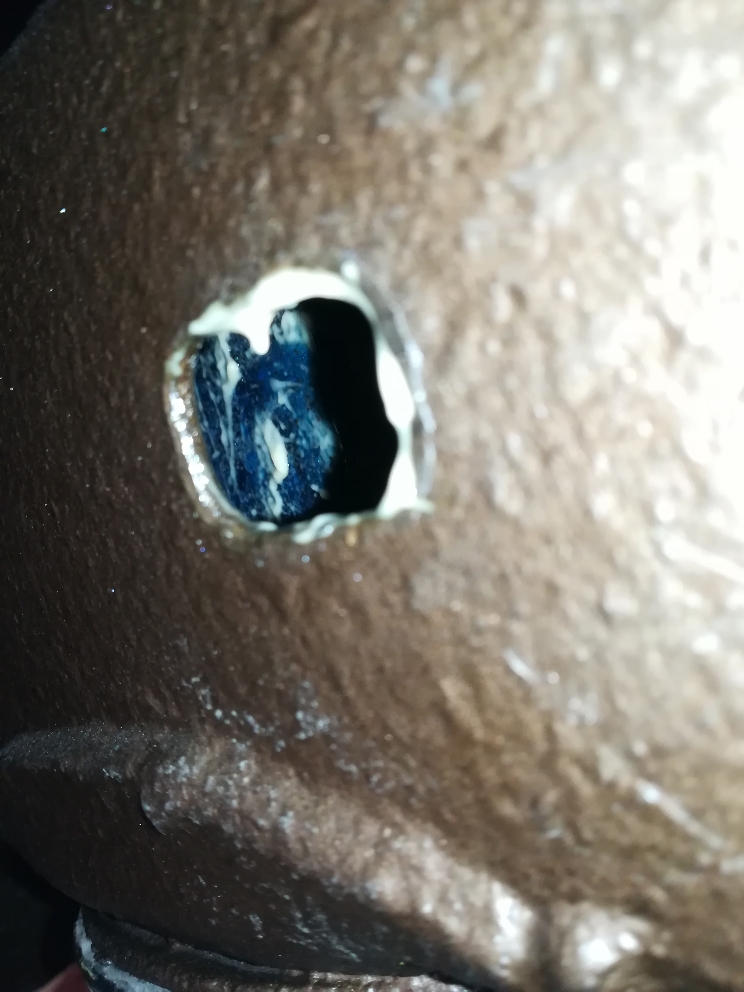
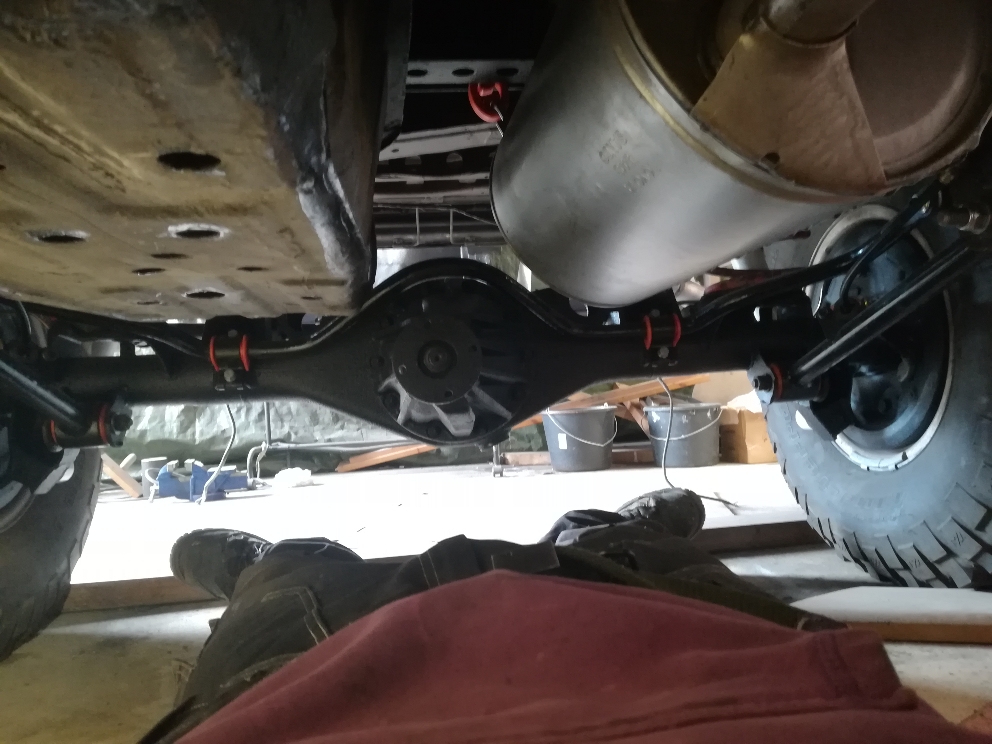
New oil on rear diff, bumper holders installed, all brakelines are connected and ready for bleeding, wheel houses got some butyl sound deadning.

Have more pics of other works but not done yet..
64dc6640af35b003d6791cb0e7140a4b.jpg
49a04aea3e9dfa8fe045222cba75cbd8.jpg
d3253cc010cbeffd917d3c86b7a3e3ee.jpg
ca0ae403f3080aee59409c7d0f1bd3ef.jpg
22cd0f23bf68375781f26198b03830fb.jpg
9a8fa16cc8456a6de87b0cf281e77660.jpg
e9514a68373d496257fbf3d801928d5d.jpg
2f734f49cf72e4390ab131c972cb0a5a.jpg


Sent fra min WAS-LX1 via Tapatalk
2e2095f7457e3f5a859256c992018bef.jpg
 
Last edited:
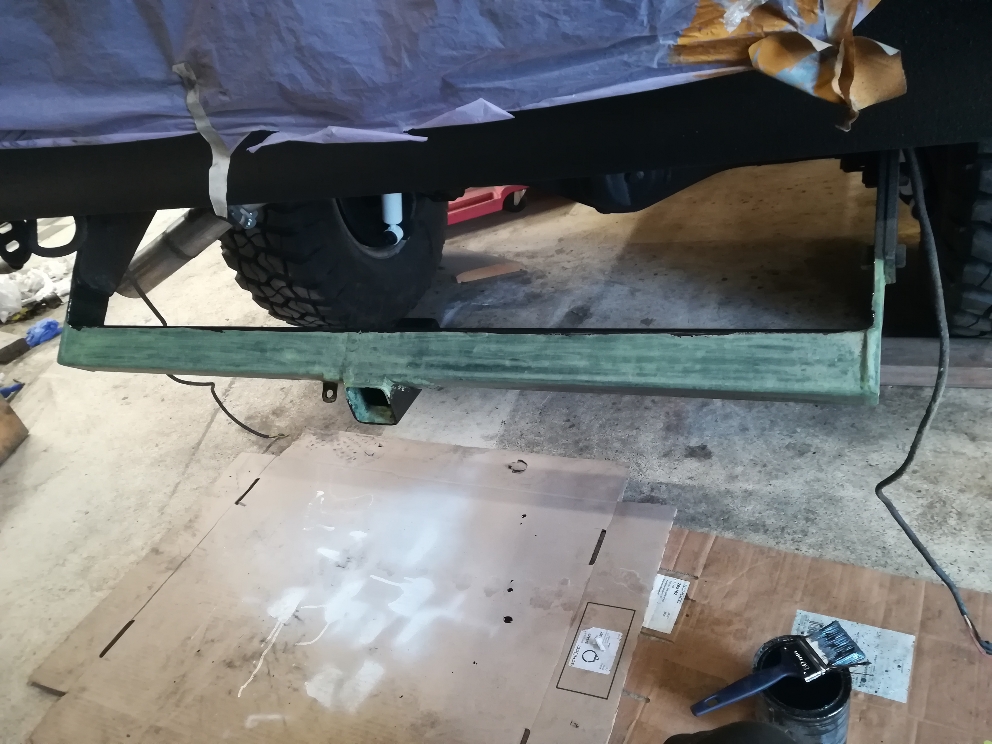
Today i begun to add sheep fat inside holes and inside the rearpart of the frame..the bumperstops, the rear panhard mount box on the axlw and up in the floor around..

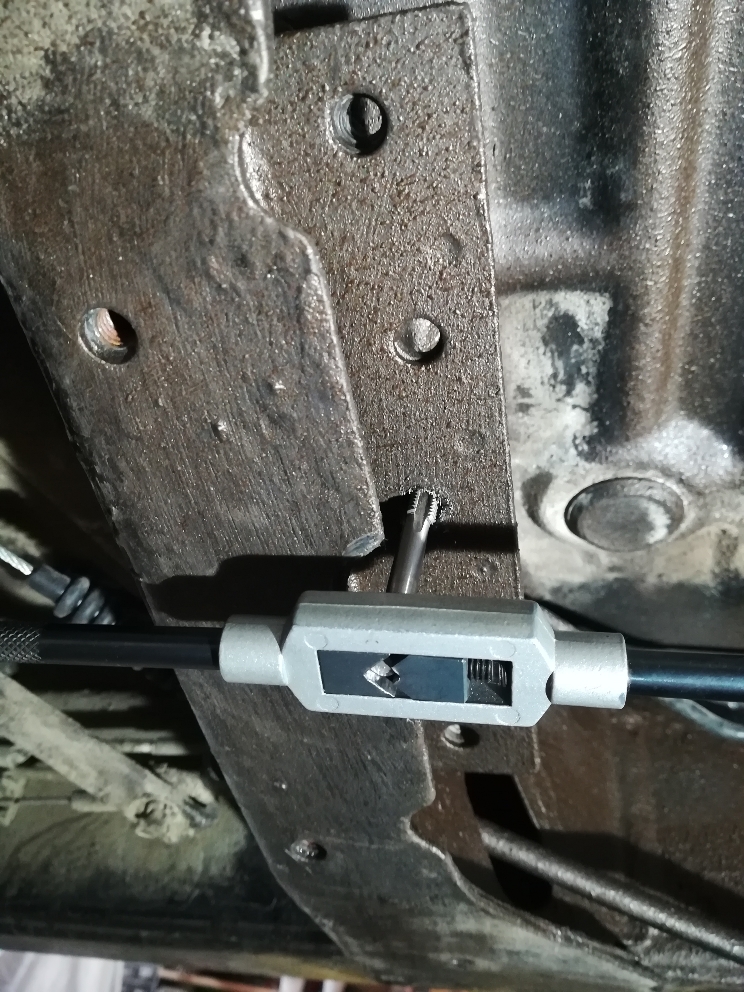
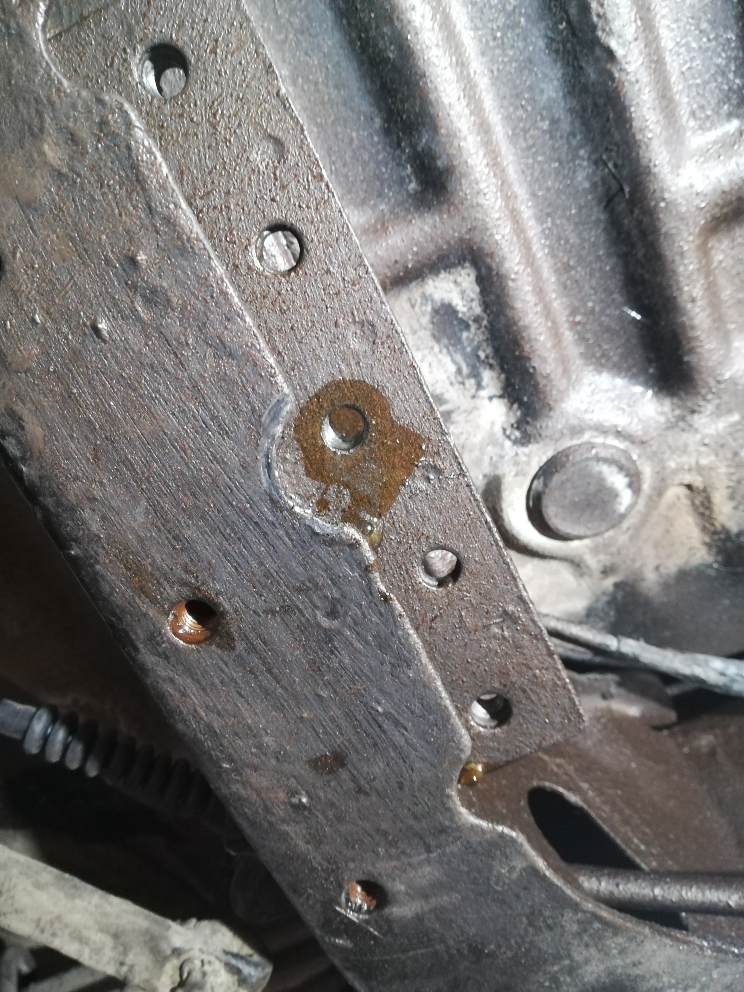
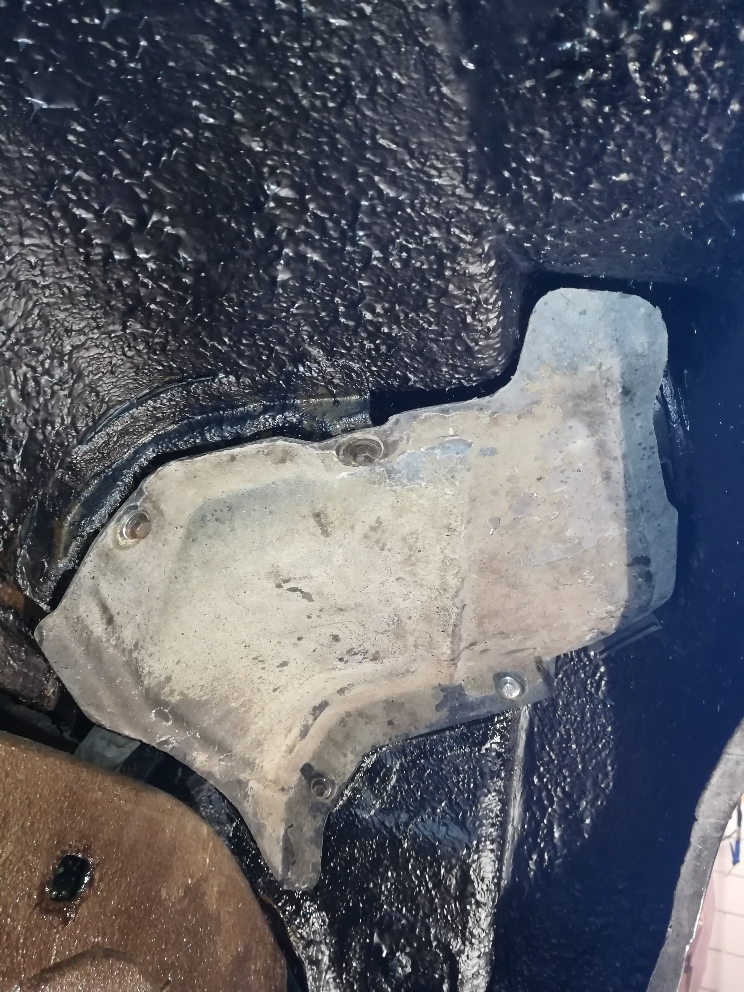
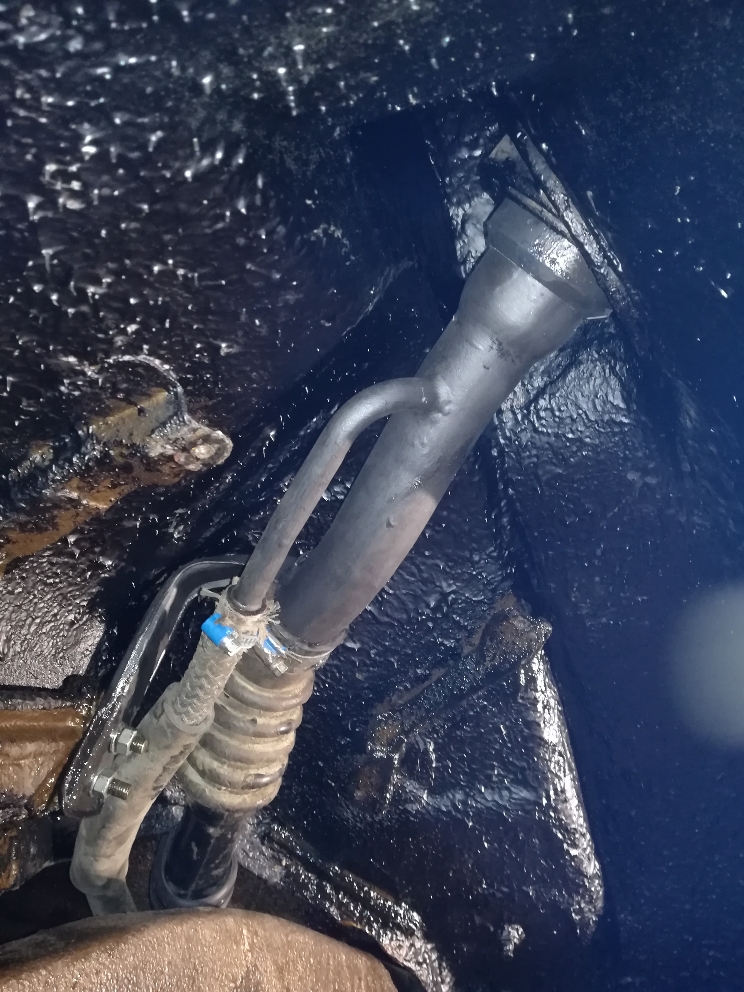
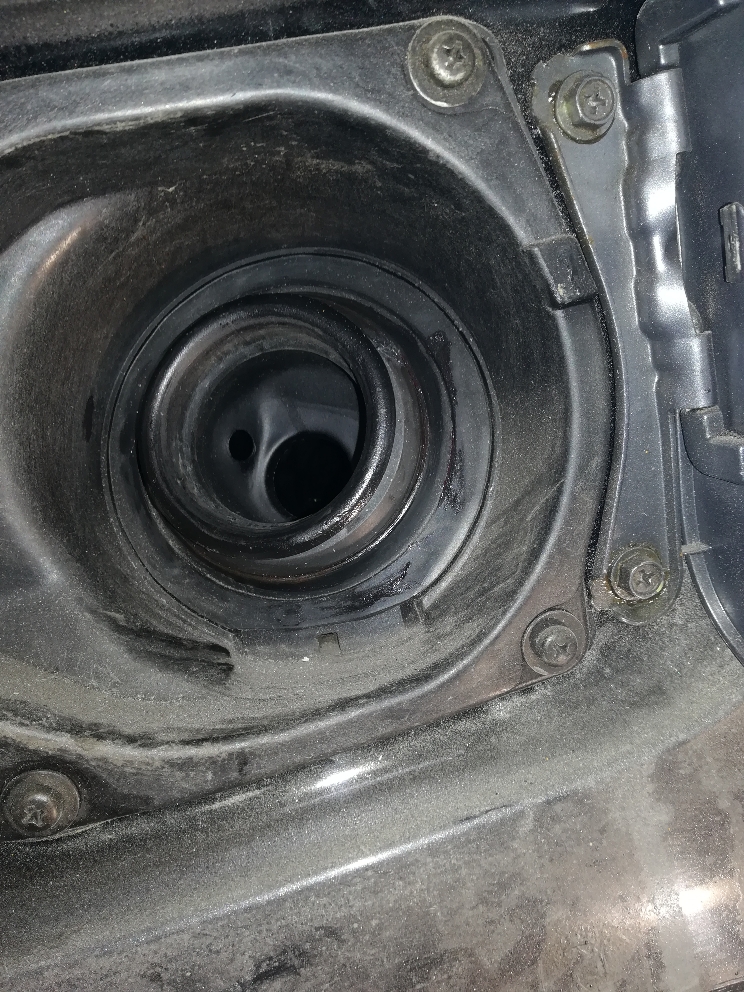
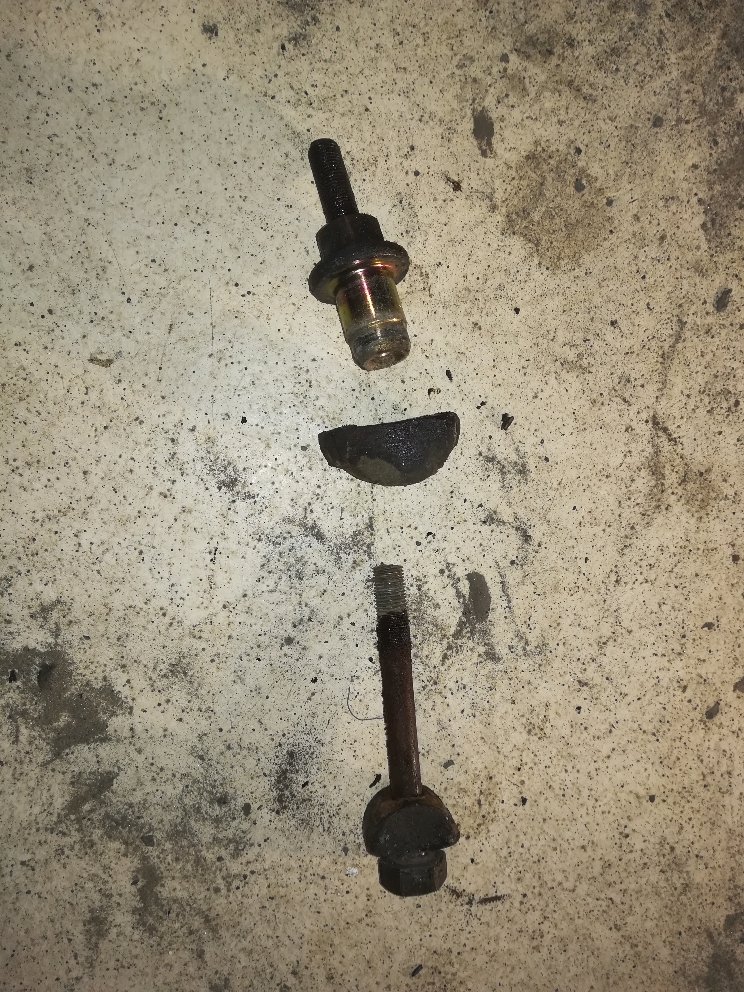
Installed the heat shield for the muffler. and added a finish coat on the filling tube for the diesel. Also drilled out a broken bolt and re-thread it, for the fuel tank hanger, from M8 to M10..

ad2c7db00ebea1aaf4d4075692971249.jpg
9af8e274a5c313992e72ffa71b89a3ad.jpg
0d5d231882a37bc46a3f5f3f62b424ce.jpg
53e8cc19d93d7f243a35468ac61d8767.jpg
5067d892da7942cee29dd81cb00a1bd9.jpg
87c750d1c3909dbccf3bee5958d2c107.jpg
e238992b347c70971acc6c2ae0e42218.jpg
7d3af2dd2c313c188823240572b09095.jpg


Sent fra min WAS-LX1 via Tapatalk
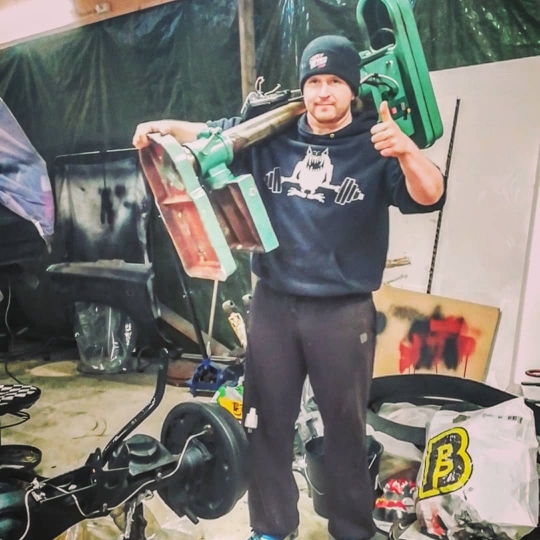
 
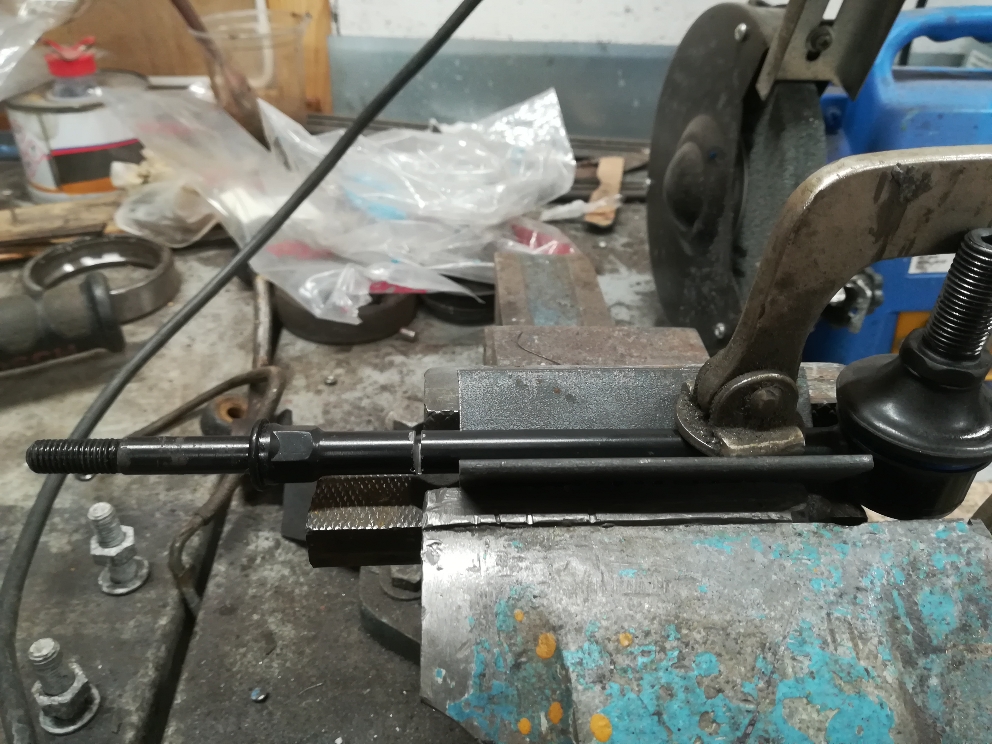
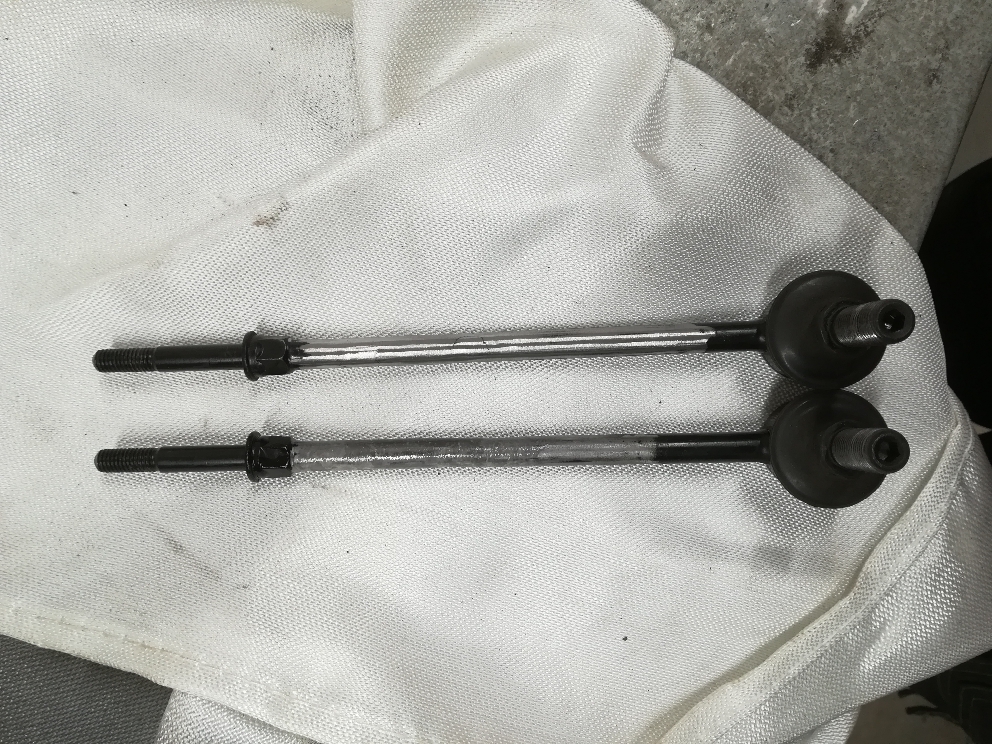
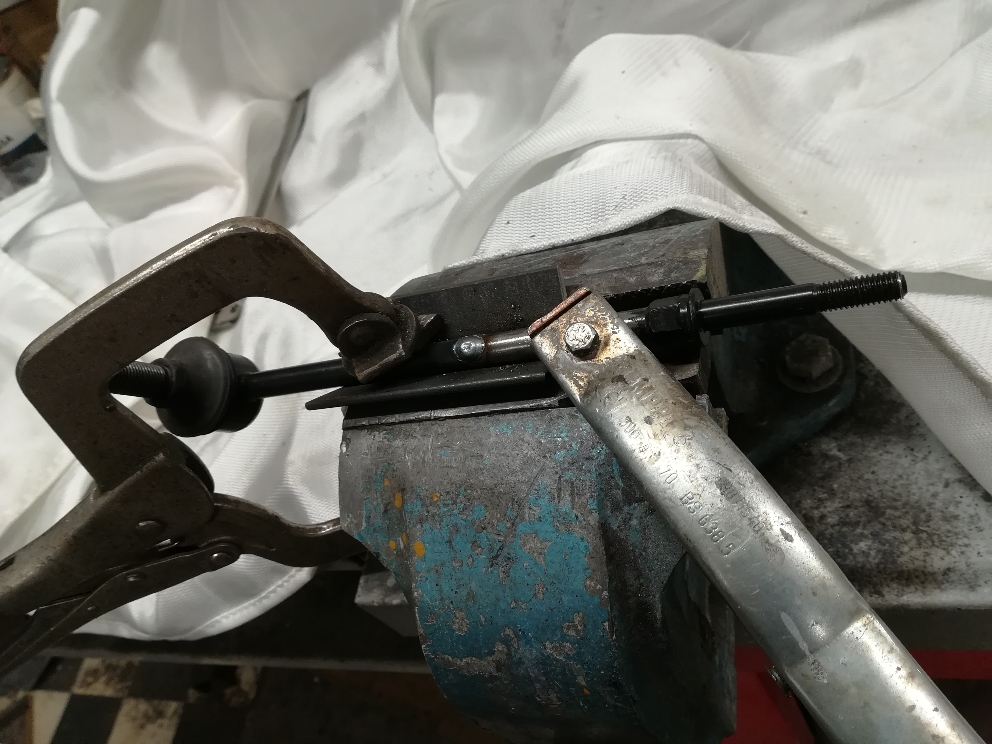
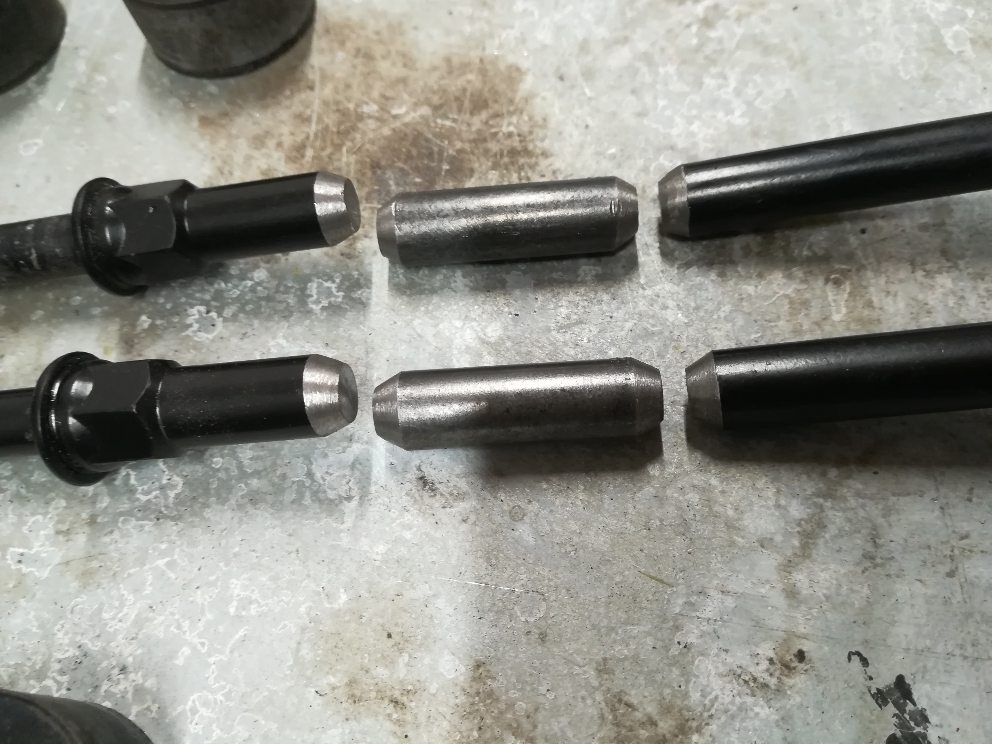
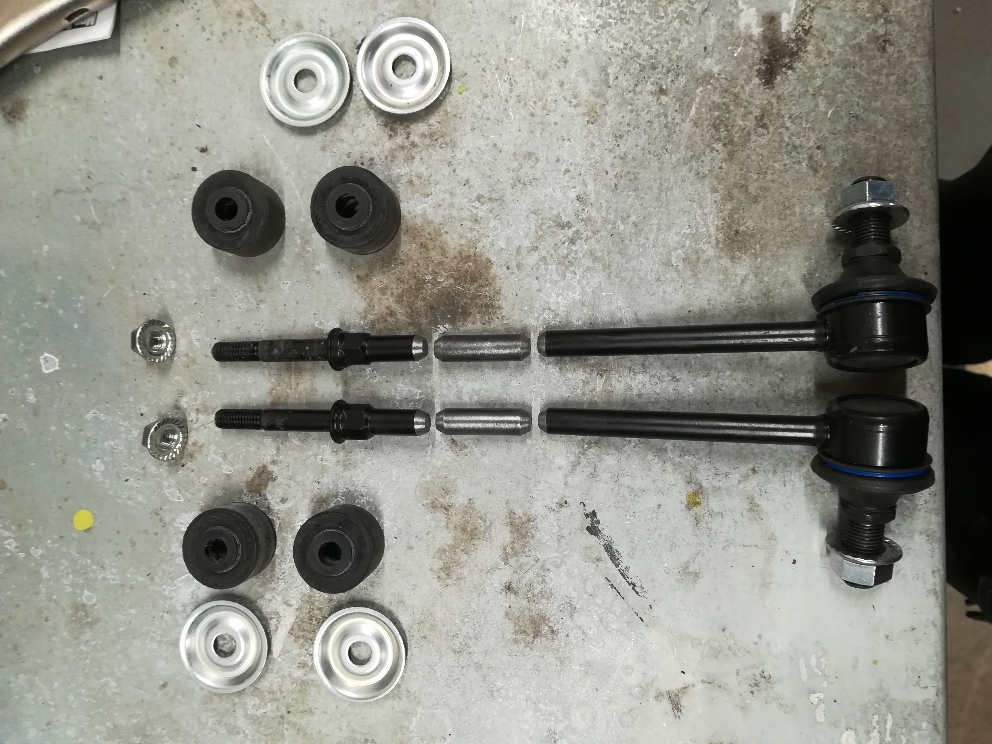
After fixing brakes on another car i have earlier today, i begun to extend the rear links for the stabilizer bar this evening.

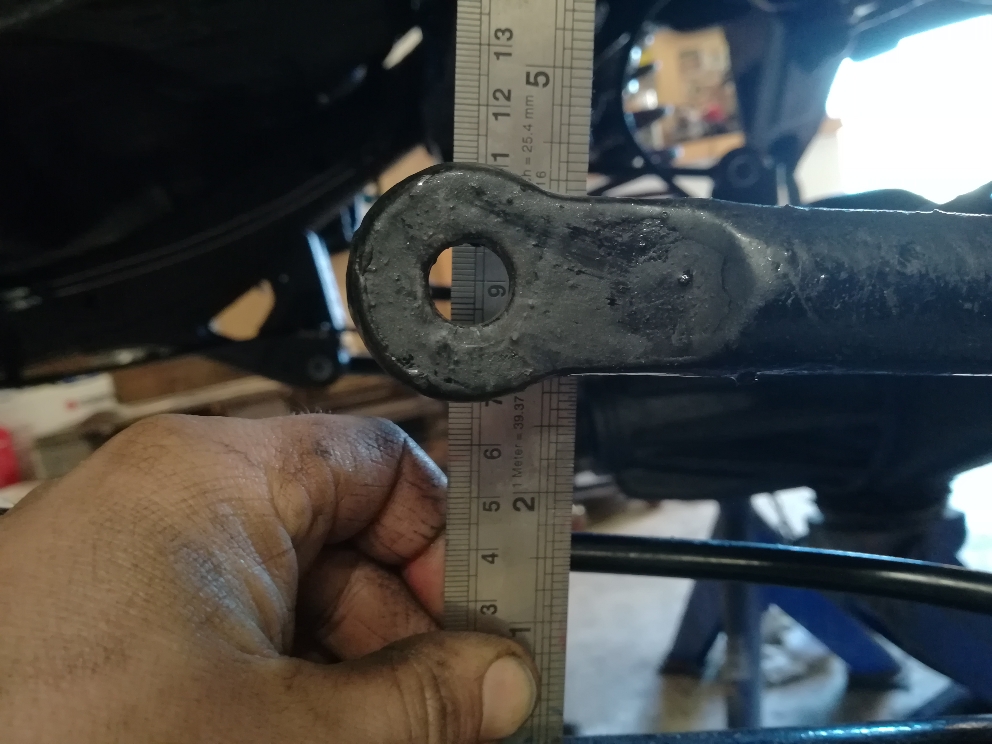
Bought 2 new one, and welded together with a old link that had the same diameter rod. Extended them 30mm so the swaybar have the same angle as the lower link control arms..think that should work.

The old ones was extended also by another older owner, but was a bit long.. and was thrash.

Need some paint at end.
da59ebc9a6f582ddf55829fdf28a0353.jpg
0c775f8d925556c8c2dfc14a8592413b.jpg
cd6be3ccf2eeb071ede0d193027cce11.jpg
a973ef6f2ba6e611c218d7cf5ee9d233.jpg
a3e36c6288864e6f91d025c46ed1d4b7.jpg
d127925ec73907eb3dc5067be64ac70f.jpg
a1e2af10741e7376f250d5037d96f23b.jpg
24120f88a88fafadee5b9a7a5cd4975d.jpg
6faf368db3142aed77babd3f5ef575ac.jpg


7db2c79c91f79fc683a0693d37dc124f.jpg
949786263971e5453aa9d2af0f2972c2.jpg
 
Last edited:
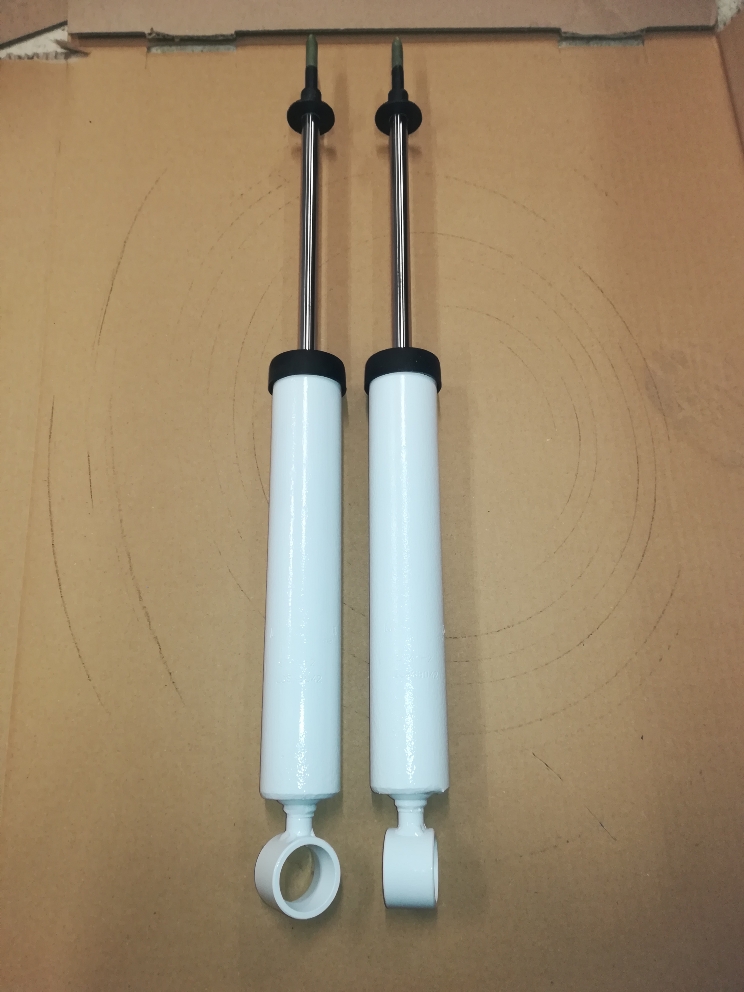
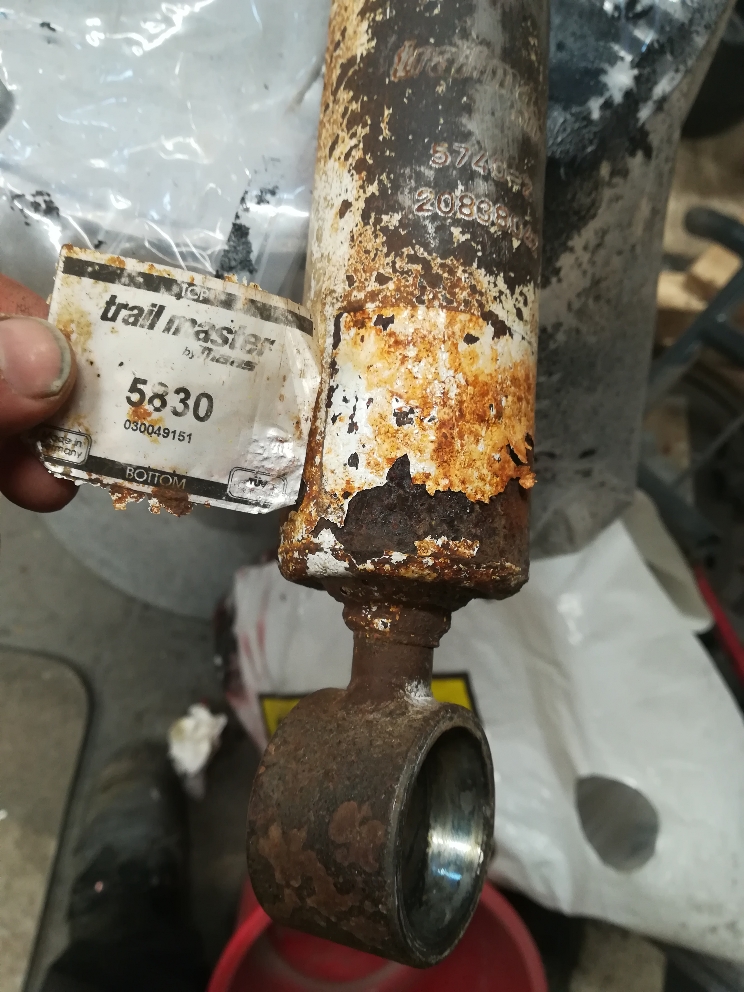
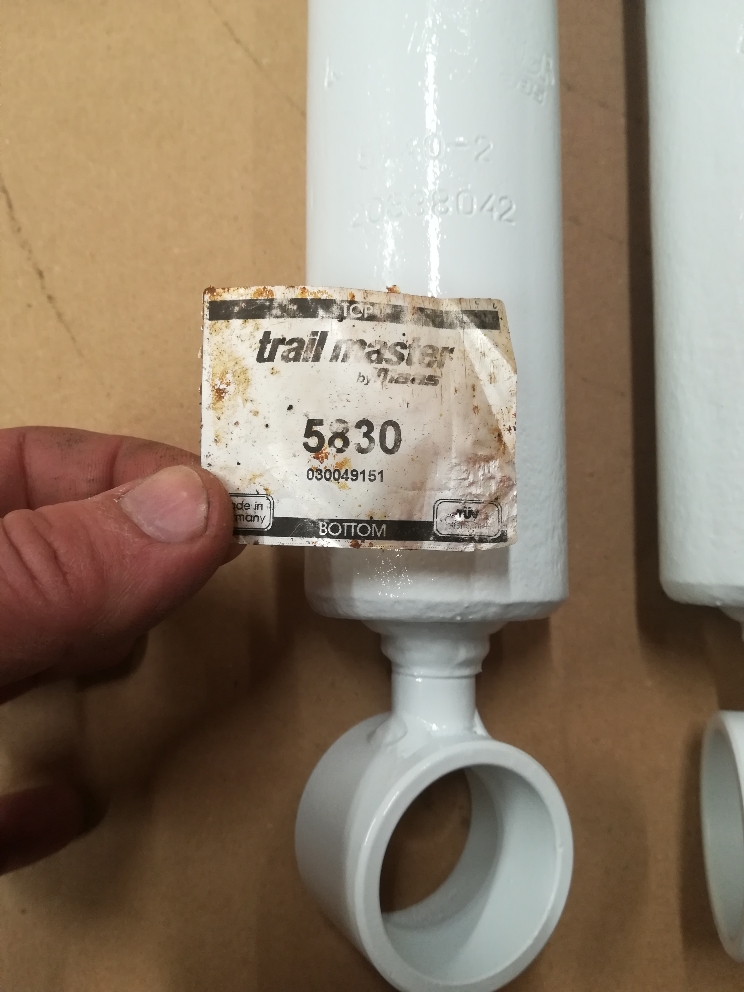
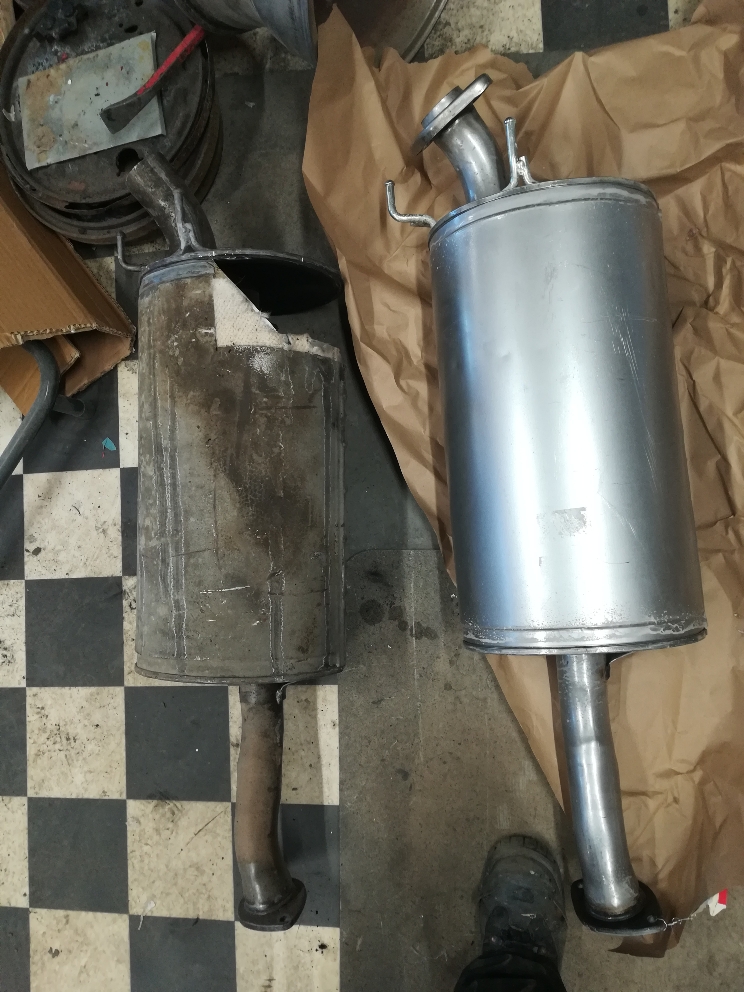
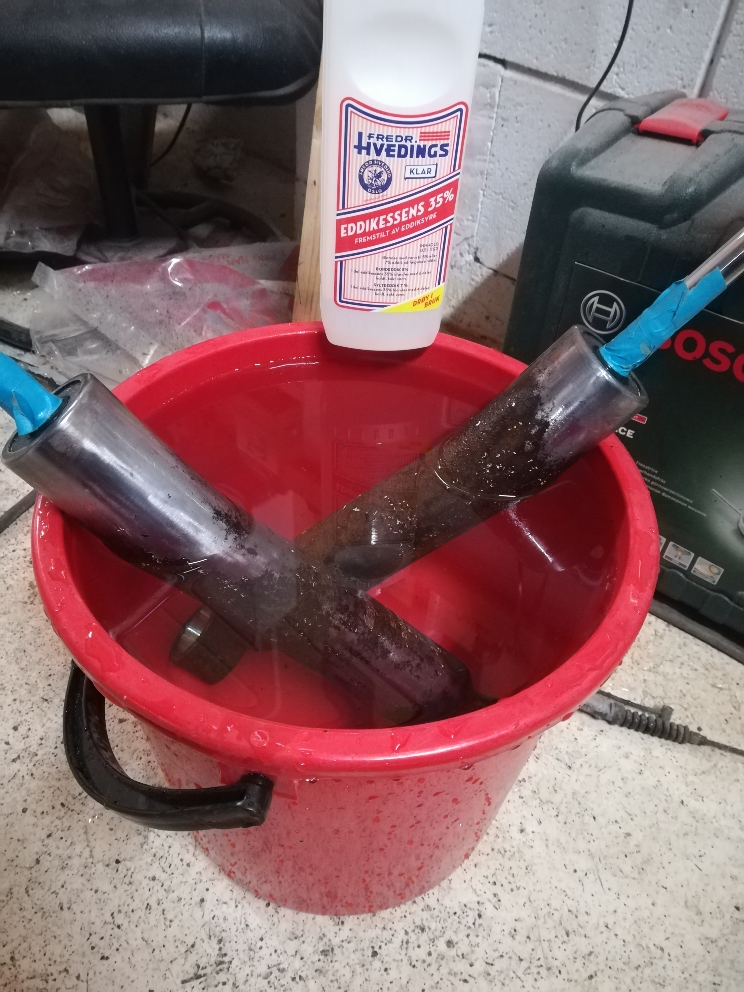
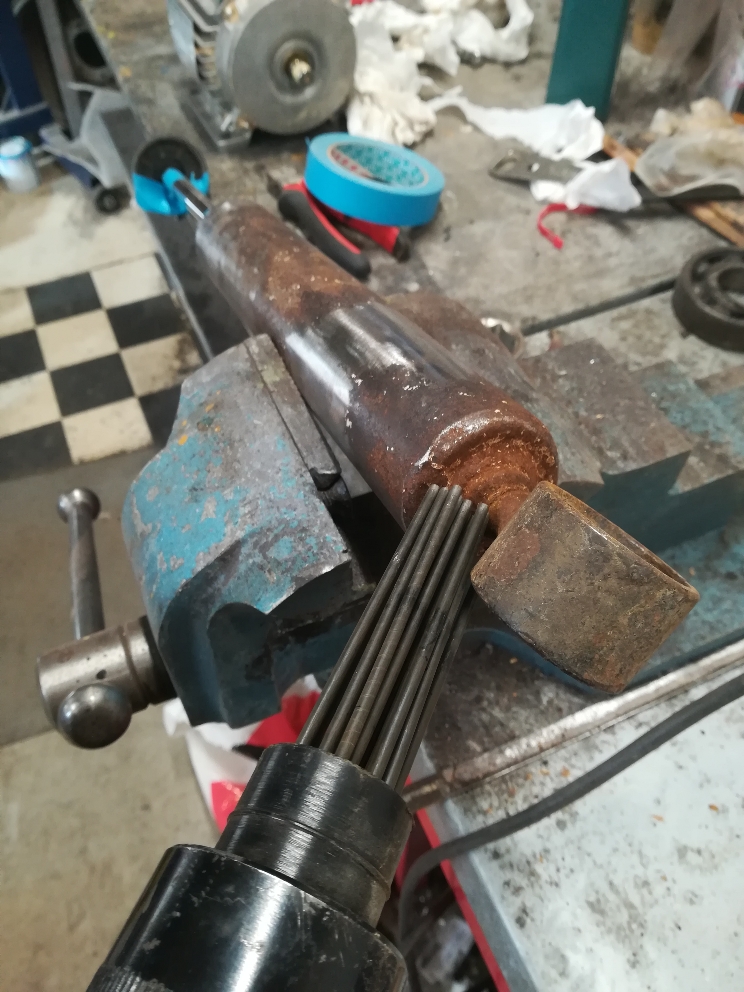
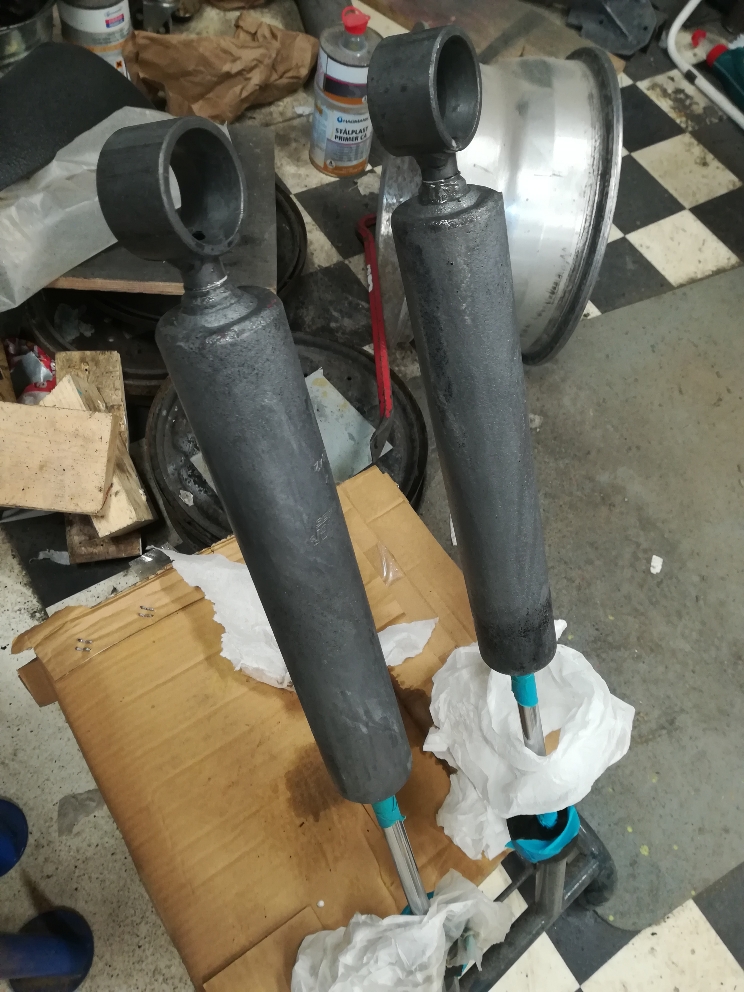
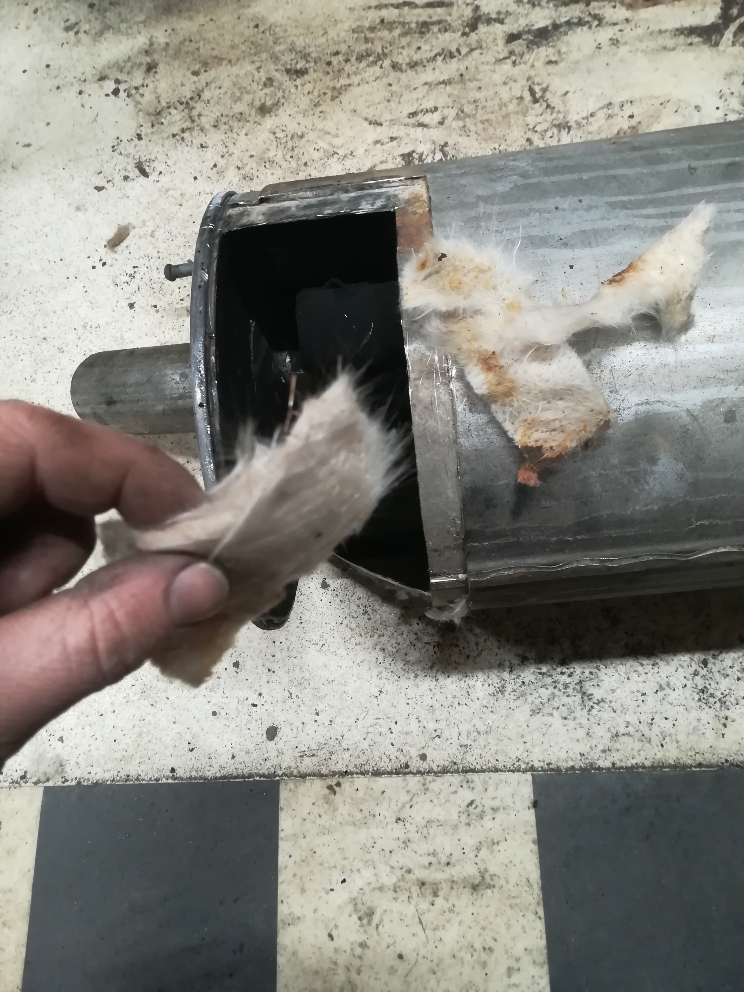
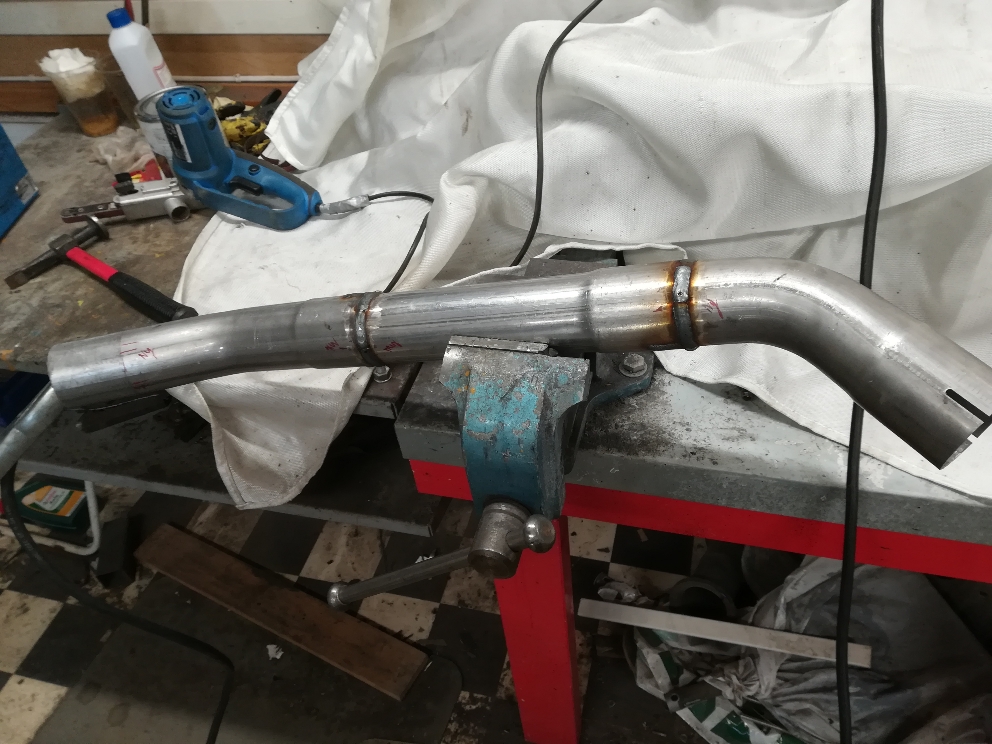
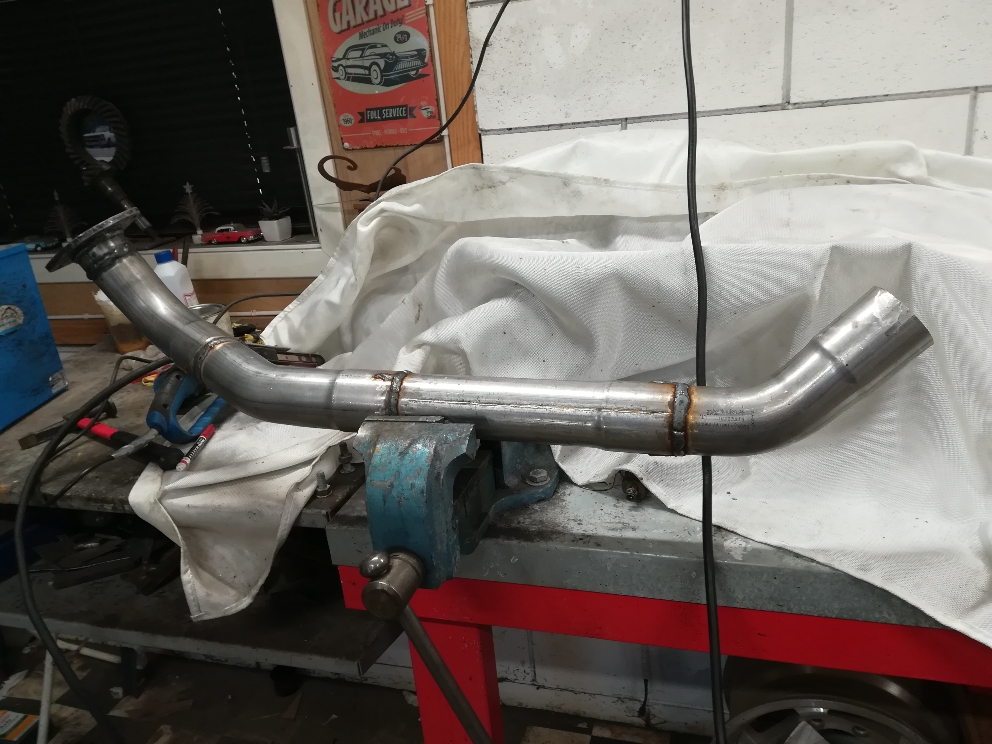
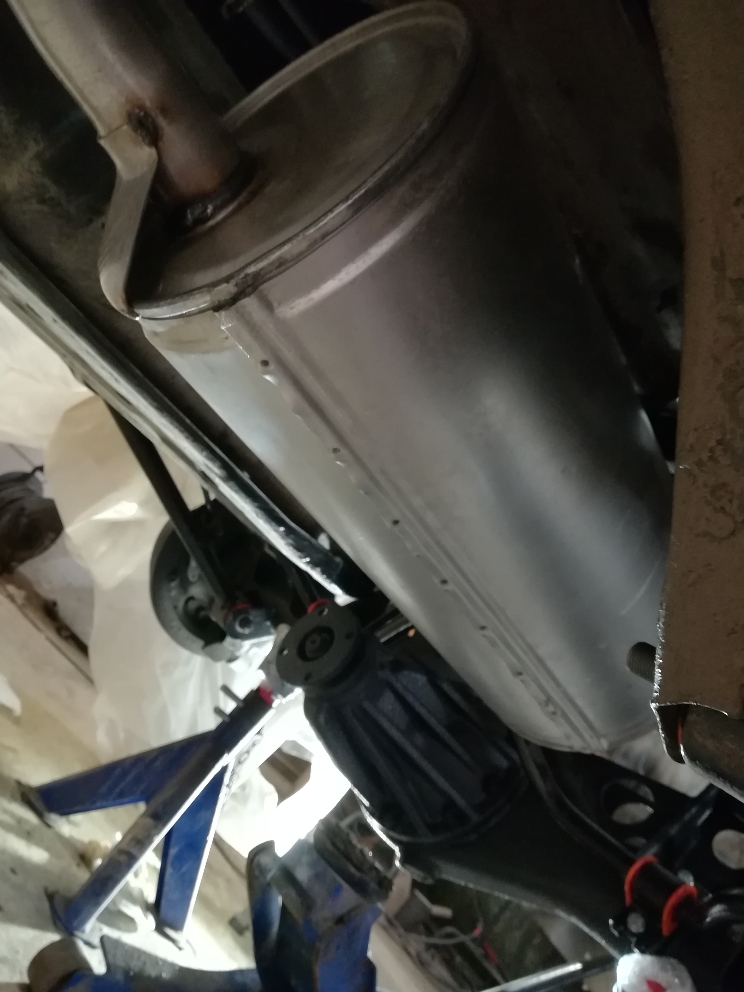
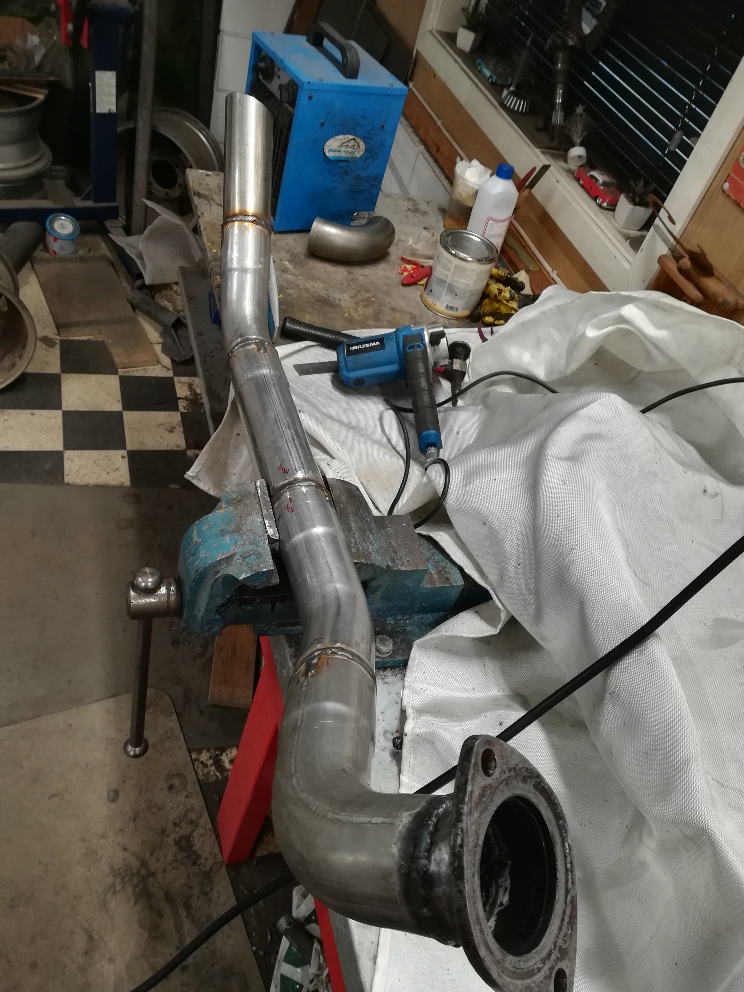
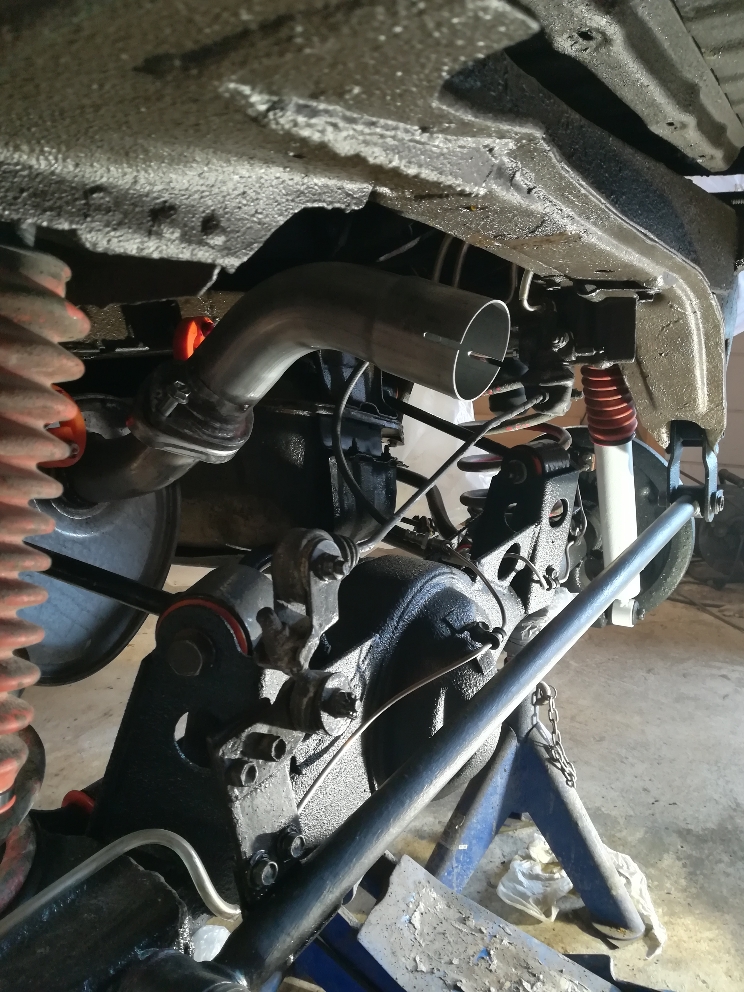
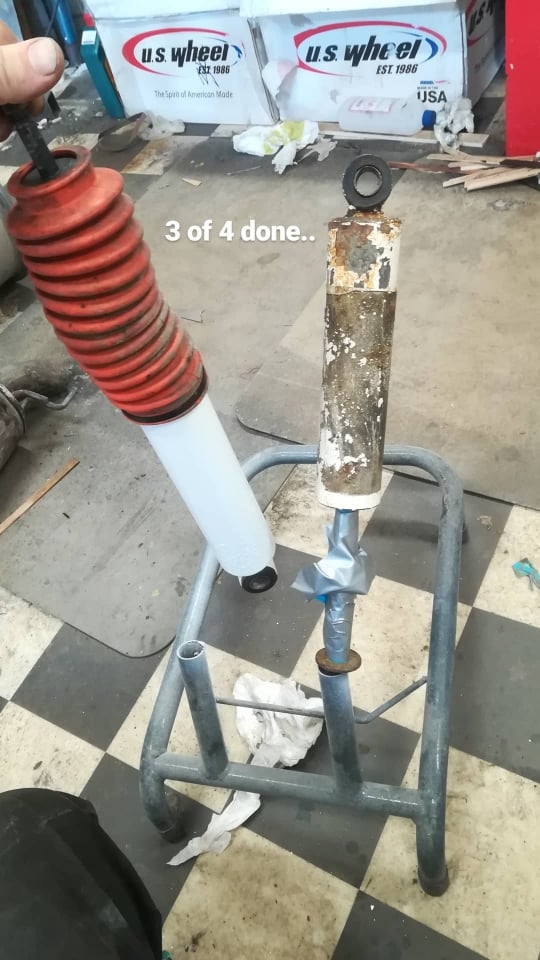
New paint on the shocks, also bought a new original muffler. im lazy to weld the old one, it was one tiny hole that became superbig rusty one... maybe will fix it later.. right now im focused to get it done.

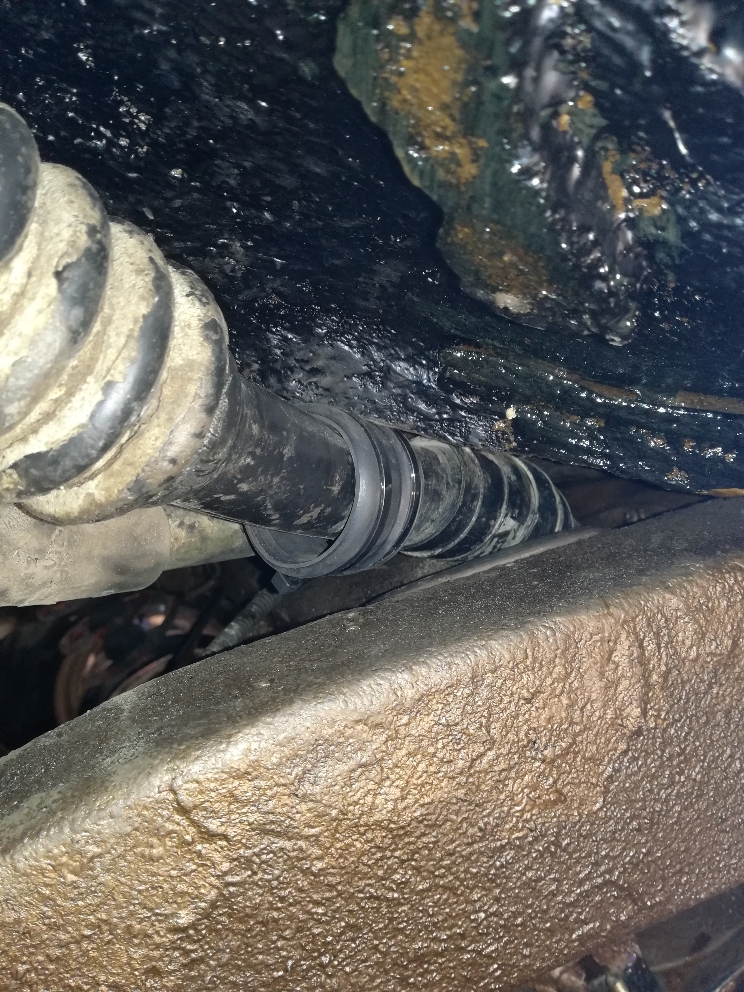
Fuel tank is on, and the shield,filling hose are on.

024ab74a13af3ee89ca5788a8d9ddd6e.jpg
754c4606718a012d68667ee9e9e2f453.jpg
2d9efcf1b126b28b4d8eea1973ed27f3.jpg
42ae9184a4a99eec6ba2380c2620ef65.jpg
c939aa7404f185da6f1df70904500d24.jpg
807ce8854bb3810580186f176baa6df6.jpg
4e66326a25a5a06ed74cf26a65de6681.jpg
21cb50819bf8295fa3614d4ade3c53c9.jpg


bfe6cd2e6854b0e2c2e115ecae5ccab7.jpg
55c4c210ea4d5d57455f5160c01788a7.jpg
acff37be4b45ed039d8659a2a620762c.jpg
bc533a1d161a0abd2e8fcd88c3055e7d.jpg
d26be90a63236da16bf6c2b4daced787.jpg
 
Last edited:
Amazing how much work you've put in to this thing so far, I wish I could weld half that well. Those swaybar end links came up great.
 
Thank you for kind words, it have been a journey for sure. lol.


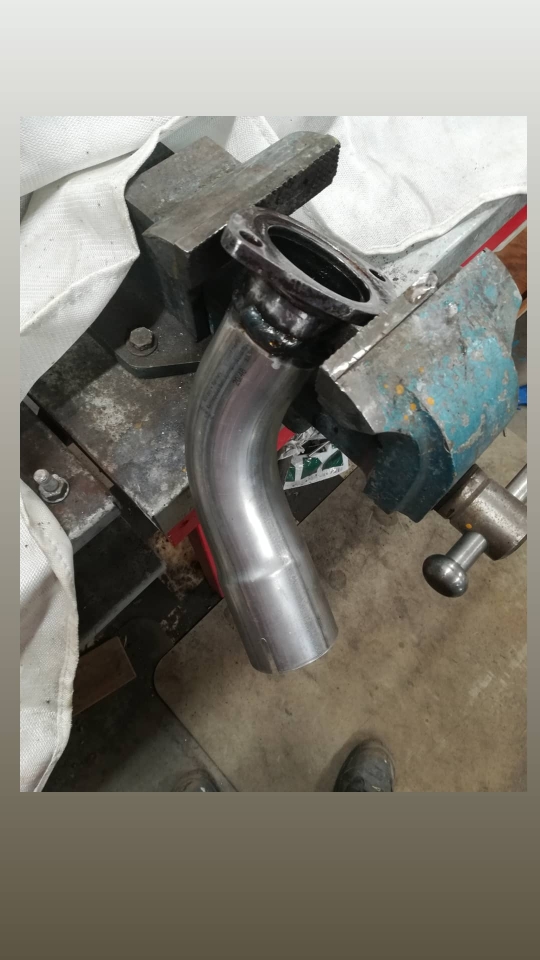
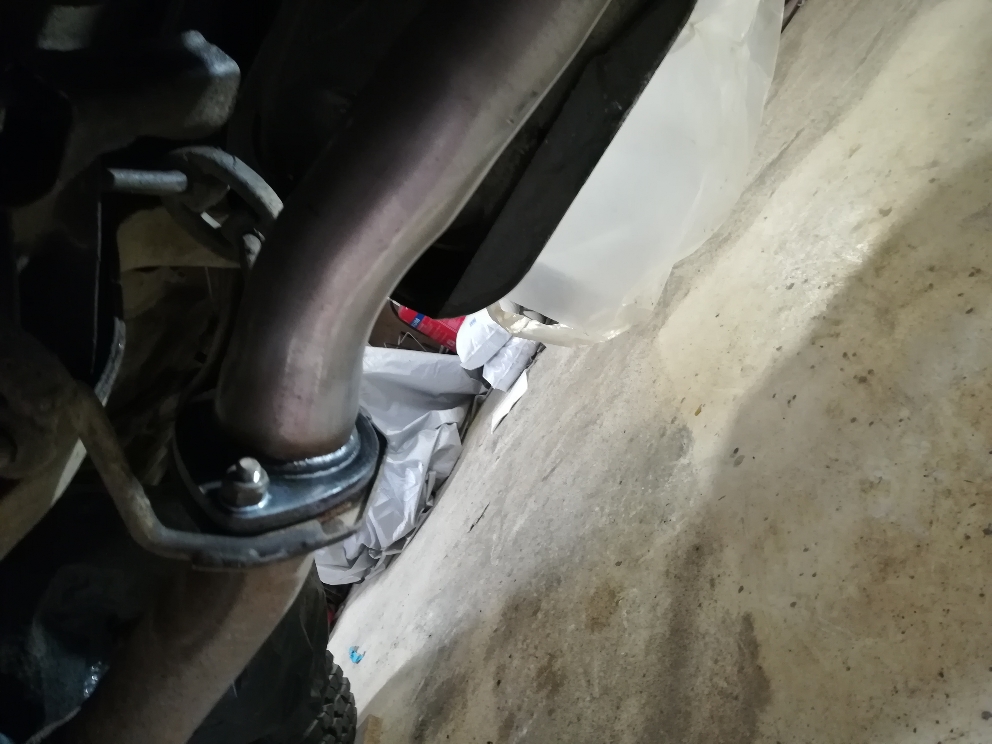
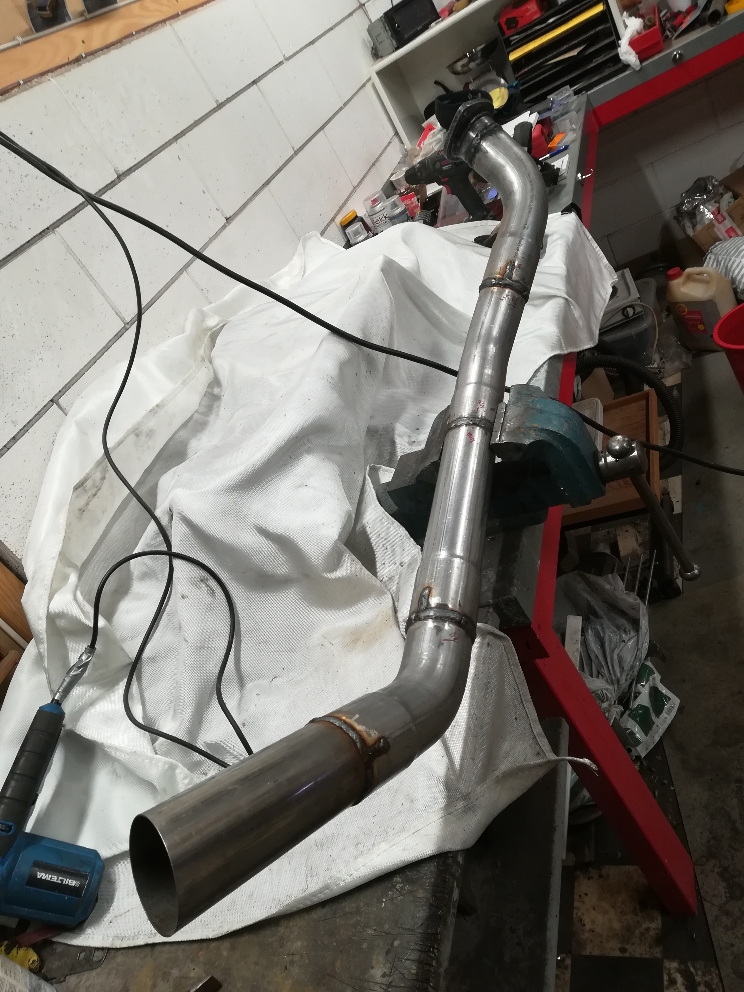
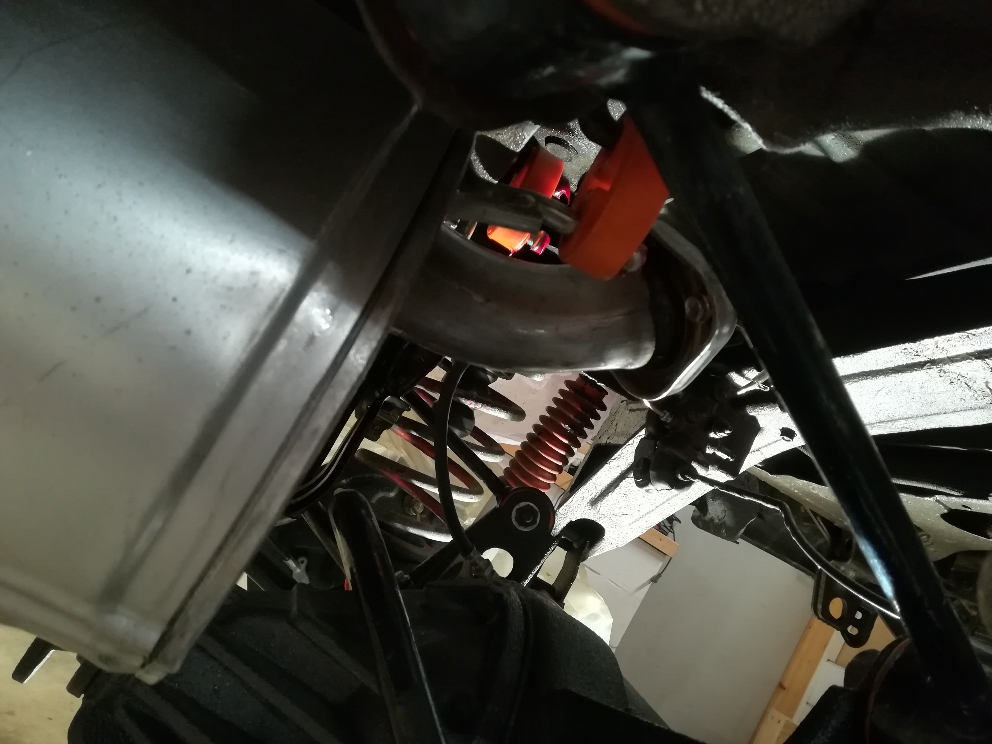
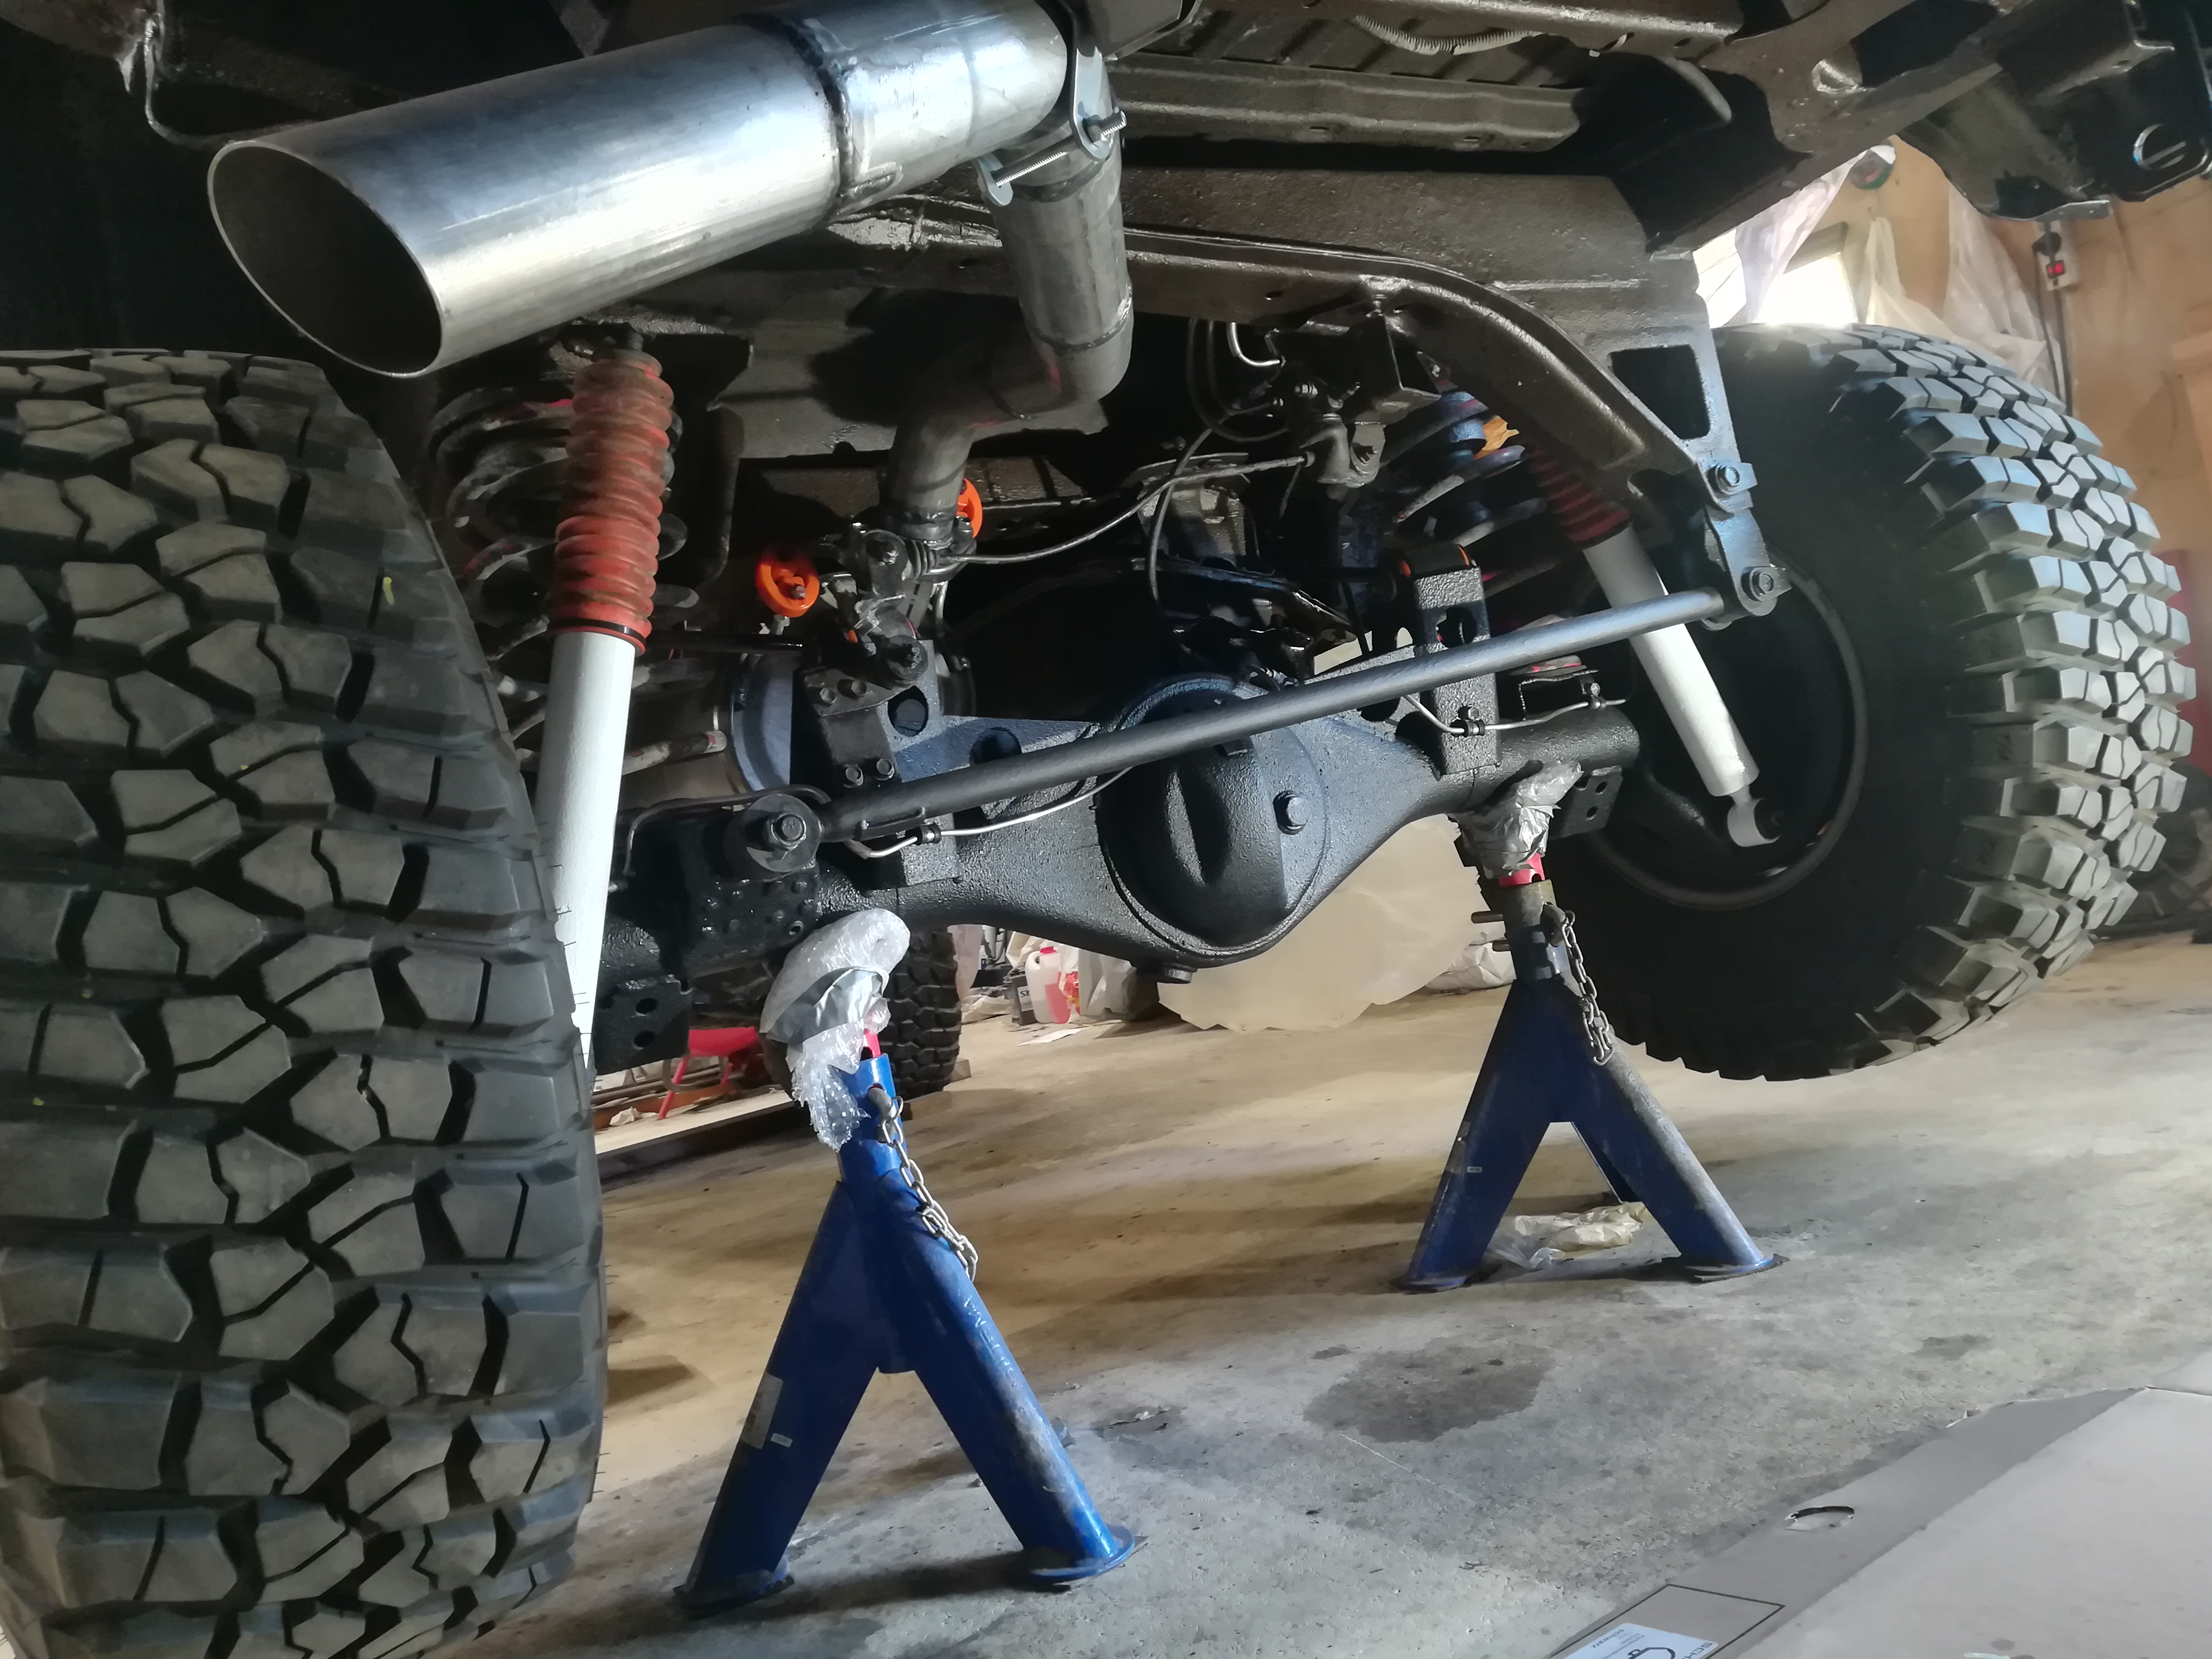
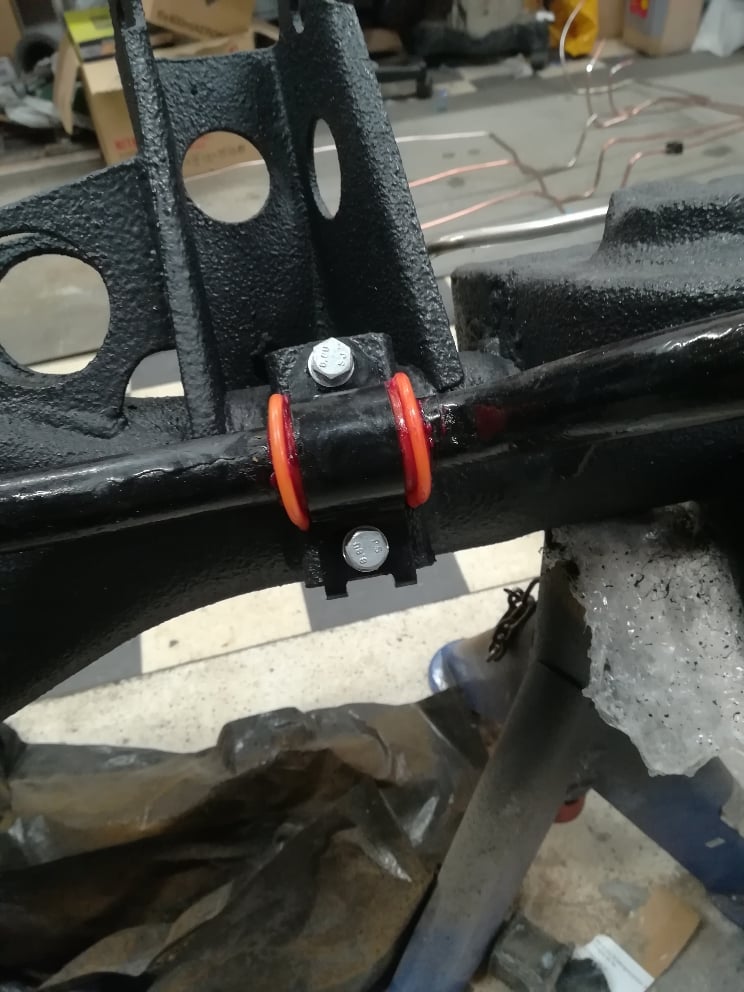
Visit the garage today again to finish the exhaust pipe rear hanger and mount it to the muffler with new gasket, sits pretty solid now.

Installed the wheels so i can put it on the ground very soon.
e494e91cc46cfafde751330907ae2053.jpg


Sent fra min WAS-LX1 via Tapatalk
 
Thank you for kind words, it have been a journey for sure. lol.


Visit the garage today again to finish the exhaust pipe rear hanger and mount it to the muffler with new gasket, sits pretty solid now.

Installed the wheels so i can put it on the ground very soon.
e494e91cc46cfafde751330907ae2053.jpg


Sent fra min WAS-LX1 via Tapatalk
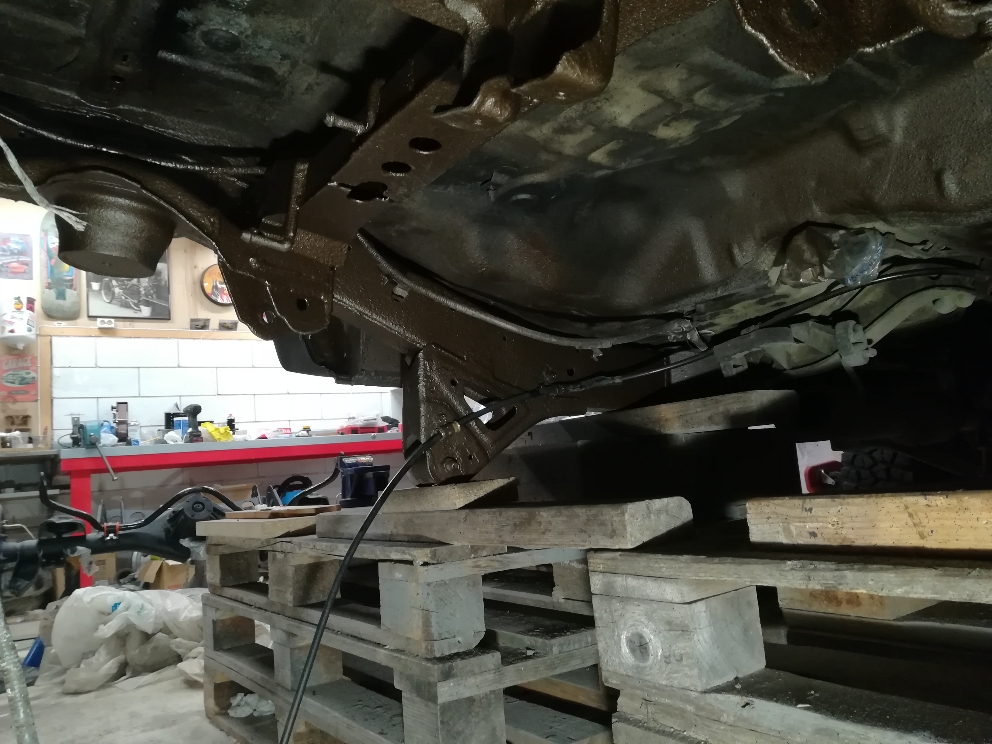
Hva har du malt hjulbuene med?
 
[MENTION=619258]4RunnerNorway[/MENTION] Det er Hagmans sin dempemasse, selger den på billakk.no

----—-------------------------------------


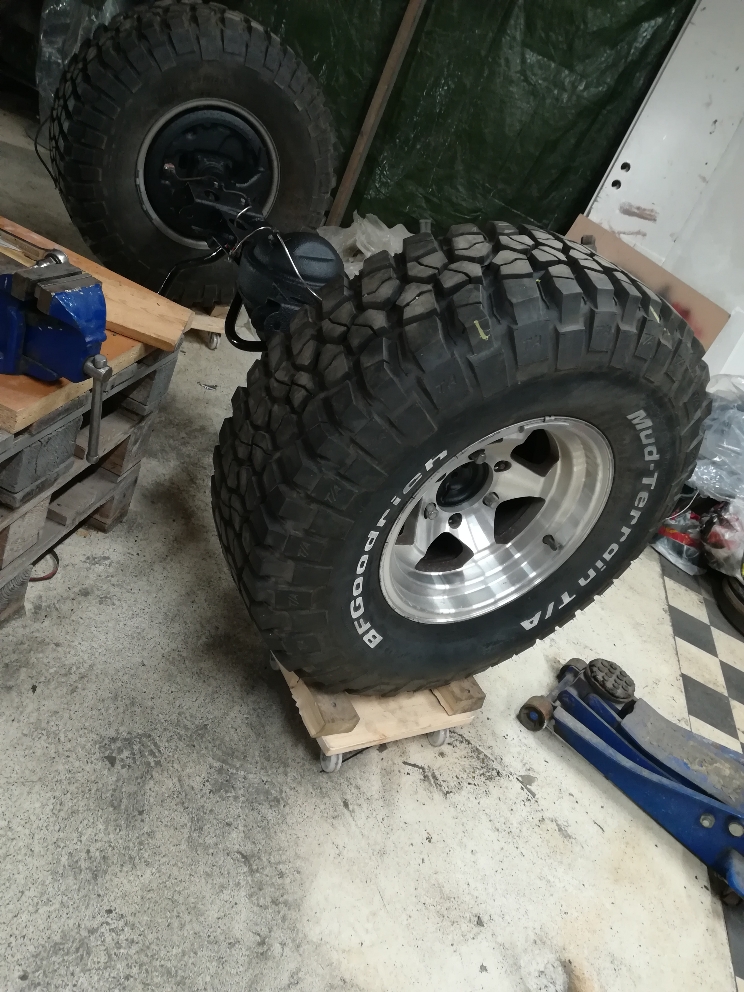
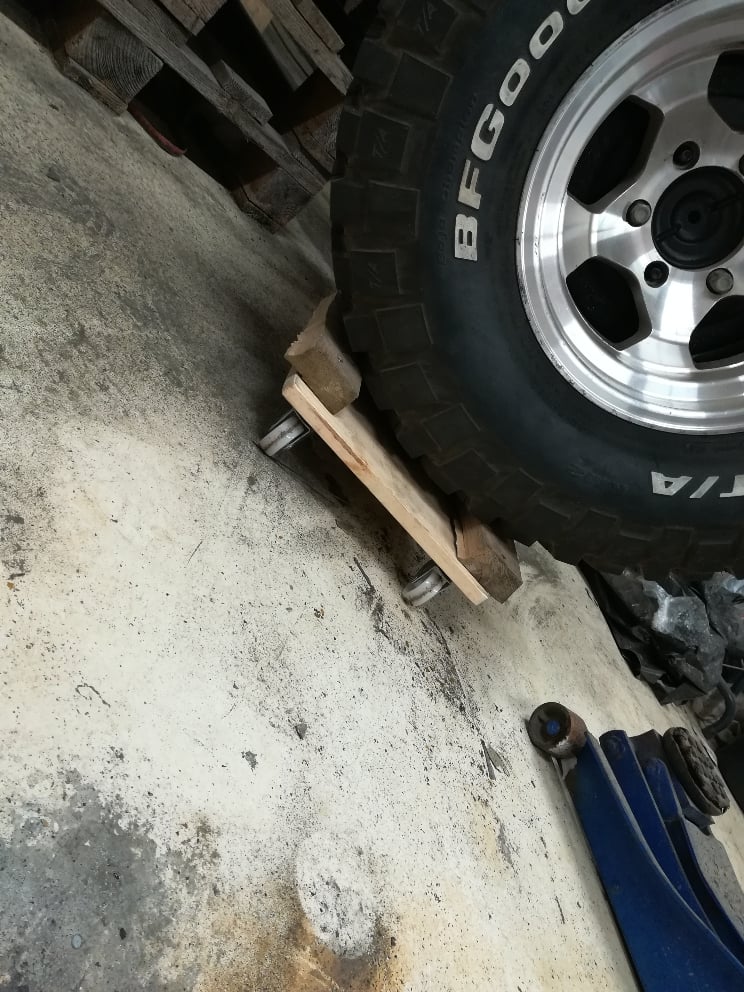
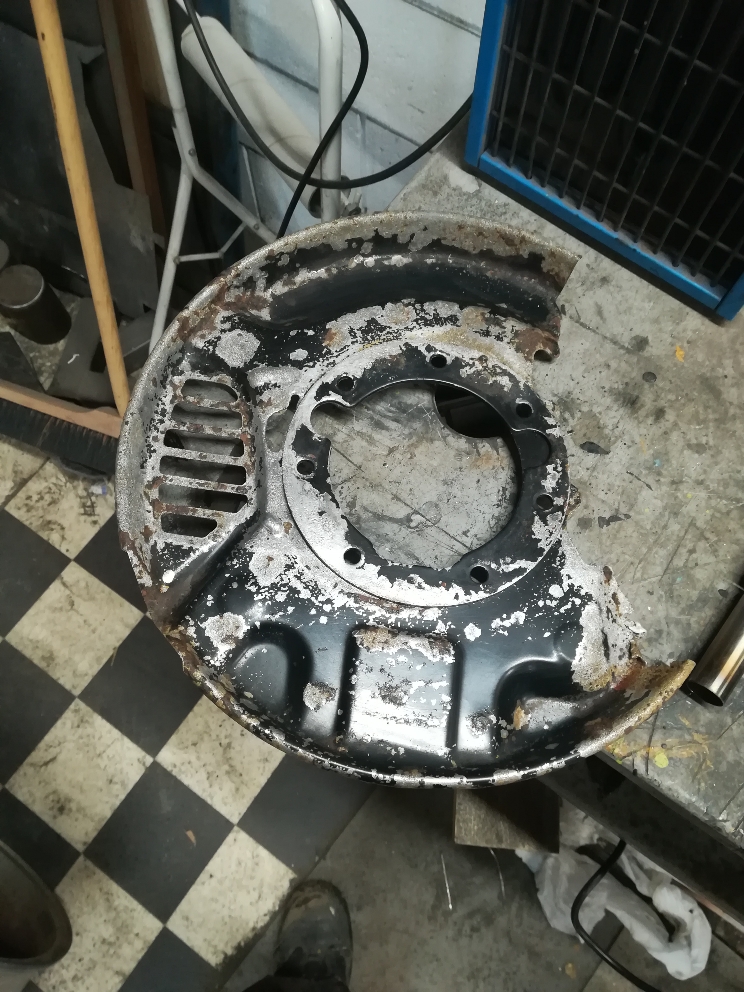
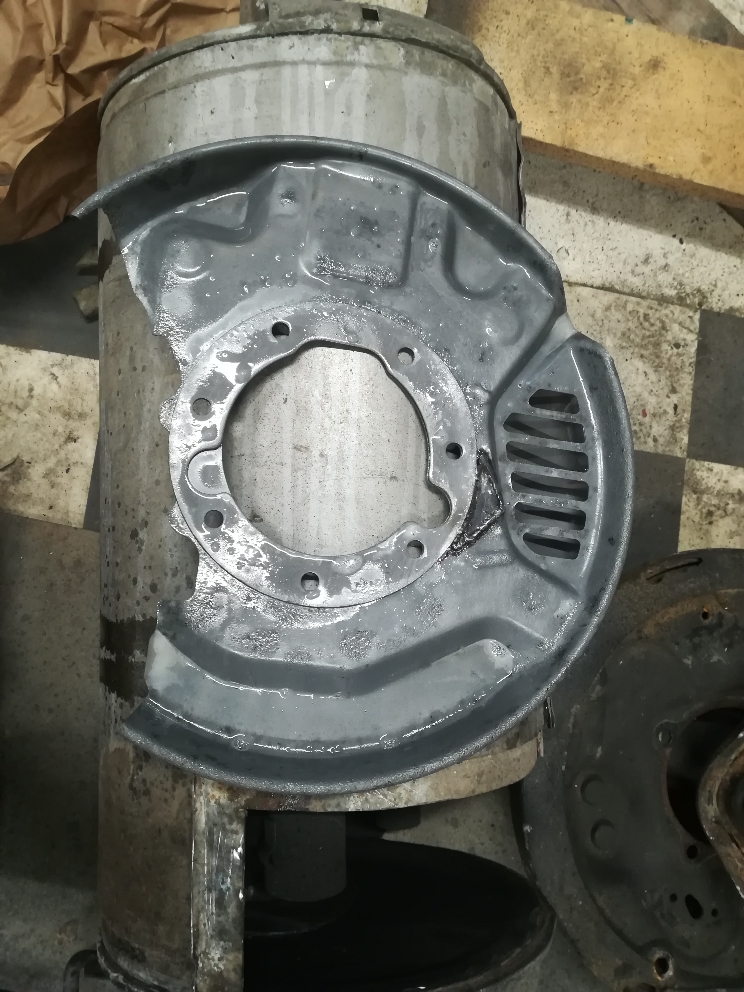
So since the rear end is on the ground i begun in front. my new rims from the U.S also arrived a few weeks ago.

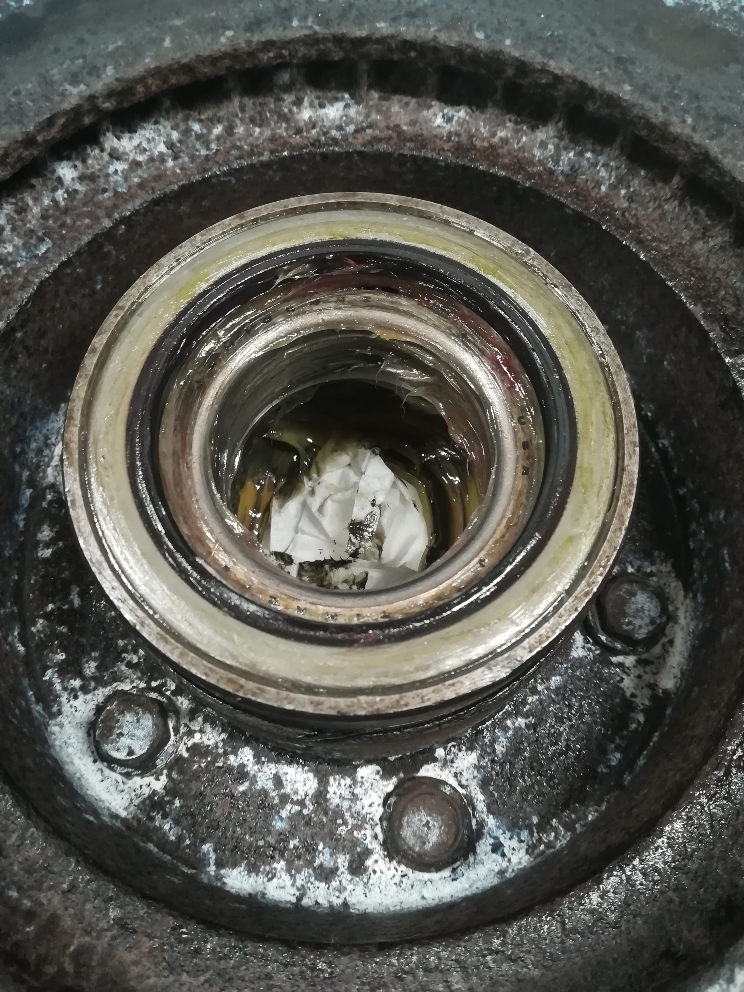
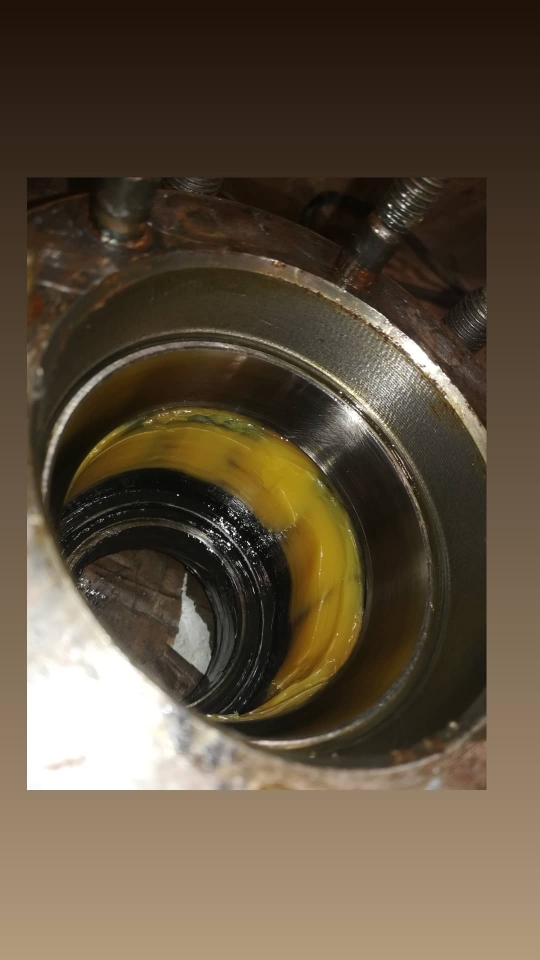
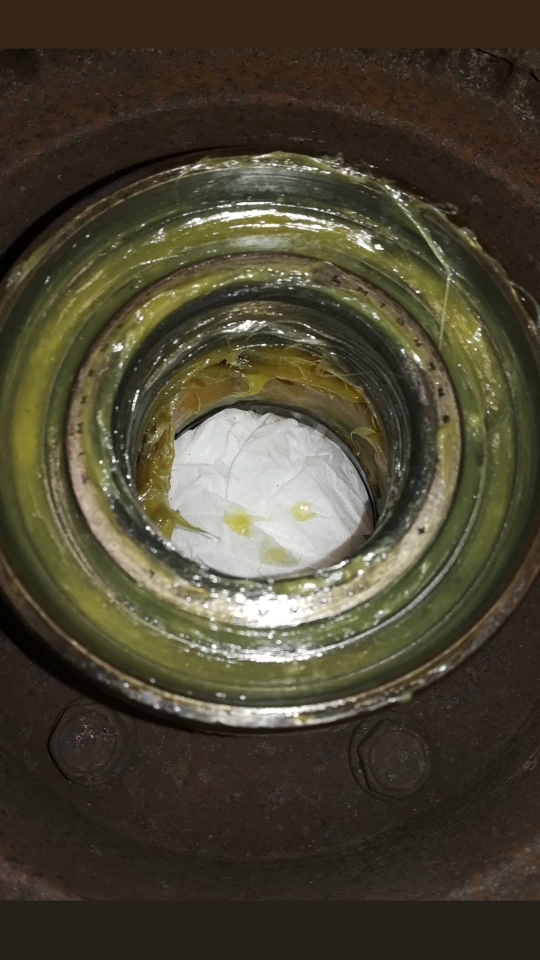
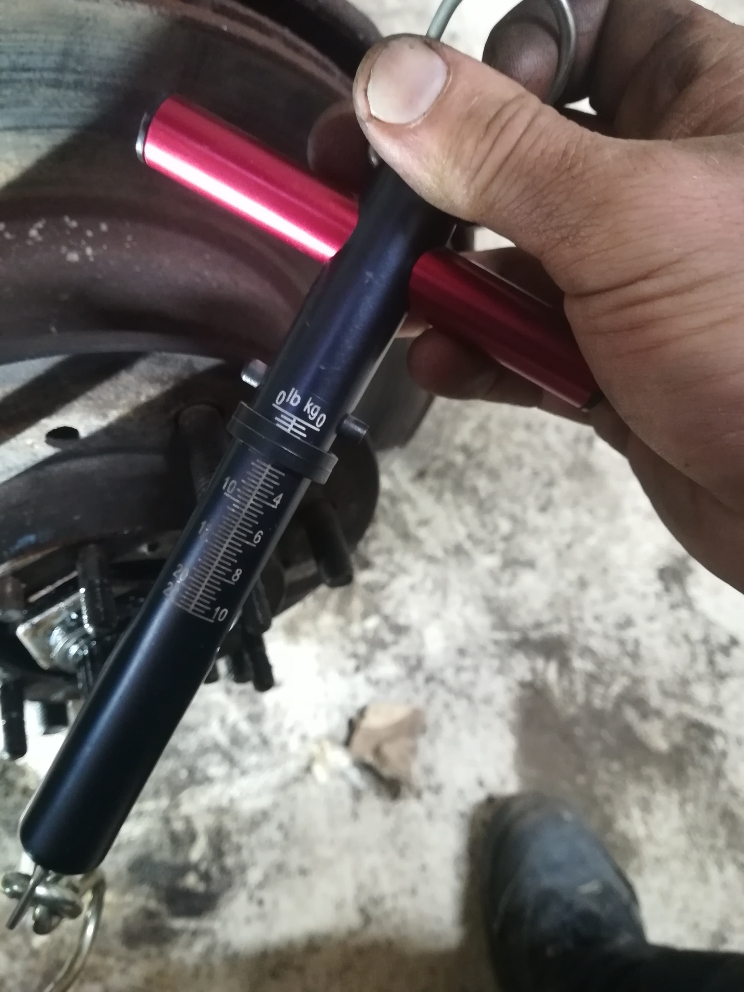
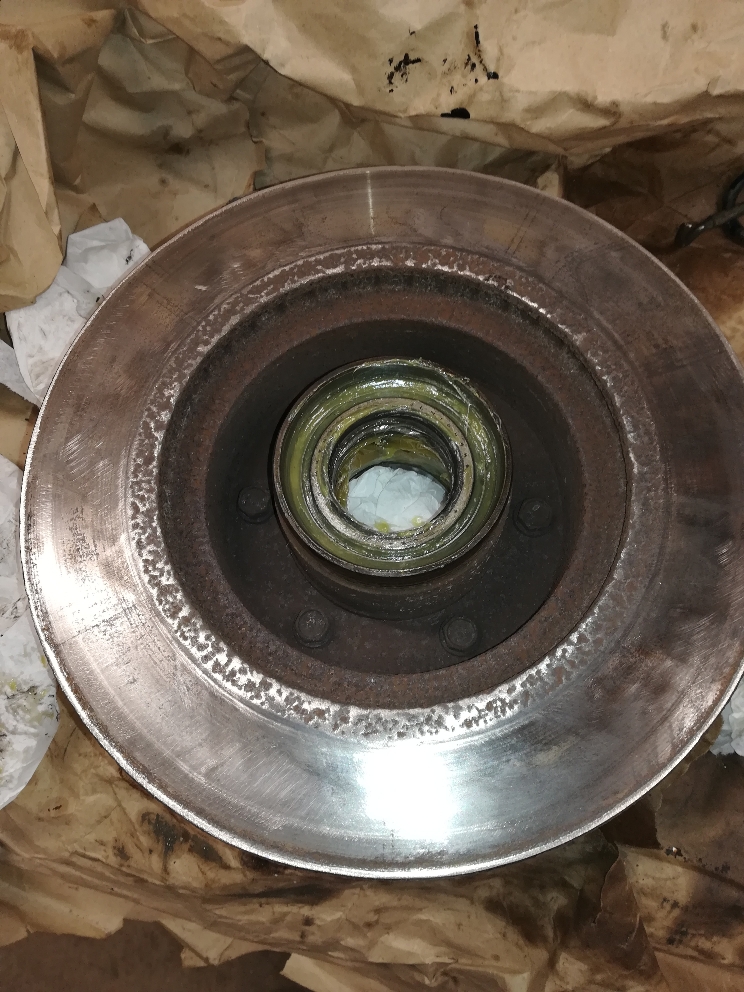
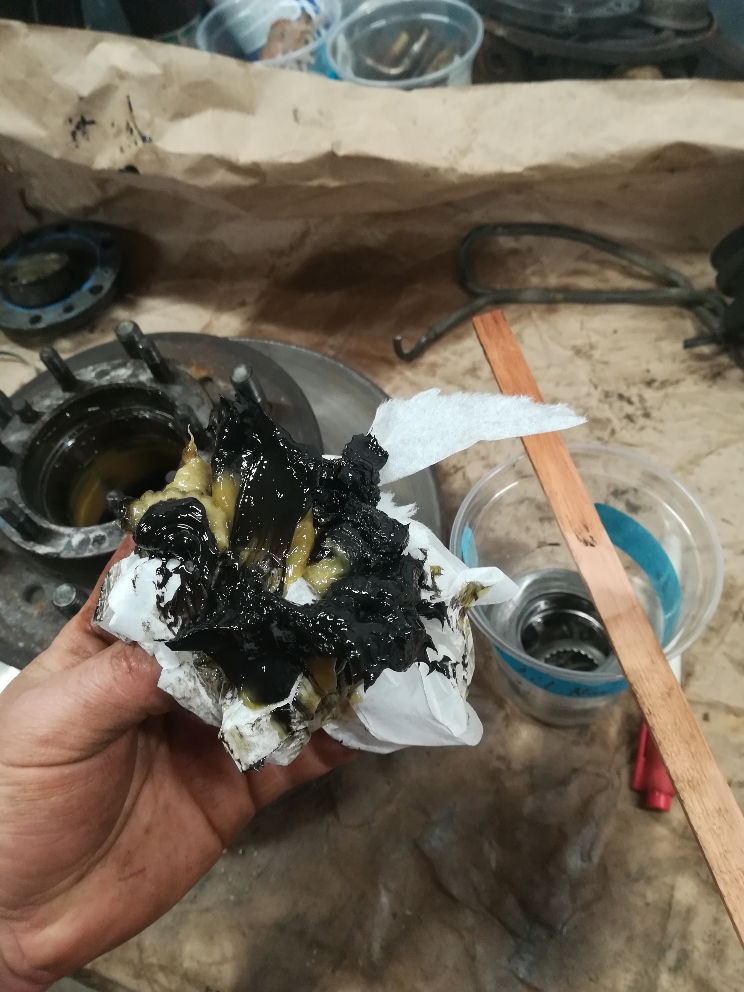
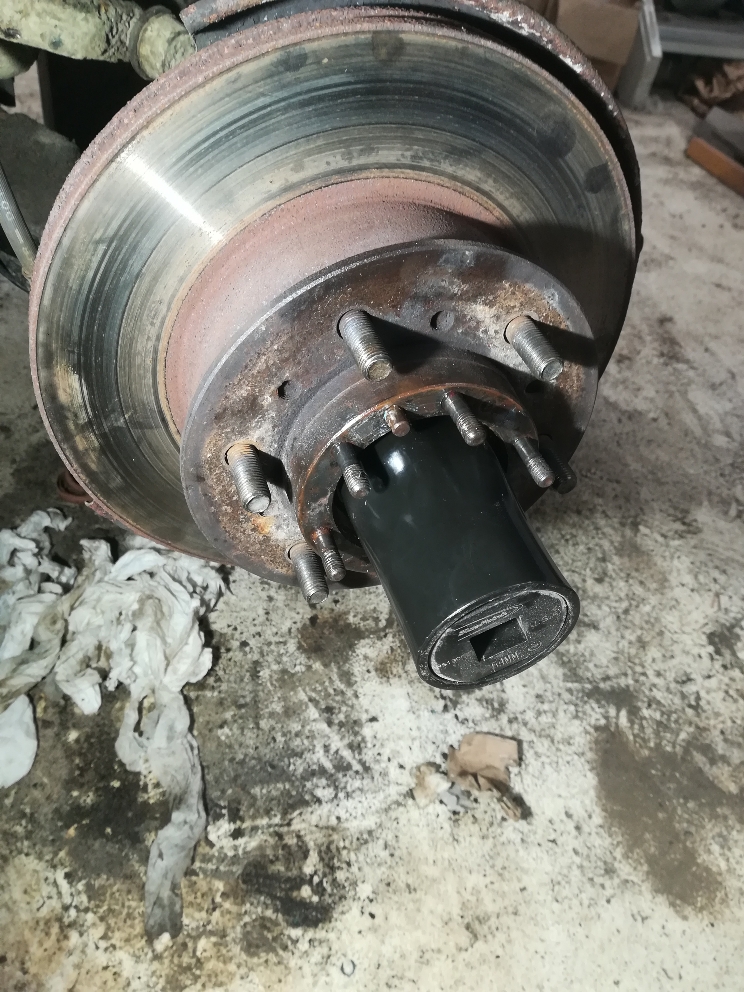
Since the wheelbearings is still ok i just repack them with new grease and add a new seal, and will bring new bearings in the car instead.

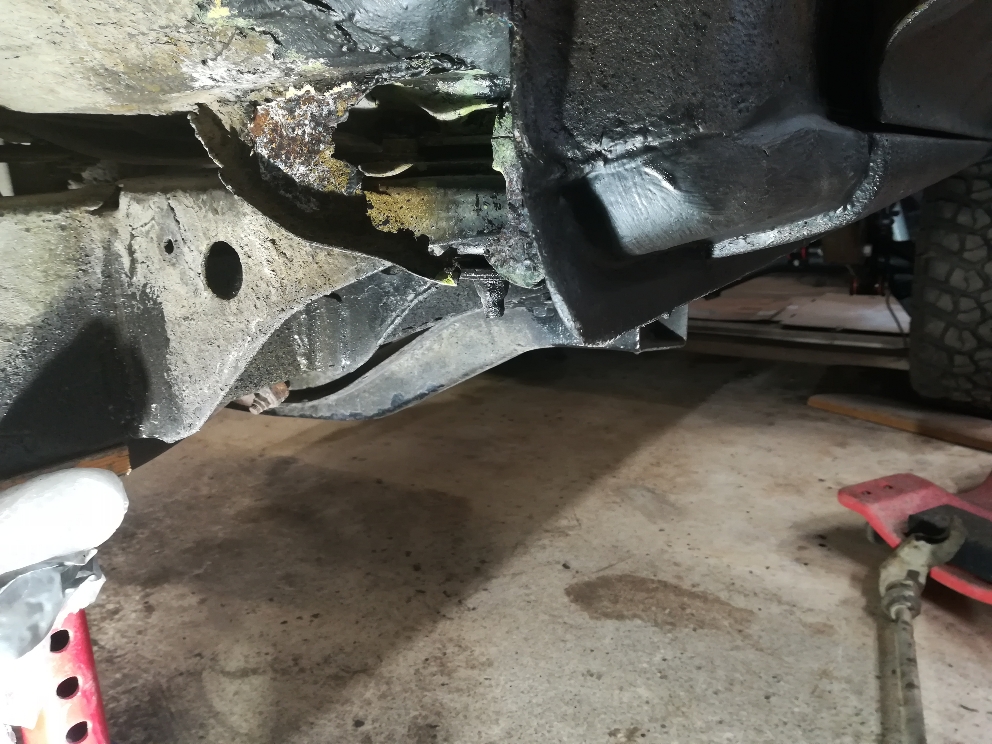
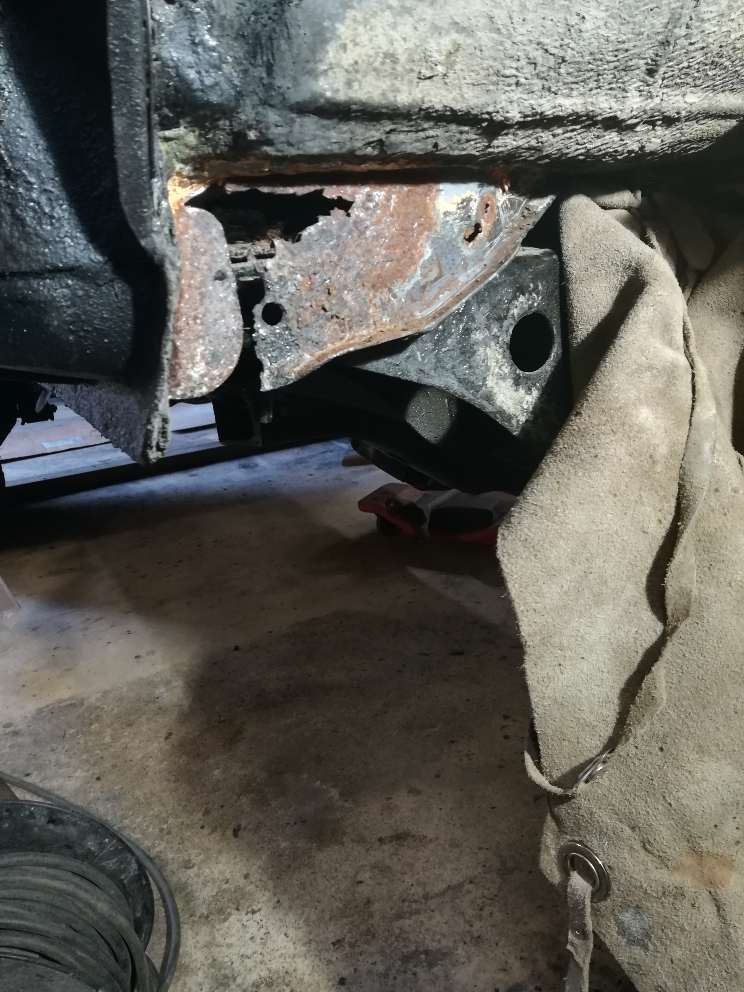
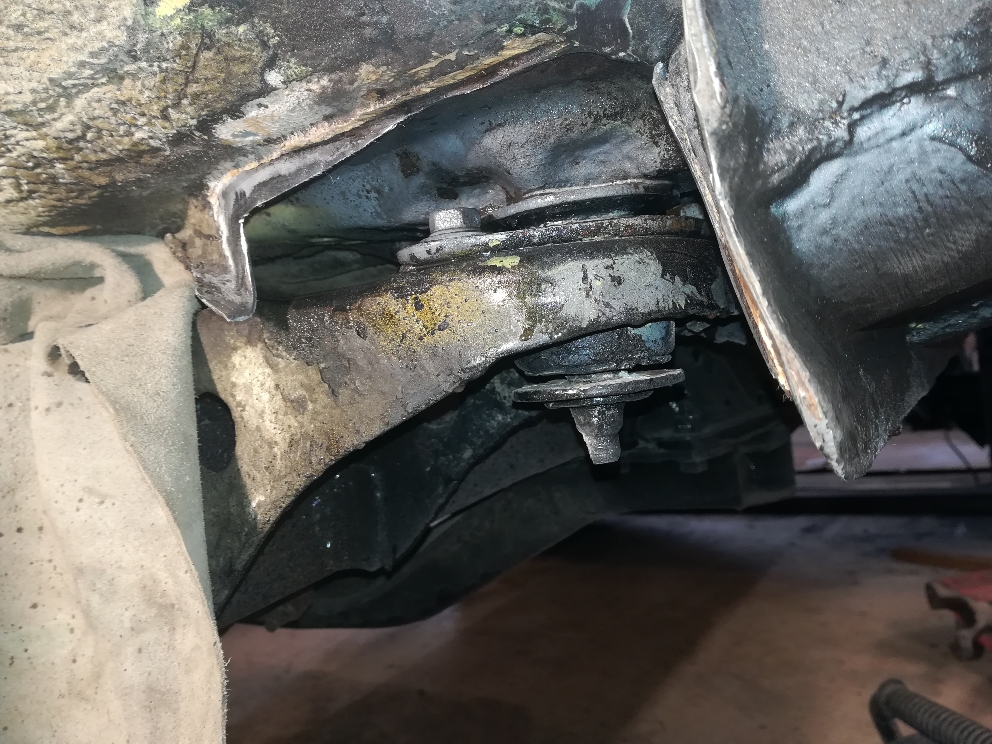
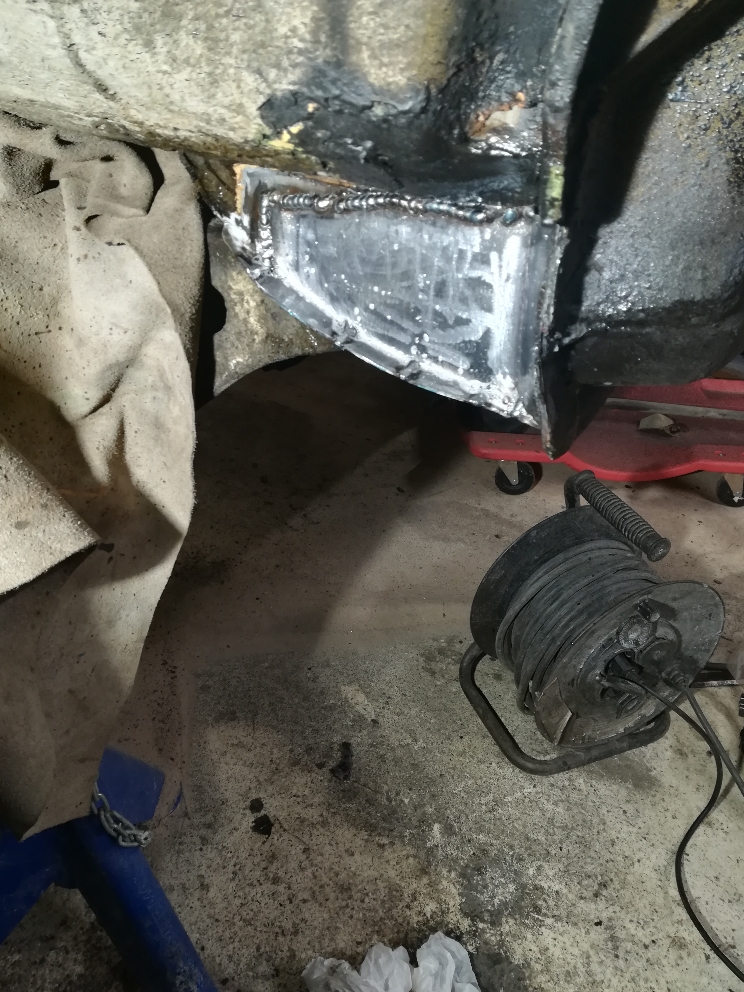
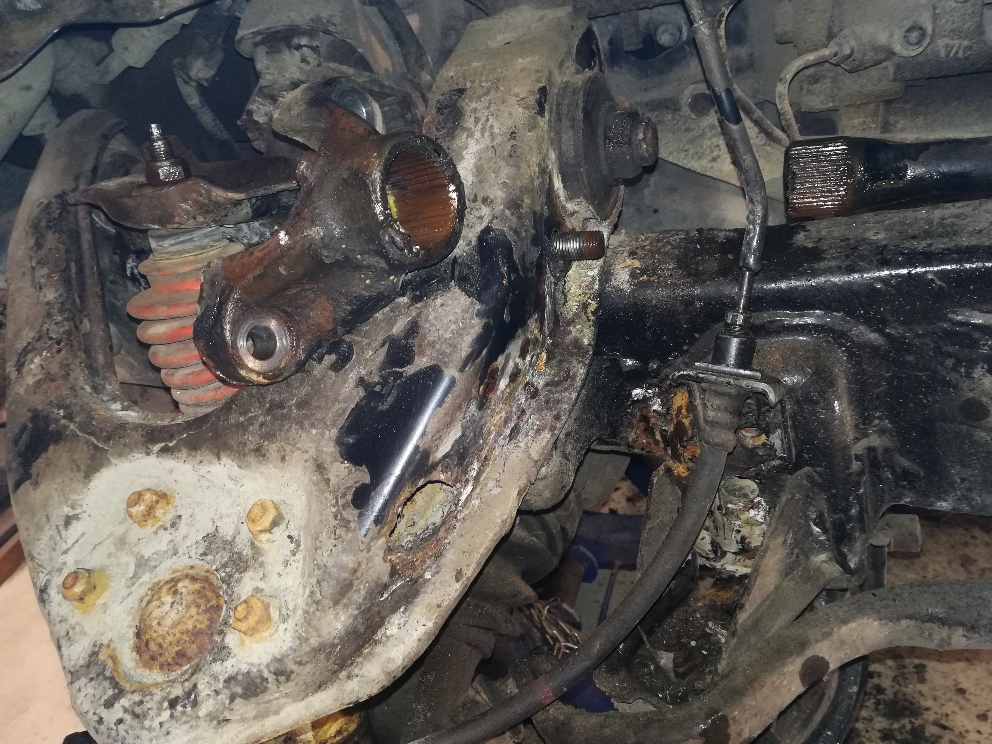
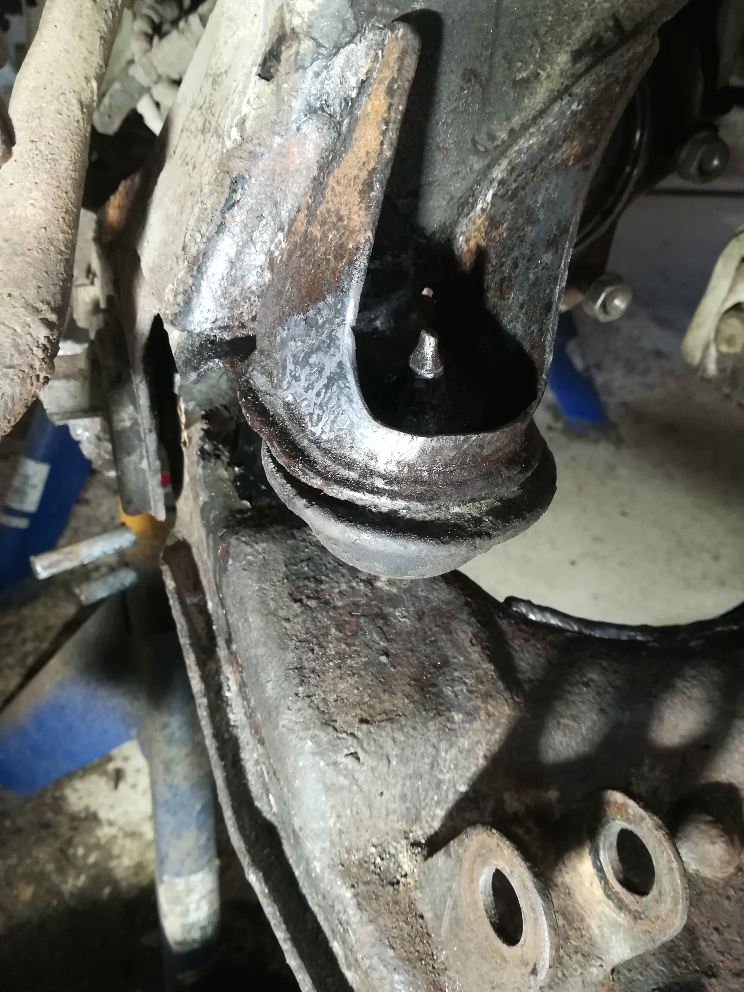
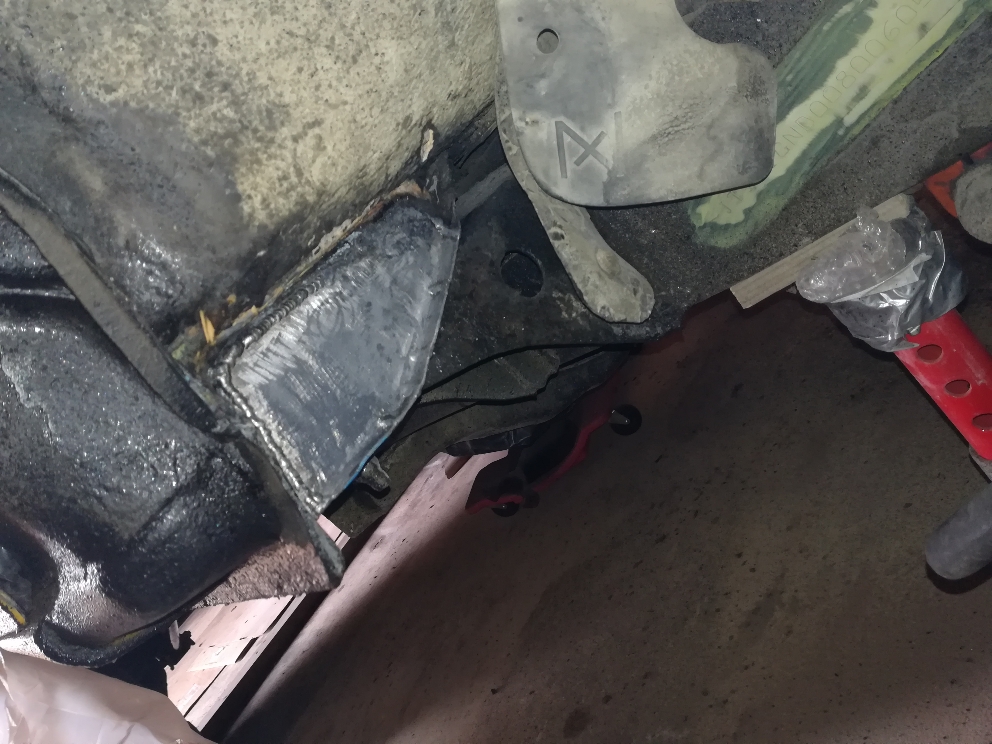
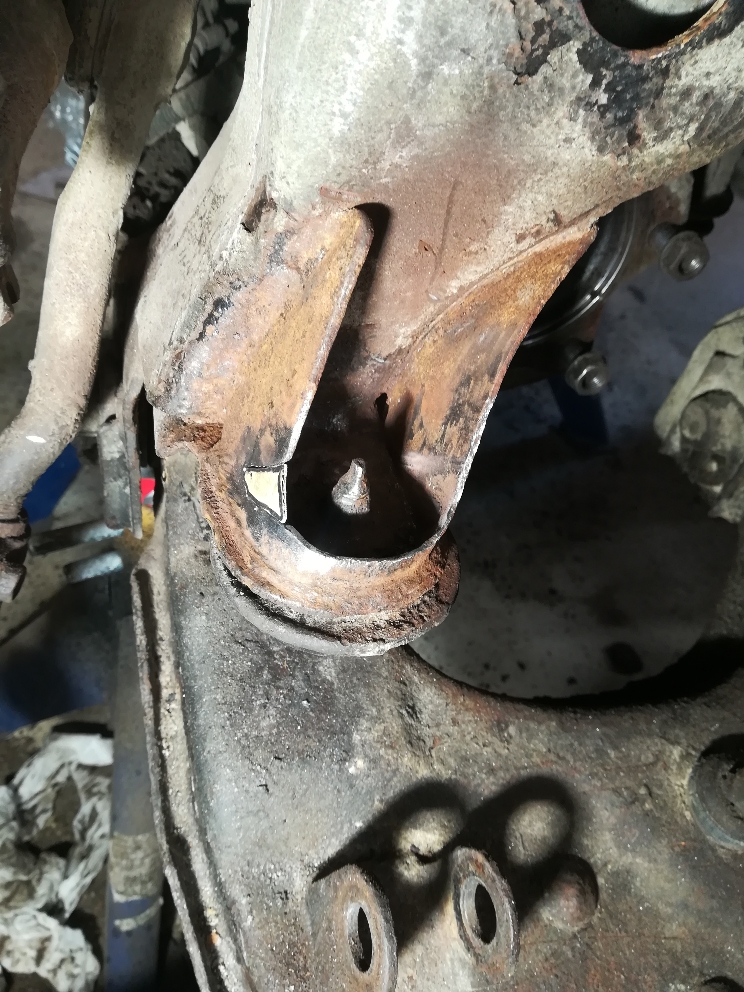
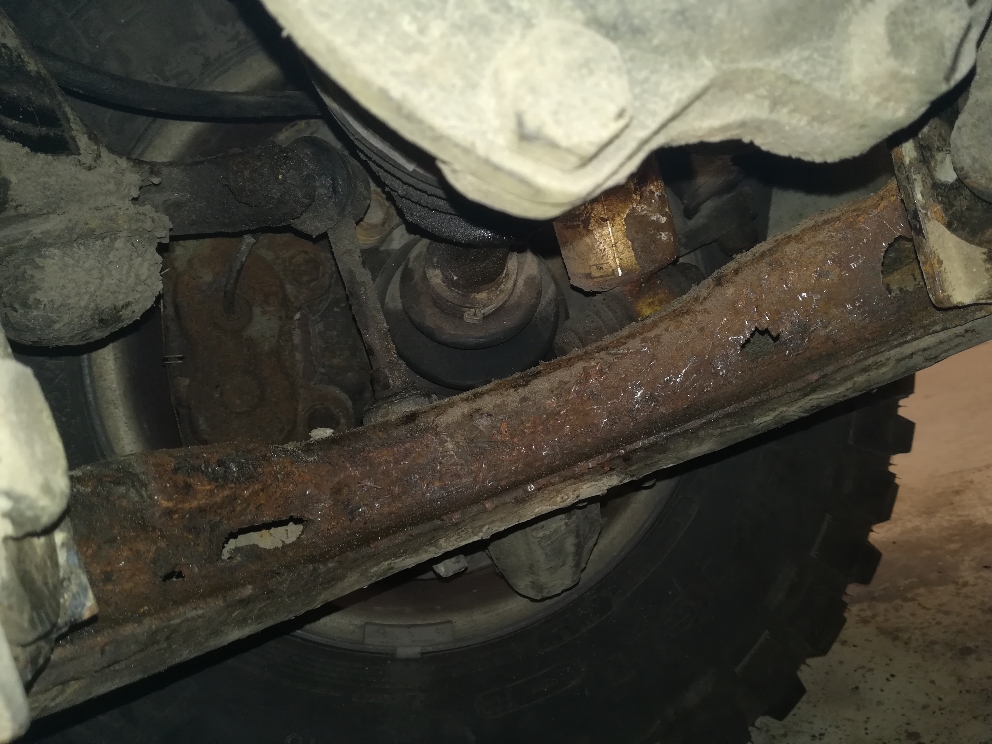
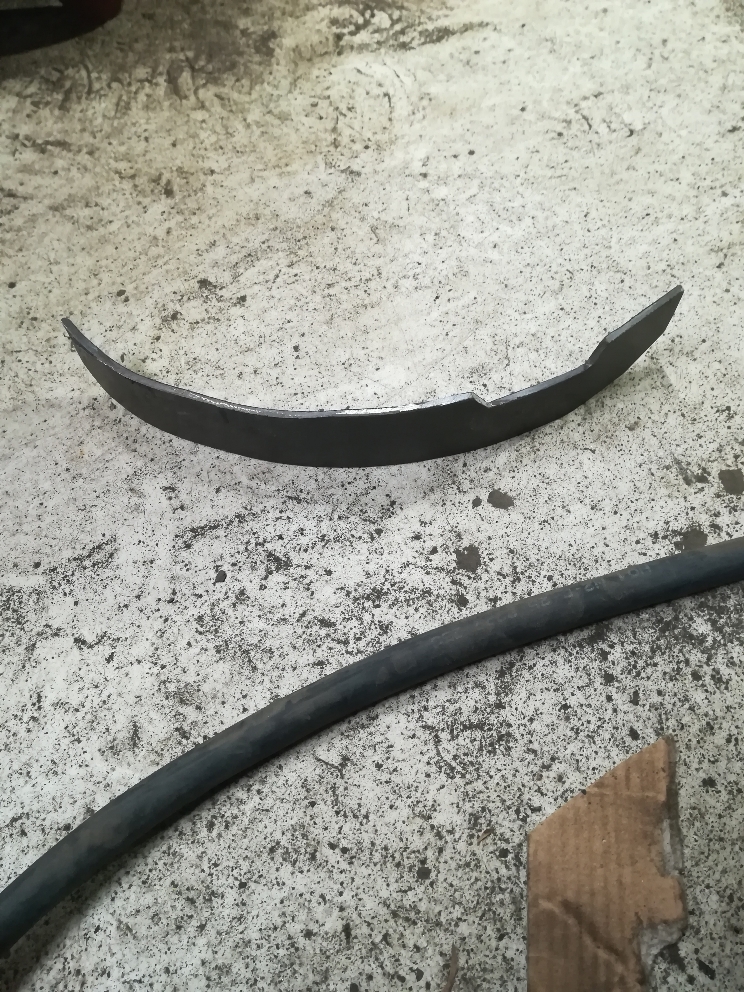
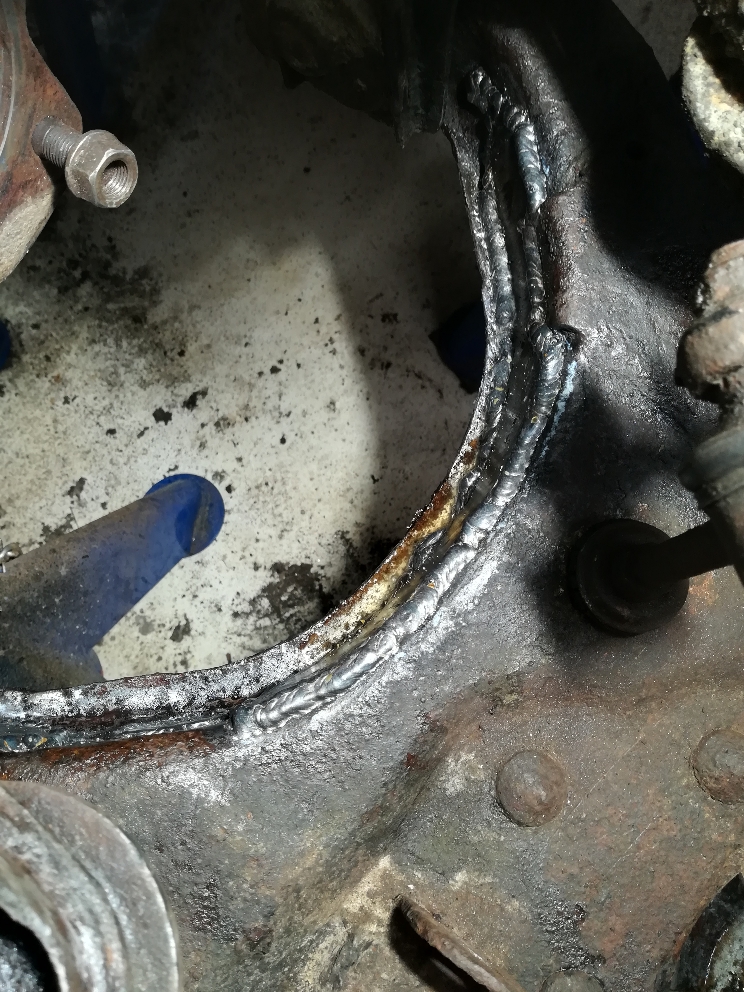
Had to do a emergency fix on the lower control arm until i will get 2 new later was to cut out and weld in some new steel on the rear. these cars need really some attention for some wash and keep the drainageholes open around or it will be a disaster with the time..
e212f0b153761ee3671bf2f007355f58.jpg
3fc4bee98270650255a84ee1cafdc1f2.jpg
106b2bc63450505d05224308db531fc9.jpg
6f017024204e04c7277fd044e4ada98b.jpg
c5909d88a73f877c78d32a2ca789c386.jpg
c1a5766990bec3824c25390ddb8fa672.jpg
5d232cfd6118a3ff27ef8698ad9b9f72.jpg
ebf94ecb98dde3810a4658f7c3ee8973.jpg
35eb118a0317fcd326c53c2873822d05.jpg
779eb89f3f5ccf9cba4e5d9d7d7197ab.jpg
58e9295f4bce5861bf62e9e52cd0351e.jpg
38d8376351eb4aa98247f150bb0da1e8.jpg
543f9ef2bce34b7bdda94ed89e0e06cd.jpg
fb5747af3efc6f1da0ab2f8050f2e971.jpg
1ef3b1f4d55d2e1077eabeaf13131301.jpg
2bfde404729c0c4722c3e980f2af84fb.jpg
b740609ad753ed911d0965d5b70203da.jpg
f6579d21f3b042130d42d44c3bdc322d.jpg
9bf2bd31391d50011ac54904cbd200a8.jpg
7461a5484769196d799f1704fecd05cf.jpg


Sent fra min WAS-LX1 via Tapatalk
 
Last edited:
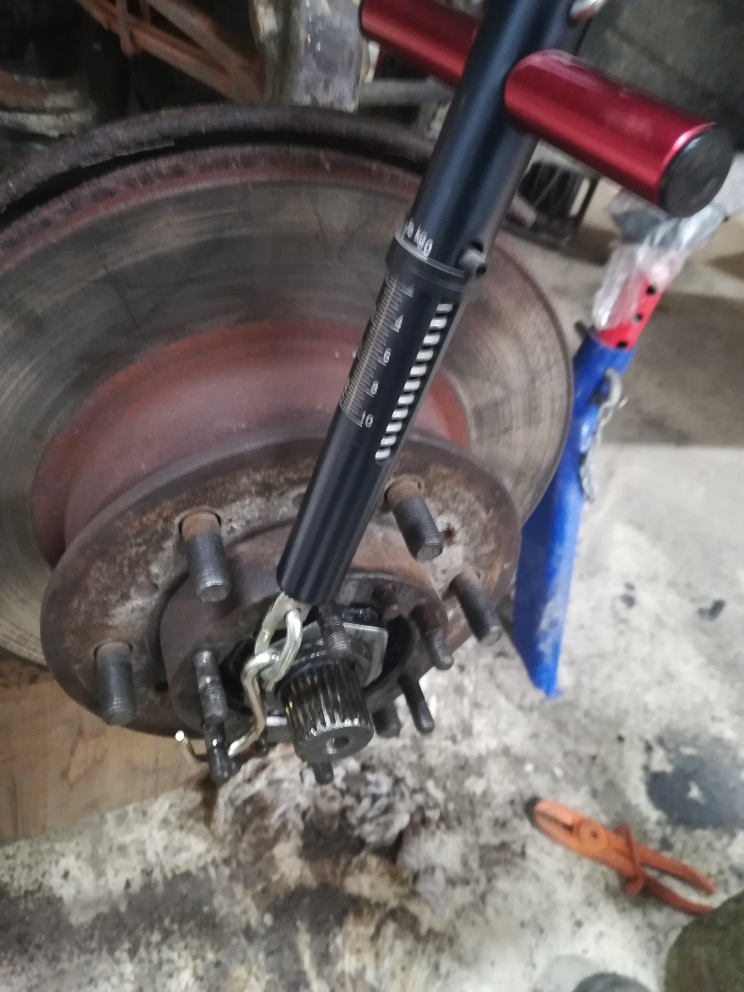
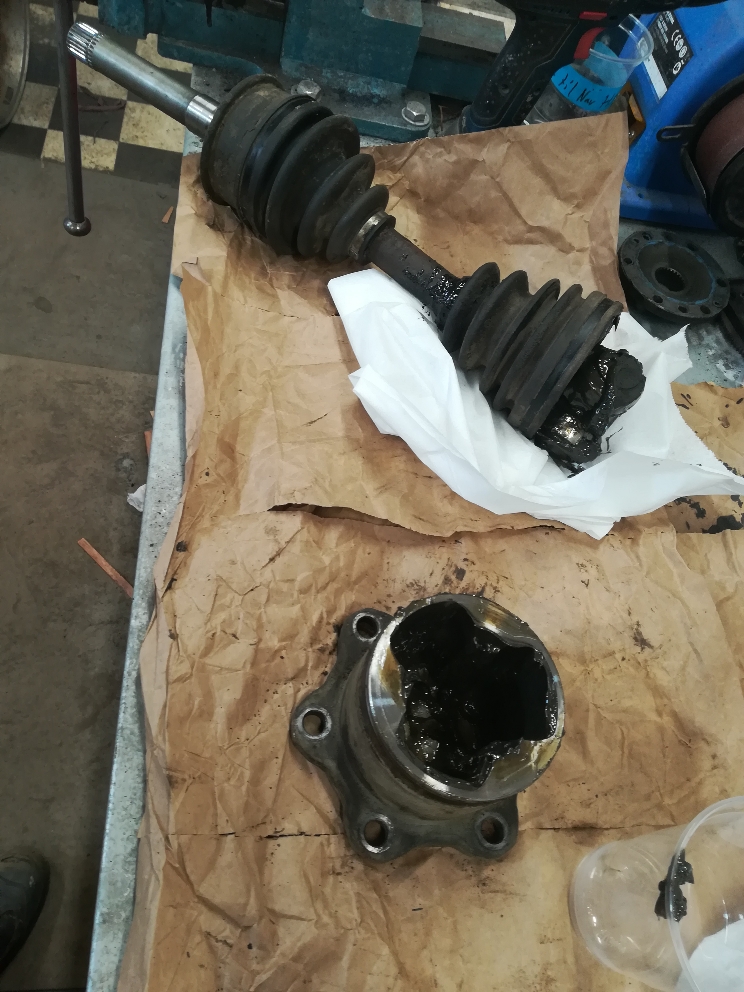
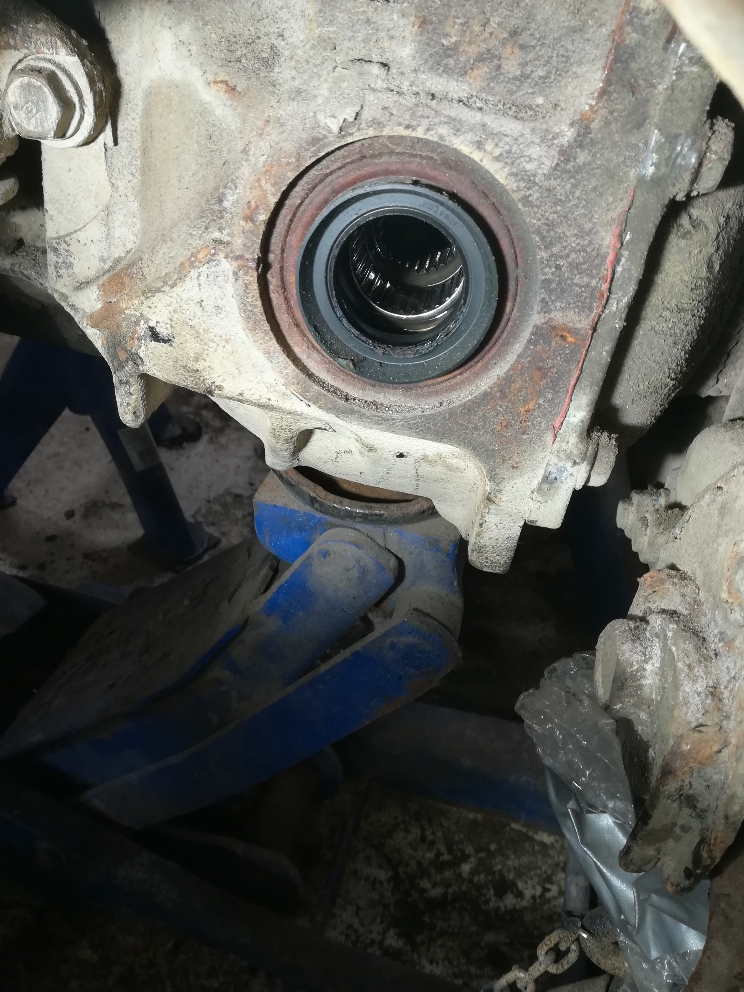
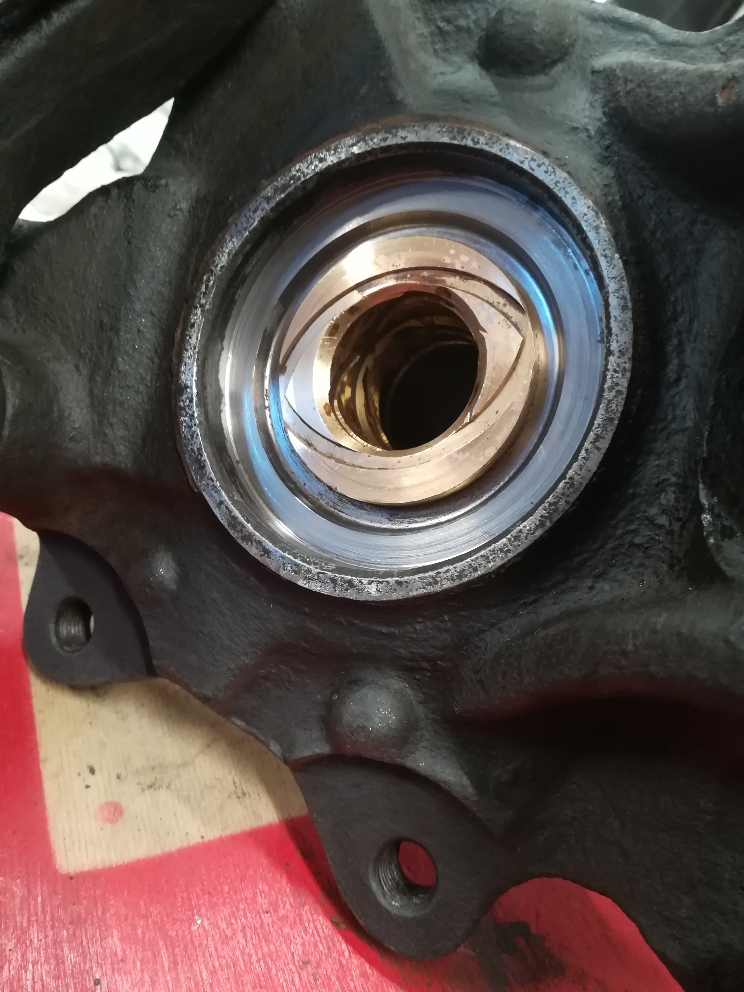
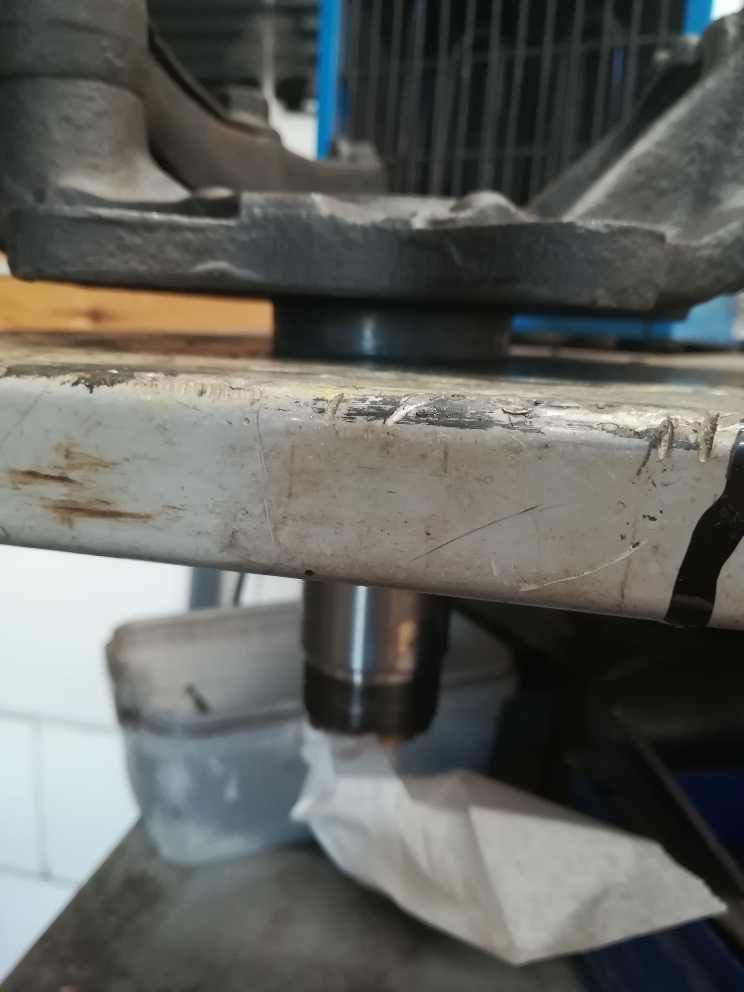
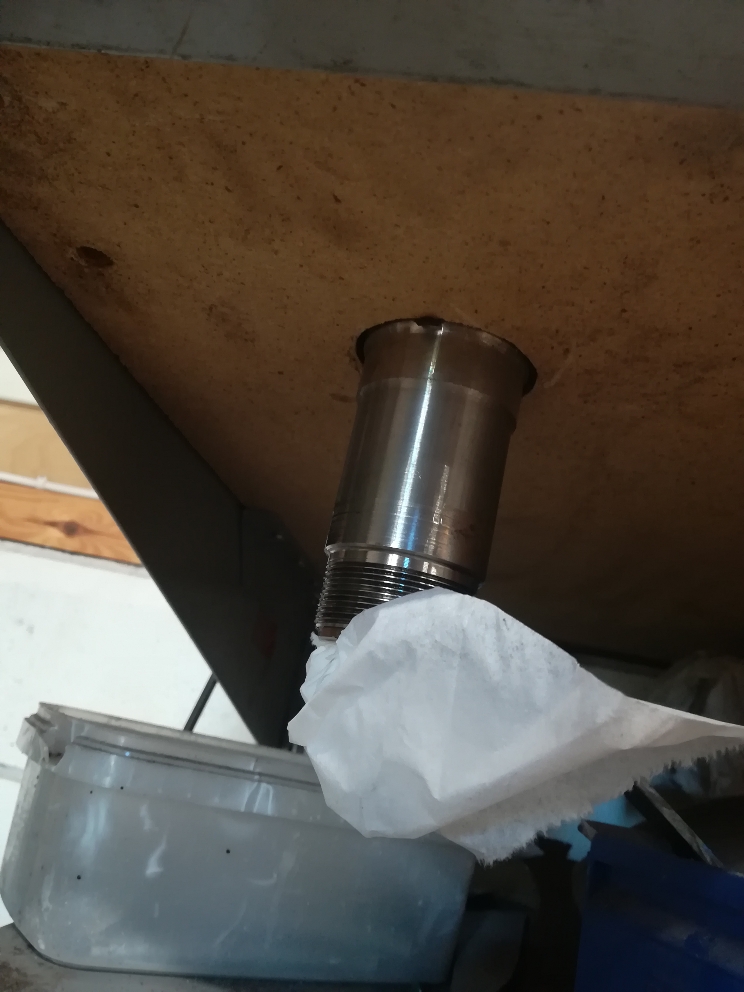
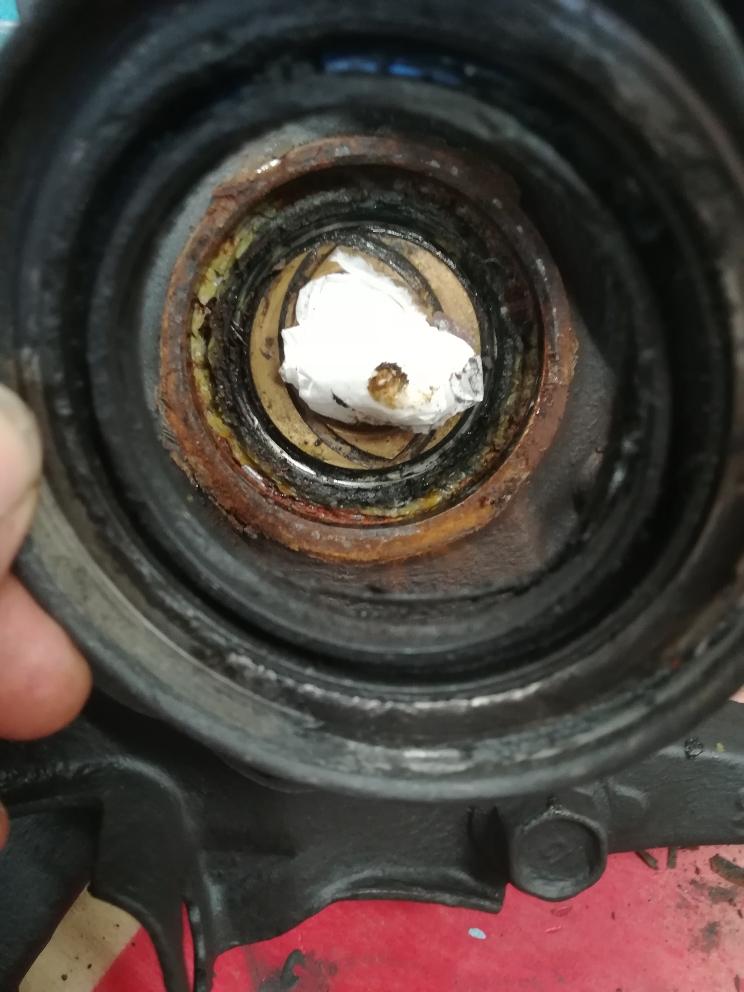
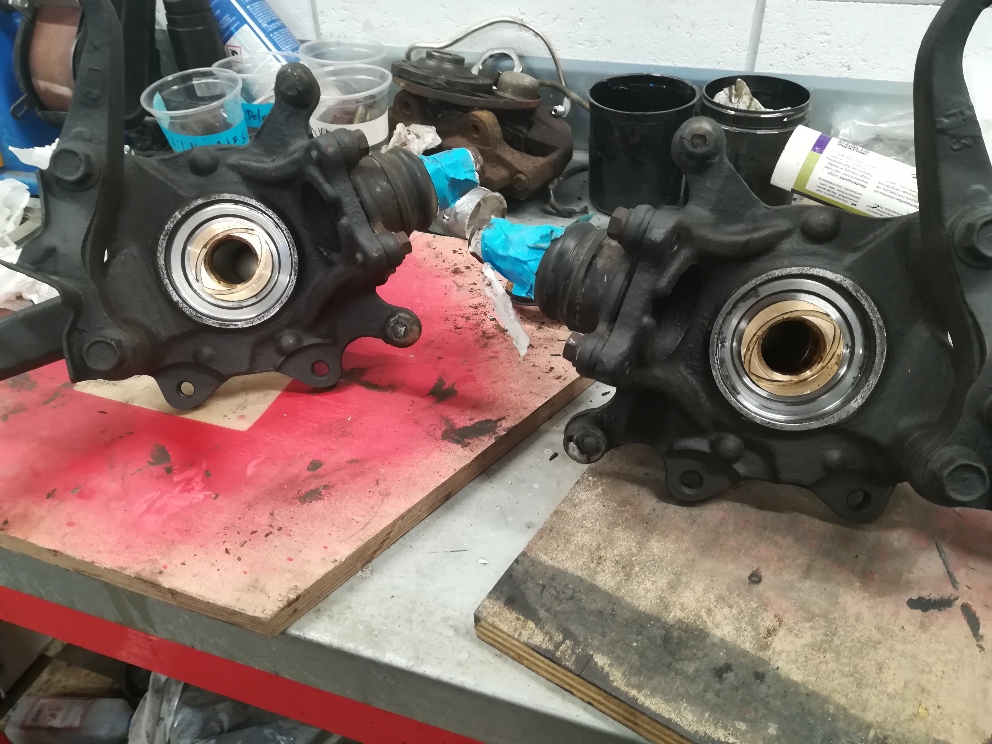
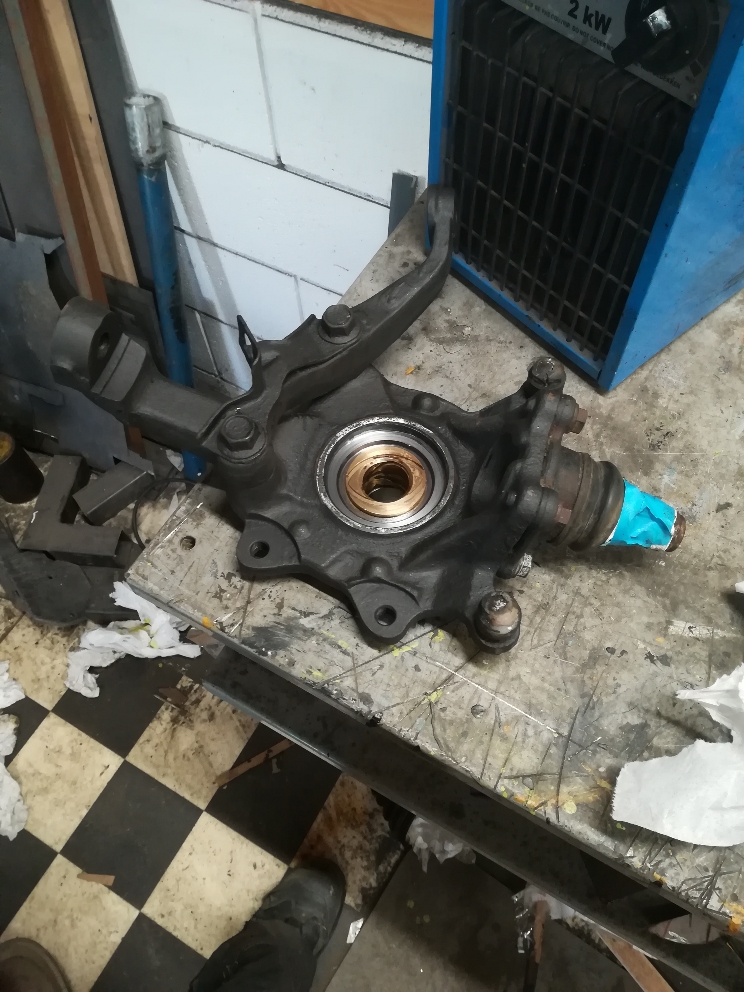
Tought i had a bad carrier bearing if my front diff...but forgot the hubs have some needle bearing in there.. i guess the hub could be replaced so the tolerances would be a bit tighter.

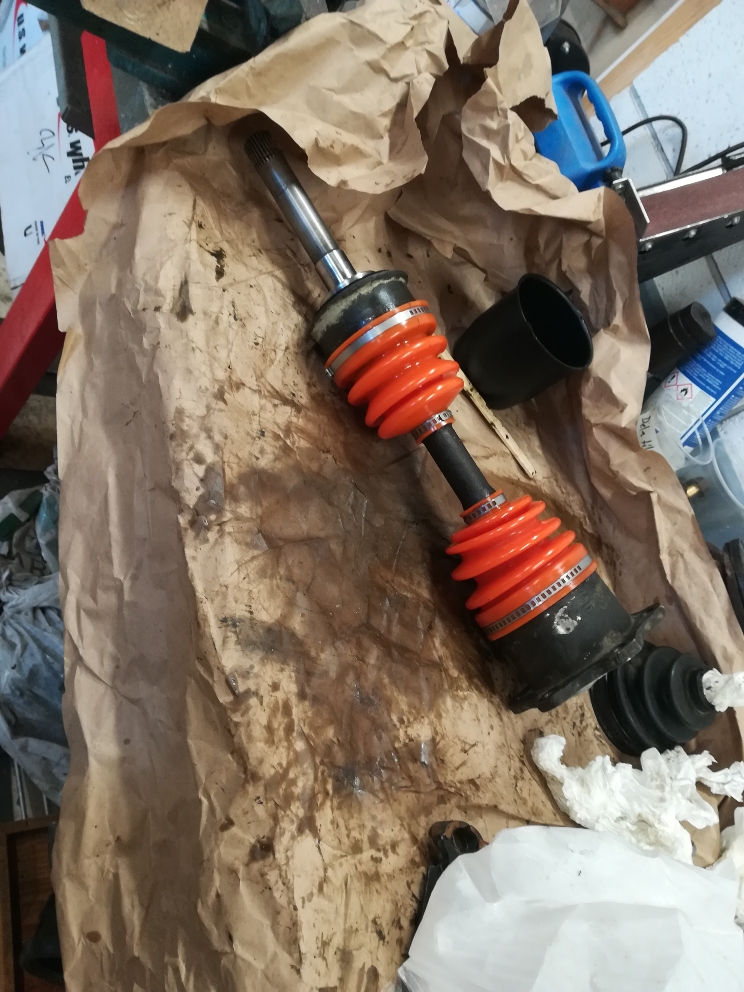
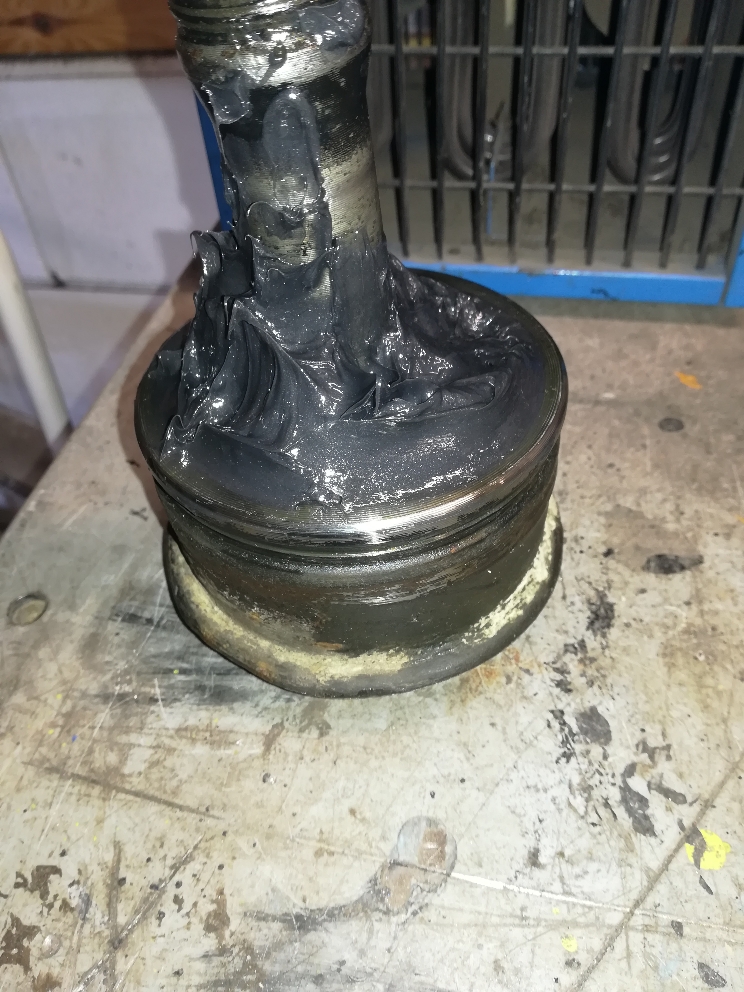
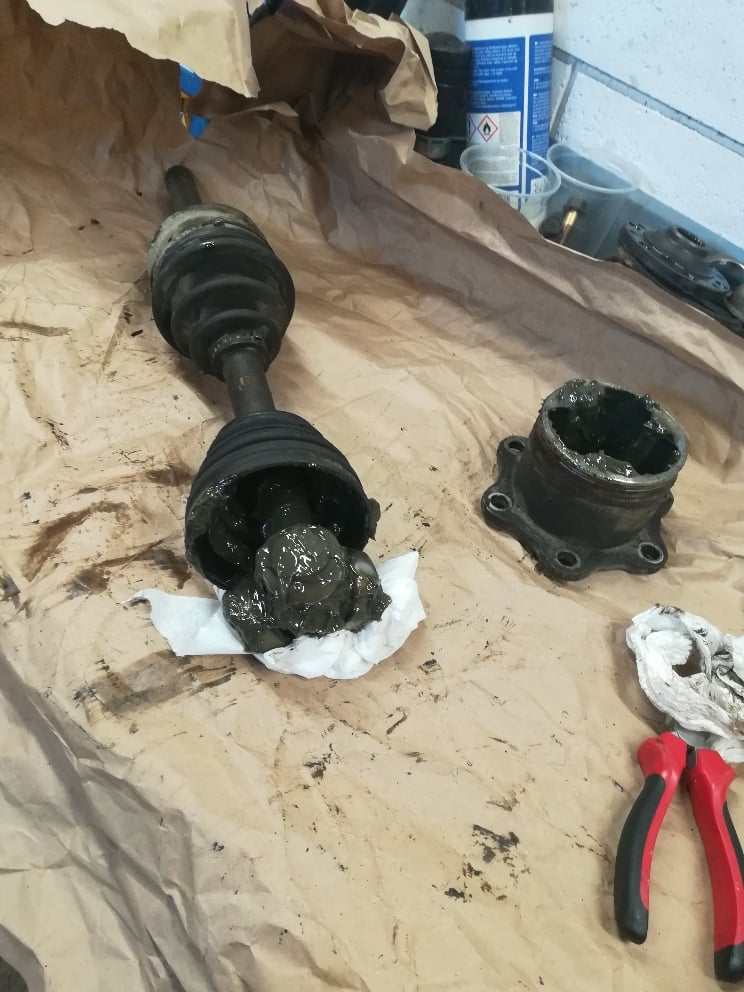
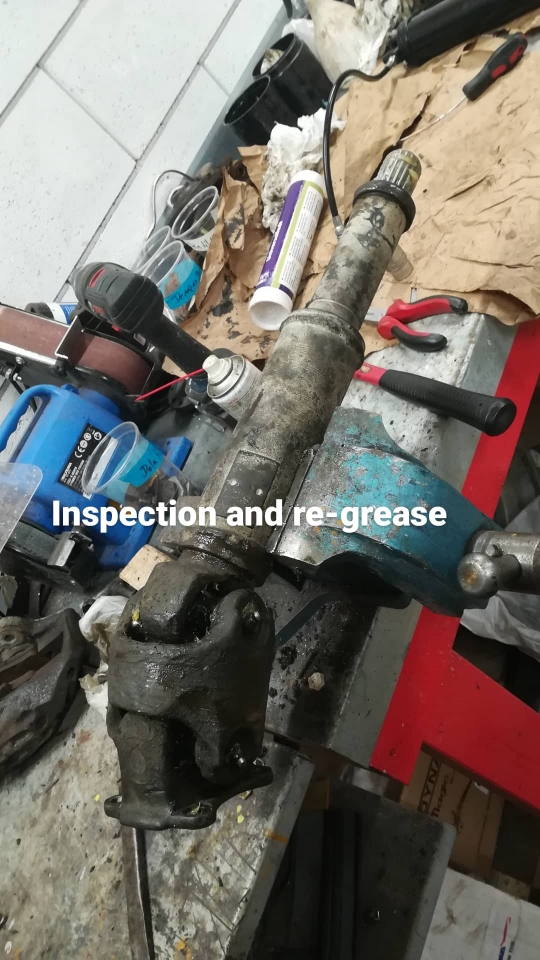
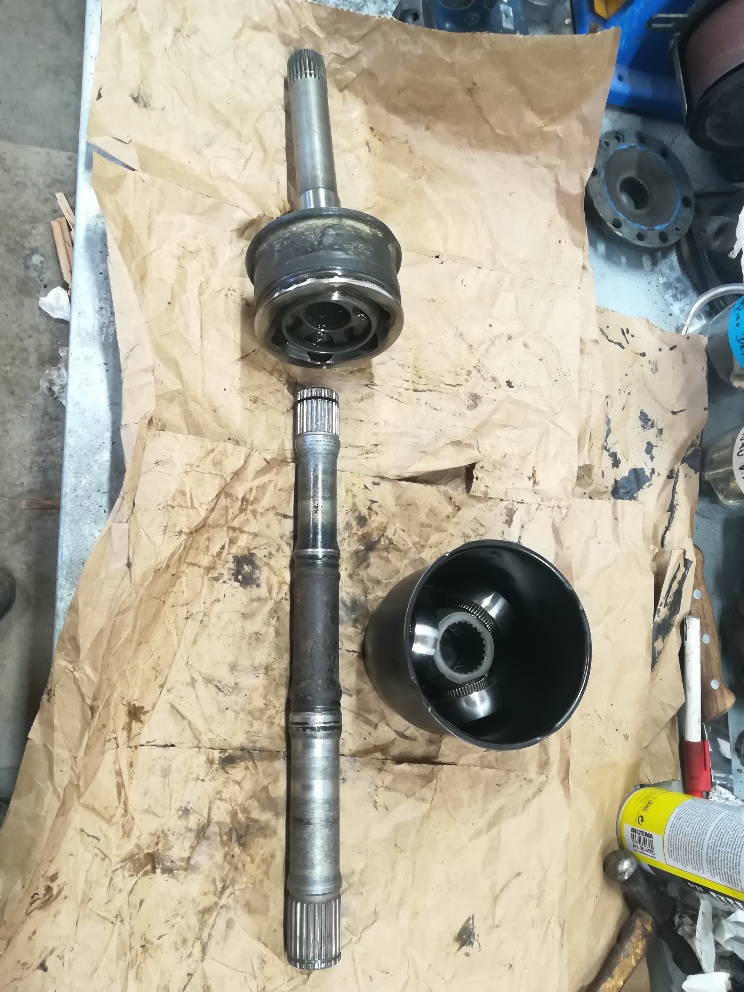
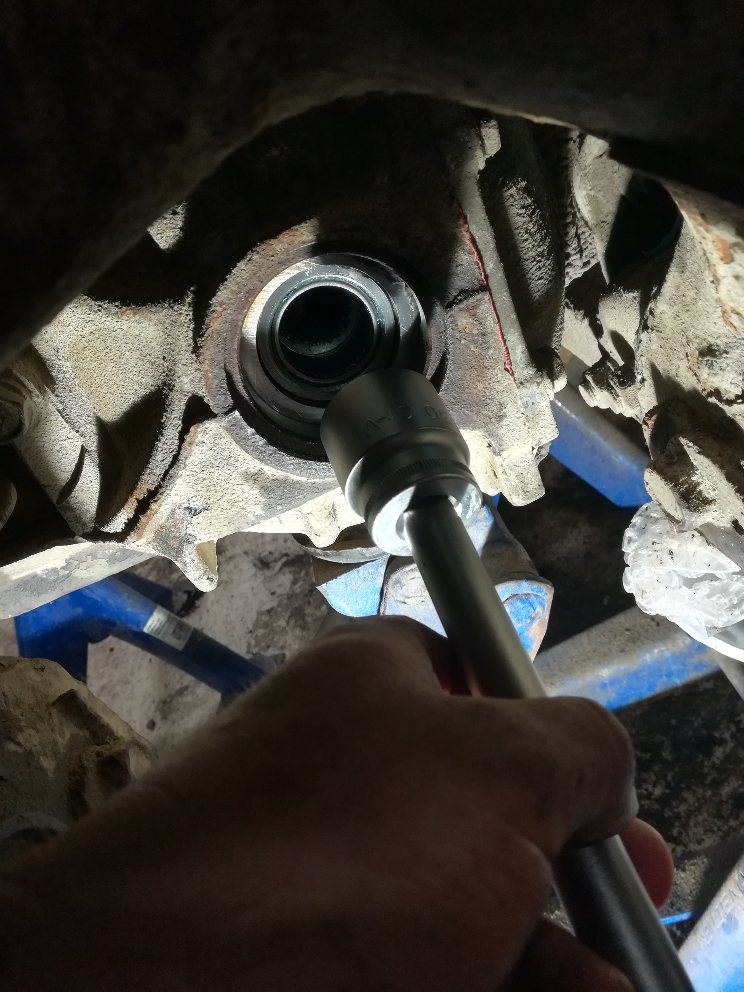
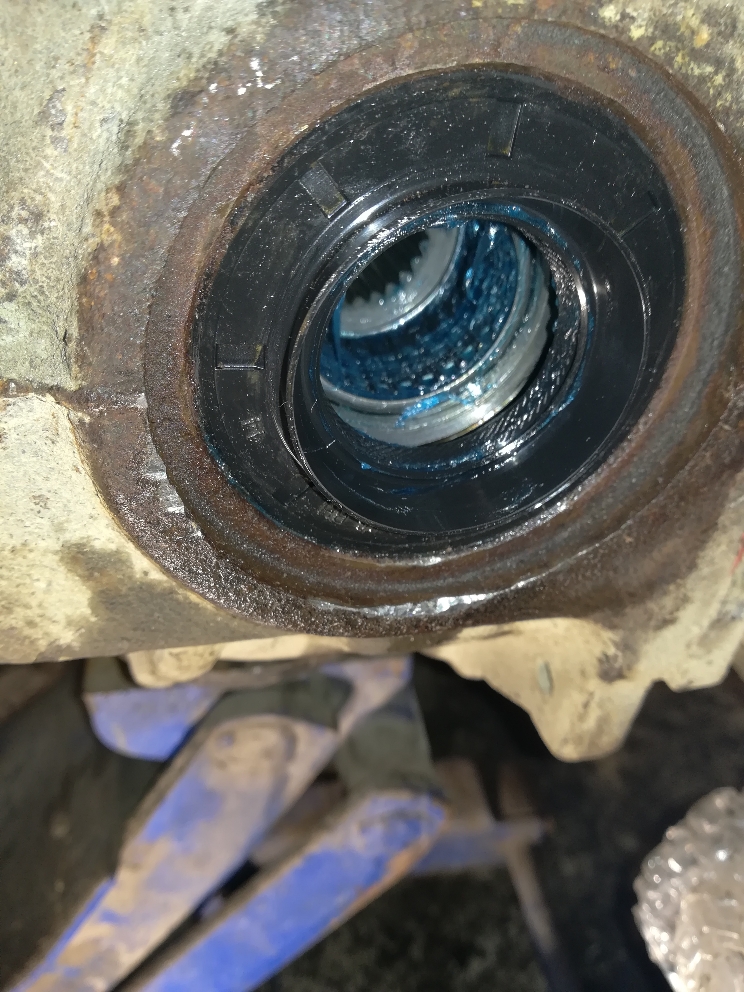
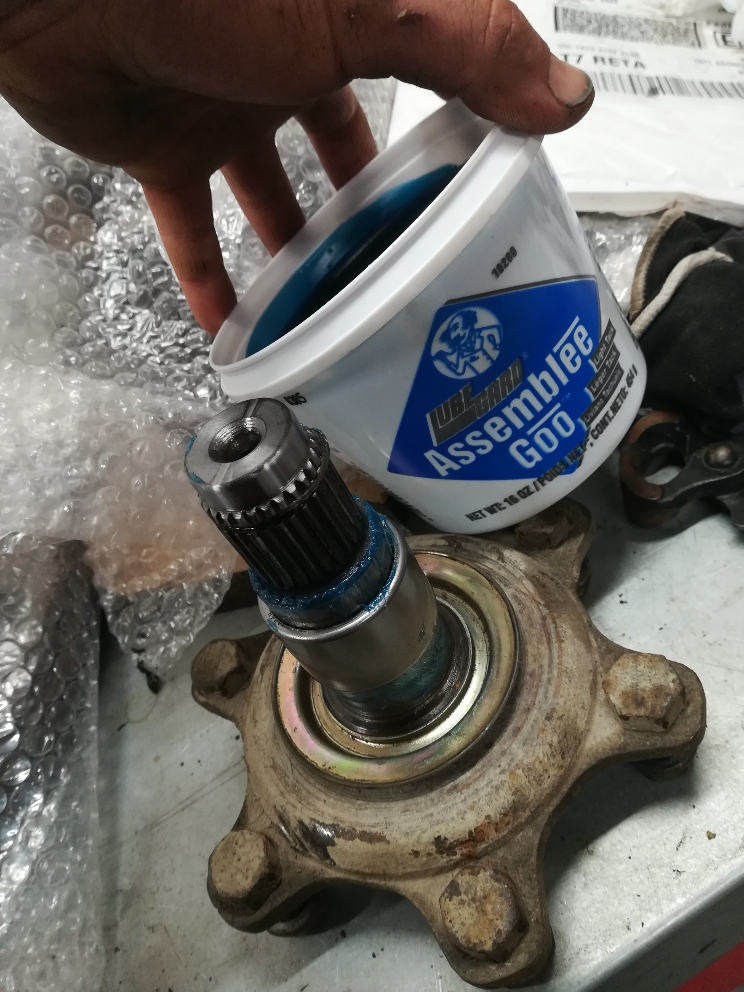
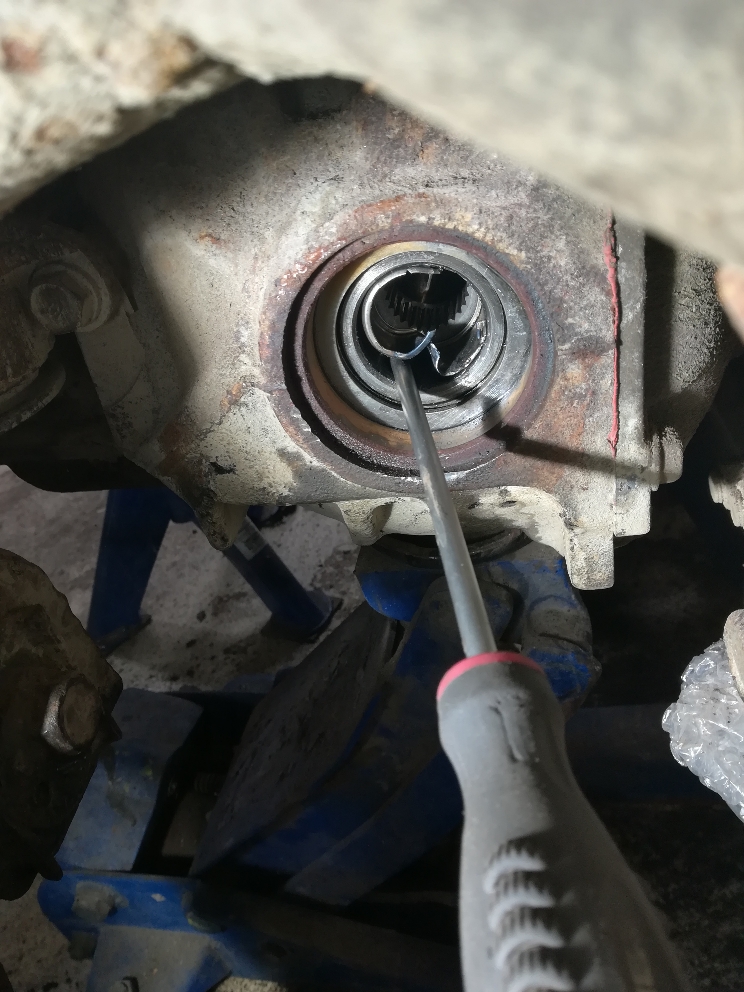
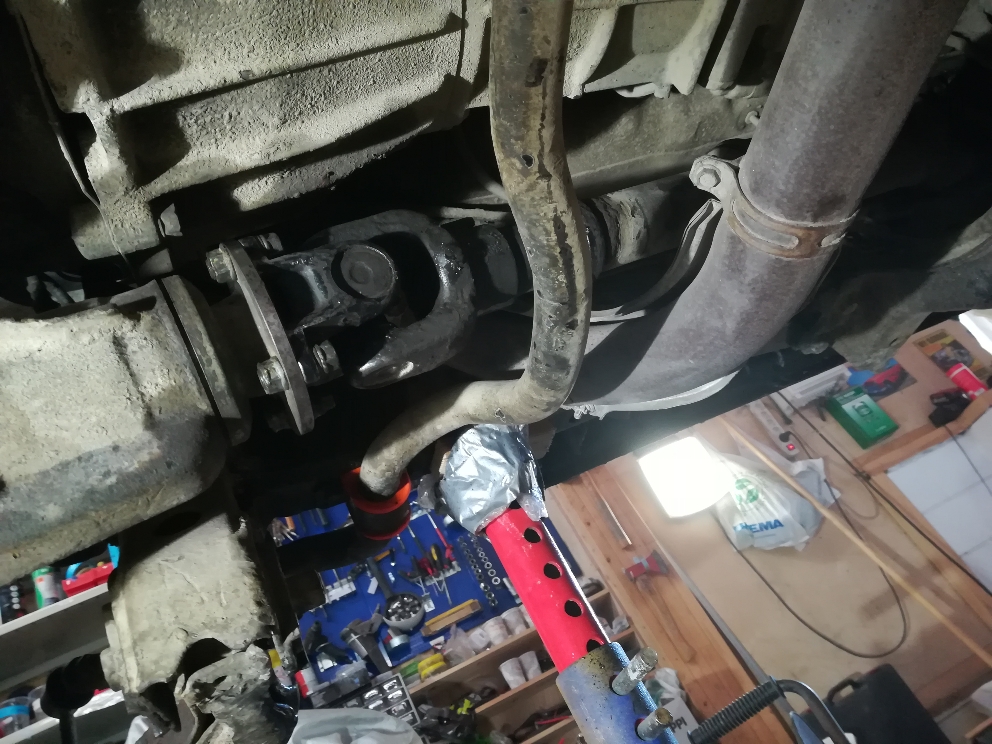
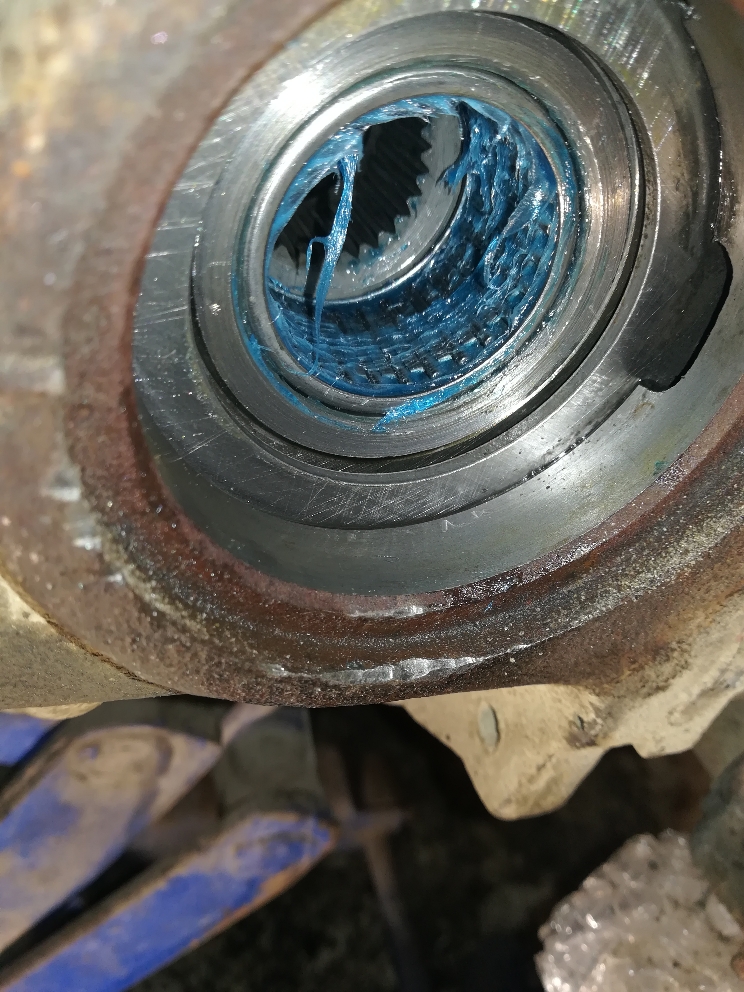
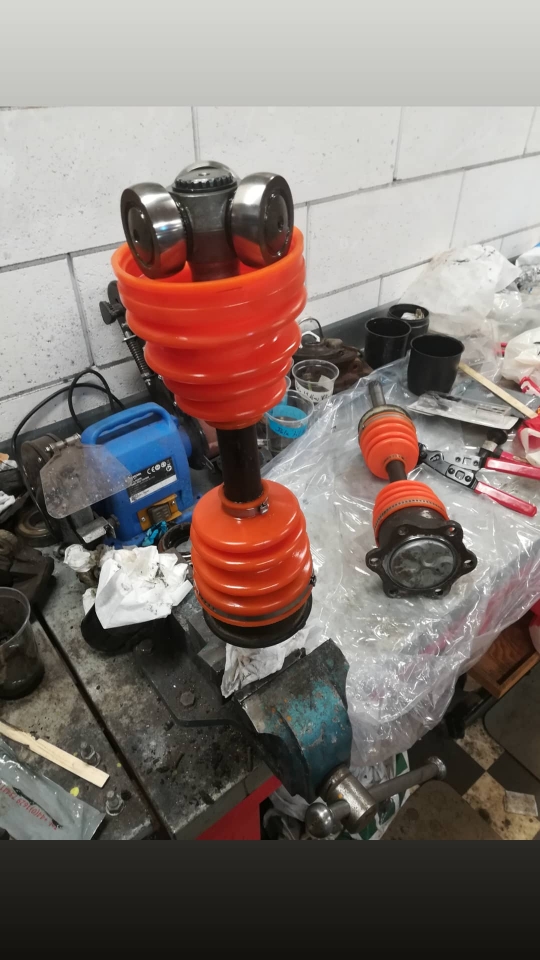
Anyway i changed the needle support bearing today and got a bit tighter tolerance. Also inspect and regrease (a lot) the front driveshaft and installed it.

To guide in the needlebearing i use the Hub as a guide without the c-clips, then use a 30mm socket to carefull bang the rest in.
I use a flat screwdriver that i grind very flat so i could get it under the old bearing, i pre heat it first.
I don't have any puller yet so that was the easyest way. Works ok.
d470cdb66db98bb07bba346f53d0d74c.jpg
d5cdb1a717513cdafa89b839c8426b21.jpg
96b7c6b4c519b177b6fbdb95b1e2d9a6.jpg
9da5ccf05333a3a812ac1c4c5d413152.jpg
4528ffa9fd0055b64bbf0f8da22ff6a7.jpg
8028c4b363628324418f77444932e489.jpg
53ed7869006f240d5760369e7b95b5b5.jpg


Sent fra min WAS-LX1 via Tapatalk
 
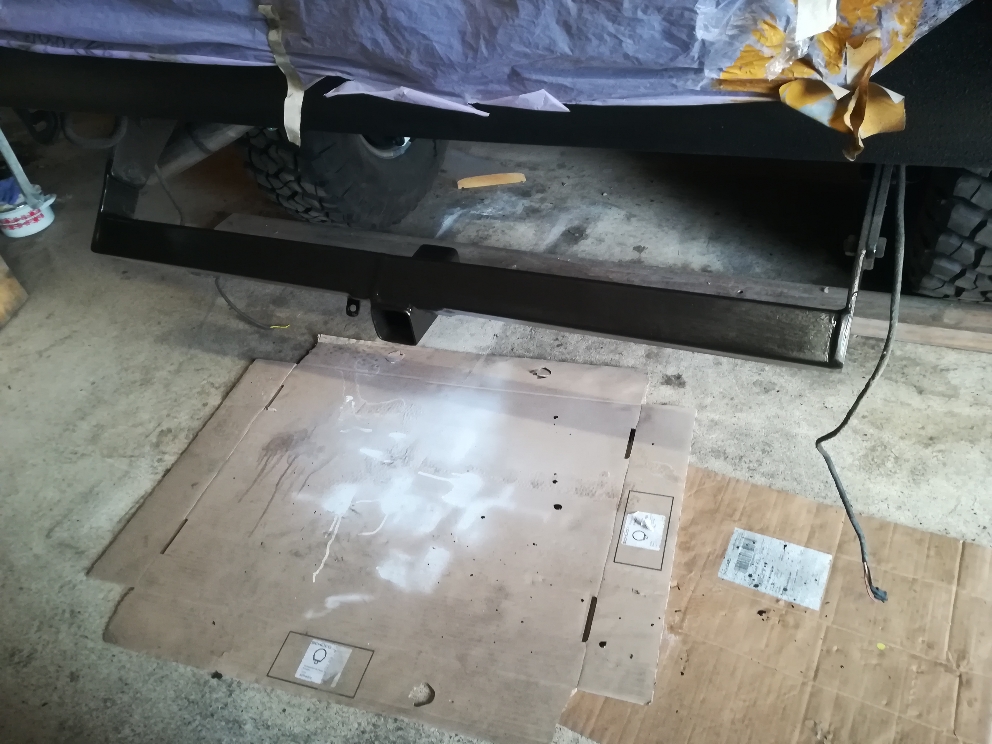
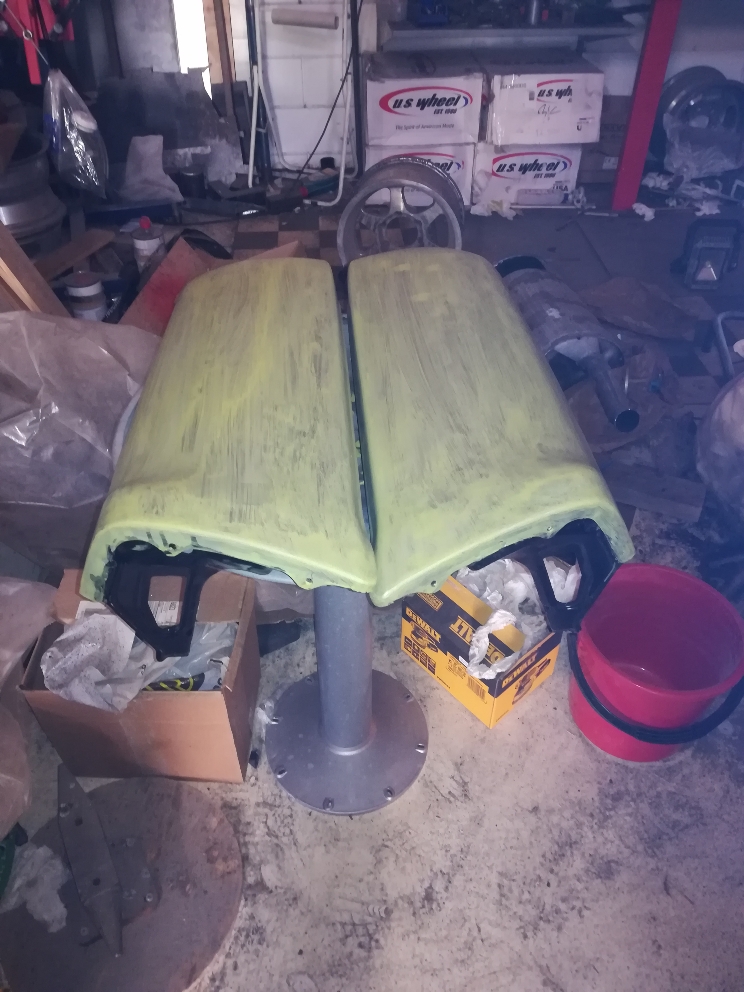
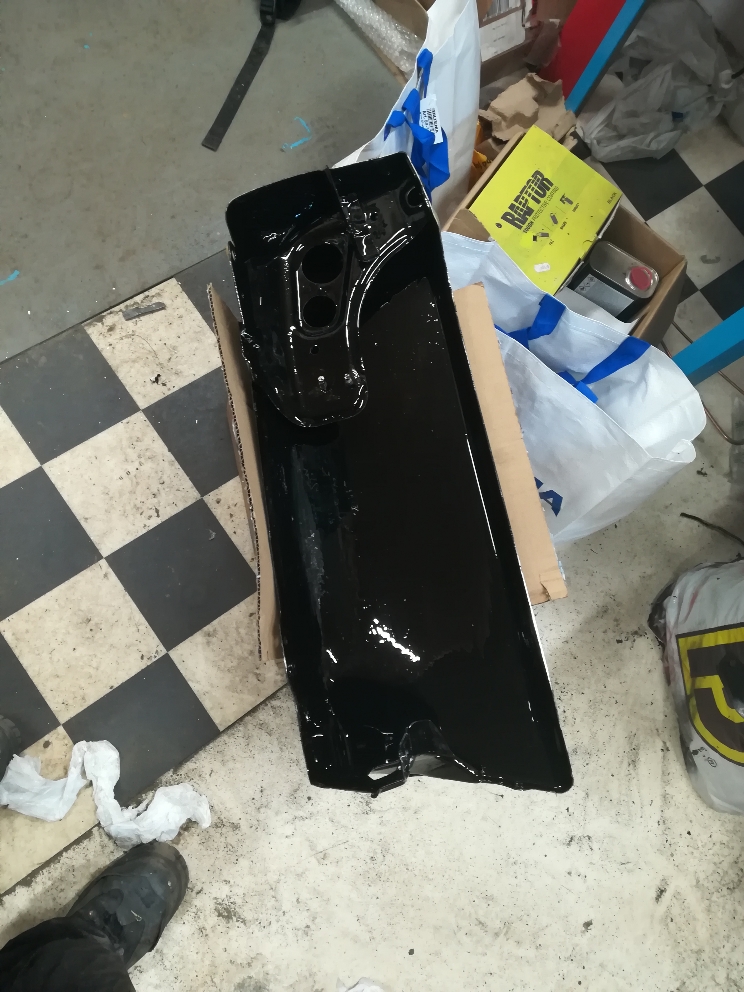
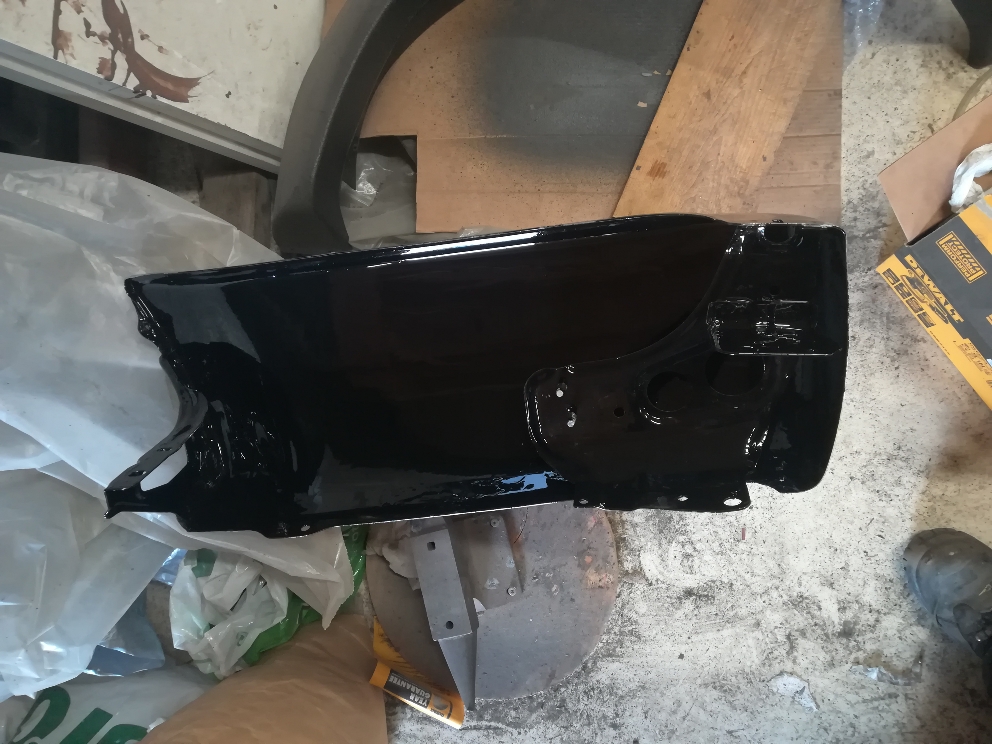
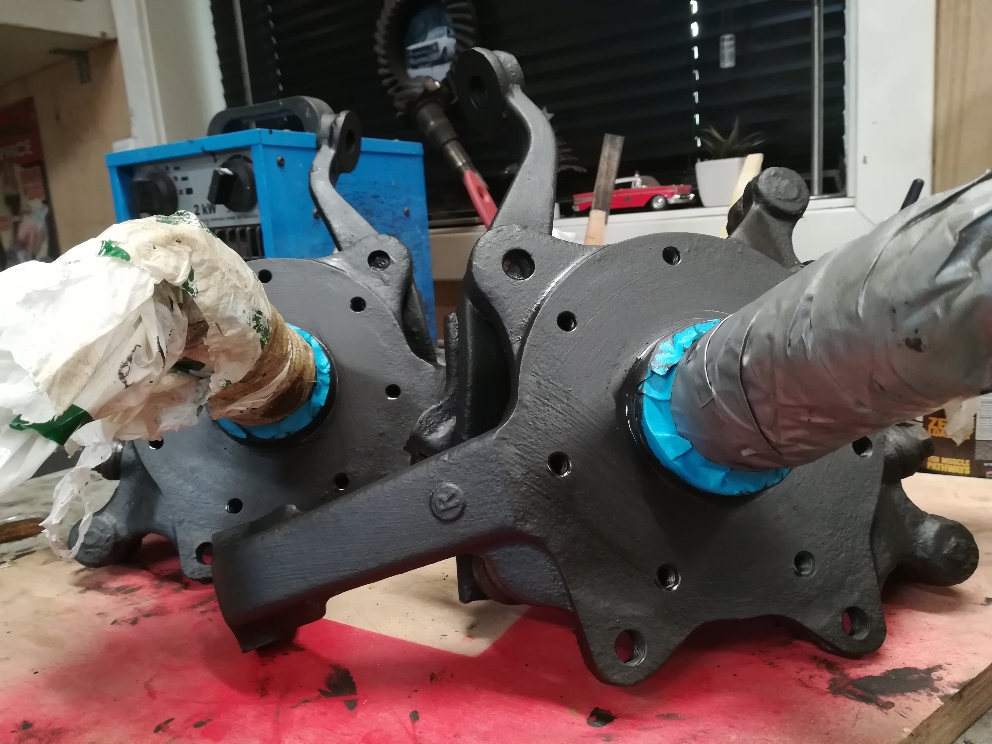
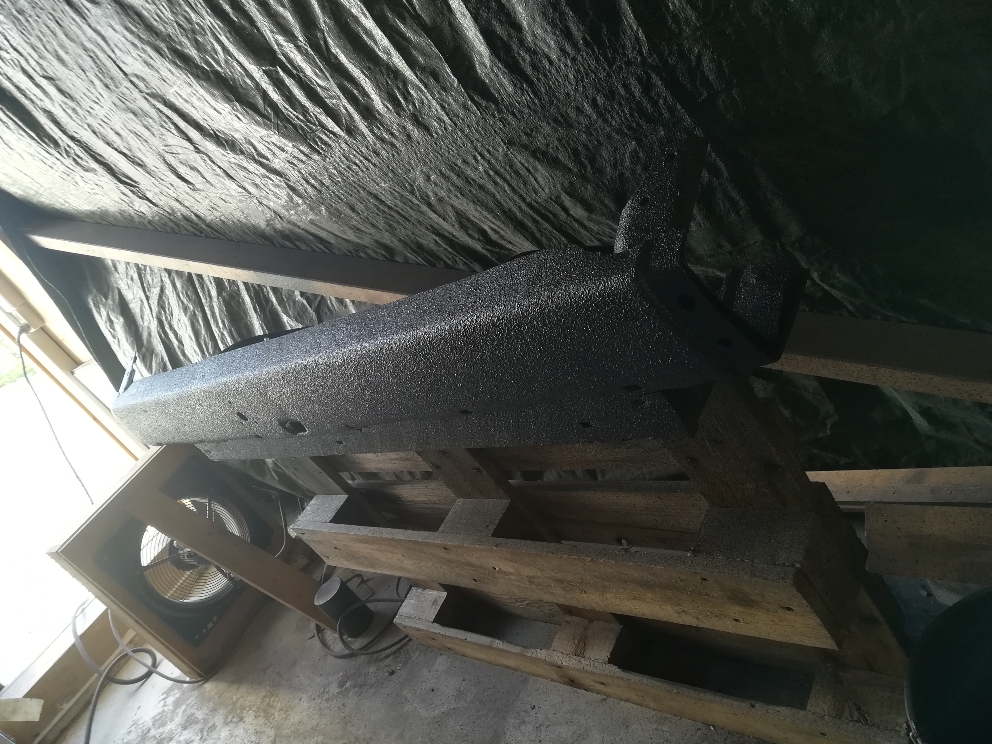
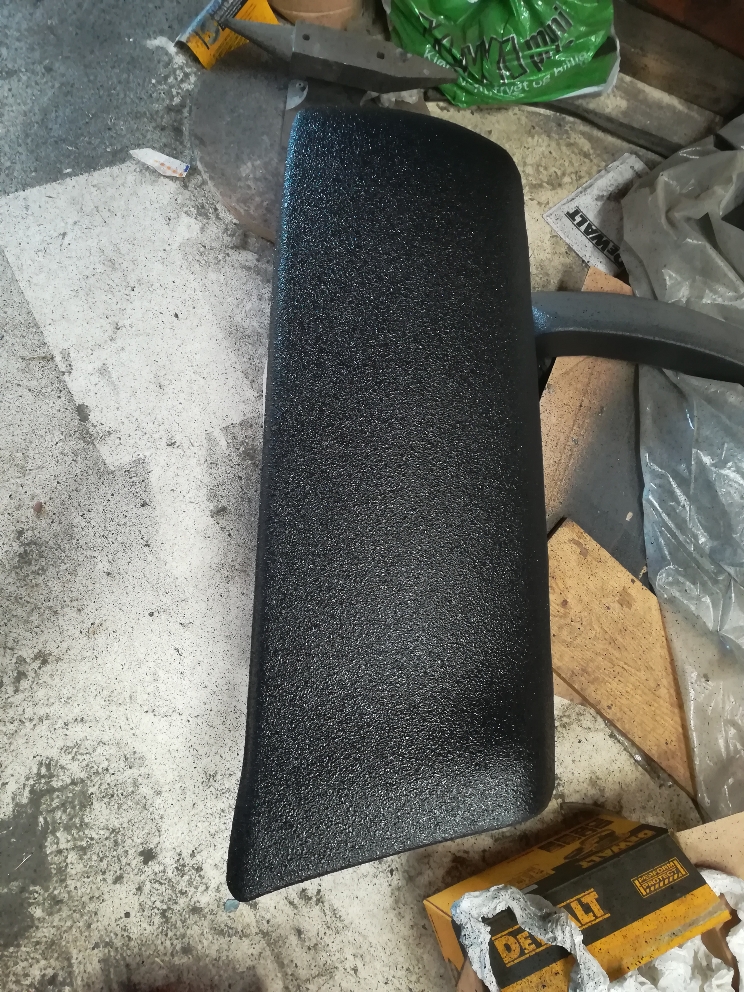
Painted the rear bumper parts yesterday, did coat on the side as well.

Was not so happy about the first coat.
b73552b92faebefcb15e6445f12fc54a.jpg
fa2db9f8978615a0c1781e001f01e7c4.jpg
d66cb9bc8107ec2e7f22c7e024fe6191.jpg


Sent fra min WAS-LX1 via Tapatalk
 
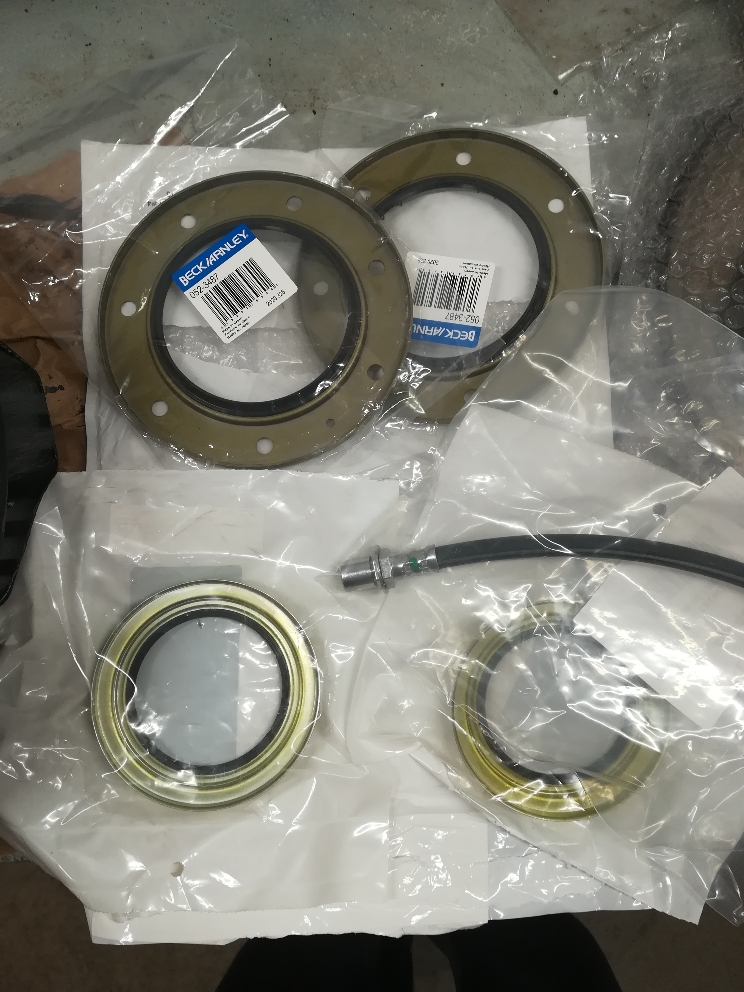
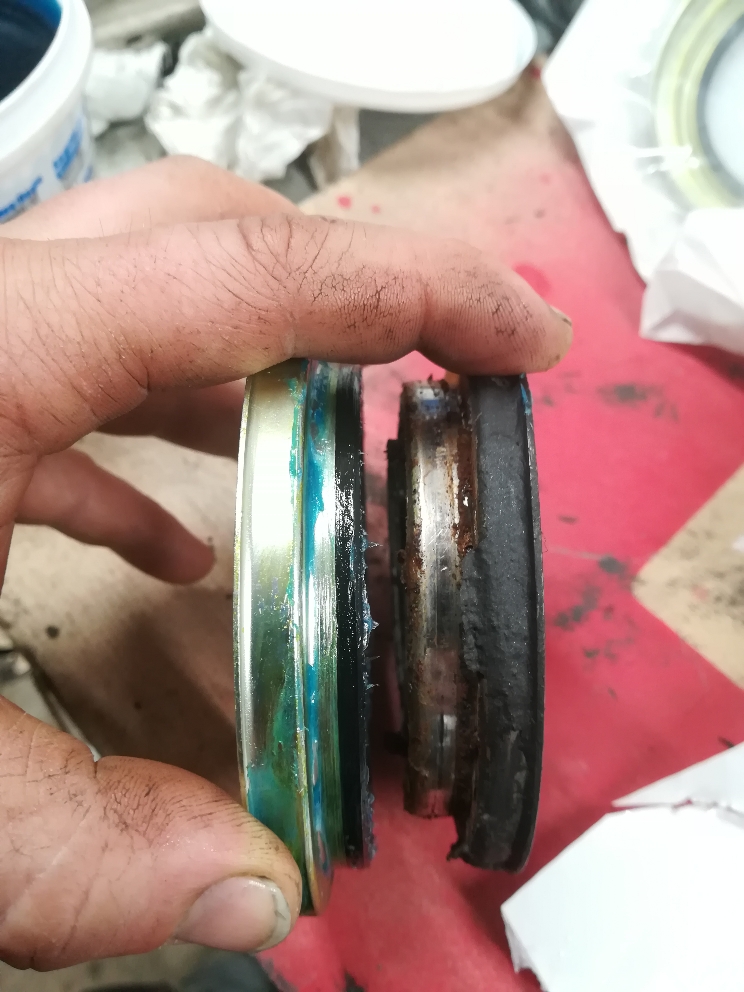
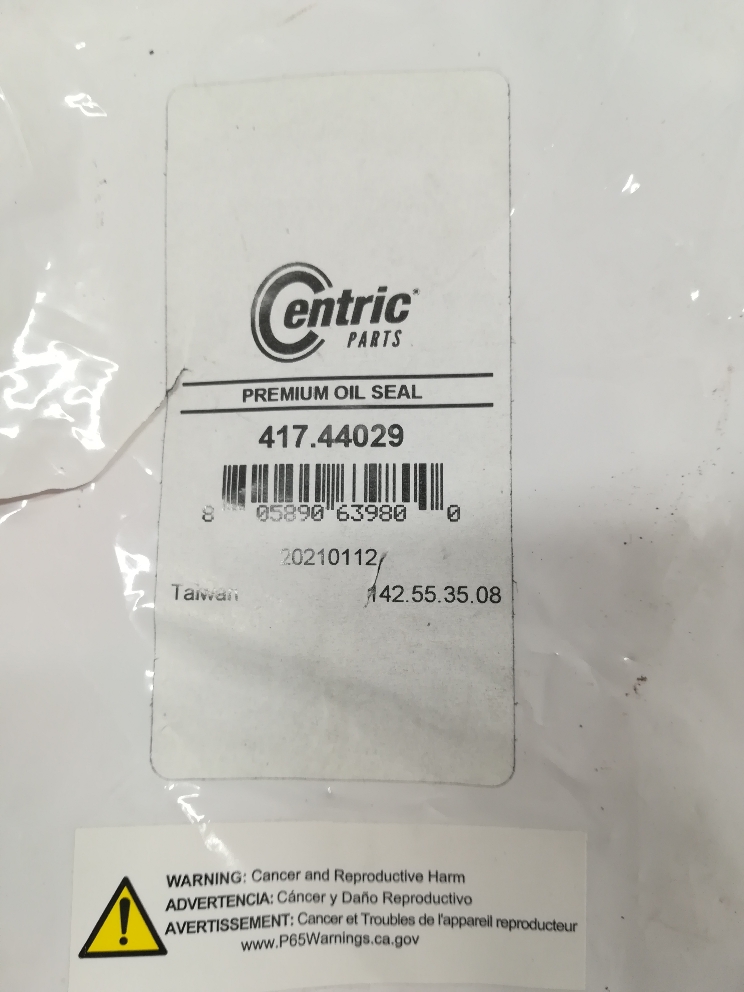
Run in to a seal problem today, those i bought from rockauto are to big.. i think they are for Hiace knuckle/spindle.. iv contact them so we can find a solution.

Asseble the last cv axle as well after getting a new missing C clip that did not was on the axle at all..
22fb6a7750a9264a374b3be808cfaa2e.jpg
8b2b7f2b83f5d356a1cd9b06a7e1f782.jpg
aff33f9ee033a229192193265171e493.jpg
291e61e74c8e97fb9861d61dd90ec56c.jpg
aac373e4173de0d5b51275e431591fdd.jpg
e97b95b062a699905bfd19af49a48087.jpg
6061d12c454a3066211f5fc489c4eeb3.jpg
23e8ff08f11fa6c60f62858c6405187c.jpg
b4d51e02db39c9ab04346f529caff4d0.jpg


Sent fra min WAS-LX1 via Tapatalk
 

Members online

Forum statistics

Threads
278,316
Messages
3,554,113
Members
248,016
Latest member
Advally Service

Trending content

Back
Top