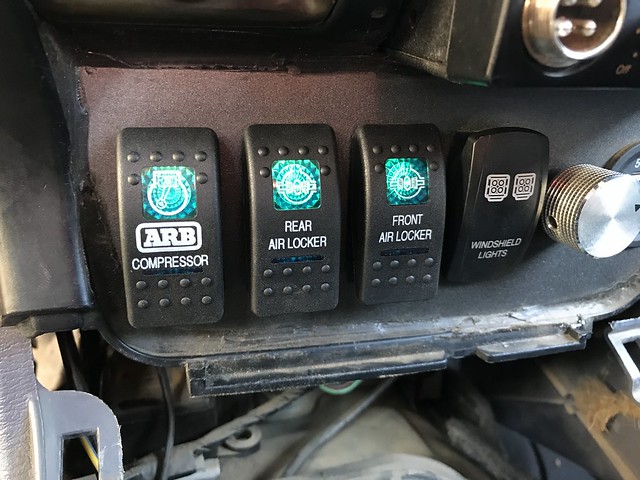
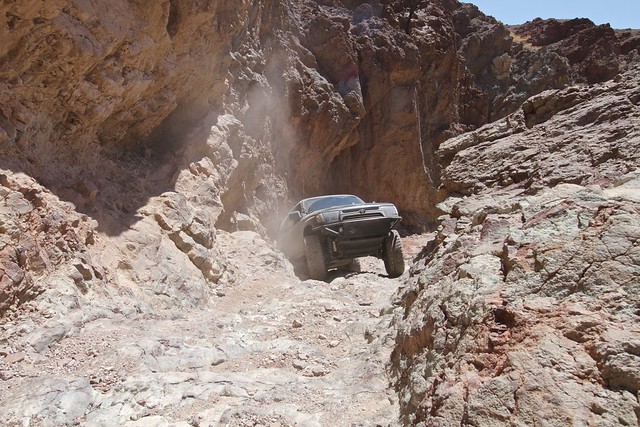
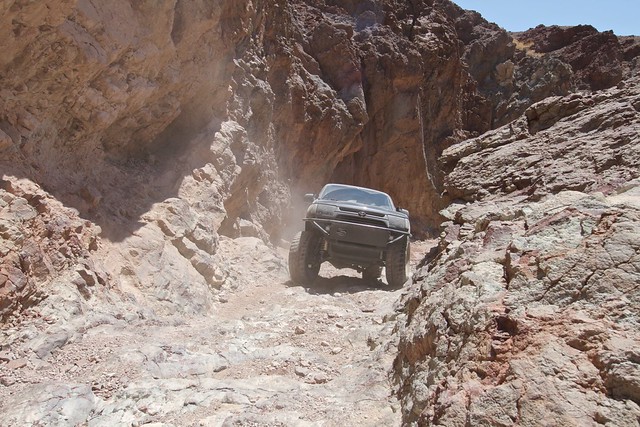
4Running Daily's Build Thread

Are my pictures down for anyone else? I use flickr not photo bucket. Weird.

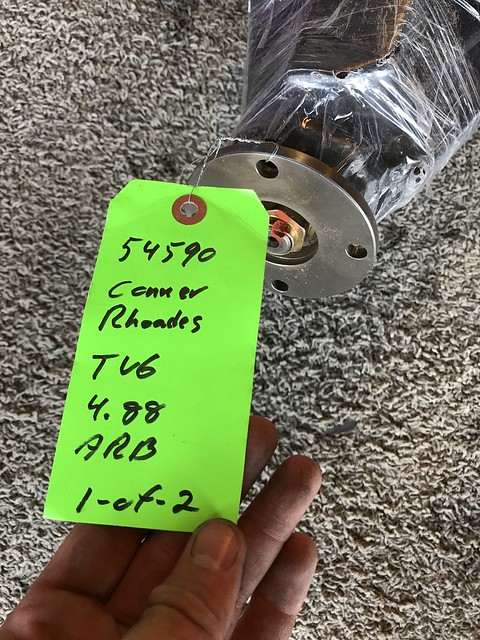
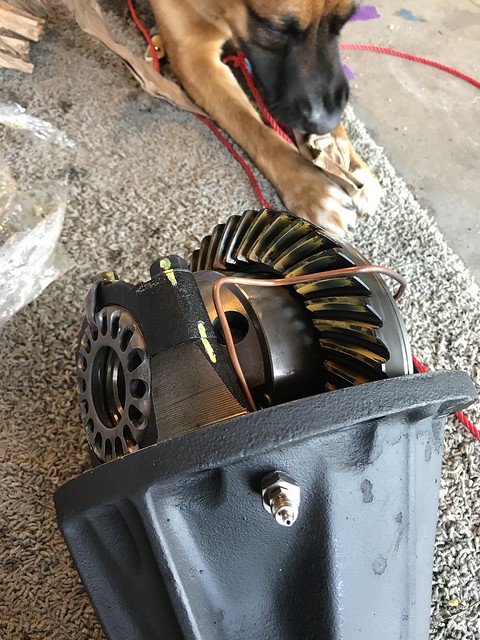
Today I got the diff pulled
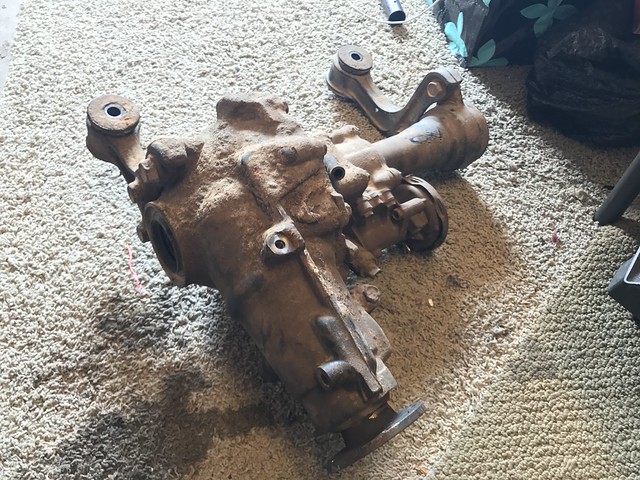
Untitled by Connor Rhoades, on Flickr
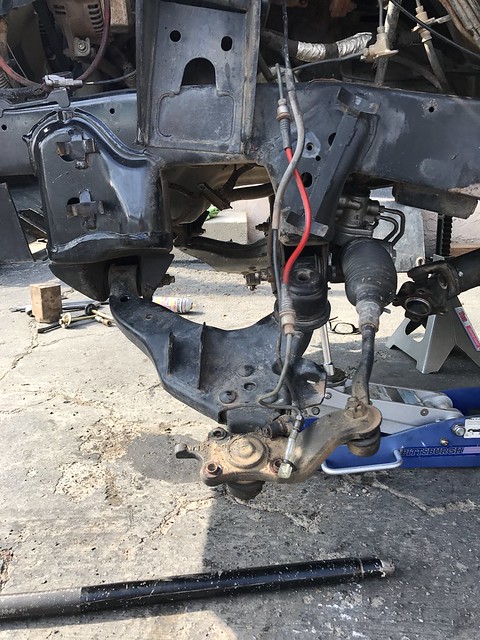
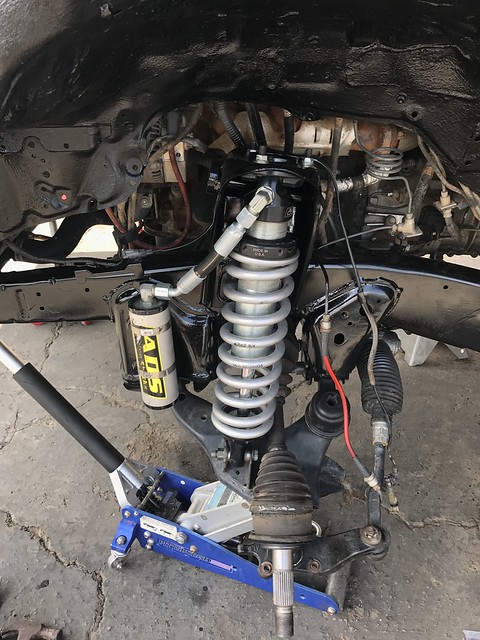
My old ADS resi mounts
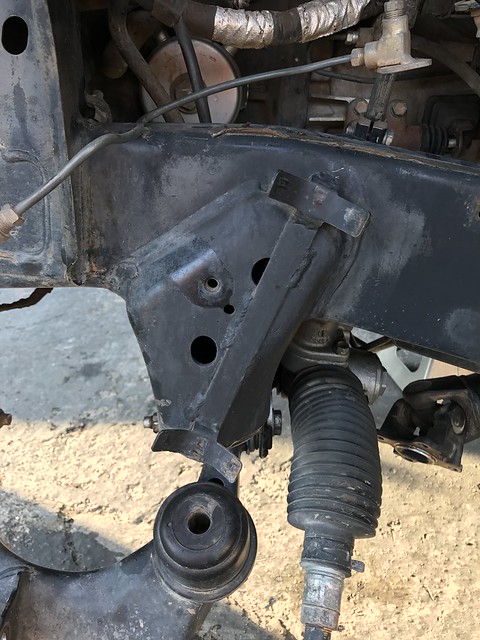
Untitled by Connor Rhoades, on Flickr
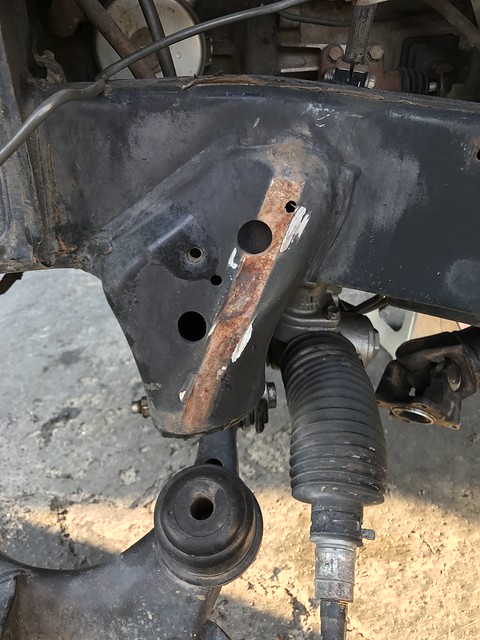
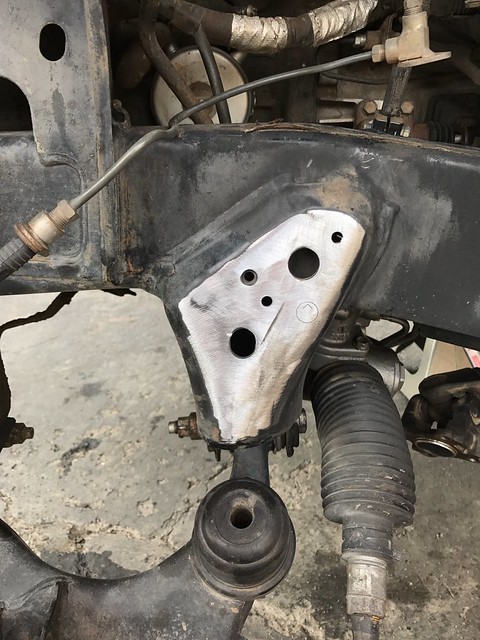
I broke a weld on the back LCA mount where the skid plate bolts up. So I ended up welding that back. Tomorrow will start the cleaning process up front, and hopefully rear end tear down. Plan is to reassemble on Sunday or maybe Monday.
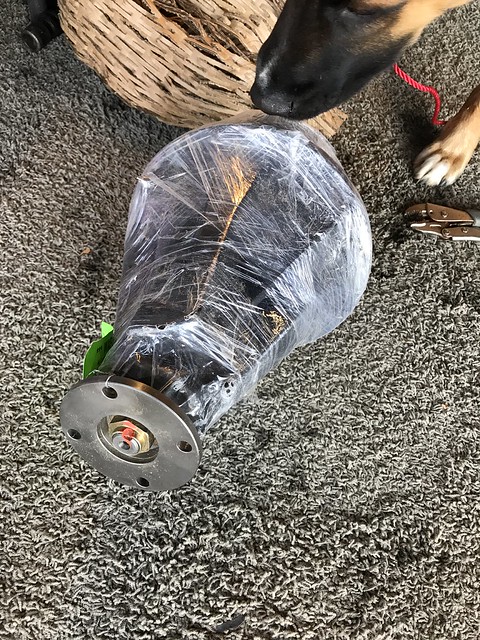
 
Ok well the rear teardown went down nice a smoothly. I'm lacking on the pictures but this is what was accomplished today:
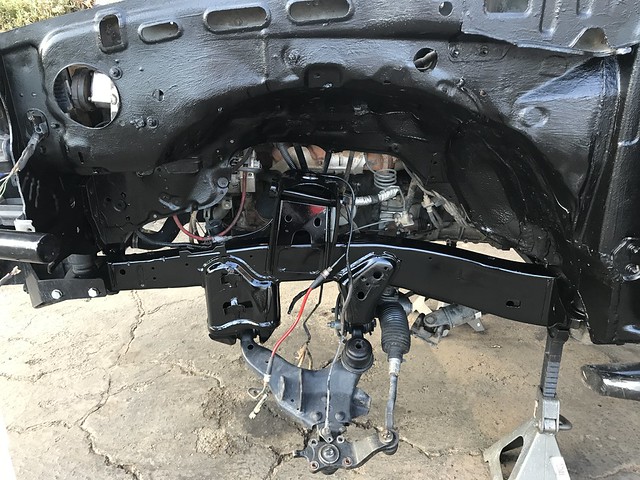
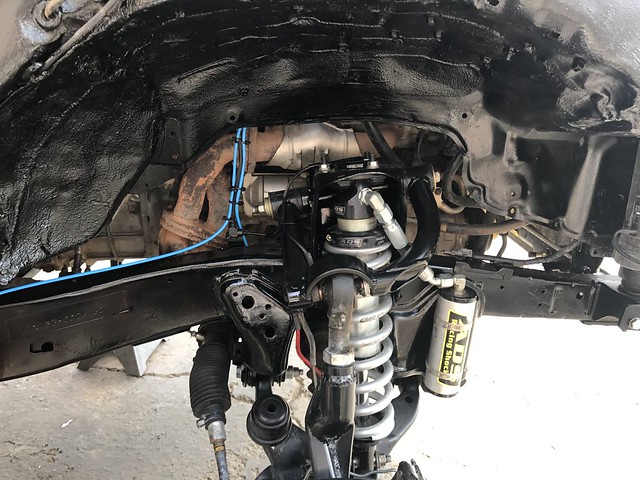
1) Front frame rails and fender liners painted gloss black
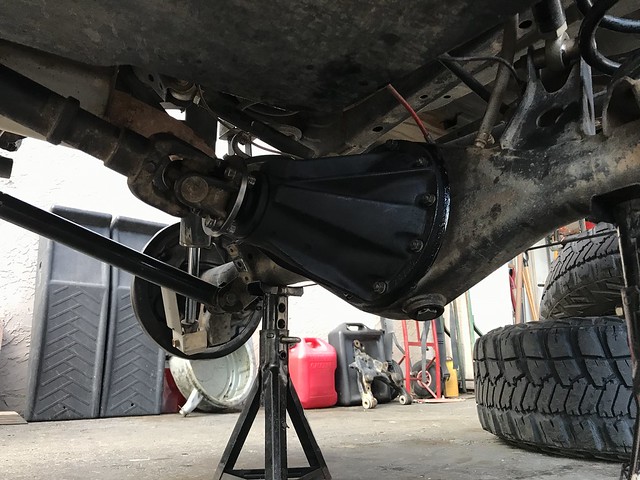
2) Installed rear diff and used Toyota FIPG to seal. Waiting 24 hours before filling with oil.
3) Installed rear axle shafts, brakes, e-brake etc. Backend is ready besides oil and tires.
4) Swapped ADD components to new diff which was a pain in the ass. **** clamshells.
5) Relocated cruise control and made a new bracket for it
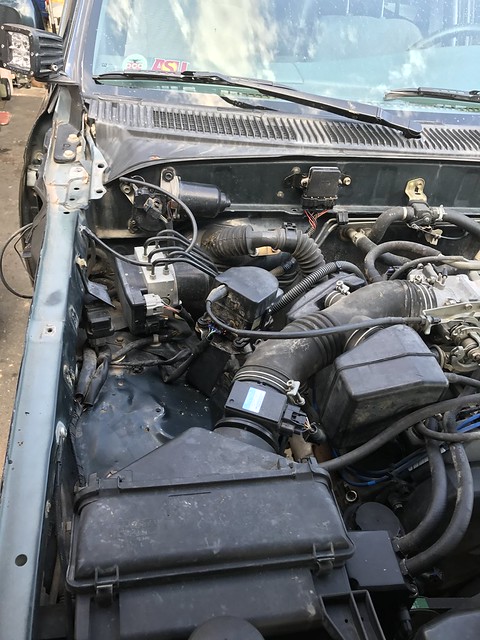
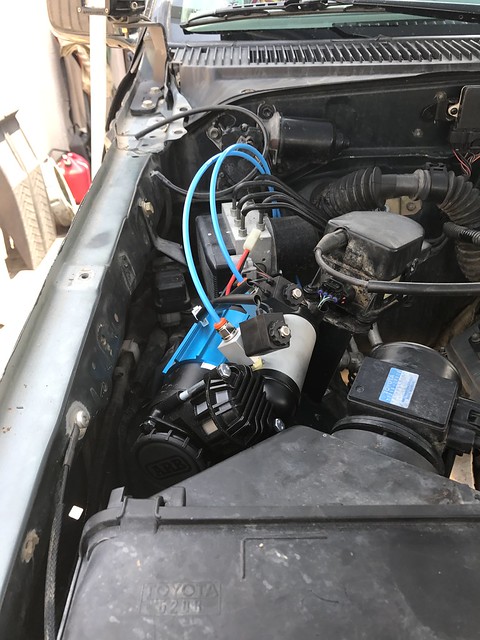
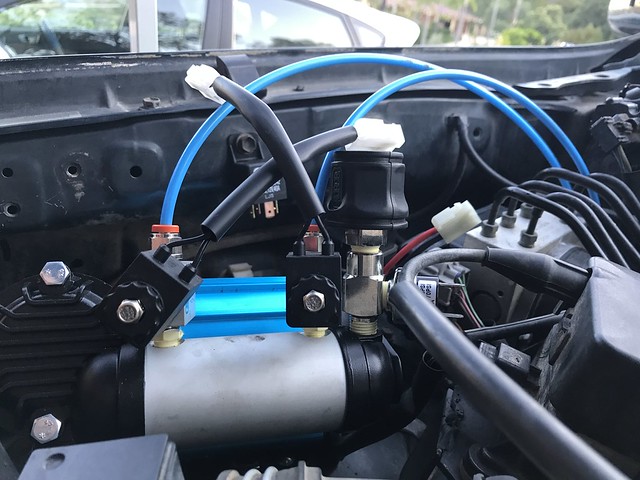
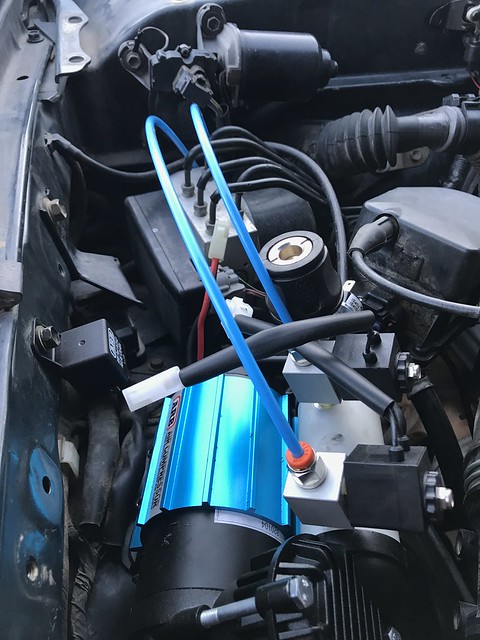
6) Made a spot for my new ARB compressor in the engine bay.

Untitled by Connor Rhoades, on Flickr

Untitled by Connor Rhoades, on Flickr

This picture makes my pants tight
Untitled by Connor Rhoades, on Flickr
 
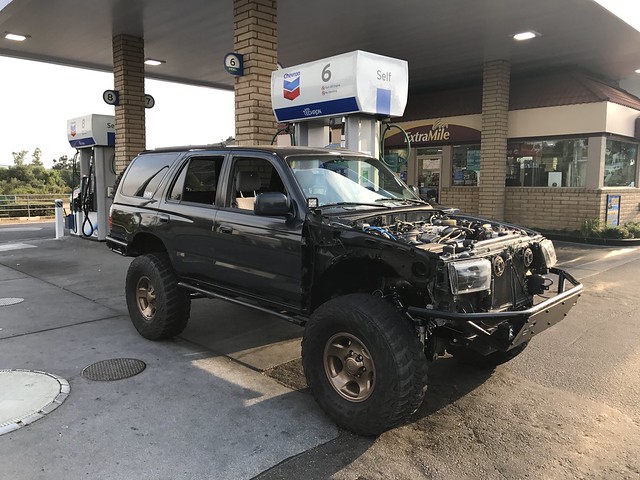
Introducing the dual locked, 35's, and 4.88 powered 4Runner.
Untitled by Connor Rhoades, on Flickr


Today was incredibly productive.
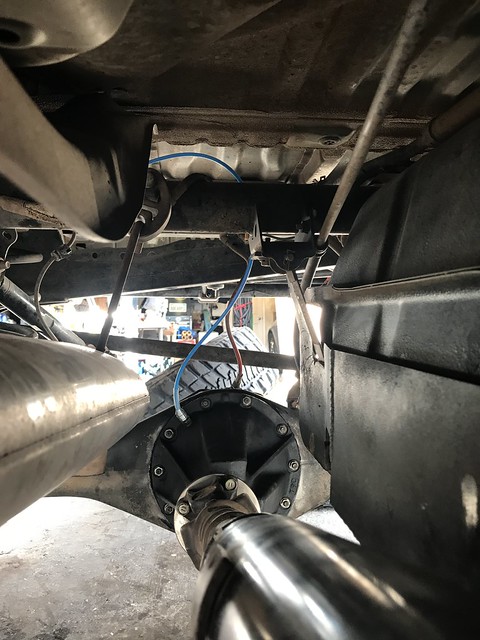
Started by plumbing the rear diff
Untitled by Connor Rhoades, on Flickr

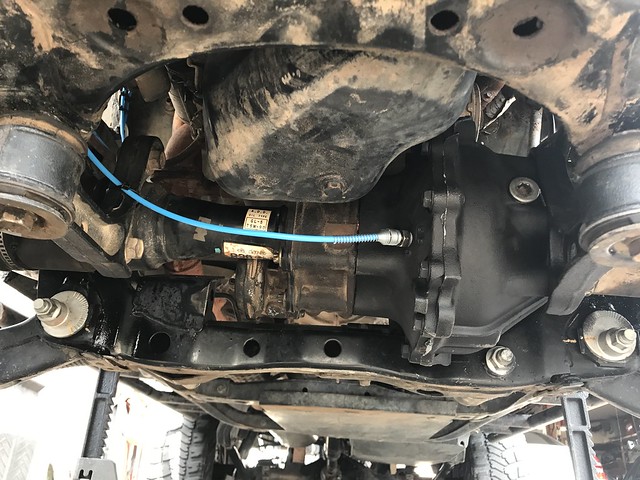
Installed the front diff (Clamshells still suck)
Untitled by Connor Rhoades, on Flickr

Compressor is mounted
Untitled by Connor Rhoades, on Flickr

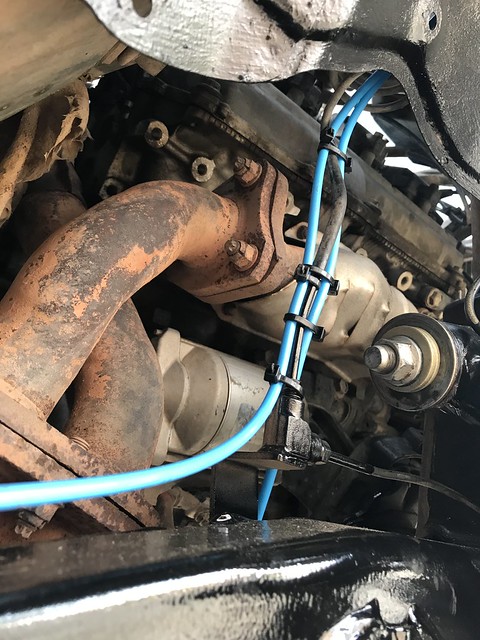
Air line routing. Tomorrow I will make a small heat shield just because.
Untitled by Connor Rhoades, on Flickr

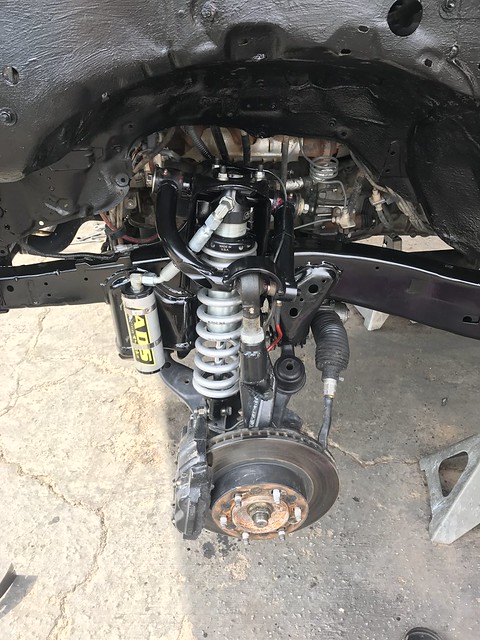
Let reassembly begin!
Untitled by Connor Rhoades, on Flickr

Money shot
Untitled by Connor Rhoades, on Flickr

Untitled by Connor Rhoades, on Flickr

Things left:
1) Heat shield for air lines
2) Figure out where the switches are going
2) Start wiring the compressor and lockers
3) Rubber Fender liners going back on to clean up everything else.
4) Skids repainted and mounted

Hopefully gets done this week

Oh, initial impressions are great. At 43 mph my speedo says 45, so that's nice to be accurate again. Starting from a stop is about 100 times better. Very excited to get past the break in period and really row it through the gears.
 
Looks awesome, I'm pretty jealous of all the new goodies. I'm pretty impressed with how well the old mount came off and cleaned up.. The new paint is also sweet, it's something I hope to do eventually but it's just so much work!

Can't wait to see it in action :pop2:
 
Nice work man. I'm so ready to be locked and re-geared. It's gonna have to wait a few more months though. Then I keep thinking "Twin sticks would be nice". It never ends. lol
Who even knows what my next mod will be. Probably something that eliminates Lower Ball Joints though. Maybe long travel. It will never end! My bank account still hurts
Looks awesome, I'm pretty jealous of all the new goodies. I'm pretty impressed with how well the old mount came off and cleaned up.. The new paint is also sweet, it's something I hope to do eventually but it's just so much work!

Can't wait to see it in action :pop2:

This is by far the biggest job I've ever completed, let alone solo. Definitely a 2 man job, but I got it done. I appreciate the compliments! Hopefully the new paint holds up. Can't wait to get through this break in period and go crawling!
 
Congrats. So your regear made a difference in your speedometer readings? Because mine did not.

Thanks! Interesting. Maybe because mine picks it up from a different location being manual.


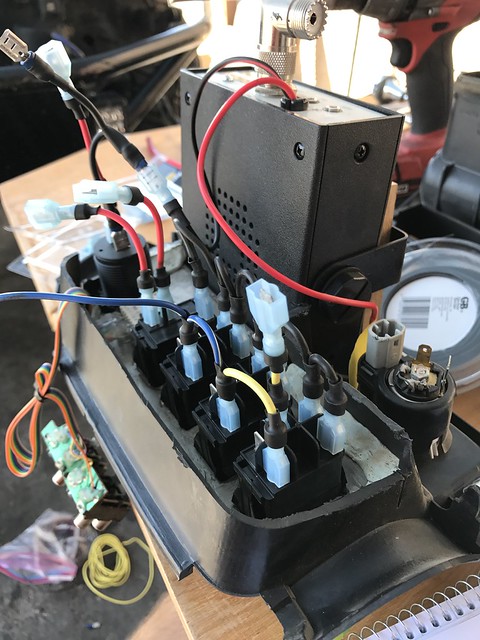
Anyways I started the wiring today. Thank you ARB first of all, because it turns out you need the ARB tire fill up kit in order to run 2 lockers. The pressure switch will not screw in with both locker solenoids on the tank. So I went and got one of those

Untitled by Connor Rhoades, on Flickr

Then the fun began
Untitled by Connor Rhoades, on Flickr

OHHH YAAAA
Untitled by Connor Rhoades, on Flickr


Just need to wire the engine bay side now, hopefully finish tomorrow and verify that my wiring works and the lockers work. Then heat shield and fender liners.
Ah and then I'm making rear drawers in the back. I have 2 sets of 400lb 36" sliders and some latches in my garage. I'm running out of time to do all this stuff...
 
The compressor tank/pressure switch location can be rotated to allow the pressure switch and 2 solenoids to fit- although I wouldn't mind having the tire inflator on mine...
 
The compressor tank/pressure switch location can be rotated to allow the pressure switch and 2 solenoids to fit- although I wouldn't mind having the tire inflator on mine...

It's all 1/4 NPT thread so just go to the hardware store and get a nipple, tee, and 1/4 male thread disconnect. I made one up for mine for about 10 bucks.

I couldn't find a T anywhere, and the inflation kit was less than $40, so **** it
 
Wiring worked first try! Both Diffs work perfectly and fast too! I just need to find a way to completely seal the ****ing air compressor fittings so they stop leaking. Still need to put everything back together too! Overall very happy!
 
Wiring worked first try! Both Diffs work perfectly and fast too! I just need to find a way to completely seal the ****ing air compressor fittings so they stop leaking. Still need to put everything back together too! Overall very happy!

Teflon tape? Glad everything is working!
 
Nope, still getting leaks. I ordered teflon paste this time and I'm praying that it stops it completely. I had this same problem on my last one.

Two wraps of teflon tape, then pipe dope, then two wraps of teflon tape. Do not overtighten anything. My ARB compressor holds it's pressure for weeks. When I flip the rocker in never kicks on. I have to release some air to make sure it's working. lol
 
Two wraps of teflon tape, then pipe dope, then two wraps of teflon tape. Do not overtighten anything. My ARB compressor holds it's pressure for weeks. When I flip the rocker in never kicks on. I have to release some air to make sure it's working. lol

Oh ya? So basically a pipe dope sandwich? Tape x2, pipe dope, tape x2, tighten until snug?
 
Quick and dirty heat shield for the air lines. Hopefully do the splash guards this weekend and call it done!


Then it's time to build some drawers in the back. Then buy some 37's
 

Members online

Forum statistics

Threads
278,310
Messages
3,554,080
Members
248,016
Latest member
Advally Service

Trending content

Back
Top