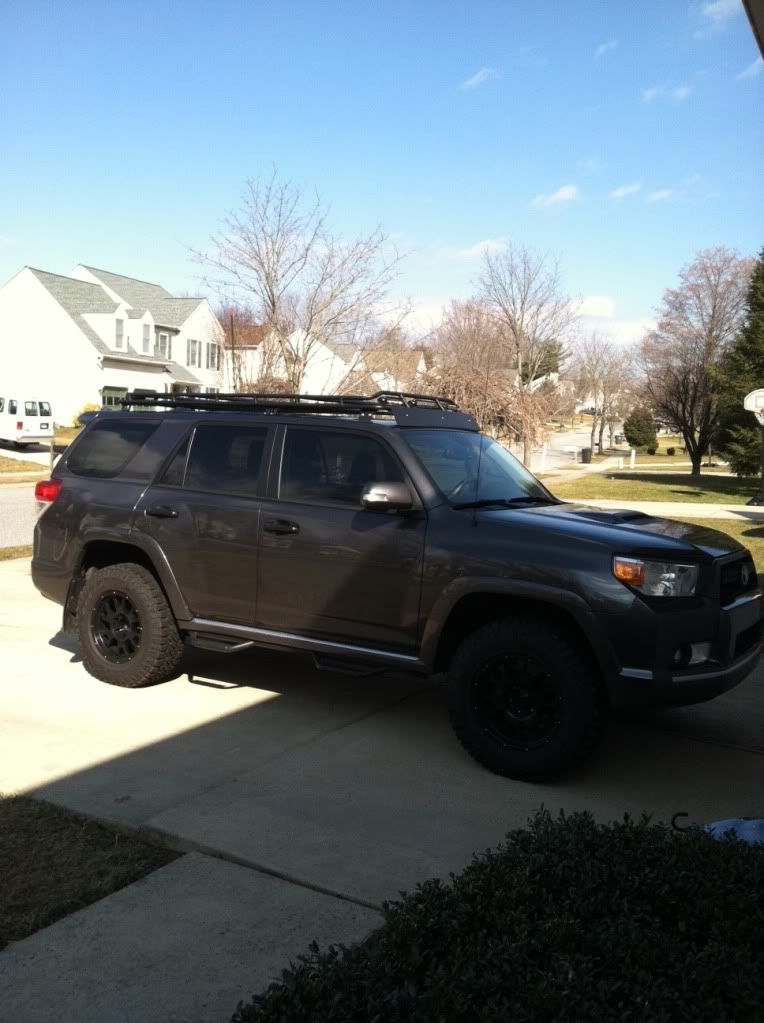
ANTMAN'S Thread

Antman you thread is awesome, i'm surprise how you still don't have the title "best 4runner of the month or better yet best 4runner of the year". There are multiple amazing 4runners on this site, but the stuff you did to yours is just amazing. You should open up a shop for 4runners, you will get a lot of people to come. Amazing work and keep it up. :rockon:
 
Antman you thread is awesome, i'm surprise how you still don't have the title "best 4runner of the month or better yet best 4runner of the year". There are multiple amazing 4runners on this site, but the stuff you did to yours is just amazing. You should open up a shop for 4runners, you will get a lot of people to come. Amazing work and keep it up. :rockon:

Why thank you sir!:hatsoff:
 
Antman- That last shot of your 4runner in the snow is money! Love it! Like someone said earlier, it is about time your won 4runner of the month/year!
Keep up the awesome and inspiring work! -Mebe4running
 
Just look what you guys are doing to me. When I bought my 4Runner I thought chrome was awesome. I loved the chrome accents on my SR5.

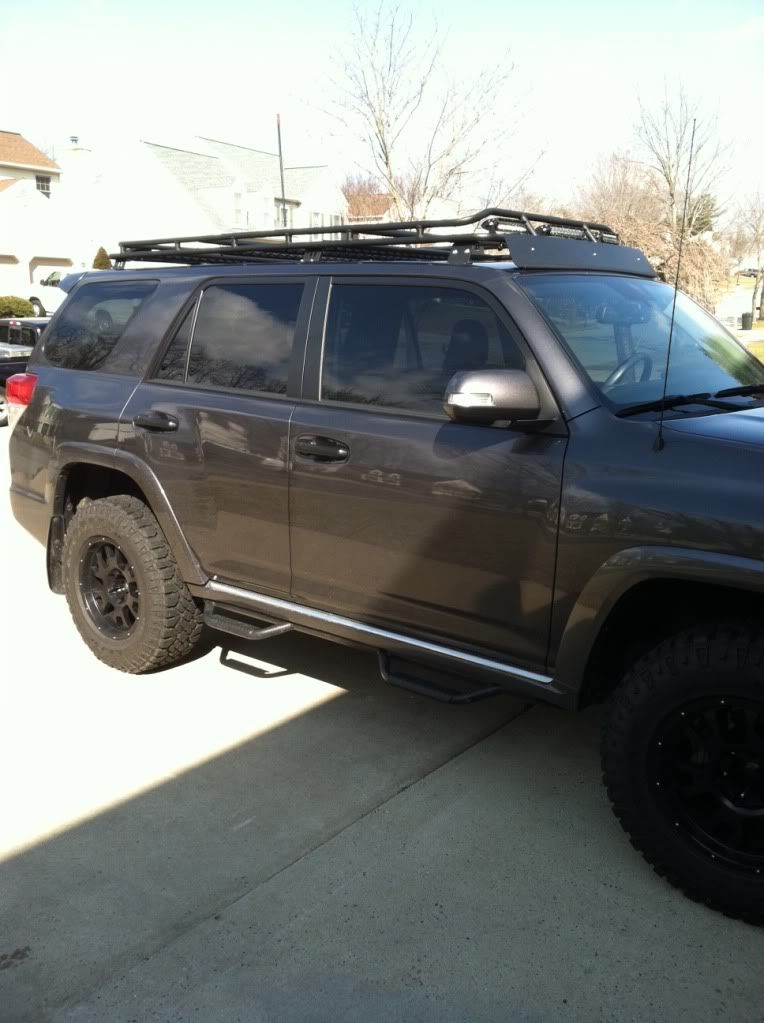
Well- it's almost all gone now. Notice anything different?


photo_zps7e669fcd.jpg~original


photo_zpsb755316d.jpg~original


Today, my friends, was a humbling experience for me. Taking things apart doesn't bother me because I can usually figure out how to put it back together or fix it if I break it. Today had me a bit concerned. Lemme tell you about today.

Woke up with a slight headache. I had planned on Plastidipping my door handles beforehand so I took some Excedrin and went at it. I figured I might as well take all the handles off instead of masking the truck, plus it was windy and in the 50's today. Not painting weather. Taking the handles off is easy anyway.....

Took off all 4 door panels and removed the door handles. Cleaned and prepped the handles for paint. Headache getting worse.

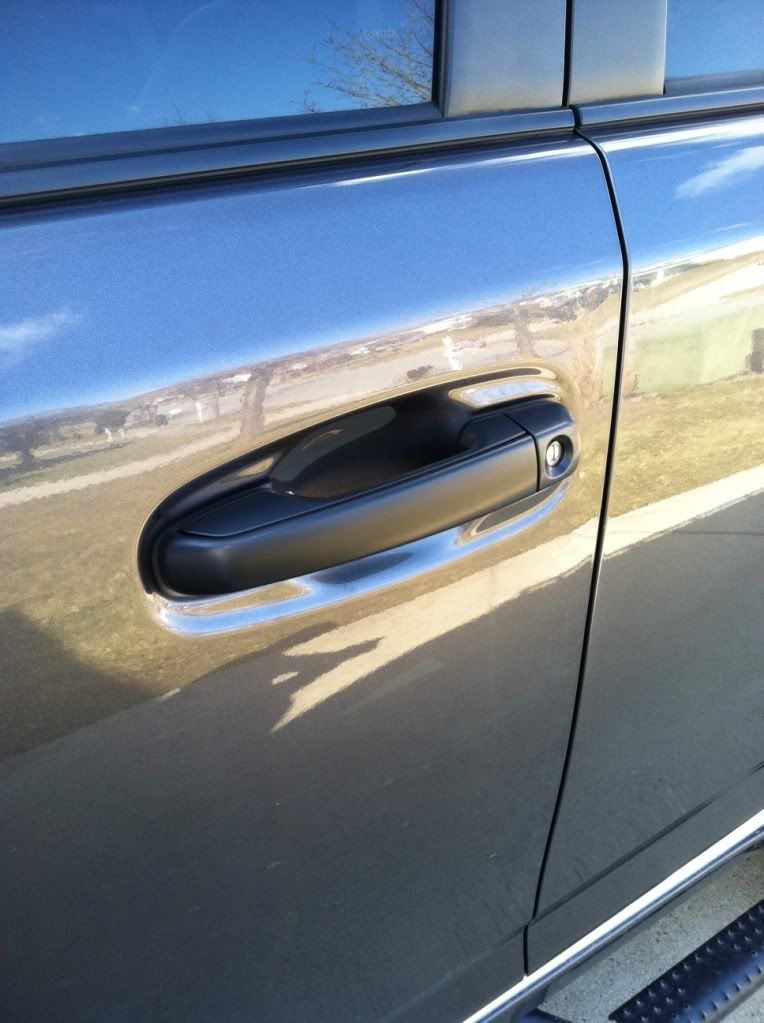
Painted the handles and end caps with Plastidip. Paint fumes are not good for an aching head you know. Head splitting now, but I'm committed at this point so I took a little break and a nap while the paint dried.

Fast forward 1 hr. Ready to re-install! Door handles back on, door panels back on. All done, right? Let's check to make sure everything is working properly.

Passenger side rear door. Hmmmmm. Will not open. When I pull the outside handle I can feel a vibration, like something isn't hooked up correctly. No worries, try the inside door handle. Child lock is on. Reality sets in. The door is shut and will not open. The door panel is on. No possible way to open this door! This is great.


At this time my head decides it can't take this added stress and completely gives up. BAM! Migraine. So bad that I had to throw up- twice.


So- I pull my sorry ass back into the house and take one of my wife's magic migraine pills (I rarely get them) and try to relax. Mind you, I am PISSED at myself for letting this happen.


Fast forward another hour. Headache is manageable. Let's figure this out.


SO I had this 4" holesaw and I drilled a hole in the outside door panel. :jk:

First I took out all the childseats so I had room to work (PITA)! I took the 3 screws out of the door panel and was able to pull the top out enough to get my hand into the door. Good start. Problem was, my hand didn't have eyes.

Back to the driver's side rear door. Took it all apart AGAIN. Took out the door latch assembly to see how it worked. Let me just say that the child lock mechanism is confusing as hell. It won't release until the handle is pulled in a certain order- I don't even want to go into it really. Anywho- I figured out I needed to pull up on a metal bar on the latch to get the door to open.

After some serious squirming, which had me thinking I might just get my arm permanently stuck in the door -Bingo- passenger door opened.

Turns out, the door latch assembly (which you have to move out of the way to get the rear handle off) has a metal stud that fits into a plastic fork that is actuated by the outside door handle. Mine wasn't lined up properly so the handle wouldn't open the latch. I know better.:frusty:

IF YOU TAKE YOUR REAR DOOR HANDLES OFF, MAKE SURE THE OUTSIDE DOOR HANDLE ACTUATES THE LATCH PROPERLY BEFORE YOU PUT EVERYTHING BACK TOGETHER!!!

What a damn day. Don't they look nice though?


photo_zpsa58c135e.jpg~original
 
Wow!! That's rough. My hat is off to your determination. I would've used the hole saw!. They look great though.
 
That sounds like a rough day! Anyways, I Just wanted to post about how you inspired me with the shelf you made from an old bed. I made my very own (out of an old wardrobe) this past weekend.
 
Today, my friends, was a humbling experience for me. Taking things apart doesn't bother me because I can usually figure out how to put it back together or fix it if I break it. Today had me a bit concerned. Lemme tell you about today.

Antman - you now understand what the rest of us go through each time we mod our runners!

I'm glad you got it figured out, hope the head feels better buddy!
 
I guess you do not know this, but in both rear fender wells there small hook shaped hole (behind the fender liner). If you use a short screwdriver, you can slide from inside to outside and turn off the child safety lock on he door.


:jk:
 
I guess you do not know this, but in both rear fender wells there small hook shaped hole (behind the fender liner). If you use a short screwdriver, you can slide from inside to outside and turn off the child safety lock on he door.


:jk:

HA! Trust me, I looked into every possible nook and cranny around the door!
Thank goodness that panel can come off a little bit when the door is closed or I would have probably had to destroy it to get into the door!
 
Holy cow, your experience sounds like a headache alone :wow2:

Lesson learned - PlastiDip door handles without taking them off !

They do look nice and clean, at least you had a good ending :).
 
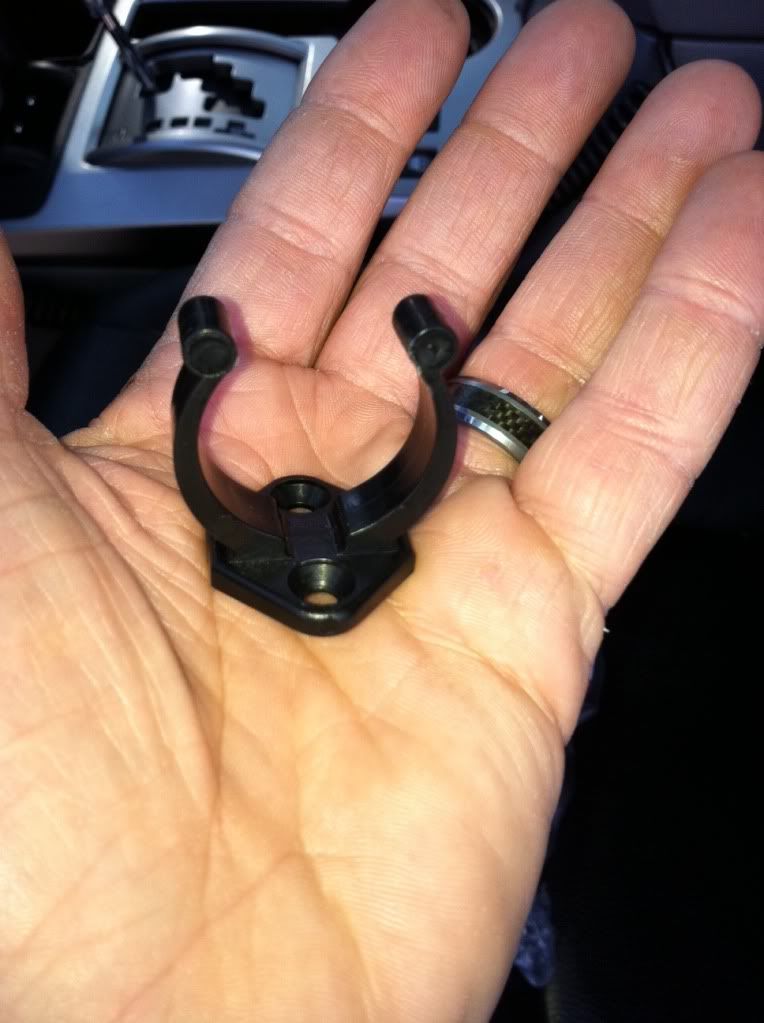
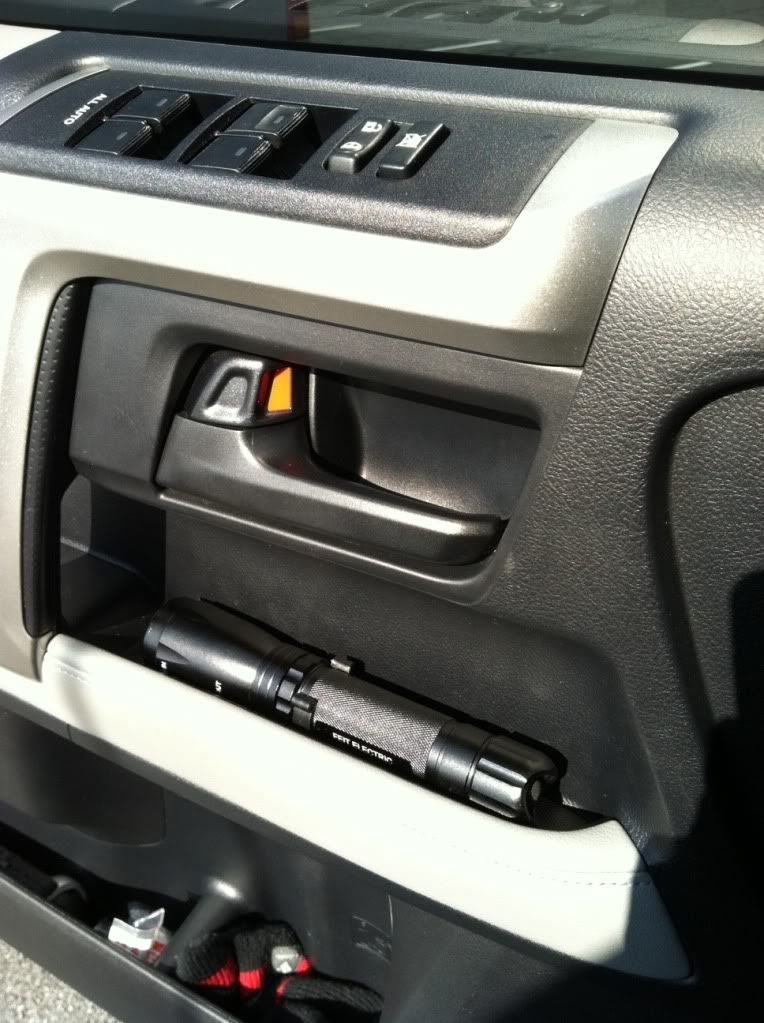
** DOOR FLASHLIGHT HOLDER

This is a simple little mod that some of you may like.

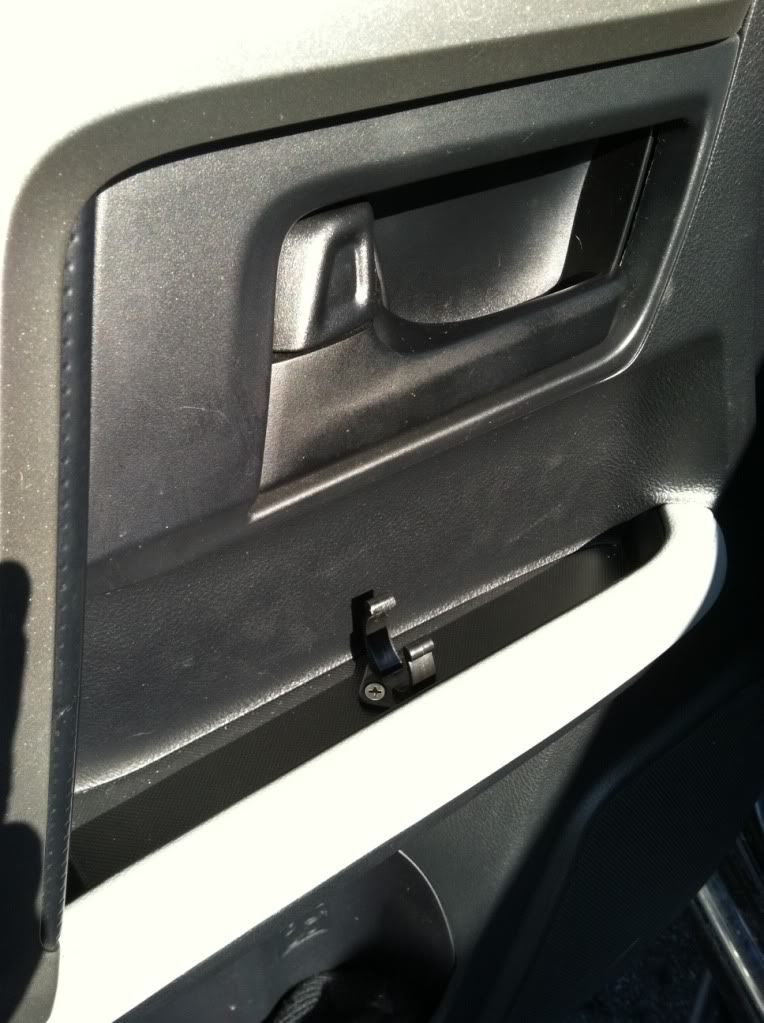
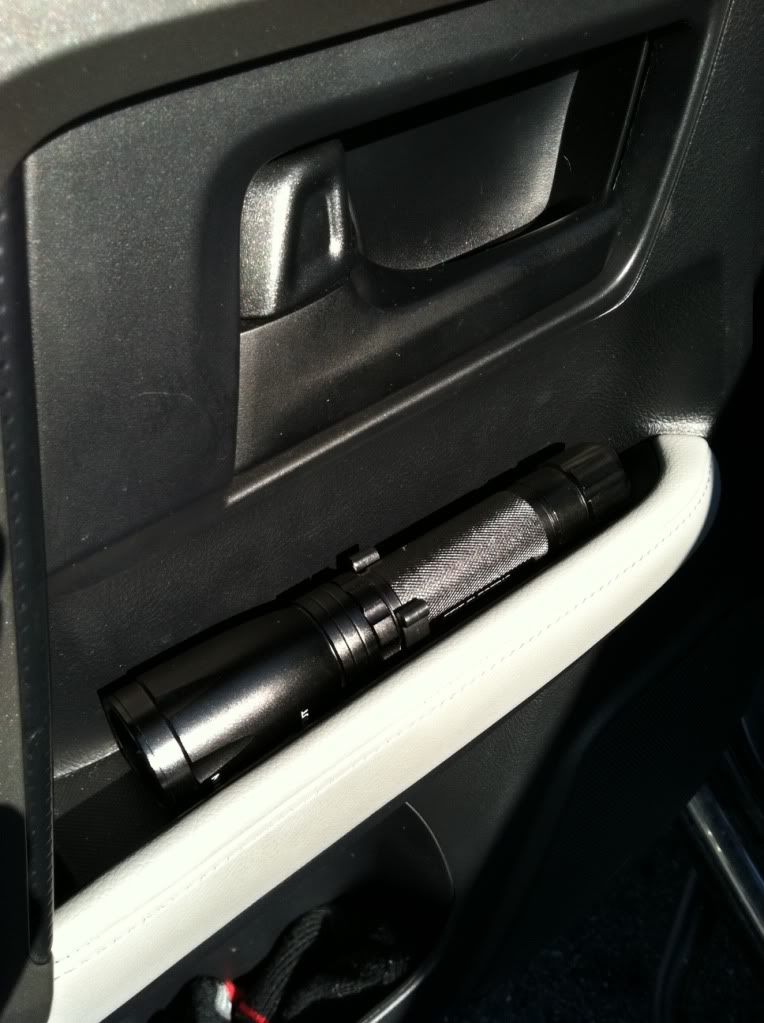
Anyone use the shallow little storage area by the armrest? Not me. I found it to be mostly useless. It does, however, make a really nice spot to mount a flashlight.

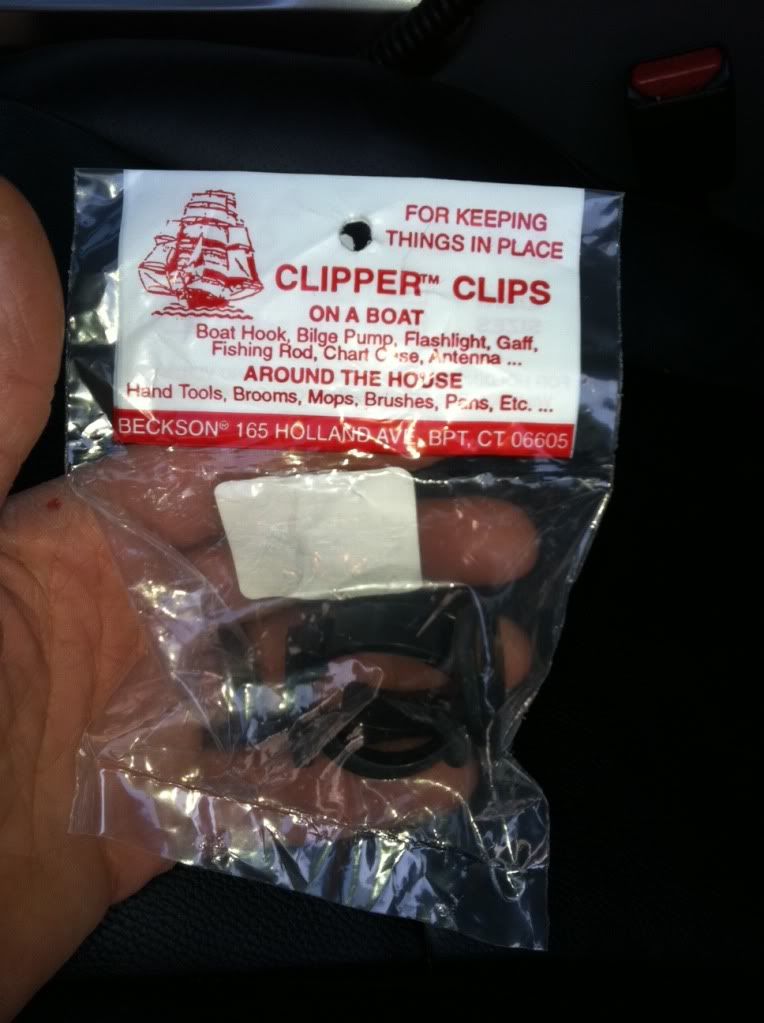
They sell these handy clips at places like West Marine. They are well made and can stand up to repeated use. These are 1.5" clips- they make them in many sizes though to suit your needs.

photo_zps716cca07.jpg~original


photo_zps2950436b.jpg~original


The pack comes with 2 clips but I only used one, and my flashlight (all aluminum with 3 "C" batteries is pretty heavy.


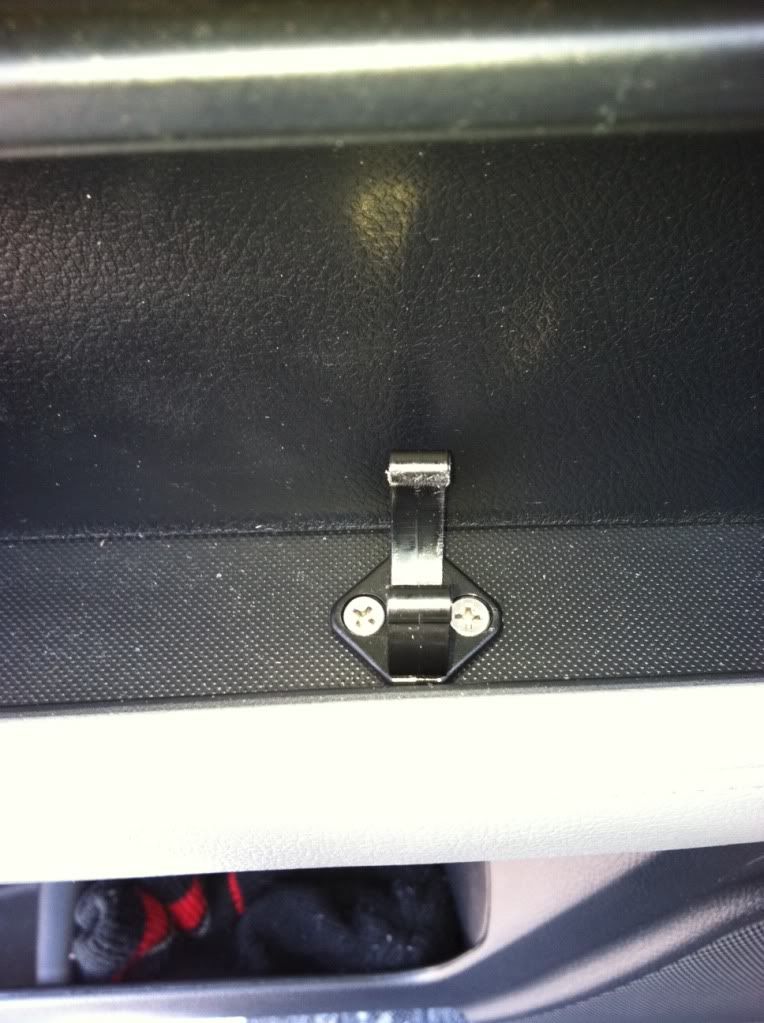
Just mount the clip- I used 2 stainless #8 1/2" countersink screws.

photo_zpsbbf907b9.jpg~original


photo_zpsee83ef14.jpg~original


photo_zps6051431b.jpg~original


photo_zpsdbef2520.jpg~original


A quick note- I did this today in West Marine's parking lot (had some time to kill before picking up the kids at daycare).

No need to even drill a hole. I marked the hole locations and used a right-angle pick to make a dent in the screw location. This will stop the screw from "walking". Then I put the screws in the dent and forcefully screwed them into the plastic. Removed the screws and cleaned up the flashing around the hole with a knife. Then I installed the clip.
It took longer to type this than to mount the clip!

No rattles- the mount is very secure yet releases with a tug.


Happy Modding!
 
You sir are a modmaster. Love the door handles, sorry you had to power through the headache, plastidip definitely doesn't help them.
 
Inline fuse for blue sea fuse box mod

Hey Antman!

Rookie 4runner owner here SLOWLY modding 2011 TE. I was wondering if you'd be willing to tell me what brand inline fuse holder you're using? I'm no good with electro so am learning and then slowly applying. Any other info you think might be useful would be greatly appreciated. Thanks and happy modding to you sir!

-BOF
 
Hey Antman!

Rookie 4runner owner here SLOWLY modding 2011 TE. I was wondering if you'd be willing to tell me what brand inline fuse holder you're using? I'm no good with electro so am learning and then slowly applying. Any other info you think might be useful would be greatly appreciated. Thanks and happy modding to you sir!

-BOF


Hey Bof-

That inline fuse holder came as part of a stereo installation kit from Crutchfield- It was free with the Subwoofer I purchased. I think the brand is EFX? Decent quality but not the best for sure. I upgraded the wiring to 4 gauge since it powers my 1000W inverter through the Blue Seas box.

Just about any fuse holder for car audio (or marine use for that matter) will work. There are thousands to choose from!
 
Hey Bof-

That inline fuse holder came as part of a stereo installation kit from Crutchfield- It was free with the Subwoofer I purchased. I think the brand is EFX? Decent quality but not the best for sure. I upgraded the wiring to 4 gauge since it powers my 1000W inverter through the Blue Seas box.

Just about any fuse holder for car audio (or marine use for that matter) will work. There are thousands to choose from!
Sweet! You prob have a full time job replying to the clueless such as myself! Thanks for you time- I'll try not to pester you unless I absolutely can't figure it out myself.
Thanks again- Love your rig!

BOF
 

Members online

Forum statistics

Threads
278,306
Messages
3,554,045
Members
248,016
Latest member
Advally Service

Trending content

Back
Top