If you want a write up that was Antman inspired (and has the Antman household seal of approval) you can check my build thread (see signature below). :thumb3:
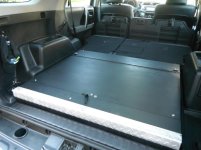
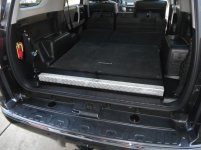
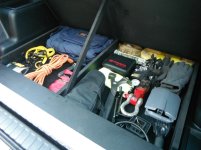
1* Secure storage for some emergency gear (Zombie preparedness- inspired bySeattleMike. RIP Mike). 2* Create a flat cargo floor with the back seats folded flat (I don’t have a slide-out, or the 3<SUP>rd</SUP> row).
It was very uncomfortable trying to sleep in the cargo area, whenever the Wife threw me out(!), because the cargo floor was significantly lower than the back of the seats. I tried to keep costs down (around $150) and didn’t do anything that isn’t completely reversible. The entire unit installs or removes in about 2 minutes with a few screws.
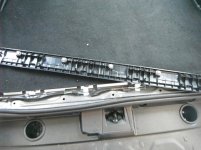
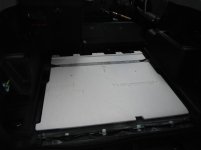
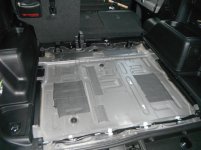
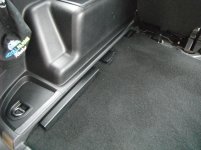
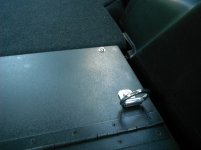
Started out by removing some stuff to get down to the sheet metal…
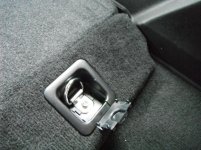
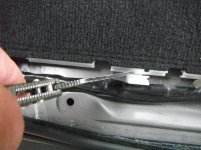
It’s pretty easy to get everything out of there! The rear molding pulls up with some muscle. The “D” rings have a flip-up cover and then an 11mm bolt. The carpet comes out with the little white clips. I removed the white Styrofoam piece to gain some storage depth.
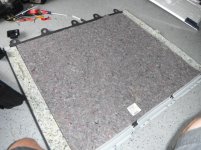
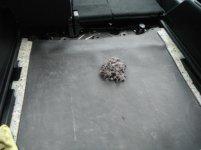
I also removed the padding from the carpet. You simply have to rub it off (did I seriously just type that?)… AHEM.
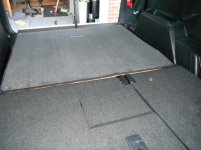
The back of the carpet is some thick vinyl. I originally re-installed the carpet piece upside down with the vinyl facing up. After some test drives with stuff rolling around back there, I decided to go with the carpeted side up. It’s nice to know you can do either way, though. The carpet piece will still clip into the white retainers.
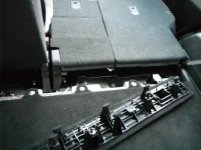
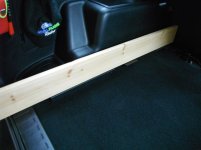
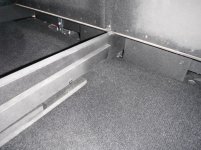
I decided to use these flat plastic pieces that protrude out over the carpet as a base for the platform. To allow more space, there will be no bottom to the storage unit- only the carpeted metal floor.
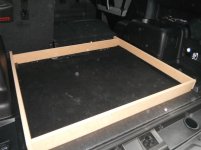
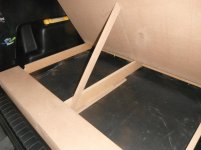
You can see how the framework will rest on the plastic “rails”, almost like they were designed for this. Hmmmmmmm.
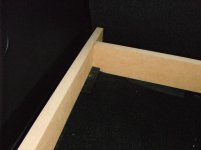
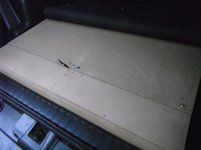
I used MDF for the entire box because it’s cheap, will not warp, and if you use it correctly it’s strong! First, I cut the side pieces to length. Then measured and cut the front and back. The front is a little wider than the back. Next , a center support, the lid and the tops. I used a piano hinge for the lid, and made a support rod to hold it up. I used screws in pre-drilled holes and wood glue to make the frame.
Note#1- Screws designed for concrete backer board (in the tile section @ Home Depot) work awesome for MDF. Drill a small pilot hole and screw them in. The heads on these screws have little grooves that cut their way into the material to automatically countersink without splitting the MDF.
Note#2- the frame is ¾” MDF. The top of the box is ½” MDF. By using thinner material for the top, I gained ¼” of height. May not seem like much, but in such a shallow storage area, every little bit helps. My toolbox wouldn’t have fit without it!
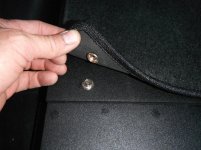
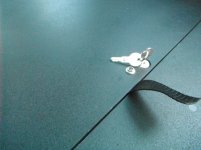
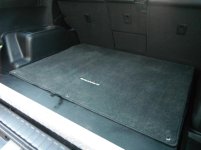
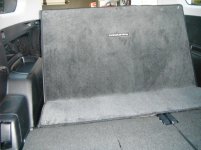
I decided to use the carpeted cargo mat that came with the truck. To keep it from sliding off when the lid’s opened, I added some snaps. You can get a kit to do this at any home improvement store. Its fun too- you will end up adding snaps to everything! I also installed a simple lock, and a nylon pull strap to open the lid. There are half-circle cutouts in the frame for your fingers to open the lid as well.
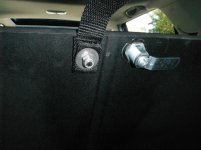
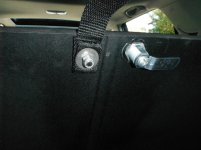
I also re-used the factory tie-downs without the plastic piece (thanks for the idea, Kraeken!)…
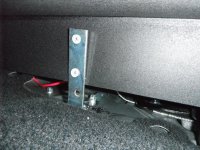
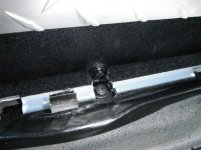
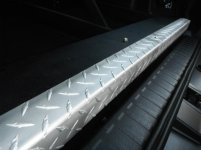
I used epoxy to fill the bolt holes and sprayed everything with 2 coats of truck bed paint. The box is held in place in the front by 2 angle brackets screwed into the wood and into a factory bolt that was used for the tie-down brackets. The rear uses 2 small angle brackets with 2 self-tapping screws into the floor. It’s very solid! I added a diamond plate piece to the back so it wouldn’t chip the paint, and because I think it looks cool…
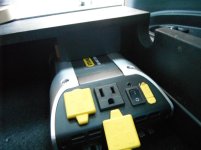
Since I’m Antman, I had to wire something up, so I added a small 500W inverter that I picked up for cheap. I don’t have factory 110V outlets, so this will do for now…
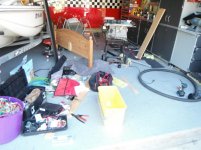
Of course, the garage paid a price for this project…what a mess!
So that’s it!
The storage box holds quite a bit of stuff for its size. It can be removed easily, I can still use the cargo area, and when I’m in the doghouse I have a comfy flat place to sleep.
Now, maybe I can add some LED mood lighting to the back…………..somebody help me.
wow..... storage looks good! way more functional than that slide out tray thing. maybe i'll have to replace mine. I can't make full blown draws, since my 100LB puppy sits back there.
I was also thinking of trying to build something on the sides. similar to what people do in the back of pickup trucks around the wheels wells.
Once again Hackman, you've managed to make me dislike you even more!!! That is a VERY nice job, clean and looks like it should of been that way from the start. Good job.
His truck is eventually going to look like the mother ship from Close Encounters on the inside and the Batmobile on the outside. It will even roll up like a pillbug when threatened! But it will still have Dunlop tires...
His truck is eventually going to look like the mother ship from Close Encounters on the inside and the Batmobile on the outside. It will even roll up like a pillbug when threatened! But it will still have Dunlop tires...