Atchcraft's Fab/Adventure Thread

atchcraft

New member
Atchcraft's Build/Fab and Adventure Thread

It seems like every time I start a build, something goes wrong. Not with the build, but rather some path changing life event, where I lose 1/2 my stuff and what not. This time around, I stuffed all my tools in storage for sunnier days. Long story short, I had to wait a long time to buy this 4Runner and now its here.

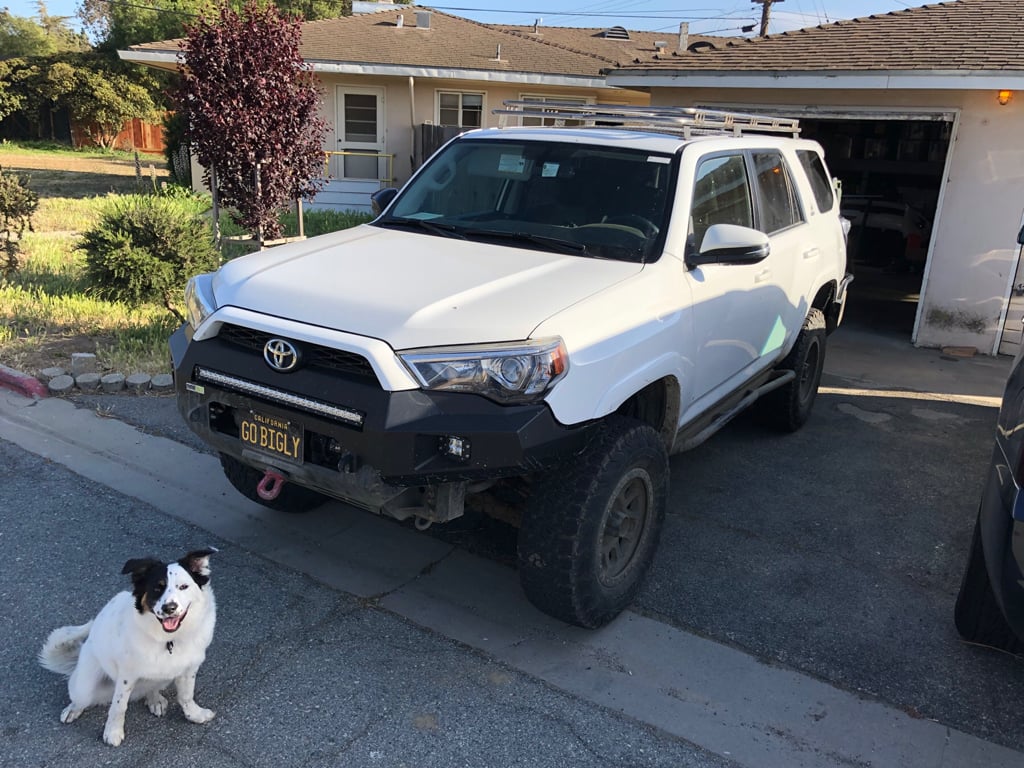
I got it brand new in Aug. 2016. It's a SR5 Premium w/ 3rd row. Two weeks later, I had destroyed the running boards on the Bear Trap cabin trail, in the Sierras. What a blast! I've had a lot of rigs in my day, and I had high hopes for the 4Runner. so far, I love this thing.

To date, I've done a good portion of the obligatory "mods". Icon stage 2, Overland 3" rear springs, HID's, Method Grid's and 285/70-17 KO2's and an awesome CBI rear bumper. I was originally going to buy the blank rear and add my own swing out, then add my own acoutrama. But when I called to order it, they made me a stupid good deal on a complete "blem" unit. BTW, the folks at CBI are top-notch. cant say enough about their service and products! So, that stays in this first post.

If y'all don't mind, I'm going to start this build thread a bit differently. I'm going to skip over the stuff that is already covered by many other threads, the mods I just mentioned, and focus on the stuff that I want to made or do myself.

A little about me; I'm a former Aircraft mechanic and I've also done a stint at Disneyland as a maint. tech. I'm not in those professions now, but they are in my blood. I love fabrication, of all kinds, and have to keep busy. I've been wheeling for over 35 years in one form or another. I've owned a few Jeeps, trucks and other 4WD rigs. Most of them are gone and I'm ready to shift gears to more "camping" style outings. Enough about me...

You ready? lets do this!

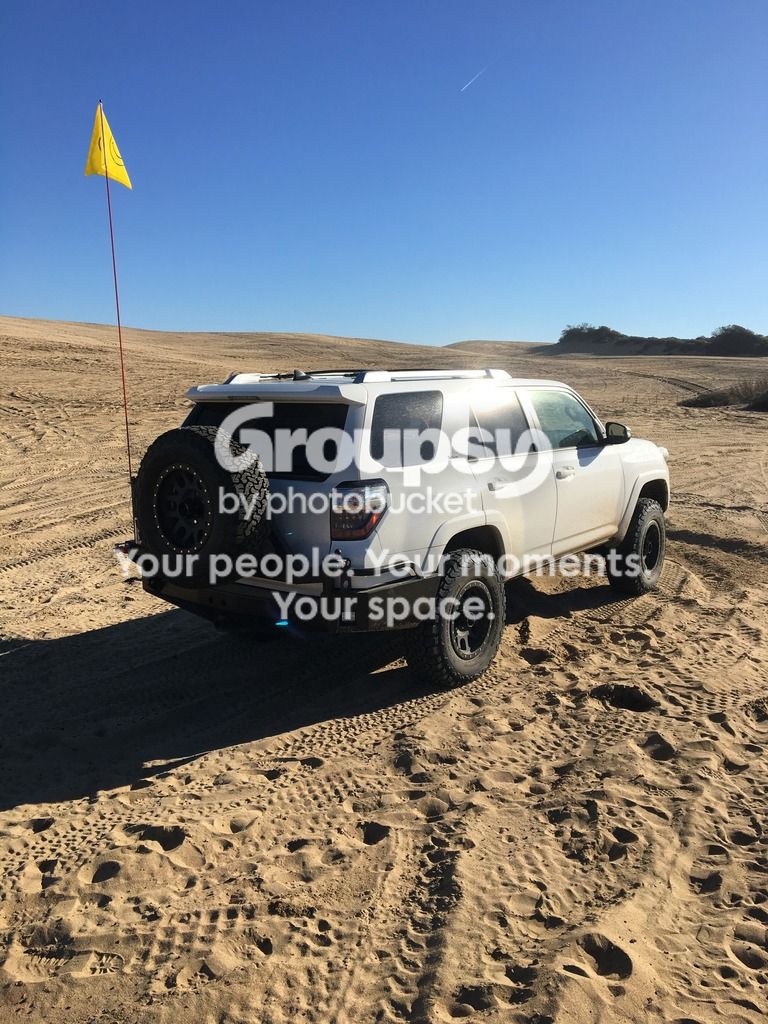
Here's where we are starting, as stated above. I'm trying out the Ko2's in sand. not bad at all!
IMG_1332_zpsumu31xp1.jpg~original


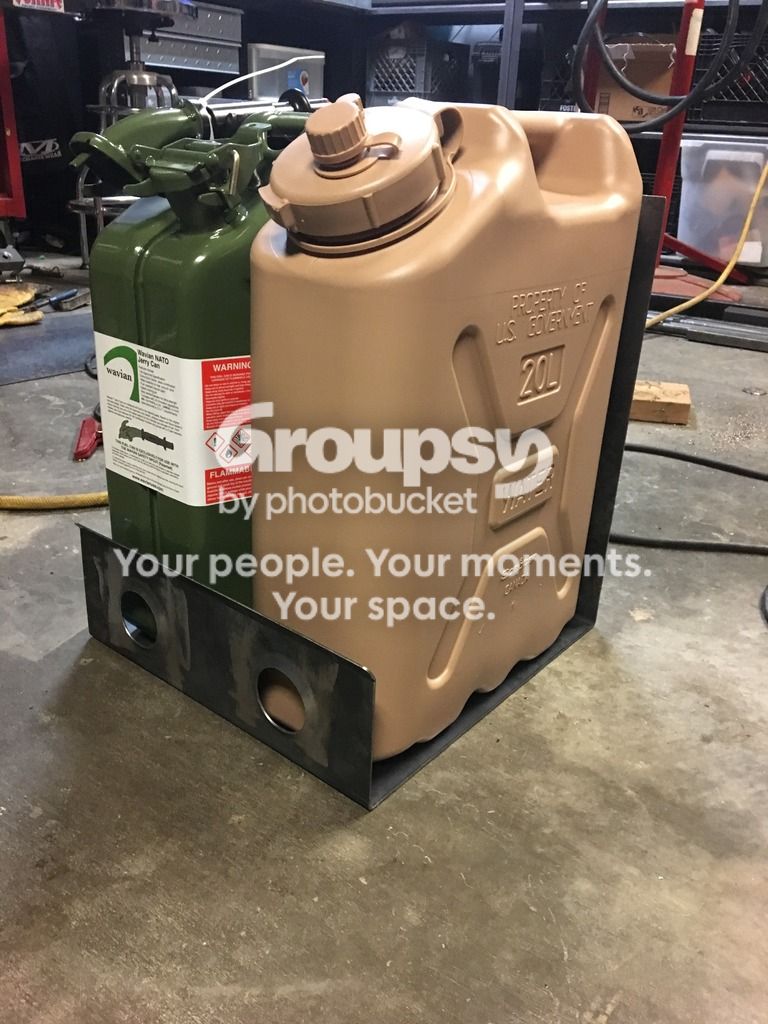
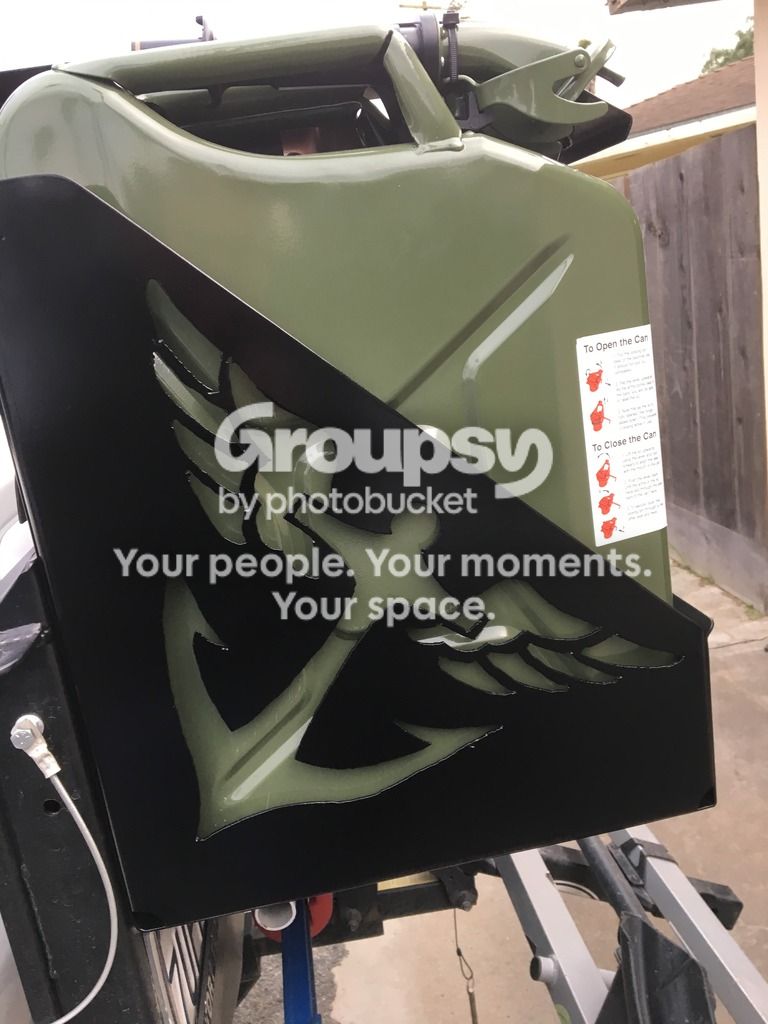
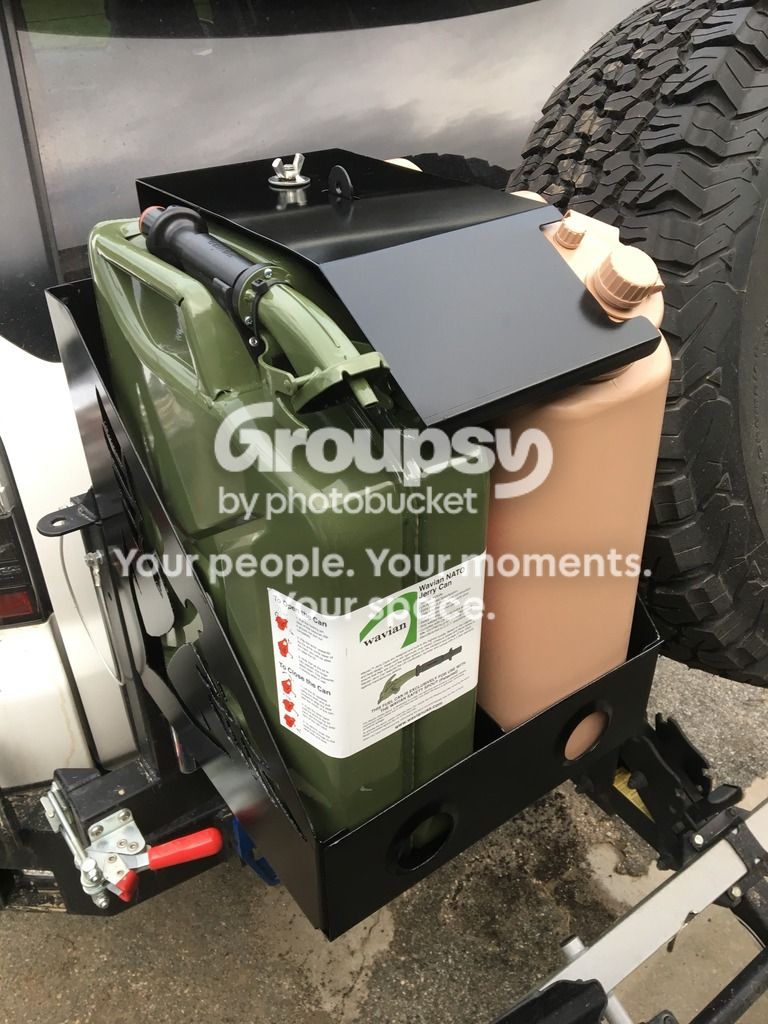
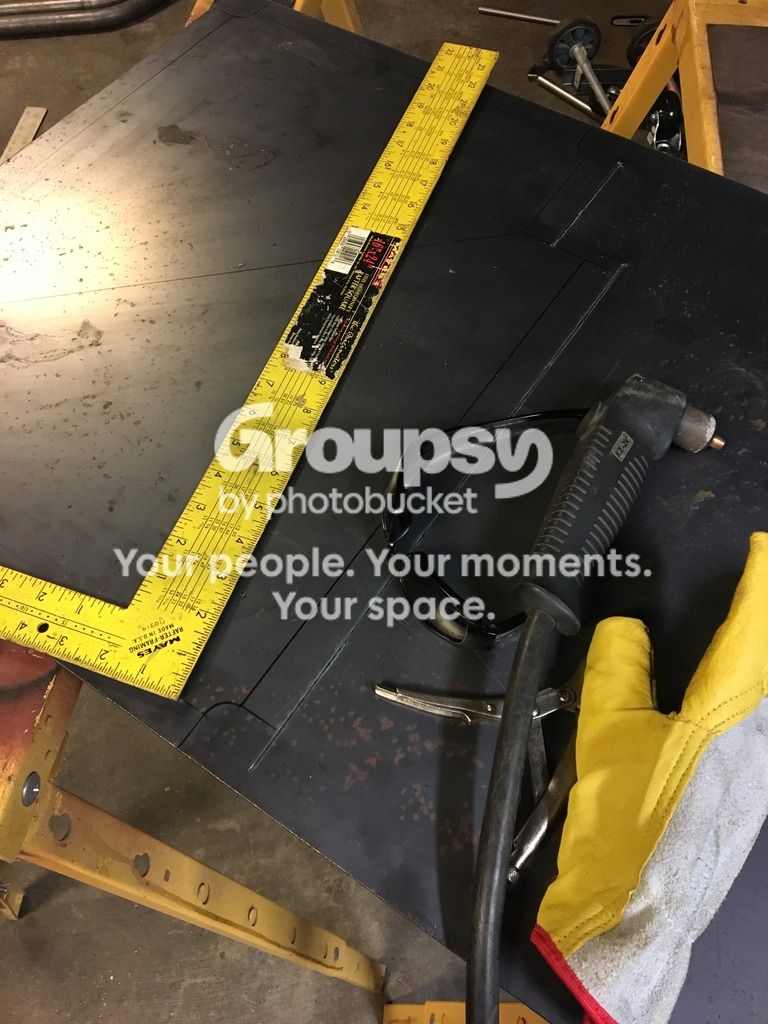
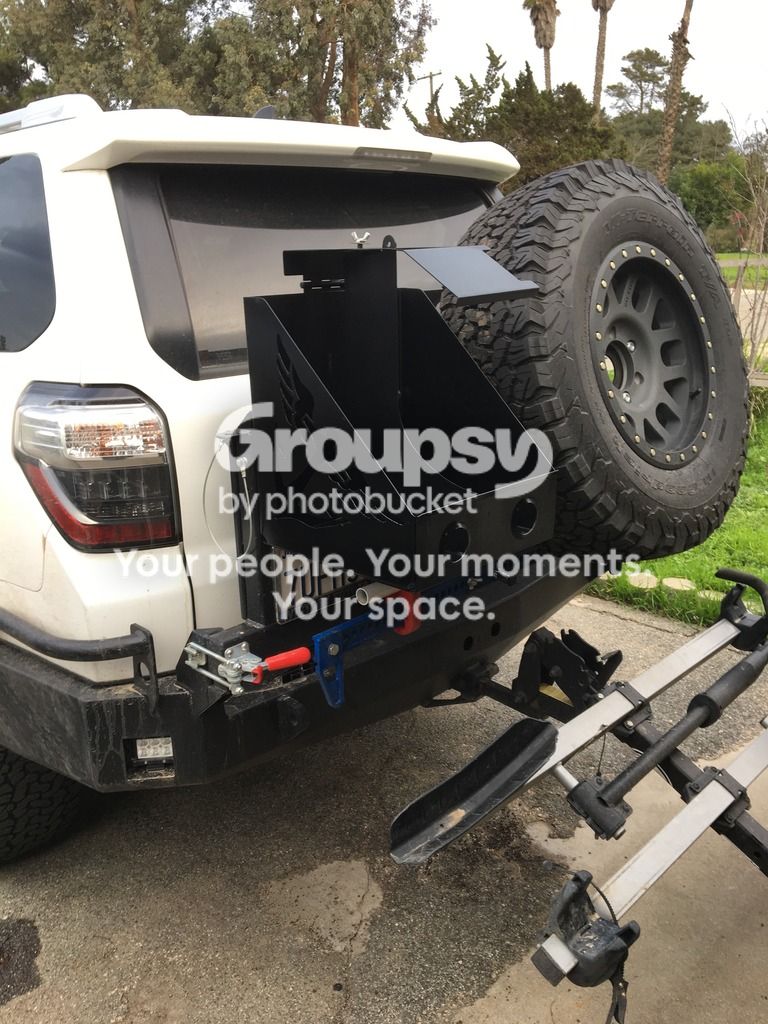
Ok, my first project was supposed to be sliders. I got all the steel cut, but It's freakin storming and I don't want to lay in the rain. So, I called an audible and decided to build a jerry can rack.
IMG_1362_zpse3gbaysd.jpg~original

IMG_1360_zpsz6paba4z.jpg~original

IMG_1361_zpshwfsy53n.jpg~original


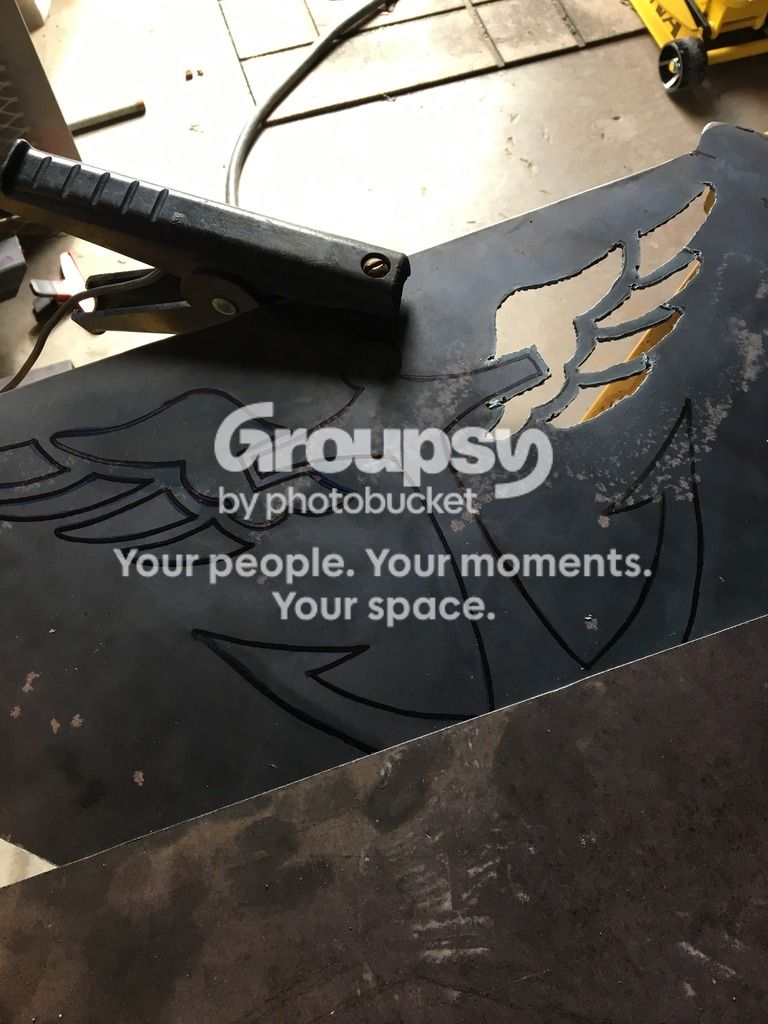
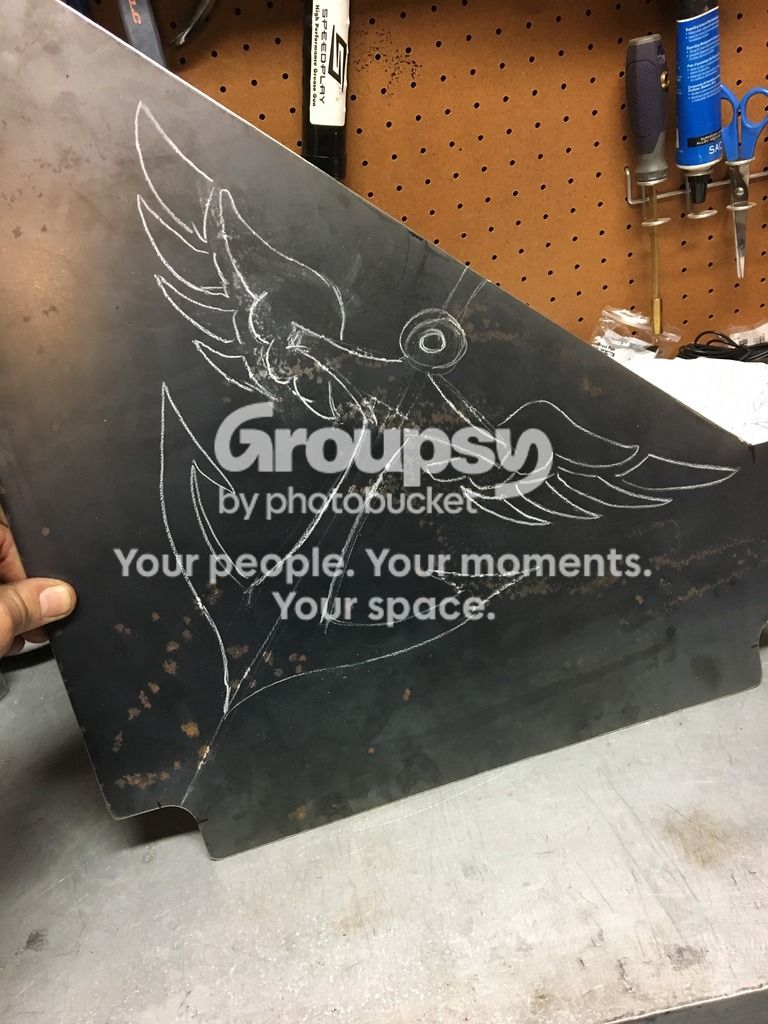
Ok, something I forgot to mention; I try to make things just a little different, or at least leave my mark. This is cut by hand, so its not perfect. But, I think it worked out ok and it's unique... Go Navy!
FEVY4070_zpsaknjnwhe.jpg~original

IMG_1384_zps7aneyvp0.jpg~original


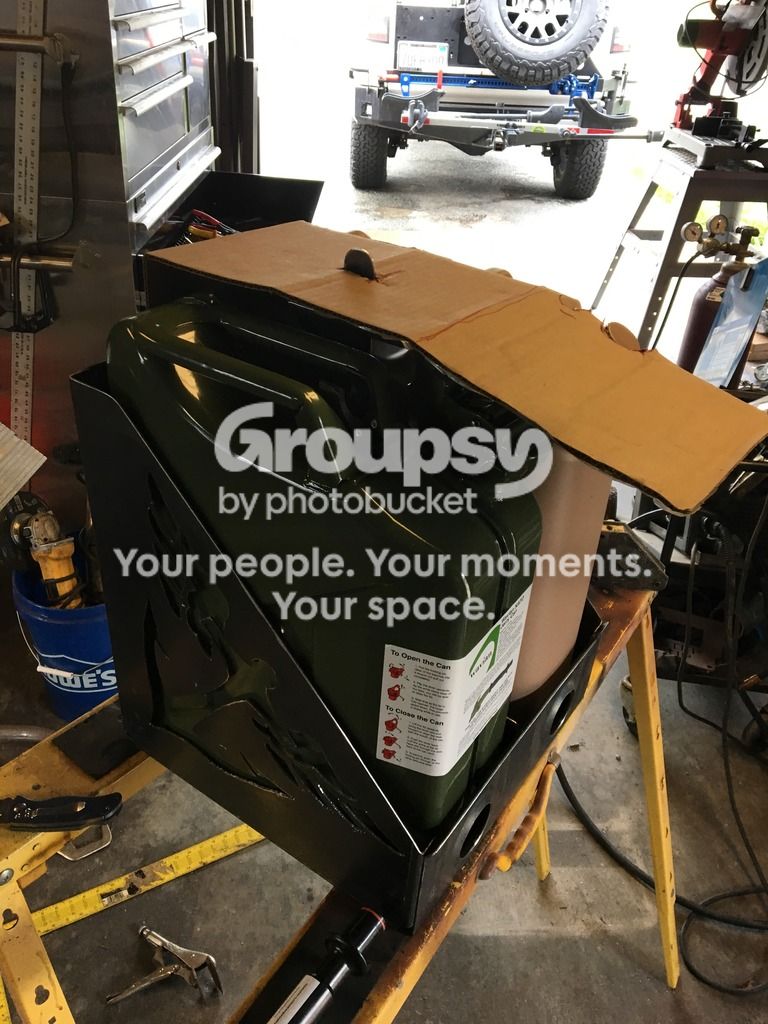
I get pretty high-tech these days. As you can see here, I'm using CAD (Cardboard Aided Design)
IMG_1386_zpsffrmfbvx.jpg~original


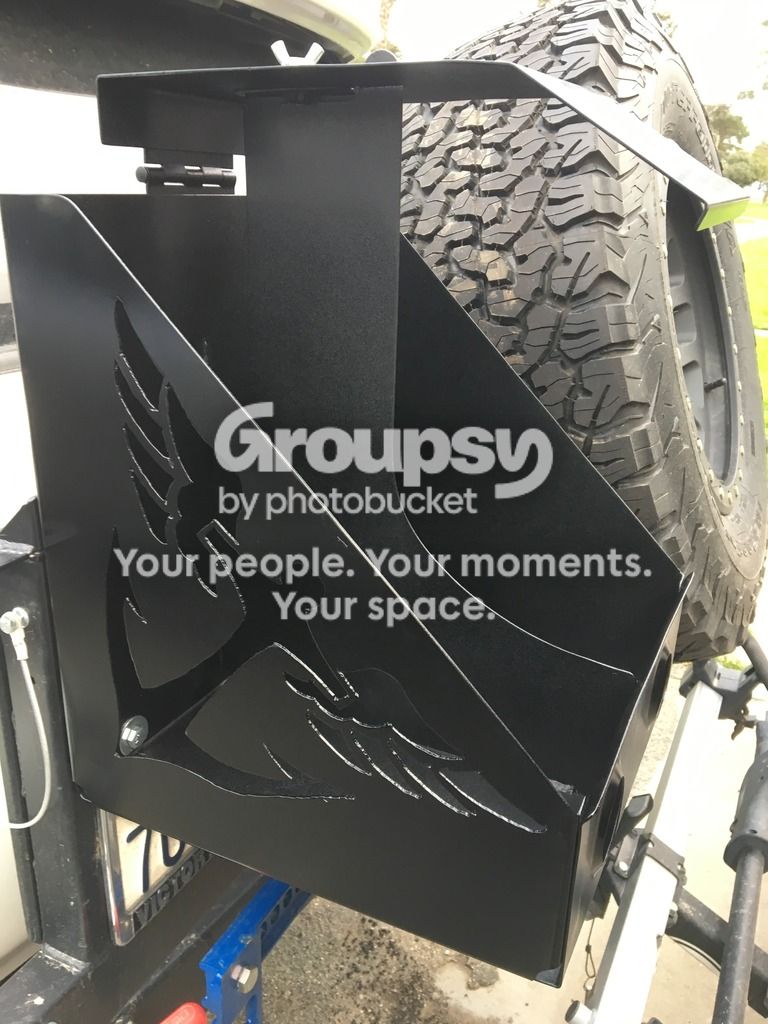
Finally installed. I have to say, I'm from the Northwest. But, I've been in CA for 17 years and I've grown a weather pu$$y. If it drops below 50 degrees, I'm thoroughly convinced that the Sun has died. Anyway, cold weather also makes paint dry waaaay too slow. I should have snapped a pic of this, but I rigged up a paint dryer with a propane weed burner... worked like a champ. FYI, I used truck bed liner in the inside and I kinda like it!
IMG_1395_zps0gbryh5p.jpg~original

IMG_1396_zpsvwkxacmt.jpg~original

IMG_1397_zps0zhbv5zv.jpg~original

IMG_1400_zpssm4smbe1.jpg~original


Thanks for checking out the beginning of my build. Let me know what you think.

Matt
 
Last edited:
Register to hide this ad
I think I mentioned at the start of this that I’m not that good at keeping up build threads. I think I’m going to go back and update this a little, since I’ve been putting a lot of work into my truck.

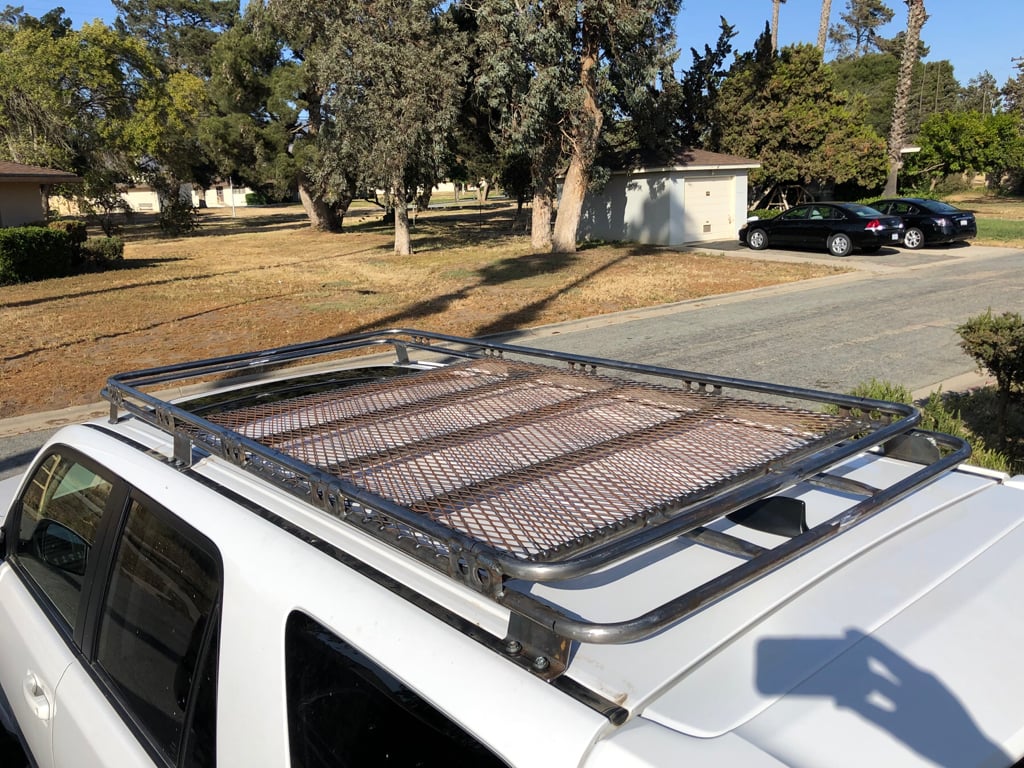
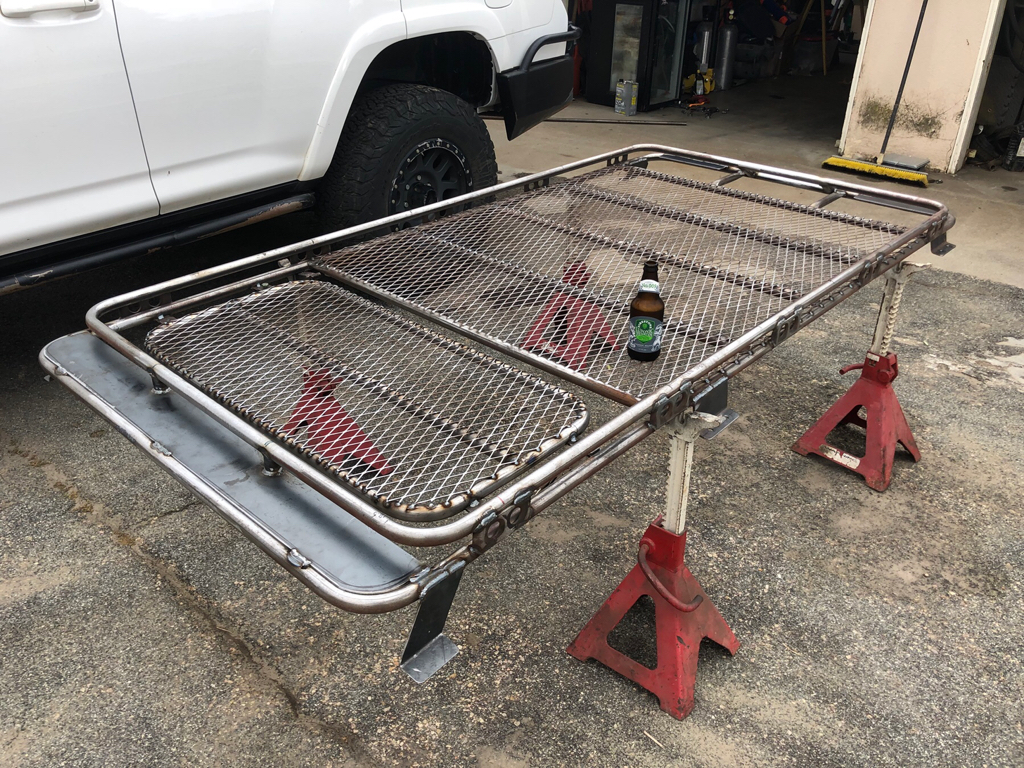
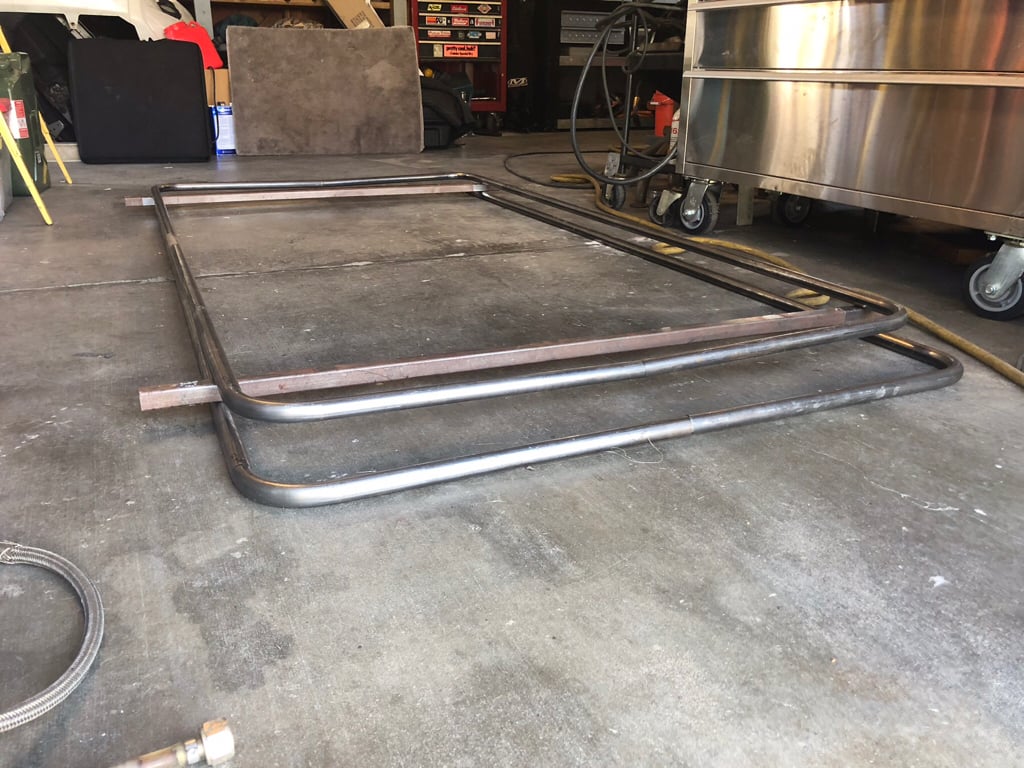
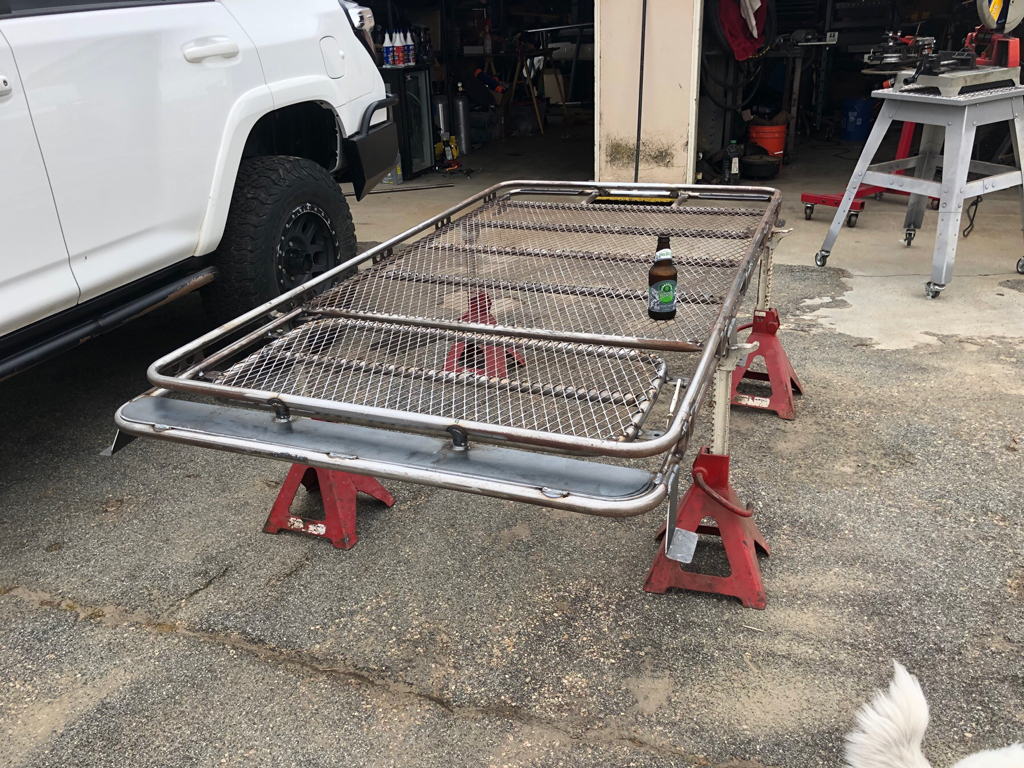
Today, I started to build my roof rack. Like everything else, the steel has been laying around and I need to get stuff going. I’ve been eyeing racks and you’ll never guess which style I liked. The OD is 88”x43”. The tubes are bent!

13a4dbf177e9926430eeabc00c175173.jpg


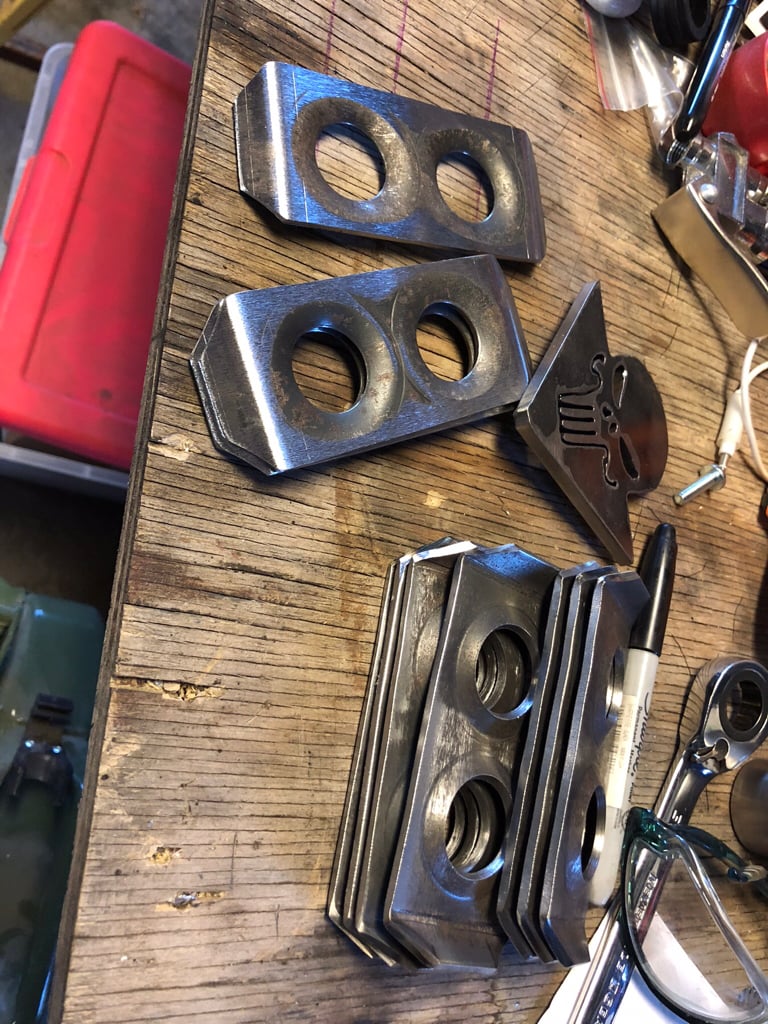
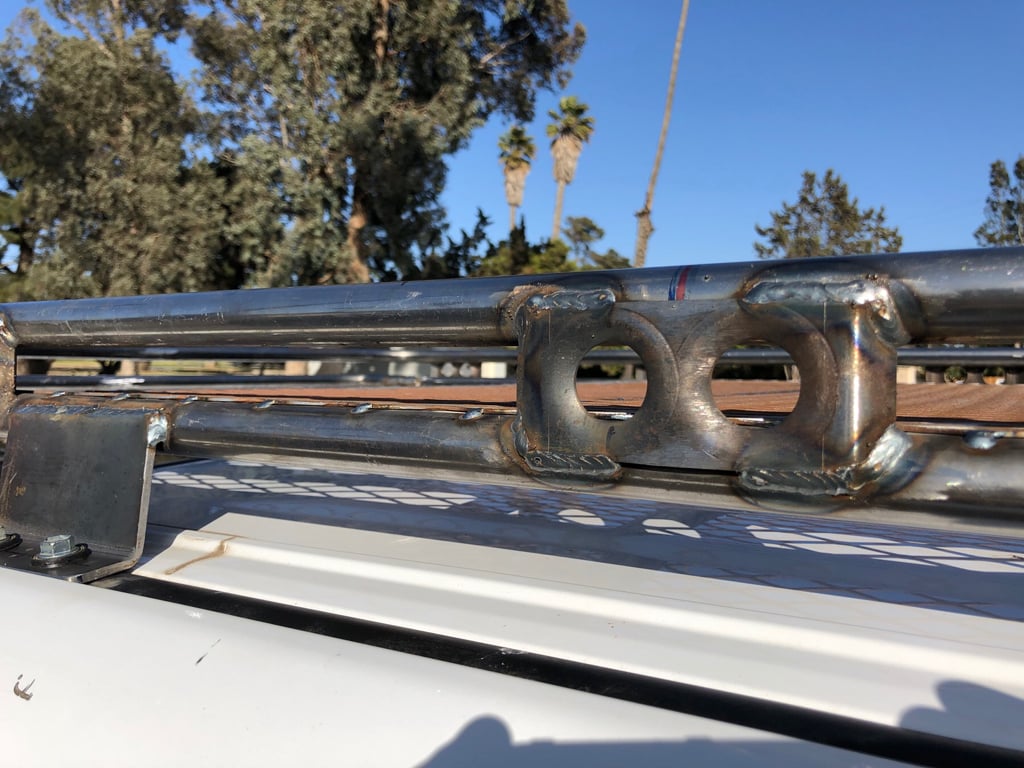
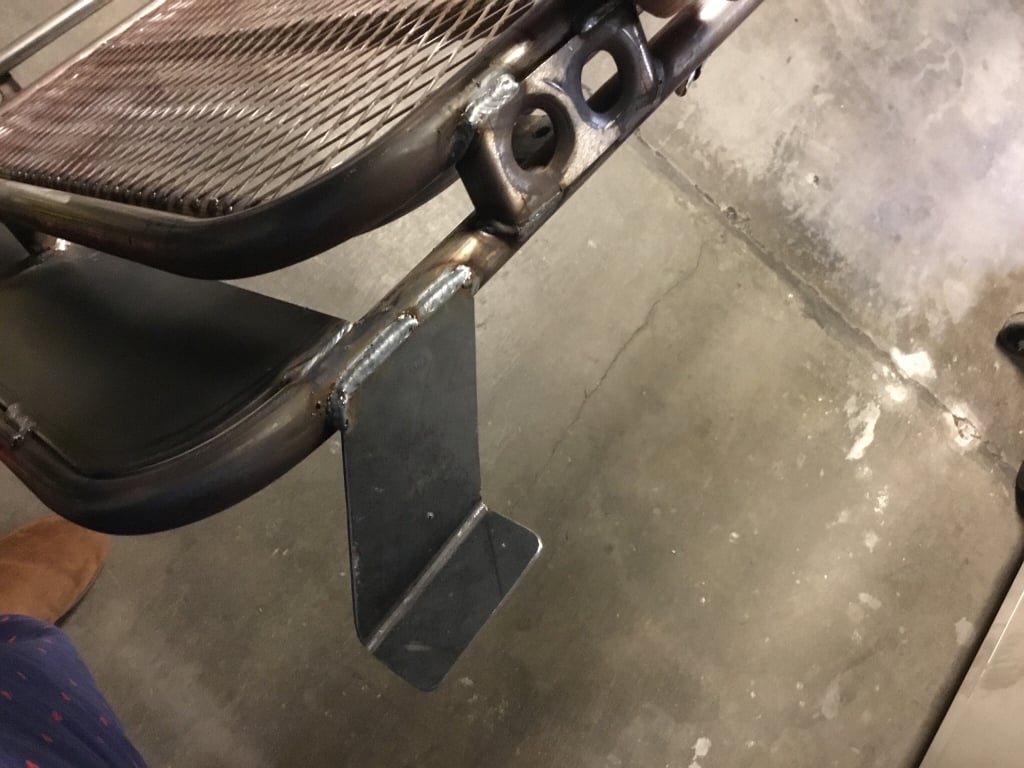
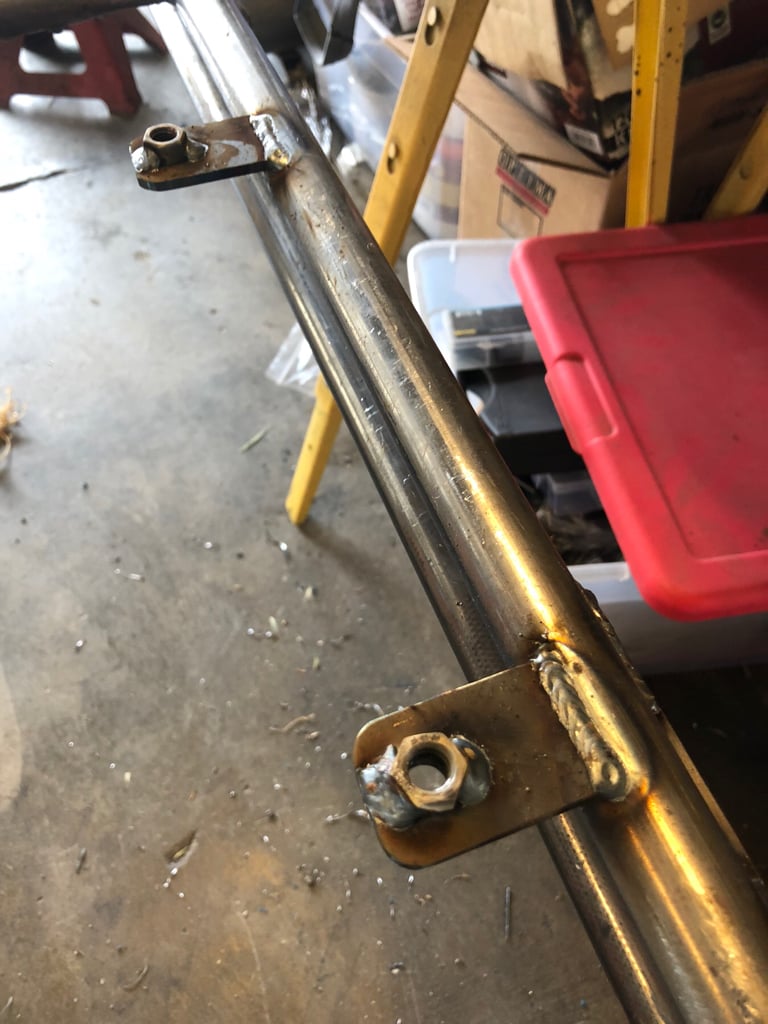
I didn’t want to cut and cope a bunch of small tubes, plus I wanted it to look a bit different, so I came up with these.

83198ccfb2f7a039f86b7920d1ade30f.jpg


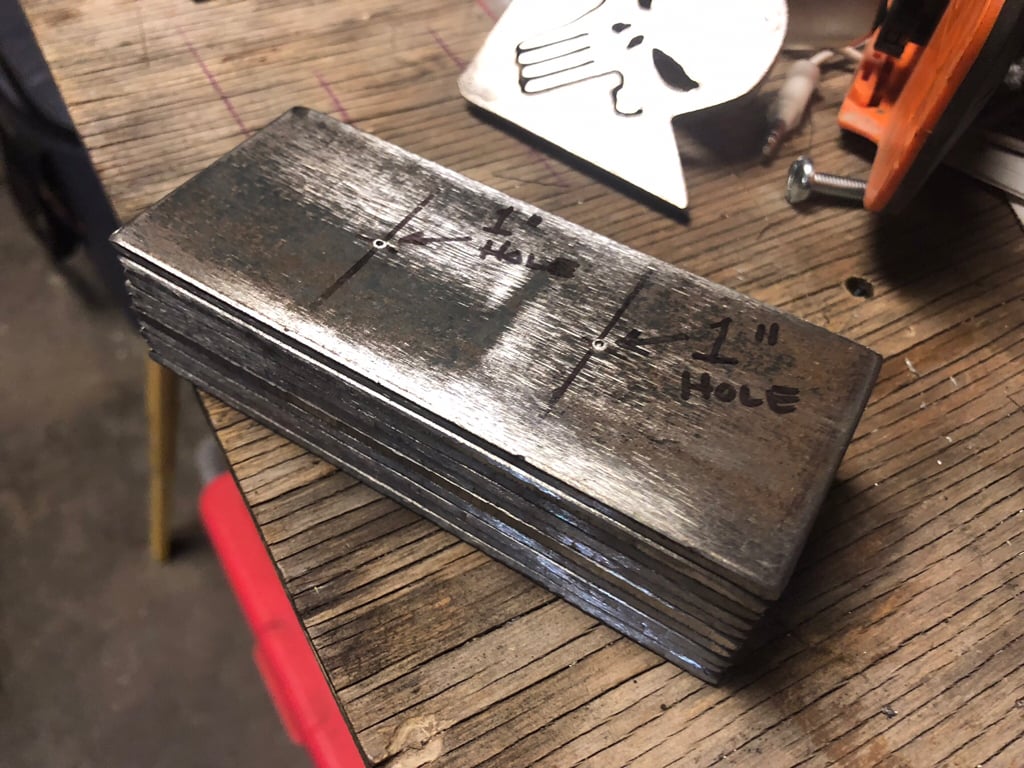
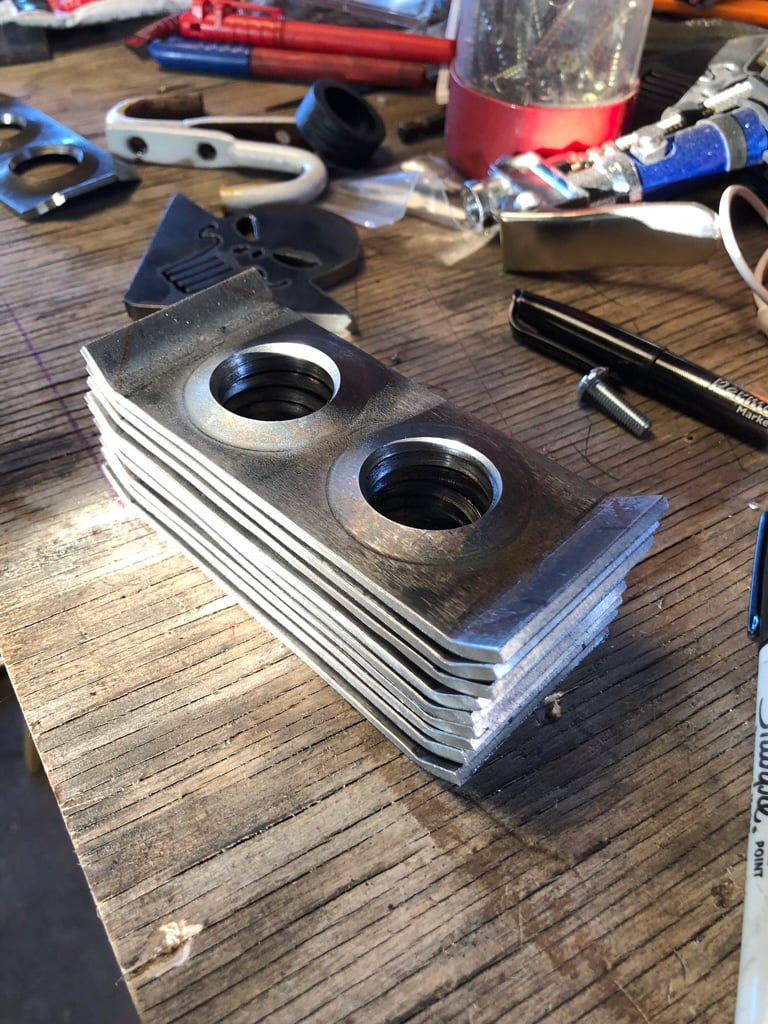
I used 1/8” sheet that I had on hand. It turned out to be kind of a pain dimpling these. Being so small and thick, they warped like a mofo. I was able to get them fairly straight with a little press brake magic.

7f931370d903d779cc2e50680470633b.jpg

372a8a5d8ef7eef4b869839a1eb64ac7.jpg


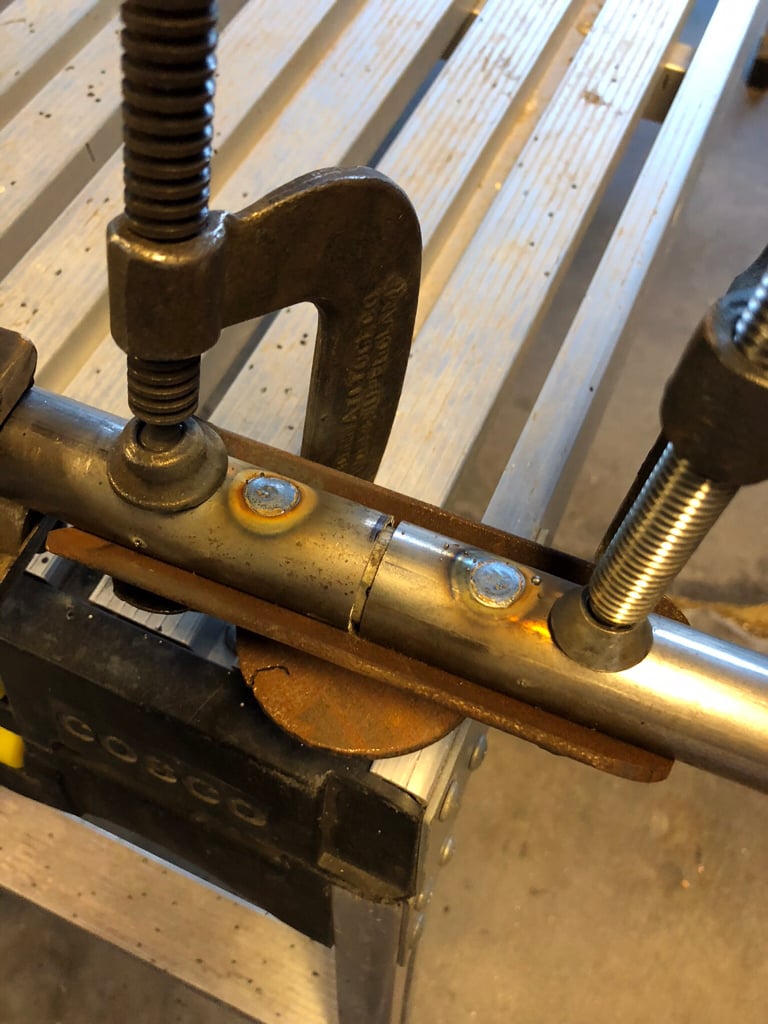
I really wanted to get as far as I could for the weekend. So, I got the tubes welded up.

44214b40b99dcb131b7f3dece298c401.jpg


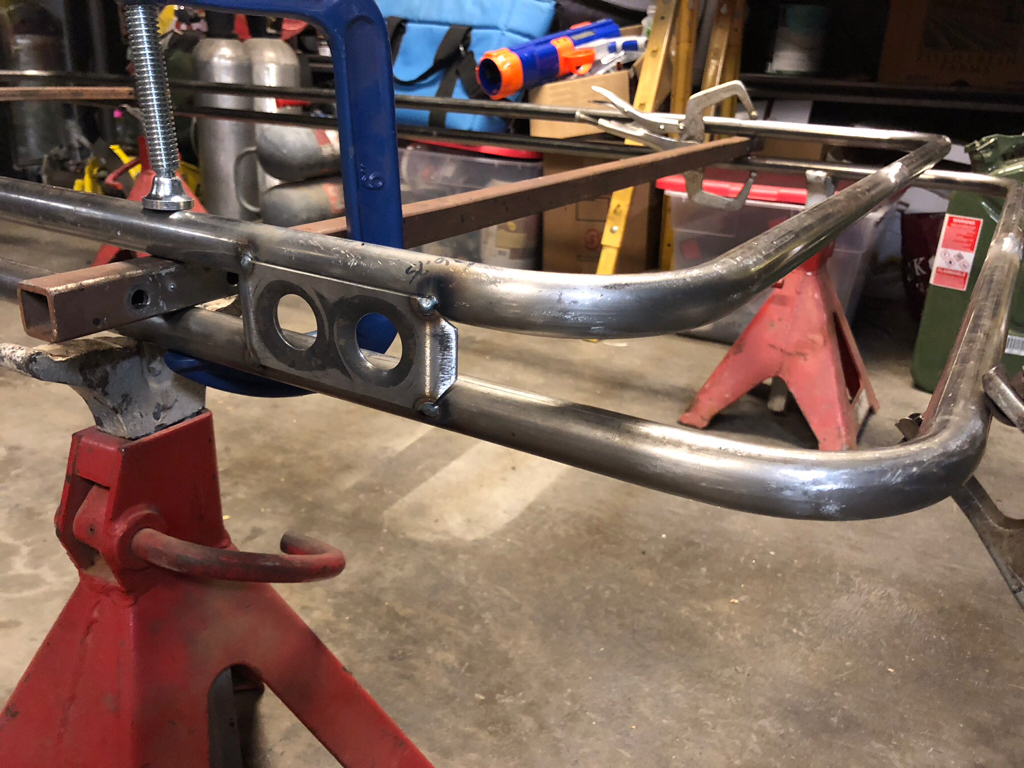
Last thing for the evening, I just had to see if this bracket worked out the way that it did in my head. So far, so good.

c4377cb5ab15b8ff7f3d1b4323234e3f.jpg


Im really hoping to have this on the roof by this weekend.


Sent from my iPad using Tapatalk
 
Well, I was able to get it pretty much completed. Just a few finishing touches and some paint. Here’s how the day went:

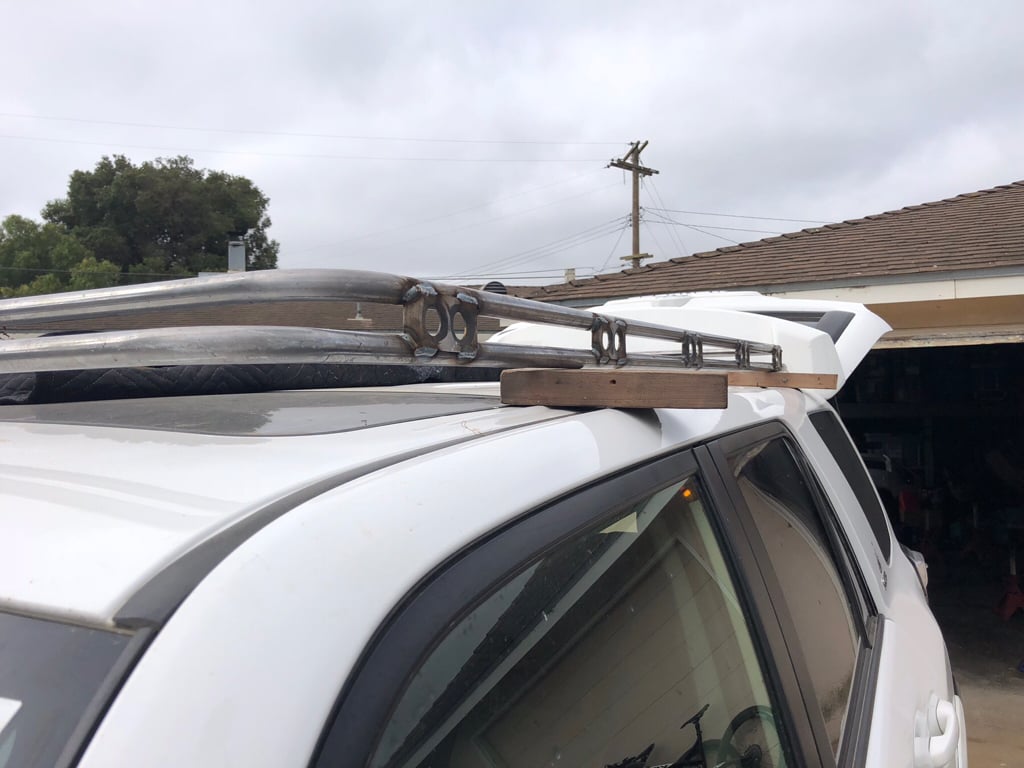
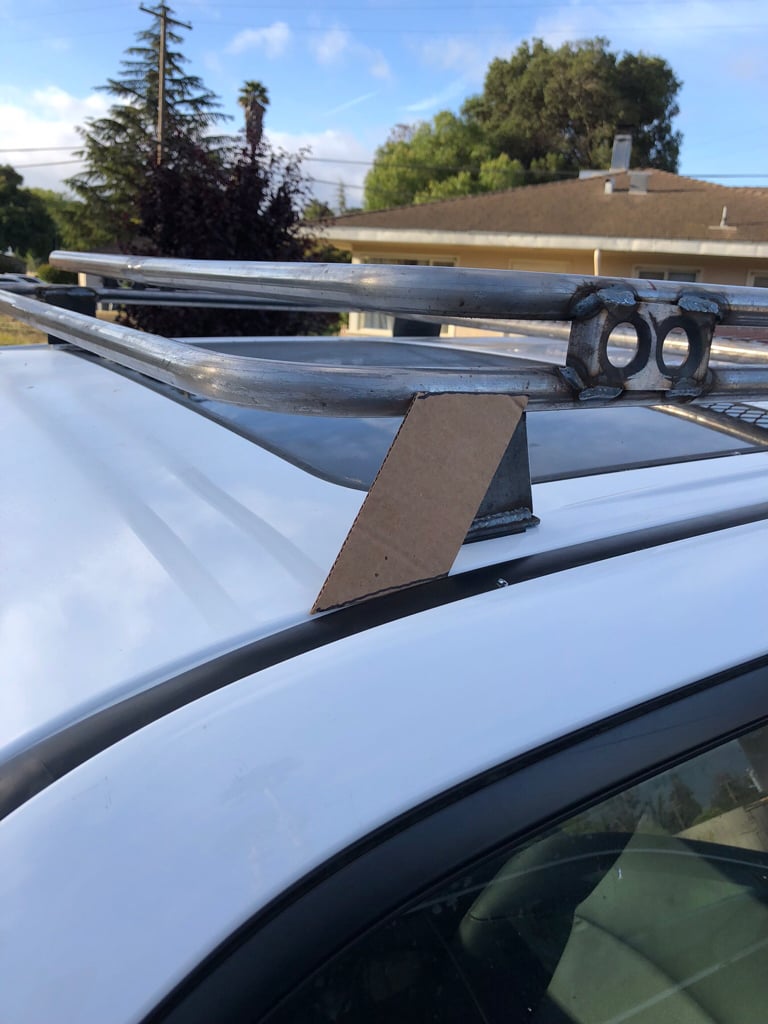
I got all the vertical brackets welded up and threw it on the roof to fab some mounts. I’m kind of worried that these will be a bit noisy, like blowing on a coke bottle. Guess we’ll see.
395ed64268e074fa915f5b8ff62d8bc7.jpg


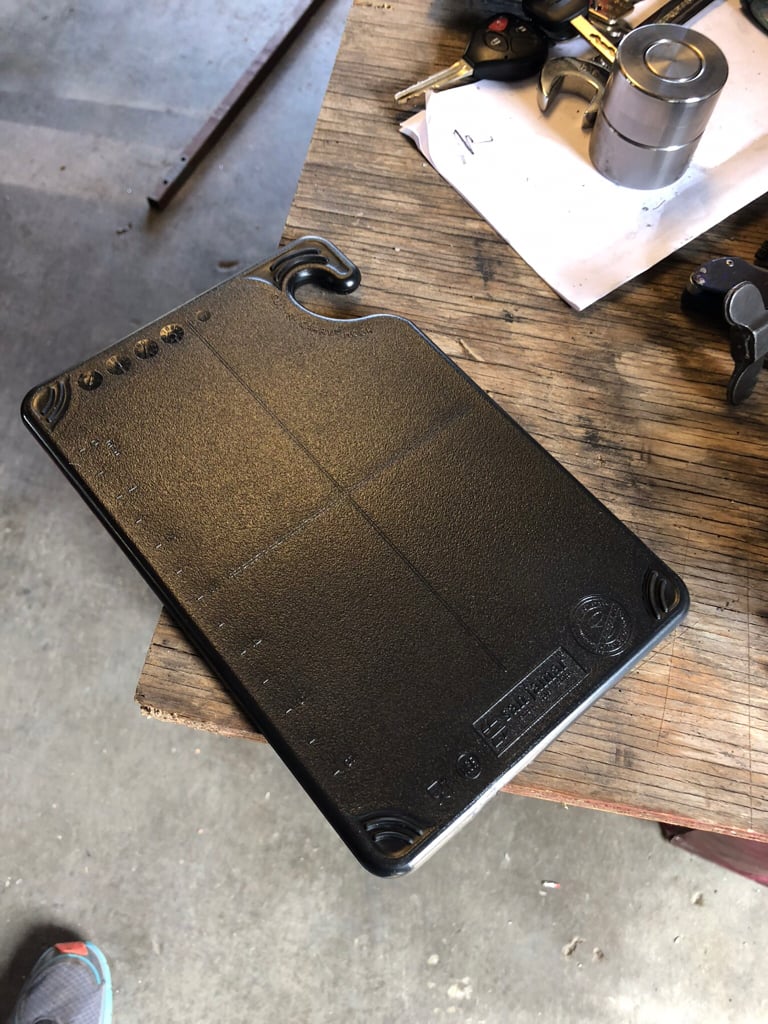
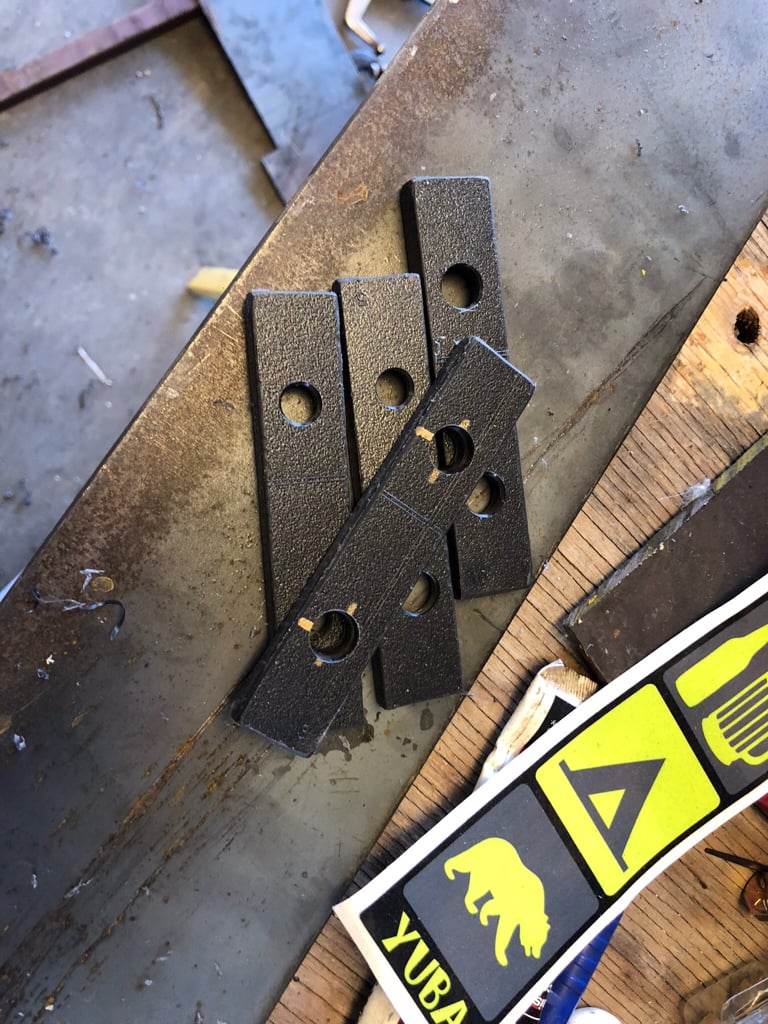
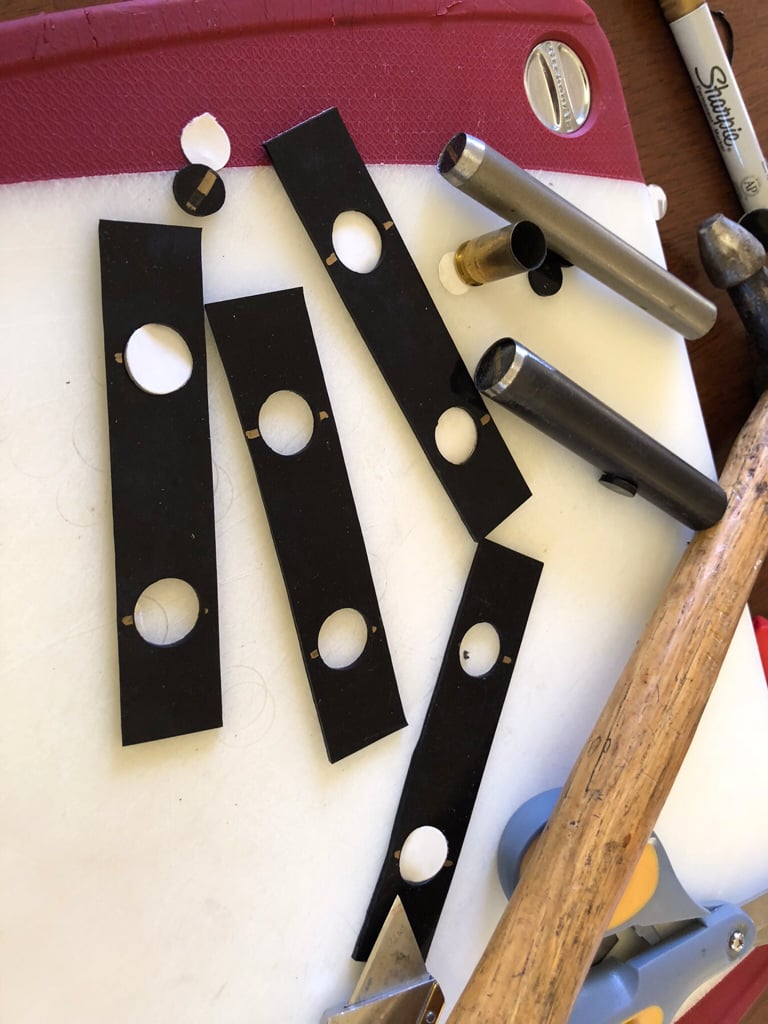
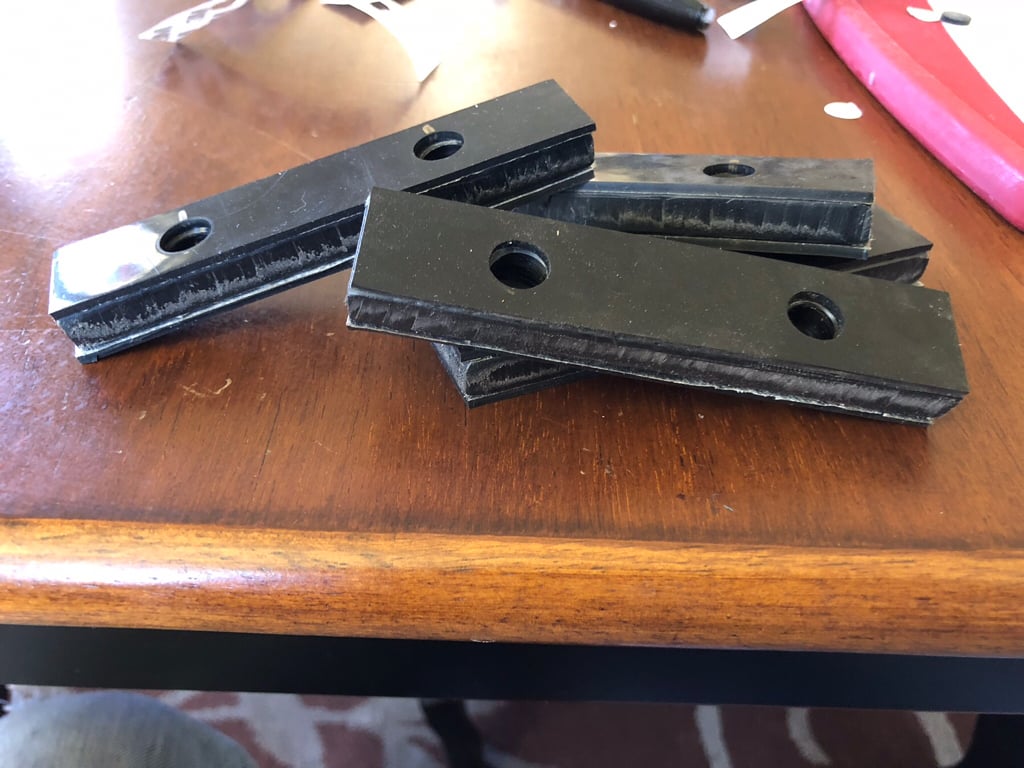
I’ve seen a few different ways that folks use to fill the channel where the factory mounts are. I chose to use Derlin. A 3/8” think cutting board from Amazon to be exact.
2ff5171913cf39f2084bad5eb0e830a9.jpg


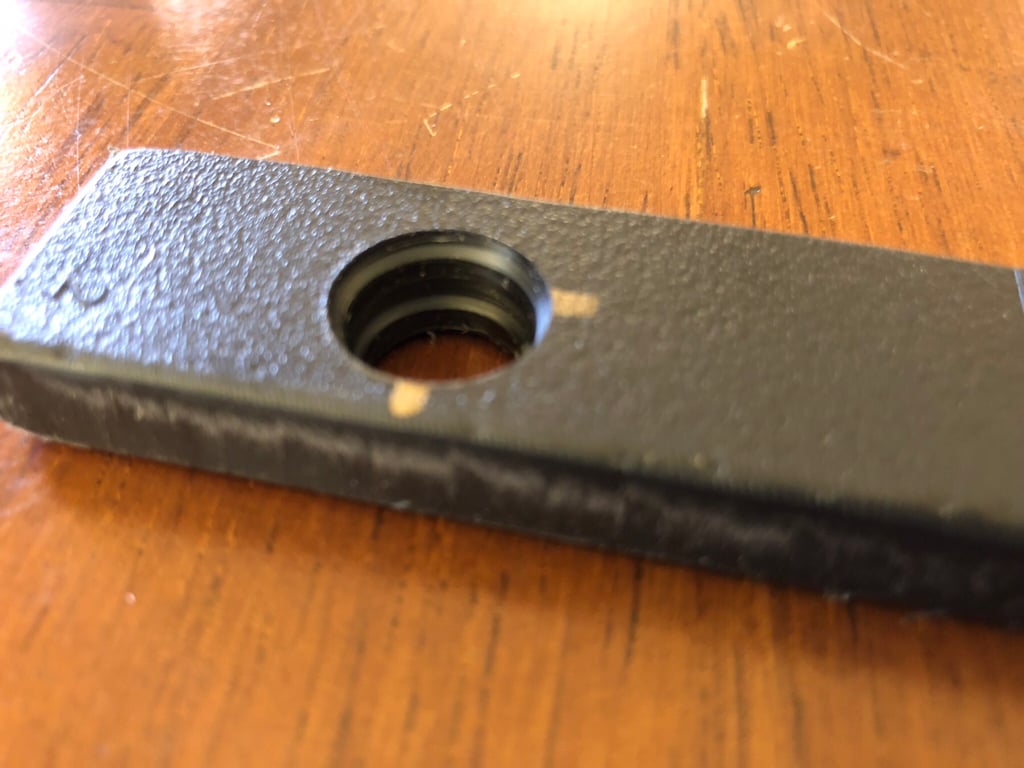
Got them all cut to size and drilled up. I used a step drill to make room for the little factory plastic doo-hickies that are not pictured.
3f1ce3611511a0ba50e69c66658fd861.jpg

3cf807b6549c78b9b9bc623907e59d49.jpg


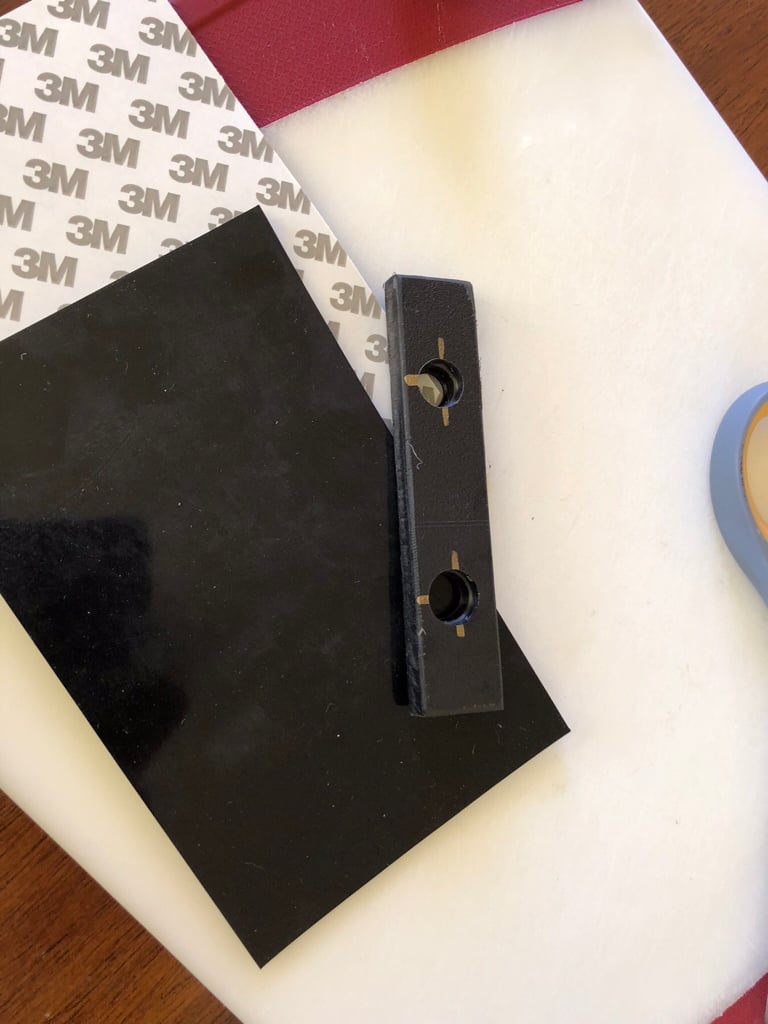
I found some silicon rubber, that I used to seal that area a bit better. Cut them to fit as well and made a little spacer sammich. FYI, these worked awesome!
399b7cd0a3ca8349965c390e46cc807a.jpg

603598b875d7f50de3435f82df12ed43.jpg

38568e624c8cbf87ec196d54677c04b4.jpg


At this point I fabbed up some brackets from 3/16” plate, which should be plenty. I didn’t get any pictures of that or any of the finish welding. I guess I got focused.
4231b2c64fbc9437e943e1f5881759e8.jpg

e6bfd6223852de985c868c171851c4a6.jpg

db7dc628a965144634864a1988c617c9.jpg

719f994588f7821728276994bbe3875c.jpg

bee6d6860ed2660ef2dcdb9c7b522a00.jpg


Before I pull it off for paint, I’m going to fab a fairing. I took it for a spin and it was howling like a dog shitting razor blades. I need to throw on some provisions for lights as well. Thanks for looking and stay tuned.


Sent from my iPad using Tapatalk
 
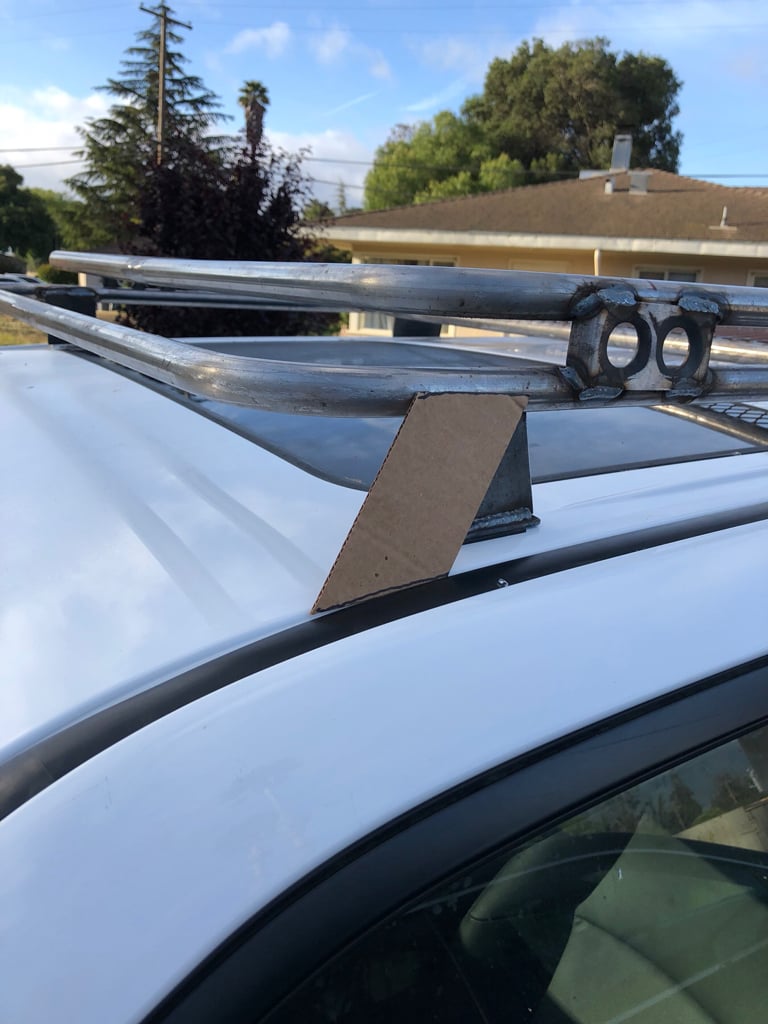
phenomenal job. i will say that i think you are crazy resting the front feet on the roof. those will destroy that thin roof skin. i doubt you're willing to re-work the rack to have those align with the gutters, but if you're looking for longevity, that's what you'll need to do.
 
phenomenal job. i will say that i think you are crazy resting the front feet on the roof. those will destroy that thin roof skin. i doubt you're willing to re-work the rack to have those align with the gutters, but if you're looking for longevity, that's what you'll need to do.

Actually, I appreciate that input. I never thought about that and it’s an easy fix. I’ve never built or even owned a full length rack and it will get a lot of use. I’m going to heed your advice on that one. Thank you!
 
you got skills. need more pics on that press brake....homemade? I've been thinking of building one.

maybe just fully delete those front feet and see how you think it feels.

DELRIN is amazing. i'm glad to see more companies use it for bushings instead of rubber/polyurathane.
 
The more I look at that front mount, the more I realize that I just got lazy at that point. It actually looks like hell. So, designed a new bracket using CAD and I’ll bend it up in the next few days.

af5cabb825393aeeaef047a19dae501b.jpg


I’ll get that and a sunroof panel done and call it a wrap.


Sent from my iPad using Tapatalk
 
you got skills. need more pics on that press brake....homemade? I've been thinking of building one.

maybe just fully delete those front feet and see how you think it feels.

DELRIN is amazing. i'm glad to see more companies use it for bushings instead of rubber/polyurathane.


Thanks, man!

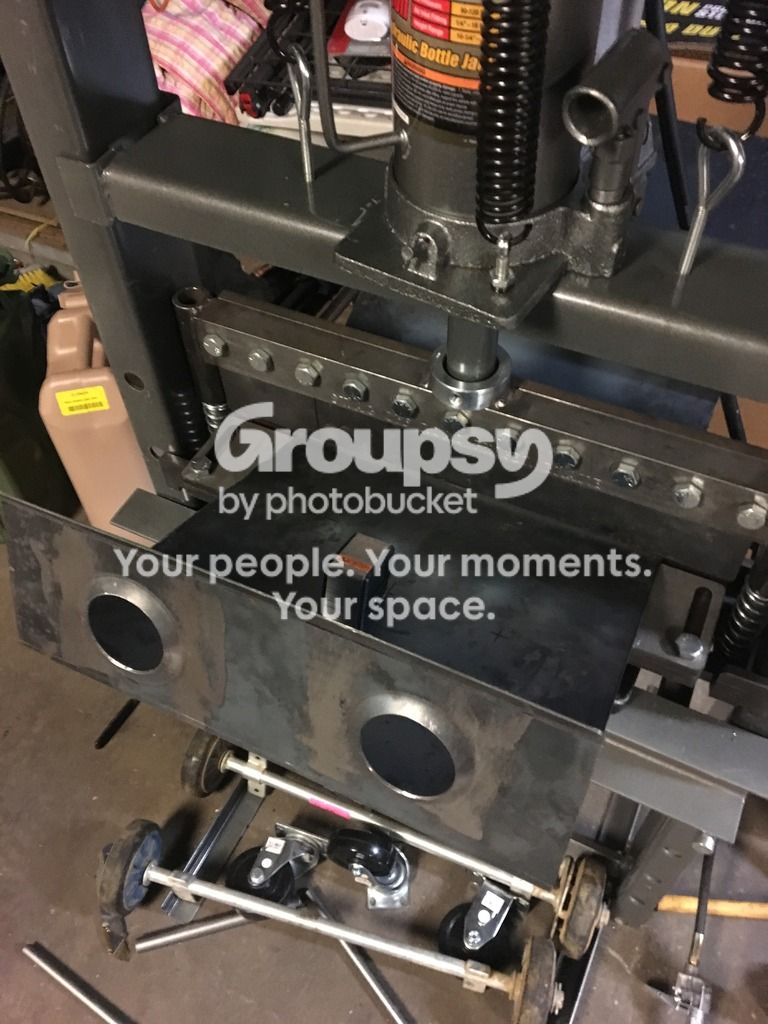
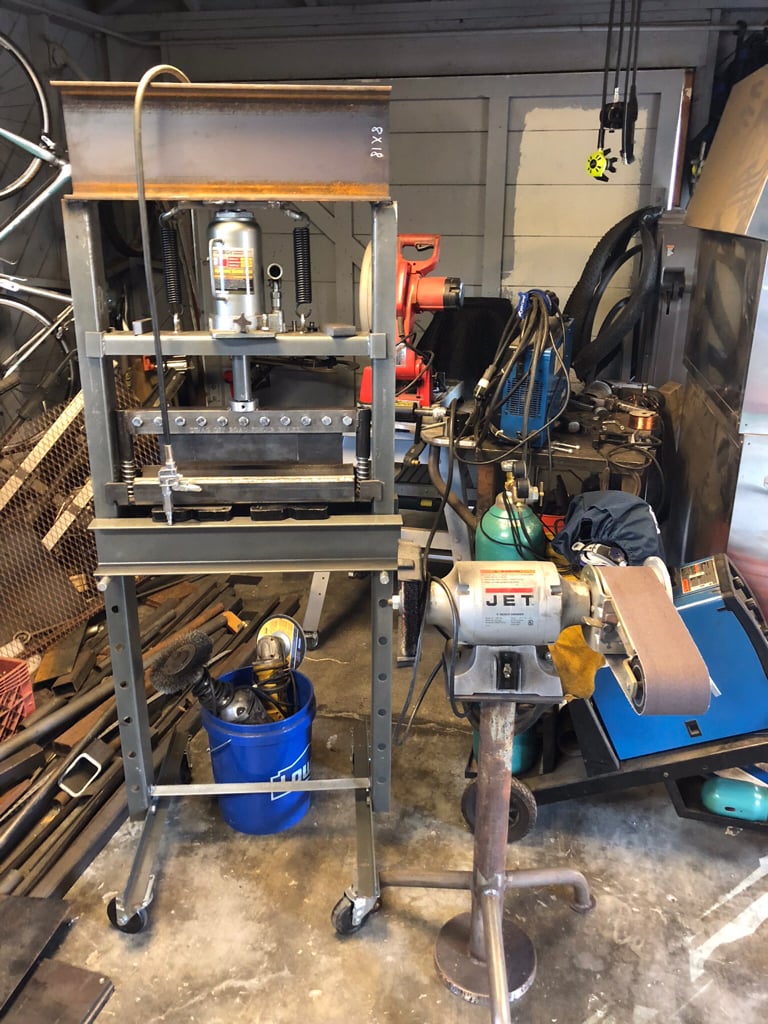
The press brake is a Swag kit, powered by an HF 20 ton press. I converted the press to air/hydraulic. I’ve have a plate system that I use on that brake for thinner material. You’ll notice the the top beam of the press frame is a much bigger piece of I beam. That’s because it’s a piece of crap, coupled with the fact that I asked way too much of it. I plan on making a much better frame, “one of these days”.

7b2cabd4bf6ed342804ec0f38923edb7.jpg


Sent from my iPad using Tapatalk
 
Thats the best kind of CAD right there.

Thanks, man!

The press brake is a Swag kit, powered by an HF 20 ton press. I converted the press to air/hydraulic. I’ve have a plate system that I use on that brake for thinner material. You’ll notice the the top beam of the press frame is a much bigger piece of I beam. That’s because it’s a piece of crap, coupled with the fact that I asked way too much of it. I plan on making a much better frame, “one of these days”.

7b2cabd4bf6ed342804ec0f38923edb7.jpg


Sent from my iPad using Tapatalk

Lol i was just on their site. yeah i bet that beats using a vice, hammer, and/or leverage to bend sh1t. (ha beats, GET IT:spam2:)
 
Thats the best kind of CAD right there.


Lol i was just on their site. yeah i bet that beats using a vice, hammer, and/or leverage to bend sh1t. (ha beats, GET IT:spam2:)

I still have to use a BFH, from time to time, for fine tuning. But, the Swag stuff is good kit IMO. Like most of my tools, I just wish it was bigger.
 
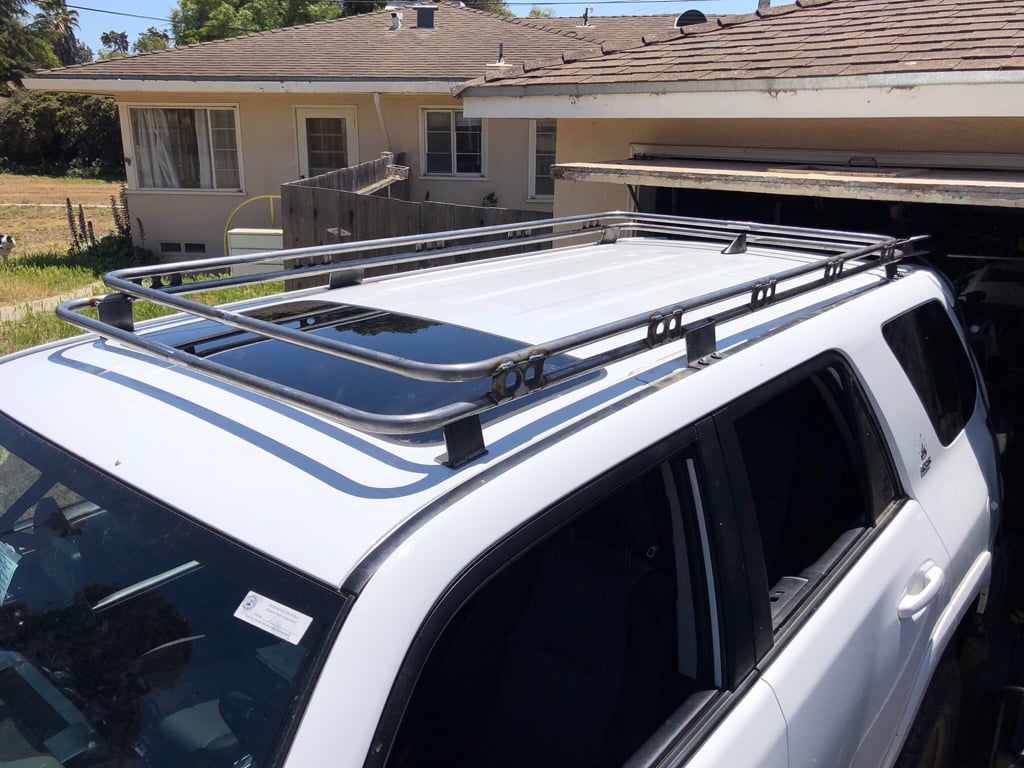
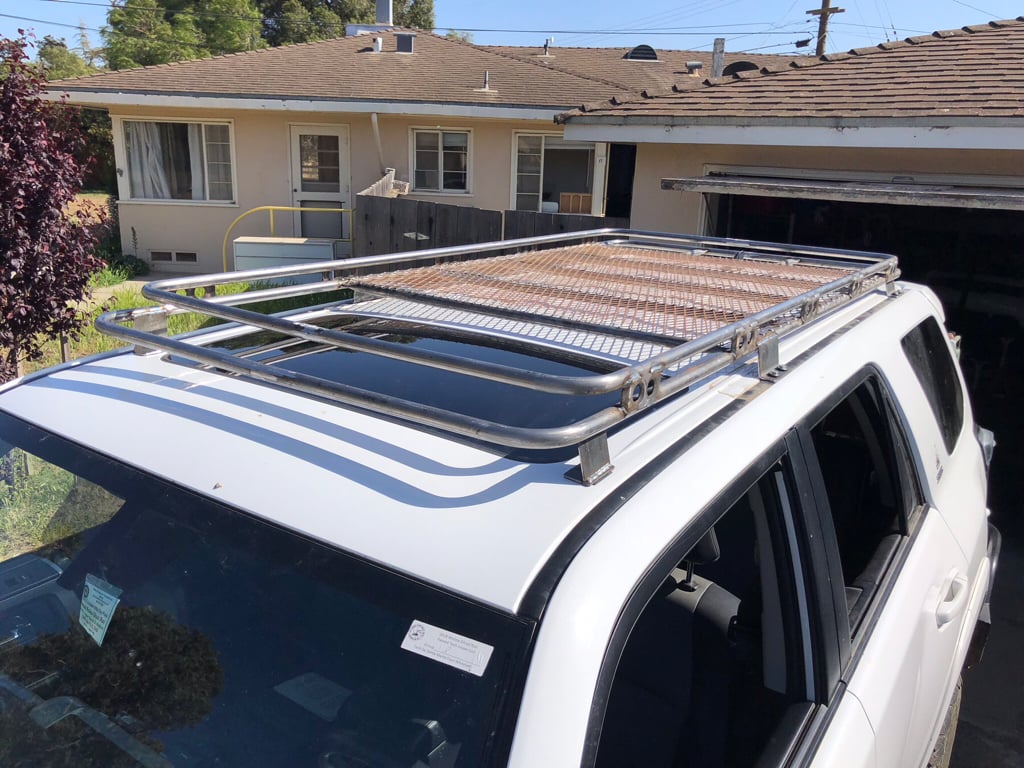
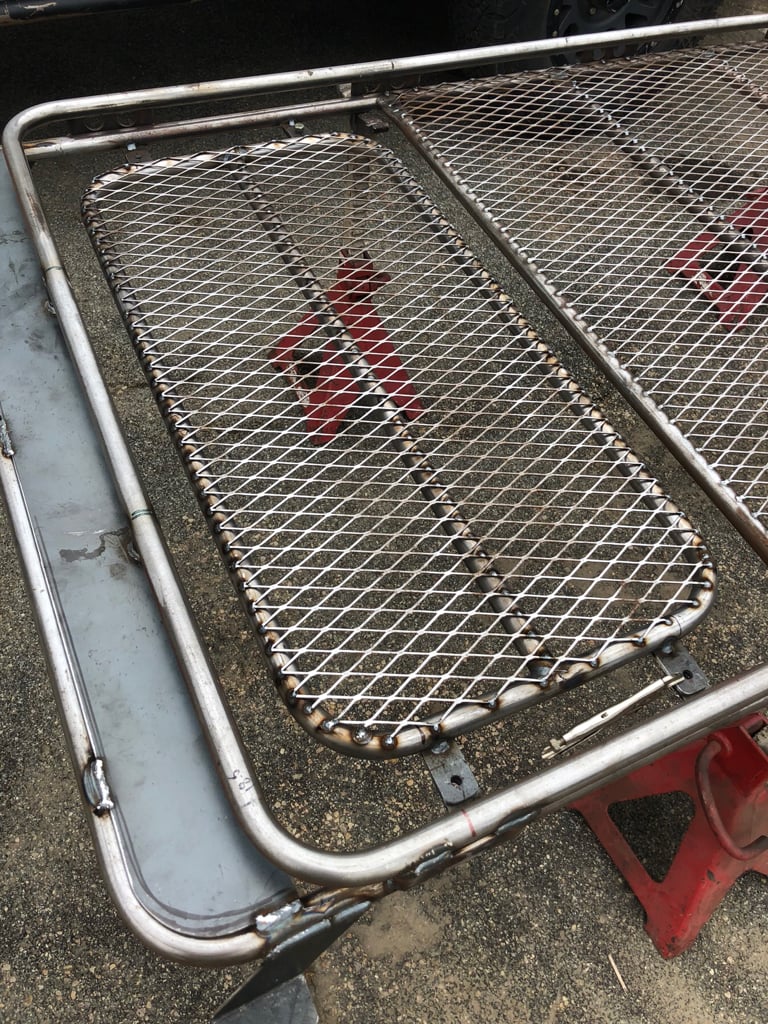
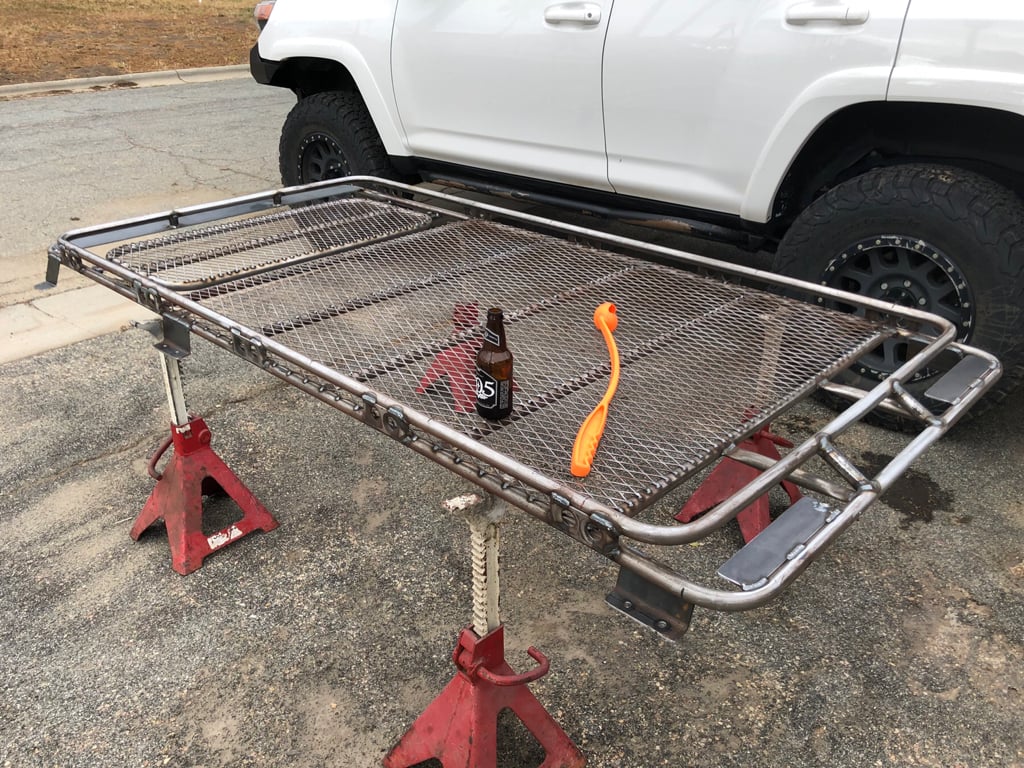
Roof rack... “it’s all over but the stank” (ready for paint).

eef10ae1533a8eabe164c3159e380969.jpg


I had to do a redo on the front bracket to get it off of the roof skin. It was already starting to dimple front the rack.

e01318757d742e91d3654c1d39346cb0.jpg

57b1f9130e6e662c1e5e76965fd7cc7d.jpg


Got the sunroof panel done.

4373037b72a0e54f110bc448646a73be.jpg

cd7d02edb12b2e9b257c6c0f8d28ceb2.jpg


Front and rear light tabs and a little bracing.

e151f95f1dd5c84b2472c8e98c6ee0b1.jpg

0daa8cb176ec6cd0d21f15816587da57.jpg


This was a fun little project. But, I’m already wanting to make another and make it a little different. I have access to a paint shop, so this week it should be ready to mount. The big push for this rack is a planned Rubicon trip. I don’t want to take my trailer and I have a family going.

I have a work buddy that is a tactical tailor. He’s making me a cargo net for it and I’m pretty jazzed about that. I help him with his X-terra build and he makes me cool kit. Gotta love it! I just can’t decide if I want OD or Coyote brown webbing.

Hopefully, my next project will be installing my ECGS 3rd members. 4.56 and ARB’s front and rear. I made drunk plans to tag along with some friends and this will be my first time. I have 2 weeks to get them, install them and get them broke in. Of course, they are taking every day of the expected lead time.


Sent from my iPad using Tapatalk
 
Last edited:
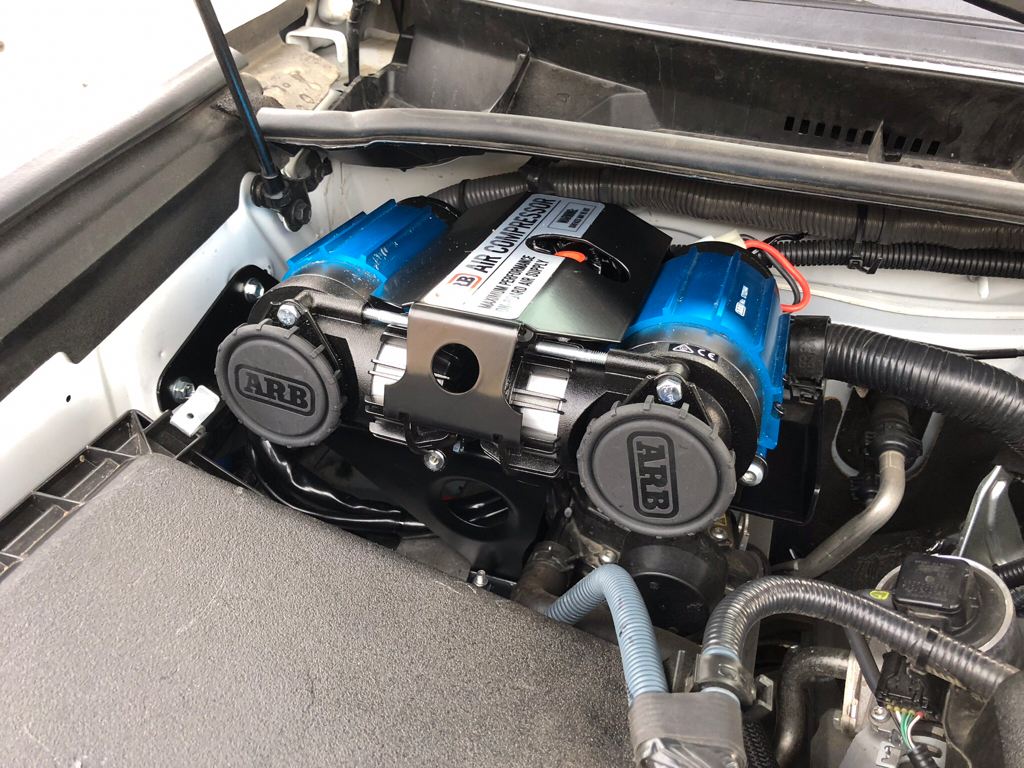
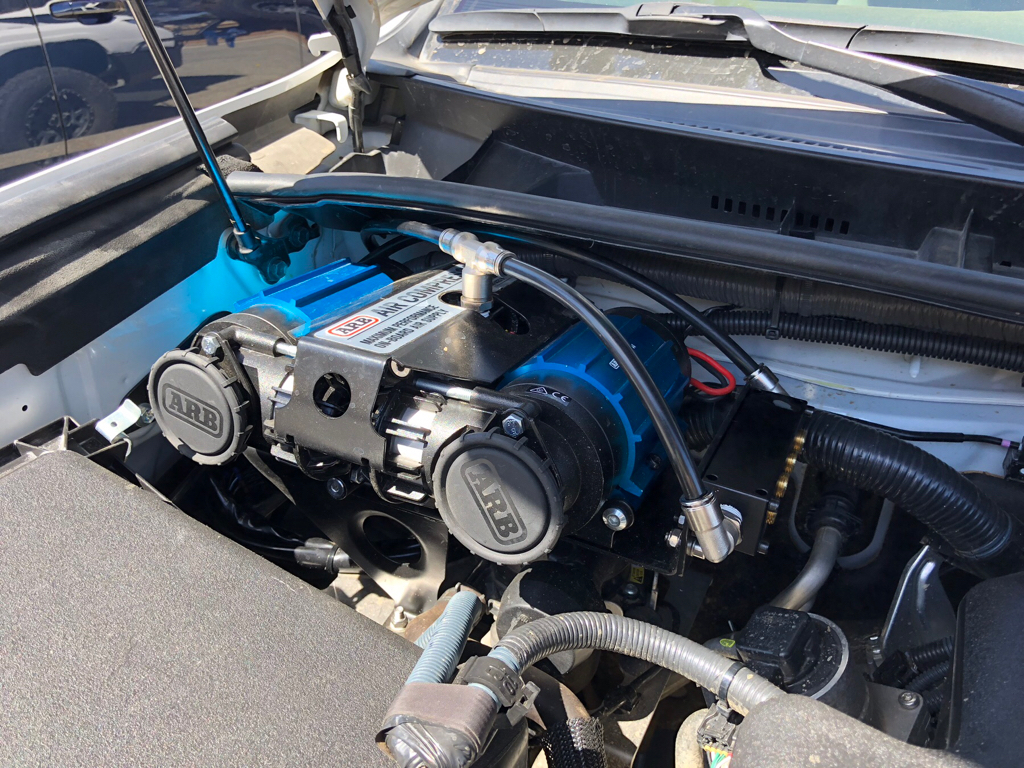
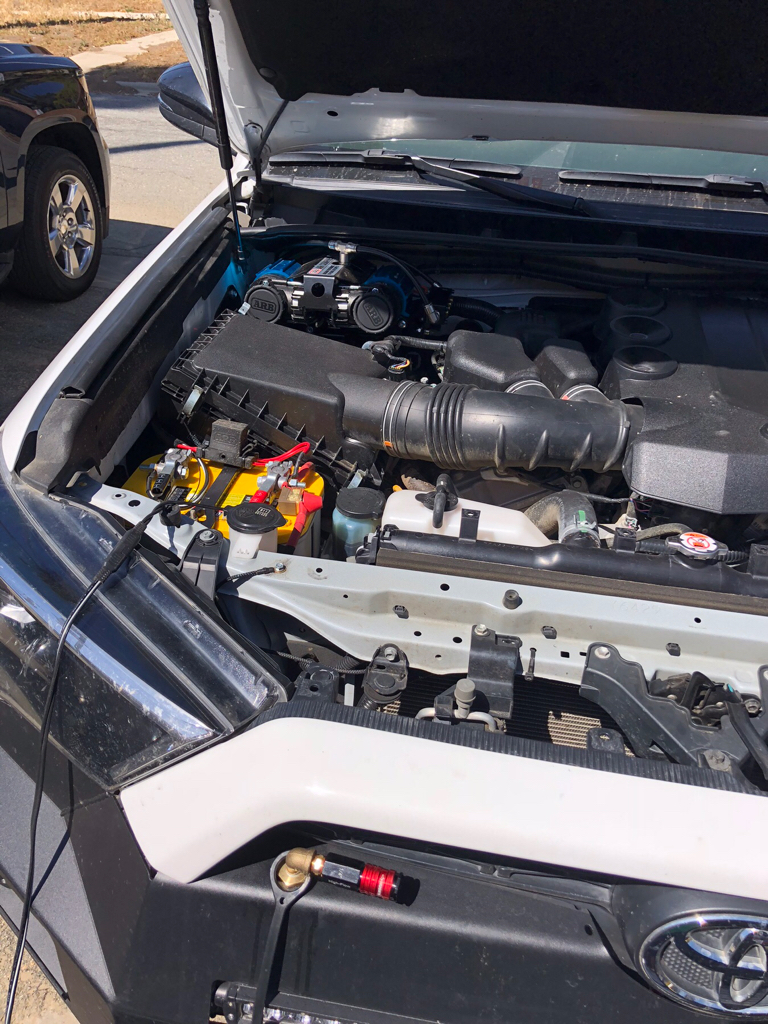
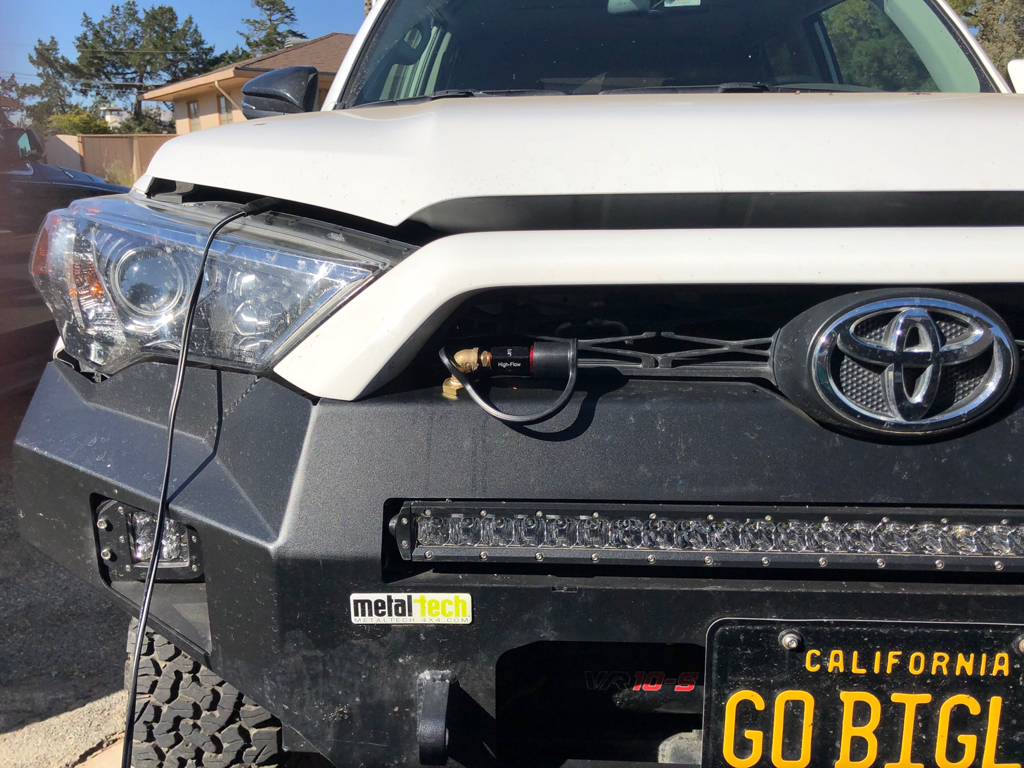
I’m going to try and play a little catch up. I’ve been taking my time installing on-board air. I have a power tank, but space is at a premium with family, so I really wanted a compressor mounted somewhere. I have a big Smittybilt that works great and that was the game plan. They’re inexpensive, fairly capable and I’ll be damned if I’m spending $500 on and air compressor. That’s just stupid! Well, that’s how it was until my buddy brought over his ARB twin for a side by side... prick. Anyway, yadda, yadda... got an ARB. The game plan is front and rear chucks with a tank to come later.

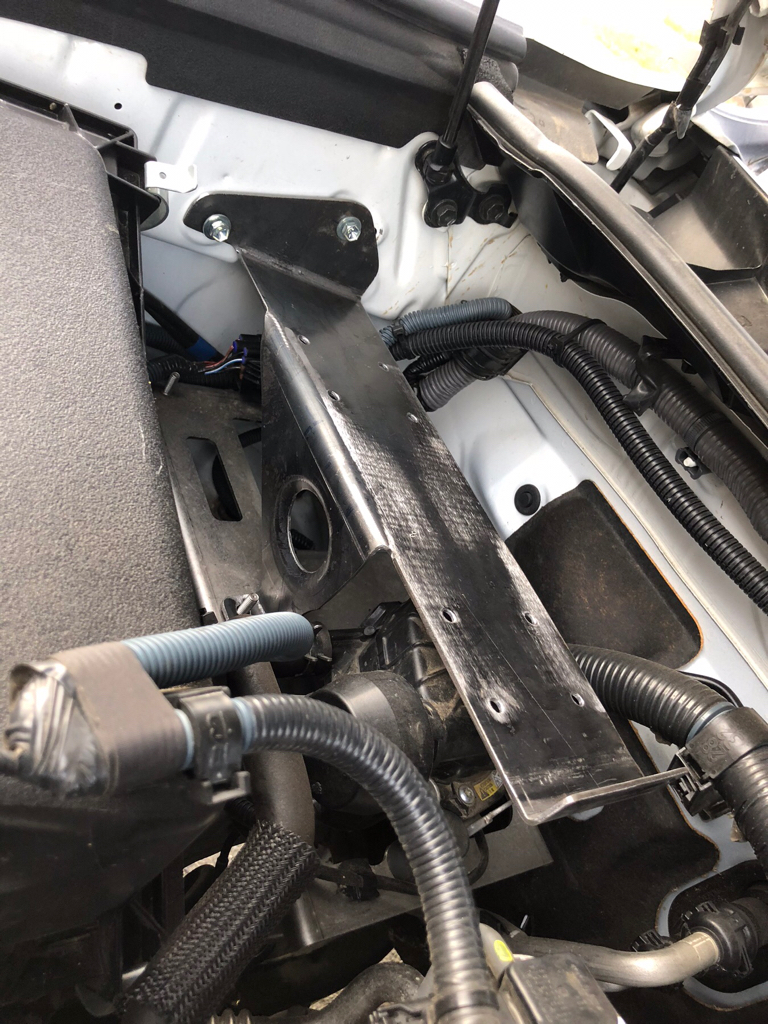
Here I fabbed up a mount to go over my relocated air pump. Steel, plasma and press brake goodness.

57553a72d4c92fa0e016ae7b7cbee670.jpg


70e8548c2e79e753f5881a6adb7852e3.jpg


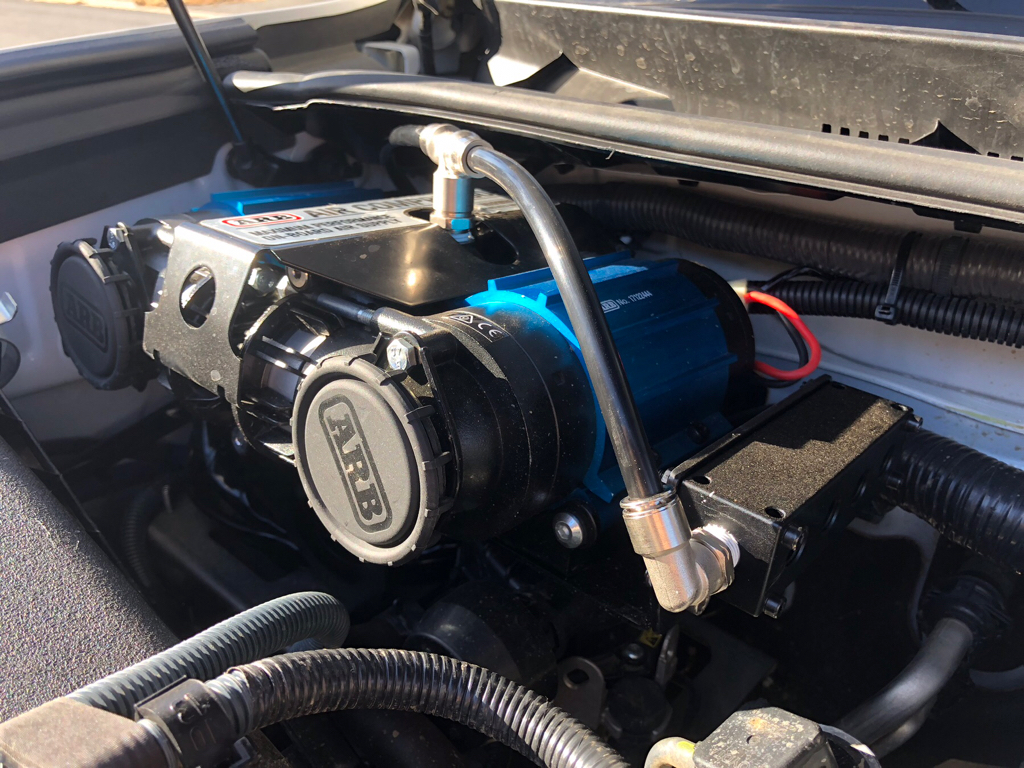
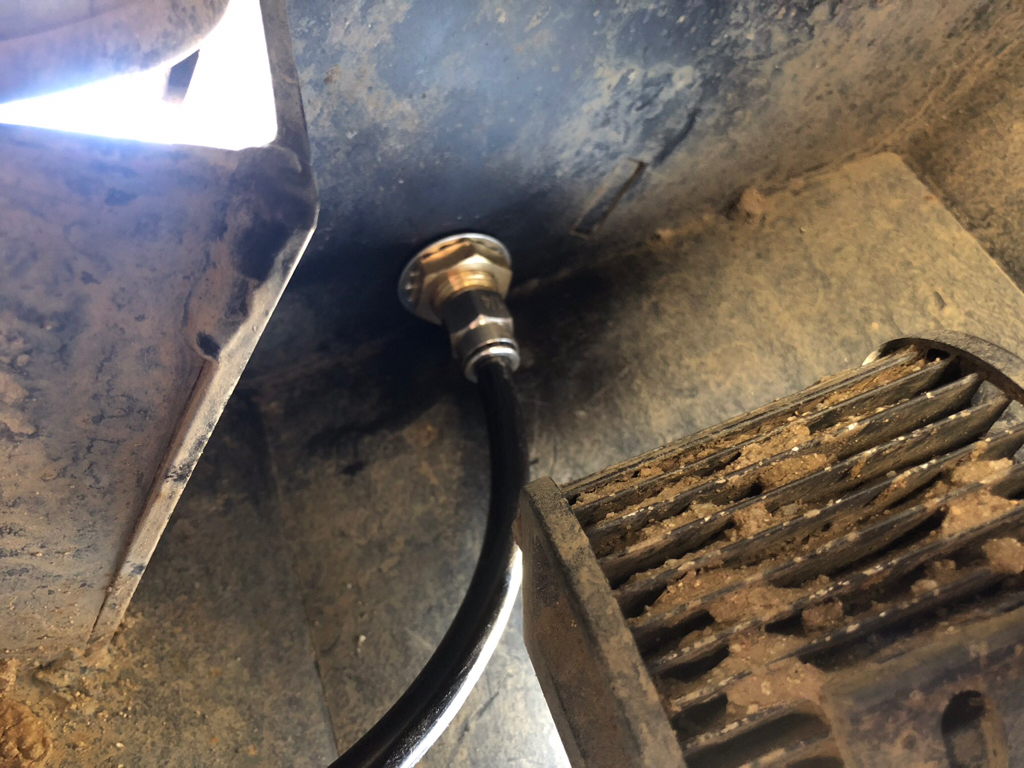
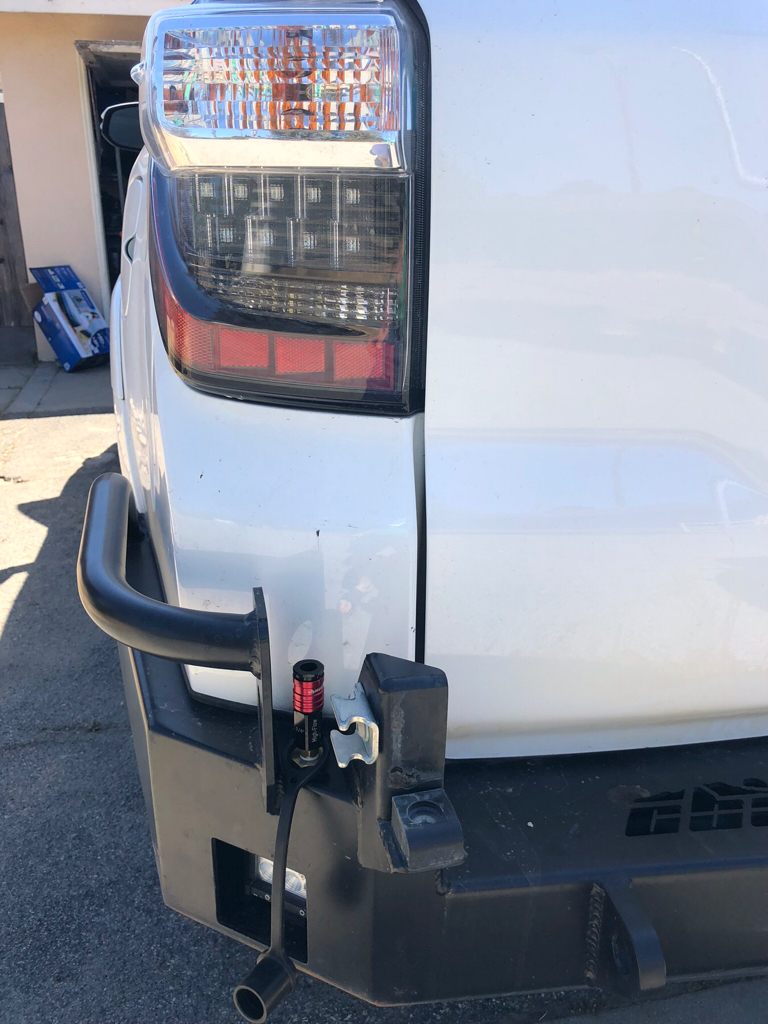
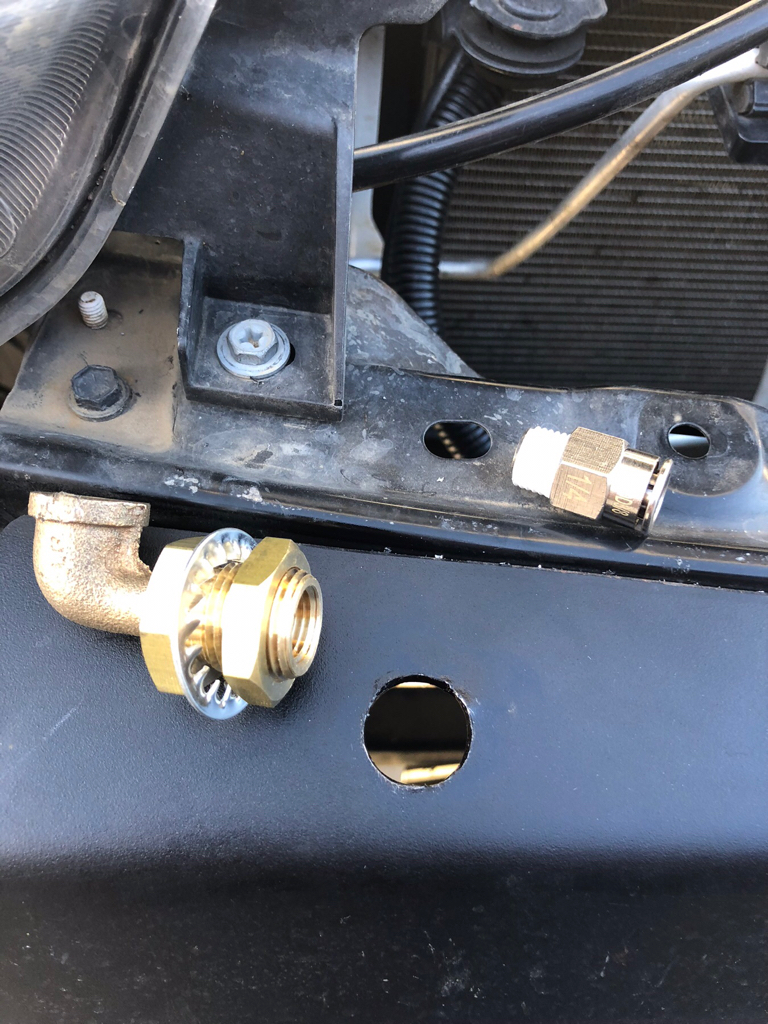
I bent a little tab on the inboard side. This is where I wanted to mount a manifold. I have some odd and ends, stainless hose and AN fittings. But, I really like push to connects, so I went that route. The hose pointing rear is going to a chuck and soon to a 4 gallon tank.

3fa8451fb4c6dc64cc75fa5a1cf0d1db.jpg


9ac074ad093e8fcc5eca27a1471d9918.jpg


b91873f021029a9aacbd70e558780680.jpg


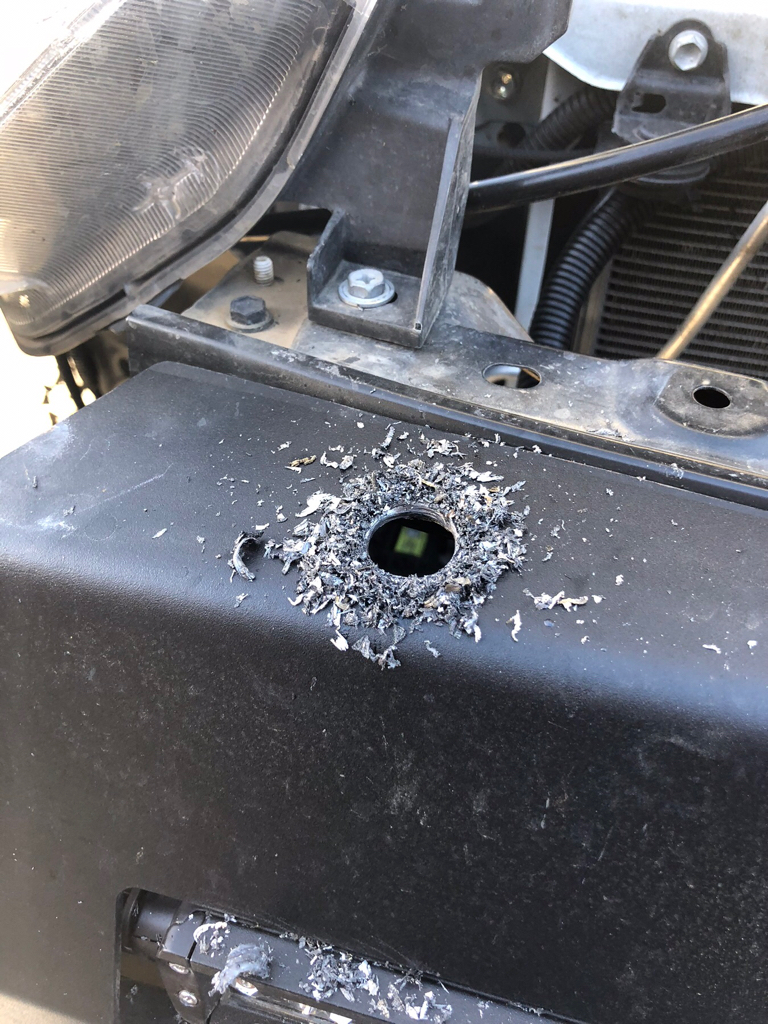
If you look at the back of the manifold, there is a line out. That is routed to the front chuck.

c018d056cdc4758175c5e0171ef01ac5.jpg


79a197065627f476906ad4ac659a4255.jpg


ae98c79cdf70e6690d6bedabc1599312.jpg


0488377cd90bde6307d797cc66cf2563.jpg


b6ffed64f56d43a18bfd0968ce249dd4.jpg


So, I’m up and running with this. If you noticed the plugs in the middle of the manifold, those will only be there for a few day, hopefully, as they are just hold a place for (2) ARB locker solenoids.

I really didn’t want to spend the $ on this compressor, but it is pretty bad ass.


Sent from my iPad using Tapatalk
 
Last edited:
Quite a few months ago, I decided that it was time to upgrade my suspension. I have the obligatory Icon stage 2 that was definitely due for for a rebuild. It was a great kit before I added a metric f@ck ton of weight to the truck and I use it quite a bit differently than I originally thought I would. So, now is a great time to just upgrade.

I could have picked a better day to start the latest project, but it had to happen despite the rain.

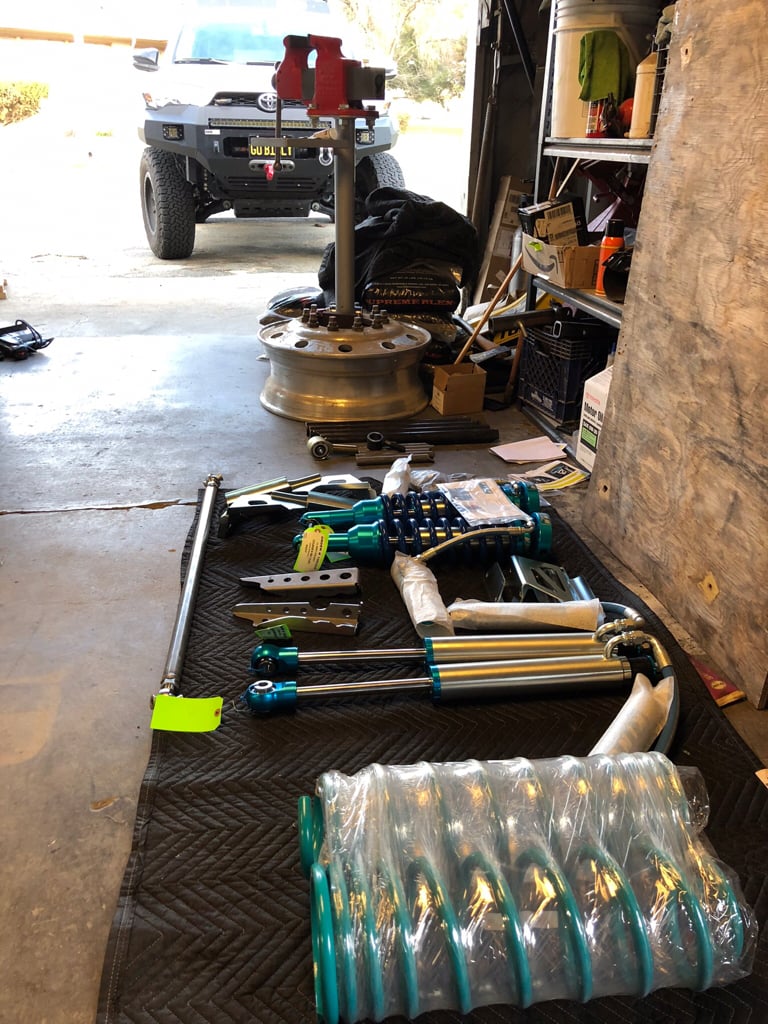
Here’s the list of players:
- Kings (Ben @ Filthy Motorsports)
- Dobinsons CS-701v rear springs
- Icon UCA’s (I rebuilt the old and added Delta joints)
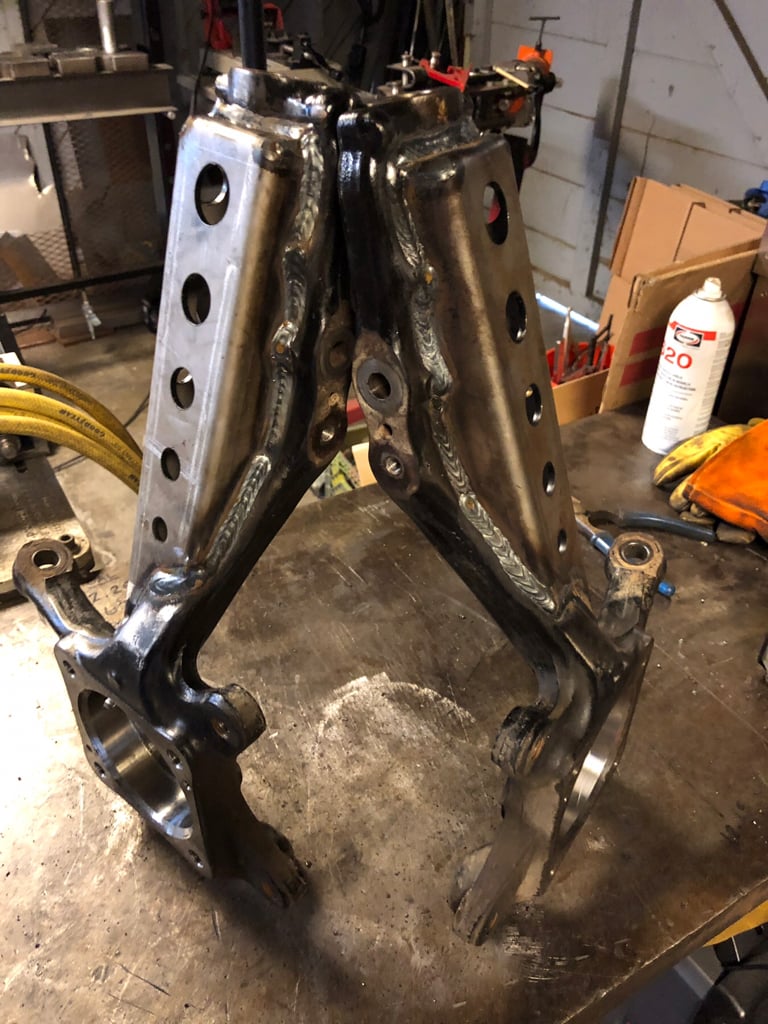
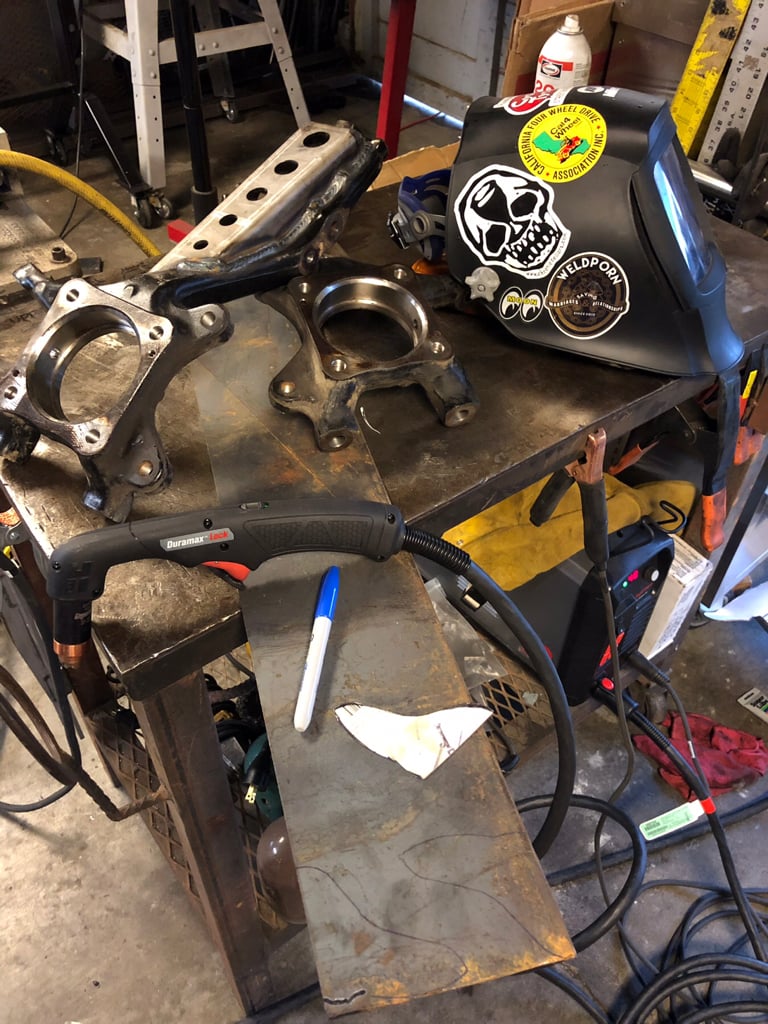
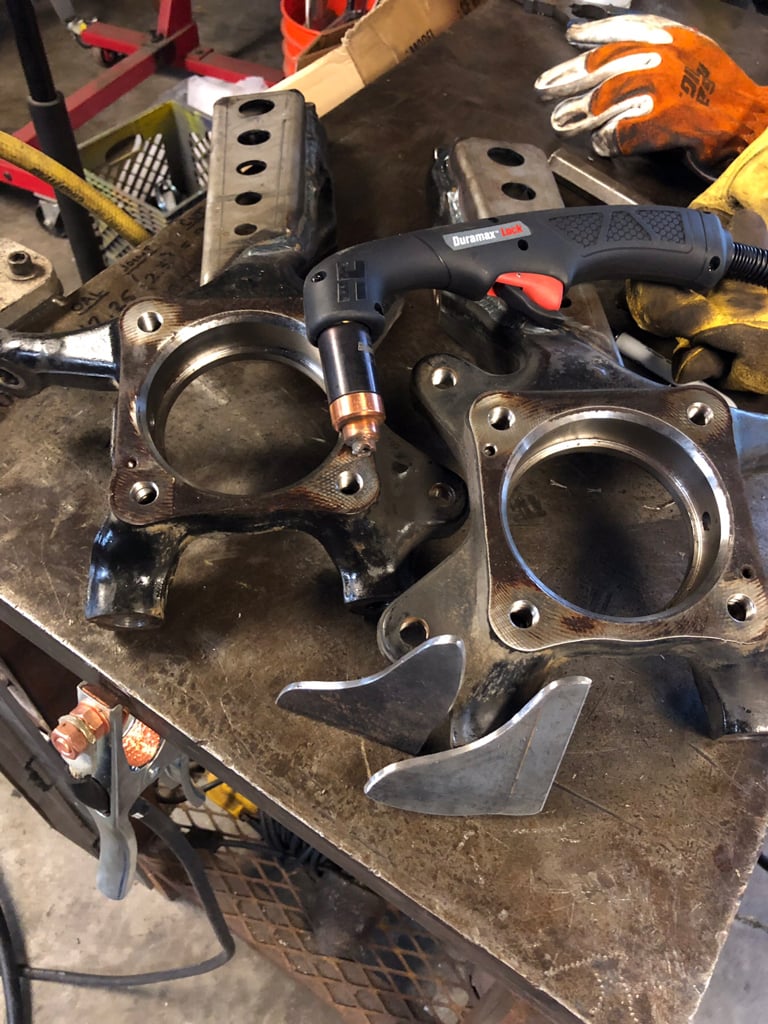
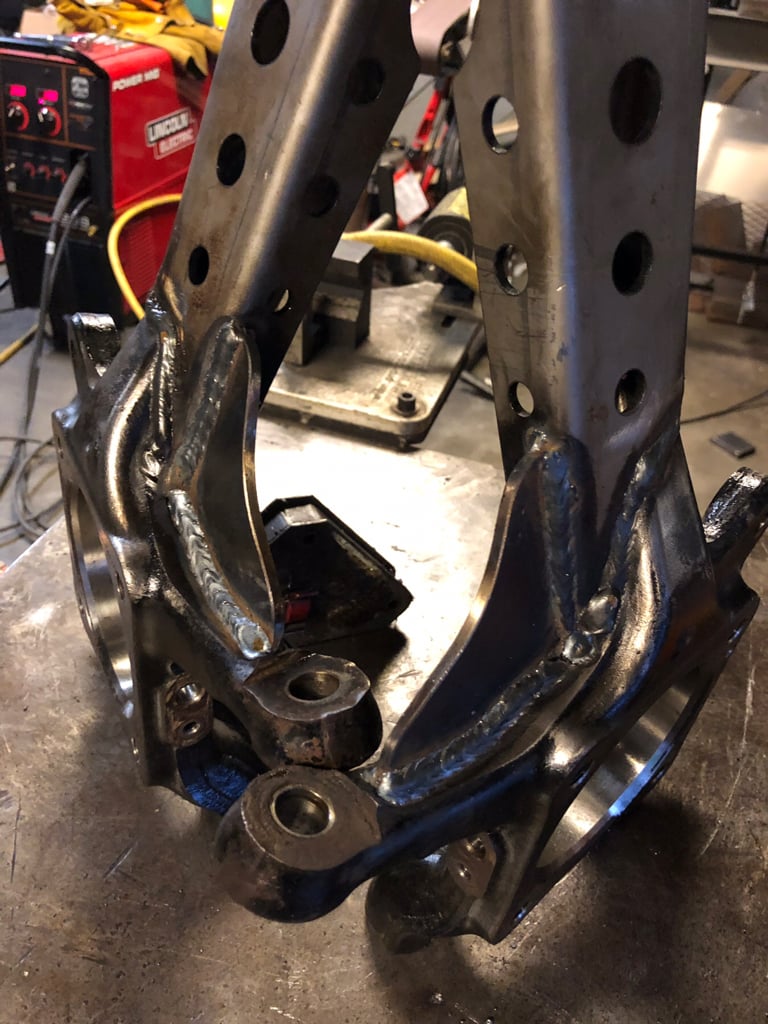
- Allpro spindle gussets (I fabbed and added the steering arm gusset)
- TC cam tab gussets
- homemade rear links
- Braided brake lines
- [MENTION=146407]Plastics guy[/MENTION] bump stops (front and rear)
- misc. seals and whatnot

d0db0b965ae80dd7a6252e5c6e1b23f9.jpg


I had every intention of running TC long travel and settling up for 35’s, but after a lot of thought, I decided that I’m just not going to do that. Instead, for the price that I was going to pay, I bought some much needed, new tools!

(Save for pic)

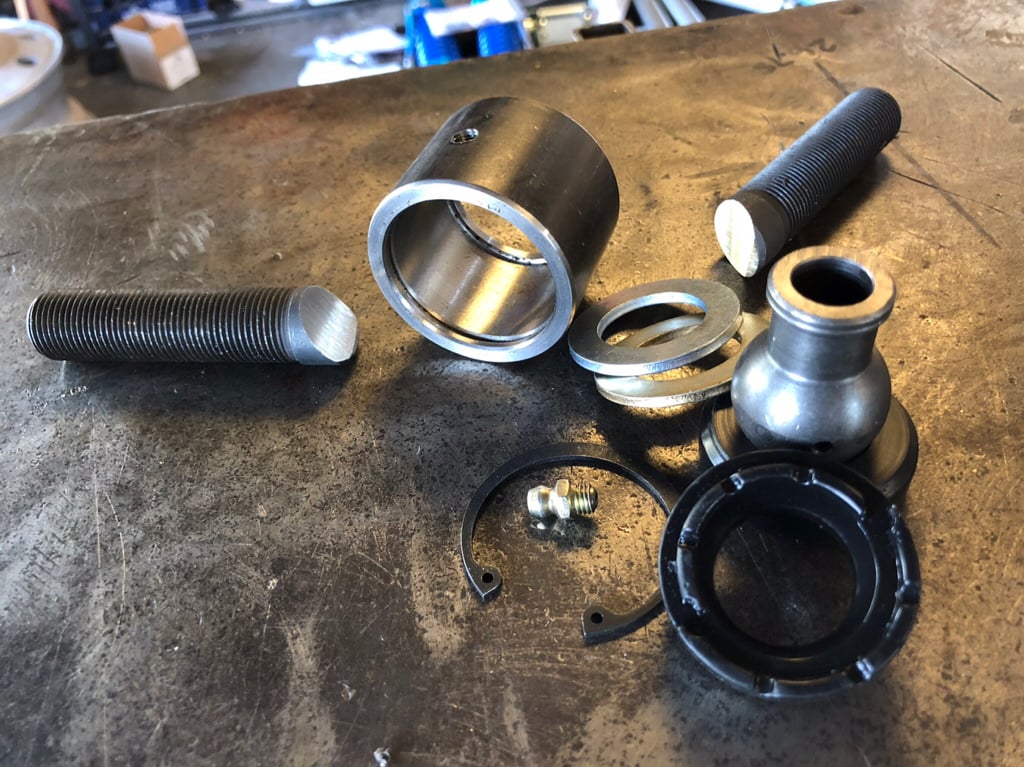
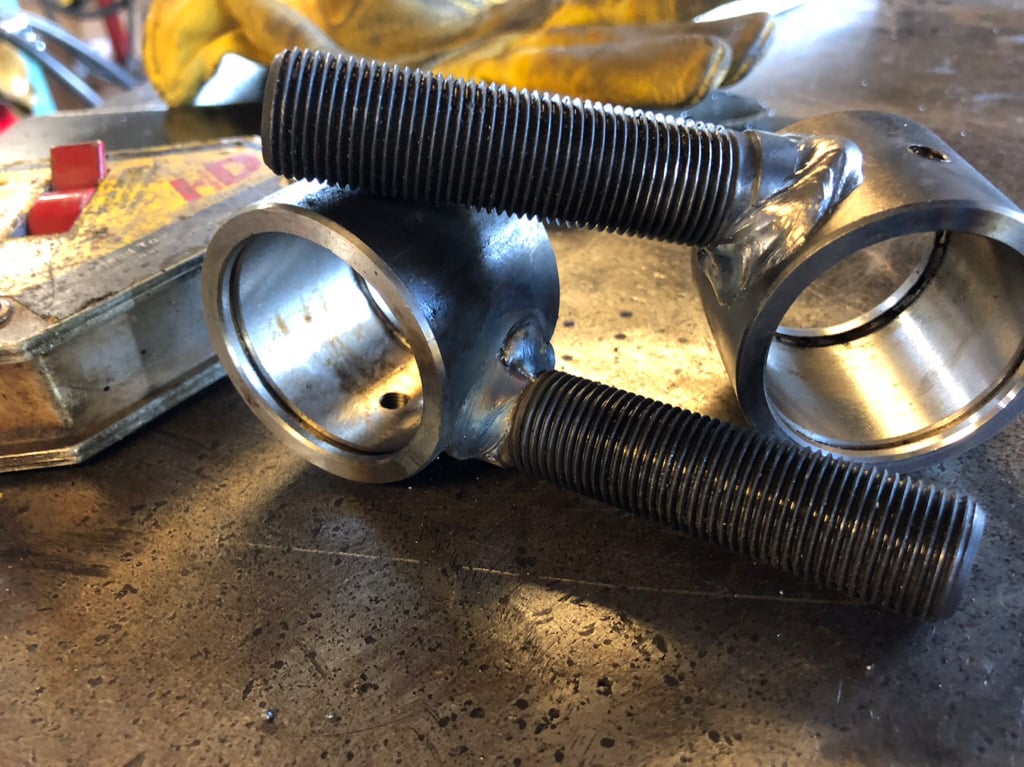
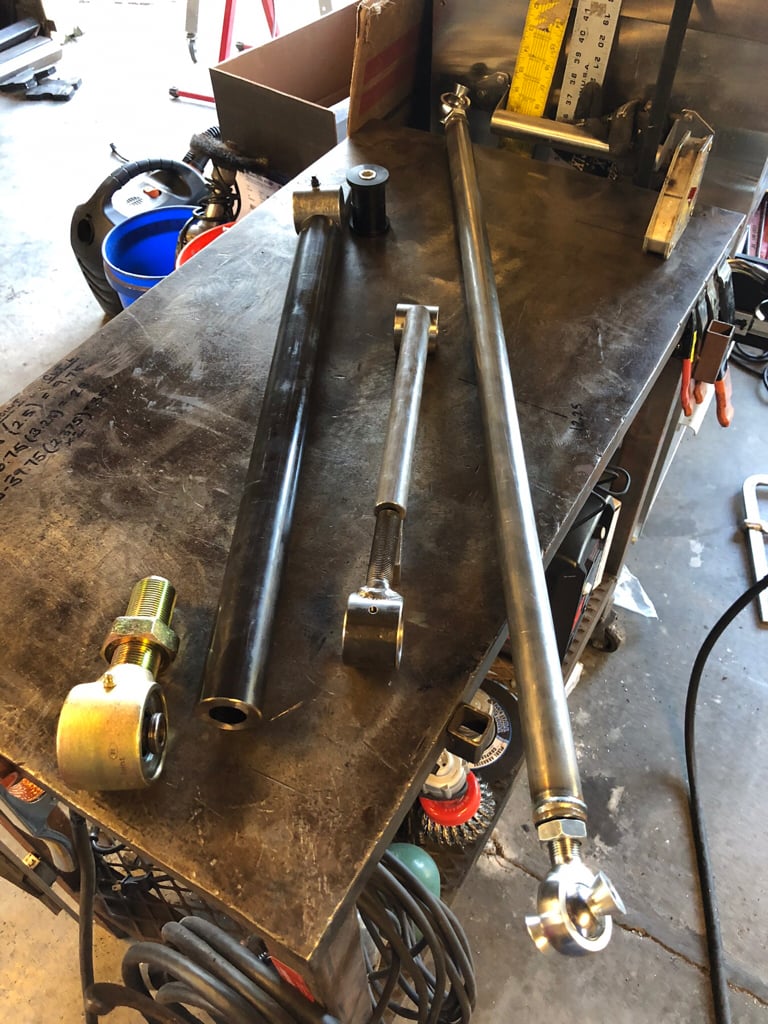
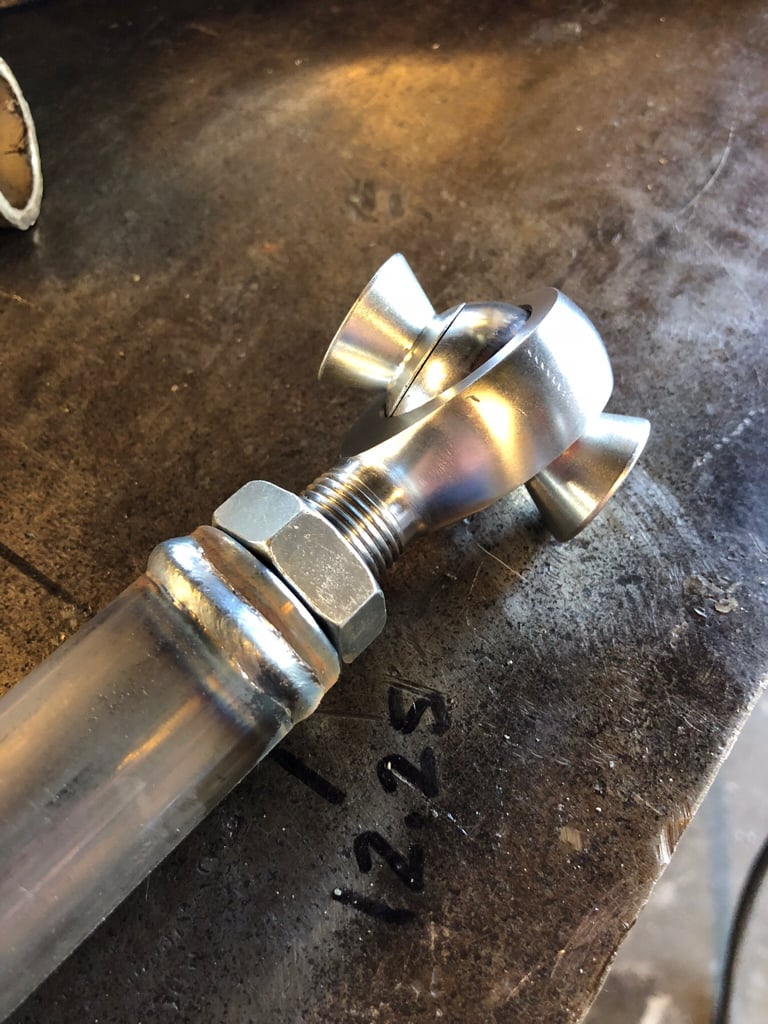
Part of this project is going to be building my own rear links. It isn’t really about saving money, parts and steel are spendy. It’s about building my own stuff. Here’s what I have so far: I used bushings and Johnny Joints for both the upper and lowers. The lower link is 1.75 x .375 wall... really heavy tubing. I’m tapping the joint end @ 1.25 - 12tpi. For the uppers, I used 1.0 x .250 and I off-set both ends. At the joint end, I used a builder Johnny Joint and welded a weldable stud that is made for doing exactly this (no, it’s not a bolt). Once the tubes are back for being tapped, I’ll post better pics.

806f966d74827b32d0f51719beb64acd.jpg


f14b1ce4d8c9b2ceb44a643c2fa5e44a.jpg


4880c7060ed959330178fc0b22001873.jpg


The panhard bar is pretty standard 1.25 x .120 with some heims.

c6f716149688184e078e2d5513943d86.jpg


Like I said earlier, I got up this morning to rip into the truck. As luck would have it, rain was in for forecast. So, being in a bit of a hurry, I didn’t get a before pic of the old suspension. I’m pretty sure that you could use your imagination and one of the million pics on here of an old, Icon stage 2. What I do have is my spindle gussets.

34c0efd1e28287abb1613477d4fe77d0.jpg


I decided that while I was at it, I’d fab a small gusset for the steering arms as well.

62045a10e8472d18ac7156d15209896c.jpg


45b25c1d2d87a18d8d2260f2f7acd7d0.jpg


b618dc48d9713bd37f11edc3b4599822.jpg


Sent from my iPad using Tapatalk
 
Last edited:
x2 nice welds.

did you pre heat the spindles before welding the gusset? they're cast right? just wondering since people seem to shy away from welding to cast.
 

Members online

No members online now.

Forum statistics

Threads
278,306
Messages
3,554,045
Members
248,016
Latest member
Advally Service

Trending content

Back
Top