I meant to, then my PC's hard drive $hit the bed. I lost most of the pics but here's what I have left.
First - Determine what you want from your projectors.
- Halos? Dual Halos? Demon Eyes? Colors....
- HID Specs - 35W? 55W? Temps vary from around 3000k-1200k
I decided on white halos with red demon eye. Kit claims to be "Dual Halo" but it is not. And for the HIDs I went 6000k and 55w. These were the default options but there are more combos available to suit your taste.
Item Specifics:
Angel Eye Color Options: White(Default)/Red/Blue/Yellow/Green/Purple
Devil Eye Color Options: Red(Default)/Blue/Green
Color Temperature Options: 4300K(Amber)/6000K(Pure White -- Default)/8000K(Bluish White)
Fitting: Fits 99 percent of vehicles! (Fits: H1/H7, H3, H4, 9004/9007, 9005/9006, H10, H11/H13, D2S/D2R)
My kit -
3" Universal Bi Xenon HID Headlights Projector Kit Halo Angel Devil Eye AC 55W | eBay
What's in the box
Test all the bulbs with any 12V source.
Removing and prepping head light housings
Pull the grill, then corner marker lights and the thin metal shrouds under the headlight housing.
Remove the four 10mm bolts/nuts securing the headlight. (keep a hand on the housing before you remove that last one so it doesn't fall) Disconnect you headlight bulb and remove it from the housing.
Separating glass from housing
Separate housing from adjustment bracket. Remove 4 metal spring clamps. Preheat oven to 270deg and pop the housings in there for 7min. After that, remove with gloves and using a screwdriver to start with SLOWLY start prying the glass from the housing. Try not to make a mess with the molten butyl rubber, especially inside the housing. It gets everywhere!
Prep for paint (optional)
Sand all of the chrome out with fine steel wool. Anything heavier will leave scratches in the plastic housing and you WILL see them. Your hand will probably get a lil sore during this stage. I used an ice cold standard 12oz aluminum container to mitigate my frustration then continued.
Before moving on to installing the backinging plate, trim out a small hole for the 3 sets of wires to run through (halo ring, demon eye and hi/low actuator). Otherwise you will end up like me and end up cutting a hole big enough for the plugs to have to fit through.
Backing Plate install
The projector housing slides through this and the nut is tightened on the back to secure it. The plate fits VERY snugly and will take some precision tapping to get it seated properly.
The key way should be set to the 12 o' clock position. Before tapping it in place, set the wires in the grove that you just cut and make sure that they won't get pinched. Use a big socket to tap the plate down flush. The tabs might be stubborn, use a flat head to get them down. The tighter this plate fits, the more secure your housing will be. Be careful as to not bend the plate, you want the projector housing to sit perfect in the head light housing. Remove the nut from the projector threads, insert the threads through the plate and tighten the nut by hand.
You will notice a couple small holes that would allow moisture and debris into the housing if not sealed. Up to you how you'd like to solve this but I used JB-WELD QUICK. It blocks the holes and adds some extra security to the plate.
This is a permanent method. The compound is still runny so I used some metal tape to block the holes as much as possible then gobbed the JB over the top of it. Don't get any on the threads of the projector, it will have to be free for level adjustment later.
While it cures, use masking tape over the projector (whatever you don't want paint on). Wipe the surface down one final time a apply a couple light coats of plastic primer then your paint.
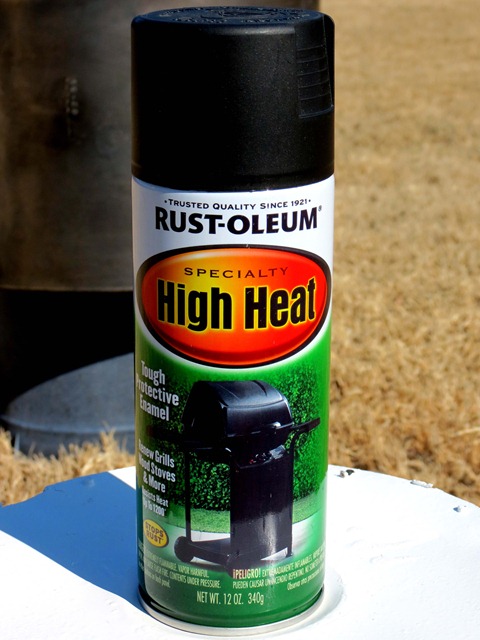
I used
then
Notice, I had not cut the small hole for the wires...woops
Wiring and Test fit
Now's a good time to wire and test fit your kit.
Set the adjustment screws in the bucket to about 1/2 and pop the housings back together.
The HID kit is plug and play. The hi/low wire goes to the main harness included. The halos and demon eye LEDs have to run through the supplied inverters. I spliced mine into my running lights.
Once you get the HID's fired up, you can start leveling the cut-off line. Don't worry about adjusting the light housings yet. make sure your truck body is sitting level and the buckets securely bolted back in place and flip on the HIDs. Loosen the backing nut just enough to be able to rotate the projector. Level them and tighten the nut to secure them.
The thread quality is not the greatest and I had no intention of ever removing these. Once I was happy with the level of the cut-off beam, I resorted to more JB-Weld to permanently secure the projector to my housing. I'm rougher than most on their rigs and they haven't loosened up on me yet.
Re-seal the head light
It is suggested to apply an extra bead of butyl rubber. $25 for a roll. Stretch a thin bead in the crease where the glass contact. Clean the glass and housing one last time. Place glass on housing and put it in the oven for 7min at 270. Keep the small plastic plugs and wires from contacting any metal surfaces, they will melt, try wrapping in tin foil. Remove again with gloves and press the glass and housing together evenly by hand. Use large pliers to pinch near spring clamp locations and pop the clamps on.
Now the fun part, connect the wiring and adjust the housings to align the lights. It is a pain in the arse. Took me several tries and test drives.
Good luck